park assist FORD EXPEDITION 2003 2.G Owners Manual
[x] Cancel search | Manufacturer: FORD, Model Year: 2003, Model line: EXPEDITION, Model: FORD EXPEDITION 2003 2.GPages: 320, PDF Size: 3.67 MB
Page 196 of 320
•The anti-lock system does not always reduce stopping distance.
Always leave enough room between your vehicle and the vehicle in
front of you to stop.
•We recommend that you familiarize yourself with this braking
technique. However, avoid taking any unnecessary risks.
ABS warning lamp
ABS
TheABSwarning lamp in the instrument cluster momentarily illuminates
when the ignition is turned to the ON position. If the light does not
illuminate momentarily at start up, remains on or continues to flash, the
ABS needs to be serviced.
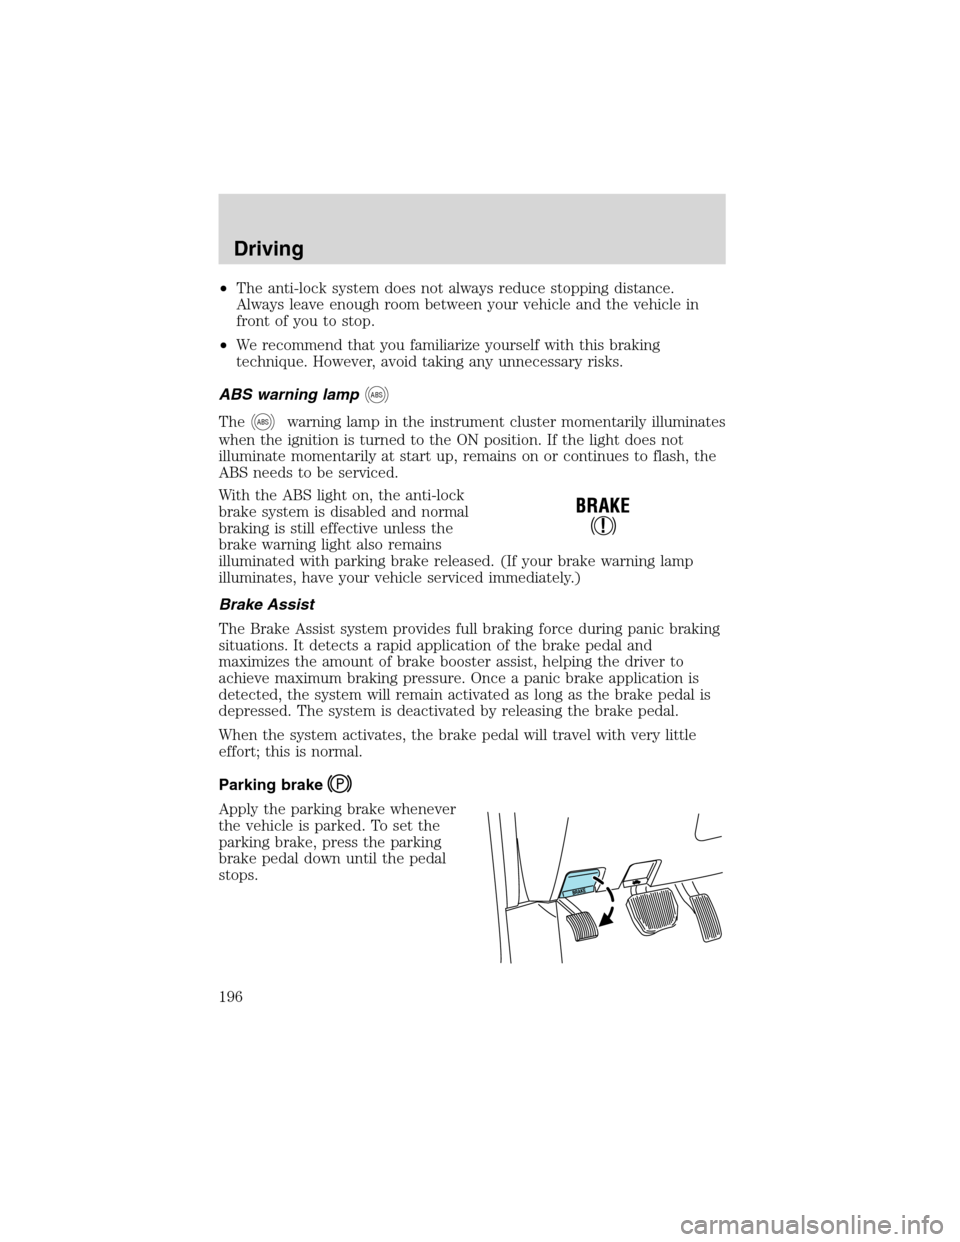
With the ABS light on, the anti-lock
brake system is disabled and normal
braking is still effective unless the
brake warning light also remains
illuminated with parking brake released. (If your brake warning lamp
illuminates, have your vehicle serviced immediately.)
Brake Assist
The Brake Assist system provides full braking force during panic braking
situations. It detects a rapid application of the brake pedal and
maximizes the amount of brake booster assist, helping the driver to
achieve maximum braking pressure. Once a panic brake application is
detected, the system will remain activated as long as the brake pedal is
depressed. The system is deactivated by releasing the brake pedal.
When the system activates, the brake pedal will travel with very little
effort; this is normal.
Parking brake
Apply the parking brake whenever
the vehicle is parked. To set the
parking brake, press the parking
brake pedal down until the pedal
stops.
Driving
196
Page 225 of 320
Trailer lamps
Trailer lamps are required on most towed vehicles. Make sure your
trailer lamps conform to local and Federal regulations. See your dealer or
trailer rental agency for proper instructions and equipment for hooking
up trailer lamps.
Driving while you tow
When towing a trailer:
•Turn off the speed control. The speed control may shut off
automatically when you are towing on long, steep grades.
•Consult your local motor vehicle speed regulations for towing a trailer.
•To eliminate excessive shifting, use a lower gear. This will also assist
in transmission cooling. (For additional information, refer to the
Driving with a 4–speed automatic transmissionsection in this
chapter.
•Anticipate stops and brake gradually.
•Do not exceed the GCWR rating or transmission damage may occur.
Servicing after towing
If you tow a trailer for long distances, your vehicle will require more
frequent service intervals. Refer to your scheduled maintenance guide for
more information.
Trailer towing tips
•Practice turning, stopping and backing up before starting on a trip to
get the feel of the vehicle trailer combination. When turning, make
wider turns so the trailer wheels will clear curbs and other obstacles.
•Allow more distance for stopping with a trailer attached.
•If you are driving down a long or steep hill, shift to a lower gear. Do
not apply the brakes continuously, as they may overheat and become
less effective.
•The trailer tongue weight should be 10–15% of the loaded trailer
weight.
•After you have traveled 80 km (50 miles), thoroughly check your
hitch, electrical connections and trailer wheel lug nuts.
•To aid in engine/transmission cooling and A/C efficiency during hot
weather while stopped in traffic, place the gearshift lever in P (Park).
•Vehicles with trailers should not be parked on a grade. If you must
park on a grade, place wheel chocks under the trailer’s wheels.
Driving
225
Page 242 of 320
Preparing your vehicle
When the battery is disconnected or a new battery is installed, the
transmission must relearn its shift strategy. As a result, the transmission
may have firm and/or soft shifts. This operation is considered normal and
will not affect function or durability of the transmission. Over time, the
adaptive learning process will fully update transmission operation.
1.Use only a 12–volt supply to start your vehicle.
2. Do not disconnect the battery of the disabled vehicle as this could
damage the vehicle’s electrical system.
3. Park the booster vehicle close to the hood of the disabled vehicle
making sure the two vehiclesdo nottouch. Set the parking brake on
both vehicles and stay clear of the engine cooling fan and other moving
parts.
4. Check all battery terminals and remove any excessive corrosion before
you attach the battery cables. Ensure that vent caps are tight and level.
5. Turn the heater fan on in both vehicles to protect any electrical
surges. Turn all other accessories off.
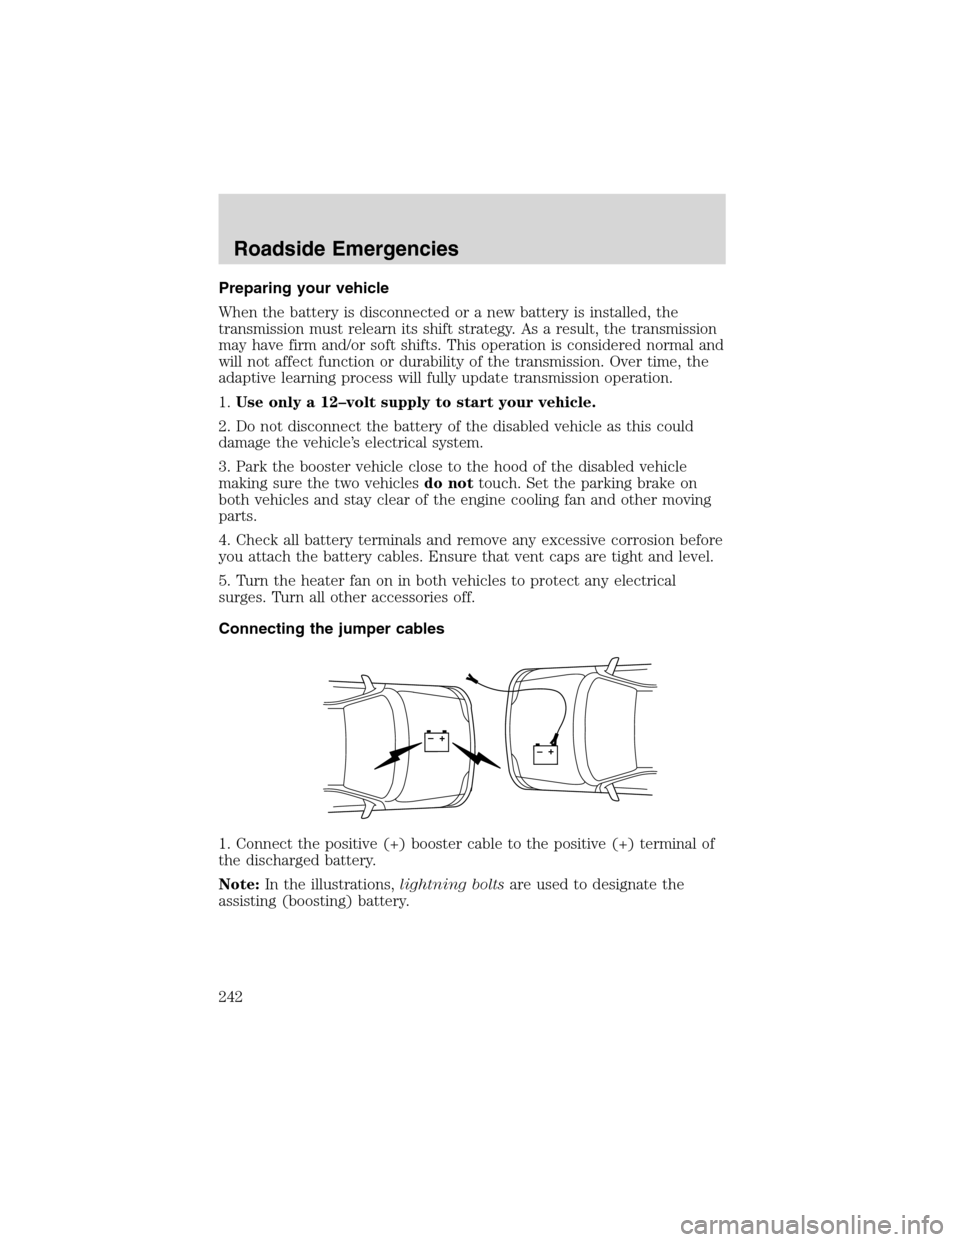
Connecting the jumper cables
1. Connect the positive (+) booster cable to the positive (+) terminal of
the discharged battery.
Note:In the illustrations,lightning boltsare used to designate the
assisting (boosting) battery.
+–+–
Roadside Emergencies
242
Page 256 of 320
If your vehicle must be serviced while you are traveling or living in
Central or South America, the Caribbean, or the Middle East, contact the
nearest Ford dealership. If the dealership cannot help you, write or call:
FORD MOTOR COMPANY
WORLDWIDE DIRECT MARKET OPERATIONS
1555 Fairlane Drive
Fairlane Business Park #3
Allen Park, Michigan 48101
U.S.A.
Telephone: (313) 594-4857
FAX: (313) 390-0804
If you are in another foreign country, contact the nearest Ford
dealership. If the dealership employees cannot help you, they can direct
you to the nearest Ford affiliate office.
If you buy your vehicle in North America and then relocate outside of
the U.S. or Canada, register your vehicle identification number (VIN) and
new address with Ford Motor Company Worldwide Direct Market
Operations.
ORDERING ADDITIONAL OWNER’S LITERATURE
To order the publications in this portfolio, contact Helm, Incorporated at:
HELM, INCORPORATED
P.O. Box 07150
Detroit, Michigan 48207
Or call:
For a free publication catalog, order toll free: 1-800-782-4356
Helm, incorporated can also be reached by their website:
www.helminc.com.
Monday-Friday 8:00 a.m. - 6:00 p.m. EST
(Items in this catalog may be purchased by credit card holders only.)
Obtaining a French owner’s guide
French Owner’s Guides can be obtained from your dealer or by writing to
Ford Motor Company of Canada, Limited, Service Publications, P.O. Box
1580, Station B, Mississauga, Ontario L4Y 4G3.
Customer Assistance
256
Page 318 of 320
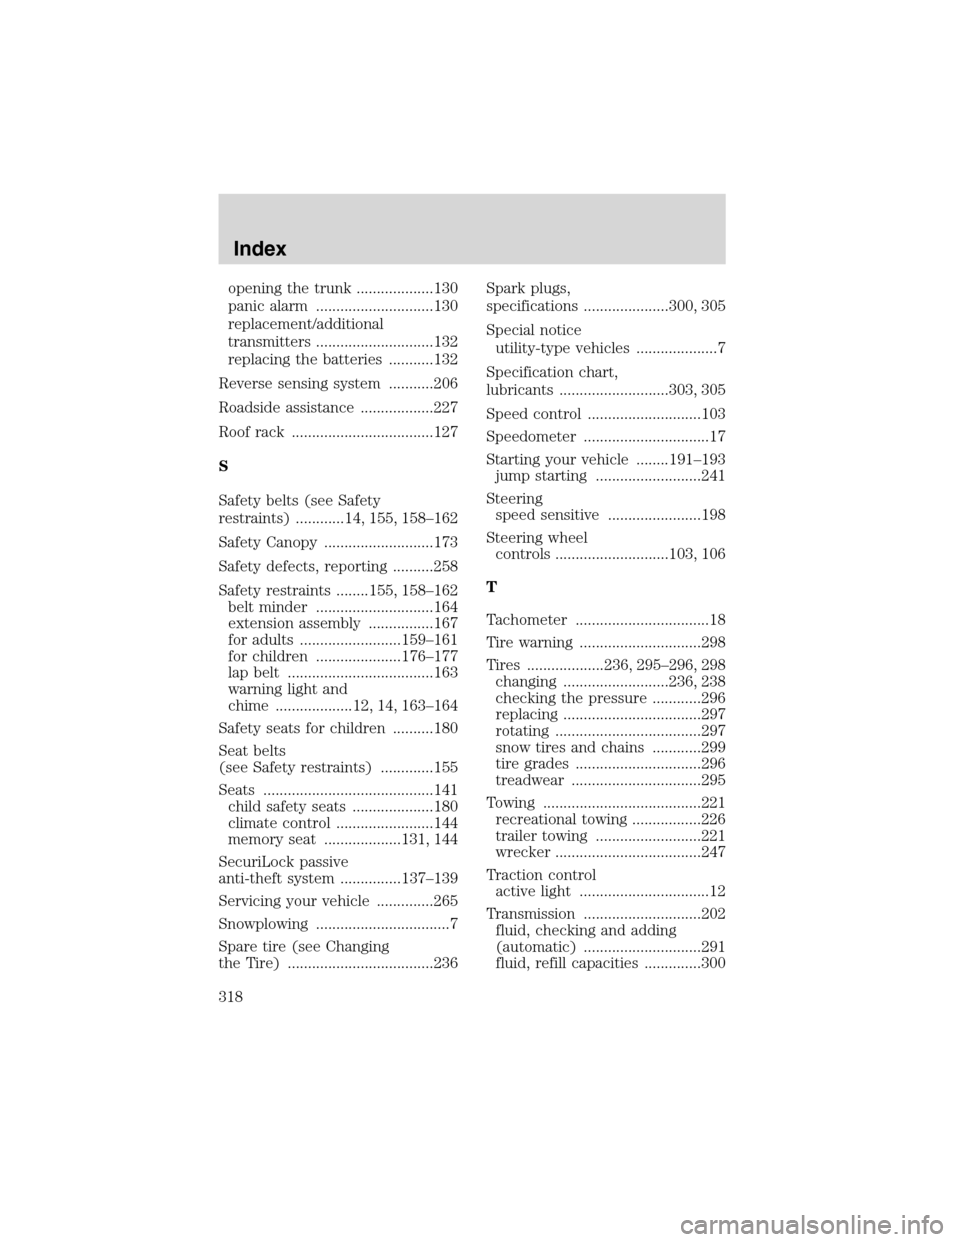
opening the trunk ...................130
panic alarm .............................130
replacement/additional
transmitters .............................132
replacing the batteries ...........132
Reverse sensing system ...........206
Roadside assistance ..................227
Roof rack ...................................127
S
Safety belts (see Safety
restraints) ............14, 155, 158–162
Safety Canopy ...........................173
Safety defects, reporting ..........258
Safety restraints ........155, 158–162
belt minder .............................164
extension assembly ................167
for adults .........................159–161
for children .....................176–177
lap belt ....................................163
warning light and
chime ...................12, 14, 163–164
Safety seats for children ..........180
Seat belts
(see Safety restraints) .............155
Seats ..........................................141
child safety seats ....................180
climate control ........................144
memory seat ...................131, 144
SecuriLock passive
anti-theft system ...............137–139
Servicing your vehicle ..............265
Snowplowing .................................7
Spare tire (see Changing
the Tire) ....................................236Spark plugs,
specifications .....................300, 305
Special notice
utility-type vehicles ....................7
Specification chart,
lubricants ...........................303, 305
Speed control ............................103
Speedometer ...............................17
Starting your vehicle ........191–193
jump starting ..........................241
Steering
speed sensitive .......................198
Steering wheel
controls ............................103, 106
T
Tachometer .................................18
Tire warning ..............................298
Tires ...................236, 295–296, 298
changing ..........................236, 238
checking the pressure ............296
replacing ..................................297
rotating ....................................297
snow tires and chains ............299
tire grades ...............................296
treadwear ................................295
Towing .......................................221
recreational towing .................226
trailer towing ..........................221
wrecker ....................................247
Traction control
active light ................................12
Transmission .............................202
fluid, checking and adding
(automatic) .............................291
fluid, refill capacities ..............300
Index
318