FORD EXPEDITION 2006 2.G Manual PDF
Manufacturer: FORD, Model Year: 2006, Model line: EXPEDITION, Model: FORD EXPEDITION 2006 2.GPages: 360, PDF Size: 3.6 MB
Page 71 of 360
Points of Interest (POI)
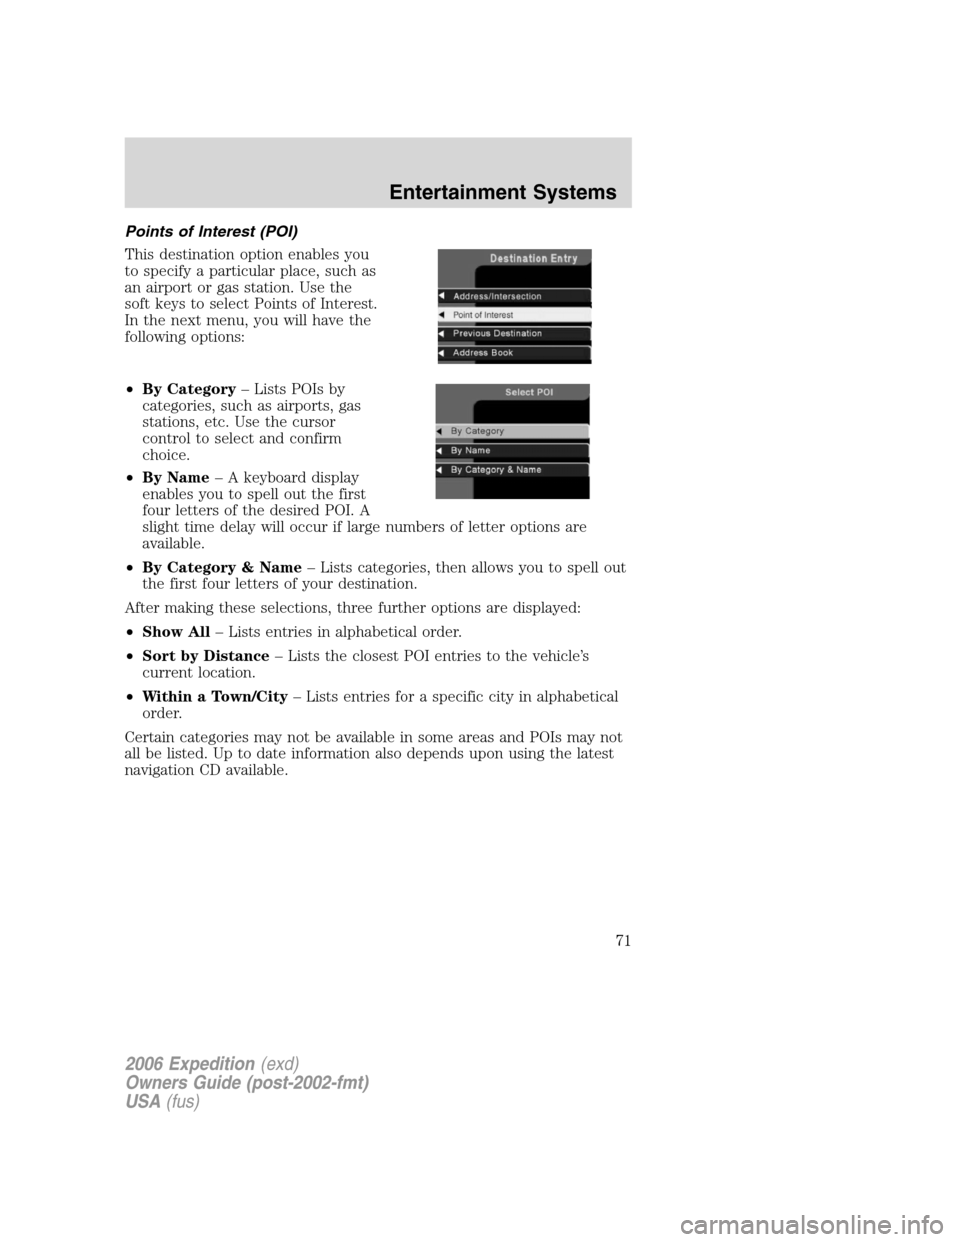
This destination option enables you
to specify a particular place, such as
an airport or gas station. Use the
soft keys to select Points of Interest.
In the next menu, you will have the
following options:
•By Category– Lists POIs by
categories, such as airports, gas
stations, etc. Use the cursor
control to select and confirm
choice.
•By Name– A keyboard display
enables you to spell out the first
four letters of the desired POI. A
slight time delay will occur if large numbers of letter options are
available.
•By Category & Name– Lists categories, then allows you to spell out
the first four letters of your destination.
After making these selections, three further options are displayed:
•Show All– Lists entries in alphabetical order.
•Sort by Distance– Lists the closest POI entries to the vehicle’s
current location.
•Within a Town/City– Lists entries for a specific city in alphabetical
order.
Certain categories may not be available in some areas and POIs may not
all be listed. Up to date information also depends upon using the latest
navigation CD available.
2006 Expedition(exd)
Owners Guide (post-2002-fmt)
USA(fus)
Entertainment Systems
71
Page 72 of 360
Previous destination
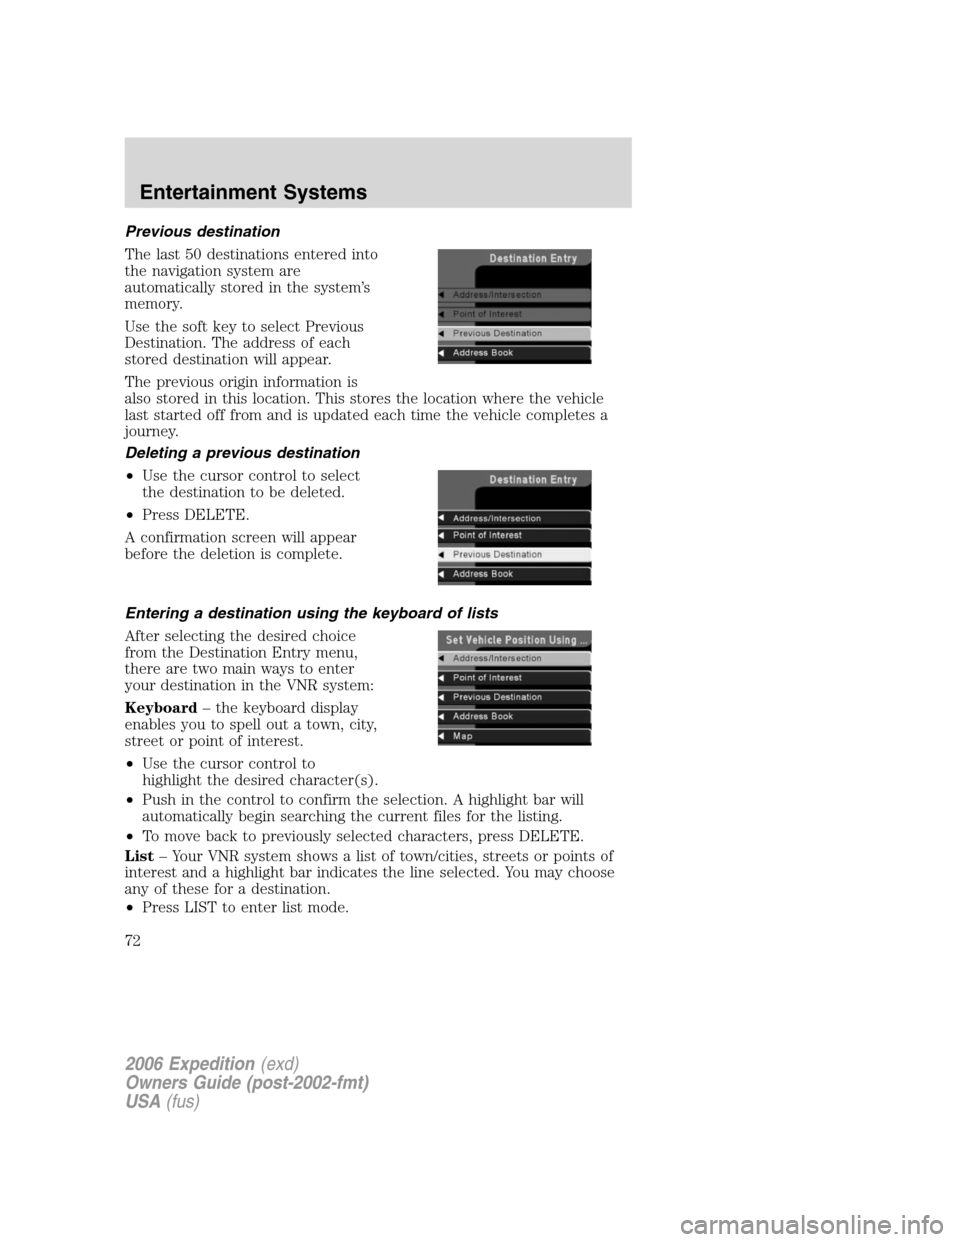
The last 50 destinations entered into
the navigation system are
automatically stored in the system’s
memory.
Use the soft key to select Previous
Destination. The address of each
stored destination will appear.
The previous origin information is
also stored in this location. This stores the location where the vehicle
last started off from and is updated each time the vehicle completes a
journey.
Deleting a previous destination
•Use the cursor control to select
the destination to be deleted.
•Press DELETE.
A confirmation screen will appear
before the deletion is complete.
Entering a destination using the keyboard of lists
After selecting the desired choice
from the Destination Entry menu,
there are two main ways to enter
your destination in the VNR system:
Keyboard– the keyboard display
enables you to spell out a town, city,
street or point of interest.
•Use the cursor control to
highlight the desired character(s).
•Push in the control to confirm the selection. A highlight bar will
automatically begin searching the current files for the listing.
•To move back to previously selected characters, press DELETE.
List– Your VNR system shows a list of town/cities, streets or points of
interest and a highlight bar indicates the line selected. You may choose
any of these for a destination.
•Press LIST to enter list mode.
2006 Expedition(exd)
Owners Guide (post-2002-fmt)
USA(fus)
Entertainment Systems
72
Page 73 of 360
•Use the cursor control to scroll through the selections.
•Press in the cursor control to confirm the selection.
Selecting Route Criteria
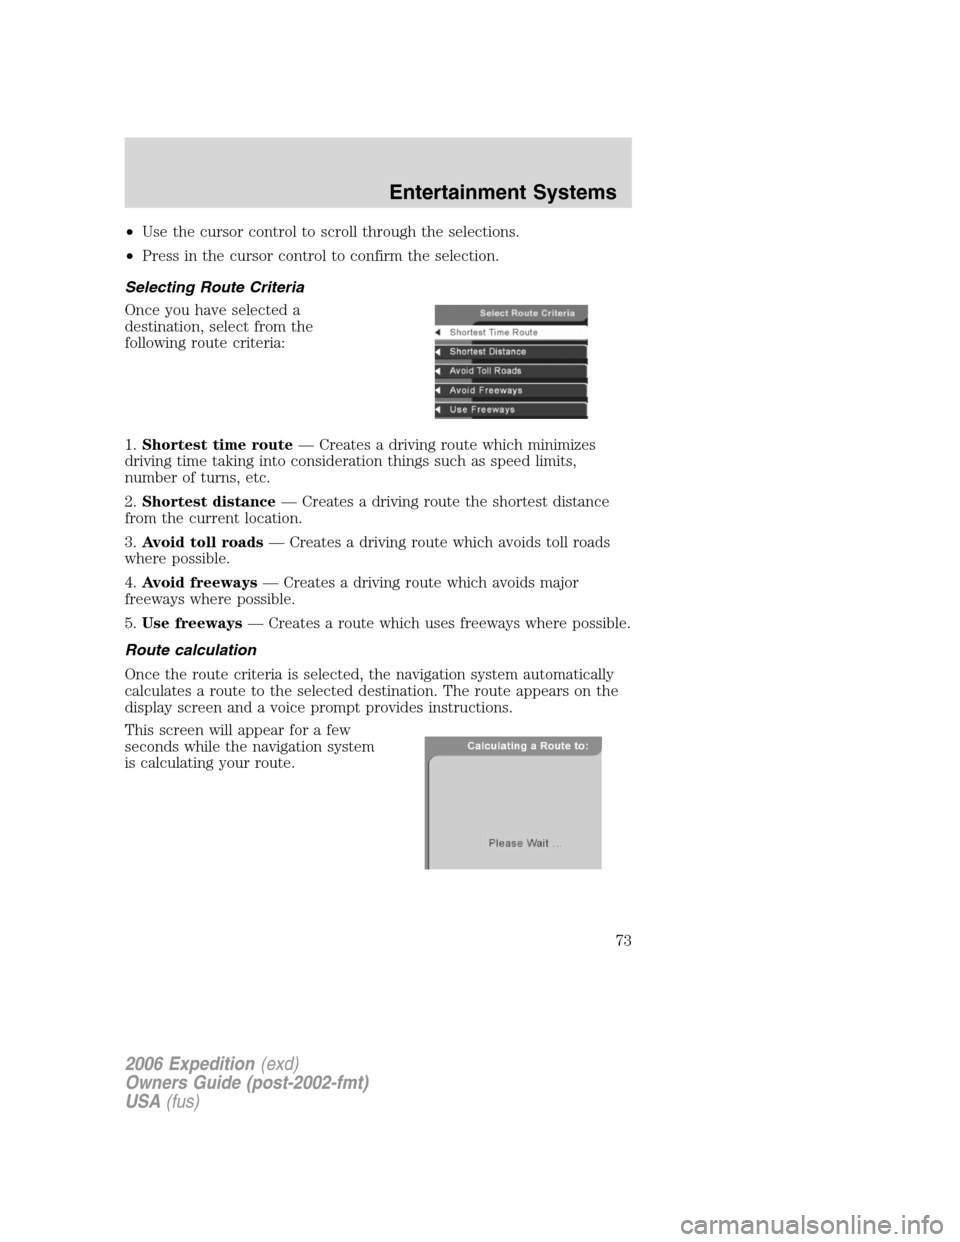
Once you have selected a
destination, select from the
following route criteria:
1.Shortest time route— Creates a driving route which minimizes
driving time taking into consideration things such as speed limits,
number of turns, etc.
2.Shortest distance— Creates a driving route the shortest distance
from the current location.
3.Avoid toll roads— Creates a driving route which avoids toll roads
where possible.
4.Avoid freeways— Creates a driving route which avoids major
freeways where possible.
5.Use freeways— Creates a route which uses freeways where possible.
Route calculation
Once the route criteria is selected, the navigation system automatically
calculates a route to the selected destination. The route appears on the
display screen and a voice prompt provides instructions.
This screen will appear for a few
seconds while the navigation system
is calculating your route.
2006 Expedition(exd)
Owners Guide (post-2002-fmt)
USA(fus)
Entertainment Systems
73
Page 74 of 360
Please proceed
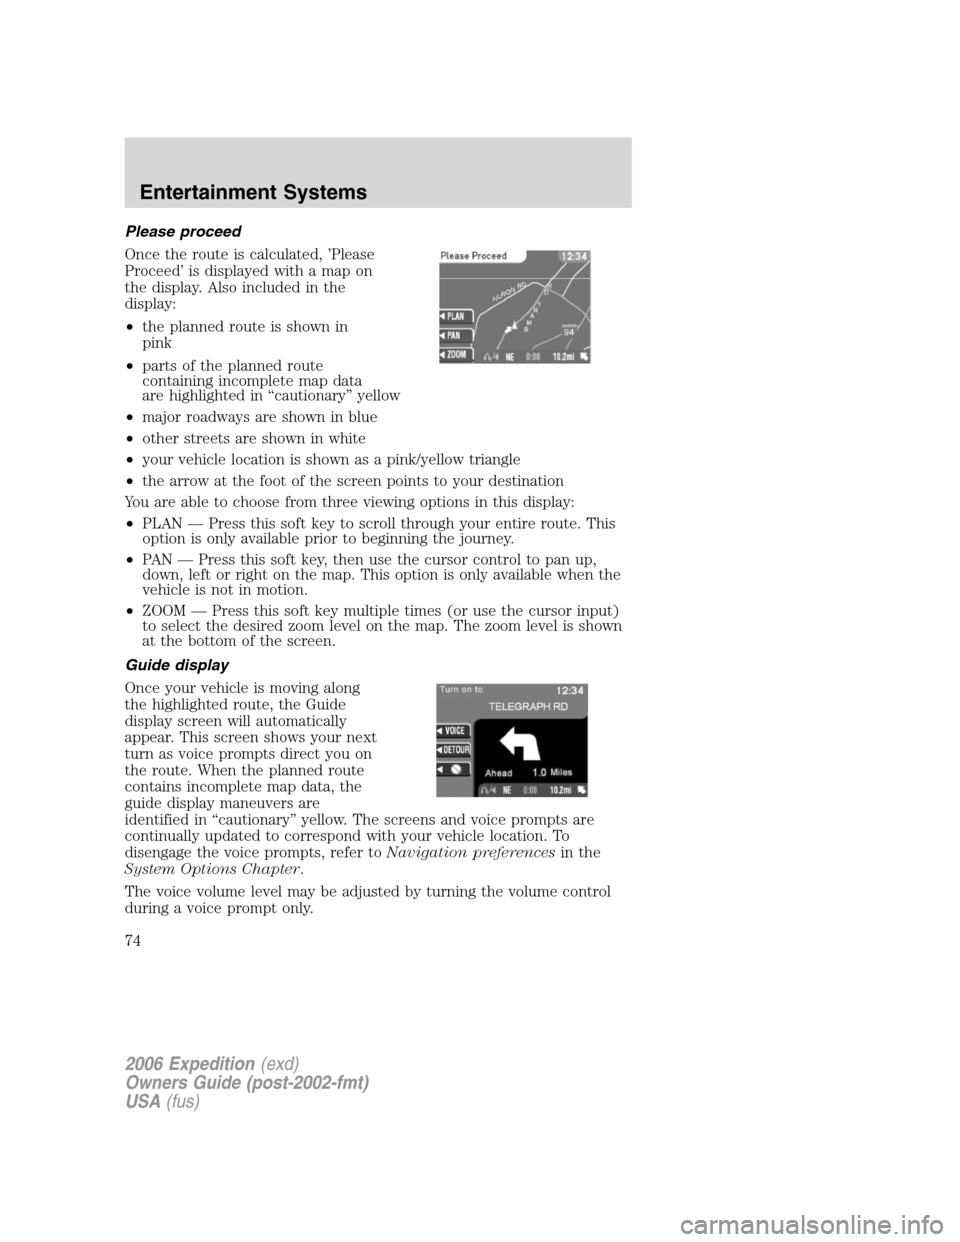
Once the route is calculated, ’Please
Proceed’ is displayed with a map on
the display. Also included in the
display:
•the planned route is shown in
pink
•parts of the planned route
containing incomplete map data
are highlighted in “cautionary” yellow
•major roadways are shown in blue
•other streets are shown in white
•your vehicle location is shown as a pink/yellow triangle
•the arrow at the foot of the screen points to your destination
You are able to choose from three viewing options in this display:
•PLAN — Press this soft key to scroll through your entire route. This
option is only available prior to beginning the journey.
•PAN — Press this soft key, then use the cursor control to pan up,
down, left or right on the map. This option is only available when the
vehicle is not in motion.
•ZOOM — Press this soft key multiple times (or use the cursor input)
to select the desired zoom level on the map. The zoom level is shown
at the bottom of the screen.
Guide display
Once your vehicle is moving along
the highlighted route, the Guide
display screen will automatically
appear. This screen shows your next
turn as voice prompts direct you on
the route. When the planned route
contains incomplete map data, the
guide display maneuvers are
identified in “cautionary” yellow. The screens and voice prompts are
continually updated to correspond with your vehicle location. To
disengage the voice prompts, refer toNavigation preferencesin the
System Options Chapter.
The voice volume level may be adjusted by turning the volume control
during a voice prompt only.
2006 Expedition(exd)
Owners Guide (post-2002-fmt)
USA(fus)
Entertainment Systems
74
Page 75 of 360
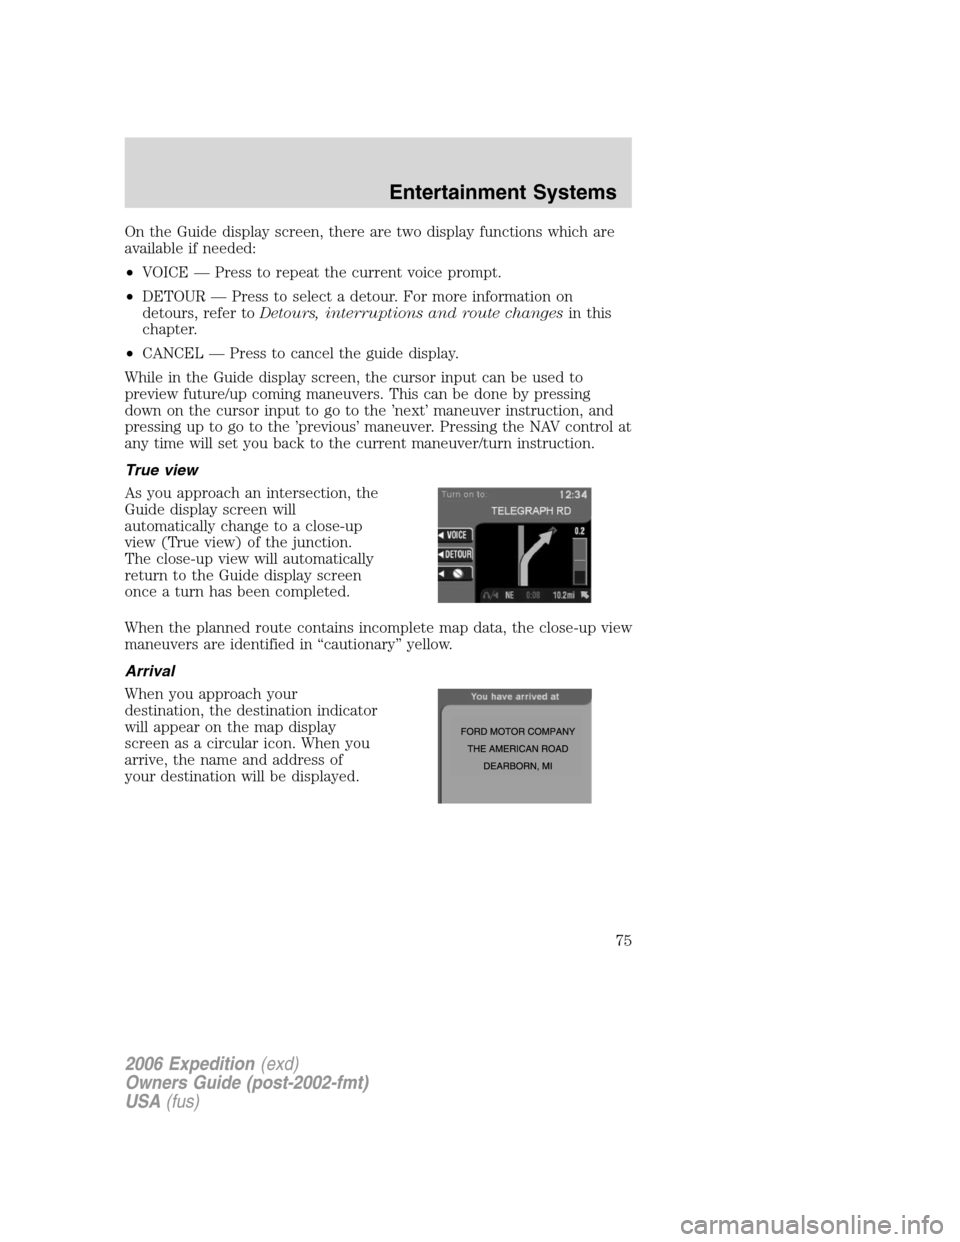
On the Guide display screen, there are two display functions which are
available if needed:
•VOICE — Press to repeat the current voice prompt.
•DETOUR — Press to select a detour. For more information on
detours, refer toDetours, interruptions and route changesin this
chapter.
•CANCEL — Press to cancel the guide display.
While in the Guide display screen, the cursor input can be used to
preview future/up coming maneuvers. This can be done by pressing
down on the cursor input to go to the ’next’ maneuver instruction, and
pressing up to go to the ’previous’ maneuver. Pressing the NAV control at
any time will set you back to the current maneuver/turn instruction.
True view
As you approach an intersection, the
Guide display screen will
automatically change to a close-up
view (True view) of the junction.
The close-up view will automatically
return to the Guide display screen
once a turn has been completed.
When the planned route contains incomplete map data, the close-up view
maneuvers are identified in “cautionary” yellow.
Arrival
When you approach your
destination, the destination indicator
will appear on the map display
screen as a circular icon. When you
arrive, the name and address of
your destination will be displayed.
2006 Expedition(exd)
Owners Guide (post-2002-fmt)
USA(fus)
Entertainment Systems
75
Page 76 of 360
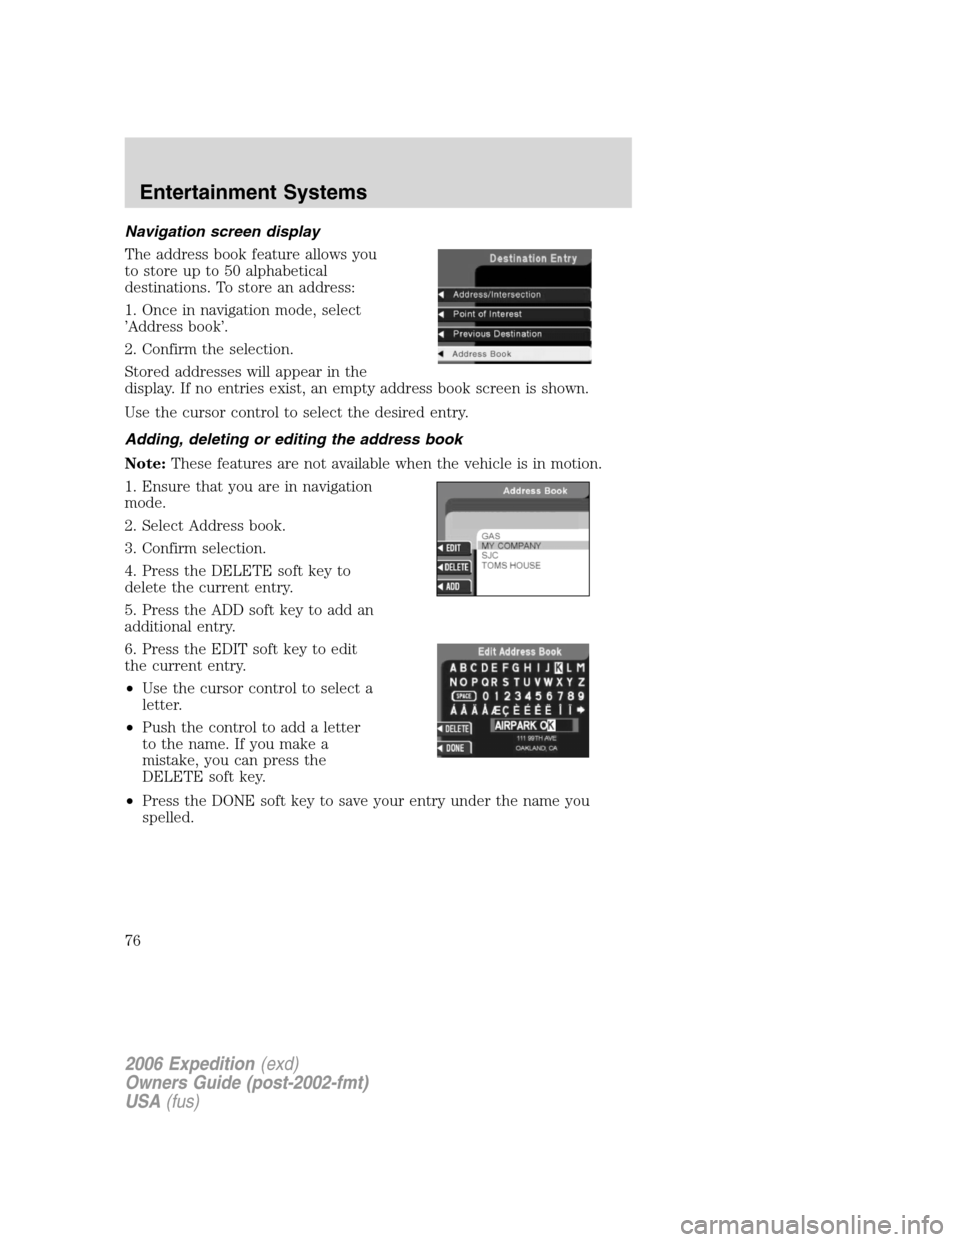
Navigation screen display
The address book feature allows you
to store up to 50 alphabetical
destinations. To store an address:
1. Once in navigation mode, select
’Address book’.
2. Confirm the selection.
Stored addresses will appear in the
display. If no entries exist, an empty address book screen is shown.
Use the cursor control to select the desired entry.
Adding, deleting or editing the address book
Note:These features are not available when the vehicle is in motion.
1. Ensure that you are in navigation
mode.
2. Select Address book.
3. Confirm selection.
4. Press the DELETE soft key to
delete the current entry.
5. Press the ADD soft key to add an
additional entry.
6. Press the EDIT soft key to edit
the current entry.
•Use the cursor control to select a
letter.
•Push the control to add a letter
to the name. If you make a
mistake, you can press the
DELETE soft key.
•Press the DONE soft key to save your entry under the name you
spelled.
2006 Expedition(exd)
Owners Guide (post-2002-fmt)
USA(fus)
Entertainment Systems
76
Page 77 of 360
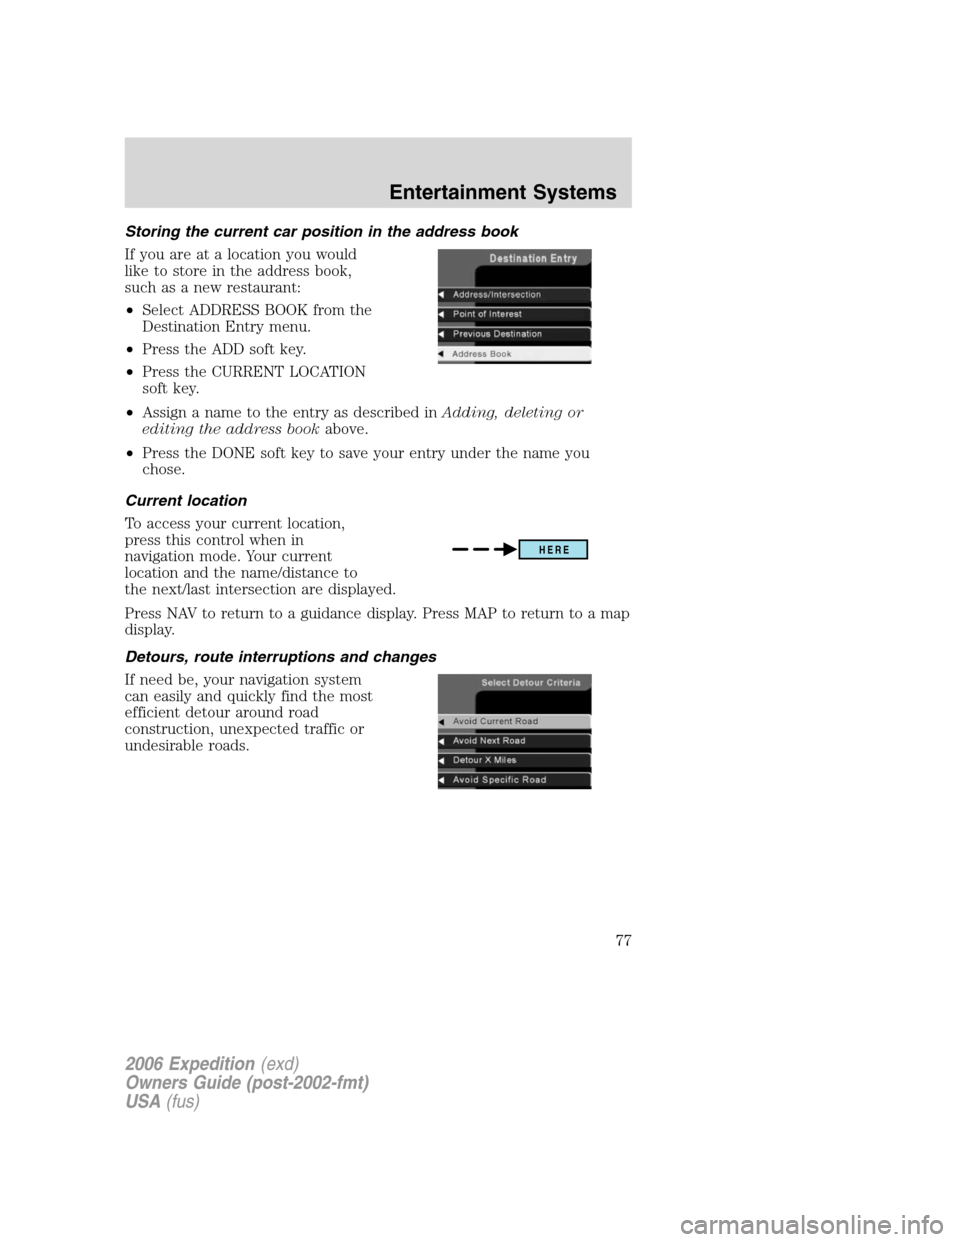
Storing the current car position in the address book
If you are at a location you would
like to store in the address book,
such as a new restaurant:
•Select ADDRESS BOOK from the
Destination Entry menu.
•Press the ADD soft key.
•Press the CURRENT LOCATION
soft key.
•Assign a name to the entry as described inAdding, deleting or
editing the address bookabove.
•Press the DONE soft key to save your entry under the name you
chose.
Current location
To access your current location,
press this control when in
navigation mode. Your current
location and the name/distance to
the next/last intersection are displayed.
Press NAV to return to a guidance display. Press MAP to return to a map
display.
Detours, route interruptions and changes
If need be, your navigation system
can easily and quickly find the most
efficient detour around road
construction, unexpected traffic or
undesirable roads.
HERE
2006 Expedition(exd)
Owners Guide (post-2002-fmt)
USA(fus)
Entertainment Systems
77
Page 78 of 360
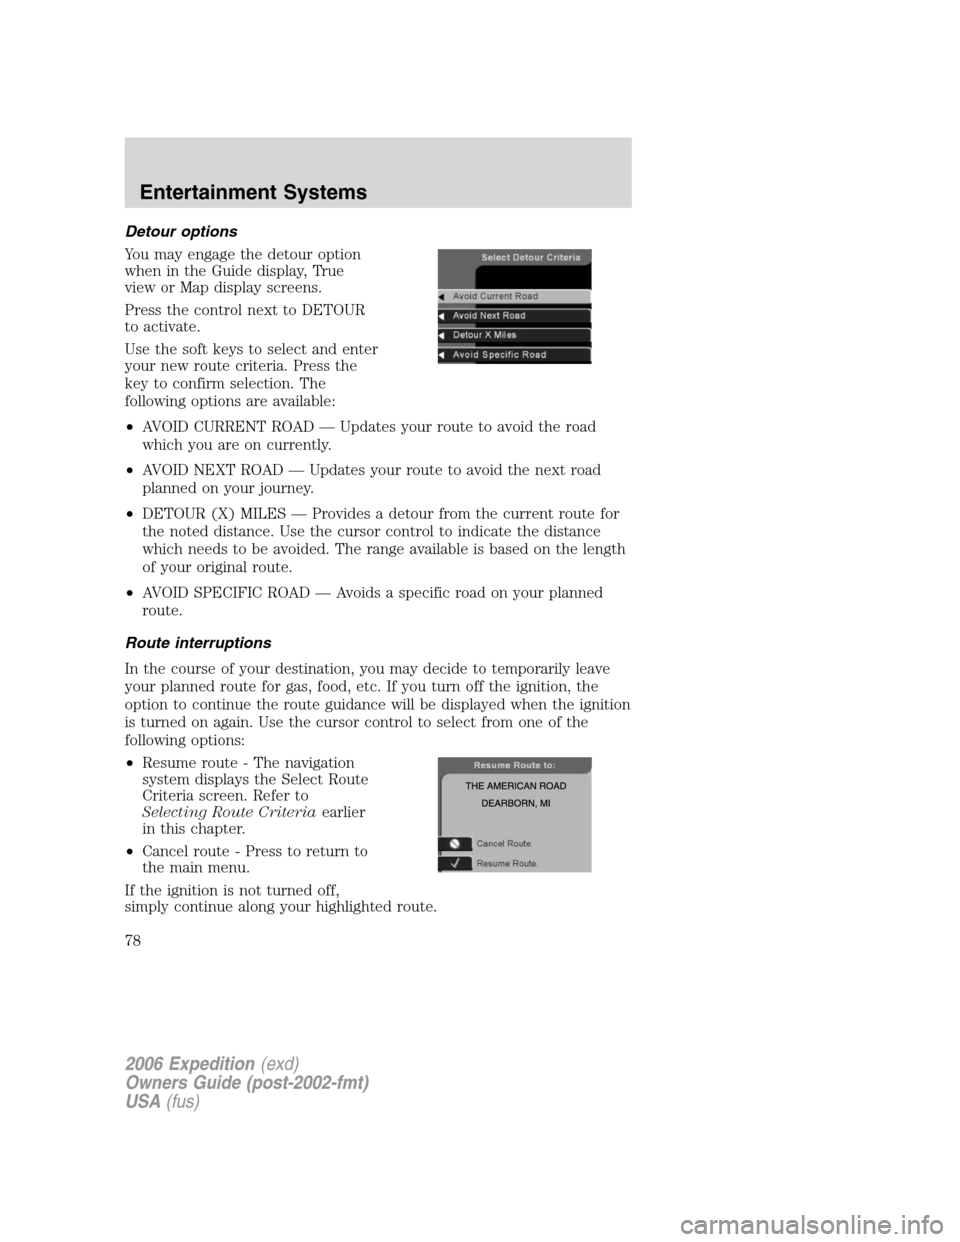
Detour options
You may engage the detour option
when in the Guide display, True
view or Map display screens.
Press the control next to DETOUR
to activate.
Use the soft keys to select and enter
your new route criteria. Press the
key to confirm selection. The
following options are available:
•AVOID CURRENT ROAD — Updates your route to avoid the road
which you are on currently.
•AVOID NEXT ROAD — Updates your route to avoid the next road
planned on your journey.
•DETOUR (X) MILES — Provides a detour from the current route for
the noted distance. Use the cursor control to indicate the distance
which needs to be avoided. The range available is based on the length
of your original route.
•AVOID SPECIFIC ROAD — Avoids a specific road on your planned
route.
Route interruptions
In the course of your destination, you may decide to temporarily leave
your planned route for gas, food, etc. If you turn off the ignition, the
option to continue the route guidance will be displayed when the ignition
is turned on again. Use the cursor control to select from one of the
following options:
•Resume route - The navigation
system displays the Select Route
Criteria screen. Refer to
Selecting Route Criteriaearlier
in this chapter.
•Cancel route - Press to return to
the main menu.
If the ignition is not turned off,
simply continue along your highlighted route.
2006 Expedition(exd)
Owners Guide (post-2002-fmt)
USA(fus)
Entertainment Systems
78
Page 79 of 360
Route changes or cancellations
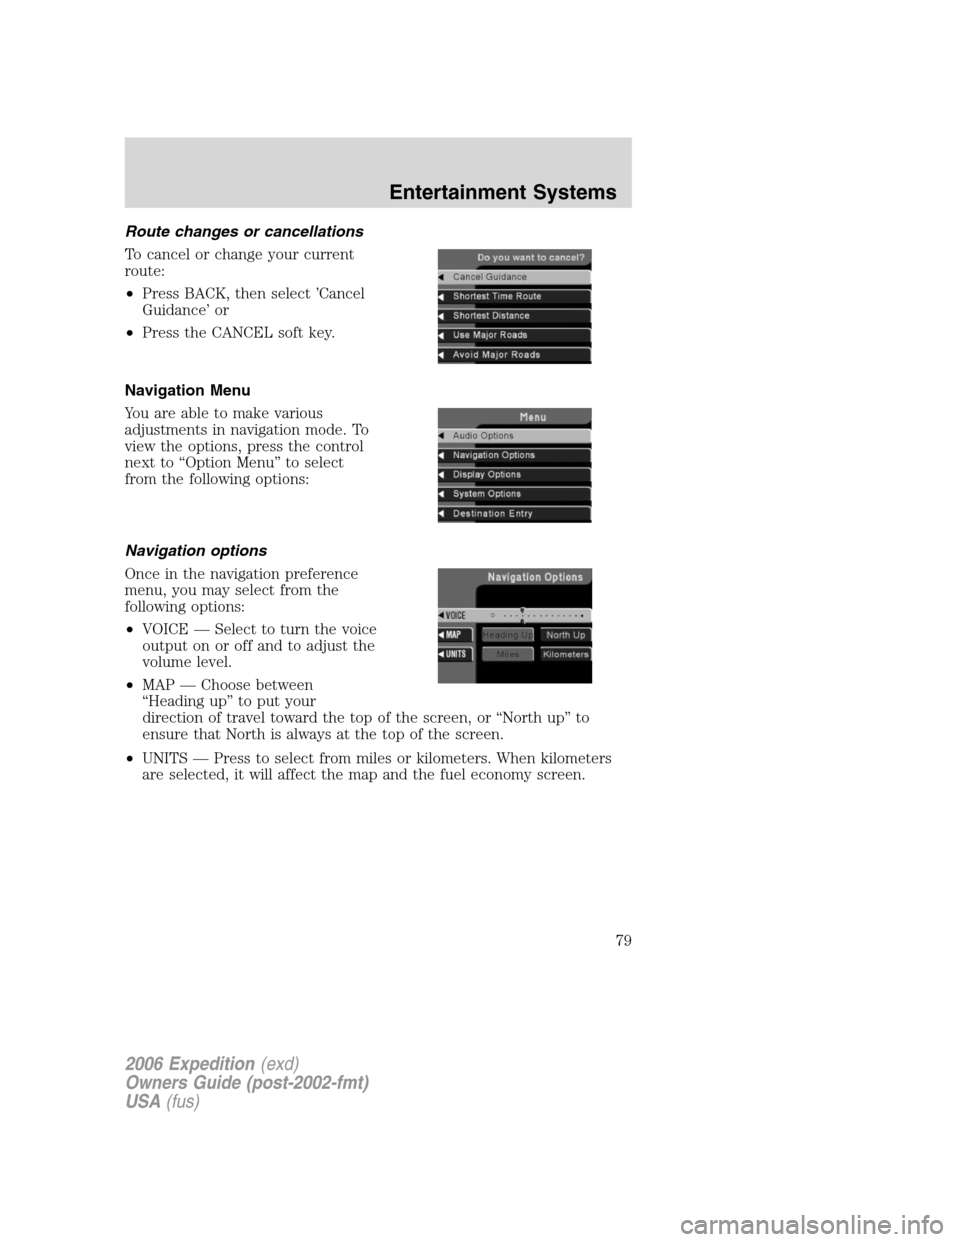
To cancel or change your current
route:
•Press BACK, then select ’Cancel
Guidance’ or
•Press the CANCEL soft key.
Navigation Menu
You are able to make various
adjustments in navigation mode. To
view the options, press the control
next to “Option Menu” to select
from the following options:
Navigation options
Once in the navigation preference
menu, you may select from the
following options:
•VOICE — Select to turn the voice
output on or off and to adjust the
volume level.
•MAP — Choose between
“Heading up” to put your
direction of travel toward the top of the screen, or “North up” to
ensure that North is always at the top of the screen.
•UNITS — Press to select from miles or kilometers. When kilometers
are selected, it will affect the map and the fuel economy screen.
2006 Expedition(exd)
Owners Guide (post-2002-fmt)
USA(fus)
Entertainment Systems
79
Page 80 of 360
Display options
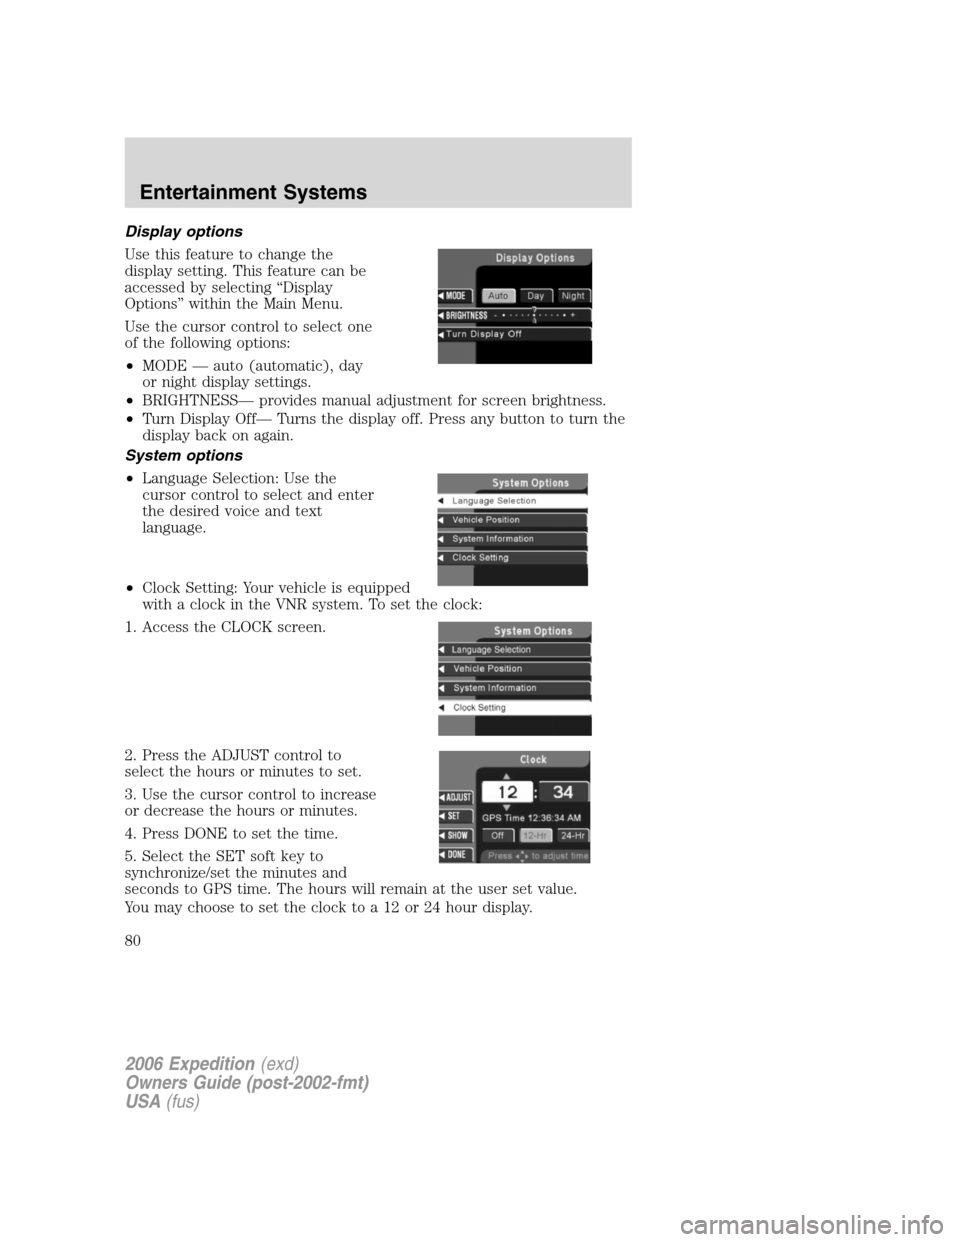
Use this feature to change the
display setting. This feature can be
accessed by selecting “Display
Options” within the Main Menu.
Use the cursor control to select one
of the following options:
•MODE — auto (automatic), day
or night display settings.
•BRIGHTNESS— provides manual adjustment for screen brightness.
•Turn Display Off— Turns the display off. Press any button to turn the
display back on again.
System options
•Language Selection: Use the
cursor control to select and enter
the desired voice and text
language.
•Clock Setting: Your vehicle is equipped
with a clock in the VNR system. To set the clock:
1. Access the CLOCK screen.
2. Press the ADJUST control to
select the hours or minutes to set.
3. Use the cursor control to increase
or decrease the hours or minutes.
4. Press DONE to set the time.
5. Select the SET soft key to
synchronize/set the minutes and
seconds to GPS time. The hours will remain at the user set value.
You may choose to set the clock to a 12 or 24 hour display.
2006 Expedition(exd)
Owners Guide (post-2002-fmt)
USA(fus)
Entertainment Systems
80