key battery FORD EXPEDITION 2015 3.G Owners Manual
[x] Cancel search | Manufacturer: FORD, Model Year: 2015, Model line: EXPEDITION, Model: FORD EXPEDITION 2015 3.GPages: 564, PDF Size: 6.71 MB
Page 56 of 564
Intelligent Access (If Equipped)
The system uses a radio frequency signal to communicate with your
vehicle and authorize your vehicle to unlock when one of the following
conditions is met:
•You touch any button on the keypad.
•You press a button on the transmitter.
If excessive radio frequency interference is present in the area or if the
transmitter battery is low, it may be necessary to mechanically unlock
your door. You can use the mechanical key blade in your intelligent
access key to open the driver door in this situation. Refer toRemote
Controlin this chapter for more information on the location and use of
the mechanical key blade.
REMOTE CONTROL
Integrated Keyhead Transmitters (IKTs) (If Equipped)
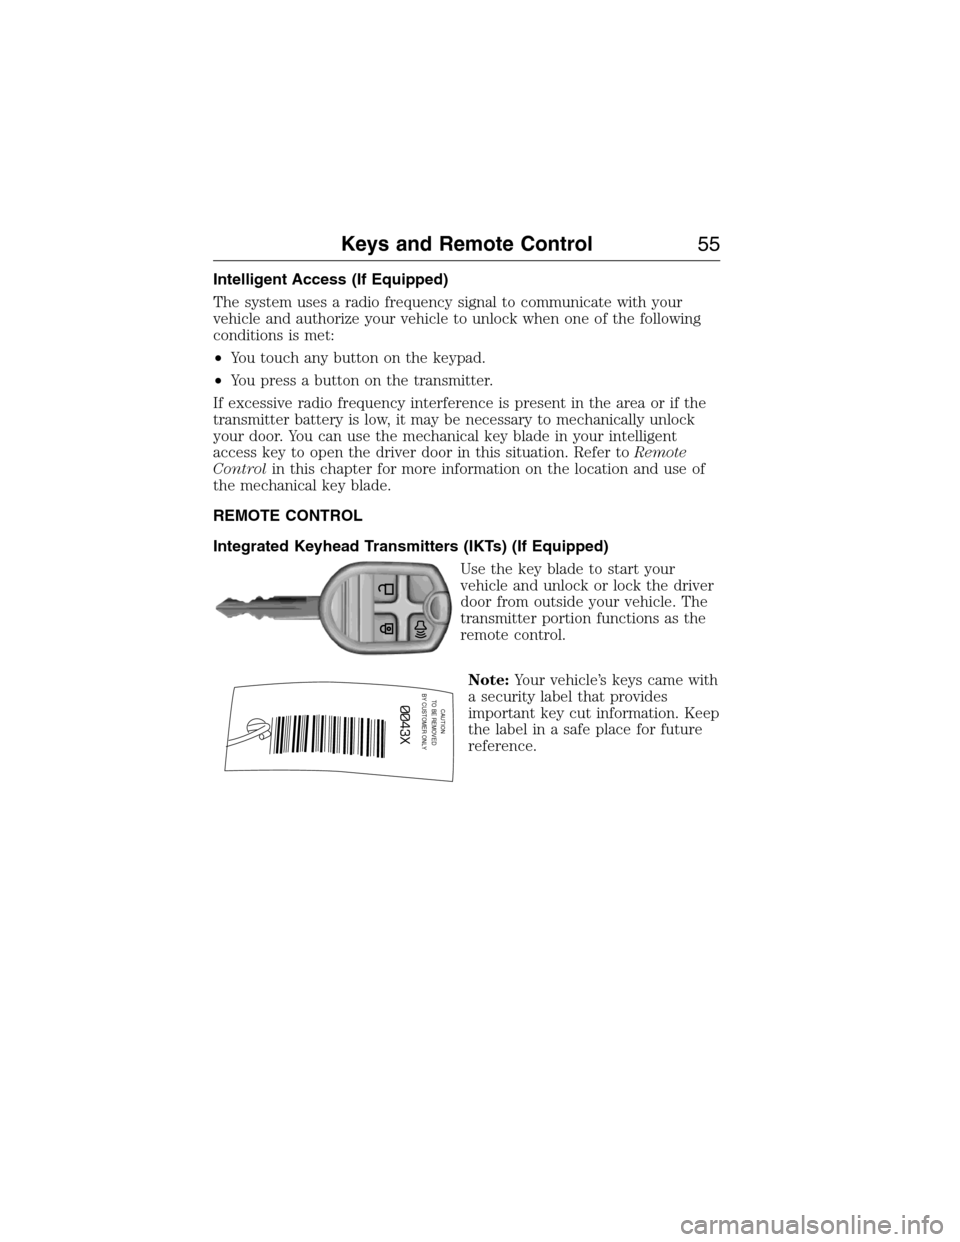
Use the key blade to start your
vehicle and unlock or lock the driver
door from outside your vehicle. The
transmitter portion functions as the
remote control.
Note:Your vehicle’s keys came with
a security label that provides
important key cut information. Keep
the label in a safe place for future
reference.
CAUTIONTO BE REMOVED
BY CUSTOMER ONLY
Keys and Remote Control55
2015 Expedition(exd)
Owners Guide gf, 1st Printing, July 2014
USA(fus)
Page 57 of 564
Intelligent Access Key (If Equipped)
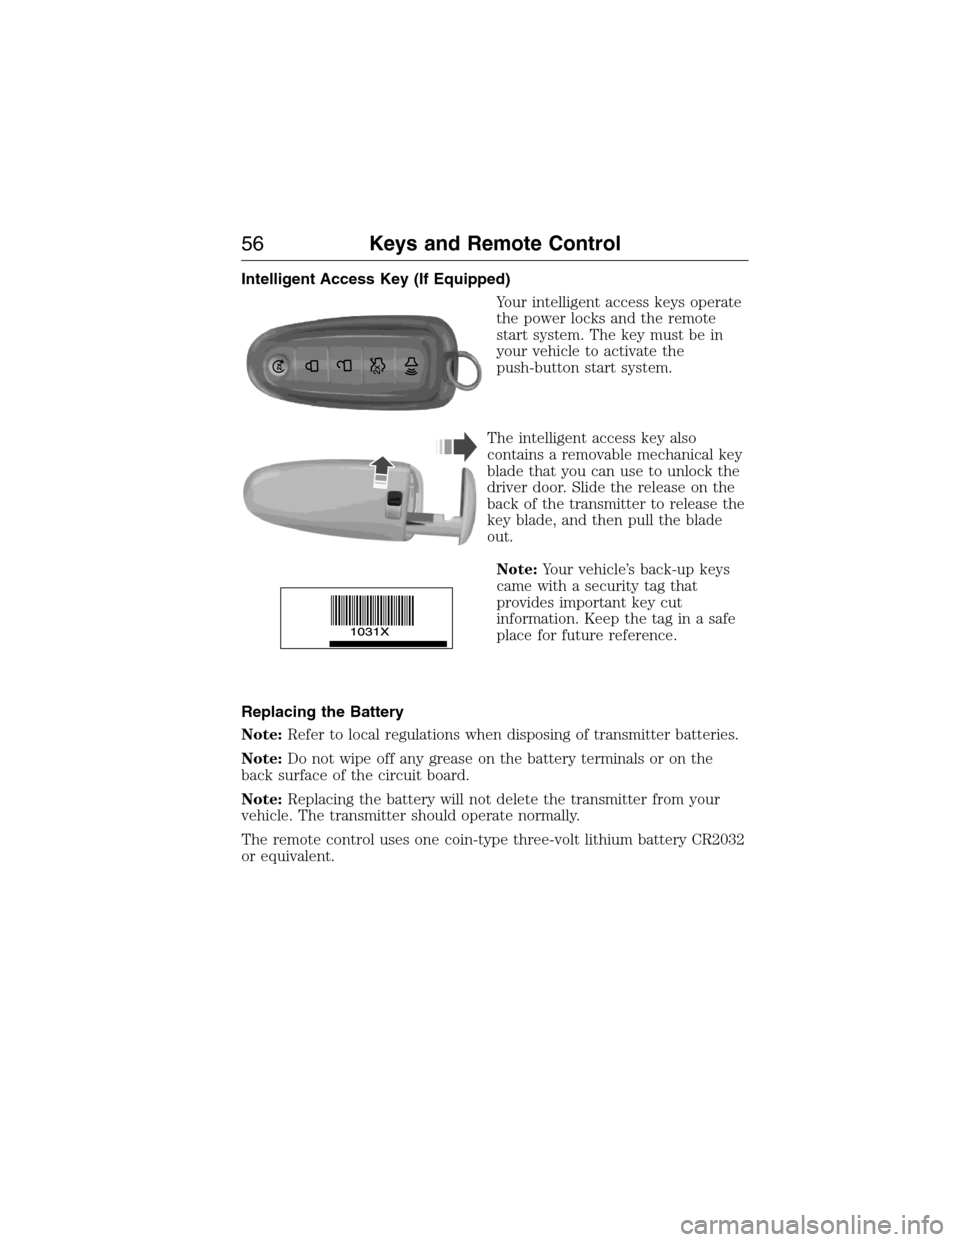
Your intelligent access keys operate
the power locks and the remote
start system. The key must be in
your vehicle to activate the
push-button start system.
The intelligent access key also
contains a removable mechanical key
blade that you can use to unlock the
driver door. Slide the release on the
back of the transmitter to release the
key blade, and then pull the blade
out.
Note:Your vehicle’s back-up keys
came with a security tag that
provides important key cut
information. Keep the tag in a safe
place for future reference.
Replacing the Battery
Note:Refer to local regulations when disposing of transmitter batteries.
Note:Do not wipe off any grease on the battery terminals or on the
back surface of the circuit board.
Note:Replacing the battery will not delete the transmitter from your
vehicle. The transmitter should operate normally.
The remote control uses one coin-type three-volt lithium battery CR2032
or equivalent.
56Keys and Remote Control
2015 Expedition(exd)
Owners Guide gf, 1st Printing, July 2014
USA(fus)
Page 58 of 564
Integrated Keyhead Transmitter
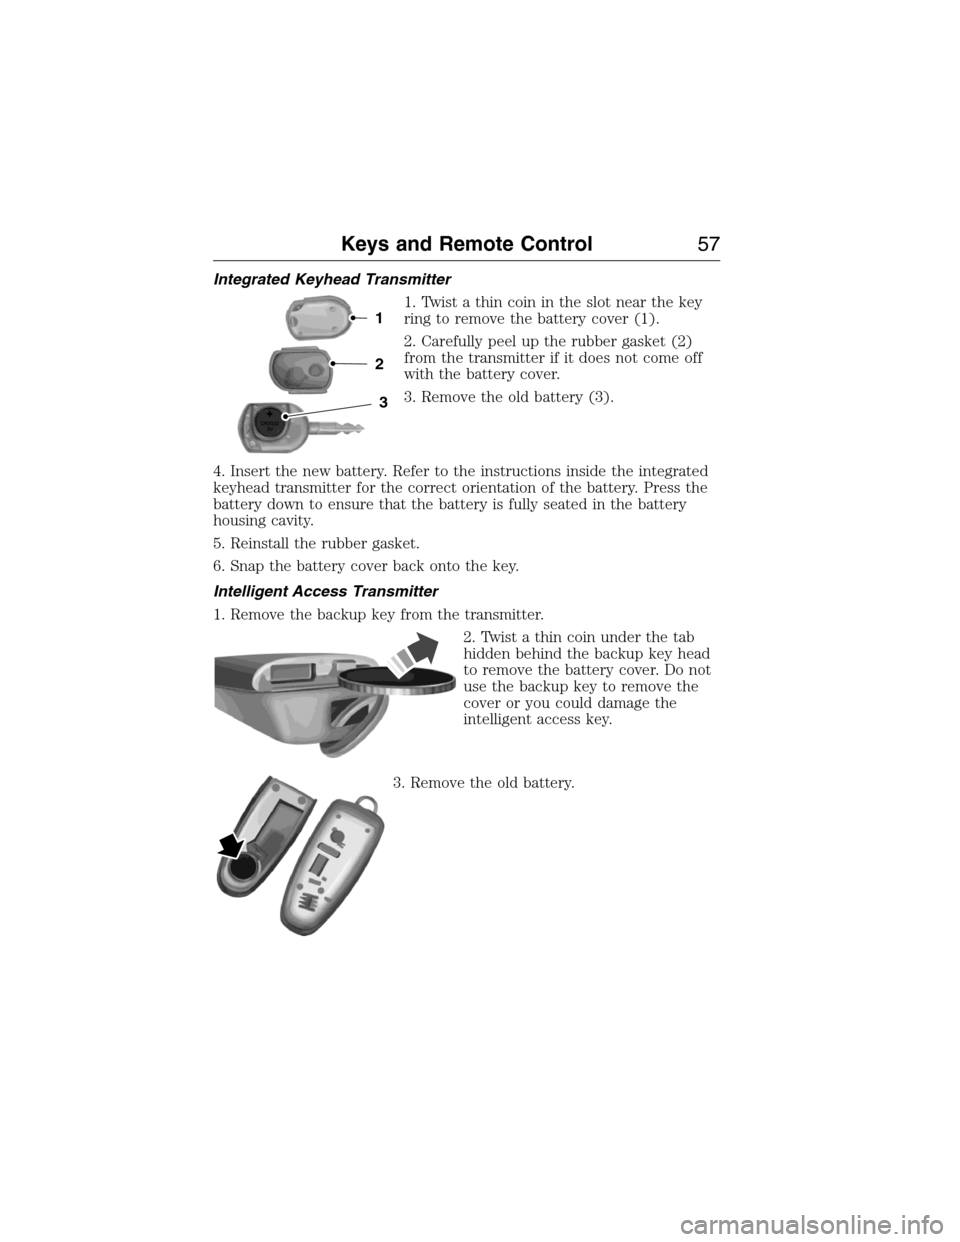
1. Twist a thin coin in the slot near the key
ring to remove the battery cover (1).
2. Carefully peel up the rubber gasket (2)
from the transmitter if it does not come off
with the battery cover.
3. Remove the old battery (3).
4. Insert the new battery. Refer to the instructions inside the integrated
keyhead transmitter for the correct orientation of the battery. Press the
battery down to ensure that the battery is fully seated in the battery
housing cavity.
5. Reinstall the rubber gasket.
6. Snap the battery cover back onto the key.
Intelligent Access Transmitter
1. Remove the backup key from the transmitter.
2. Twist a thin coin under the tab
hidden behind the backup key head
to remove the battery cover. Do not
use the backup key to remove the
cover or you could damage the
intelligent access key.
3. Remove the old battery.
3
2
1
Keys and Remote Control57
2015 Expedition(exd)
Owners Guide gf, 1st Printing, July 2014
USA(fus)
Page 59 of 564
4. Insert a new battery with the+facing downward. Press the battery
down to make sure it is fully in the housing.
5. Snap the battery cover back onto the transmitter and install the
backup key.
Memory Feature (If Equipped)
The memory feature allows you to recall the driver seat, power mirrors,
power adjustable pedal and power steering column (if equipped) memory
positions.
Press the unlock button on the remote control or activate intelligent
access to recall memory. The mirrors and pedals will move to the
memory position and the seat and steering column will move to the easy
entry position (if you have switched on the easy entry feature). The seat
and column will move to the final position when you switch on the
ignition.
Programming Memory to the Remote Control
1. Turn the ignition on.
2. Move the memory features to the
desired positions using the
associated controls.
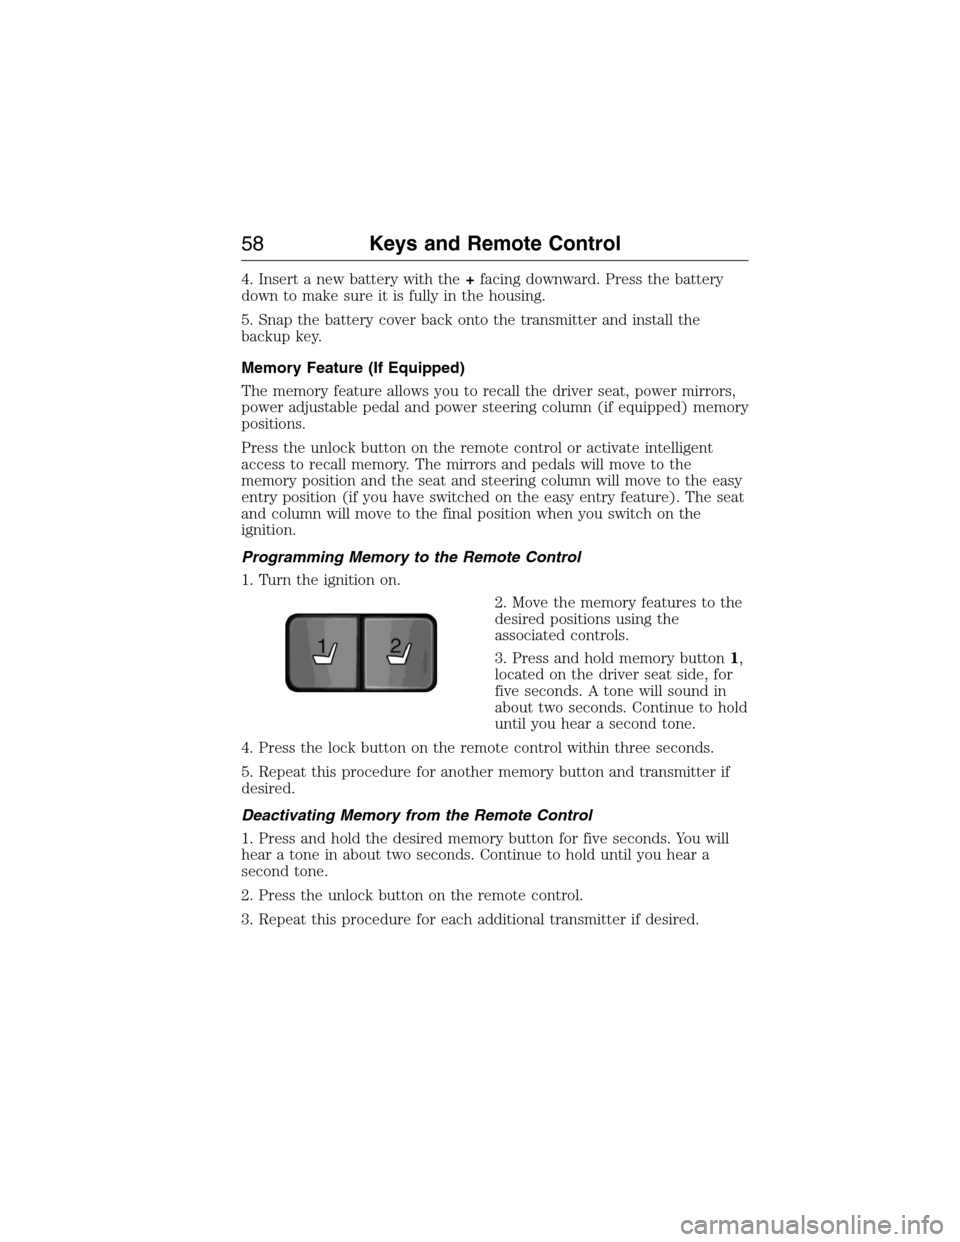
3. Press and hold memory button1,
located on the driver seat side, for
five seconds. A tone will sound in
about two seconds. Continue to hold
until you hear a second tone.
4. Press the lock button on the remote control within three seconds.
5. Repeat this procedure for another memory button and transmitter if
desired.
Deactivating Memory from the Remote Control
1. Press and hold the desired memory button for five seconds. You will
hear a tone in about two seconds. Continue to hold until you hear a
second tone.
2. Press the unlock button on the remote control.
3. Repeat this procedure for each additional transmitter if desired.
21
58Keys and Remote Control
2015 Expedition(exd)
Owners Guide gf, 1st Printing, July 2014
USA(fus)
Page 60 of 564
Car Finder
Press the button twice within three seconds. The horn will sound
and the turn signals will flash. We recommend you use this
method to locate your vehicle, rather than using the panic alarm.
Sounding a Panic Alarm
Press the button to activate the alarm. Press the button again
or switch the ignition on to deactivate.
Note:The panic alarm will only operate when the ignition is off.
Remote Start (If Equipped)
WARNING:To avoid exhaust fumes, do not use remote start if
your vehicle is parked indoors or areas that are not well
ventilated.
Note:Do not use remote start if your vehicle is low on fuel.
The remote start button is on the transmitter.
This feature allows you to start your vehicle from outside your vehicle.
The transmitter has an extended operating range.
Vehicles with automatic climate control can be configured to operate
when the vehicle is remote started. See theClimate Controlchapter for
more information. A manual climate control system will run at the setting
it was set to when your vehicle was last turned off.
Many states and provinces have restrictions for the use of remote start.
Check your local and state or provincial laws for specific requirements
regarding remote start systems.
The remote start system will not work if:
•the ignition is on
•the alarm system is triggered
•you disable the feature
•the hood is open
•the transmission is not inP
•the vehicle battery voltage is too low
•the service engine soon light is on.
Keys and Remote Control59
2015 Expedition(exd)
Owners Guide gf, 1st Printing, July 2014
USA(fus)
Page 73 of 564
Illuminated Entry
The interior lamps and select exterior lamps illuminate when you use the
integrated keyhead transmitter, intelligent access key or the keyless
entry keypad to unlock the vehicle.
The system will turn off the lights if:
•you switch the ignition on
•you press the lock button on the remote control
•you lock your vehicle using the keyless entry keypad
•after 25 seconds of illumination.
The lights will not turn off if:
•you turn them on with the dimmer control
•any door is open.
Illuminated Exit
The interior lamps and select exterior lamps illuminate when all doors
are closed and you switch the ignition off and remove the key from the
ignition (integrated keyhead transmitter only).
The lamps turn off if all the doors remain closed and:
•25 seconds elapse
•you insert the key in the ignition (integrated keyhead transmitter
only)
•you press theSTART/STOPbutton (intelligent access key only).
Battery Saver
If you leave the courtesy lamps, dome lamps or headlamps on, the
battery saver shuts them off 10 minutes after you switch the ignition off.
Accessory Mode Battery Saver for Intelligent Access Keys
(If Equipped)
If you leave your vehicle in the run ignition state, it will shut off once it
detects a certain amount of battery drain or after 45 minutes.
72Locks
2015 Expedition(exd)
Owners Guide gf, 1st Printing, July 2014
USA(fus)
Page 75 of 564
Power Liftgate (If Equipped)
WARNING:Make sure all persons are clear of the power liftgate
area before using the power liftgate control.
WARNING:Keep keys out of the reach of children. Do not allow
children to operate the power liftgate, or to play near an open or
moving power liftgate.
Note:Cycling the ignition while the liftgate is power closing and is near
the latch may cause the liftgate to reverse to full open position. Make
sure you close the liftgate before operating or moving the vehicle,
especially in an enclosure, such as a garage or a parking structure. You
could damage the liftgate or its components.
Note:Do not drive with the liftgate open without first disabling the
power function and securing the liftgate to the vehicle.
Note:In case of operation in extreme cold -40°F (-40°C), or on extreme
inclines, manual operation of the liftgate is suggested.
You can enable or disable the power liftgate using the information
display. The remote control and instrument panel button still operates
the liftgate regardless of the setting.
Opening and Closing the Power Liftgate
Note:You can reverse the liftgate movement direction with a second
press of the instrument panel button or the button on the liftgate, or a
second double press of the transmitter button.
The liftgate only operates with the vehicle inP.
Three tones sound as the liftgate begins to power close. A single tone
indicates a problem with the close request, caused by any of the
following:
•The ignition is on and the transmission is not inP.
•The battery voltage is below the minimum operating voltage
•The vehicle speed is at or above 3 mph (5 km/h)
74Locks
2015 Expedition(exd)
Owners Guide gf, 1st Printing, July 2014
USA(fus)
Page 97 of 564
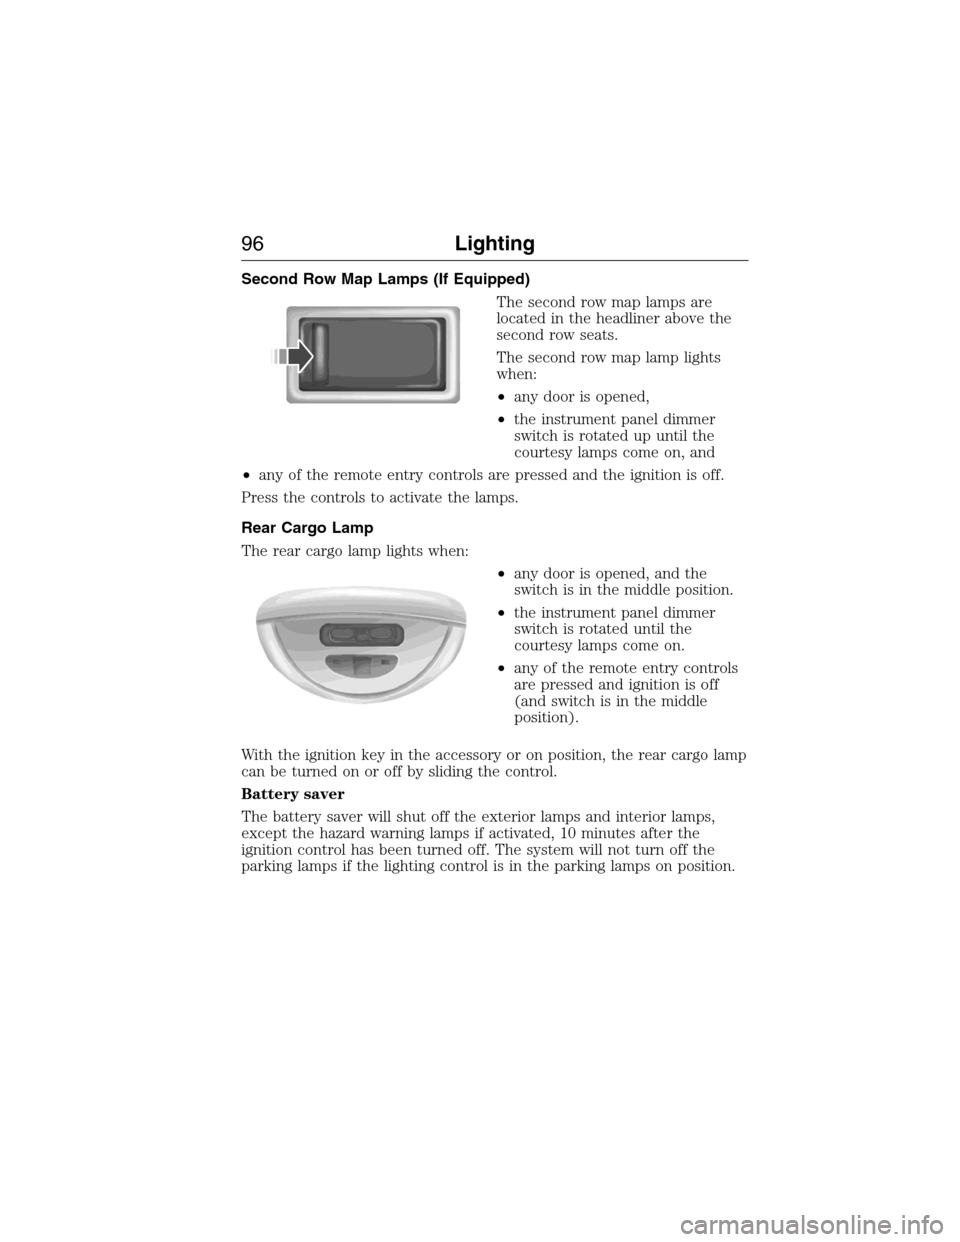
Second Row Map Lamps (If Equipped)
The second row map lamps are
located in the headliner above the
second row seats.
The second row map lamp lights
when:
•any door is opened,
•the instrument panel dimmer
switch is rotated up until the
courtesy lamps come on, and
•any of the remote entry controls are pressed and the ignition is off.
Press the controls to activate the lamps.
Rear Cargo Lamp
The rear cargo lamp lights when:
•any door is opened, and the
switch is in the middle position.
•the instrument panel dimmer
switch is rotated until the
courtesy lamps come on.
•any of the remote entry controls
are pressed and ignition is off
(and switch is in the middle
position).
With the ignition key in the accessory or on position, the rear cargo lamp
can be turned on or off by sliding the control.
Battery saver
The battery saver will shut off the exterior lamps and interior lamps,
except the hazard warning lamps if activated, 10 minutes after the
ignition control has been turned off. The system will not turn off the
parking lamps if the lighting control is in the parking lamps on position.
96Lighting
2015 Expedition(exd)
Owners Guide gf, 1st Printing, July 2014
USA(fus)
Page 168 of 564
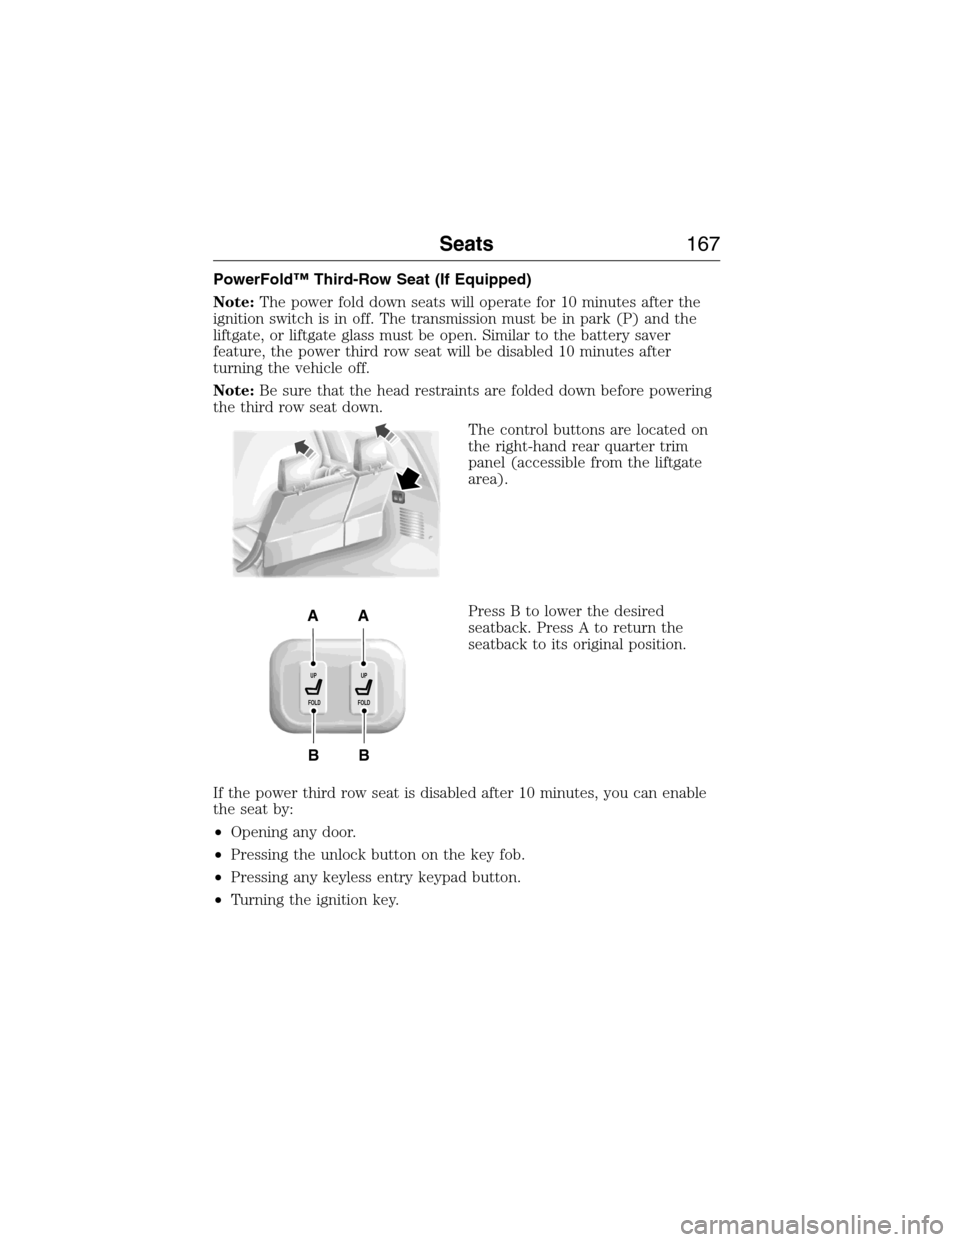
PowerFold™ Third-Row Seat (If Equipped)
Note:The power fold down seats will operate for 10 minutes after the
ignition switch is in off. The transmission must be in park (P) and the
liftgate, or liftgate glass must be open. Similar to the battery saver
feature, the power third row seat will be disabled 10 minutes after
turning the vehicle off.
Note:Be sure that the head restraints are folded down before powering
the third row seat down.
The control buttons are located on
the right-hand rear quarter trim
panel (accessible from the liftgate
area).
Press B to lower the desired
seatback. Press A to return the
seatback to its original position.
If the power third row seat is disabled after 10 minutes, you can enable
the seat by:
•Opening any door.
•Pressing the unlock button on the key fob.
•Pressing any keyless entry keypad button.
•Turning the ignition key.
B
AA
B
UP
FOLDUP
FOLD
Seats167
2015 Expedition(exd)
Owners Guide gf, 1st Printing, July 2014
USA(fus)
Page 170 of 564
Programming
Note:Put a new battery in the hand-held transmitter. This will ensure
quicker training and accurate transmission of the radio-frequency signal.
1. With your vehicle parked outside of the garage and your key in the
ignition, turn the key so that the ignition is in the on position.
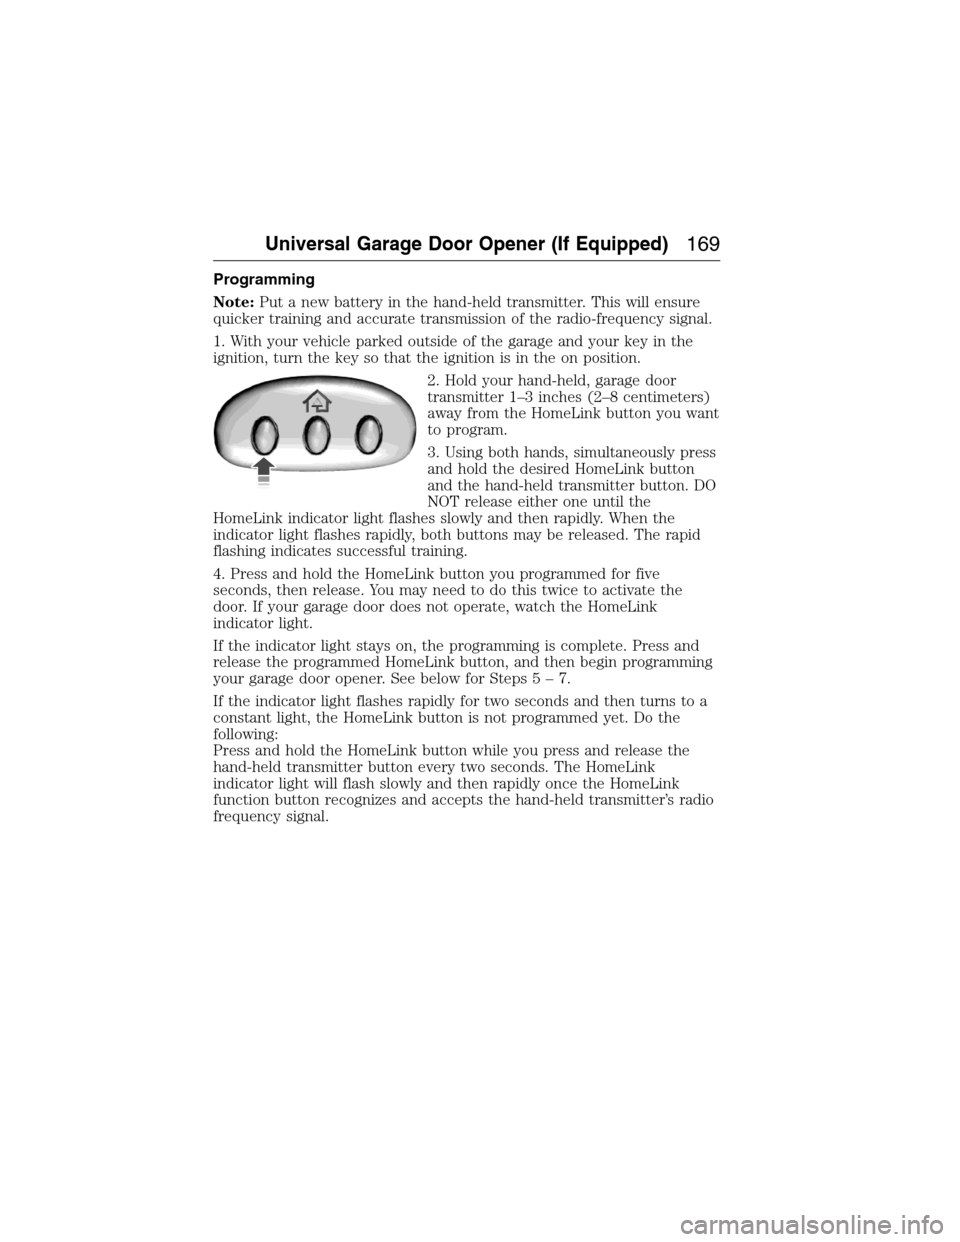
2. Hold your hand-held, garage door
transmitter 1–3 inches (2–8 centimeters)
away from the HomeLink button you want
to program.
3. Using both hands, simultaneously press
and hold the desired HomeLink button
and the hand-held transmitter button. DO
NOT release either one until the
HomeLink indicator light flashes slowly and then rapidly. When the
indicator light flashes rapidly, both buttons may be released. The rapid
flashing indicates successful training.
4. Press and hold the HomeLink button you programmed for five
seconds, then release. You may need to do this twice to activate the
door. If your garage door does not operate, watch the HomeLink
indicator light.
If the indicator light stays on, the programming is complete. Press and
release the programmed HomeLink button, and then begin programming
your garage door opener. See below for Steps5–7.
If the indicator light flashes rapidly for two seconds and then turns to a
constant light, the HomeLink button is not programmed yet. Do the
following:
Press and hold the HomeLink button while you press and release the
hand-held transmitter button every two seconds. The HomeLink
indicator light will flash slowly and then rapidly once the HomeLink
function button recognizes and accepts the hand-held transmitter’s radio
frequency signal.
Universal Garage Door Opener (If Equipped)169
2015 Expedition(exd)
Owners Guide gf, 1st Printing, July 2014
USA(fus)