warning lights FORD EXPEDITION 2015 3.G Owners Manual
[x] Cancel search | Manufacturer: FORD, Model Year: 2015, Model line: EXPEDITION, Model: FORD EXPEDITION 2015 3.GPages: 564, PDF Size: 6.71 MB
Page 47 of 564
•Front crash severity sensors.
•Restraints control module with impact and safing sensors.
•Restraint system warning light and backup tone.
•The electrical wiring for the airbags, crash sensor(s), safety belt
pretensioners, front safety belt usage sensors, driver seat position
sensor, and indicator lights.
How does the Restraint Safety System work?
The Restraint Safety System can adapt the deployment strategy of your
vehicle’s safety devices according to crash severity and occupant
conditions. A collection of crash and occupant sensors provides
information to the restraints control module. During a crash, the
restraints control module may activate the safety belt pretensioners
and/or either one or both stages of the dual-stage airbag supplemental
restraints based on crash severity and occupant conditions.
SOS POST-CRASH ALERT SYSTEM™
The system flashes the direction indicator lamps and the horn sounds
(intermittently) in the event of a serious impact that deploys an airbag
equipped on your vehicle.
The horn and lamps turn off when:
•You press the hazard button.
•You press the panic button (if equipped) on the remote entry
transmitter.
•Your vehicle runs out of power.
46Supplementary Restraints System
2015 Expedition(exd)
Owners Guide gf, 1st Printing, July 2014
USA(fus)
Page 95 of 564
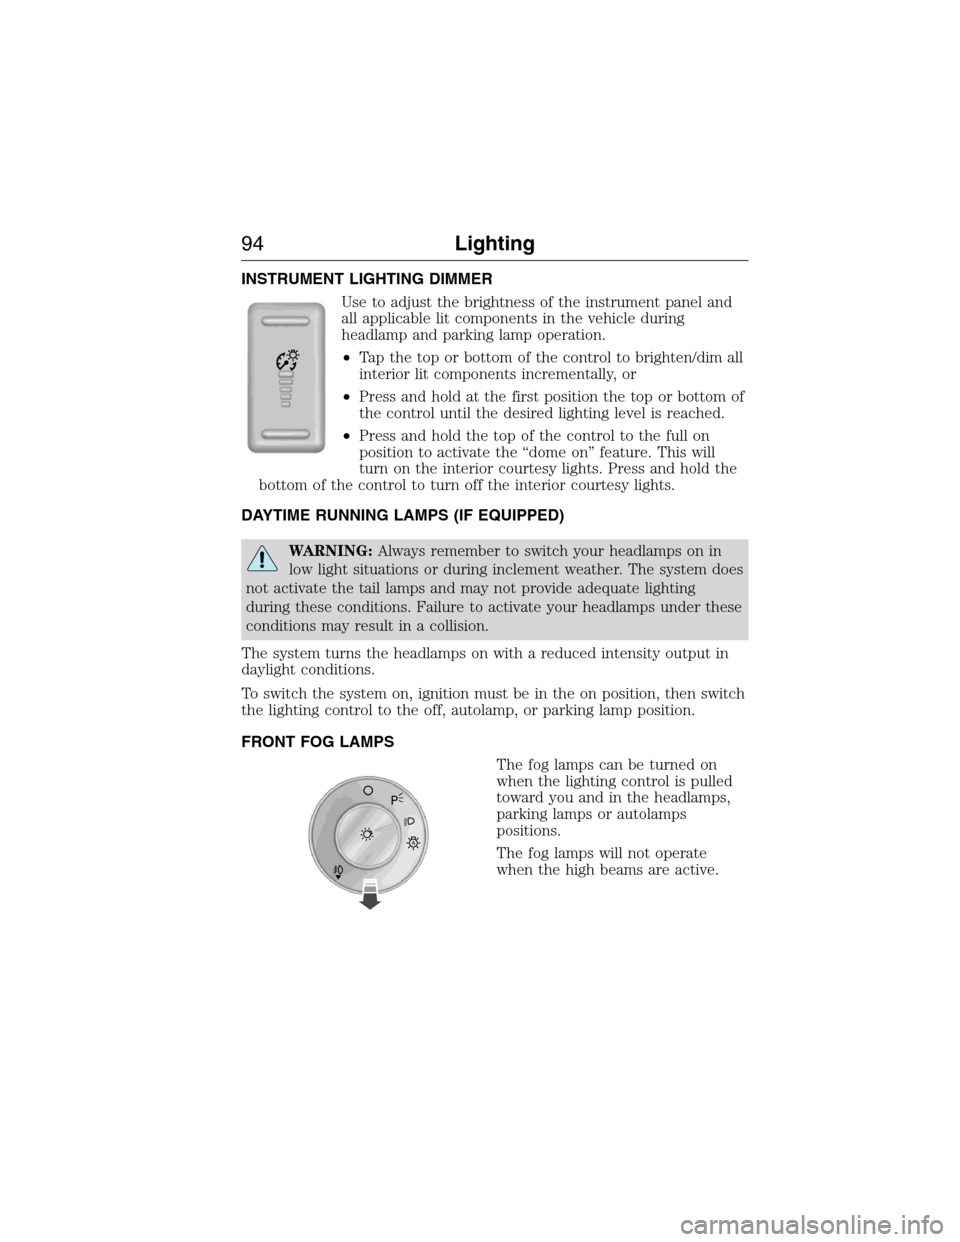
INSTRUMENT LIGHTING DIMMER
Use to adjust the brightness of the instrument panel and
all applicable lit components in the vehicle during
headlamp and parking lamp operation.
•Tap the top or bottom of the control to brighten/dim all
interior lit components incrementally, or
•Press and hold at the first position the top or bottom of
the control until the desired lighting level is reached.
•Press and hold the top of the control to the full on
position to activate the “dome on” feature. This will
turn on the interior courtesy lights. Press and hold the
bottom of the control to turn off the interior courtesy lights.
DAYTIME RUNNING LAMPS (IF EQUIPPED)
WARNING:Always remember to switch your headlamps on in
low light situations or during inclement weather. The system does
not activate the tail lamps and may not provide adequate lighting
during these conditions. Failure to activate your headlamps under these
conditions may result in a collision.
The system turns the headlamps on with a reduced intensity output in
daylight conditions.
To switch the system on, ignition must be in the on position, then switch
the lighting control to the off, autolamp, or parking lamp position.
FRONT FOG LAMPS
The fog lamps can be turned on
when the lighting control is pulled
toward you and in the headlamps,
parking lamps or autolamps
positions.
The fog lamps will not operate
when the high beams are active.
A
94Lighting
2015 Expedition(exd)
Owners Guide gf, 1st Printing, July 2014
USA(fus)
Page 97 of 564
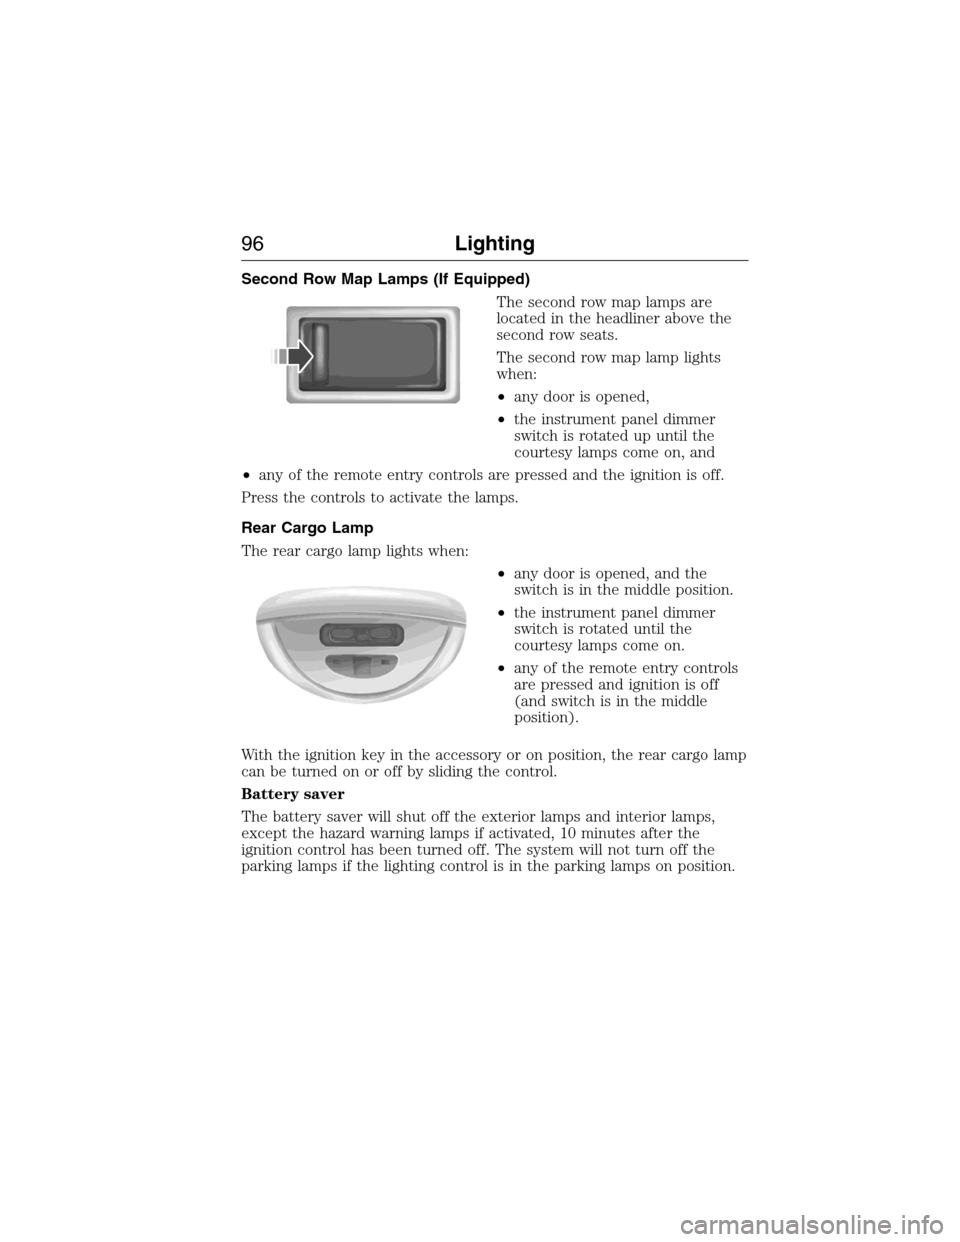
Second Row Map Lamps (If Equipped)
The second row map lamps are
located in the headliner above the
second row seats.
The second row map lamp lights
when:
•any door is opened,
•the instrument panel dimmer
switch is rotated up until the
courtesy lamps come on, and
•any of the remote entry controls are pressed and the ignition is off.
Press the controls to activate the lamps.
Rear Cargo Lamp
The rear cargo lamp lights when:
•any door is opened, and the
switch is in the middle position.
•the instrument panel dimmer
switch is rotated until the
courtesy lamps come on.
•any of the remote entry controls
are pressed and ignition is off
(and switch is in the middle
position).
With the ignition key in the accessory or on position, the rear cargo lamp
can be turned on or off by sliding the control.
Battery saver
The battery saver will shut off the exterior lamps and interior lamps,
except the hazard warning lamps if activated, 10 minutes after the
ignition control has been turned off. The system will not turn off the
parking lamps if the lighting control is in the parking lamps on position.
96Lighting
2015 Expedition(exd)
Owners Guide gf, 1st Printing, July 2014
USA(fus)
Page 101 of 564
Auto-Dimming Feature (If Equipped)
The driver’s side exterior mirror will automatically dim when the interior
auto-dimming mirror is activated.
Signal Indicator Mirrors (If Equipped)
The rear-facing portion of the appropriate mirror housing will blink when
the turn signal is activated.
Blind Spot Information System (BLIS®) with Cross Traffic Alert
(CTA) (If Equipped)
Refer toBlind Spot Information System (BLIS®) with Cross Traffic
Alert (CTA)in theDriving Aidschapter.
INTERIOR MIRROR
WARNING:Do not adjust the mirror when your vehicle is
moving.
Note:Do not clean the housing or glass of any mirror with harsh
abrasives, fuel or other petroleum or ammonia based cleaning products.
You can adjust the interior mirror to your preference. Some mirrors also
have a second pivot point. This lets you move the mirror head up or
down and from side to side.
Auto-Dimming Mirror
Note:Do not block the sensors on the front and back of the mirror.
Mirror performance may be affected. A rear center passenger or raised
rear center head restraint may also block light from reaching the sensor.
The mirror will dim automatically to reduce glare when bright lights are
detected from behind your vehicle. It will automatically return to normal
reflection when you select reverse gear to make sure you have a clear
view when backing up.
100Windows and Mirrors
2015 Expedition(exd)
Owners Guide gf, 1st Printing, July 2014
USA(fus)
Page 157 of 564
Easy Entry and Exit Feature (If Equipped)
The Easy Entry and Exit feature adjusts the position of the seat and
steering column to allow easier exit and entry to the vehicle.
The driver seat automatically moves 2 inches (5 centimeters) rearward
when the transmission is in park (P) and you remove the key from the
ignition or you switch the ignition off.
The driver seat returns to the previous position when you put the key in
the ignition or switch the ignition on.
Enable or disable this feature through the information display. See the
Information Displayschapter.
Climate Controlled Seats (If Equipped)
Heated Seats
WARNING:Persons who are unable to feel pain to the skin
because of advanced age, chronic illness, diabetes, spinal cord
injury, medication, alcohol use, exhaustion, or other physical conditions,
must exercise care when using the seat heater. The seat heater may
cause burns even at low temperatures, especially if used for long
periods of time. Do not place anything on the seat that insulates against
heat, such as a blanket or cushion, because this may cause the seat
heater to overheat. Do not puncture the seat with pins, needles, or
other pointed objects because this may damage the heating element
which may cause the seat heater to overheat. An overheated seat may
cause serious personal injury.
Note:Do not do the following:
•Place heavy objects on the seat.
•Operate the seat heater if water or any other liquid is spilled on the
seat. Allow the seat to dry thoroughly.
The heated seats will only function when the engine is running.
To operate the heated seats:
Press the heated seat symbol to cycle through the various
heat settings and off. Warmer settings are indicated by
more indicator lights.
156Seats
2015 Expedition(exd)
Owners Guide gf, 1st Printing, July 2014
USA(fus)
Page 166 of 564
Rear Heated Seats (If Equipped)
WARNING:Persons who are unable to feel pain to the skin
because of advanced age, chronic illness, diabetes, spinal cord
injury, medication, alcohol use, exhaustion, or other physical conditions,
must exercise care when using the seat heater. The seat heater may
cause burns even at low temperatures, especially if used for long
periods of time. Do not place anything on the seat that insulates against
heat, such as a blanket or cushion, because this may cause the seat
heater to overheat. Do not puncture the seat with pins, needles, or
other pointed objects because this may damage the heating element
which may cause the seat heater to overheat. An overheated seat may
cause serious personal injury.
Note:Do not do the following:
•Place heavy objects on the seat
•Operate the seat heater if water or any other liquid is spilled on the
seat. Allow the seat to dry thoroughly.
The rear seat heat controls are located on the rear of the center console.
The heated seats only operate when the ignition is on. To operate the
heated seats:
Press the heated seat button to cycle through the various
heat settings and off. Warmer settings are indicated by
more indicator lights.
Third Row Seats
Make sure that no objects are on the floor in front of the third row seats
or on the seat cushion before lowering them. Make sure that the head
restraints are lowered and the second row seats are not reclined.
Seats165
2015 Expedition(exd)
Owners Guide gf, 1st Printing, July 2014
USA(fus)
Page 204 of 564
USING FOUR-WHEEL DRIVE (4WD) (IF EQUIPPED )
WARNING:For important information regarding safe operation
of this type of vehicle, seeGeneral Informationin theWheels
and Tireschapter.
Note:Do not use 4X4 mode on dry, hard surfaced roads. Doing so will
produce excessive noise, increase tire wear and may damage drive
components. 4X4 mode is only intended for consistently slippery or loose
surfaces.
Note:If 4X4 low is selected while the vehicle is moving above 3 mph
(5 km/h), the 4WD system will not perform a shift. This is normal and
should be no reason for concern. Refer toShifting to/from 4L (4X4
Low)for proper operation.
4WD Indicator Lights
The indicator lights illuminate in the message center in the
reconfigurable telltale (RTT) location under the following conditions.
Refer toWarning Lamps and Indicatorsin theInstrument Cluster
chapter.
Note:When a 4X4 system fault is present, the system will typically
remain in whichever 4X4 mode was selected prior to the fault condition
occurring. It will not default to 4X2 in all circumstances. When this
warning is displayed, have your vehicle serviced by an authorized dealer.
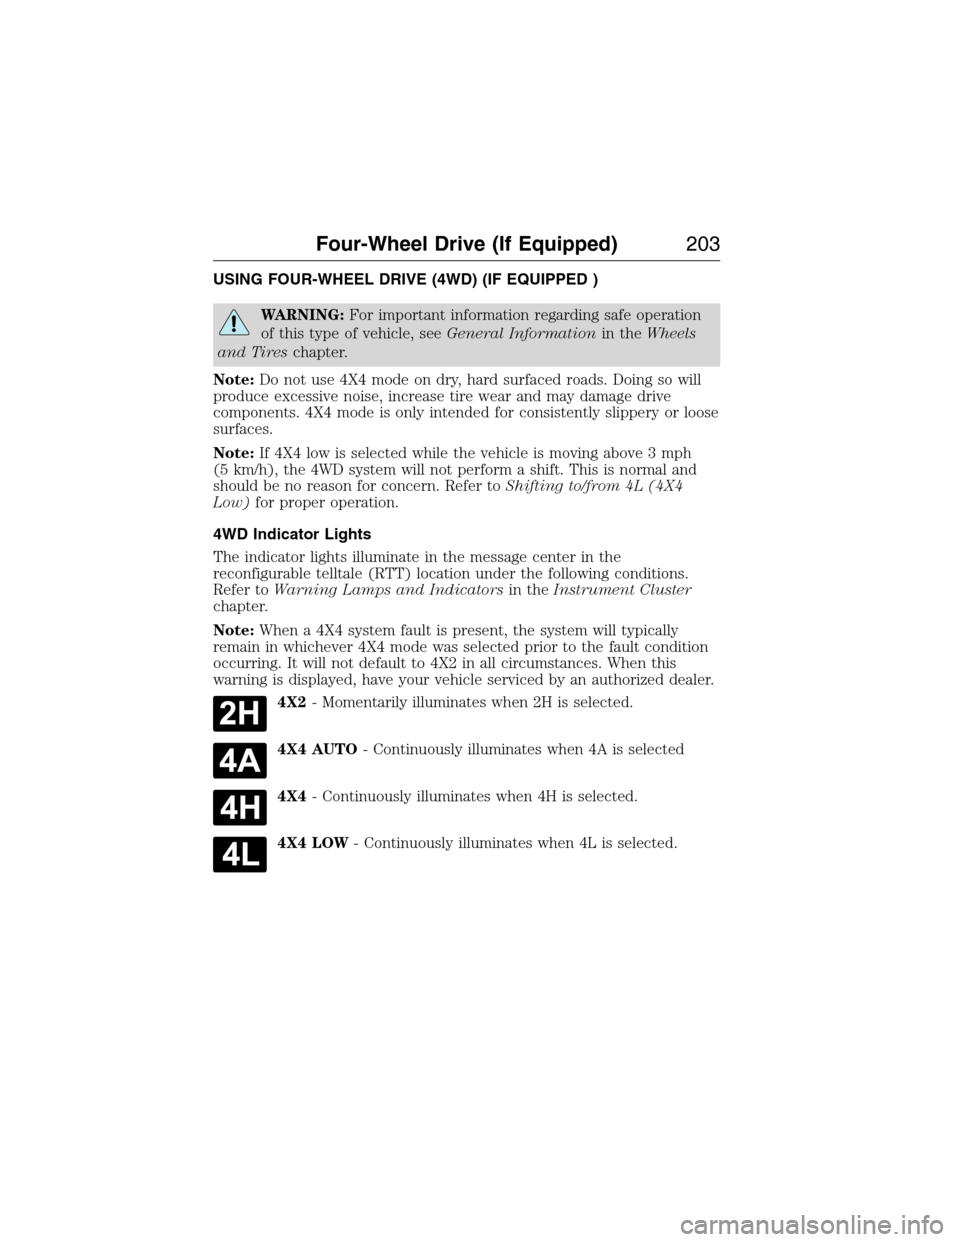
4X2- Momentarily illuminates when 2H is selected.
4X4 AUTO- Continuously illuminates when 4A is selected
4X4- Continuously illuminates when 4H is selected.
4X4 LOW- Continuously illuminates when 4L is selected.
Four-Wheel Drive (If Equipped)203
2015 Expedition(exd)
Owners Guide gf, 1st Printing, July 2014
USA(fus)
Page 216 of 564
PRINCIPLES OF OPERATION
The traction control system helps avoid drive wheel spin and loss of
traction.
If your vehicle begins to slide, the system applies the brakes to individual
wheels and, when needed, reduces engine power at the same time. If the
wheels spin when accelerating on slippery or loose surfaces, the system
reduces engine power in order to increase traction.
USING TRACTION CONTROL
In certain situations (for example, stuck in snow or mud), turning the
traction control off may be beneficial as this allows the wheels to spin
with full engine power.
Turn the traction control system off by pressing the
stability control button located on the center of the
instrument panel.
System indicator lights and messages
WARNING:If a failure has been detected within the traction
control system, the stability control light will illuminate steadily.
Verify that the traction control system was not manually disabled using
the stability control button. If the stability control light still illuminates
steadily, have the system serviced by an authorized dealer immediately.
Operating your vehicle with traction control disabled could lead to an
increased risk of loss of vehicle control, vehicle rollover, personal injury
and death.
The stability control light temporarily illuminates on engine
start-up and flashes when a driving condition activates the
stability system.
The stability control off light temporarily illuminates on engine
start-up and stays on when the traction control system is
turned off or if a problem occurs in the stability system.
Traction Control215
2015 Expedition(exd)
Owners Guide gf, 1st Printing, July 2014
USA(fus)
Page 260 of 564
Trailer Lamps
WARNING:Never connect any trailer lamp wiring to the
vehicle’s tail lamp wiring; this may damage the electrical system
resulting in a fire. Contact an authorized dealer as soon as possible for
assistance in proper trailer tow wiring installation. Additional electrical
equipment may be required.
Trailer lamps are required on most towed vehicles. Make sure all running
lights, brake lights, turn signals and hazard lights are working.
Before Towing a Trailer
Practice turning, stopping and backing up to get the feel of your
vehicle-trailer combination before starting on a trip. When turning, make
wider turns so the trailer wheels clear curbs and other obstacles.
When Towing a Trailer
•Do not drive faster than 70 mph (113 km/h) during the first 500 miles
(800 kilometers).
•Do not make full-throttle starts.
•Check your hitch, electrical connections and trailer wheel lug nuts
thoroughly after you have traveled 50 miles (80 kilometers).
•When stopped in congested or heavy traffic during hot weather, place
the gearshift in positionPto aid engine and transmission cooling and
to help air conditioning performance.
•Turn off the speed control with heavy loads or in hilly terrain. The
speed control may turn off automatically when you are towing on
long, steep grades.
•Shift to a lower gear when driving down a long or steep hill. Do not
apply the brakes continuously, as they may overheat and become less
effective.
•If your transmission is equipped with a Grade Assist or Tow/Haul
feature, use this feature when towing. This provides engine braking
and helps eliminate excessive transmission shifting for optimum fuel
economy and transmission cooling.
•If your vehicle is equipped with AdvanceTrac™ with RSC, this system
may turn on during typical cornering maneuvers with a heavily loaded
trailer. This is normal. Turning the corner at a slower speed while
towing may reduce this tendency.
Towing259
2015 Expedition(exd)
Owners Guide gf, 1st Printing, July 2014
USA(fus)
Page 267 of 564
•Add particular accessories to your vehicle (e.g.; bug deflectors,
rollbars or light bars, running boards, ski racks).
•Drive with the wheels out of alignment.
DRIVING THROUGH WATER
WARNING:Do not drive through flowing or deep water as you
may lose control of your vehicle.
Note:Driving through standing water can cause vehicle damage.
Note:Engine damage can occur if water enters the air filter.
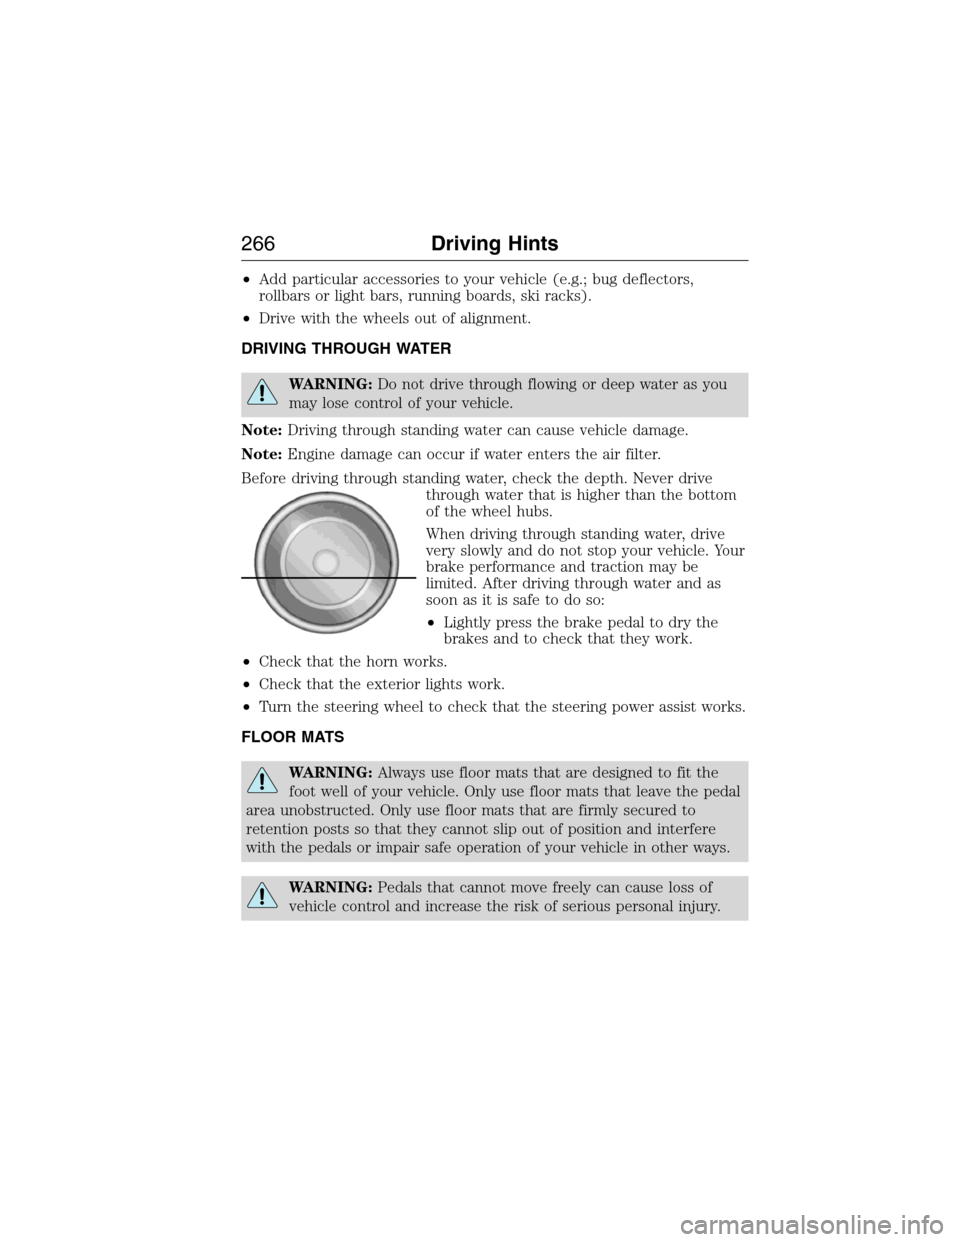
Before driving through standing water, check the depth. Never drive
through water that is higher than the bottom
of the wheel hubs.
When driving through standing water, drive
very slowly and do not stop your vehicle. Your
brake performance and traction may be
limited. After driving through water and as
soon as it is safe to do so:
•Lightly press the brake pedal to dry the
brakes and to check that they work.
•Check that the horn works.
•Check that the exterior lights work.
•Turn the steering wheel to check that the steering power assist works.
FLOOR MATS
WARNING:Always use floor mats that are designed to fit the
foot well of your vehicle. Only use floor mats that leave the pedal
area unobstructed. Only use floor mats that are firmly secured to
retention posts so that they cannot slip out of position and interfere
with the pedals or impair safe operation of your vehicle in other ways.
WARNING:Pedals that cannot move freely can cause loss of
vehicle control and increase the risk of serious personal injury.
266Driving Hints
2015 Expedition(exd)
Owners Guide gf, 1st Printing, July 2014
USA(fus)