air filter FORD EXPEDITION 2016 3.G Owners Manual
[x] Cancel search | Manufacturer: FORD, Model Year: 2016, Model line: EXPEDITION, Model: FORD EXPEDITION 2016 3.GPages: 421, PDF Size: 6.3 MB
Page 7 of 421
Economical Driving.....................................220
Driving Through Water
................................221
Floor Mats
........................................................221
Roadside Emergencies
Roadside Assistance..................................223
Hazard Warning Flashers..........................224
Fuel Shutoff
...................................................224
Jump Starting the Vehicle........................225
Customer Assistance
Getting the Services You Need...............228
In California (U.S. Only)
.............................229
The Better Business Bureau (BBB) Auto Line Program (U.S. Only).....................230
Utilizing the Mediation/Arbitration Program (Canada Only)
.......................230
Getting Assistance Outside the U.S. and Canada.........................................................231
Ordering Additional Owner's Literature.....................................................232
Reporting Safety Defects (U.S. Only).............................................................232
Reporting Safety Defects (Canada Only).............................................................233
Fuses
Fuse Specification Chart..........................234
Changing a Fuse...........................................242
Maintenance
General Information
...................................243
Opening and Closing the Hood..............243
Under Hood Overview - 3.5L Ecoboost™................................................244
Engine Oil Dipstick......................................245
Engine Oil Check
..........................................245
Oil Change Indicator Reset......................246
Engine Coolant Check................................247
Automatic Transmission Fluid Check...........................................................250 Transfer Case Fluid Check.........................251
Brake Fluid Check.........................................251
Washer Fluid Check
....................................252
Fuel Filter
........................................................252
Changing the 12V Battery.........................252
Checking the Wiper Blades.....................254
Changing the Wiper Blades.....................255
Adjusting the Headlamps.........................255
Removing a Headlamp..............................256
Changing a Bulb...........................................257
Bulb Specification Chart..........................260
Changing the Engine Air Filter.................262
Vehicle Care
General Information
...................................264
Cleaning Products
.......................................264
Cleaning the Exterior..................................264
Waxing.............................................................265
Cleaning the Engine
....................................265
Cleaning the Windows and Wiper Blades..........................................................266
Cleaning the Interior
...................................266
Cleaning the Instrument Panel and Instrument Cluster Lens........................267
Cleaning Leather Seats.............................267
Repairing Minor Paint Damage..............269
Cleaning the Alloy Wheels.......................269
Vehicle Storage
............................................269
Wheels and Tires
General Information
....................................272
Tire Care..........................................................275
Using Snow Chains....................................290
Tire Pressure Monitoring System..........290
Changing a Road Wheel...........................296
Technical Specifications
............................301
Capacities and Specific- ations
Engine Specifications
................................303
4
Expedition (TB7) Canada/United States of America, enUSA, First Printing Table of Contents
Page 11 of 421
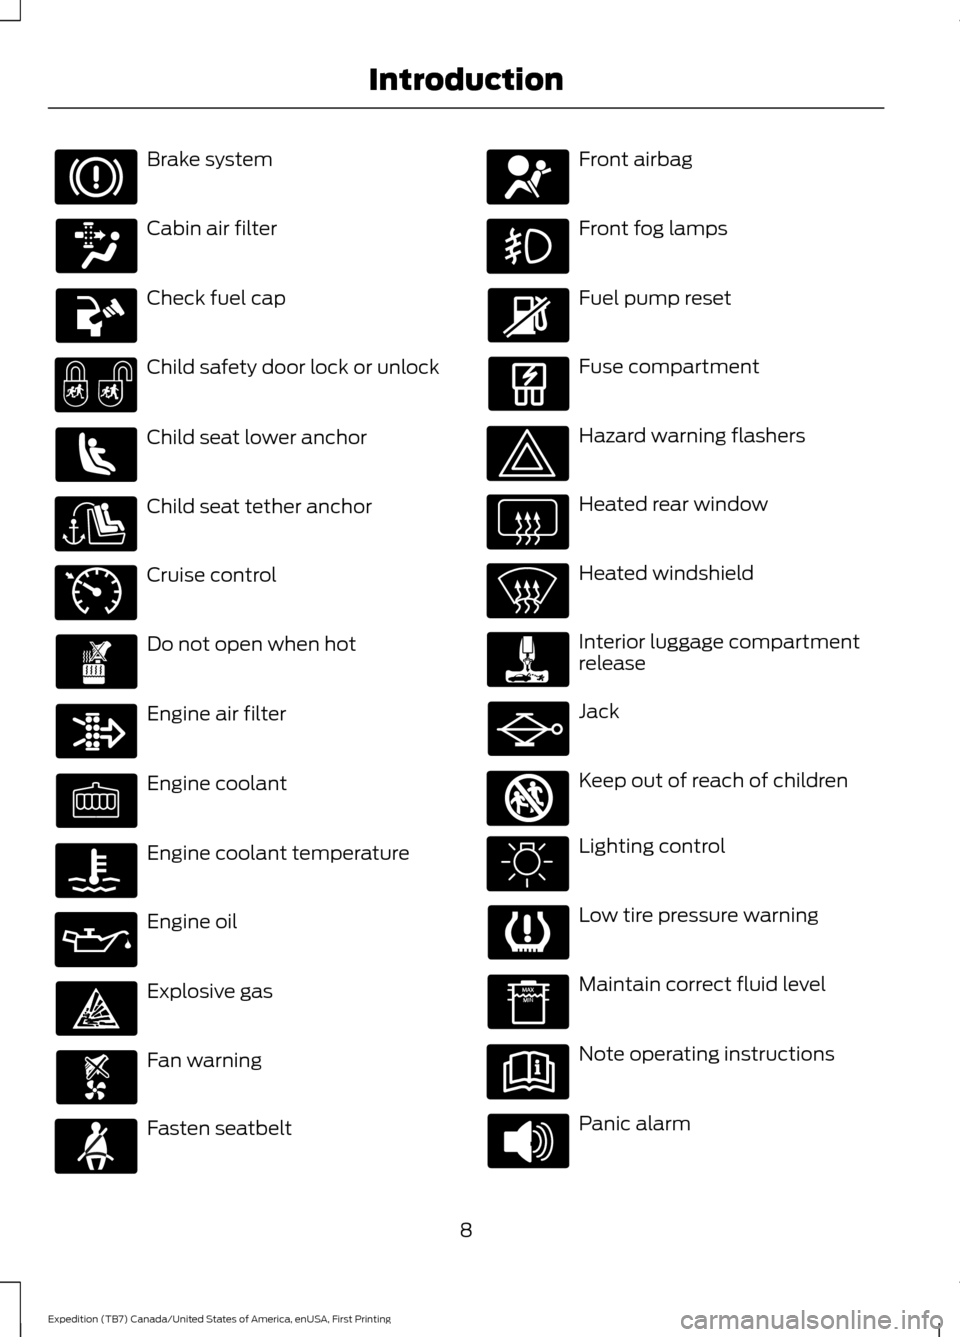
Brake system
Cabin air filter
Check fuel cap
Child safety door lock or unlock
Child seat lower anchor
Child seat tether anchor
Cruise control
Do not open when hot
Engine air filter
Engine coolant
Engine coolant temperature
Engine oil
Explosive gas
Fan warning
Fasten seatbelt Front airbag
Front fog lamps
Fuel pump reset
Fuse compartment
Hazard warning flashers
Heated rear window
Heated windshield
Interior luggage compartment
release
Jack
Keep out of reach of children
Lighting control
Low tire pressure warning
Maintain correct fluid level
Note operating instructions
Panic alarm
8
Expedition (TB7) Canada/United States of America, enUSA, First Printing Introduction E71340 E161353
Page 138 of 421
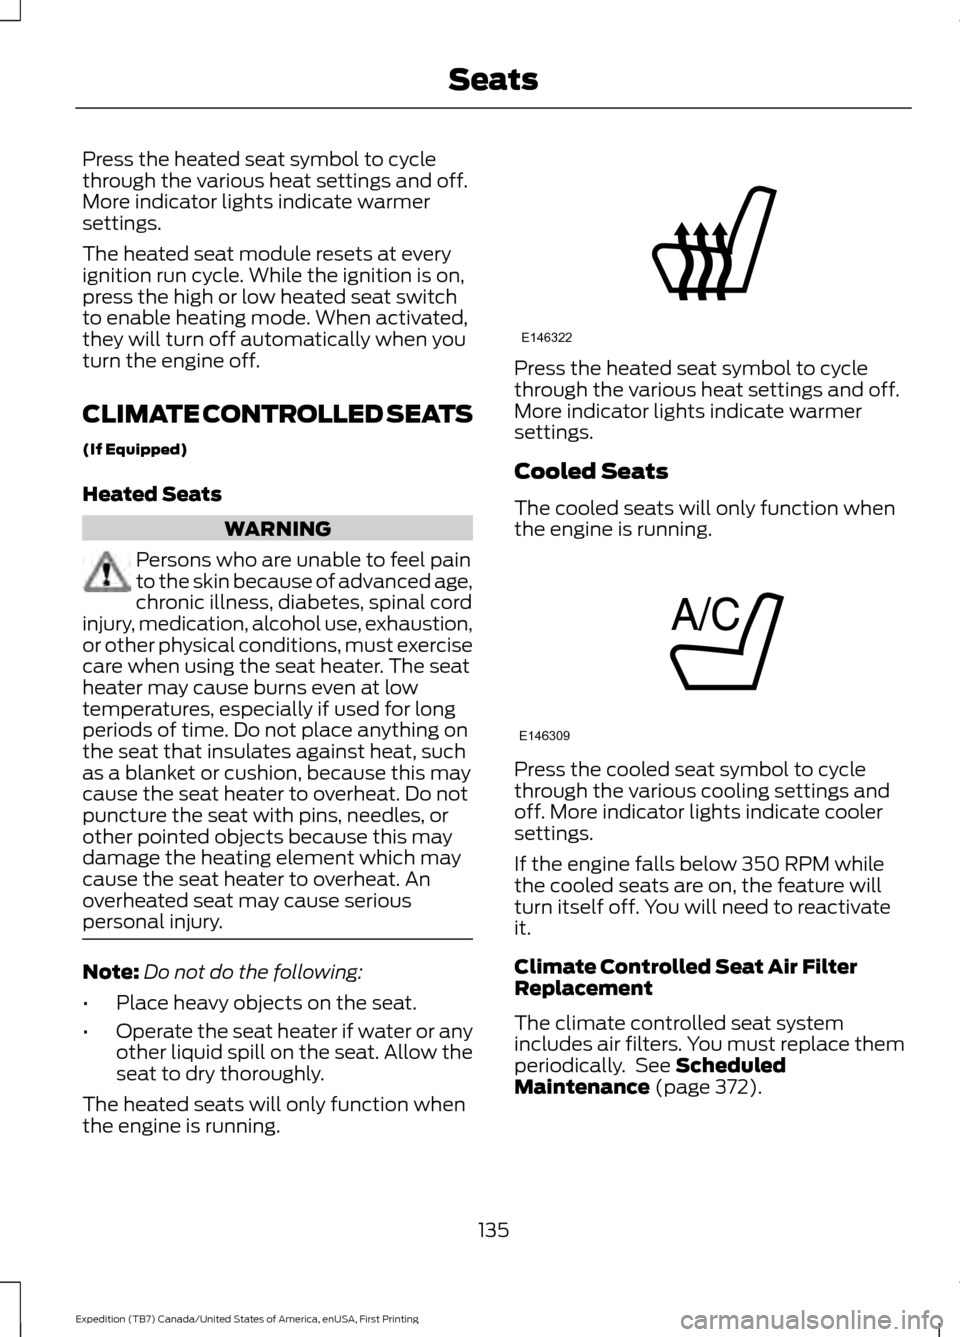
Press the heated seat symbol to cycle
through the various heat settings and off.
More indicator lights indicate warmer
settings.
The heated seat module resets at every
ignition run cycle. While the ignition is on,
press the high or low heated seat switch
to enable heating mode. When activated,
they will turn off automatically when you
turn the engine off.
CLIMATE CONTROLLED SEATS
(If Equipped)
Heated Seats
WARNING
Persons who are unable to feel pain
to the skin because of advanced age,
chronic illness, diabetes, spinal cord
injury, medication, alcohol use, exhaustion,
or other physical conditions, must exercise
care when using the seat heater. The seat
heater may cause burns even at low
temperatures, especially if used for long
periods of time. Do not place anything on
the seat that insulates against heat, such
as a blanket or cushion, because this may
cause the seat heater to overheat. Do not
puncture the seat with pins, needles, or
other pointed objects because this may
damage the heating element which may
cause the seat heater to overheat. An
overheated seat may cause serious
personal injury. Note:
Do not do the following:
• Place heavy objects on the seat.
• Operate the seat heater if water or any
other liquid spill on the seat. Allow the
seat to dry thoroughly.
The heated seats will only function when
the engine is running. Press the heated seat symbol to cycle
through the various heat settings and off.
More indicator lights indicate warmer
settings.
Cooled Seats
The cooled seats will only function when
the engine is running.
Press the cooled seat symbol to cycle
through the various cooling settings and
off. More indicator lights indicate cooler
settings.
If the engine falls below 350 RPM while
the cooled seats are on, the feature will
turn itself off. You will need to reactivate
it.
Climate Controlled Seat Air Filter
Replacement
The climate controlled seat system
includes air filters. You must replace them
periodically. See Scheduled
Maintenance (page 372).
135
Expedition (TB7) Canada/United States of America, enUSA, First Printing SeatsE146322 E146309
Page 224 of 421
•
Avoid using speed control in hilly
terrain.
• Do not rest your foot on the brake
pedal while driving.
• Avoid carrying unnecessary weight.
• Avoid adding particular accessories to
your vehicle (e.g. bug deflectors,
rollbars/light bars, running boards, ski
racks).
• Avoid driving with the wheels out of
alignment.
DRIVING THROUGH WATER WARNING
Do not drive through flowing or deep
water as you may lose control of your
vehicle.
Note:
Driving through standing water can
cause vehicle damage.
Note: Engine damage can occur if water
enters the air filter.
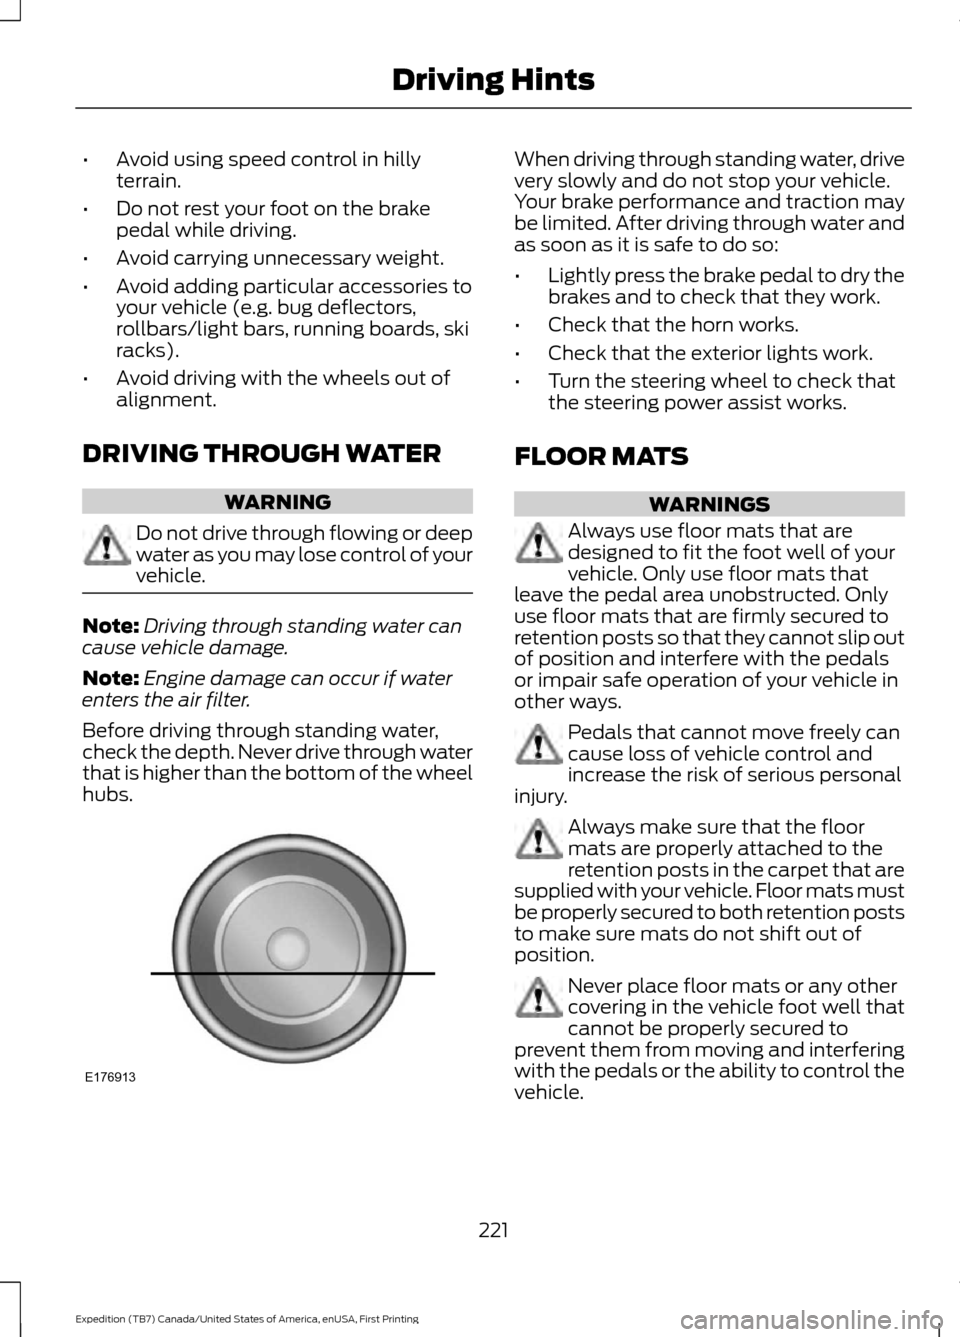
Before driving through standing water,
check the depth. Never drive through water
that is higher than the bottom of the wheel
hubs. When driving through standing water, drive
very slowly and do not stop your vehicle.
Your brake performance and traction may
be limited. After driving through water and
as soon as it is safe to do so:
•
Lightly press the brake pedal to dry the
brakes and to check that they work.
• Check that the horn works.
• Check that the exterior lights work.
• Turn the steering wheel to check that
the steering power assist works.
FLOOR MATS WARNINGS
Always use floor mats that are
designed to fit the foot well of your
vehicle. Only use floor mats that
leave the pedal area unobstructed. Only
use floor mats that are firmly secured to
retention posts so that they cannot slip out
of position and interfere with the pedals
or impair safe operation of your vehicle in
other ways. Pedals that cannot move freely can
cause loss of vehicle control and
increase the risk of serious personal
injury. Always make sure that the floor
mats are properly attached to the
retention posts in the carpet that are
supplied with your vehicle. Floor mats must
be properly secured to both retention posts
to make sure mats do not shift out of
position. Never place floor mats or any other
covering in the vehicle foot well that
cannot be properly secured to
prevent them from moving and interfering
with the pedals or the ability to control the
vehicle.
221
Expedition (TB7) Canada/United States of America, enUSA, First Printing Driving HintsE176913
Page 248 of 421
Engine oil filler cap. See Engine Oil Check (page 245).
C.
Engine oil dipstick. See
Engine Oil Dipstick (page 245).
D.
Brake fluid reservoir. See
Brake Fluid Check (page 251).
E.
Engine coolant reservoir. See
Engine Coolant Check (page 247).
F.
Air filter assembly. See
Changing the Engine Air Filter (page 262).
G.
Power distribution box. See
Fuses (page 234).
H.
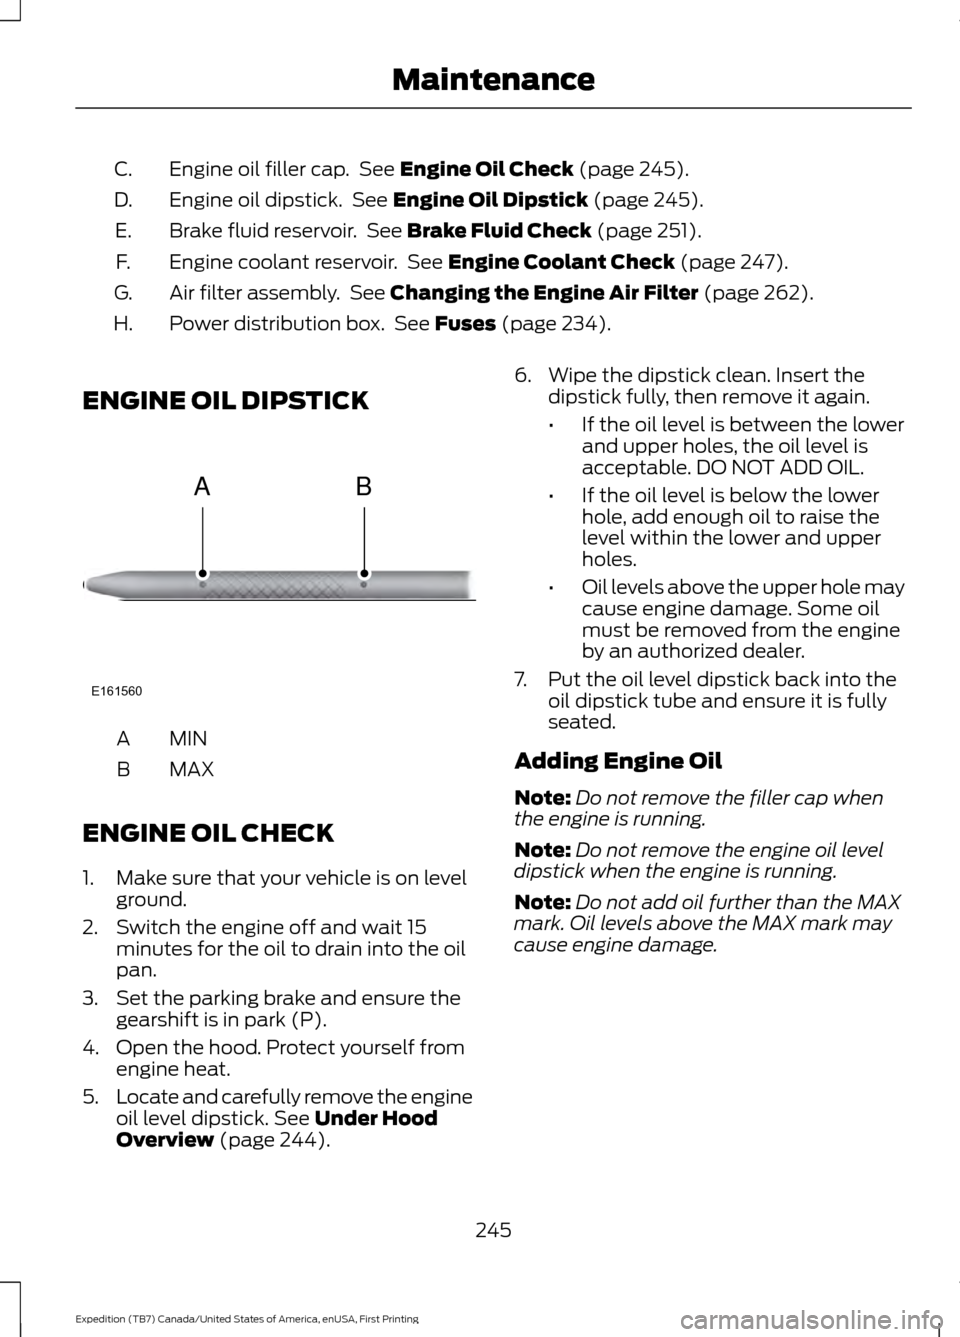
ENGINE OIL DIPSTICK MINA
MAX
B
ENGINE OIL CHECK
1. Make sure that your vehicle is on level ground.
2. Switch the engine off and wait 15 minutes for the oil to drain into the oil
pan.
3. Set the parking brake and ensure the gearshift is in park (P).
4. Open the hood. Protect yourself from engine heat.
5. Locate and carefully remove the engine
oil level dipstick.
See Under Hood
Overview (page 244). 6. Wipe the dipstick clean. Insert the
dipstick fully, then remove it again.
•If the oil level is between the lower
and upper holes, the oil level is
acceptable. DO NOT ADD OIL.
• If the oil level is below the lower
hole, add enough oil to raise the
level within the lower and upper
holes.
• Oil levels above the upper hole may
cause engine damage. Some oil
must be removed from the engine
by an authorized dealer.
7. Put the oil level dipstick back into the oil dipstick tube and ensure it is fully
seated.
Adding Engine Oil
Note: Do not remove the filler cap when
the engine is running.
Note: Do not remove the engine oil level
dipstick when the engine is running.
Note: Do not add oil further than the MAX
mark. Oil levels above the MAX mark may
cause engine damage.
245
Expedition (TB7) Canada/United States of America, enUSA, First Printing MaintenanceE161560
AB
Page 255 of 421
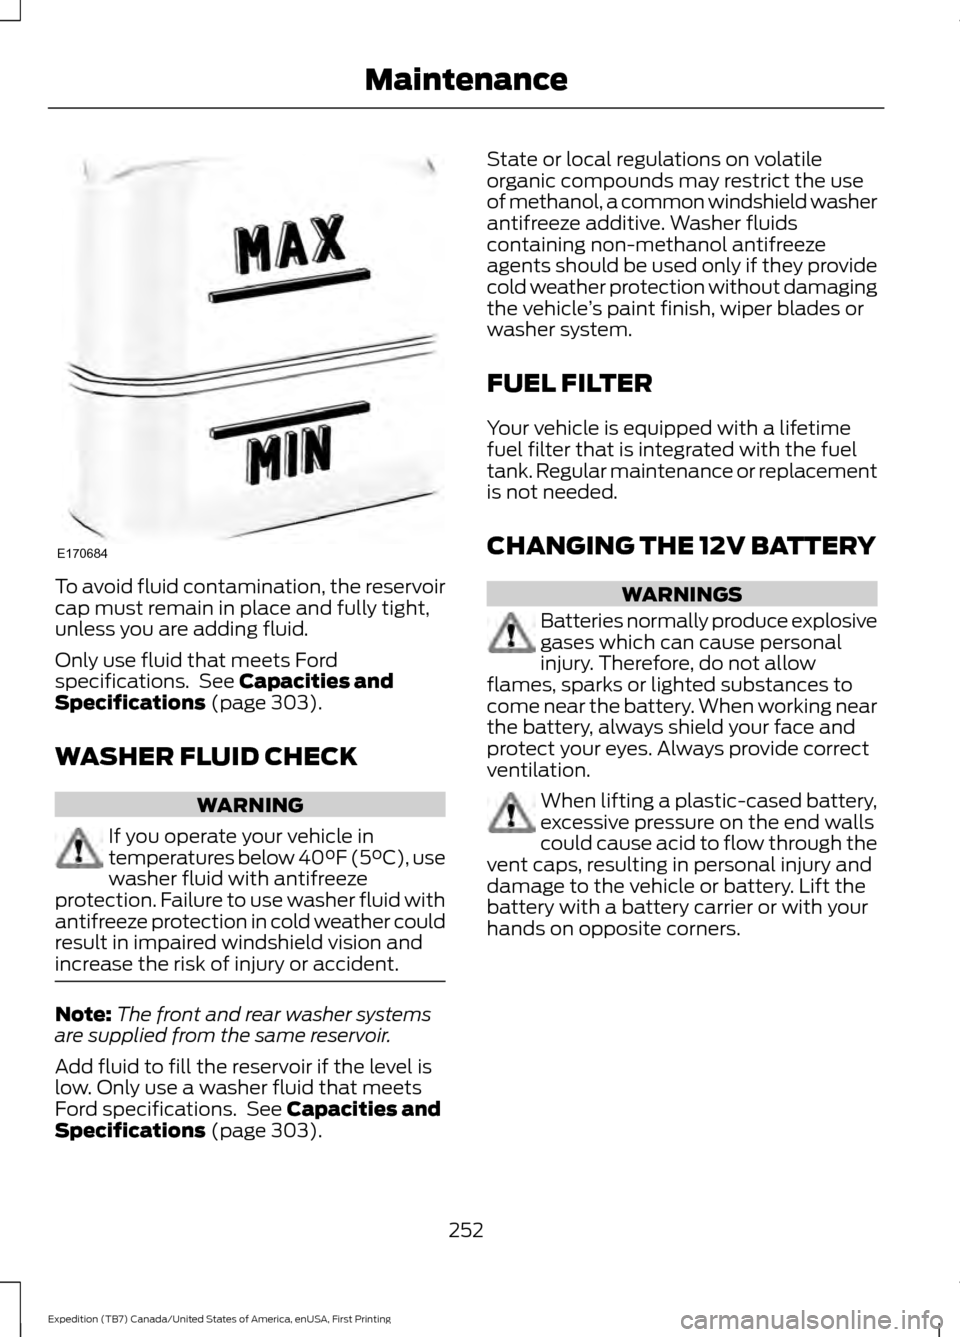
To avoid fluid contamination, the reservoir
cap must remain in place and fully tight,
unless you are adding fluid.
Only use fluid that meets Ford
specifications. See Capacities and
Specifications (page 303).
WASHER FLUID CHECK WARNING
If you operate your vehicle in
temperatures below 40°F (5°C), use
washer fluid with antifreeze
protection. Failure to use washer fluid with
antifreeze protection in cold weather could
result in impaired windshield vision and
increase the risk of injury or accident. Note:
The front and rear washer systems
are supplied from the same reservoir.
Add fluid to fill the reservoir if the level is
low. Only use a washer fluid that meets
Ford specifications. See
Capacities and
Specifications (page 303). State or local regulations on volatile
organic compounds may restrict the use
of methanol, a common windshield washer
antifreeze additive. Washer fluids
containing non-methanol antifreeze
agents should be used only if they provide
cold weather protection without damaging
the vehicle
’s paint finish, wiper blades or
washer system.
FUEL FILTER
Your vehicle is equipped with a lifetime
fuel filter that is integrated with the fuel
tank. Regular maintenance or replacement
is not needed.
CHANGING THE 12V BATTERY WARNINGS
Batteries normally produce explosive
gases which can cause personal
injury. Therefore, do not allow
flames, sparks or lighted substances to
come near the battery. When working near
the battery, always shield your face and
protect your eyes. Always provide correct
ventilation. When lifting a plastic-cased battery,
excessive pressure on the end walls
could cause acid to flow through the
vent caps, resulting in personal injury and
damage to the vehicle or battery. Lift the
battery with a battery carrier or with your
hands on opposite corners.
252
Expedition (TB7) Canada/United States of America, enUSA, First Printing MaintenanceE170684
Page 265 of 421
CHANGING THE ENGINE AIR
FILTER
WARNING
To reduce the risk of vehicle damage
and personal burn injuries, do not
start your engine with the air cleaner
removed and do not remove it while the
engine is running. Note:
Failure to use the correct air filter
element may result in severe engine
damage. Resulting component damage
may not be covered by the vehicle Warranty.
When changing the air filter element, use
only the air filter element listed. See
Motorcraft Parts (page 303).
Change the air filter element at the correct
interval. See
Scheduled Maintenance
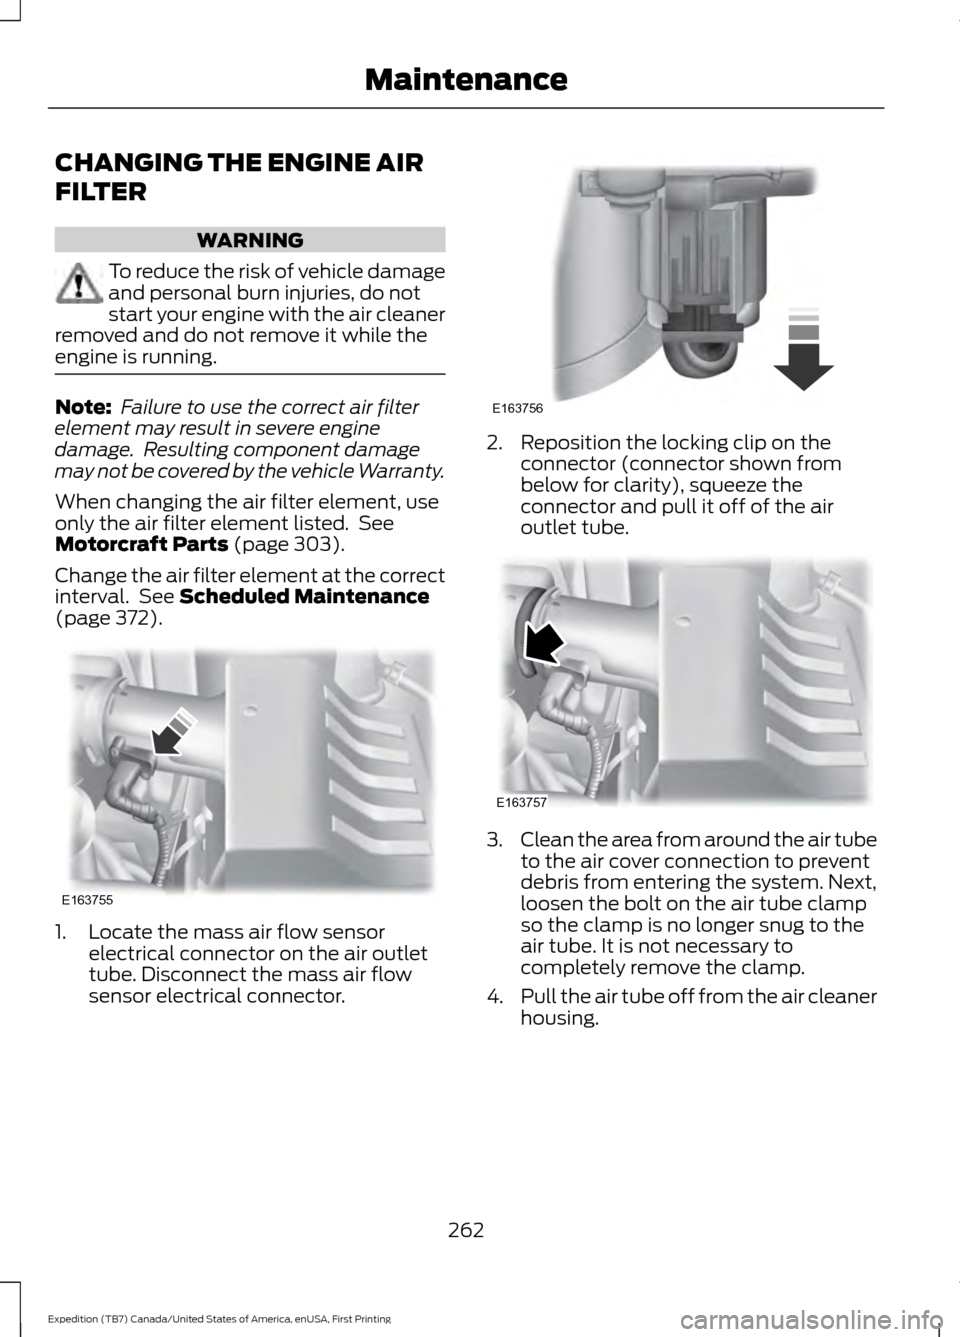
(page 372). 1. Locate the mass air flow sensor
electrical connector on the air outlet
tube. Disconnect the mass air flow
sensor electrical connector. 2. Reposition the locking clip on the
connector (connector shown from
below for clarity), squeeze the
connector and pull it off of the air
outlet tube. 3.
Clean the area from around the air tube
to the air cover connection to prevent
debris from entering the system. Next,
loosen the bolt on the air tube clamp
so the clamp is no longer snug to the
air tube. It is not necessary to
completely remove the clamp.
4. Pull the air tube off from the air cleaner
housing.
262
Expedition (TB7) Canada/United States of America, enUSA, First Printing MaintenanceE163755 E163756 E163757
Page 266 of 421
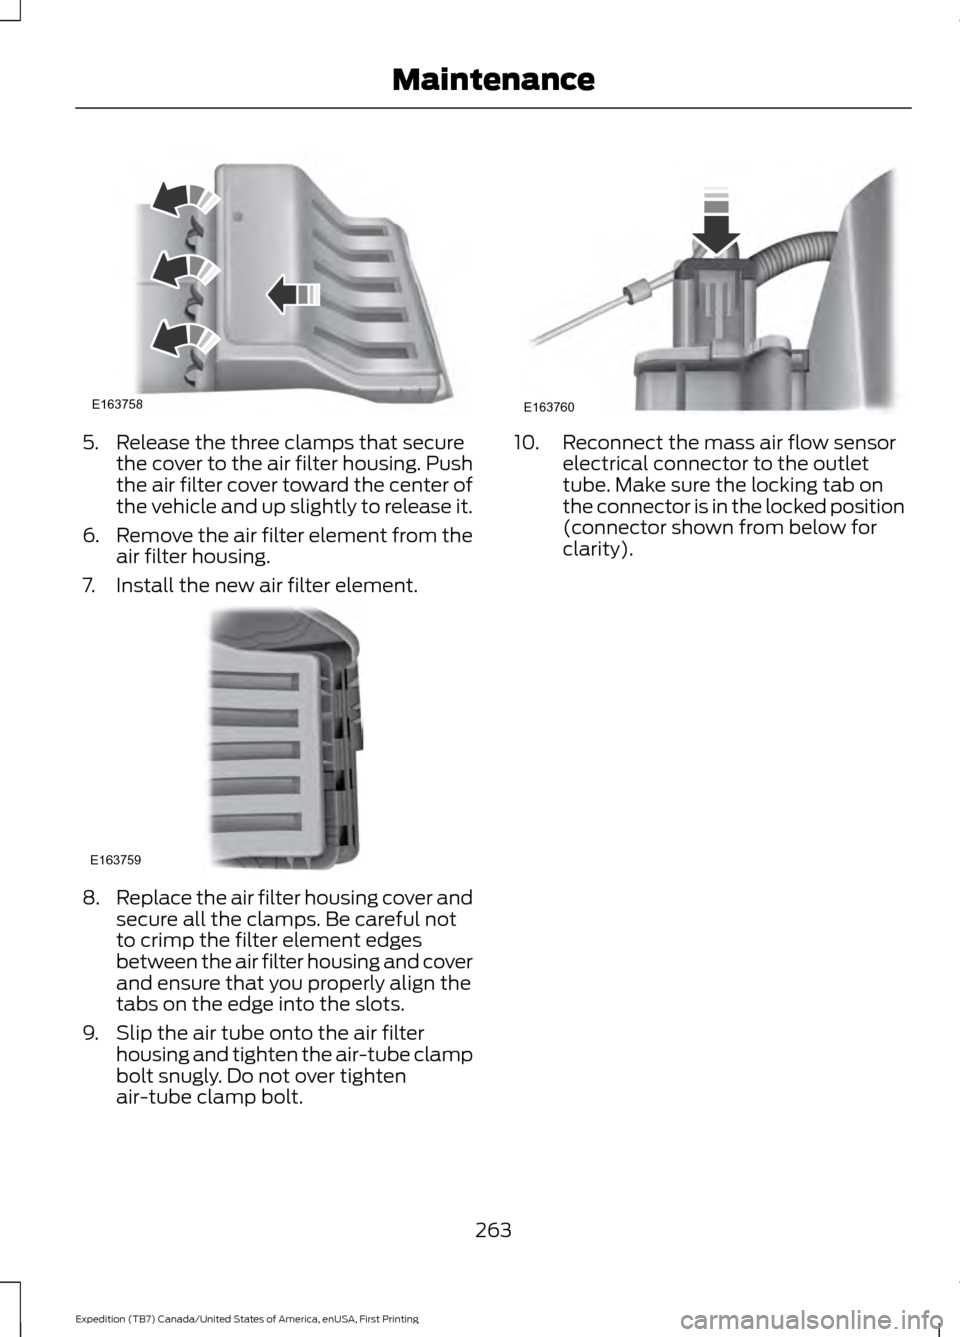
5. Release the three clamps that secure
the cover to the air filter housing. Push
the air filter cover toward the center of
the vehicle and up slightly to release it.
6. Remove the air filter element from the
air filter housing.
7. Install the new air filter element. 8.
Replace the air filter housing cover and
secure all the clamps. Be careful not
to crimp the filter element edges
between the air filter housing and cover
and ensure that you properly align the
tabs on the edge into the slots.
9. Slip the air tube onto the air filter housing and tighten the air-tube clamp
bolt snugly. Do not over tighten
air-tube clamp bolt. 10. Reconnect the mass air flow sensor
electrical connector to the outlet
tube. Make sure the locking tab on
the connector is in the locked position
(connector shown from below for
clarity).
263
Expedition (TB7) Canada/United States of America, enUSA, First Printing MaintenanceE163758 E163759 E163760
Page 269 of 421
•
Never wash or rinse any ignition coil,
spark plug wire or spark plug well, or
the area in and around these locations.
• Cover the battery, power distribution
box, and air filter assembly to prevent
water damage when cleaning the
engine.
CLEANING THE WINDOWS AND
WIPER BLADES
Car wash chemicals and environmental
fallout can result in windshield and wiper
blade contamination. Dirty windshield and
wipers will result in poor windshield wiper
operation. Keep the windshield and wiper
blades clean to maintain windshield wiper
performance.
To clean the windshield and wiper blades:
• Clean the windshield with a
non-abrasive glass cleaner. When
cleaning the interior of the windshield,
avoid getting any glass cleaner on the
instrument panel or door panels. Wipe
any glass cleaner off these surfaces
immediately.
• For windshields contaminated with
tree sap, chemicals, wax or bugs, clean
the entire windshield using steel wool
(no greater than 0000 grade) in a
circular motion and rinse with water.
• Clean the wiper blades with isopropyl
rubbing alcohol or windshield washer
concentrate.
Note: Do not use razor blades or other
sharp objects to clean or remove decals
from the inside of the heated rear window.
The vehicle warranty does not cover
damage caused to the heated rear window
grid lines. CLEANING THE INTERIOR WARNINGS
Do not use cleaning solvents, bleach
or dye on the vehicle
’s safety belts,
as these actions may weaken the
belt webbing. On vehicles equipped with
seat-mounted airbags, do not use
chemical solvents or strong
detergents. Such products could
contaminate the side airbag system and
affect performance of the side airbag in a
collision. For fabric, carpets, cloth seats, safety belts
and seats equipped with side airbags:
•
Remove dust and loose dirt with a
vacuum cleaner.
• Remove light stains and soil with
Motorcraft Professional Strength
Carpet & Upholstery Cleaner.
• If grease or tar is present on the
material, spot-clean the area first with
Motorcraft Spot and Stain Remover. In
Canada, use Motorcraft Multi-Purpose
Cleaner.
• If a ring forms on the fabric after spot
cleaning, clean the entire area
immediately (but do not oversaturate)
or the ring will set.
• Do not use household cleaning
products or glass cleaners, which can
stain and discolor the fabric and affect
the flame retardant abilities of the seat
materials.
266
Expedition (TB7) Canada/United States of America, enUSA, First Printing Vehicle Care
Page 273 of 421
•
Touch-up exposed or primed metal to
prevent rust.
• Cover chrome and stainless steel parts
with a thick coat of auto wax to prevent
discoloration. Re-wax as necessary
when you wash your vehicle.
• Lubricate all hood, door and luggage
compartment hinges and latches with
a light grade oil.
• Cover interior trim to prevent fading.
• Keep all rubber parts free from oil and
solvents.
Engine
• Change the engine oil and filter prior to
storage because used engine oil
contains contaminates which may
cause engine damage.
• Start the engine every 15 days for a
minimum of 15 minutes. Run at fast idle
with the climate controls set to defrost
until the engine reaches normal
operating temperature.
• With your foot on the brake, shift
through all the gears while the engine
is running.
• We recommend that you change the
engine oil before you use your vehicle
again.
Fuel system
• Fill the fuel tank with high-quality fuel
until the first automatic shutoff of the
fuel pump nozzle.
Cooling system
• Protect against freezing temperatures.
• When removing your vehicle from
storage, check coolant fluid level.
Confirm that there are no cooling
system leaks and that fluid is at the
recommended level. Battery
•
Check and recharge as necessary. Keep
connections clean.
• If storing your vehicle for more than 30
days without recharging the battery,
we recommend that you disconnect
the battery cables to maintain battery
charge for quick starting.
Note: It is necessary to reset memory
features if battery cables are disconnected.
Brakes
• Make sure the brakes and parking brake
release fully.
Tires
• Maintain recommended air pressure.
Miscellaneous
• Make sure all linkages, cables, levers
and pins under your vehicle are covered
with grease to prevent rust.
• Move vehicles at least 25 ft (7.5 m)
every 15 days to lubricate working parts
and prevent corrosion.
Removing Vehicle From Storage
When your vehicle is ready to come out of
storage, do the following:
• Wash your vehicle to remove any dirt
or grease film build-up on window
surfaces.
• Check windshield wipers for any
deterioration.
• Check under the hood for any foreign
material that may have collected
during storage such as mice or squirrel
nests.
• Check the exhaust for any foreign
material that may have collected
during storage.
270
Expedition (TB7) Canada/United States of America, enUSA, First Printing Vehicle Care