horn FORD EXPEDITION 2016 3.G Owners Manual
[x] Cancel search | Manufacturer: FORD, Model Year: 2016, Model line: EXPEDITION, Model: FORD EXPEDITION 2016 3.GPages: 421, PDF Size: 6.3 MB
Page 47 of 421
4. Insert a new battery with the + facing
downward. Press the battery down to
make sure it is fully in the housing.
5. Reinstall the battery housing cover onto the transmitter and install the key
blade.
Car Finder Press the button twice within
three seconds.
The horn sounds and the direction
indicators flash. We recommend you use
this method to locate your vehicle, rather
than using the panic alarm.
Note: If any door or the liftgate is open, or
if the hood is open on vehicles with an
anti-theft alarm or remote start, the horn
will sound twice and the direction indicators
will not flash.
Sounding the Panic Alarm Press the button to sound the
panic alarm. Press the button
again or switch the ignition on to
turn it off.
Note: The panic alarm only operates when
the ignition is off.
Remote Start
(If Equipped) WARNING
To avoid exhaust fumes, do not use
remote start if your vehicle is parked
indoors or in areas that are not well
ventilated. Note:
Do not use remote start if your fuel
level is low. The remote start button is on the
transmitter. This feature allows you to start your
vehicle from the outside. The transmitter
has an extended operating range.
Vehicles with automatic climate control
can be configured to operate when the
vehicle is remote started. See Automatic
Climate Control
(page 116).
Many states and provinces have
restrictions for the use of remote start.
Check your local and state or provincial
laws for specific requirements regarding
remote start systems.
The remote start system does not work if
any of the following occur:
• The ignition is on.
• The anti-theft alarm triggers.
• You switch off the feature.
• The hood is open.
• The transmission is not in park (P).
• The battery voltage is below the
minimum operating voltage.
• The service engine soon indicator was
on the last time your vehicle was
driven.
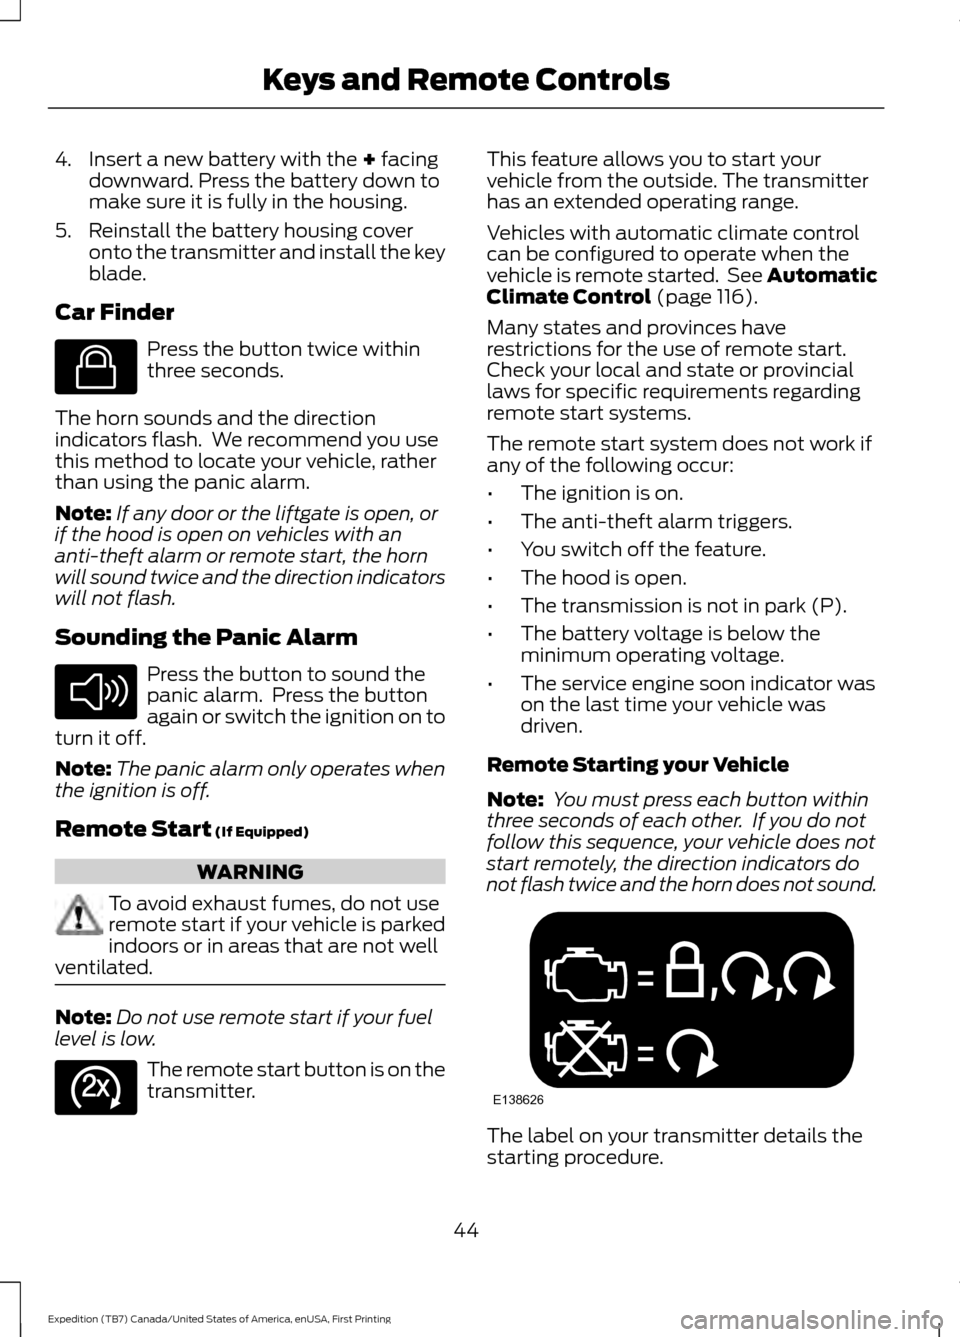
Remote Starting your Vehicle
Note: You must press each button within
three seconds of each other. If you do not
follow this sequence, your vehicle does not
start remotely, the direction indicators do
not flash twice and the horn does not sound. The label on your transmitter details the
starting procedure.
44
Expedition (TB7) Canada/United States of America, enUSA, First Printing Keys and Remote ControlsE138623 E138624 E138625 E138626
Page 48 of 421
To start your vehicle remotely:
1. Press the lock button to lock all the
doors.
2. Press the remote start button twice. The exterior lamps flash twice.
The horn sounds if the system fails to start,
unless quiet start is on. Quiet start runs the
blower fan at a slower speed to reduce
noise. You can switch this feature on or off
in the information display. See General
Information (page 92).
Note: If you remote start your vehicle with
an integrated keyhead transmitter, you must
switch the ignition on before driving your
vehicle. If you remote start your vehicle with
an intelligent access transmitter, you must
press the push button ignition switch on the
instrument panel once while applying the
brake pedal before driving your vehicle.
The power windows do not work during
remote start and the radio does not turn
on automatically.
The parking lamps remain on and the
vehicle runs for 5, 10 or 15 minutes,
depending on the setting.
Extending the Engine Running Time
To extend the engine running time duration
of your vehicle during remote start, repeat
steps 1 and 2 while the engine is running.
If the duration is set to 10 minutes, the
duration extends by another 10 minutes.
For example, if your vehicle had been
running from the first remote start for 5
minutes, your vehicle continues to run now
for a total of 20 minutes. You can extend
the remote start up to a maximum of 35
minutes.
Wait at least five seconds before remote
starting after the engine stops running. Turning Your Vehicle Off After Remote
Starting Press the button once. The
parking lamps turn off.
You may have to be closer to your vehicle
to remotely switch off your vehicle after
remote starting. This is due to the added
noise of your running vehicle.
You can switch this feature on or off in the
information display. See General
Information (page 92).
Memory Feature
(If Equipped)
You can use the remote control to recall
memory settings for the driver seat, power
mirrors, power steering column and power
adjustable foot pedals. Press the unlock
button on the remote control or unlock
your vehicle with the intelligent access key
to recall the memory positions. You can
program the remote control or intelligent
access key to recall memory positions. See
Memory Function
(page 126).
REPLACING A LOST KEY OR
REMOTE CONTROL
Replacement keys or remote controls can
be purchased from an authorized dealer.
Authorized dealers can program remote
controls for your vehicle. See
Passive
Anti-Theft System (page 62).
45
Expedition (TB7) Canada/United States of America, enUSA, First Printing Keys and Remote ControlsE138625
Page 56 of 421
LOCKING AND UNLOCKING
You can use the power door lock control
or the remote control to lock and unlock
your vehicle.
Power Door Locks
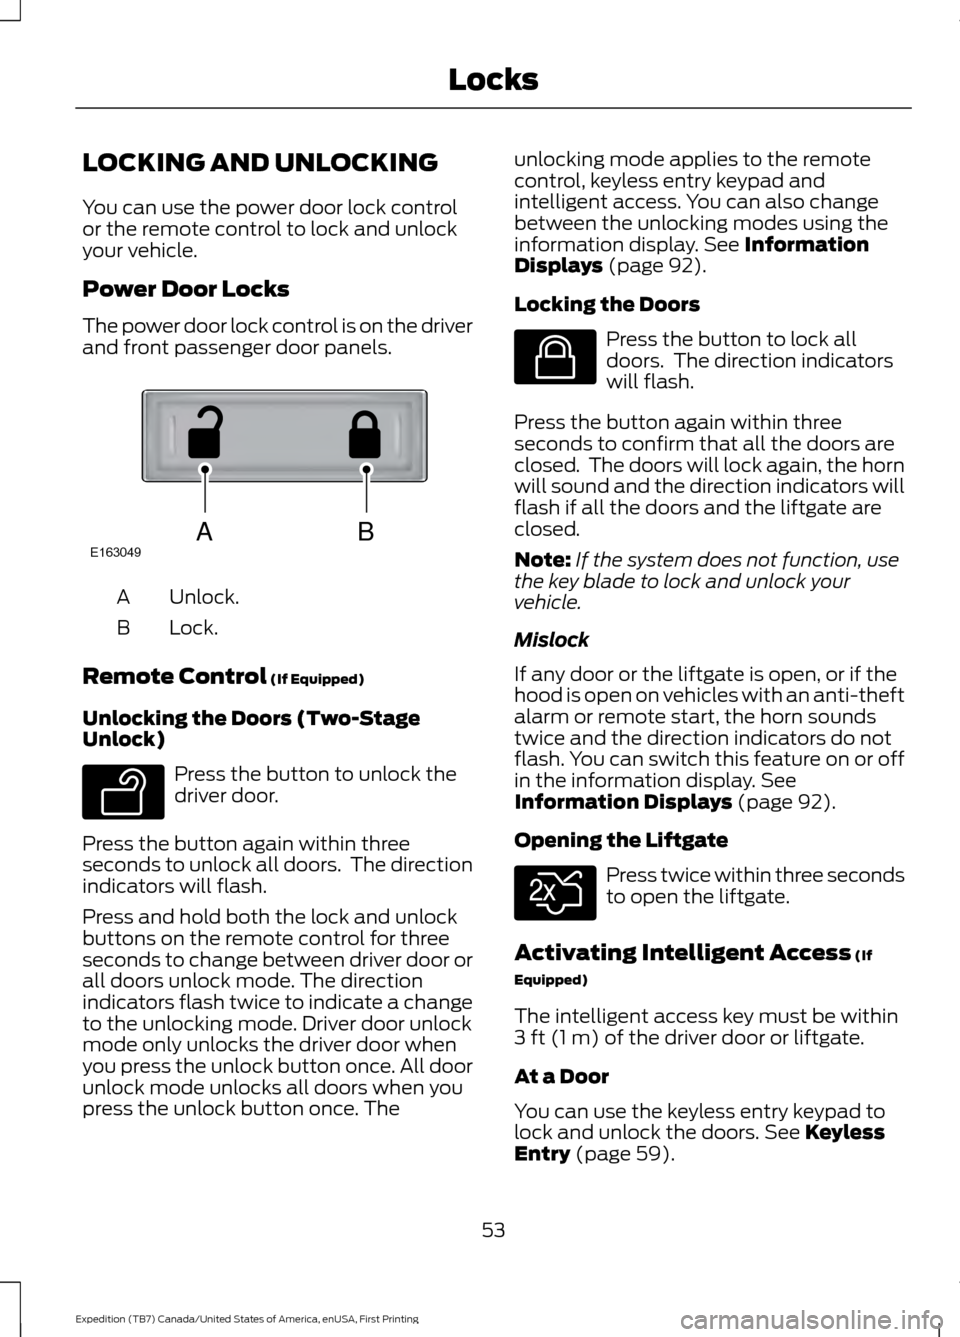
The power door lock control is on the driver
and front passenger door panels.
Unlock.
A
Lock.
B
Remote Control (If Equipped)
Unlocking the Doors (Two-Stage
Unlock) Press the button to unlock the
driver door.
Press the button again within three
seconds to unlock all doors. The direction
indicators will flash.
Press and hold both the lock and unlock
buttons on the remote control for three
seconds to change between driver door or
all doors unlock mode. The direction
indicators flash twice to indicate a change
to the unlocking mode. Driver door unlock
mode only unlocks the driver door when
you press the unlock button once. All door
unlock mode unlocks all doors when you
press the unlock button once. The unlocking mode applies to the remote
control, keyless entry keypad and
intelligent access. You can also change
between the unlocking modes using the
information display.
See Information
Displays (page 92).
Locking the Doors Press the button to lock all
doors. The direction indicators
will flash.
Press the button again within three
seconds to confirm that all the doors are
closed. The doors will lock again, the horn
will sound and the direction indicators will
flash if all the doors and the liftgate are
closed.
Note: If the system does not function, use
the key blade to lock and unlock your
vehicle.
Mislock
If any door or the liftgate is open, or if the
hood is open on vehicles with an anti-theft
alarm or remote start, the horn sounds
twice and the direction indicators do not
flash. You can switch this feature on or off
in the information display.
See
Information Displays (page 92).
Opening the Liftgate Press twice within three seconds
to open the liftgate.
Activating Intelligent Access
(If
Equipped)
The intelligent access key must be within
3 ft (1 m)
of the driver door or liftgate.
At a Door
You can use the keyless entry keypad to
lock and unlock the doors.
See Keyless
Entry (page 59).
53
Expedition (TB7) Canada/United States of America, enUSA, First Printing LocksABE163049 E138629 E138623 E138630
Page 57 of 421
At the Liftgate
The liftgate unlocks and opens
automatically when you press the liftgate
release button.
Smart Unlocks for Integrated
Keyhead Transmitter (If Equipped)
This helps to prevent you from locking
yourself out of your vehicle if the key is still
in the ignition.
When you open one of the front doors and
lock your vehicle with the power door lock
control, all the doors will lock then unlock
and the horn will sound twice if the key is
still in the ignition.
Your can still lock your vehicle with the key
in the ignition by:
• Using the manual lock on the door.
• Locking the driver door with a key.
• Using the keyless entry keypad.
• Pressing the lock button on another
remote control.
Smart Unlocks for Intelligent
Access Keys
(If Equipped)
This helps to prevent you from locking your
key inside the passenger compartment or
rear cargo area.
When you electronically lock your vehicle
with any door open, the transmission is in
park (P) and the ignition is off, the system
searches for an intelligent access key
inside your vehicle after you close the last
door. If the system finds a key, all of the
doors will immediately unlock and the horn
will sound twice, indicating that a key is
inside.
You can override the smart unlock feature
and intentionally lock the intelligent access
key inside your vehicle. To do this, lock your vehicle after you have
closed all the doors by:
•
Using the keyless entry keypad.
• Pressing the lock button on another
intelligent access key.
When you open one of the front doors and
lock your vehicle using the power door lock
control, all doors will lock then unlock if:
• The ignition is on.
• The ignition is off and the transmission
is not in park (P).
Auto Relock
If you press the unlock button on the
remote control and do not open a door
within 45 seconds, your vehicle will lock
and the alarm will arm. You can switch this
feature on or off in the information display.
See
Information Displays (page 92).
Autolock
Autolock locks all the doors when all of the
following occur:
• All doors are closed.
• The ignition is on.
• You shift into any gear putting your
vehicle in motion.
• Your vehicle's speed is greater than
12 mph (20 km/h)
.
Autolock repeats when:
• You open then close any door while the
ignition is on and your vehicle's speed
is less than
9 mph (15 km/h).
• Your vehicle's speed is greater than
12 mph (20 km/h)
.
Enabling or Disabling
To enable or disable the autolock feature,
contact an authorized dealer.
54
Expedition (TB7) Canada/United States of America, enUSA, First Printing Locks
Page 66 of 421
You must have two previously
programmed coded keys and the new
unprogrammed key readily accessible. See
your authorized dealer to have the spare
key programmed if two previously
programmed coded keys are not available.
Read and understand the entire procedure
before you begin.
1.
Insert the first previously programmed
coded key into the ignition.
2. Switch the ignition from off to on. Keep
the ignition on for at least three
seconds, but no more than 10 seconds.
3. Switch the ignition off and remove the
first coded key from the ignition.
4. After three seconds but within 10 seconds of switching the ignition off,
insert the second previously coded key
into the ignition.
5. Switch the ignition from off to on. Keep
the ignition on for at least three
seconds, but no more than 10 seconds.
6. Switch the ignition off and remove the
second previously programmed coded
key from the ignition.
7. After three seconds but within 10 seconds of switching the ignition off
and removing the previously
programmed coded key, insert the new
unprogrammed key into the ignition.
8. Switch the ignition from off to on. Keep
the ignition on for at least six seconds.
9. Remove the newly programmed coded
key from the ignition.
If the key has been successfully
programmed it will start the engine and
operate the remote entry system (if the
new key is an integrated keyhead
transmitter).
If programming was not successful, wait
10 seconds and repeat Steps 1 through 8.
If you are still unsuccessful, take your
vehicle to your authorized dealer. Programming a Spare Intelligent
Access Key
See your authorized dealer to have
additional keys programmed to your
vehicle.
ANTI-THEFT ALARM
The system will warn you of an
unauthorized entry to your vehicle. It will
be triggered if any door, the luggage
compartment or the hood is opened
without using the key, remote control or
keyless entry keypad.
The direction indicators will flash and the
horn will sound if unauthorized entry is
attempted while the alarm is armed.
Take all remote controls to an authorized
dealer if there is any potential alarm
problem with your vehicle.
Arming the Alarm
The alarm is ready to arm when there is
not a key in your vehicle. Electronically lock
your vehicle to arm the alarm.
Disarming the Alarm
Disarm the alarm by any of the following
actions:
•
Unlock the doors or luggage
compartment with the remote control
or keyless entry keypad.
• Switch your vehicle on or start your
vehicle.
• Use a key in the driver door to unlock
your vehicle, then switch your vehicle
on within 12 seconds.
Note: Pressing the panic button on the
remote control will stop the horn and signal
indicators, but will not disarm the system.
63
Expedition (TB7) Canada/United States of America, enUSA, First Printing Security
Page 224 of 421
•
Avoid using speed control in hilly
terrain.
• Do not rest your foot on the brake
pedal while driving.
• Avoid carrying unnecessary weight.
• Avoid adding particular accessories to
your vehicle (e.g. bug deflectors,
rollbars/light bars, running boards, ski
racks).
• Avoid driving with the wheels out of
alignment.
DRIVING THROUGH WATER WARNING
Do not drive through flowing or deep
water as you may lose control of your
vehicle.
Note:
Driving through standing water can
cause vehicle damage.
Note: Engine damage can occur if water
enters the air filter.
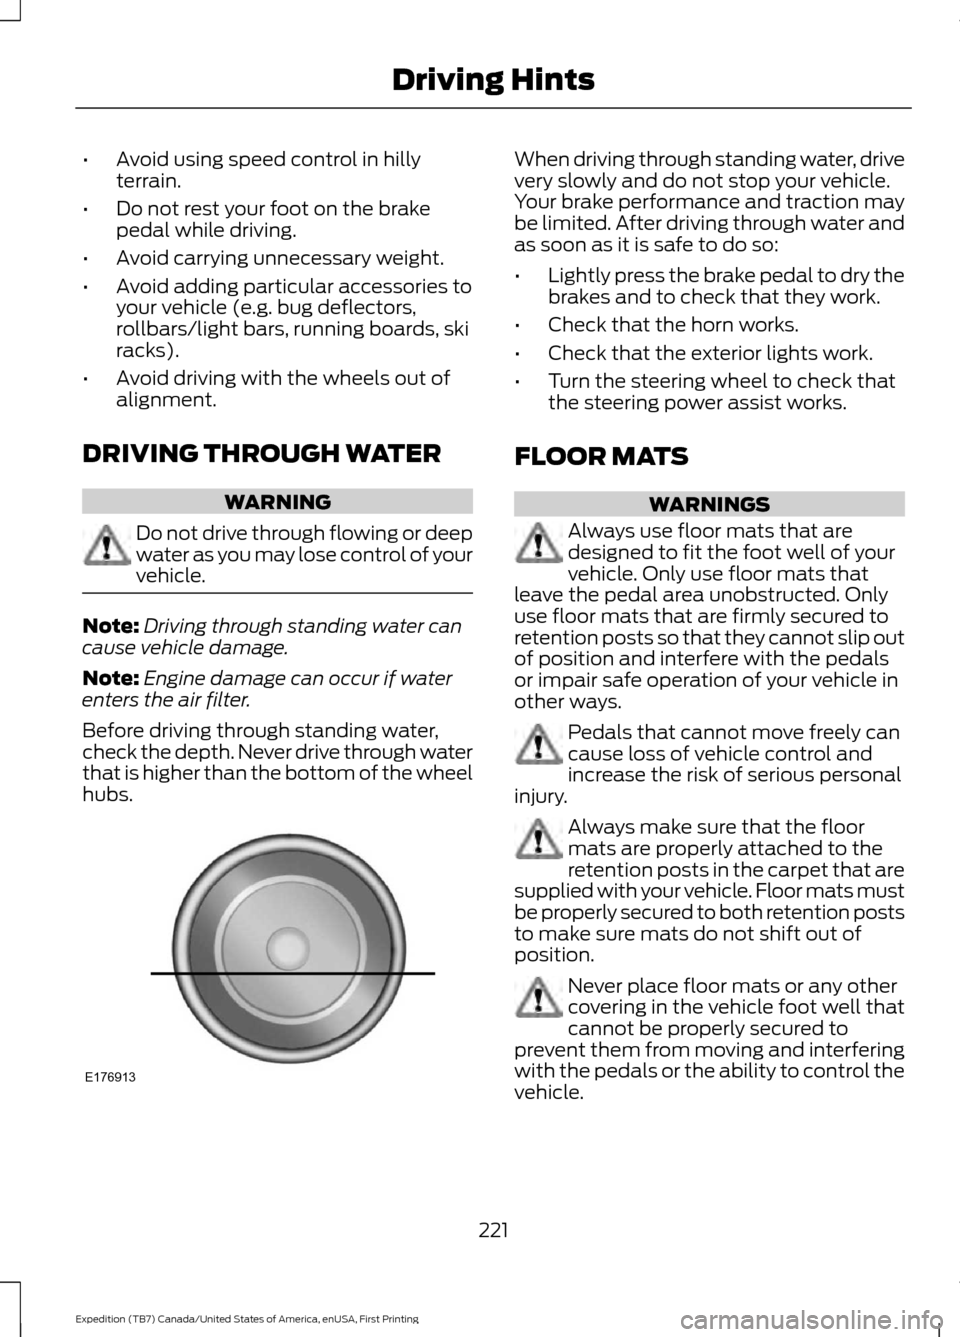
Before driving through standing water,
check the depth. Never drive through water
that is higher than the bottom of the wheel
hubs. When driving through standing water, drive
very slowly and do not stop your vehicle.
Your brake performance and traction may
be limited. After driving through water and
as soon as it is safe to do so:
•
Lightly press the brake pedal to dry the
brakes and to check that they work.
• Check that the horn works.
• Check that the exterior lights work.
• Turn the steering wheel to check that
the steering power assist works.
FLOOR MATS WARNINGS
Always use floor mats that are
designed to fit the foot well of your
vehicle. Only use floor mats that
leave the pedal area unobstructed. Only
use floor mats that are firmly secured to
retention posts so that they cannot slip out
of position and interfere with the pedals
or impair safe operation of your vehicle in
other ways. Pedals that cannot move freely can
cause loss of vehicle control and
increase the risk of serious personal
injury. Always make sure that the floor
mats are properly attached to the
retention posts in the carpet that are
supplied with your vehicle. Floor mats must
be properly secured to both retention posts
to make sure mats do not shift out of
position. Never place floor mats or any other
covering in the vehicle foot well that
cannot be properly secured to
prevent them from moving and interfering
with the pedals or the ability to control the
vehicle.
221
Expedition (TB7) Canada/United States of America, enUSA, First Printing Driving HintsE176913
Page 243 of 421
Protected components
Fuse amp rating
Fuse or relay number
SYNC.
10A
9
Power lift gate.
Electric finish panel.
Display.
Run accessory relay.
10A
10
Passive entry/start module.
10A
11
Interior lighting.
15A
12
Puddle lamps.
Right turn and stop/turn signals.
15A
13
Left turn and stop/turn signals.
15A
14
Reverse lamp.
15A
15
Center high mount stop lamp.
EC mirror.
Right front low beam.
10A
16
Left front low beam.
10A
17
Brake shift interlock/start button LED/
keypad illumination.
10A
18
Third row power folding seat.
Passive entry touch start.
Not used.
—
19
Lock/unlock relays.
20A
20
Not used.
—
21
Horn.
20A
22
Steering wheel control module.
15A
23
Cluster.
Adjustable pedals/power adjustable
column.
15A
24
Datalink.
Liftgate release decklid.
15A
25
Liftglass release motor.
Push to start switch.
5A
26
Passive entry/start module.
20A
27
240
Expedition (TB7) Canada/United States of America, enUSA, First Printing Fuses
Page 298 of 421
•
To reduce the chances of interference
from another vehicle, perform the
system reset procedure at least three
feet (one meter) away from another
Ford Motor Company vehicle
undergoing the system reset procedure
at the same time.
• Do not wait more than two minutes
between resetting each tire sensor or
the system will time-out and the entire
procedure will have to be repeated on
all four wheels.
• A double horn will sound indicating the
need to repeat the procedure.
Performing the System Reset Procedure
Read the entire procedure before
attempting.
1. Drive the vehicle above 20 mph (32 km/h) for at least two minutes, then
park in a safe location where you can
easily get to all four tires and have
access to an air pump.
2. Place the ignition in the off position and
keep the key in the ignition.
3. Cycle the ignition to the on position with the engine off.
4. Turn the hazard flashers on then off three times. You must accomplish this
within 10 seconds. If the reset mode
has been entered successfully, the horn
will sound once, the system indicator
will flash and a message is shown in
the information display. If this does not
occur, please try again starting at Step
2. If after repeated attempts to enter
the reset mode, the horn does not
sound, the system indicator does not
flash and no message is shown in the
information display, seek service from
your authorized dealer. 5. Train the tire pressure monitoring
system sensors in the tires using the
following system reset sequence
starting with the left front tire in the
following clockwise order: Left front
(driver's side front tire), Right front
(passenger's side front tire), Right rear
(passenger's side rear tire), Left rear
(driver's side rear tire).
6. Remove the valve cap from the valve stem on the left front tire. Decrease the
air pressure until the horn sounds.
Note: The single horn chirp confirms
that the sensor identification code has
been learned by the module for this
position. If a double horn is heard, the
reset procedure was unsuccessful, and
you must repeat it.
7. Remove the valve cap from the valve stem on the right front tire. Decrease
the air pressure until the horn sounds.
8. Remove the valve cap from the valve stem on the right rear tire. Decrease the
air pressure until the horn sounds.
9. Remove the valve cap from the valve stem on the left rear tire. Decrease the
air pressure until the horn sounds.
Training is complete after the horn
sounds for the last tire trained (driver's
side rear tire), the system indicator
stops flashing, and a message is shown
in the information display.
10. Turn the ignition off. If two short horn
beeps are heard, the reset procedure
was unsuccessful and you must
repeat it. If after repeating the
procedure and two short beeps are
heard when the ignition is turned to
off, seek assistance from your
authorized dealer.
295
Expedition (TB7) Canada/United States of America, enUSA, First Printing Wheels and Tires
Page 378 of 421
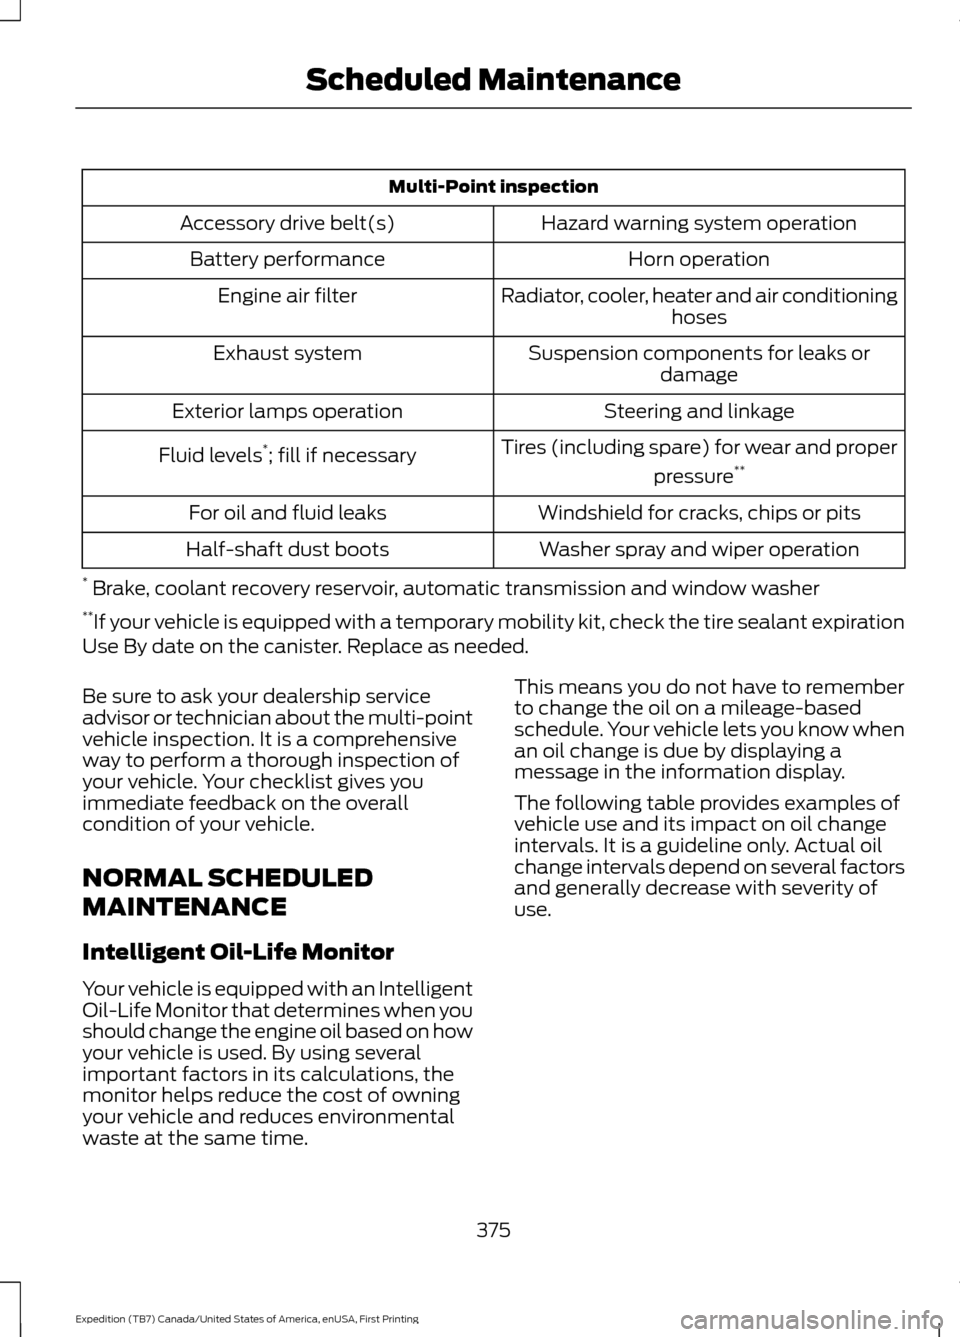
Multi-Point inspection
Hazard warning system operation
Accessory drive belt(s)
Horn operation
Battery performance
Radiator, cooler, heater and air conditioninghoses
Engine air filter
Suspension components for leaks ordamage
Exhaust system
Steering and linkage
Exterior lamps operation
Tires (including spare) for wear and properpressure**
Fluid levels *
; fill if necessary
Windshield for cracks, chips or pits
For oil and fluid leaks
Washer spray and wiper operation
Half-shaft dust boots
* Brake, coolant recovery reservoir, automatic transmission and window washer
** If your vehicle is equipped with a temporary mobility kit, check the tire sealant expiration
Use By date on the canister. Replace as needed.
Be sure to ask your dealership service
advisor or technician about the multi-point
vehicle inspection. It is a comprehensive
way to perform a thorough inspection of
your vehicle. Your checklist gives you
immediate feedback on the overall
condition of your vehicle.
NORMAL SCHEDULED
MAINTENANCE
Intelligent Oil-Life Monitor
Your vehicle is equipped with an Intelligent
Oil-Life Monitor that determines when you
should change the engine oil based on how
your vehicle is used. By using several
important factors in its calculations, the
monitor helps reduce the cost of owning
your vehicle and reduces environmental
waste at the same time. This means you do not have to remember
to change the oil on a mileage-based
schedule. Your vehicle lets you know when
an oil change is due by displaying a
message in the information display.
The following table provides examples of
vehicle use and its impact on oil change
intervals. It is a guideline only. Actual oil
change intervals depend on several factors
and generally decrease with severity of
use.
375
Expedition (TB7) Canada/United States of America, enUSA, First Printing Scheduled Maintenance