automatic transmission FORD EXPEDITION 2017 3.G Owners Manual
[x] Cancel search | Manufacturer: FORD, Model Year: 2017, Model line: EXPEDITION, Model: FORD EXPEDITION 2017 3.GPages: 500, PDF Size: 4.83 MB
Page 6 of 500
Starting and Stopping the
Engine
General Information....................................144
Ignition Switch...............................................144
Keyless Starting............................................144
Steering Wheel Lock...................................145
Starting a Gasoline Engine.......................145
Engine Block Heater....................................148
Fuel and Refueling
Safety Precautions
......................................150
Fuel Quality......................................................151
Fuel Filler Funnel Location.........................151
Running Out of Fuel
......................................151
Refueling..........................................................152
Fuel Consumption
........................................155
Emission Control System..........................156
Transmission
Automatic Transmission
...........................159
Four-Wheel Drive
Using Four-Wheel Drive.............................165
Rear Axle
Limited Slip Differential..............................172
Brakes
General Information
.....................................173
Hints on Driving With Anti-Lock Brakes............................................................173
Parking Brake
..................................................174
Hill Start Assist..............................................174
Traction Control
Principle of Operation.................................176
Using Traction Control................................176 Stability Control
Principle of Operation..................................177
Using Stability Control
................................178
Terrain Response
Using Hill Descent Control.......................180
Parking Aids
Principle of Operation.................................182
Rear Parking Aid
............................................182
Front Parking Aid
..........................................183
Rear View Camera.......................................184
Cruise Control
Principle of Operation.................................187
Using Cruise Control
....................................187
Driving Aids
Blind Spot Information System..............189
Steering............................................................193
Drive Control
..................................................194
Self-Leveling Suspension
.........................194
Load Carrying
Rear Under Floor Storage.........................196
Roof Racks and Load Carriers..................197
Load Limit.......................................................198
Towing
Towing a Trailer
............................................203
Trailer Sway Control
...................................204
Recommended Towing Weights...........204
Essential Towing Checks..........................207
Towing Points
.................................................214
Towing the Vehicle on Four Wheels
......215
Driving Hints
Breaking-In......................................................218
Reduced Engine Performance.................218
3
Expedition (TB7) Canada/United States of America, enUSA, Edition date: 03/2016, First Printing Table of Contents
Page 7 of 500
Economical Driving......................................218
Driving Through Water................................219
Floor Mats........................................................219
Roadside Emergencies
Roadside Assistance
...................................221
Hazard Warning Flashers..........................222
Fuel Shutoff
...................................................222
Jump Starting the Vehicle.........................223
Customer Assistance
Getting the Services You Need...............226
In California (U.S. Only).............................227
The Better Business Bureau (BBB) Auto Line Program (U.S. Only)
......................228
Utilizing the Mediation/Arbitration Program (Canada Only).......................229
Getting Assistance Outside the U.S. and Canada........................................................229
Ordering Additional Owner's Literature....................................................230
Reporting Safety Defects (U.S. Only)..............................................................231
Reporting Safety Defects (Canada Only)..............................................................231
Fuses
Fuse Specification Chart...........................233
Changing a Fuse
............................................241
Maintenance
General Information
...................................243
Opening and Closing the Hood..............243
Under Hood Overview...............................244
Engine Oil Dipstick......................................245
Engine Oil Check
..........................................245
Oil Change Indicator Reset......................246
Engine Coolant Check................................247
Automatic Transmission Fluid Check............................................................251
Transfer Case Fluid Check.........................251 Brake Fluid Check........................................252
Washer Fluid Check
....................................252
Fuel Filter
........................................................253
Changing the 12V Battery.........................253
Checking the Wiper Blades......................255
Changing the Wiper Blades.....................255
Adjusting the Headlamps........................256
Removing a Headlamp
..............................257
Changing a Bulb...........................................257
Bulb Specification Chart..........................260
Changing the Engine Air Filter.................262
Vehicle Care
General Information
...................................264
Cleaning Products
.......................................264
Cleaning the Exterior
..................................265
Waxing
.............................................................266
Cleaning the Engine
...................................266
Cleaning the Windows and Wiper Blades..........................................................267
Cleaning the Interior...................................267
Cleaning the Instrument Panel and Instrument Cluster Lens.......................268
Cleaning Leather Seats.............................268
Repairing Minor Paint Damage
...............270
Cleaning the Alloy Wheels.......................270
Vehicle Storage.............................................270
Wheels and Tires
General Information....................................273
Tire Care..........................................................276
Using Snow Chains
......................................291
Tire Pressure Monitoring System...........292
Changing a Road Wheel
............................297
Technical Specifications
...........................302
Capacities and Specific- ations
Engine Specifications
................................304
Motorcraft Parts
..........................................304
4
Expedition (TB7) Canada/United States of America, enUSA, Edition date: 03/2016, First Printing Table of Contents
Page 48 of 500
5. Reinstall the battery housing cover
onto the transmitter and install the key
blade.
Car Finder Press the button twice within
three seconds.
The horn sounds and the direction
indicators flash. We recommend you use
this method to locate your vehicle, rather
than using the panic alarm.
Note: If any door or the liftgate is open, or
if the hood is open on vehicles with an
anti-theft alarm or remote start, the horn
will sound twice and the direction indicators
will not flash.
Sounding the Panic Alarm Press the button to sound the
panic alarm. Press the button
again or switch the ignition on to
turn it off.
Note: The panic alarm only operates when
the ignition is off.
Remote Start (If Equipped) WARNING
To avoid exhaust fumes, do not use
remote start if your vehicle is parked
indoors or in areas that are not well
ventilated. Note:
Do not use remote start if your fuel
level is low. The remote start button is on the
transmitter.
This feature allows you to start your
vehicle from the outside. The transmitter
has an extended operating range. Vehicles with automatic climate control
can be configured to operate when the
vehicle is remote started. See Automatic
Climate Control
(page 115).
Many states and provinces have
restrictions for the use of remote start.
Check your local and state or provincial
laws for specific requirements regarding
remote start systems.
The remote start system does not work if
any of the following occur:
• The ignition is on.
• The anti-theft alarm triggers.
• You switch off the feature.
• The hood is open.
• The transmission is not in park (P).
• The battery voltage is below the
minimum operating voltage.
• The service engine soon indicator was
on the last time your vehicle was
driven.
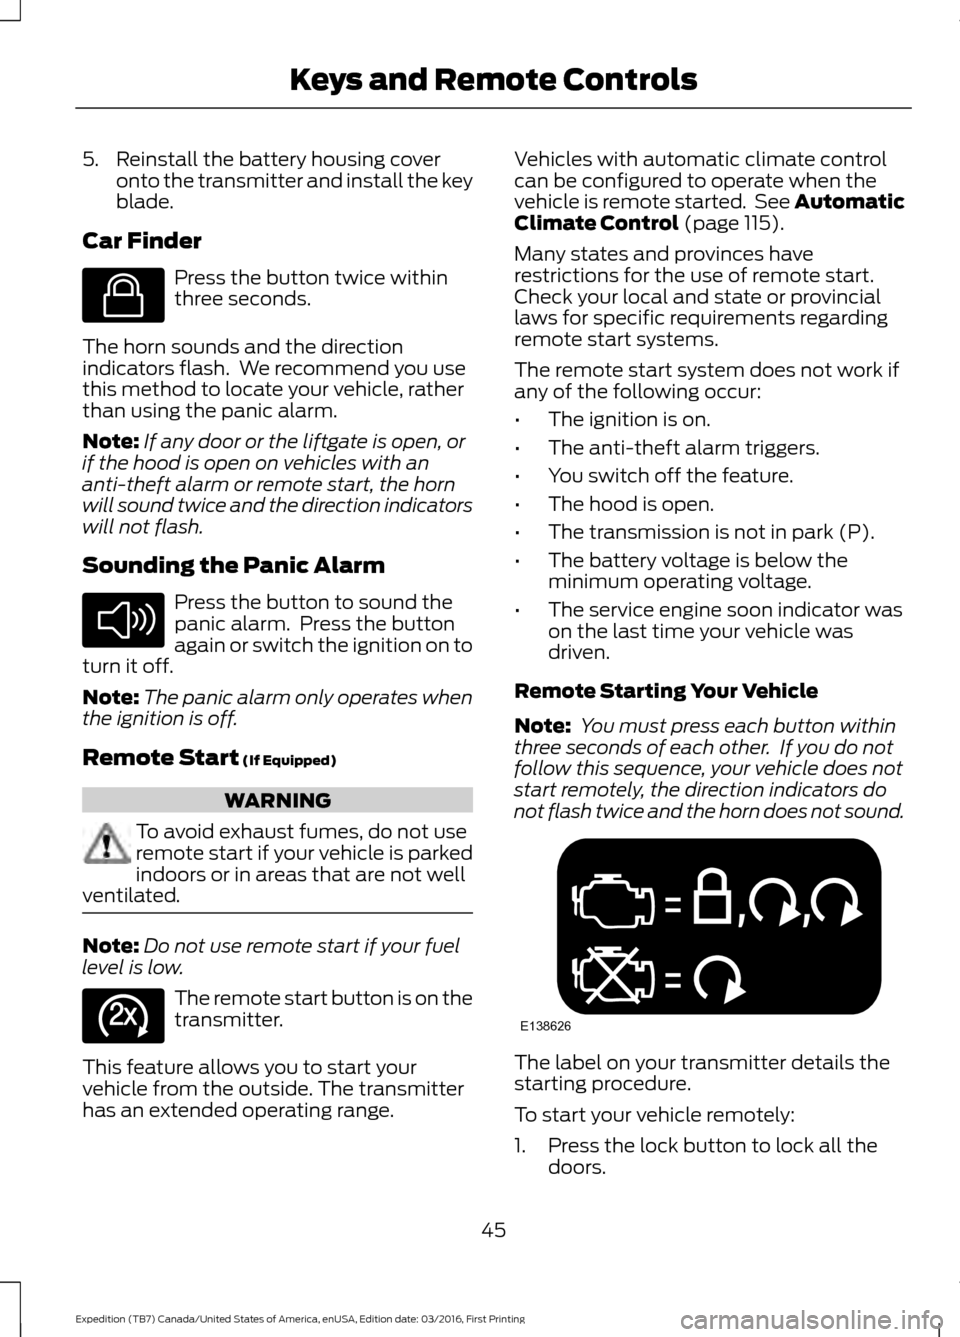
Remote Starting Your Vehicle
Note: You must press each button within
three seconds of each other. If you do not
follow this sequence, your vehicle does not
start remotely, the direction indicators do
not flash twice and the horn does not sound. The label on your transmitter details the
starting procedure.
To start your vehicle remotely:
1. Press the lock button to lock all the
doors.
45
Expedition (TB7) Canada/United States of America, enUSA, Edition date: 03/2016, First Printing Keys and Remote ControlsE138623 E138624 E138625 E138626
Page 56 of 500
At the Liftgate
The liftgate unlocks and opens
automatically when you press the liftgate
release button.
Smart Unlocks for Integrated
Keyhead Transmitter (If Equipped)
This helps to prevent you from locking
yourself out of your vehicle if the key is still
in the ignition.
When you open one of the front doors and
lock your vehicle with the power door lock
control, all the doors will lock then unlock
and the horn will sound twice if the key is
still in the ignition.
Your can still lock your vehicle with the key
in the ignition by:
• Using the manual lock on the door.
• Locking the driver door with a key.
• Using the keyless entry keypad.
• Pressing the lock button on another
remote control.
Smart Unlocks for Intelligent
Access Keys
(If Equipped)
This helps to prevent you from locking your
key inside the passenger compartment or
rear cargo area.
When you electronically lock your vehicle
with any door open, the transmission is in
park (P) and the ignition is off, the system
searches for an intelligent access key
inside your vehicle after you close the last
door. If the system finds a key, all of the
doors will immediately unlock and the horn
will sound twice, indicating that a key is
inside.
You can override the smart unlock feature
and intentionally lock the intelligent access
key inside your vehicle. To do this, lock your vehicle after you have
closed all the doors by:
•
Using the keyless entry keypad.
• Pressing the lock button on another
intelligent access key.
When you open one of the front doors and
lock your vehicle using the power door lock
control, all doors will lock then unlock if:
• The ignition is on.
• The ignition is off and the transmission
is not in park (P).
Auto Relock
If you press the unlock button on the
remote control and do not open a door
within 45 seconds, your vehicle will lock
and the alarm will arm. You can switch this
feature on or off in the information display.
See
Information Displays (page 91).
Autolock
Autolock locks all the doors when all of the
following occur:
• All doors are closed.
• The ignition is on.
• You shift into any gear putting your
vehicle in motion.
• Your vehicle's speed is greater than
12 mph (20 km/h)
.
Autolock repeats when:
• You open then close any door while the
ignition is on and your vehicle's speed
is less than
9 mph (15 km/h).
• Your vehicle's speed is greater than
12 mph (20 km/h)
.
53
Expedition (TB7) Canada/United States of America, enUSA, Edition date: 03/2016, First Printing Doors and Locks
Page 78 of 500
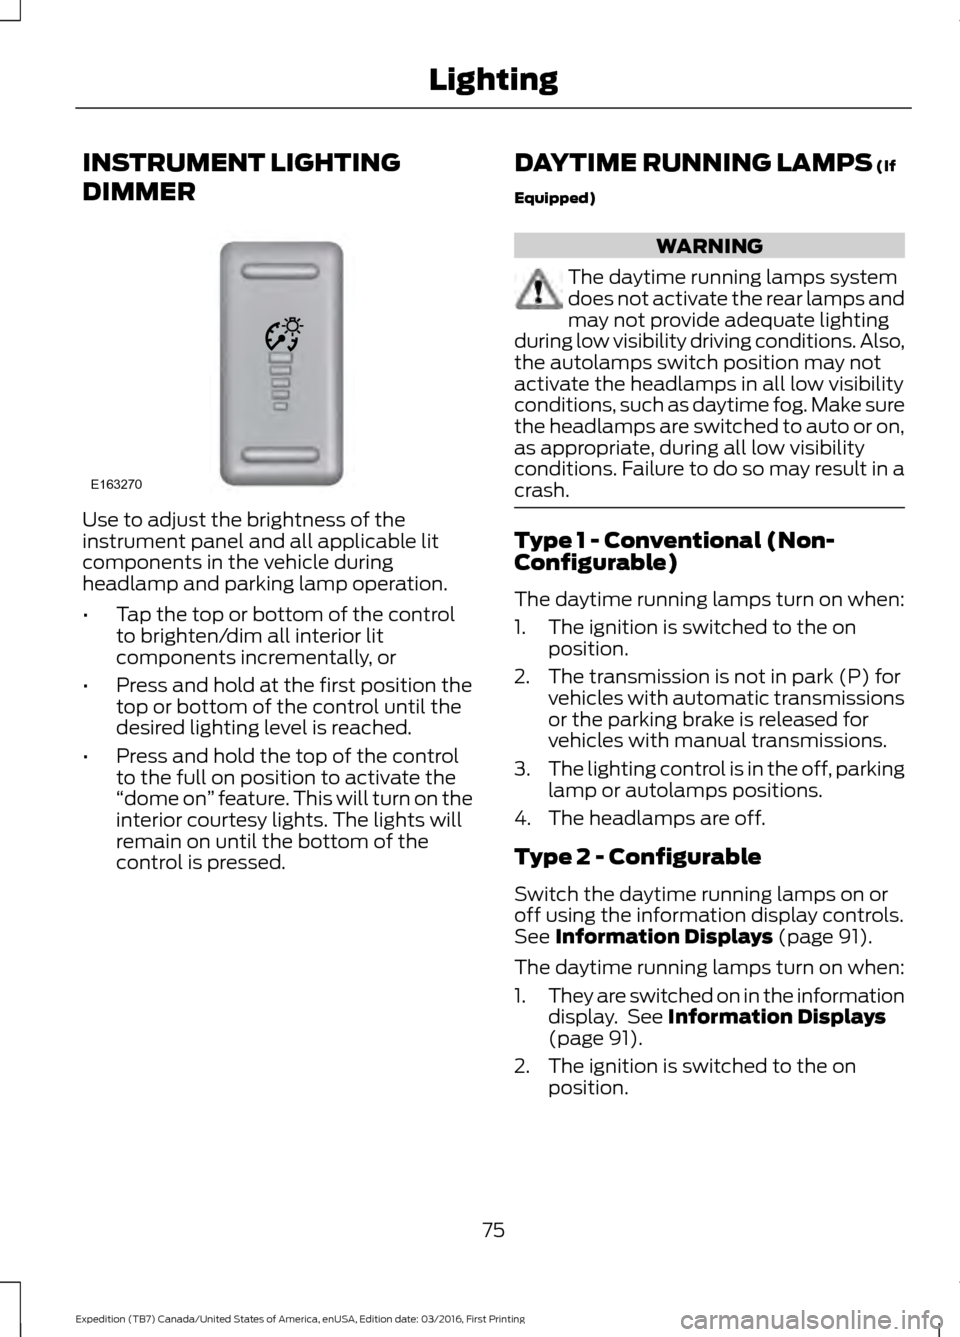
INSTRUMENT LIGHTING
DIMMER
Use to adjust the brightness of the
instrument panel and all applicable lit
components in the vehicle during
headlamp and parking lamp operation.
•
Tap the top or bottom of the control
to brighten/dim all interior lit
components incrementally, or
• Press and hold at the first position the
top or bottom of the control until the
desired lighting level is reached.
• Press and hold the top of the control
to the full on position to activate the
“dome on ” feature. This will turn on the
interior courtesy lights. The lights will
remain on until the bottom of the
control is pressed. DAYTIME RUNNING LAMPS (If
Equipped) WARNING
The daytime running lamps system
does not activate the rear lamps and
may not provide adequate lighting
during low visibility driving conditions. Also,
the autolamps switch position may not
activate the headlamps in all low visibility
conditions, such as daytime fog. Make sure
the headlamps are switched to auto or on,
as appropriate, during all low visibility
conditions. Failure to do so may result in a
crash. Type 1 - Conventional (Non-
Configurable)
The daytime running lamps turn on when:
1. The ignition is switched to the on
position.
2. The transmission is not in park (P) for vehicles with automatic transmissions
or the parking brake is released for
vehicles with manual transmissions.
3. The lighting control is in the off, parking
lamp or autolamps positions.
4. The headlamps are off.
Type 2 - Configurable
Switch the daytime running lamps on or
off using the information display controls.
See
Information Displays (page 91).
The daytime running lamps turn on when:
1. They are switched on in the information
display. See
Information Displays
(page 91).
2. The ignition is switched to the on position.
75
Expedition (TB7) Canada/United States of America, enUSA, Edition date: 03/2016, First Printing LightingE163270
Page 79 of 500
3. The transmission is not in park (P) for
vehicles with automatic transmissions
or the parking brake is released for
vehicles with manual transmissions.
4. The lighting control is in the autolamps
position.
5. The headlamps are off.
The other lighting control switch positions
do not activate the daytime running lamps,
and you can use them to temporarily
override autolamp control.
When switched off in the information
display, the daytime running lamps are off
in all lighting control switch positions.
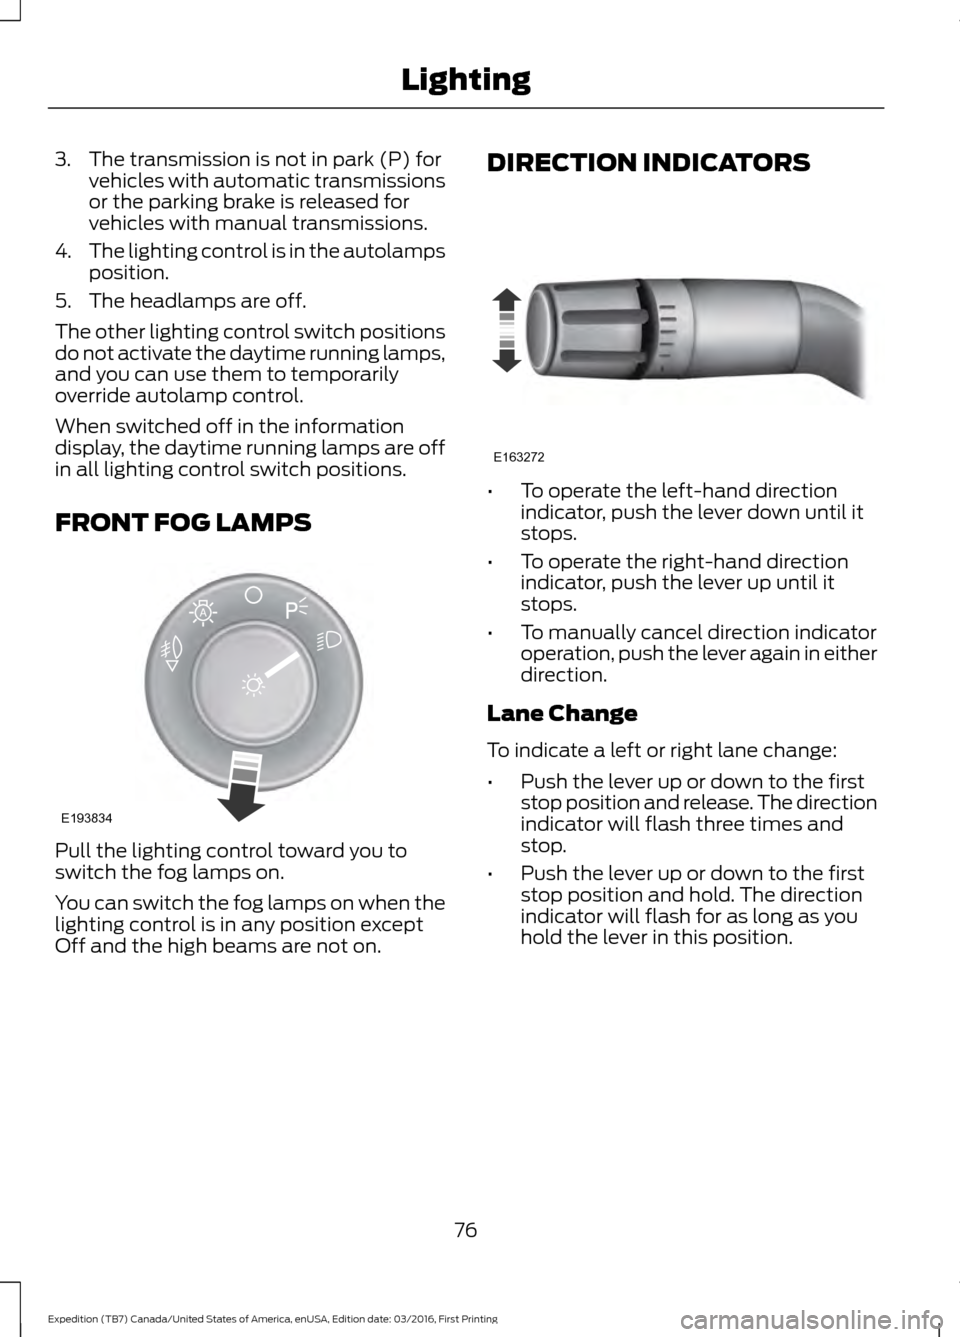
FRONT FOG LAMPS Pull the lighting control toward you to
switch the fog lamps on.
You can switch the fog lamps on when the
lighting control is in any position except
Off and the high beams are not on. DIRECTION INDICATORS •
To operate the left-hand direction
indicator, push the lever down until it
stops.
• To operate the right-hand direction
indicator, push the lever up until it
stops.
• To manually cancel direction indicator
operation, push the lever again in either
direction.
Lane Change
To indicate a left or right lane change:
• Push the lever up or down to the first
stop position and release. The direction
indicator will flash three times and
stop.
• Push the lever up or down to the first
stop position and hold. The direction
indicator will flash for as long as you
hold the lever in this position.
76
Expedition (TB7) Canada/United States of America, enUSA, Edition date: 03/2016, First Printing LightingE193834
A E163272
Page 92 of 500
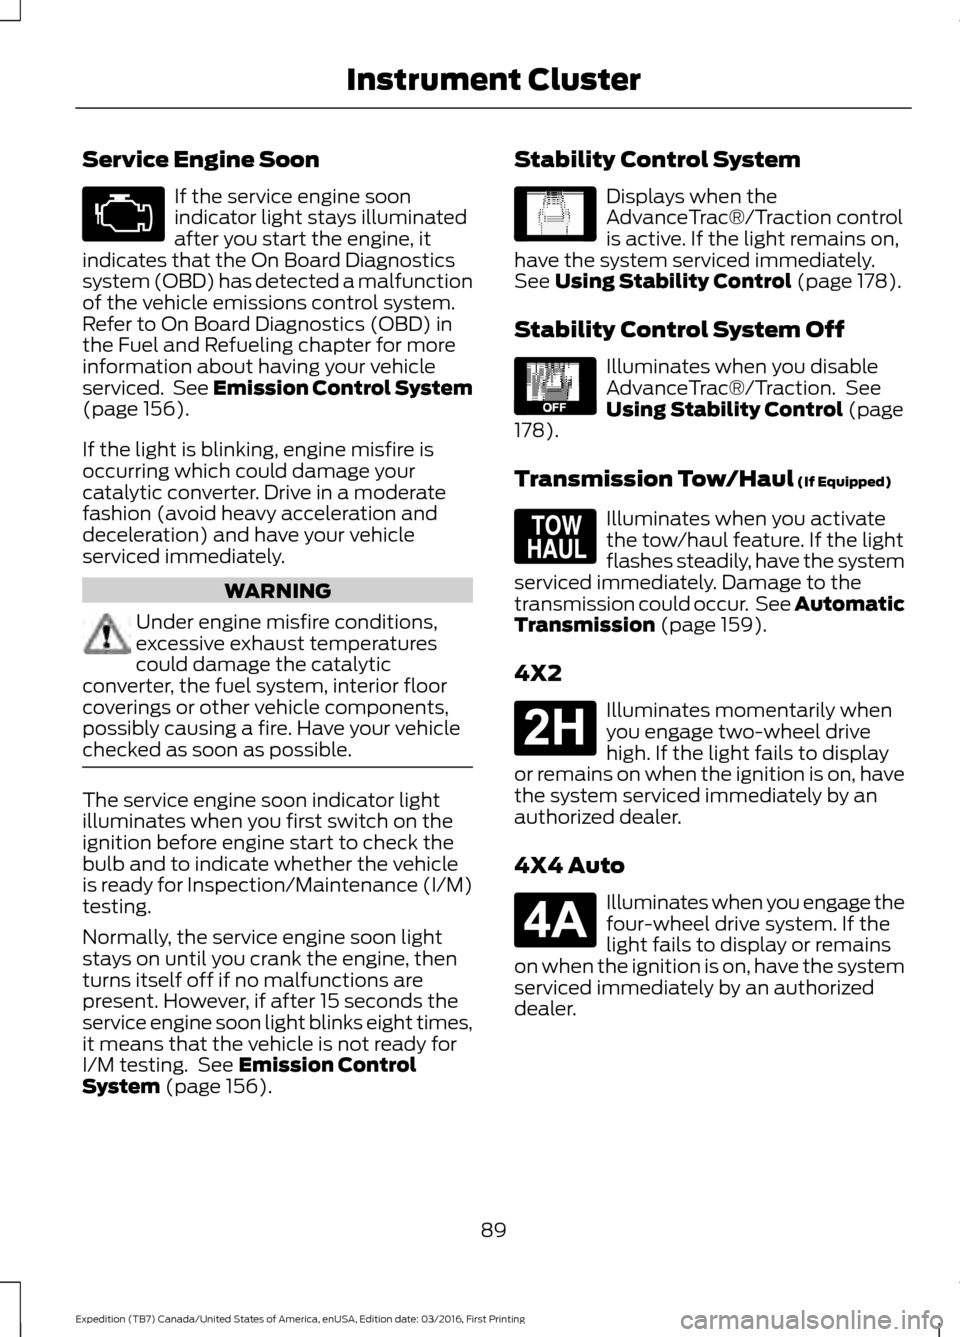
Service Engine Soon
If the service engine soon
indicator light stays illuminated
after you start the engine, it
indicates that the On Board Diagnostics
system (OBD) has detected a malfunction
of the vehicle emissions control system.
Refer to On Board Diagnostics (OBD) in
the Fuel and Refueling chapter for more
information about having your vehicle
serviced. See Emission Control System
(page 156).
If the light is blinking, engine misfire is
occurring which could damage your
catalytic converter. Drive in a moderate
fashion (avoid heavy acceleration and
deceleration) and have your vehicle
serviced immediately. WARNING
Under engine misfire conditions,
excessive exhaust temperatures
could damage the catalytic
converter, the fuel system, interior floor
coverings or other vehicle components,
possibly causing a fire. Have your vehicle
checked as soon as possible. The service engine soon indicator light
illuminates when you first switch on the
ignition before engine start to check the
bulb and to indicate whether the vehicle
is ready for Inspection/Maintenance (I/M)
testing.
Normally, the service engine soon light
stays on until you crank the engine, then
turns itself off if no malfunctions are
present. However, if after 15 seconds the
service engine soon light blinks eight times,
it means that the vehicle is not ready for
I/M testing. See
Emission Control
System (page 156). Stability Control System Displays when the
AdvanceTrac®/Traction control
is active. If the light remains on,
have the system serviced immediately.
See
Using Stability Control (page 178).
Stability Control System Off Illuminates when you disable
AdvanceTrac®/Traction. See
Using Stability Control
(page
178).
Transmission Tow/Haul
(If Equipped) Illuminates when you activate
the tow/haul feature. If the light
flashes steadily, have the system
serviced immediately. Damage to the
transmission could occur. See
Automatic
Transmission (page 159).
4X2 Illuminates momentarily when
you engage two-wheel drive
high. If the light fails to display
or remains on when the ignition is on, have
the system serviced immediately by an
authorized dealer.
4X4 Auto Illuminates when you engage the
four-wheel drive system. If the
light fails to display or remains
on when the ignition is on, have the system
serviced immediately by an authorized
dealer.
89
Expedition (TB7) Canada/United States of America, enUSA, Edition date: 03/2016, First Printing Instrument Cluster E138639 E130458 E161509 E181778 E181781
Page 128 of 500
2. Continue pressing the control until it
reaches the end of the seat track.
3. Continue pressing the control for about
two seconds. You will feel the seat
bounce back slightly.
Power Lumbar (If Equipped) The control is located on the outboard side
of the seat. Press the forward or rearward
side of the control for more or less support.
MEMORY FUNCTION
(If Equipped)
WARNINGS
Before activating the memory seat,
make sure that the area immediately
surrounding the seat is clear of
obstructions and that all occupants are
clear of moving parts. Do not use the memory function
when your vehicle is moving.
This feature automatically recalls the
position of the following:
•
Driver seat.
• Power mirrors.
• Power steering column.
• Optional power adjustable foot pedals.
The memory control is on the left side of
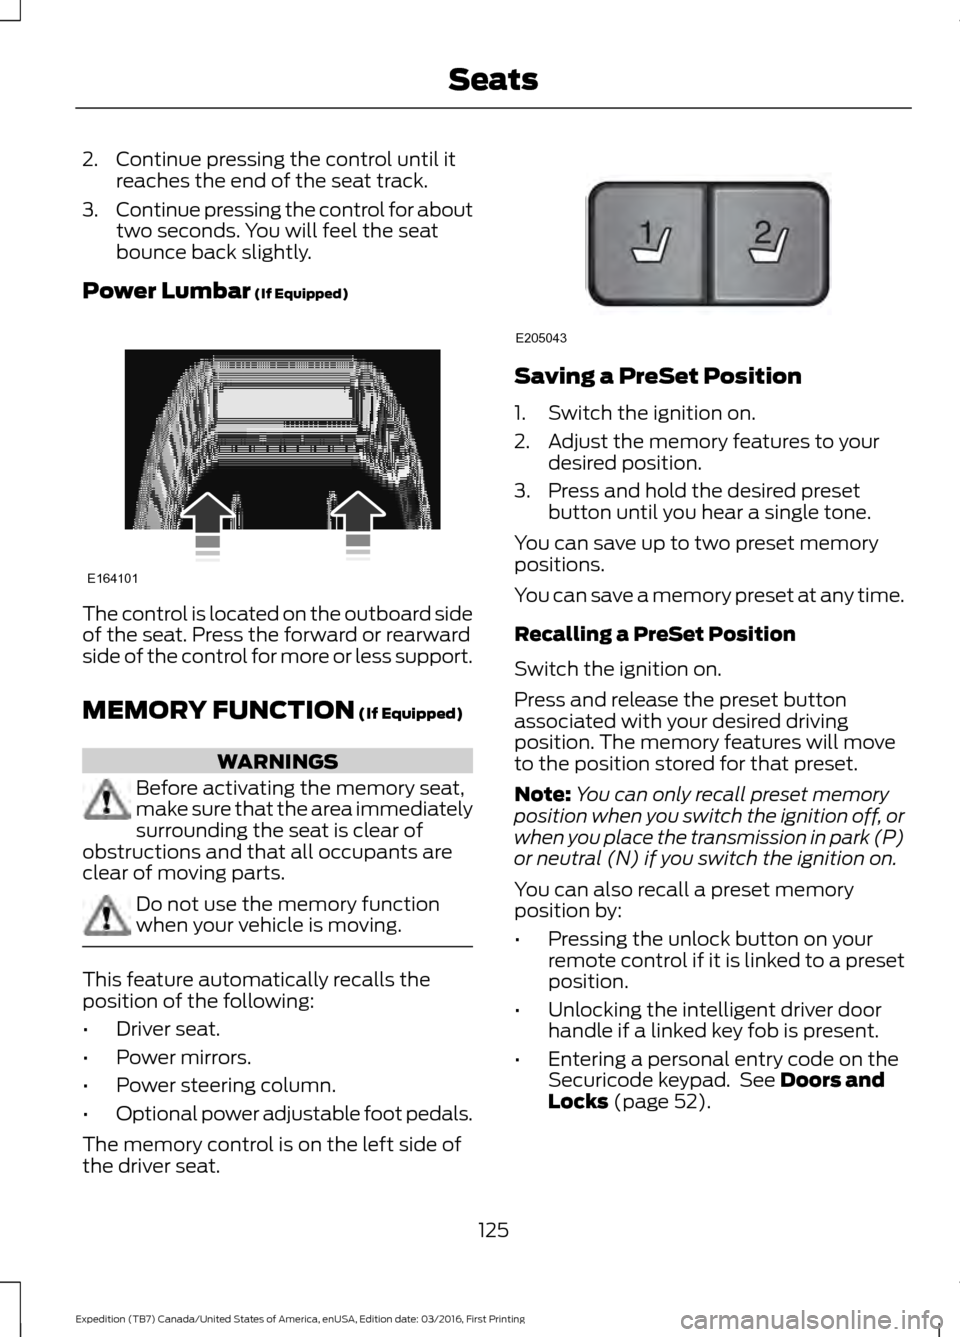
the driver seat. Saving a PreSet Position
1. Switch the ignition on.
2. Adjust the memory features to your
desired position.
3. Press and hold the desired preset button until you hear a single tone.
You can save up to two preset memory
positions.
You can save a memory preset at any time.
Recalling a PreSet Position
Switch the ignition on.
Press and release the preset button
associated with your desired driving
position. The memory features will move
to the position stored for that preset.
Note: You can only recall preset memory
position when you switch the ignition off, or
when you place the transmission in park (P)
or neutral (N) if you switch the ignition on.
You can also recall a preset memory
position by:
• Pressing the unlock button on your
remote control if it is linked to a preset
position.
• Unlocking the intelligent driver door
handle if a linked key fob is present.
• Entering a personal entry code on the
Securicode keypad. See
Doors and
Locks (page 52).
125
Expedition (TB7) Canada/United States of America, enUSA, Edition date: 03/2016, First Printing SeatsE164101 21
E205043
Page 129 of 500
Note:
Using a linked key fob to recall your
memory position when the ignition is off
moves the seat and steering column to the
Easy Entry position.
Note: Pressing any active memory feature
control - power seat, mirror (or steering
column switch) (or any memory button)
during a memory recall cancels the
operation.
Linking a PreSet Position to your
Remote Control or Intelligent Access
Key Fob
Your vehicle can save the preset memory
positions for up to two remote controls.
1. With the ignition on, move the memory
positions to the desired positions.
2. Press and hold the desired preset button for about five seconds. A tone
sounds after about two seconds.
Continue holding until you hear a
second tone.
3. Within three seconds, press the lock button on the remote control you are
linking.
To unlink a remote control, follow the
same procedure – except in step 3, press
the unlock button on the remote control.
Note: If more than one linked remote
control or intelligent access key is in range,
the memory function moves to the settings
of the first key to initiate a memory recall.
Easy Entry and Exit Feature (If
Equipped)
This feature adjusts the position of the seat
and steering column to allow easier exit
and entry to the vehicle.
The driver seat automatically moves 2
inches (5 centimeters) rearward when the
transmission is in park (P) and you remove
the key from the ignition or you switch the
ignition off. The driver seat returns to the previous
position when you put the key in the
ignition or switch the ignition on.
You can enable or disable this feature in
the information display. See Information
Displays
(page 91).
REAR SEATS
Folding Down the Second Row
40% Seat WARNINGS
Use caution when folding the
seatback to the flat back position as
the system will move forward when
you lift the release handle. Before returning the seatback to its
original position, make sure that
cargo or any objects are not trapped
behind the seatback. After returning the
seatback to its original position, pull on the
seatback to make sure that it has fully
latched. An unlatched seat may become
dangerous in the event of a sudden stop
or crash. Make sure that the head restraint is in the
down position and no objects such as
books, purses or briefcases are on the floor
in front of the second row seats before
folding them down.
Move the front passenger seat forward so
that the second row seat head restraint
clears the front seat.
126
Expedition (TB7) Canada/United States of America, enUSA, Edition date: 03/2016, First Printing Seats
Page 162 of 500
AUTOMATIC TRANSMISSION
WARNINGS
Always set the parking brake fully
and make sure you shift the gearshift
lever to park (P). Switch the ignition
off and remove the key whenever you leave
your vehicle. Do not use the tow/haul feature
when driving in icy or slippery
conditions as the increased engine
braking can cause the rear wheels to slide
and your vehicle to swing around with the
possible loss of vehicle control. Understanding the Shift Positions
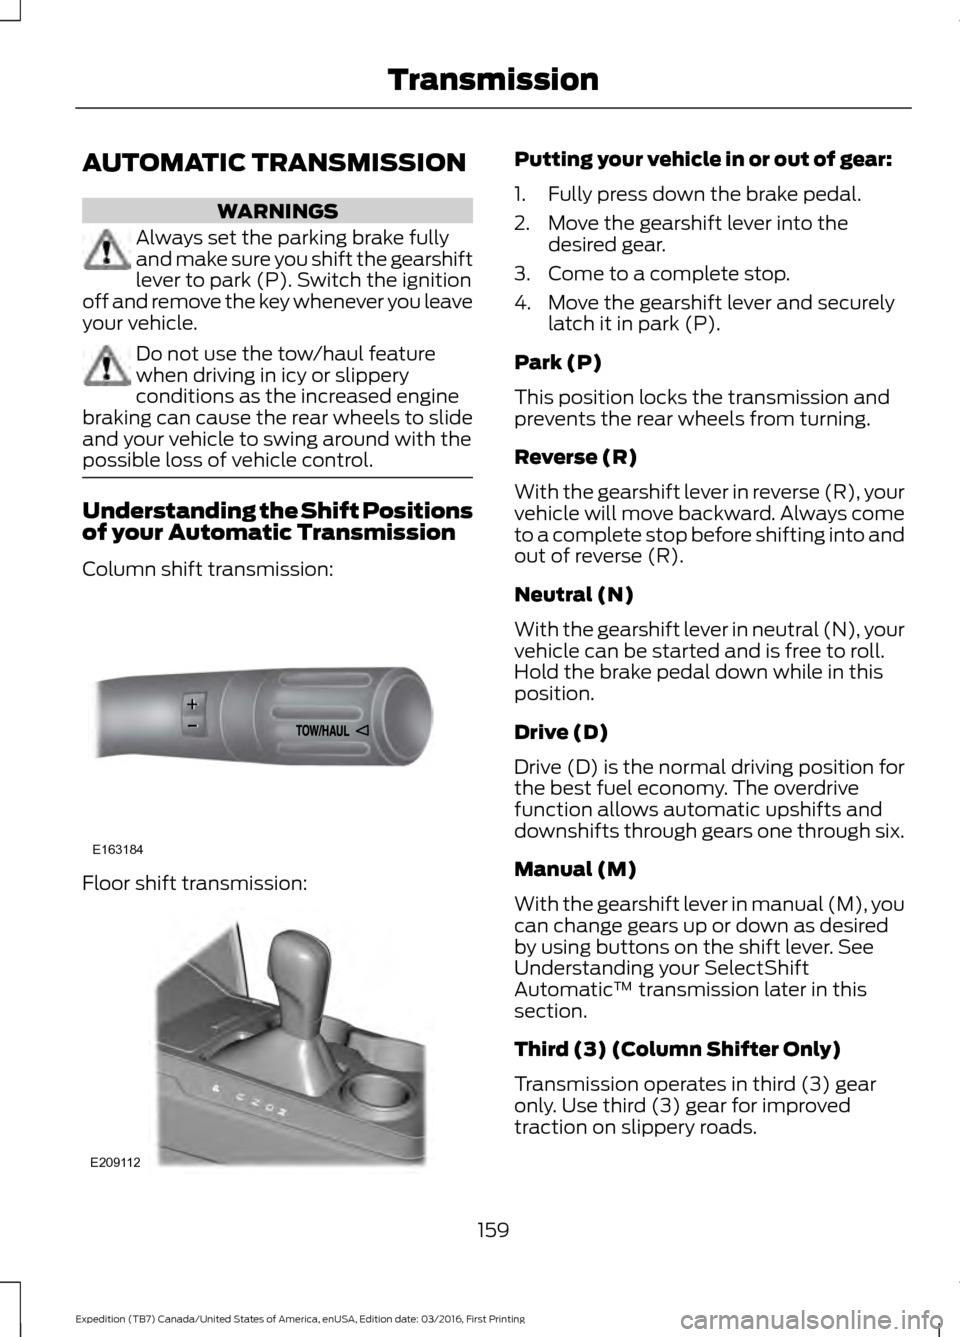
of your Automatic Transmission
Column shift transmission:
Floor shift transmission: Putting your vehicle in or out of gear:
1. Fully press down the brake pedal.
2. Move the gearshift lever into the
desired gear.
3. Come to a complete stop.
4. Move the gearshift lever and securely latch it in park (P).
Park (P)
This position locks the transmission and
prevents the rear wheels from turning.
Reverse (R)
With the gearshift lever in reverse (R), your
vehicle will move backward. Always come
to a complete stop before shifting into and
out of reverse (R).
Neutral (N)
With the gearshift lever in neutral (N), your
vehicle can be started and is free to roll.
Hold the brake pedal down while in this
position.
Drive (D)
Drive (D) is the normal driving position for
the best fuel economy. The overdrive
function allows automatic upshifts and
downshifts through gears one through six.
Manual (M)
With the gearshift lever in manual (M), you
can change gears up or down as desired
by using buttons on the shift lever. See
Understanding your SelectShift
Automatic ™ transmission later in this
section.
Third (3) (Column Shifter Only)
Transmission operates in third (3) gear
only. Use third (3) gear for improved
traction on slippery roads.
159
Expedition (TB7) Canada/United States of America, enUSA, Edition date: 03/2016, First Printing TransmissionE163184 E209112