cooling FORD EXPLORER 1998 2.G Owners Manual
[x] Cancel search | Manufacturer: FORD, Model Year: 1998, Model line: EXPLORER, Model: FORD EXPLORER 1998 2.GPages: 210, PDF Size: 1.65 MB
Page 25 of 210
the floor ducts will be slightly warmer than the air sent to the
instrument panel registers. If the temperature is about 10ÉC (50ÉF) or
higher, the air conditioner will automatically dehumidify the air to
prevent fogging.
²
-Distributes outside air through the windshield defroster ducts.
It can be used to clear ice or fog from the windshield. If the
temperature is about 10ÉC (50ÉF) or higher, the air conditioner will
automatically dehumidify the air to prevent fogging.
Operating tips
²In humid weather, selectbefore driving. This will prevent your
windshield from fogging. After a few minutes, select any desired
position.
²To prevent humidity buildup inside the vehicle, don't drive with the
climate control system in the OFF position.
²Don't put objects under the front seat that will interfere with the
airflow to the back seats.
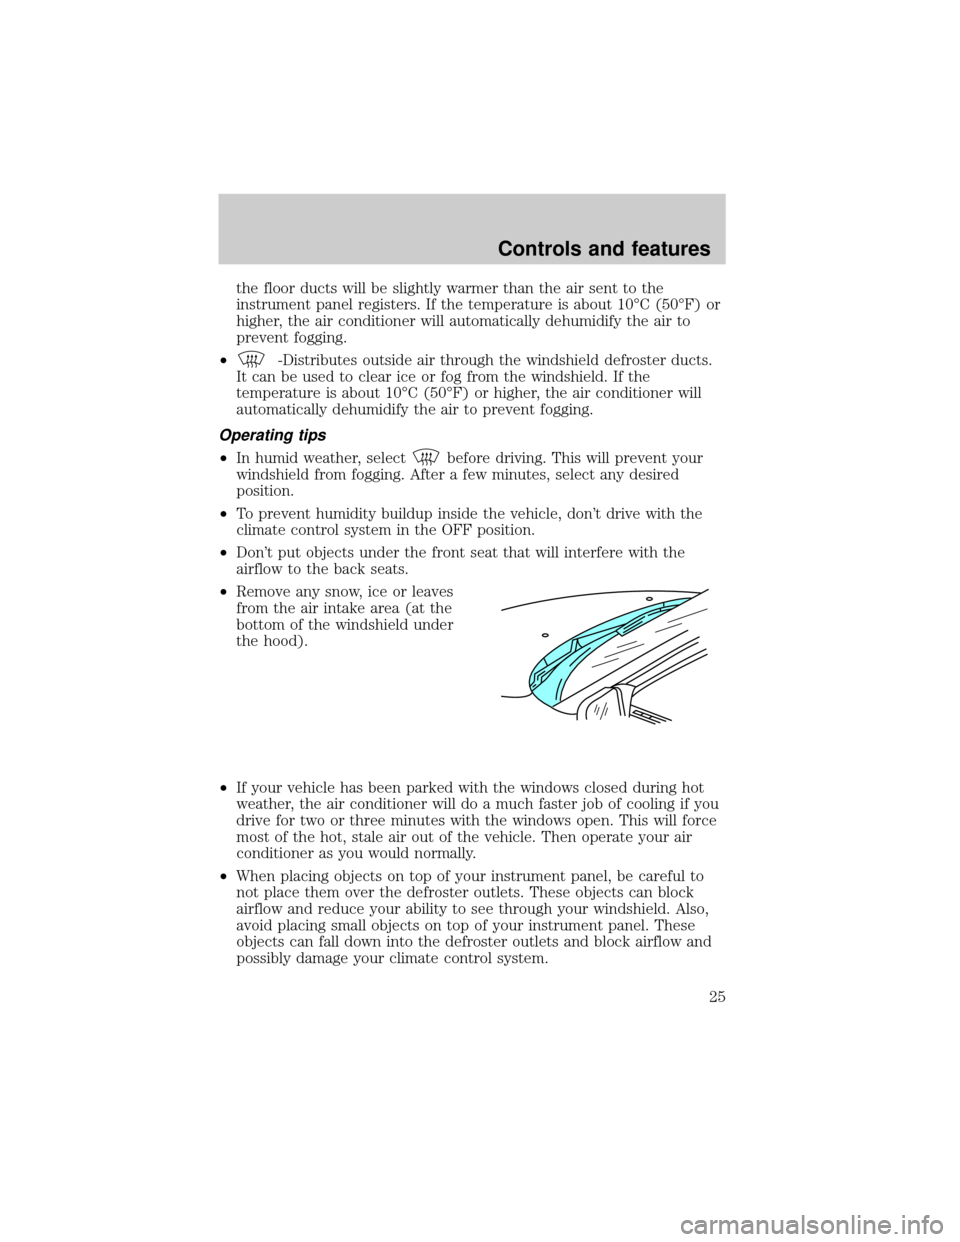
²Remove any snow, ice or leaves
from the air intake area (at the
bottom of the windshield under
the hood).
²If your vehicle has been parked with the windows closed during hot
weather, the air conditioner will do a much faster job of cooling if you
drive for two or three minutes with the windows open. This will force
most of the hot, stale air out of the vehicle. Then operate your air
conditioner as you would normally.
²When placing objects on top of your instrument panel, be careful to
not place them over the defroster outlets. These objects can block
airflow and reduce your ability to see through your windshield. Also,
avoid placing small objects on top of your instrument panel. These
objects can fall down into the defroster outlets and block airflow and
possibly damage your climate control system.
Controls and features
25
Page 27 of 210
remains automatic unless the fan speed thumbwheel is turned or the
steering wheel fan speed control is pressed.
When in AUTOMATIC and weather conditions require heat, air will be
sent to the floor. However, if the engine is not warm enough to provide
heat, the fan will be at a low speed and the air will be directed to the
windshield. In 3ó minutes or less, the fan speed will start to increase
and the airflow location will change to the floor area.
If unusual conditions exist (i.e.-window fogging, etc.), the manual
override controls allow you to select airflow locations and the fan control
allows you to adjust fan speed as necessary.
Temperature selection
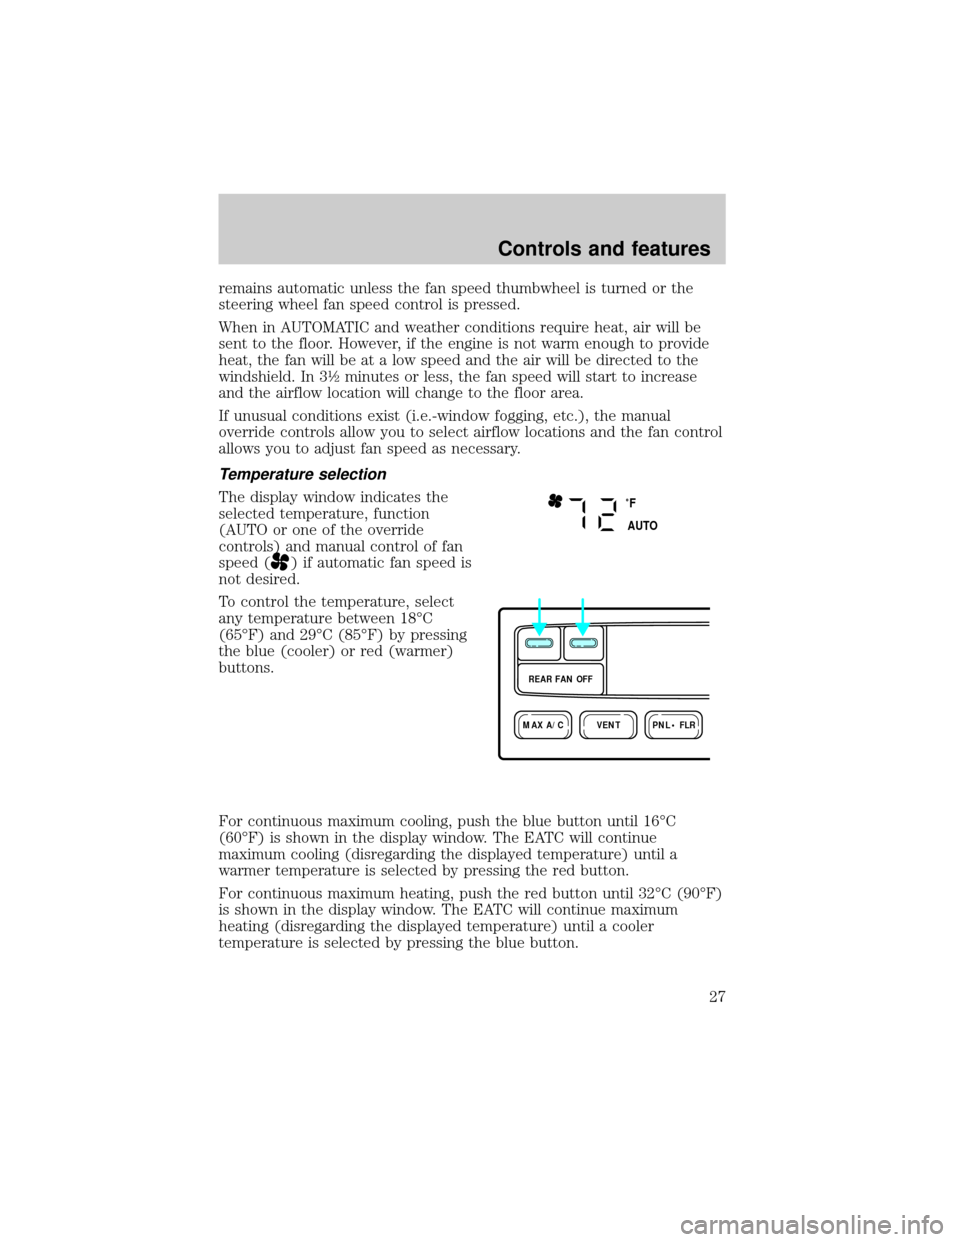
The display window indicates the
selected temperature, function
(AUTO or one of the override
controls) and manual control of fan
speed (
) if automatic fan speed is
not desired.
To control the temperature, select
any temperature between 18ÉC
(65ÉF) and 29ÉC (85ÉF) by pressing
the blue (cooler) or red (warmer)
buttons.
For continuous maximum cooling, push the blue button until 16ÉC
(60ÉF) is shown in the display window. The EATC will continue
maximum cooling (disregarding the displayed temperature) until a
warmer temperature is selected by pressing the red button.
For continuous maximum heating, push the red button until 32ÉC (90ÉF)
is shown in the display window. The EATC will continue maximum
heating (disregarding the displayed temperature) until a cooler
temperature is selected by pressing the blue button.
˚F
AUTO
VENTPNL • FLRMAX A/C
REAR FAN OFF
Controls and features
27
Page 31 of 210
Operating tips
²In humid weather, select DEFbefore driving. This will prevent
your windshield from fogging. After a few minutes, select any desired
position.
²To prevent humidity buildup inside the vehicle, don't drive with the
climate control system in the OFF position.
²Don't put objects under the front seat that will interfere with the
airflow to the back seats.
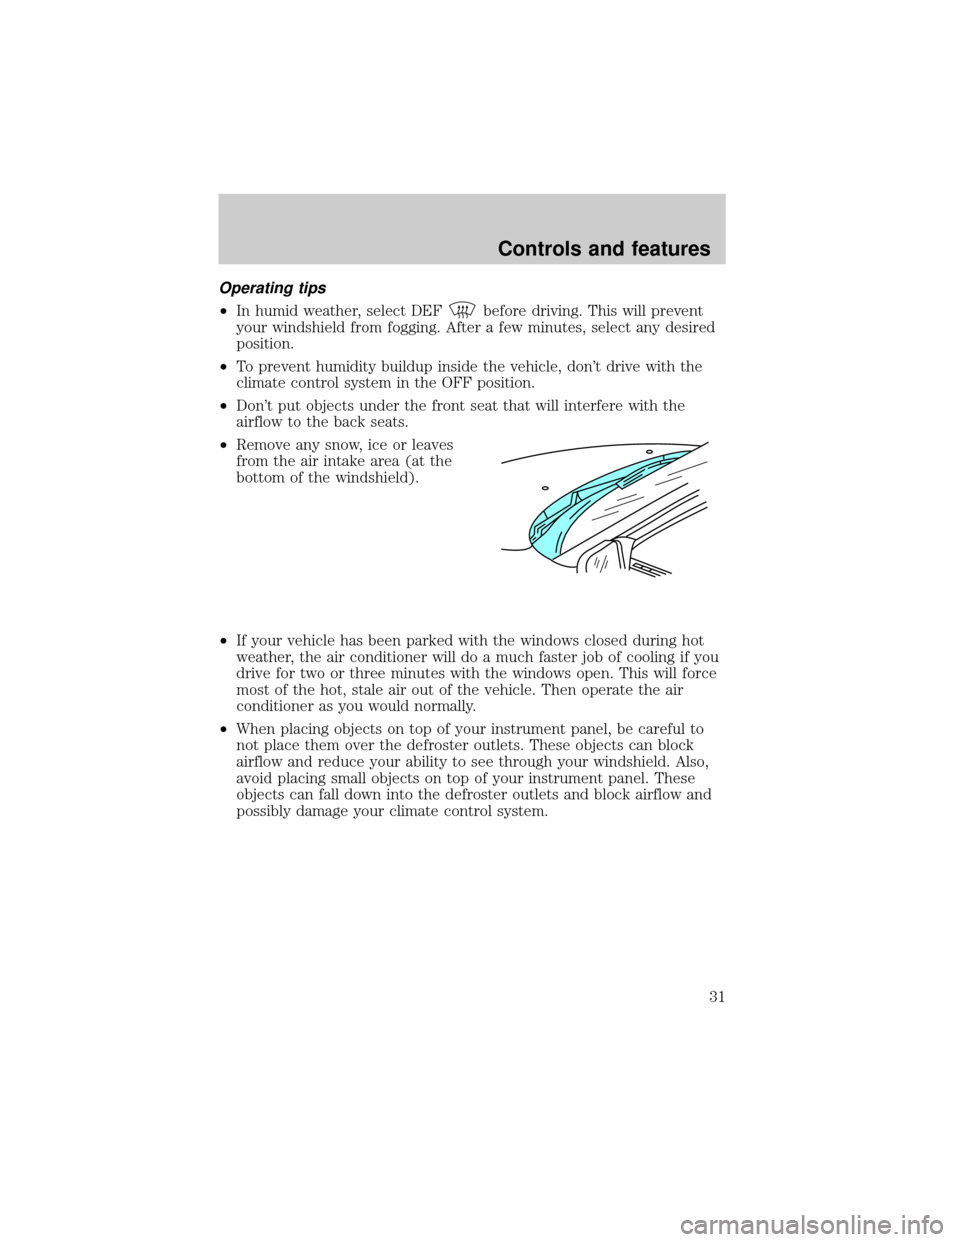
²Remove any snow, ice or leaves
from the air intake area (at the
bottom of the windshield).
²If your vehicle has been parked with the windows closed during hot
weather, the air conditioner will do a much faster job of cooling if you
drive for two or three minutes with the windows open. This will force
most of the hot, stale air out of the vehicle. Then operate the air
conditioner as you would normally.
²When placing objects on top of your instrument panel, be careful to
not place them over the defroster outlets. These objects can block
airflow and reduce your ability to see through your windshield. Also,
avoid placing small objects on top of your instrument panel. These
objects can fall down into the defroster outlets and block airflow and
possibly damage your climate control system.
Controls and features
31
Page 132 of 210
Trailer lamps
Trailer lamps are required on most towed vehicles. Make sure your
trailer lamps conform to local and Federal regulations. See your dealer or
trailer rental agency for proper instructions and equipment for hooking
up trailer lamps.
Never connect any trailer lighting to the vehicle's taillamp
circuits, because it may damage the electrical system resulting in
fire. Contact your local Ford dealership for assistance in proper trailer
tow wiring installation. Additional electrical equipment may be
required.
Using a step bumper
The rear bumper is equipped with an integral hitch and requires only a
ball with a 19 mm (3/4 inch) shank diameter. The bumper has a 1 590 kg
(3 500 lb.) trailer weight and 159 kg (350 lb.) tongue weight capability.
Use a frame-mounted weight distributing hitch for trailers over 1 590 kg
(3 500 lb).
Driving while you tow
Do not drive faster than 88 km/h (55 mph) when towing a trailer.
Speed control may shut off if you are towing on long, steep grades.
When towing a trailer:
²Use a lower gear when towing up or down steep hills. This will
eliminate excessive downshifting and upshifting for optimum fuel
economy and transmission cooling.
²Anticipate stops and brake gradually.
Servicing after towing
If you tow a trailer for long distances, your vehicle will require more
frequent service intervals. Refer to the Severe Duty Schedule in your
``Service Guide'' for more information.
Trailer towing tips
²Practice turning, stopping and backing up in an area before starting on
a trip to get the feel of the vehicle trailer combination. When turning,
make wider turns so the trailer wheels will clear curbs and other
obstacles.
Driving
132
Page 133 of 210

²Allow more distance for stopping with a trailer attached.
²The trailer tongue weight should be 10±15% of the loaded trailer
weight.
²After you have traveled 80 km (50 miles), thoroughly check your
hitch, electrical connections and trailer wheel lug nuts.
²When stopped in traffic for long periods of time in hot weather, place
the gearshift in P (Park) (automatic transmissions) or 1 (First)
(manual transmissions) and increase idle speed. This aids engine
cooling and air conditioner efficiency.
²Vehicles with trailers should not be parked on a grade. If you must
park on a grade, place wheel chocks under the trailer's wheels.
Launching or retrieving a boat
When backing down a ramp during boat launching or retrieval,
²Do not allow the static water level to rise above the bottom edge of
the rear bumper and
²Do not allow waves to break higher than 15 cm (six inches) above the
bottom edge of the rear bumper.
Exceeding these limits may allow water to enter critical vehicle
components, adversely affecting driveability, emissions and reliability.
If the rear axle is submerged in water, the rear axle lubricant should be
checked and changed, if necessary. The rear axle is filled with a
synthetic lubricant and does not normally require a lubricant change for
the life of the vehicle. Rear axle lubricant quantities should not need to
be checked unless a leak is suspected.
Recreational towing (all wheels on the ground)
(Neutral tow kit accessory)
On vehicles equipped with a 4.0L engine, an accessory is available that
allows you to tow your vehicle, behind another vehicle, with all the
wheels on the ground. Contact your dealer for more details. Do not tow
your vehicle with all wheels on the ground unless you install the neutral
tow kit as vehicle damage may occur.
LUGGAGE RACK
Maximum load is 45 kg (100 lbs), evenly distributed. If it is not possible
to distribute the load, position it as far rearward as possible. Adjustable
tie down loops must be used to secure the load.
Driving
133
Page 149 of 210
JUMP STARTING YOUR VEHICLE
The gases around the battery can explode if exposed to flames,
sparks, or lit cigarettes. An explosion could result in injury or
vehicle damage.
Do not push start your vehicle. You could damage the catalytic
converter.
Batteries contain sulfuric acid which burns skin, eyes, and
clothing.
Preparing your vehicle
Also see the label on the battery.
1. Use only a 12±volt supply to start your vehicle. If you connect your
battery to a 24±volt power supply you can damage your starter, ignition
system and other electrical components.
2. Do not disconnect the battery of the disabled vehicle as this could
damage the vehicle's electrical system.
3. Park the booster vehicle close to the hood of the disabled vehicle
making sure theydo nottouch. Set the parking brake on both vehicles
and stay clear of the engine cooling fan and other moving parts.
4. Check all battery terminals and remove any excessive corrosion before
you attach the battery cables.
5. Turn the heater fan on in both vehicles to protect any electrical
surges. Turn all other accessories off.
Connecting the jumper cables
1. Position the vehicles so that they do not touch one another.
2. Switch off the engine. Switch off any unnecessary electrical
equipment.
3. Connect the positive (+) terminal of the discharged battery (1) to the
positive (+) terminal of the booster battery (2).
4. Connect one end of the second lead to the negative (-) terminal of the
booster battery (3) and the other end to a metal part of the engine to be
started (4), not to the negative (-) terminal of the discharged battery.
Roadside emergencies
149
Page 167 of 210
If the engine coolant has not been checked for a long period of time, the
engine coolant reservoir may eventually empty. If this occurs, add engine
coolant to the coolant reservoir. For more information on engine coolant
maintenance, refer toAdding engine coolantin this chapter.
Automotive fluids are not interchangeable; do not use engine coolant,
antifreeze or windshield washer fluid outside of its specified function and
vehicle location.
Adding engine coolant
Do not put engine coolant in the container for the windshield
washer fluid.
If sprayed on the windshield, engine coolant could make it difficult to see
through the windshield.
When the engine is cool, add a 50/50 mixture of engine coolant and
water to the engine coolant recovery reservoir-DO NOT ADD DIRECTLY
TO THE RADIATOR. Add straight water only in an emergency, but you
should replace it with a 50/50 mixture of coolant and distilled water as
soon as possible.
Check the coolant level in the coolant recovery reservoir the next few
times you drive the vehicle. If necessary, add enough of a 50/50 mixture
of coolant and water to bring the liquid level to the fill line on the
reservoir.
Never remove the coolant recovery cap while the engine is
running or hot.
If you must remove the coolant recovery cap, follow these steps to avoid
personal injury:
1. Before you remove the cap, turn the engine off and let it cool.
2. When the engine is cool, wrap a thick cloth around the cap. Slowly
turn cap counterclockwise until pressure begins to release.
3. Step back while the pressure releases.
4. When you are sure that all the pressure has been released, use the
cloth to turn it counterclockwise and remove the cap.
Use Ford Premium Cooling System Fluid E2FZ-19549±AA (in Canada,
Motorcraft CXC-8±B) or an equivalent premium engine coolant that
Maintenance and care
167
Page 168 of 210
meets Ford specification ESE-M97B44±A. Ford Premium Engine Coolant
is an optimized formula that will protect all metals and rubber elastomers
used in Ford cooling systems for four years or 80,000 km (50,000 miles).
Do not use alcohol or methanol antifreeze or any engine coolants mixed
with alcohol or methanol antifreeze. Do not use supplemental coolant
additives in your vehicle. These additives may harm your engine cooling
system. The use of an improper coolant may void your warranty of your
vehicle's engine cooling system.
Recycled engine coolant
Ford Motor Company recommends that Ford and Lincoln-Mercury
dealers use recycled engine coolant produced by Ford-approved
processes. Not all coolant recycling processes produce coolant which
meets Ford specification ESE-M97B44±A, and use of such coolant may
harm engine and cooling system components.
Always dispose of used automotive fluids in a responsible manner.
Follow your community's regulations and standards for recycling and
disposing of automotive fluids.
Coolant refill capacity
To find out how much fluid your vehicle's cooling system can hold, refer
toRefill capacitiesin theCapacities and specificationschapter.
Have your dealer check the engine cooling system for leaks if you have
to add more than a liter (quart) of engine coolant per month.
Severe winter climate
If you drive in extremely cold climates (less than ±36ÉC [±34ÉF]), it may
be necessary to increase the coolant concentration above 50%. Refer to
the chart on the coolant container to ensure the coolant concentration in
your vehicle is such that the coolant will not freeze at the temperature
level in which you drive during winter months. Never increase the engine
coolant concentration above 60%. Leave a 50/50 mixture of engine
coolant and water in your vehicle year-round in non-extreme climates.
Maintenance and care
168
Page 198 of 210

REFILL CAPACITIES
Fluid Ford Part Name Application Capacity
Engine oil
(including
filter
change)Motorcraft 5W30
Super Premium
Motor OilAll engines
4.7L (5.0
quarts)
Brake fluid Ford High
Performance DOT
3 Brake FluidAll
Fill to line in
reservoir
Power
steering
fluidMotorcraft
MERCONtAT FAll Fill to line on
reservoir or
dipstick
Transmission
fluidMotorcraft
MERCONtAT F5-speed manual
2.6L (5.6 pints)
Motorcraft
MERCONtVATF4R70W Automatic
(5.0L engines
only)13.1L (13.9
quarts)
5R55E Automatic
with 4.0L EFI
engine (4x2)9.0L (9.5
quarts)
5R55E Automatic
with 4.0L SOHC
engine (4x2)9.25L (9.75
quarts)
5R55E Automatic
with 4.0L EFI
engine (4x4)9.3L (9.8
quarts)
5R55E Automatic
with 4.0L SOHC
engine (4x4)9.55L (10.0
quarts)
Transfer
caseMotorcraft
MERCONtAT F4WD 1.4L (1.5
quarts)
AWD 1.25L (1.3
quarts)
Engine
coolantFord Premium
Cooling System
Fluid4.0L engine 7.4L (7.8
quarts)
5.0L engine 12.1L (12.8
quarts)
Capacities and specifications
198
Page 200 of 210

LUBRICANT SPECIFICATIONS
FluidFord Part
Name or
equivalentFord Part
NumberFord
Specification
Windshield
washer fluid
reservoirFord Ultra-Clear
Windshield
Washer
ConcentrateC9AZ-19550-AA
OR -BAESR-M17P5-A
Body hinges,
latches, door
stricker plates
and rotors, seat
tracks, fuel filler
door hinge and
spring, hood
latch, auxiliary
latchMulti-Purpose
GreaseD7AZ-19584-AA
OR
D0AZ-19584-AAESR-M1C159-A
AND
ESB-M1C93-B
Hydraulic clutch
master cylinder
and brake
master cylinderHigh
Perfromance
DOT 3 Motor
Vehicle Brake
FluidC6AZ-19542-AB ESZ-M6C25-A
Driveshaft, slip
spline, universal
jointsPremium Long
Life GreaseXG-1-C or K ESA-M1C75-B
Engine coolantFord Premium
Cooling System
FluidE2FZ-19549-AA ESE-M97B44-A
Engine oilMotorcraft 5W30
Super Premium
Motor OilXO-5W30-QSPWSS-M2C153-G
with API
Certification
Mark
Automatic
transmission
(4R7OW)Motorcraft
MERCONtV
AT FXT-5-QM MERCONtV
Automatic
transmission
(5R55E)Motorcraft
MERCONtV
AT FXT-5-QM MERCONtV
Capacities and specifications
200