remote control FORD EXPLORER 2001 2.G Owners Manual
[x] Cancel search | Manufacturer: FORD, Model Year: 2001, Model line: EXPLORER, Model: FORD EXPLORER 2001 2.GPages: 288, PDF Size: 1.98 MB
Page 109 of 288
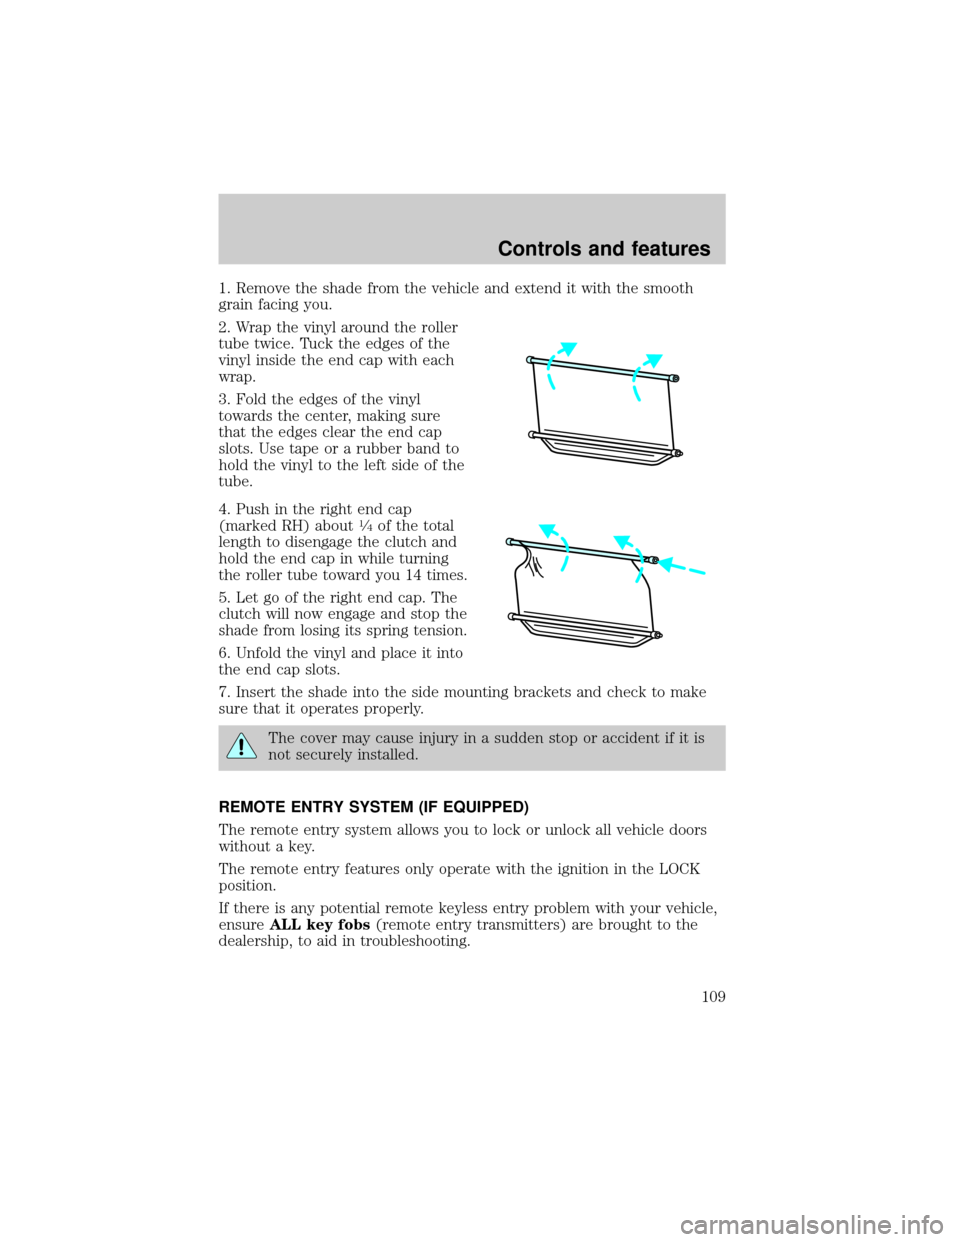
1. Remove the shade from the vehicle and extend it with the smooth
grain facing you.
2. Wrap the vinyl around the roller
tube twice. Tuck the edges of the
vinyl inside the end cap with each
wrap.
3. Fold the edges of the vinyl
towards the center, making sure
that the edges clear the end cap
slots. Use tape or a rubber band to
hold the vinyl to the left side of the
tube.
4. Push in the right end cap
(marked RH) about
1¤4of the total
length to disengage the clutch and
hold the end cap in while turning
the roller tube toward you 14 times.
5. Let go of the right end cap. The
clutch will now engage and stop the
shade from losing its spring tension.
6. Unfold the vinyl and place it into
the end cap slots.
7. Insert the shade into the side mounting brackets and check to make
sure that it operates properly.
The cover may cause injury in a sudden stop or accident if it is
not securely installed.
REMOTE ENTRY SYSTEM (IF EQUIPPED)
The remote entry system allows you to lock or unlock all vehicle doors
without a key.
The remote entry features only operate with the ignition in the LOCK
position.
If there is any potential remote keyless entry problem with your vehicle,
ensureALL key fobs(remote entry transmitters) are brought to the
dealership, to aid in troubleshooting.
Controls and features
109
Page 111 of 288
Changes or modifications not expressly approved by the party
responsible for compliance could void the user's authority to
operate the equipment.
Memory seat feature (if equipped)
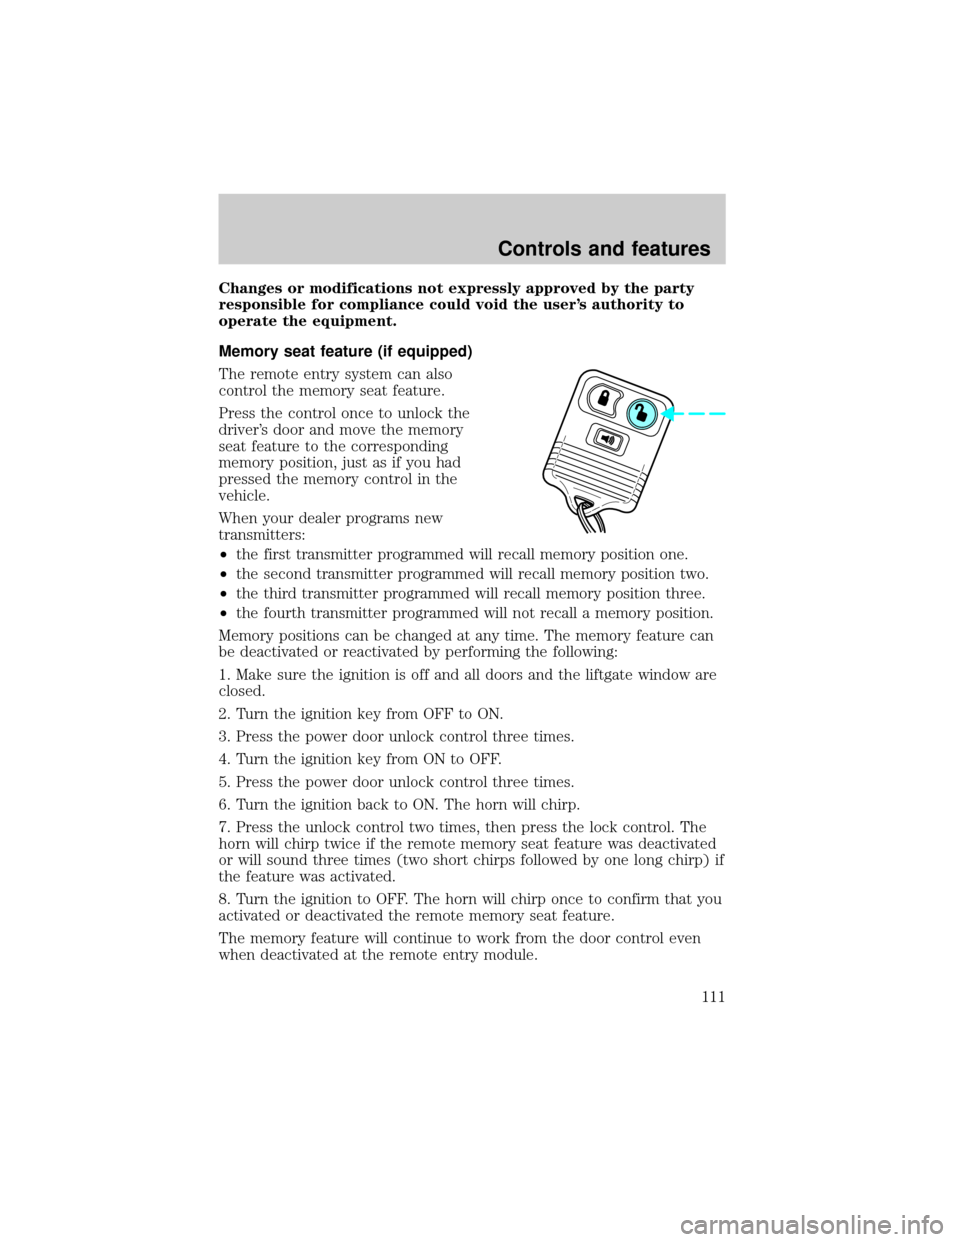
The remote entry system can also
control the memory seat feature.
Press the control once to unlock the
driver's door and move the memory
seat feature to the corresponding
memory position, just as if you had
pressed the memory control in the
vehicle.
When your dealer programs new
transmitters:
²the first transmitter programmed will recall memory position one.
²the second transmitter programmed will recall memory position two.
²the third transmitter programmed will recall memory position three.
²the fourth transmitter programmed will not recall a memory position.
Memory positions can be changed at any time. The memory feature can
be deactivated or reactivated by performing the following:
1. Make sure the ignition is off and all doors and the liftgate window are
closed.
2. Turn the ignition key from OFF to ON.
3. Press the power door unlock control three times.
4. Turn the ignition key from ON to OFF.
5. Press the power door unlock control three times.
6. Turn the ignition back to ON. The horn will chirp.
7. Press the unlock control two times, then press the lock control. The
horn will chirp twice if the remote memory seat feature was deactivated
or will sound three times (two short chirps followed by one long chirp) if
the feature was activated.
8. Turn the ignition to OFF. The horn will chirp once to confirm that you
activated or deactivated the remote memory seat feature.
The memory feature will continue to work from the door control even
when deactivated at the remote entry module.
Controls and features
111
Page 112 of 288
Replacing the battery
The transmitter is powered by one coin type three-volt lithium battery
CR2032 or equivalent. Typical operating range will allow you to be up to
10 meters (33 feet) away from your vehicle. A decrease in operating
range can be caused by:
²weather conditions
²nearby radio towers
²structures around the vehicle
²other vehicles parked next to the vehicle
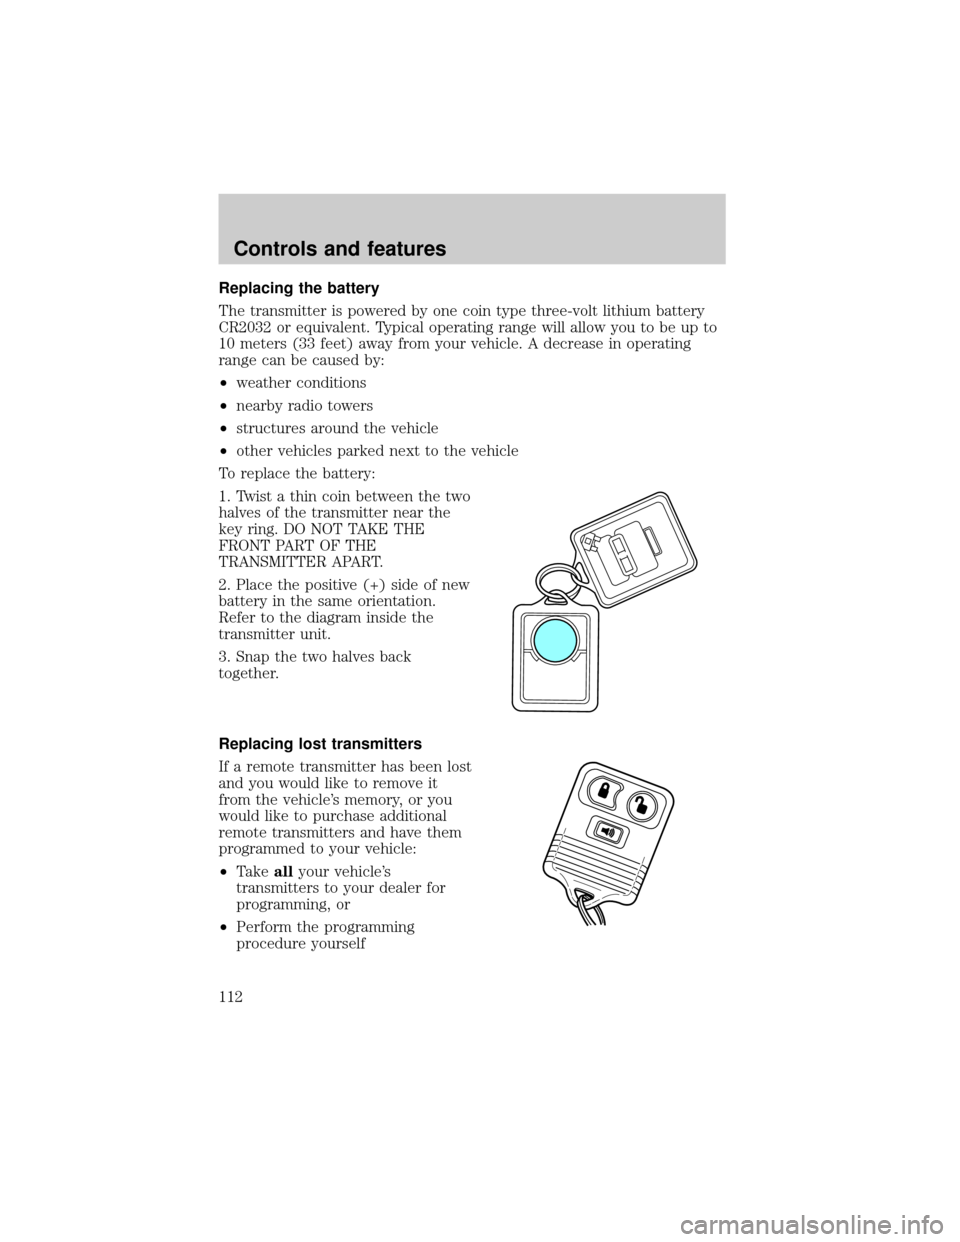
To replace the battery:
1. Twist a thin coin between the two
halves of the transmitter near the
key ring. DO NOT TAKE THE
FRONT PART OF THE
TRANSMITTER APART.
2. Place the positive (+) side of new
battery in the same orientation.
Refer to the diagram inside the
transmitter unit.
3. Snap the two halves back
together.
Replacing lost transmitters
If a remote transmitter has been lost
and you would like to remove it
from the vehicle's memory, or you
would like to purchase additional
remote transmitters and have them
programmed to your vehicle:
²Takeallyour vehicle's
transmitters to your dealer for
programming, or
²Perform the programming
procedure yourself
Controls and features
112
Page 113 of 288
Programming remote transmitters
It is necessary to haveall(maximum of four Ð original and/or new) of
your remote transmitters available prior to beginning this procedure.
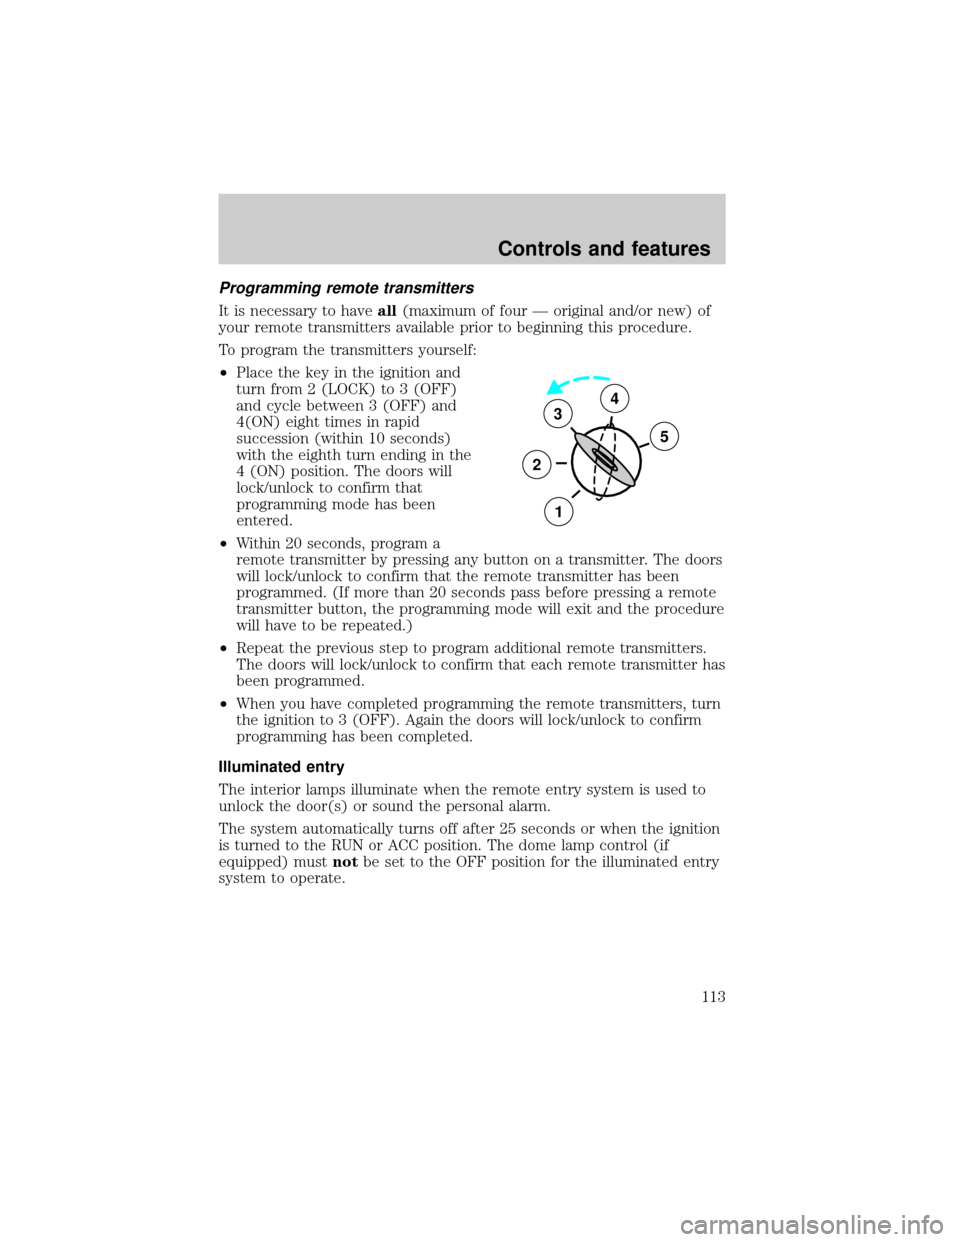
To program the transmitters yourself:
²Place the key in the ignition and
turn from 2 (LOCK) to 3 (OFF)
and cycle between 3 (OFF) and
4(ON) eight times in rapid
succession (within 10 seconds)
with the eighth turn ending in the
4 (ON) position. The doors will
lock/unlock to confirm that
programming mode has been
entered.
²Within 20 seconds, program a
remote transmitter by pressing any button on a transmitter. The doors
will lock/unlock to confirm that the remote transmitter has been
programmed. (If more than 20 seconds pass before pressing a remote
transmitter button, the programming mode will exit and the procedure
will have to be repeated.)
²Repeat the previous step to program additional remote transmitters.
The doors will lock/unlock to confirm that each remote transmitter has
been programmed.
²When you have completed programming the remote transmitters, turn
the ignition to 3 (OFF). Again the doors will lock/unlock to confirm
programming has been completed.
Illuminated entry
The interior lamps illuminate when the remote entry system is used to
unlock the door(s) or sound the personal alarm.
The system automatically turns off after 25 seconds or when the ignition
is turned to the RUN or ACC position. The dome lamp control (if
equipped) mustnotbe set to the OFF position for the illuminated entry
system to operate.
3
2
1
5
4
Controls and features
113
Page 114 of 288
The inside lights will not turn off if:
²they have been turned on with the dimmer control or
²any door is open.
The battery saver will shut off the interior lamps 45 minutes after the
ignition has been turned to the OFF position.
Keyless entry system (if equipped)
With the keyless entry keypad, you
can:
²lock or unlock the vehicle doors
without using the key
²activate/deactivate the autolock feature
See alsoRemote entry systemin this chapter for more information.
Your vehicle has a factory-set 5±digit code that operates the keyless
entry system. You can also program your own 5±digit personal entry
code.
The factory-set code is located:
²on the owner's wallet card in the glove compartment
²taped to the computer module
²or at your dealer
When pressing the controls on the keyless entry keypad, press the
middle of the controls to ensure a good activation.
Programming your own personal entry code
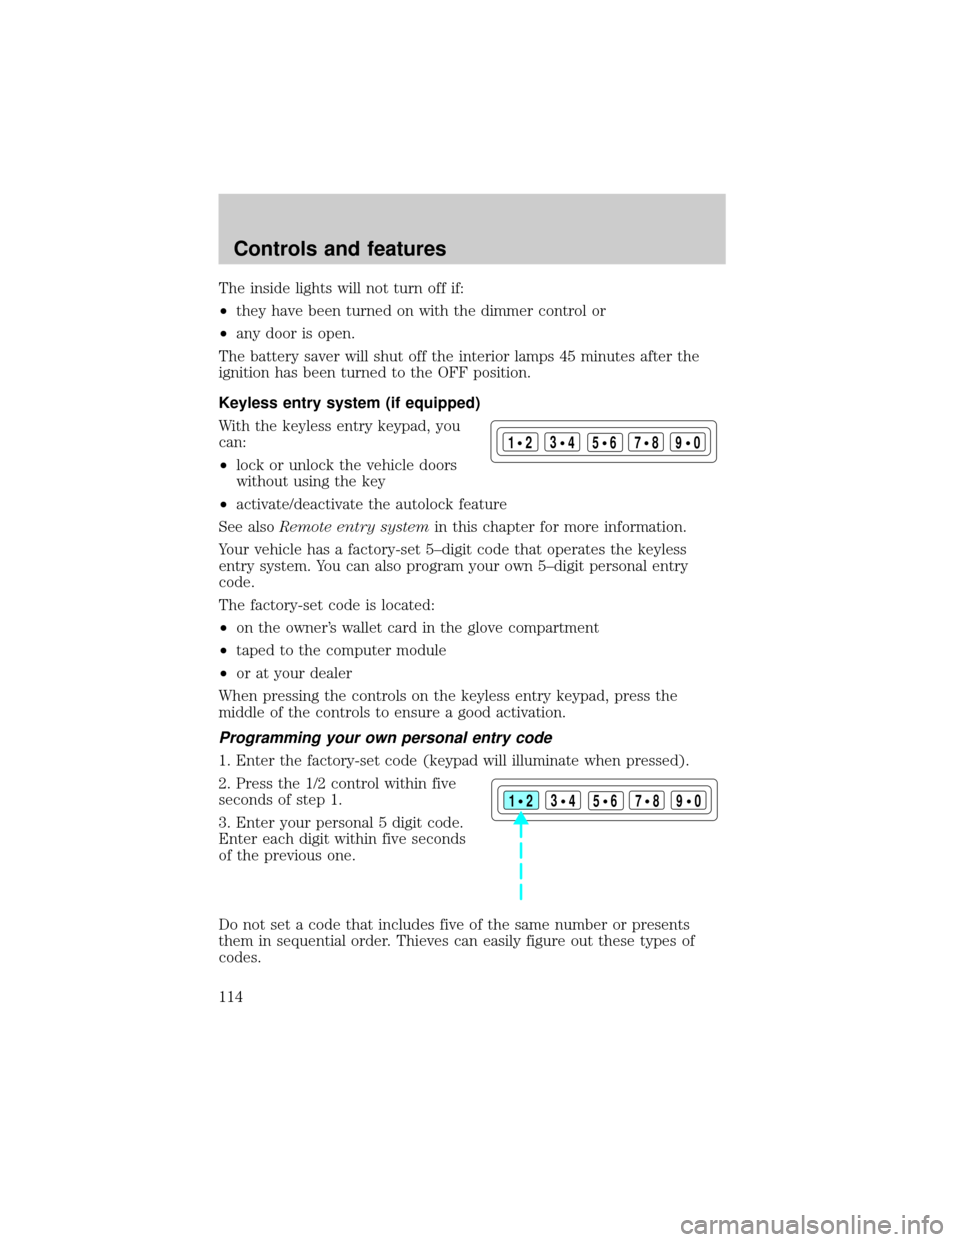
1. Enter the factory-set code (keypad will illuminate when pressed).
2. Press the 1/2 control within five
seconds of step 1.
3. Enter your personal 5 digit code.
Enter each digit within five seconds
of the previous one.
Do not set a code that includes five of the same number or presents
them in sequential order. Thieves can easily figure out these types of
codes.
123
45678
90
123
45678
90
Controls and features
114
Page 117 of 288
6. Press the power door UNLOCK control one time.
7. Press the power door LOCK control to toggle the Autolock/Relock
state. You will receive a horn chirp followed by either a long honk,
autolock/relock is enabled, or no honk, autolock/relock is disabled.
8. Turn ignition to OFF.
If autolock/relock has been changed, the horn will chirp to confirm
procedure is complete.
SECURILOCKYPASSIVE ANTI-THEFT SYSTEM
SecuriLockypassive anti-theft system is an engine immobilization
system. This system prevents the engine from being started unless a
coded keyis used.
The SecuriLockypassive anti-theft system is not compatible with
non-Ford aftermarket remote start systems. Use of these systems may
result in vehicle starting problems and a loss of security protection.
Automatic arming
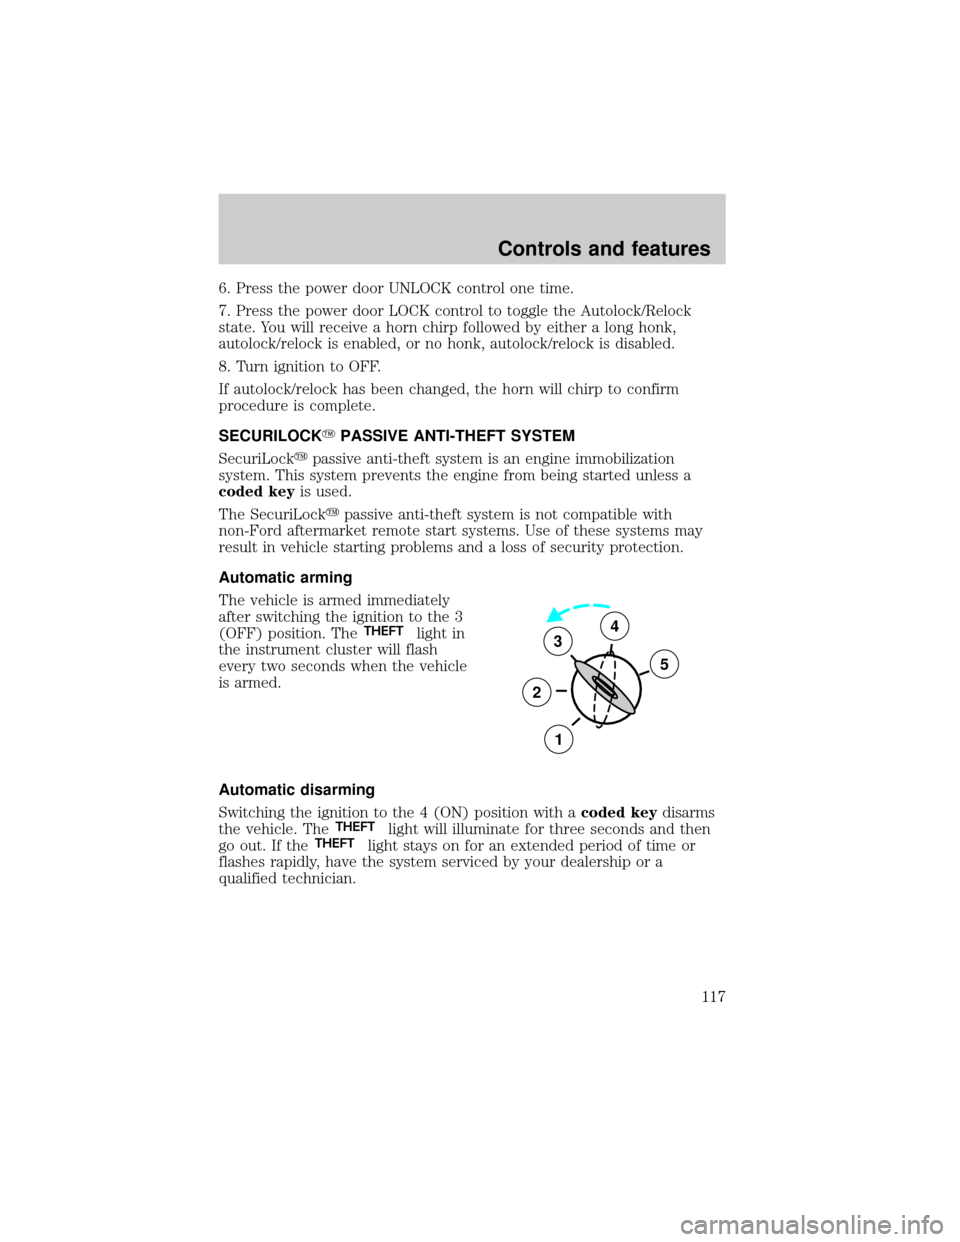
The vehicle is armed immediately
after switching the ignition to the 3
(OFF) position. The
THEFTlight in
the instrument cluster will flash
every two seconds when the vehicle
is armed.
Automatic disarming
Switching the ignition to the 4 (ON) position with acoded keydisarms
the vehicle. The
THEFTlight will illuminate for three seconds and then
go out. If theTHEFTlight stays on for an extended period of time or
flashes rapidly, have the system serviced by your dealership or a
qualified technician.
3
2
1
5
4
Controls and features
117
Page 118 of 288
Key information
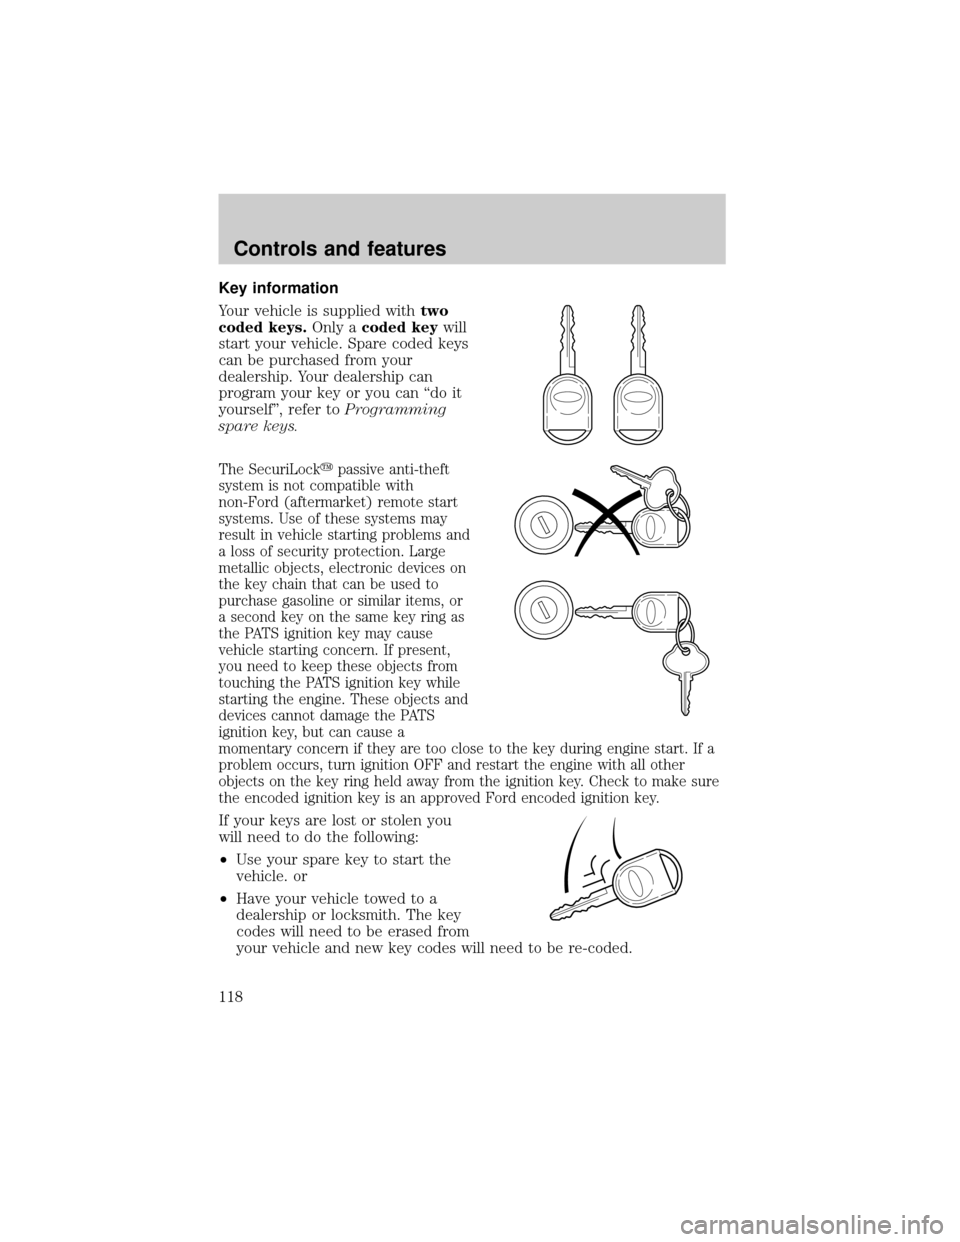
Your vehicle is supplied withtwo
coded keys.Only acoded keywill
start your vehicle. Spare coded keys
can be purchased from your
dealership. Your dealership can
program your key or you can ªdo it
yourselfº, refer toProgramming
spare keys.
The SecuriLockypassive anti-theft
system is not compatible with
non-Ford (aftermarket) remote start
systems. Use of these systems may
result in vehicle starting problems and
a loss of security protection. Large
metallic objects, electronic devices on
the key chain that can be used to
purchase gasoline or similar items, or
a second key on the same key ring as
the PATS ignition key may cause
vehicle starting concern. If present,
you need to keep these objects from
touching the PATS ignition key while
starting the engine. These objects and
devices cannot damage the PATS
ignition key, but can cause a
momentary concern if they are too close to the key during engine start. If a
problem occurs, turn ignition OFF and restart the engine with all other
objects on the key ring held away from the ignition key. Check to make sure
the encoded ignition key is an approved Ford encoded ignition key.
If your keys are lost or stolen you
will need to do the following:
²Use your spare key to start the
vehicle. or
²Have your vehicle towed to a
dealership or locksmith. The key
codes will need to be erased from
your vehicle and new key codes will need to be re-coded.
Controls and features
118
Page 124 of 288
Memory seats (if equipped)
This system allows automatic
positioning of the driver seat to
three programmable positions.
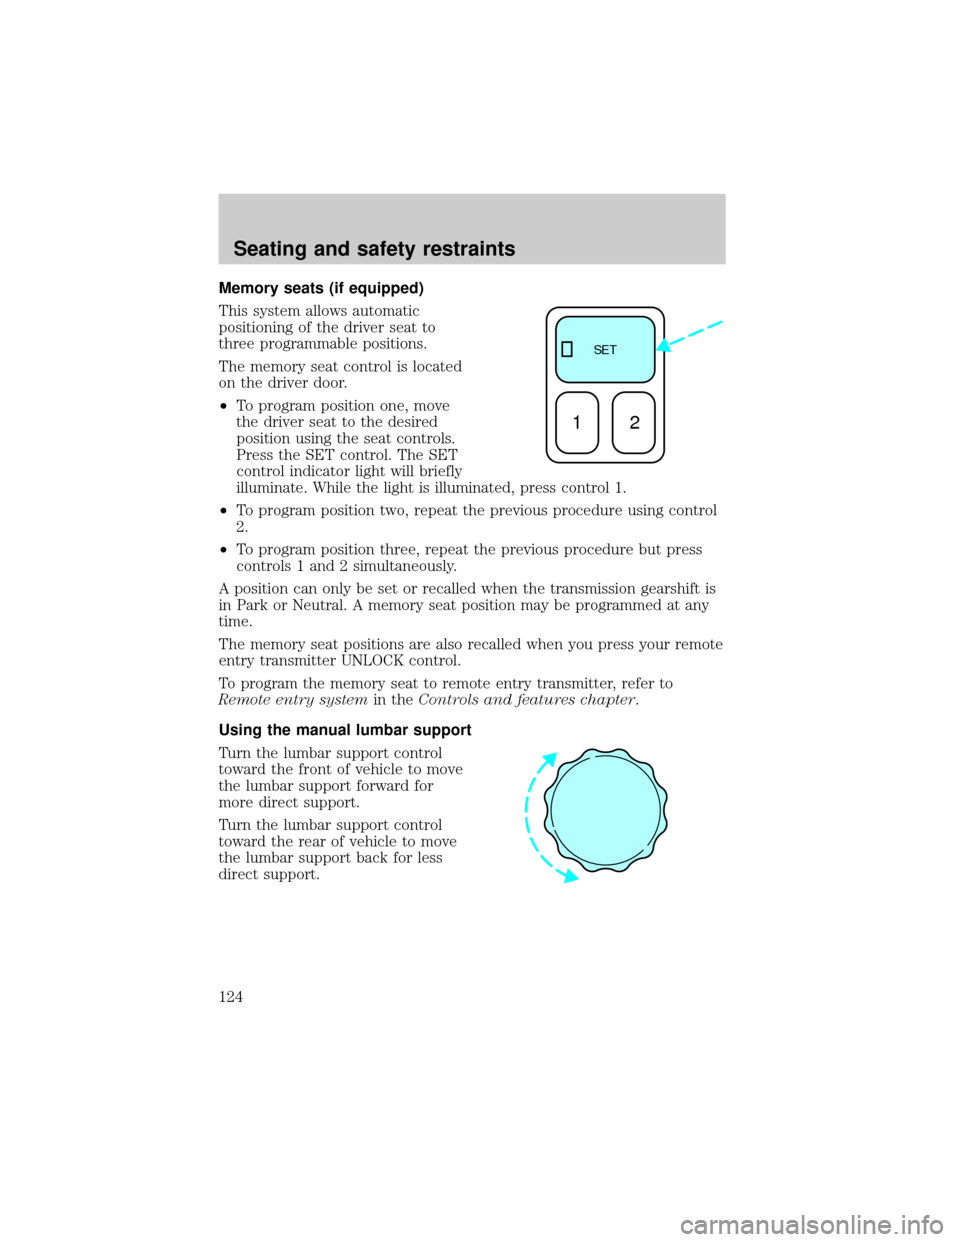
The memory seat control is located
on the driver door.
²To program position one, move
the driver seat to the desired
position using the seat controls.
Press the SET control. The SET
control indicator light will briefly
illuminate. While the light is illuminated, press control 1.
²To program position two, repeat the previous procedure using control
2.
²To program position three, repeat the previous procedure but press
controls 1 and 2 simultaneously.
A position can only be set or recalled when the transmission gearshift is
in Park or Neutral. A memory seat position may be programmed at any
time.
The memory seat positions are also recalled when you press your remote
entry transmitter UNLOCK control.
To program the memory seat to remote entry transmitter, refer to
Remote entry systemin theControls and features chapter.
Using the manual lumbar support
Turn the lumbar support control
toward the front of vehicle to move
the lumbar support forward for
more direct support.
Turn the lumbar support control
toward the rear of vehicle to move
the lumbar support back for less
direct support.
SE T
12
Seating and safety restraints
124
Page 280 of 288

air bag ........................................10
anti-lock brakes (ABS) ....10, 158
anti-theft ...................................11
brake ..........................................10
charging system ........................11
check coolant ............................11
check engine ...............................8
cruise indicator .........................13
door ajar ....................................12
fuel cap light ...............................9
high beam .................................11
overdrive off ..............................12
safety belt .................................10
speed control ............................88
turn signal indicator .................11
Load limits .................................176
GAWR ......................................176
GVWR ......................................176
trailer towing ..........................176
Loading instructions .................177
Locks
autolock ...................................116
childproof ................................104
Lubricant specifications ...258, 260
Lumbar support, seats .....124±125
M
Manual transmission
fluid capacities ........................255
lubricant specifications ..........260
Message center ...........................17
english/metric button ...............17
reset button ..............................19
system check button ................19
Mirrors
automatic dimming rearview
mirror ......................................102
cleaning ...................................254fold away .................................105
heated ......................................105
side view mirrors (power) .....104
Moon roof ....................................93
Motorcraft parts ................238, 255
O
Octane rating ............................236
Odometer .....................................15
Off-Road Driving .......................173
Oil (see Engine oil) ..................210
P
Panic alarm feature, remote
entry system ..............................110
Parking brake ............................158
Parts (see Motorcraft parts) ....255
Power distribution box (see
Fuses) ........................................192
Power door locks ......................103
Power steering ..........................159
fluid, checking and adding ....220
fluid, refill capacity ................255
fluid, specifications .........258, 260
Preparing to drive your
vehicle ........................................161
R
Radio ............................................36
Relays ........................................187
Remote entry system .......109±110
illuminated entry ....................113
locking/unlocking doors .........110
panic alarm .............................110
Index
280