parking brake FORD EXPLORER 2021 Owners Manual
[x] Cancel search | Manufacturer: FORD, Model Year: 2021, Model line: EXPLORER, Model: FORD EXPLORER 2021Pages: 577, PDF Size: 9.79 MB
Page 7 of 577
Starting a Gasoline Engine
.......................173
Starting a Hybrid Electric Vehicle System ........................................................................\
.
176
Engine Block Heater ...................................
178
Unique Driving Characteristics
Auto-Start-Stop ..........................................
180
Hybrid Vehicle Operation .........................
182
Hybrid Vehicle Frequently Asked Questions ...................................................
184
Fuel and Refueling
Safety Precautions .....................................
185
Fuel Quality - E85 .......................................
185
Fuel Quality - Gasoline ..............................
187
Fuel Filler Funnel Location .......................
187
Running Out of Fuel ....................................
187
Refueling - Excluding: Hybrid Electric Vehicle (HEV) ...........................................
189
Refueling - Hybrid Electric Vehicle (HEV) ........................................................................\
.
192
Fuel Consumption ......................................
194
Engine Emission Control
Emission Law ................................................
196
Catalytic Converter .....................................
197
High Voltage Battery
General Information - Hybrid Electric Vehicle (HEV) ..........................................
200
Transmission
Automatic Transmission ..........................
201
Four-Wheel Drive
Principle of Operation ...............................
207
Using Four-Wheel Drive ...........................
207
Rear Axle
Limited Slip Differential ............................
213Brakes
General Information
...................................
214
Hints on Driving With Anti-Lock Brakes ........................................................................\
.
215
Electric Parking Brake ................................
215
Hill Start Assist ..............................................
217
Auto Hold ........................................................
218
Reverse Braking Assist
What Is Reverse Braking Assist .............
220
Reverse Braking Assist Precautions .....
220
Switching Reverse Braking Assist On and Off ..................................................................
221
Overriding Reverse Braking Assist .........
221
Reverse Braking Assist Indicators ..........
221
Reverse Braking Assist – Troubleshooting ......................................
222
Traction Control
Principle of Operation ...............................
224
Using Traction Control ..............................
224
Stability Control
Principle of Operation ...............................
225
Using Stability Control ..............................
226
Hill Descent Control
What Is Hill Descent Control ..................
228
Switching Hill Descent Control On and Off ................................................................
228
Setting the Hill Descent Speed .............
228
Hill Descent Control Indicator ................
229
Parking Aids
Principle of Operation ...............................
230
Rear Parking Aid ..........................................
230
Front Parking Aid .........................................
232
Side Sensing System .................................
234
Active Park Assist .......................................
235
Rear View Camera ......................................
238
4
Explorer (CTW), enUSA, Edition date: 202007, Second-Printing Table of Contents
Page 14 of 577
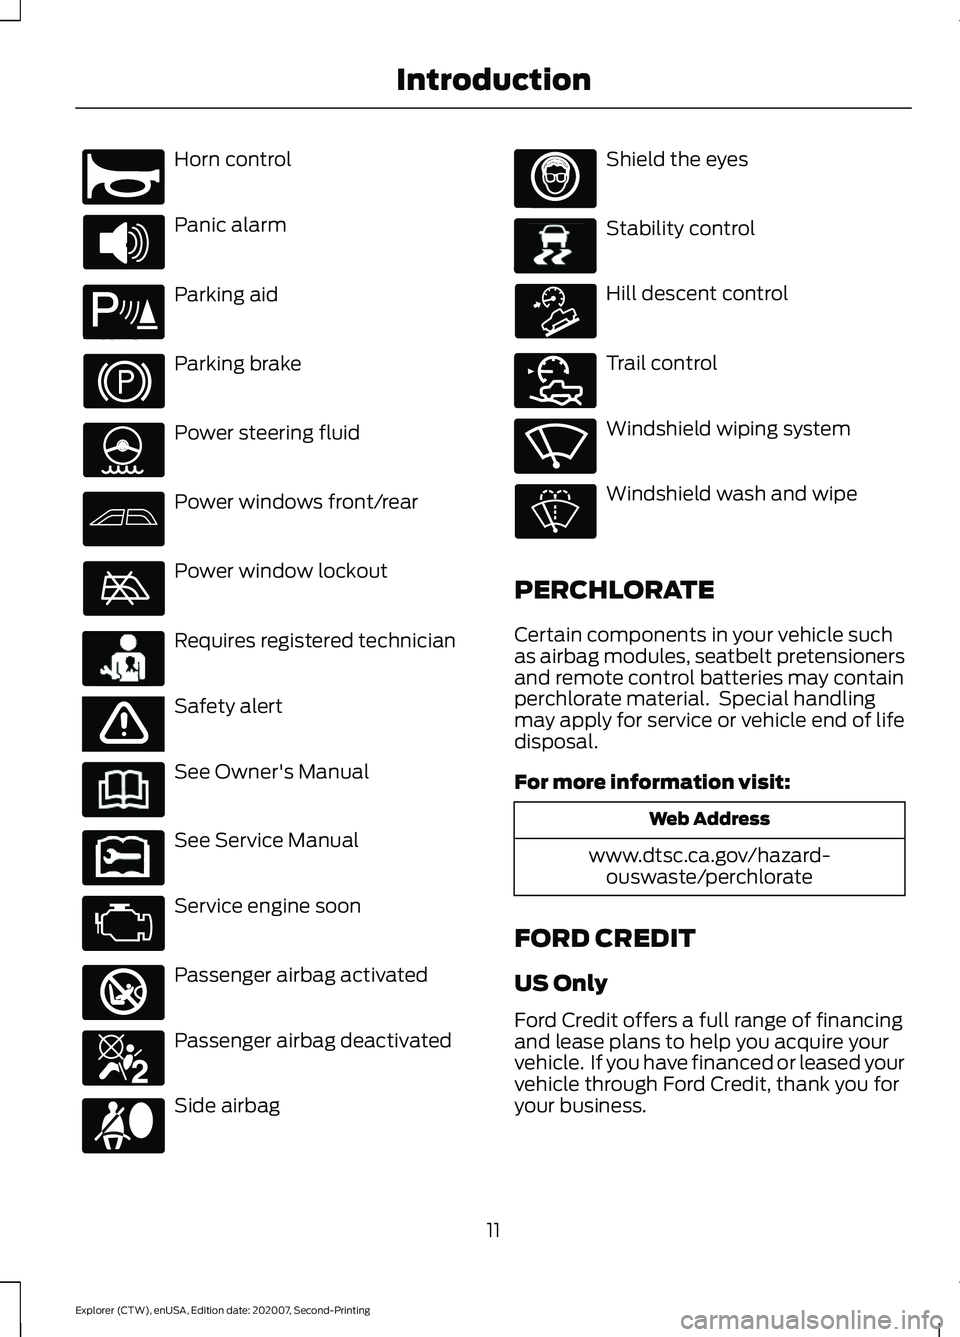
Horn control
Panic alarm
Parking aid
Parking brake
Power steering fluid
Power windows front/rear
Power window lockout
Requires registered technician
Safety alert
See Owner's Manual
See Service Manual
Service engine soon
Passenger airbag activated
Passenger airbag deactivated
Side airbag Shield the eyes
Stability control
Hill descent control
Trail control
Windshield wiping system
Windshield wash and wipe
PERCHLORATE
Certain components in your vehicle such
as airbag modules, seatbelt pretensioners
and remote control batteries may contain
perchlorate material. Special handling
may apply for service or vehicle end of life
disposal.
For more information visit: Web Address
www.dtsc.ca.gov/hazard- ouswaste/perchlorate
FORD CREDIT
US Only
Ford Credit offers a full range of financing
and lease plans to help you acquire your
vehicle. If you have financed or leased your
vehicle through Ford Credit, thank you for
your business.
11
Explorer (CTW), enUSA, Edition date: 202007, Second-Printing IntroductionE270945 E139213 E231159 E65963 E231158 E270849 E270850 E167012 E138639 E163957 E272858 E270969
Page 46 of 577
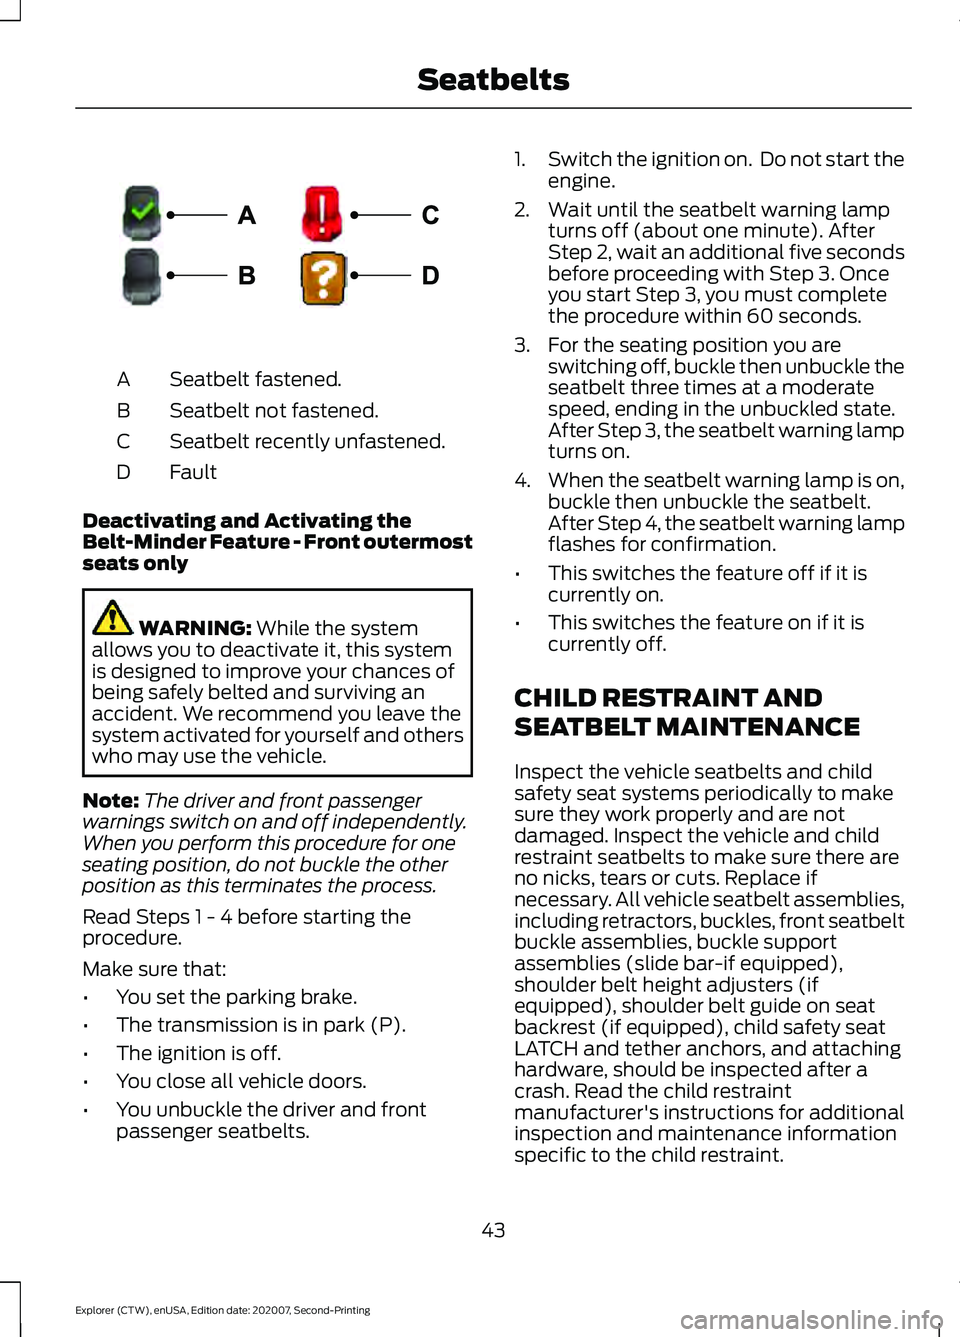
Seatbelt fastened.
A
Seatbelt not fastened.
B
Seatbelt recently unfastened.
C
Fault
D
Deactivating and Activating the
Belt-Minder Feature - Front outermost
seats only WARNING: While the system
allows you to deactivate it, this system
is designed to improve your chances of
being safely belted and surviving an
accident. We recommend you leave the
system activated for yourself and others
who may use the vehicle.
Note: The driver and front passenger
warnings switch on and off independently.
When you perform this procedure for one
seating position, do not buckle the other
position as this terminates the process.
Read Steps 1 - 4 before starting the
procedure.
Make sure that:
• You set the parking brake.
• The transmission is in park (P).
• The ignition is off.
• You close all vehicle doors.
• You unbuckle the driver and front
passenger seatbelts. 1.
Switch the ignition on. Do not start the
engine.
2. Wait until the seatbelt warning lamp turns off (about one minute). After
Step 2, wait an additional five seconds
before proceeding with Step 3. Once
you start Step 3, you must complete
the procedure within 60 seconds.
3. For the seating position you are switching off, buckle then unbuckle the
seatbelt three times at a moderate
speed, ending in the unbuckled state.
After Step 3, the seatbelt warning lamp
turns on.
4. When the seatbelt warning lamp is on,
buckle then unbuckle the seatbelt.
After Step 4, the seatbelt warning lamp
flashes for confirmation.
• This switches the feature off if it is
currently on.
• This switches the feature on if it is
currently off.
CHILD RESTRAINT AND
SEATBELT MAINTENANCE
Inspect the vehicle seatbelts and child
safety seat systems periodically to make
sure they work properly and are not
damaged. Inspect the vehicle and child
restraint seatbelts to make sure there are
no nicks, tears or cuts. Replace if
necessary. All vehicle seatbelt assemblies,
including retractors, buckles, front seatbelt
buckle assemblies, buckle support
assemblies (slide bar-if equipped),
shoulder belt height adjusters (if
equipped), shoulder belt guide on seat
backrest (if equipped), child safety seat
LATCH and tether anchors, and attaching
hardware, should be inspected after a
crash. Read the child restraint
manufacturer's instructions for additional
inspection and maintenance information
specific to the child restraint.
43
Explorer (CTW), enUSA, Edition date: 202007, Second-Printing SeatbeltsE274703
Page 66 of 577
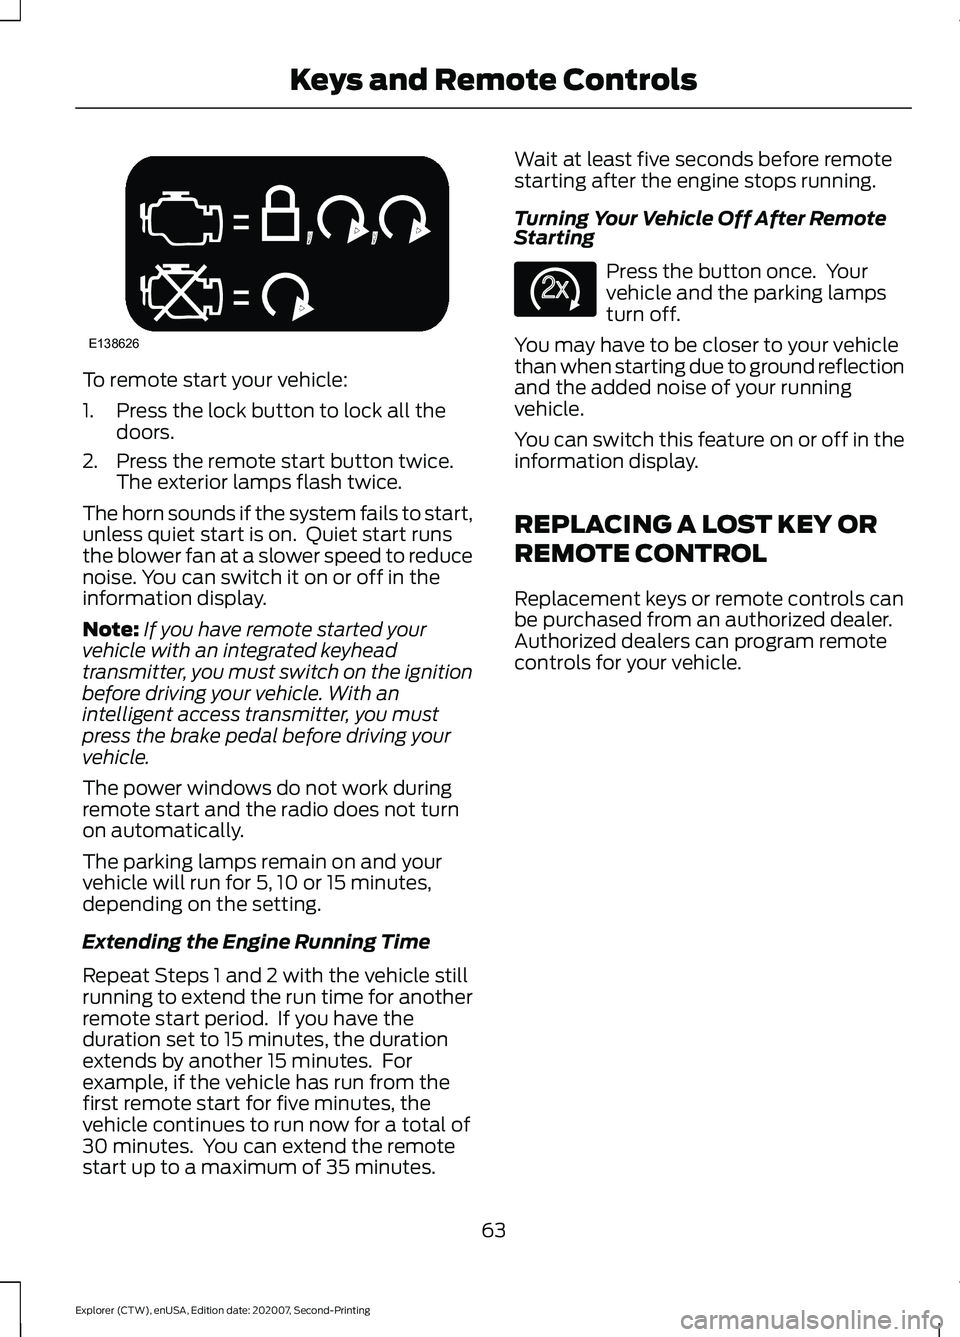
To remote start your vehicle:
1. Press the lock button to lock all the
doors.
2. Press the remote start button twice. The exterior lamps flash twice.
The horn sounds if the system fails to start,
unless quiet start is on. Quiet start runs
the blower fan at a slower speed to reduce
noise. You can switch it on or off in the
information display.
Note: If you have remote started your
vehicle with an integrated keyhead
transmitter, you must switch on the ignition
before driving your vehicle. With an
intelligent access transmitter, you must
press the brake pedal before driving your
vehicle.
The power windows do not work during
remote start and the radio does not turn
on automatically.
The parking lamps remain on and your
vehicle will run for 5, 10 or 15 minutes,
depending on the setting.
Extending the Engine Running Time
Repeat Steps 1 and 2 with the vehicle still
running to extend the run time for another
remote start period. If you have the
duration set to 15 minutes, the duration
extends by another 15 minutes. For
example, if the vehicle has run from the
first remote start for five minutes, the
vehicle continues to run now for a total of
30 minutes. You can extend the remote
start up to a maximum of 35 minutes. Wait at least five seconds before remote
starting after the engine stops running.
Turning Your Vehicle Off After Remote
Starting
Press the button once. Your
vehicle and the parking lamps
turn off.
You may have to be closer to your vehicle
than when starting due to ground reflection
and the added noise of your running
vehicle.
You can switch this feature on or off in the
information display.
REPLACING A LOST KEY OR
REMOTE CONTROL
Replacement keys or remote controls can
be purchased from an authorized dealer.
Authorized dealers can program remote
controls for your vehicle.
63
Explorer (CTW), enUSA, Edition date: 202007, Second-Printing Keys and Remote ControlsE138626 E138625
Page 92 of 577
DAYTIME RUNNING LAMPS -
VEHICLES WITH:
CONFIGURABLE DAYTIME
RUNNING LAMPS
WARNING: The daytime running
lamps system does not activate the rear
lamps and may not provide adequate
lighting during low visibility driving
conditions. Make sure you switch the
headlamps on, as appropriate, during all
low visibility conditions. Failure to do so
may result in a crash.
Switch the daytime running lamps on or
off using the touchscreen:
1. Select
Settings. See Settings (page
464).
2. Select
Vehicle.
3. Select
Lighting.
The daytime running lamps turn on when:
1. The lamps are on in the information display.
2. You switch the ignition on.
3. The transmission is not in park (P) for vehicles with automatic transmissions
or you release the parking brake for
vehicles with manual transmissions.
4. The lighting control is in the autolamps
position.
5. The headlamps are off.
The other lighting control switch positions
do not turn on the daytime running lamps.
If the daytime running lamps are off in the
information display, the lamps stay off in
all switch positions. DAYTIME RUNNING LAMPS -
VEHICLES WITH: DAYTIME
RUNNING LAMPS (DRL) WARNING:
The daytime running
lamps system does not activate the rear
lamps and may not provide adequate
lighting during low visibility driving
conditions. Make sure you switch the
headlamps on, as appropriate, during all
low visibility conditions. Failure to do so
may result in a crash.
The system turns the lamps on in daylight
conditions.
To switch the system on, switch the
lighting control to any position except
headlamps.
FRONT FOG LAMPS
(IF EQUIPPED)
Switching the Front Fog Lamps On
or Off
Only switch the front fog lamps on during
reduced visibility.
You can switch the front fog lamps on if
any of the following occur:
• You set the lighting control to the
parking lamps position.
• You set the lighting control to the
headlamps position.
• You set the lighting control to the
autolamps position and the headlamps
are on.
The front fog lamp button is on the lighting
control. Press the button to switch the
front fog lamps on or off.
89
Explorer (CTW), enUSA, Edition date: 202007, Second-Printing Lighting
Page 111 of 577
On (white light): Illuminates when you
switch on the adaptive cruise control
system. Turns off when you switch the
cruise control system off.
Engaged (green light): Illuminates when
you engage the adaptive cruise control
system. Turns off when you disengage the
cruise control system.
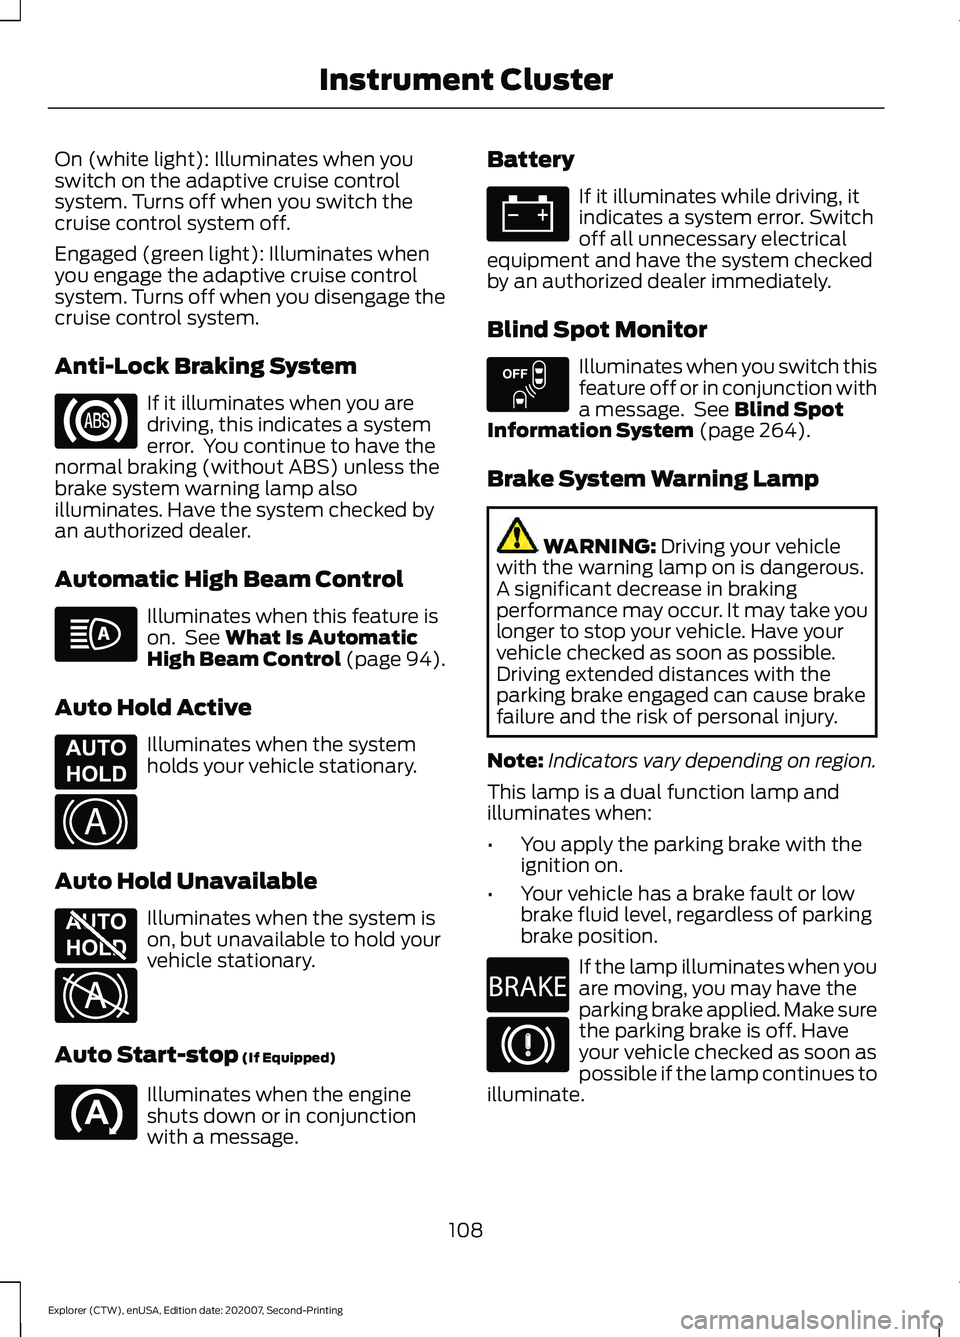
Anti-Lock Braking System
If it illuminates when you are
driving, this indicates a system
error. You continue to have the
normal braking (without ABS) unless the
brake system warning lamp also
illuminates. Have the system checked by
an authorized dealer.
Automatic High Beam Control Illuminates when this feature is
on. See What Is Automatic
High Beam Control (page 94).
Auto Hold Active Illuminates when the system
holds your vehicle stationary.
Auto Hold Unavailable Illuminates when the system is
on, but unavailable to hold your
vehicle stationary.
Auto Start-stop
(If Equipped) Illuminates when the engine
shuts down or in conjunction
with a message. Battery If it illuminates while driving, it
indicates a system error. Switch
off all unnecessary electrical
equipment and have the system checked
by an authorized dealer immediately.
Blind Spot Monitor Illuminates when you switch this
feature off or in conjunction with
a message. See
Blind Spot
Information System (page 264).
Brake System Warning Lamp WARNING:
Driving your vehicle
with the warning lamp on is dangerous.
A significant decrease in braking
performance may occur. It may take you
longer to stop your vehicle. Have your
vehicle checked as soon as possible.
Driving extended distances with the
parking brake engaged can cause brake
failure and the risk of personal injury.
Note: Indicators vary depending on region.
This lamp is a dual function lamp and
illuminates when:
• You apply the parking brake with the
ignition on.
• Your vehicle has a brake fault or low
brake fluid level, regardless of parking
brake position. If the lamp illuminates when you
are moving, you may have the
parking brake applied. Make sure
the parking brake is off. Have
your vehicle checked as soon as
possible if the lamp continues to
illuminate.
108
Explorer (CTW), enUSA, Edition date: 202007, Second-Printing Instrument Cluster E197933 E322410 E197934 E322411 E151262 E270480
Page 112 of 577
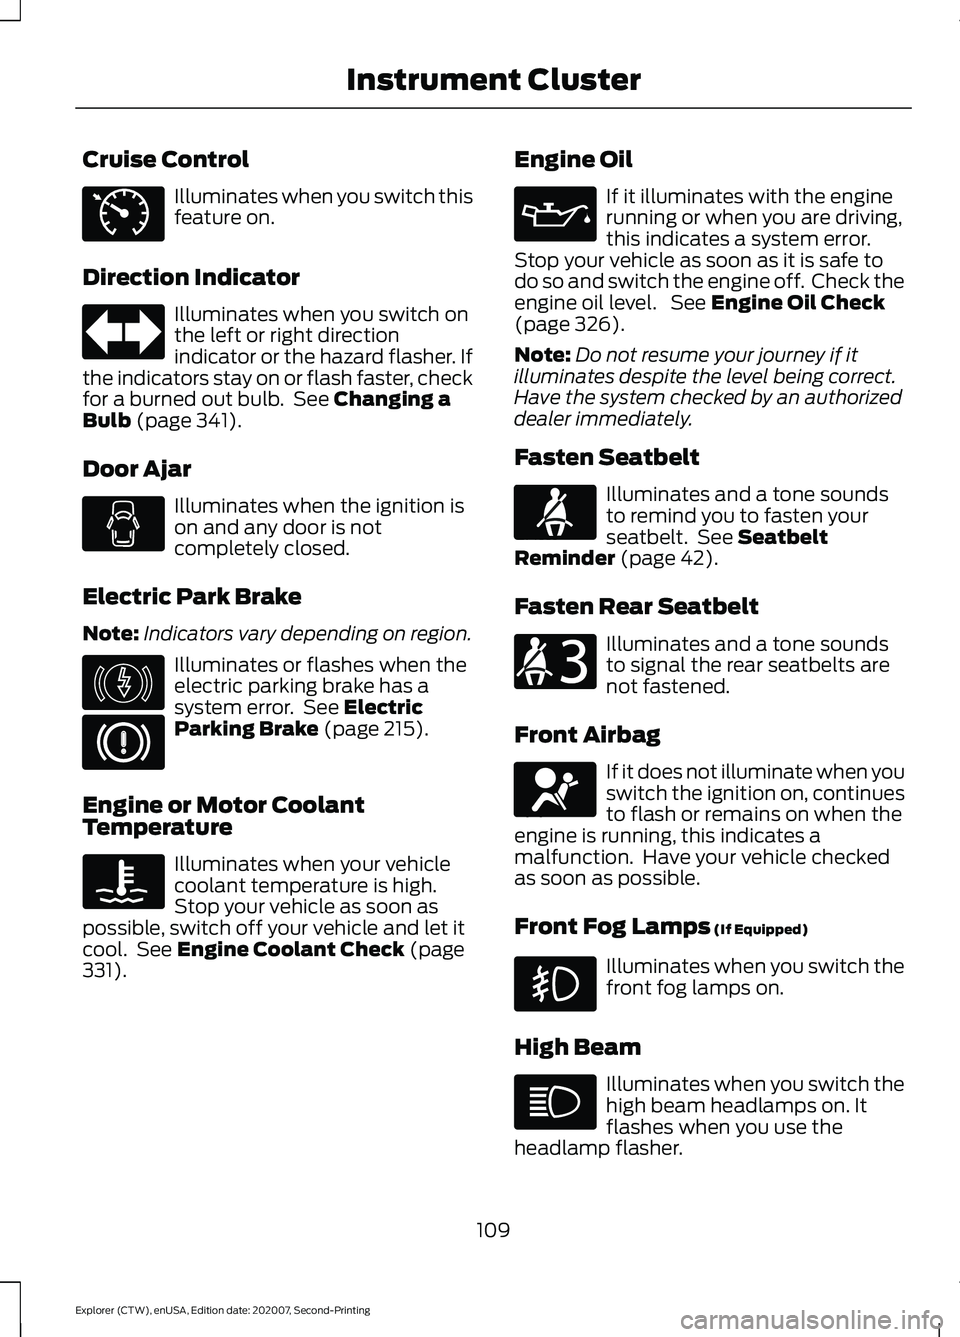
Cruise Control
Illuminates when you switch this
feature on.
Direction Indicator Illuminates when you switch on
the left or right direction
indicator or the hazard flasher. If
the indicators stay on or flash faster, check
for a burned out bulb. See Changing a
Bulb (page 341).
Door Ajar Illuminates when the ignition is
on and any door is not
completely closed.
Electric Park Brake
Note: Indicators vary depending on region. Illuminates or flashes when the
electric parking brake has a
system error. See
Electric
Parking Brake (page 215).
Engine or Motor Coolant
Temperature Illuminates when your vehicle
coolant temperature is high.
Stop your vehicle as soon as
possible, switch off your vehicle and let it
cool. See
Engine Coolant Check (page
331). Engine Oil If it illuminates with the engine
running or when you are driving,
this indicates a system error.
Stop your vehicle as soon as it is safe to
do so and switch the engine off. Check the
engine oil level. See
Engine Oil Check
(page 326).
Note: Do not resume your journey if it
illuminates despite the level being correct.
Have the system checked by an authorized
dealer immediately.
Fasten Seatbelt Illuminates and a tone sounds
to remind you to fasten your
seatbelt. See
Seatbelt
Reminder (page 42).
Fasten Rear Seatbelt Illuminates and a tone sounds
to signal the rear seatbelts are
not fastened.
Front Airbag If it does not illuminate when you
switch the ignition on, continues
to flash or remains on when the
engine is running, this indicates a
malfunction. Have your vehicle checked
as soon as possible.
Front Fog Lamps
(If Equipped) Illuminates when you switch the
front fog lamps on.
High Beam Illuminates when you switch the
high beam headlamps on. It
flashes when you use the
headlamp flasher.
109
Explorer (CTW), enUSA, Edition date: 202007, Second-Printing Instrument ClusterE71340 E146190 E71880 E206718 E67017
Page 114 of 577
Normally, it illuminates until the engine is
cranked and automatically turns off if no
system errors are present. However, if after
15 seconds it flashes eight times, this
indicates that your vehicle is not ready for
Inspection and Maintenance (I/M) testing.
See Catalytic Converter (page 197).
If it illuminates when the engine is running
this indicates a system error. The On Board
Diagnostics system has detected an error
in the vehicle emission control system.
If it flashes, engine misfire may be
occurring. Continuing to drive your vehicle
may cause reduced power or the engine
to stop. Failure to respond to the warning
lamp may cause component damage not
covered by the vehicle Warranty. Have
your vehicle checked as soon as possible.
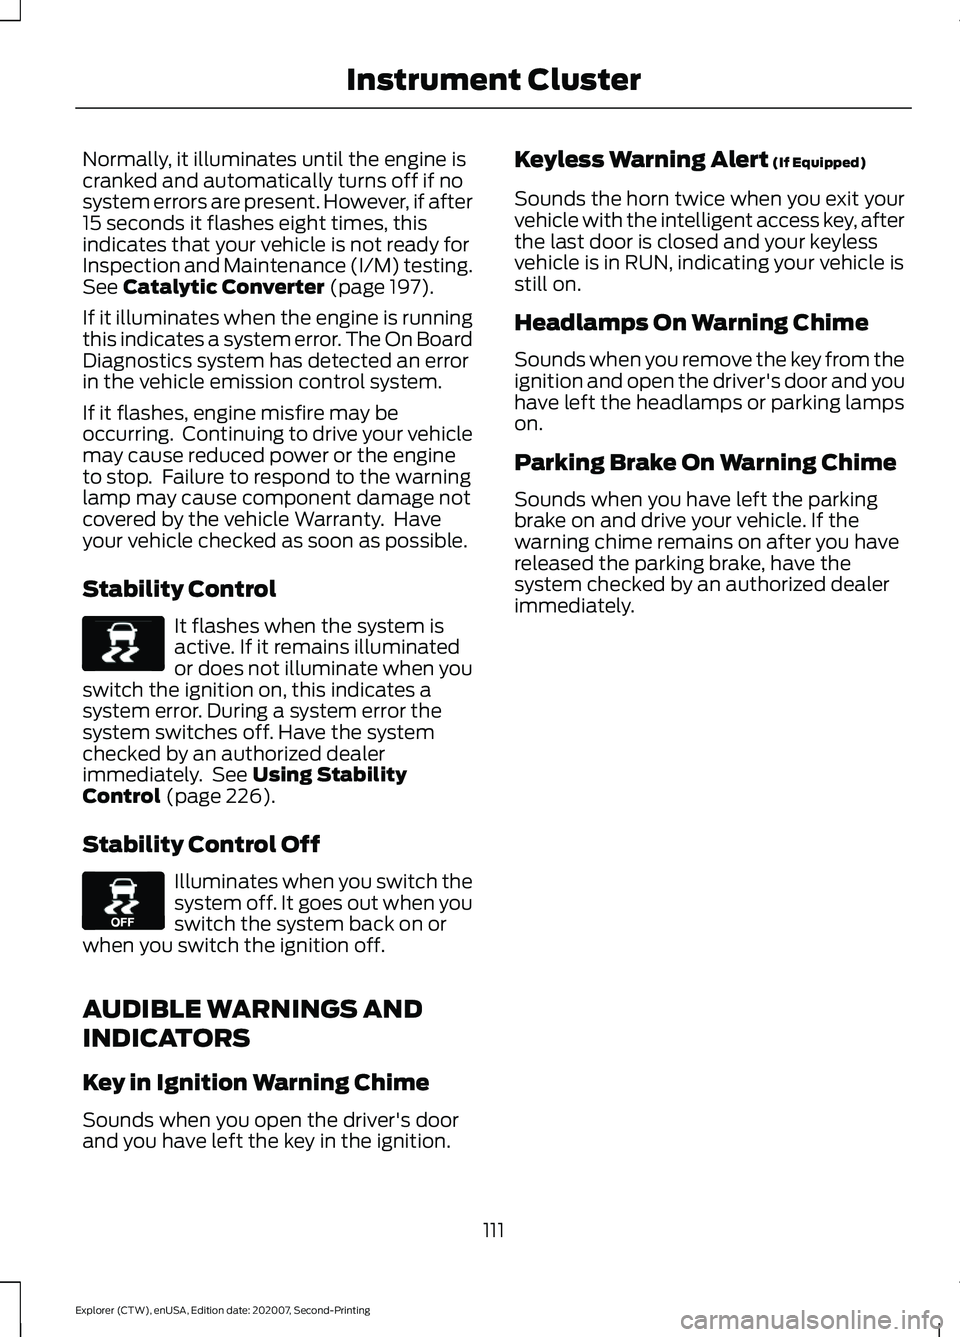
Stability Control It flashes when the system is
active. If it remains illuminated
or does not illuminate when you
switch the ignition on, this indicates a
system error. During a system error the
system switches off. Have the system
checked by an authorized dealer
immediately. See
Using Stability
Control (page 226).
Stability Control Off Illuminates when you switch the
system off. It goes out when you
switch the system back on or
when you switch the ignition off.
AUDIBLE WARNINGS AND
INDICATORS
Key in Ignition Warning Chime
Sounds when you open the driver's door
and you have left the key in the ignition. Keyless Warning Alert
(If Equipped)
Sounds the horn twice when you exit your
vehicle with the intelligent access key, after
the last door is closed and your keyless
vehicle is in RUN, indicating your vehicle is
still on.
Headlamps On Warning Chime
Sounds when you remove the key from the
ignition and open the driver's door and you
have left the headlamps or parking lamps
on.
Parking Brake On Warning Chime
Sounds when you have left the parking
brake on and drive your vehicle. If the
warning chime remains on after you have
released the parking brake, have the
system checked by an authorized dealer
immediately.
111
Explorer (CTW), enUSA, Edition date: 202007, Second-Printing Instrument ClusterE138639 E130458
Page 135 of 577
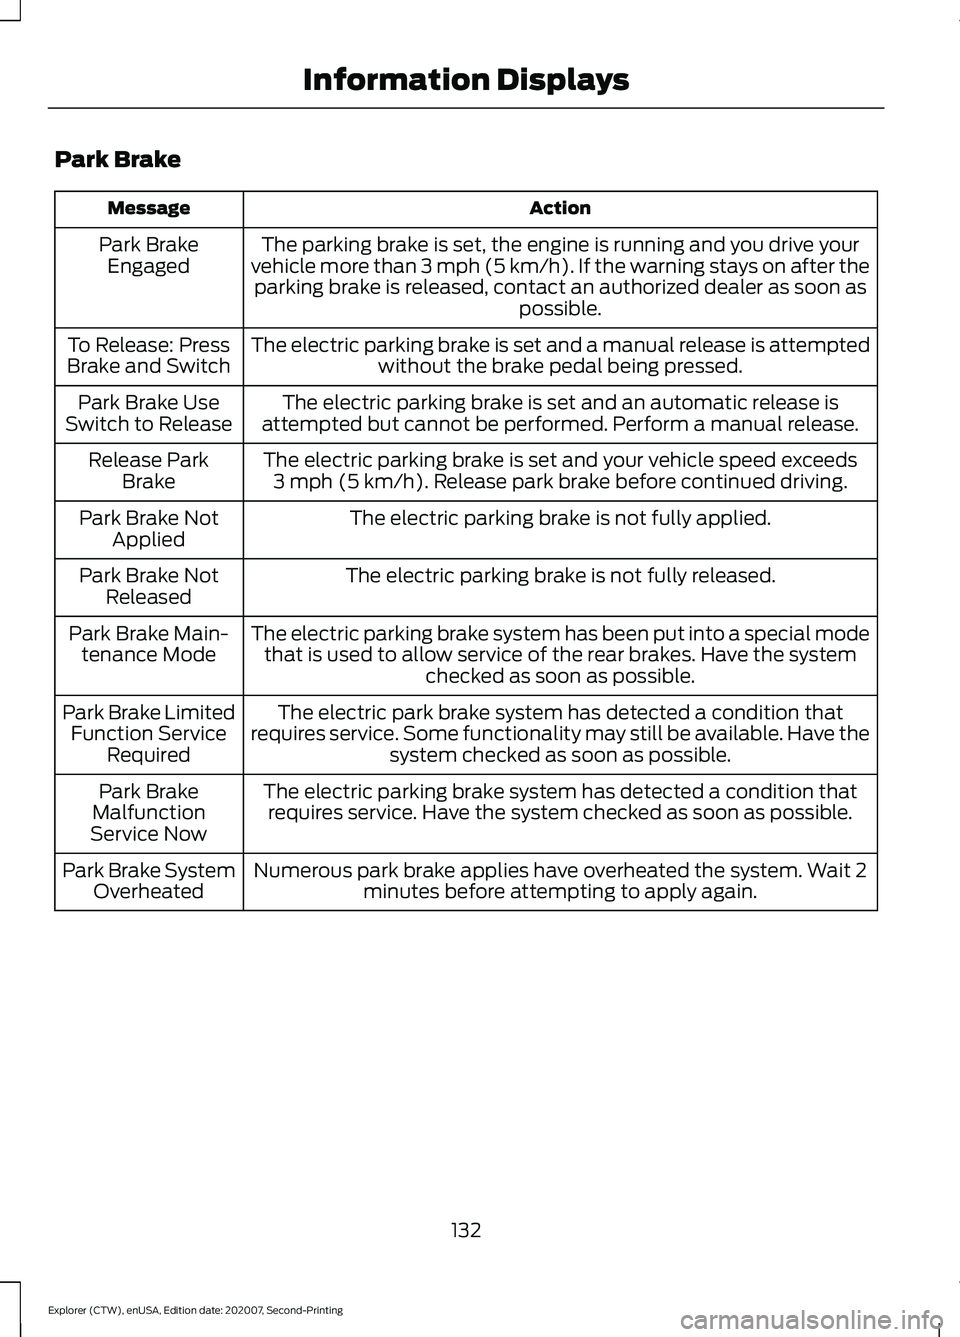
Park Brake
Action
Message
The parking brake is set, the engine is running and you drive your
vehicle more than 3 mph (5 km/h). If the warning stays on after the parking brake is released, contact an authorized dealer as soon as possible.
Park Brake
Engaged
The electric parking brake is set and a manual release is attemptedwithout the brake pedal being pressed.
To Release: Press
Brake and Switch
The electric parking brake is set and an automatic release is
attempted but cannot be performed. Perform a manual release.
Park Brake Use
Switch to Release
The electric parking brake is set and your vehicle speed exceeds3 mph (5 km/h). Release park brake before continued driving.
Release Park
Brake
The electric parking brake is not fully applied.
Park Brake Not
Applied
The electric parking brake is not fully released.
Park Brake Not
Released
The electric parking brake system has been put into a special modethat is used to allow service of the rear brakes. Have the system checked as soon as possible.
Park Brake Main-
tenance Mode
The electric park brake system has detected a condition that
requires service. Some functionality may still be available. Have the system checked as soon as possible.
Park Brake Limited
Function Service Required
The electric parking brake system has detected a condition thatrequires service. Have the system checked as soon as possible.
Park Brake
Malfunction
Service Now
Numerous park brake applies have overheated the system. Wait 2minutes before attempting to apply again.
Park Brake System
Overheated
132
Explorer (CTW), enUSA, Edition date: 202007, Second-Printing Information Displays
Page 176 of 577
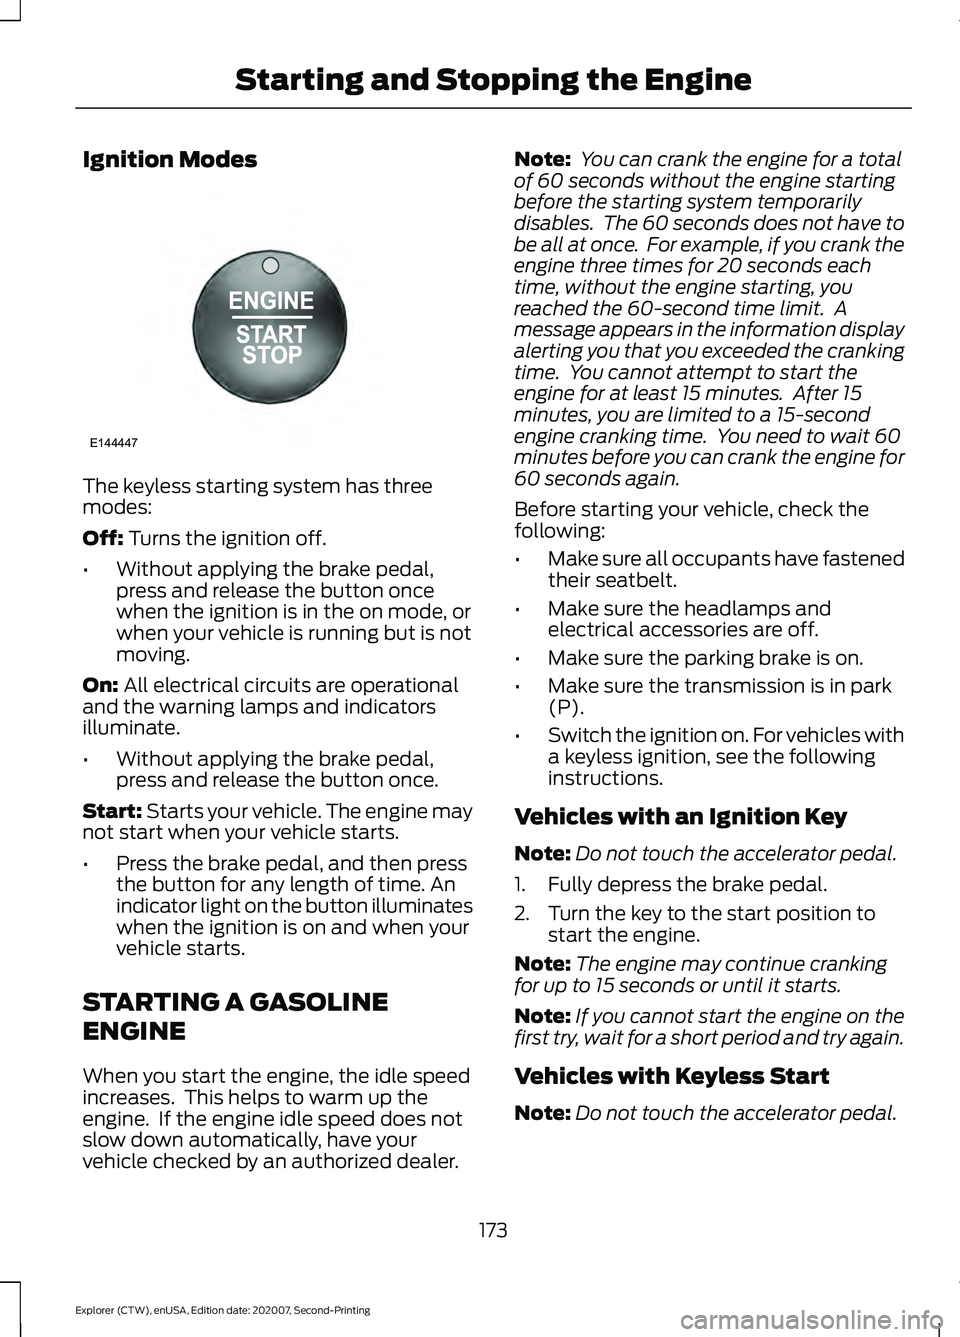
Ignition Modes
The keyless starting system has three
modes:
Off: Turns the ignition off.
• Without applying the brake pedal,
press and release the button once
when the ignition is in the on mode, or
when your vehicle is running but is not
moving.
On:
All electrical circuits are operational
and the warning lamps and indicators
illuminate.
• Without applying the brake pedal,
press and release the button once.
Start:
Starts your vehicle. The engine may
not start when your vehicle starts.
• Press the brake pedal, and then press
the button for any length of time. An
indicator light on the button illuminates
when the ignition is on and when your
vehicle starts.
STARTING A GASOLINE
ENGINE
When you start the engine, the idle speed
increases. This helps to warm up the
engine. If the engine idle speed does not
slow down automatically, have your
vehicle checked by an authorized dealer. Note:
You can crank the engine for a total
of 60 seconds without the engine starting
before the starting system temporarily
disables. The 60 seconds does not have to
be all at once. For example, if you crank the
engine three times for 20 seconds each
time, without the engine starting, you
reached the 60-second time limit. A
message appears in the information display
alerting you that you exceeded the cranking
time. You cannot attempt to start the
engine for at least 15 minutes. After 15
minutes, you are limited to a 15-second
engine cranking time. You need to wait 60
minutes before you can crank the engine for
60 seconds again.
Before starting your vehicle, check the
following:
• Make sure all occupants have fastened
their seatbelt.
• Make sure the headlamps and
electrical accessories are off.
• Make sure the parking brake is on.
• Make sure the transmission is in park
(P).
• Switch the ignition on. For vehicles with
a keyless ignition, see the following
instructions.
Vehicles with an Ignition Key
Note: Do not touch the accelerator pedal.
1. Fully depress the brake pedal.
2. Turn the key to the start position to start the engine.
Note: The engine may continue cranking
for up to 15 seconds or until it starts.
Note: If you cannot start the engine on the
first try, wait for a short period and try again.
Vehicles with Keyless Start
Note: Do not touch the accelerator pedal.
173
Explorer (CTW), enUSA, Edition date: 202007, Second-Printing Starting and Stopping the EngineE144447