ECO mode FORD F-250 2020 User Guide
[x] Cancel search | Manufacturer: FORD, Model Year: 2020, Model line: F-250, Model: FORD F-250 2020Pages: 631, PDF Size: 9.62 MB
Page 79 of 631
Note:
Do not choose all sensors monitor
mode when the vehicle is in transport or if
movement within the vehicle is likely to
occur.
Note: For correct operation of the interior
motion detection system, make sure you
close all the windows prior to arming the
system. This helps prevent accidental alarm
activation due to external influences.
Additionally, the interior motion sensing
system does not arm if any door is ajar.
Arming the Alarm
The alarm is ready to arm when there is
not a key in the ignition. Lock your vehicle
using the remote control or keyless entry
keypad. You can also lock your vehicle
using the lock sensor on the exterior door
handle if your vehicle is equipped with
intelligent access. See Locking and
Unlocking (page 65).
The direction indicators flash once after
you lock your vehicle. This indicates the
alarm is in the pre-armed mode. It fully
arms after 20 seconds.
Disarming the Alarm
Disarm the alarm by any of the following
actions:
• Press the power door unlock button
within the 20-second pre-armed mode.
• Unlock the doors with the remote
control or keyless entry keypad. If
equipped with intelligent access, you
can use the unlock sensor on the
exterior door handle. See
Locking and
Unlocking (page 65).
• Switch the ignition on or start your
vehicle.
• Use a key in the driver door lock
cylinder to unlock your vehicle, then
switch the ignition on within 12
seconds.
76
Super Duty (TFE), enUSA, Edition date: 201909, Third-Printing- Security
Page 80 of 631
USING POWER RUNNING
BOARDS
WARNING: In extreme climates,
excessive ice buildup may occur, causing
the running boards not to deploy. Make
sure that the running boards have
deployed, and have finished moving
before attempting to step on them. The
running boards will resume normal
function once the blockage is cleared. WARNING:
Switch off the running
boards before jacking or placing any
object under your vehicle. Never place
your hand between the extended running
board and your vehicle. A moving running
board may cause injury.
Note: Do not use the running boards, front
and rear hinge assemblies, running board
motors, or the running board underbody
mounts to lift your vehicle when jacking.
Always use proper jacking points.
Note: The running boards may operate
more slowly in cool temperatures.
Note: The running board mechanism may
trap debris such as mud, dirt, snow, ice and
salt. This may cause unwanted noise. If this
happens, manually set the running boards
to the deployed position. Then, wash the
system, in particular the front and rear hinge
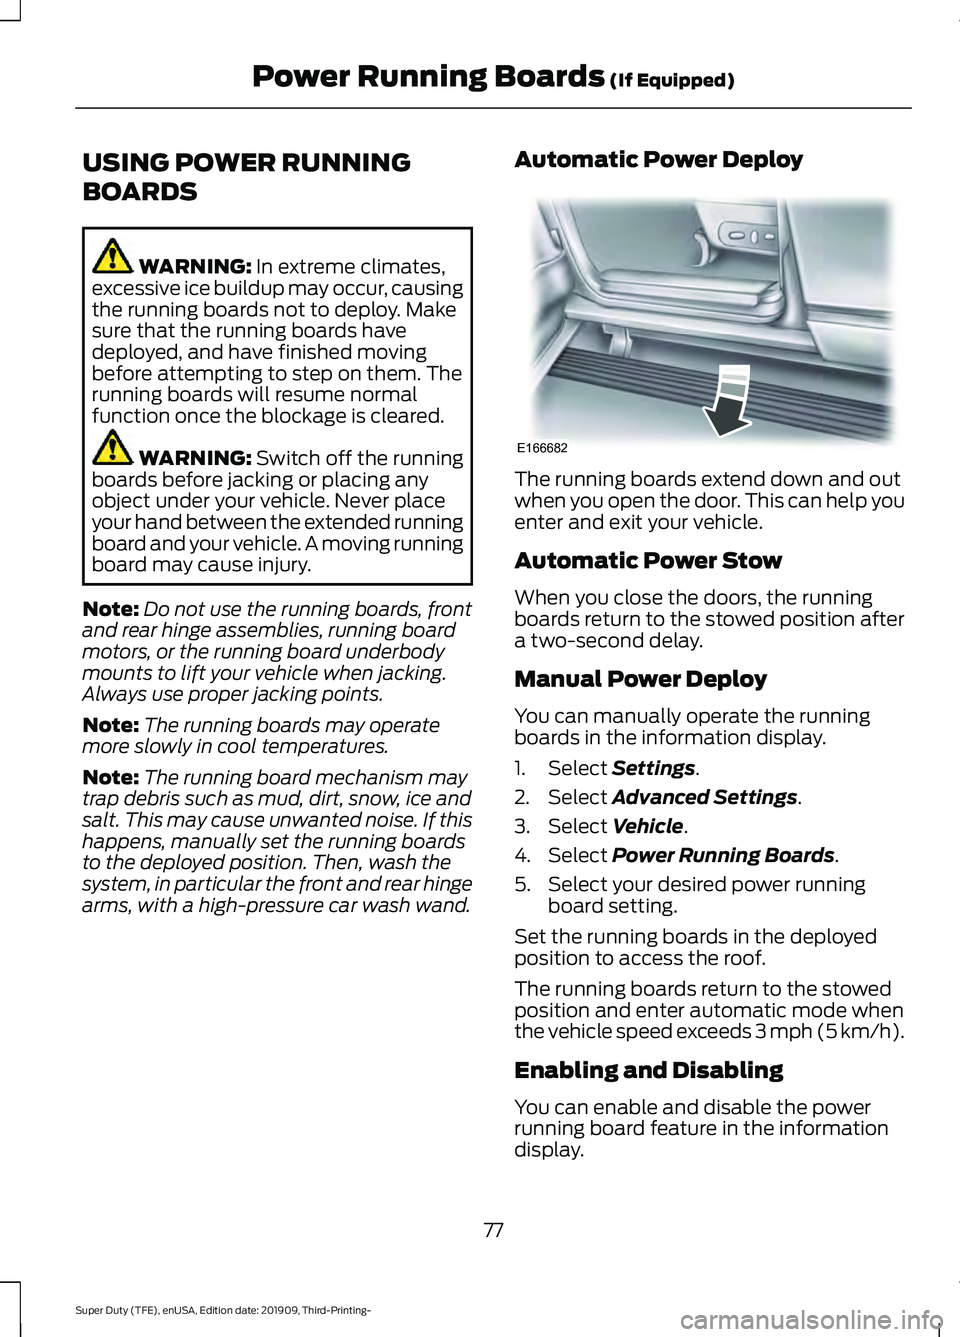
arms, with a high-pressure car wash wand. Automatic Power Deploy The running boards extend down and out
when you open the door. This can help you
enter and exit your vehicle.
Automatic Power Stow
When you close the doors, the running
boards return to the stowed position after
a two-second delay.
Manual Power Deploy
You can manually operate the running
boards in the information display.
1. Select
Settings.
2. Select
Advanced Settings.
3. Select
Vehicle.
4. Select
Power Running Boards.
5. Select your desired power running board setting.
Set the running boards in the deployed
position to access the roof.
The running boards return to the stowed
position and enter automatic mode when
the vehicle speed exceeds 3 mph (5 km/h).
Enabling and Disabling
You can enable and disable the power
running board feature in the information
display.
77
Super Duty (TFE), enUSA, Edition date: 201909, Third-Printing- Power Running Boards
(If Equipped)E166682
Page 83 of 631
End of Travel Position
The steering column sets a stopping
position just short of the end of the column
position to prevent damage to the steering
column. A new stopping position sets if
the steering column encounters an object
when tilting or telescoping.
To reset the steering column to its normal
stopping position:
1. Confirm there is nothing obstructing
the motion of the steering column.
2. Press and hold the steering column control until the steering column stops
moving.
3. Press the steering column control again.
Note: The steering column may begin to
move again.
4. When the steering column stops, continue holding the control for a few
seconds.
5. Repeat for each direction as necessary.
A new stopping position sets. The next
time you tilt or telescope the steering
column, it stops just short of the end of the
column position.
Memory Feature (If Equipped)
You can save and recall the steering
column position with the memory
function. See
Memory Function (page
153).
Pressing the adjustment control during a
memory recall cancels the operation.
Easy Entry and Exit Feature
The column moves up when you switch
the ignition off. Switch the ignition on to
return the system to its previous settings.
You can switch this feature on or off in the
information display. See
Information
Displays (page 109). Note:
If you press any adjustment or
memory button when in easy exit mode, the
system cancels the operation.
Note: Depending on your vehicle, the
column may move up and in.
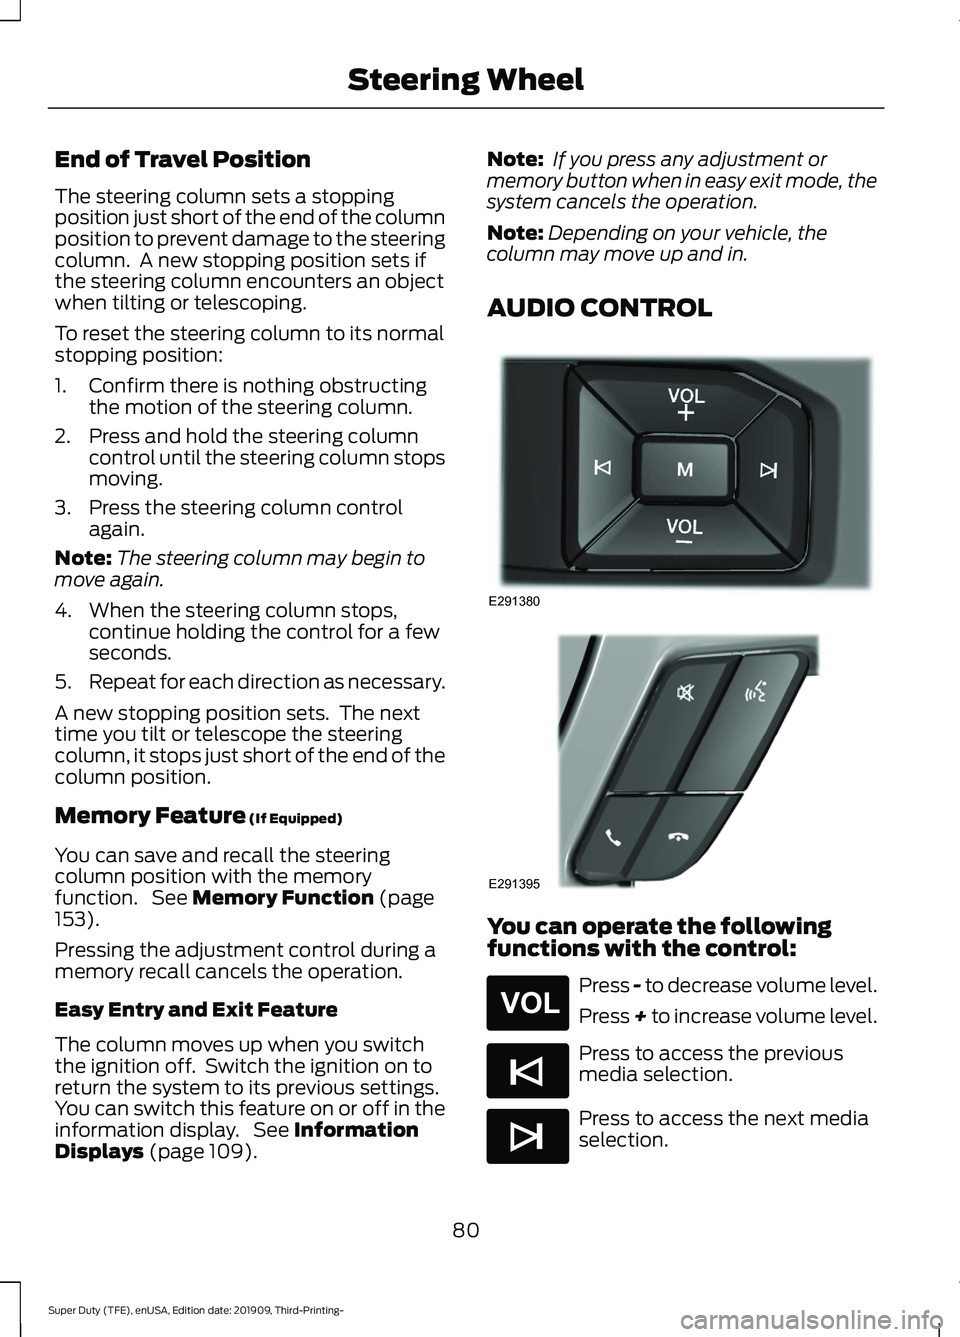
AUDIO CONTROL You can operate the following
functions with the control:
Press - to decrease volume level.
Press + to increase volume level.
Press to access the previous
media selection.
Press to access the next media
selection.
80
Super Duty (TFE), enUSA, Edition date: 201909, Third-Printing- Steering WheelE291380 E291395 E265304 E265045 E265044
Page 84 of 631
Press repeatedly to scroll
through available audio sources.
Press to access phone mode or
to answer a phone call.
Press to end a phone call.
Press to silence the current
media
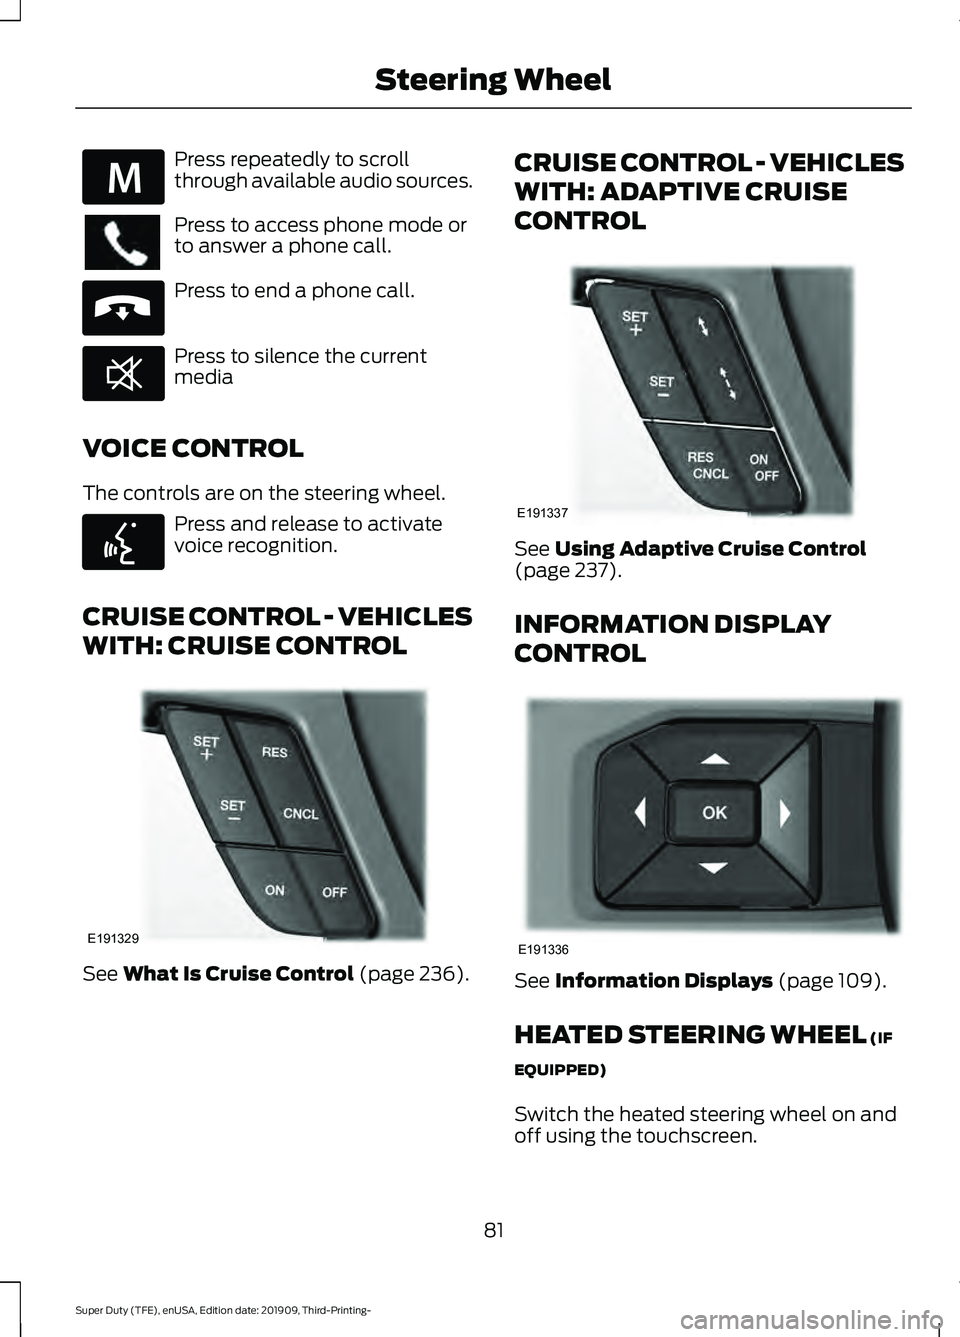
VOICE CONTROL
The controls are on the steering wheel. Press and release to activate
voice recognition.
CRUISE CONTROL - VEHICLES
WITH: CRUISE CONTROL See What Is Cruise Control (page 236).CRUISE CONTROL - VEHICLES
WITH: ADAPTIVE CRUISE
CONTROL
See
Using Adaptive Cruise Control
(page 237).
INFORMATION DISPLAY
CONTROL See
Information Displays (page 109).
HEATED STEERING WHEEL
(IF
EQUIPPED)
Switch the heated steering wheel on and
off using the touchscreen.
81
Super Duty (TFE), enUSA, Edition date: 201909, Third-Printing- Steering WheelE289636 E265040 E268549 E142599 E191329 E191337 E191336
Page 90 of 631
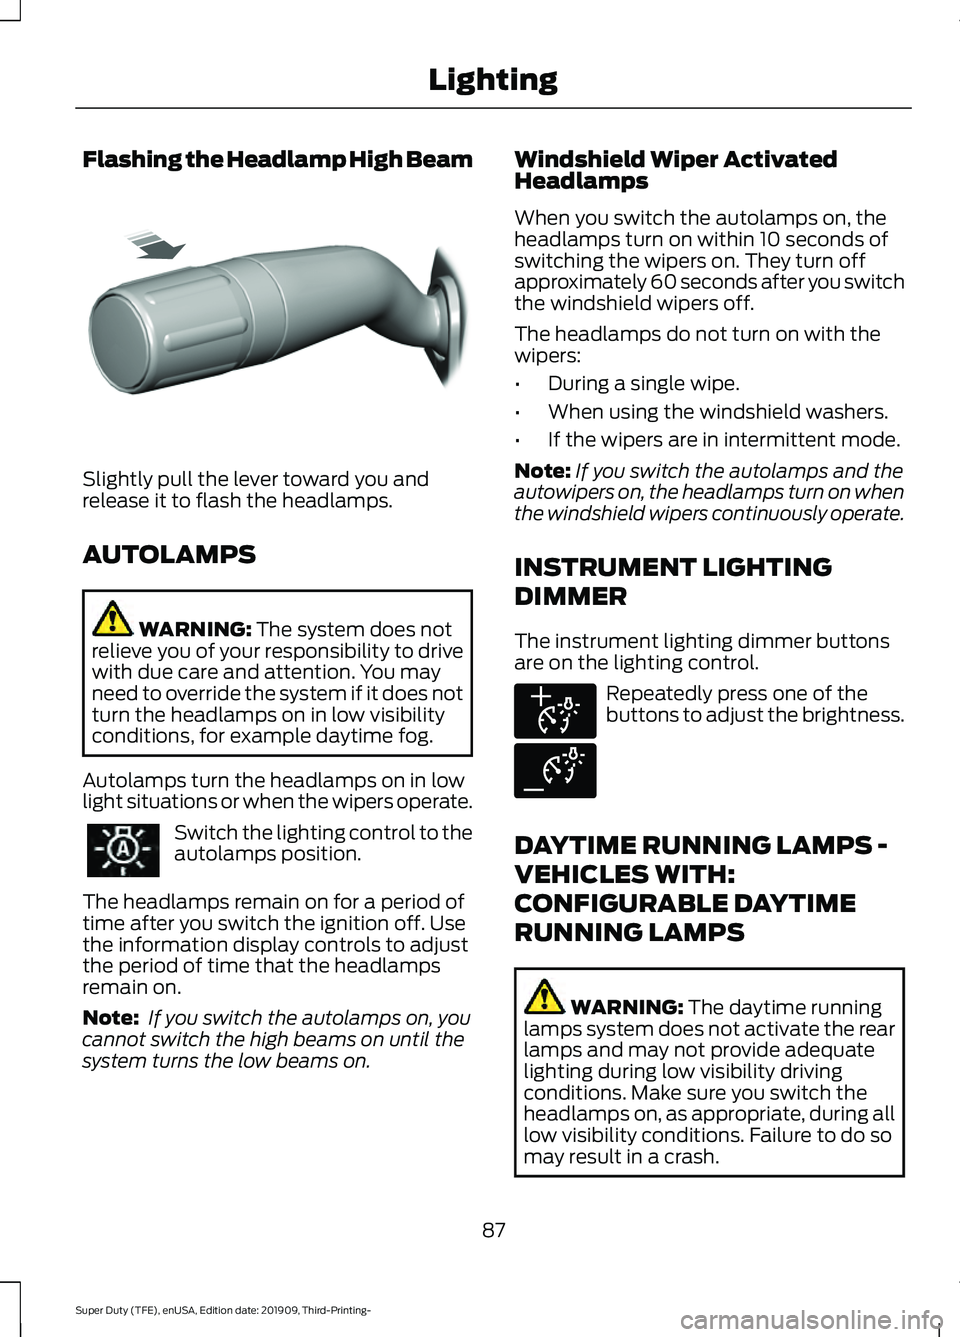
Flashing the Headlamp High Beam
Slightly pull the lever toward you and
release it to flash the headlamps.
AUTOLAMPS
WARNING: The system does not
relieve you of your responsibility to drive
with due care and attention. You may
need to override the system if it does not
turn the headlamps on in low visibility
conditions, for example daytime fog.
Autolamps turn the headlamps on in low
light situations or when the wipers operate. Switch the lighting control to the
autolamps position.
The headlamps remain on for a period of
time after you switch the ignition off. Use
the information display controls to adjust
the period of time that the headlamps
remain on.
Note: If you switch the autolamps on, you
cannot switch the high beams on until the
system turns the low beams on. Windshield Wiper Activated
Headlamps
When you switch the autolamps on, the
headlamps turn on within 10 seconds of
switching the wipers on. They turn off
approximately 60 seconds after you switch
the windshield wipers off.
The headlamps do not turn on with the
wipers:
•
During a single wipe.
• When using the windshield washers.
• If the wipers are in intermittent mode.
Note: If you switch the autolamps and the
autowipers on, the headlamps turn on when
the windshield wipers continuously operate.
INSTRUMENT LIGHTING
DIMMER
The instrument lighting dimmer buttons
are on the lighting control. Repeatedly press one of the
buttons to adjust the brightness.
DAYTIME RUNNING LAMPS -
VEHICLES WITH:
CONFIGURABLE DAYTIME
RUNNING LAMPS WARNING:
The daytime running
lamps system does not activate the rear
lamps and may not provide adequate
lighting during low visibility driving
conditions. Make sure you switch the
headlamps on, as appropriate, during all
low visibility conditions. Failure to do so
may result in a crash.
87
Super Duty (TFE), enUSA, Edition date: 201909, Third-Printing- LightingE311233 E291299 E291298
Page 107 of 631
WARNING LAMPS AND
INDICATORS
The following warning lamps and
indicators alert you to a vehicle condition
that may become serious. Some lamps
illuminate when you start your vehicle to
make sure they work. If any lamps remain
on after starting your vehicle, refer to the
respective system warning lamp for further
information.
Note:
Some warning indicators appear in
the information display and operate the
same as a warning lamp but do not
illuminate when you start your vehicle.
Adaptive Cruise Control (If Equipped) The speed control system
indicator light changes color to
indicate what mode the system
is in. See Using Adaptive Cruise Control
(page
237).
On (white light): Illuminates when the
adaptive cruise control system is turned
on. Turns off when the speed control
system is turned off.
Engaged (green light): Illuminates when
the adaptive cruise control system is
engaged. Turns off when the speed control
system is disengaged.
Adaptive Steering
(If Equipped) The adaptive steering system
indicator illuminates if the
system detects a fault during the
continuous diagnostic checks. Adaptive Steering Initialization (yellow,
flashing): The adaptive steering system
has detected a difference between
steering wheel angle and the desired road
wheel angle. The steering wheel adjusts
itself to correct this difference. This
adjustment is part of normal system
operation.
Adaptive Steering Off (yellow, solid): The
adaptive steering system is off. It is
possible that the steering wheel may not
be straight when your vehicle is driving
straight ahead. If this message persists,
have your vehicle checked as soon as
possible.
Adaptive Steering Loss (red, solid): The
adaptive steering system integrity cannot
be verified. Do not drive your vehicle and
have the system checked immediately.
See
Steering (page 256).
Anti-Lock Braking System Illuminates momentarily when
you switch on the ignition to
confirm that the lamp is
functional. If it does not illuminate when
you switch on the ignition or begins to flash
at anytime, have the system checked as
soon as possible.
If it illuminates when you are driving, this
indicates a malfunction. You will continue
to have the normal braking system
(without ABS) unless the brake system
warning lamp also illuminates. Have the
system checked as soon as possible.
Automatic High Beam
(If Equipped) Illuminates when this feature is
on. See
What Is Automatic
High Beam Control (page 92).
104
Super Duty (TFE), enUSA, Edition date: 201909, Third-Printing- Instrument ClusterE144524 E223375
Page 110 of 631
Powertrain Malfunction/Reduced
Power/Electronic Throttle Control
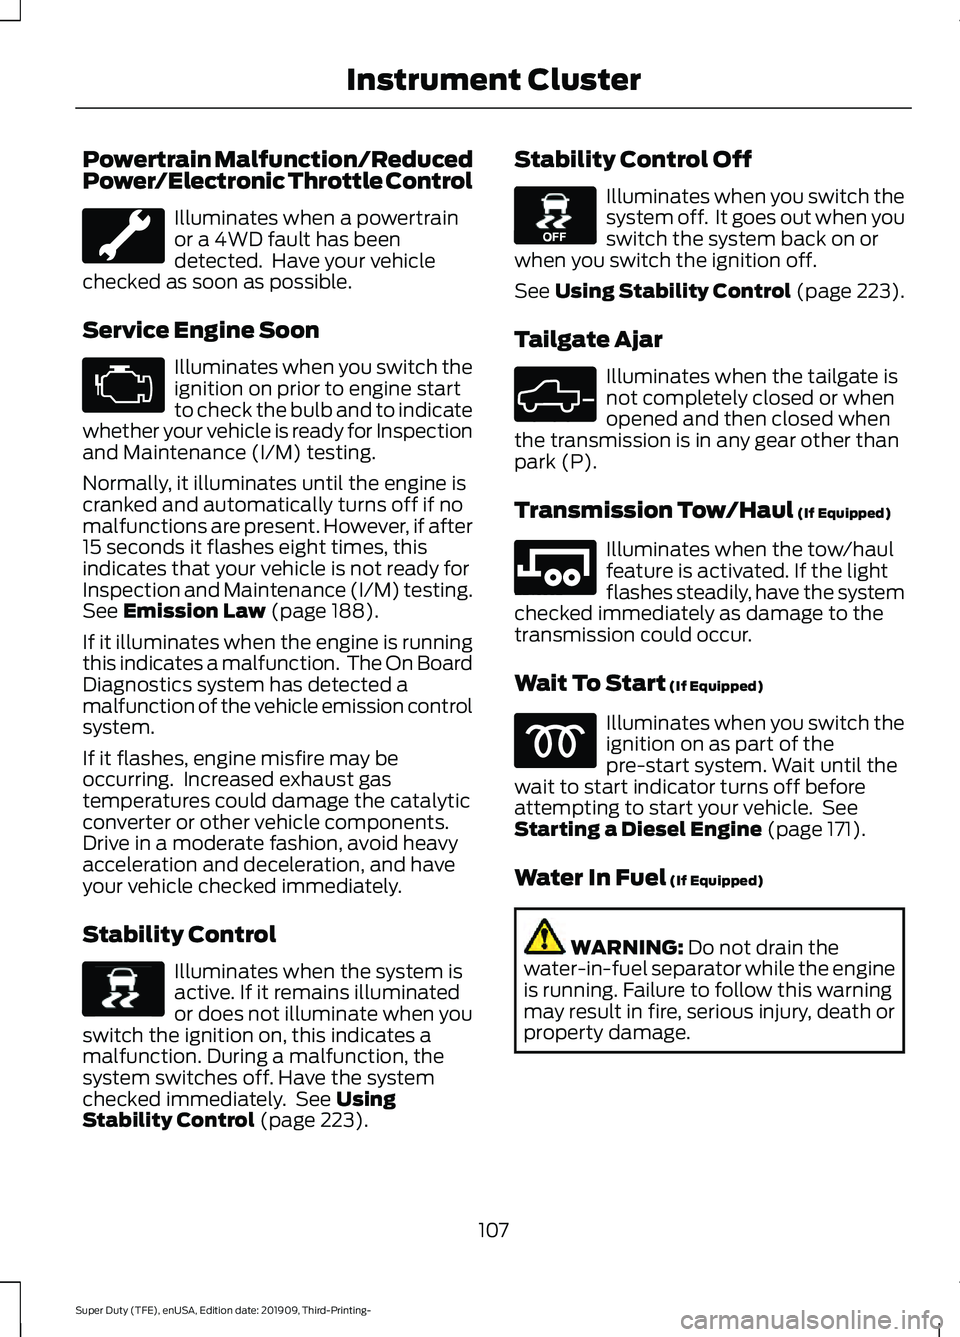
Illuminates when a powertrain
or a 4WD fault has been
detected. Have your vehicle
checked as soon as possible.
Service Engine Soon Illuminates when you switch the
ignition on prior to engine start
to check the bulb and to indicate
whether your vehicle is ready for Inspection
and Maintenance (I/M) testing.
Normally, it illuminates until the engine is
cranked and automatically turns off if no
malfunctions are present. However, if after
15 seconds it flashes eight times, this
indicates that your vehicle is not ready for
Inspection and Maintenance (I/M) testing.
See Emission Law (page 188).
If it illuminates when the engine is running
this indicates a malfunction. The On Board
Diagnostics system has detected a
malfunction of the vehicle emission control
system.
If it flashes, engine misfire may be
occurring. Increased exhaust gas
temperatures could damage the catalytic
converter or other vehicle components.
Drive in a moderate fashion, avoid heavy
acceleration and deceleration, and have
your vehicle checked immediately.
Stability Control Illuminates when the system is
active. If it remains illuminated
or does not illuminate when you
switch the ignition on, this indicates a
malfunction. During a malfunction, the
system switches off. Have the system
checked immediately. See
Using
Stability Control (page 223). Stability Control Off Illuminates when you switch the
system off. It goes out when you
switch the system back on or
when you switch the ignition off.
See Using Stability Control (page 223).
Tailgate Ajar Illuminates when the tailgate is
not completely closed or when
opened and then closed when
the transmission is in any gear other than
park (P).
Transmission Tow/Haul
(If Equipped) Illuminates when the tow/haul
feature is activated. If the light
flashes steadily, have the system
checked immediately as damage to the
transmission could occur.
Wait To Start
(If Equipped) Illuminates when you switch the
ignition on as part of the
pre-start system. Wait until the
wait to start indicator turns off before
attempting to start your vehicle. See
Starting a Diesel Engine
(page 171).
Water In Fuel
(If Equipped) WARNING:
Do not drain the
water-in-fuel separator while the engine
is running. Failure to follow this warning
may result in fire, serious injury, death or
property damage.
107
Super Duty (TFE), enUSA, Edition date: 201909, Third-Printing- Instrument Cluster E138639 E130458 E324523 E246592
Page 116 of 631
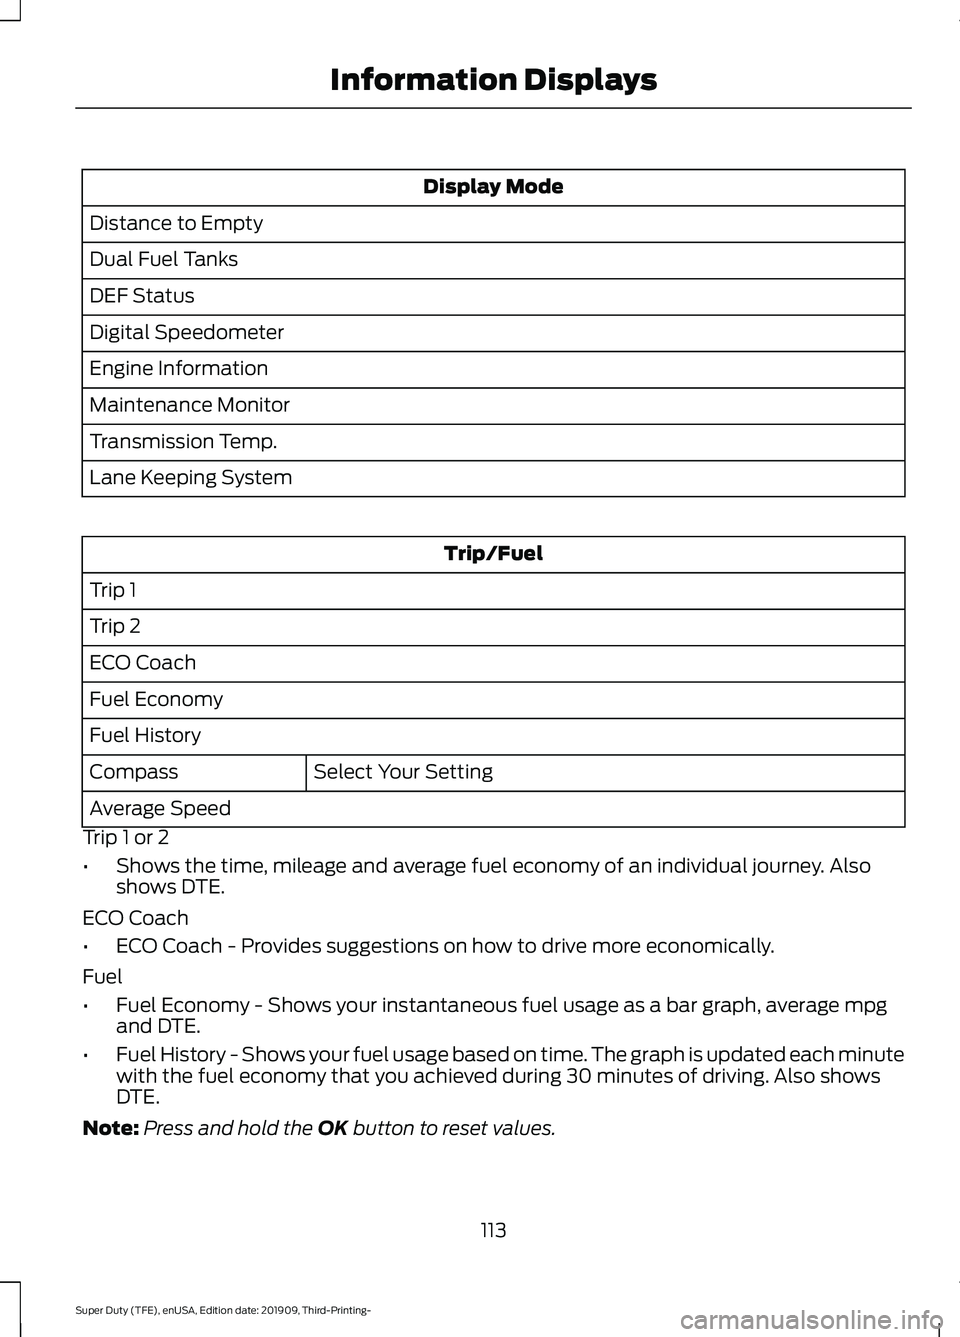
Display Mode
Distance to Empty
Dual Fuel Tanks
DEF Status
Digital Speedometer
Engine Information
Maintenance Monitor
Transmission Temp.
Lane Keeping System Trip/Fuel
Trip 1
Trip 2
ECO Coach
Fuel Economy
Fuel History Select Your Setting
Compass
Average Speed
Trip 1 or 2
• Shows the time, mileage and average fuel economy of an individual journey. Also
shows DTE.
ECO Coach
• ECO Coach - Provides suggestions on how to drive more economically.
Fuel
• Fuel Economy - Shows your instantaneous fuel usage as a bar graph, average mpg
and DTE.
• Fuel History - Shows your fuel usage based on time. The graph is updated each minute
with the fuel economy that you achieved during 30 minutes of driving. Also shows
DTE.
Note: Press and hold the OK button to reset values.
113
Super Duty (TFE), enUSA, Edition date: 201909, Third-Printing- Information Displays
Page 129 of 631
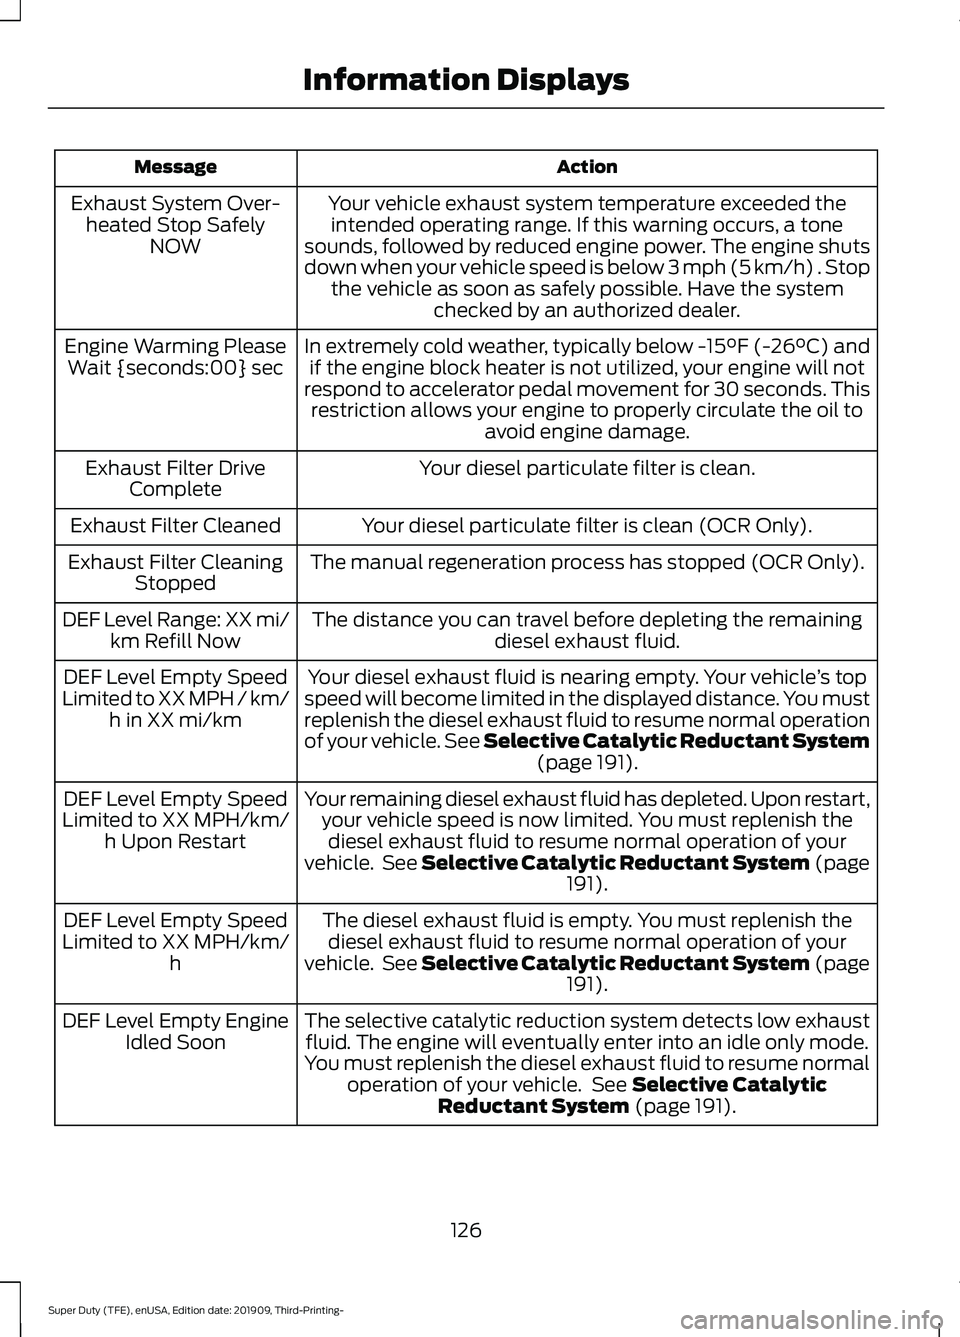
Action
Message
Your vehicle exhaust system temperature exceeded theintended operating range. If this warning occurs, a tone
sounds, followed by reduced engine power. The engine shuts
down when your vehicle speed is below 3 mph (5 km/h) . Stop the vehicle as soon as safely possible. Have the system checked by an authorized dealer.
Exhaust System Over-
heated Stop Safely NOW
In extremely cold weather, typically below -15°F (-26°C) andif the engine block heater is not utilized, your engine will not
respond to accelerator pedal movement for 30 seconds. This restriction allows your engine to properly circulate the oil to avoid engine damage.
Engine Warming Please
Wait {seconds:00} sec
Your diesel particulate filter is clean.
Exhaust Filter Drive
Complete
Your diesel particulate filter is clean (OCR Only).
Exhaust Filter Cleaned
The manual regeneration process has stopped (OCR Only).
Exhaust Filter Cleaning
Stopped
The distance you can travel before depleting the remaining diesel exhaust fluid.
DEF Level Range: XX mi/
km Refill Now
Your diesel exhaust fluid is nearing empty. Your vehicle ’s top
speed will become limited in the displayed distance. You must
replenish the diesel exhaust fluid to resume normal operation
of your vehicle. See Selective Catalytic Reductant System (page 191).
DEF Level Empty Speed
Limited to XX MPH / km/ h in XX mi/km
Your remaining diesel exhaust fluid has depleted. Upon restart,your vehicle speed is now limited. You must replenish thediesel exhaust fluid to resume normal operation of your
vehicle. See Selective Catalytic Reductant System (page 191
).
DEF Level Empty Speed
Limited to XX MPH/km/ h Upon Restart
The diesel exhaust fluid is empty. You must replenish thediesel exhaust fluid to resume normal operation of your
vehicle. See Selective Catalytic Reductant System (page 191
).
DEF Level Empty Speed
Limited to XX MPH/km/ h
The selective catalytic reduction system detects low exhaustfluid. The engine will eventually enter into an idle only mode.
You must replenish the diesel exhaust fluid to resume normal operation of your vehicle. See
Selective Catalytic
Reductant System (page 191).
DEF Level Empty Engine
Idled Soon
126
Super Duty (TFE), enUSA, Edition date: 201909, Third-Printing- Information Displays
Page 141 of 631
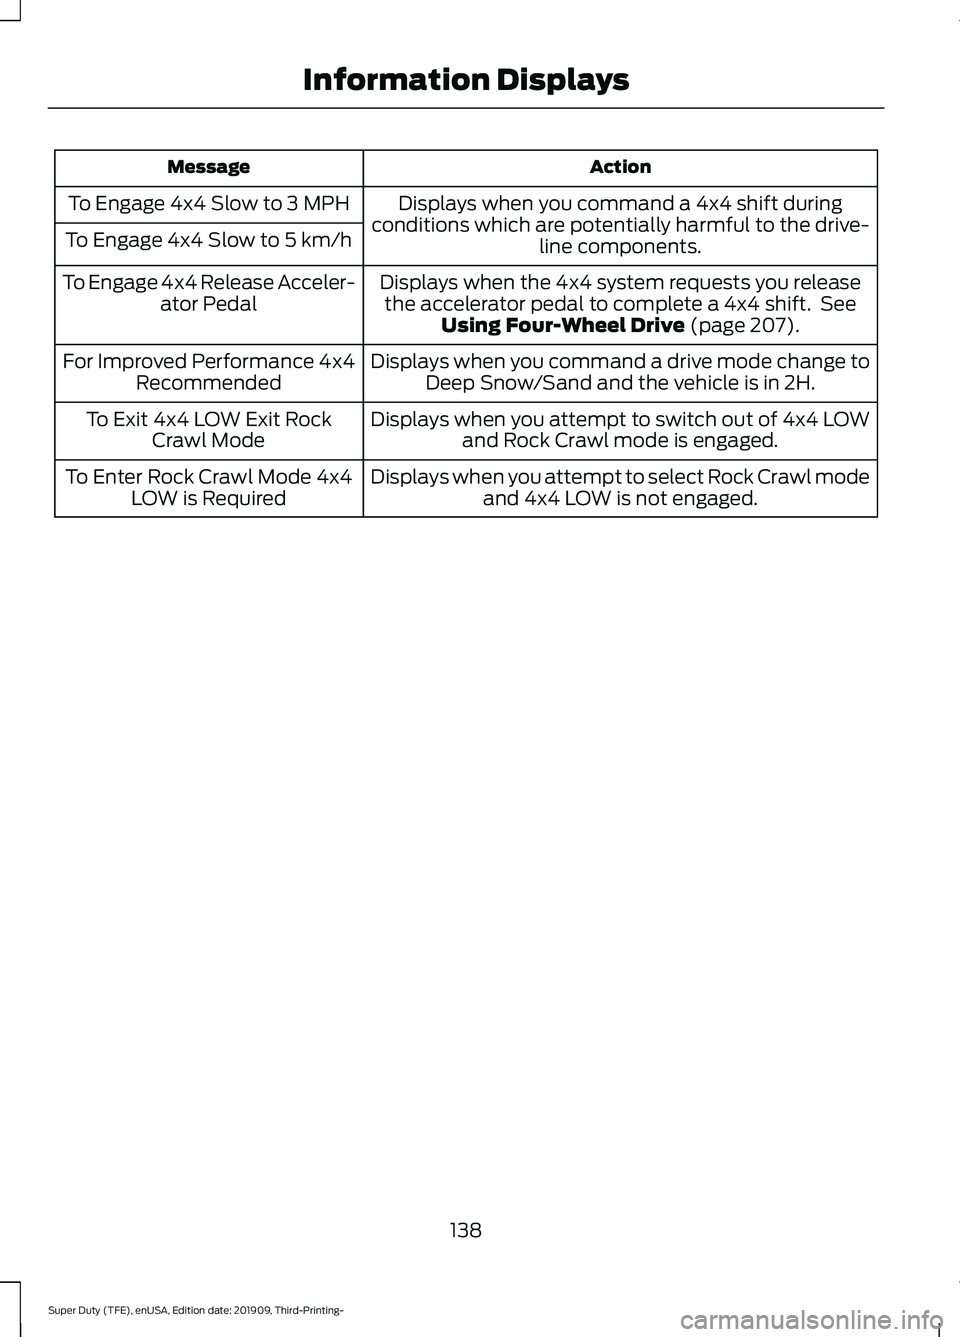
Action
Message
Displays when you command a 4x4 shift during
conditions which are potentially harmful to the drive- line components.
To Engage 4x4 Slow to 3 MPH
To Engage 4x4 Slow to 5 km/h
Displays when the 4x4 system requests you releasethe accelerator pedal to complete a 4x4 shift. See Using Four-Wheel Drive (page 207).
To Engage 4x4 Release Acceler-
ator Pedal
Displays when you command a drive mode change toDeep Snow/Sand and the vehicle is in 2H.
For Improved Performance 4x4
Recommended
Displays when you attempt to switch out of 4x4 LOWand Rock Crawl mode is engaged.
To Exit 4x4 LOW Exit Rock
Crawl Mode
Displays when you attempt to select Rock Crawl modeand 4x4 LOW is not engaged.
To Enter Rock Crawl Mode 4x4
LOW is Required
138
Super Duty (TFE), enUSA, Edition date: 201909, Third-Printing- Information Displays