clock setting FORD F-450 2022 Owners Manual
[x] Cancel search | Manufacturer: FORD, Model Year: 2022, Model line: F-450, Model: FORD F-450 2022Pages: 740, PDF Size: 12.6 MB
Page 17 of 740
Connected Vehicle – Troubleshooting -
Vehicles With: SYNC 3 .........................500
Connected Vehicle - Vehicles With: SYNC 4
What Is a Connected Vehicle .................
502
Connected Vehicle Requirements .......
502
Connected Vehicle Limitations .............
502
Connecting the Vehicle to a Mobile Network .....................................................
502
Connecting the Vehicle to a Wi-Fi Network .....................................................
502
Connected Vehicle – Troubleshooting ........................................................................\
503
Vehicle Wi-Fi Hotspot
Creating a Vehicle Wi-Fi Hotspot ........
506
Changing the Vehicle Wi-Fi Hotspot Name or Password ................................
506
Audio System - Vehicles With: SYNC
General Information .................................
508
Audio Unit .....................................................
508
Digital Radio ..................................................
510
Satellite Radio ..............................................
513
USB Port .........................................................
516
Audio System - Vehicles With: SYNC 3
General Information ....................................
517
Audio Unit .......................................................
517
Digital Radio ..................................................
518
Satellite Radio ..............................................
521
USB Port ........................................................
524
Audio System - Vehicles With: SYNC 4
Audio System Precautions ......................
525
Switching the Audio Unit On and Off ........................................................................\
525 Selecting the Audio Source
....................
525
Playing or Pausing the Audio Source ........................................................................\
525
Adjusting the Volume ................................
525
Switching Shuffle Mode On and Off ........................................................................\
526
Switching Repeat Mode On and Off ........................................................................\
526
Setting a Memory Preset .........................
526
Muting the Audio ........................................
526
Adjusting the Sound Settings ................
526
Setting the Clock and Date .....................
526
AM/FM Radio ................................................
527
Switching the Display On and Off ........
528
Digital Radio .................................................
528
Satellite Radio .............................................
529
Audio System – Troubleshooting .........
532
Identifying the Audio Unit .......................
535
SYNC™
General Information ..................................
536
Using Voice Recognition ...........................
537
Using SYNC™ With Your Phone ...........
539
SYNC™ Applications and Services ......
540
Using SYNC™ With Your Media Player ........................................................................\
542
SYNC™ Troubleshooting ........................
542
SYNC™ 3
General Information ..................................
552
Using Voice Recognition ..........................
554
Entertainment .............................................
560
Climate ...........................................................
570
Phone ..............................................................
572
Navigation .....................................................
574
Apps ................................................................
580
Settings ..........................................................
582
SYNC™ 3 Troubleshooting ....................
584
14
2022 Super Duty (TFE) Canada/United States of America, enUSA, Edition date: 202103, First-Printing Table of Contents
Page 157 of 740
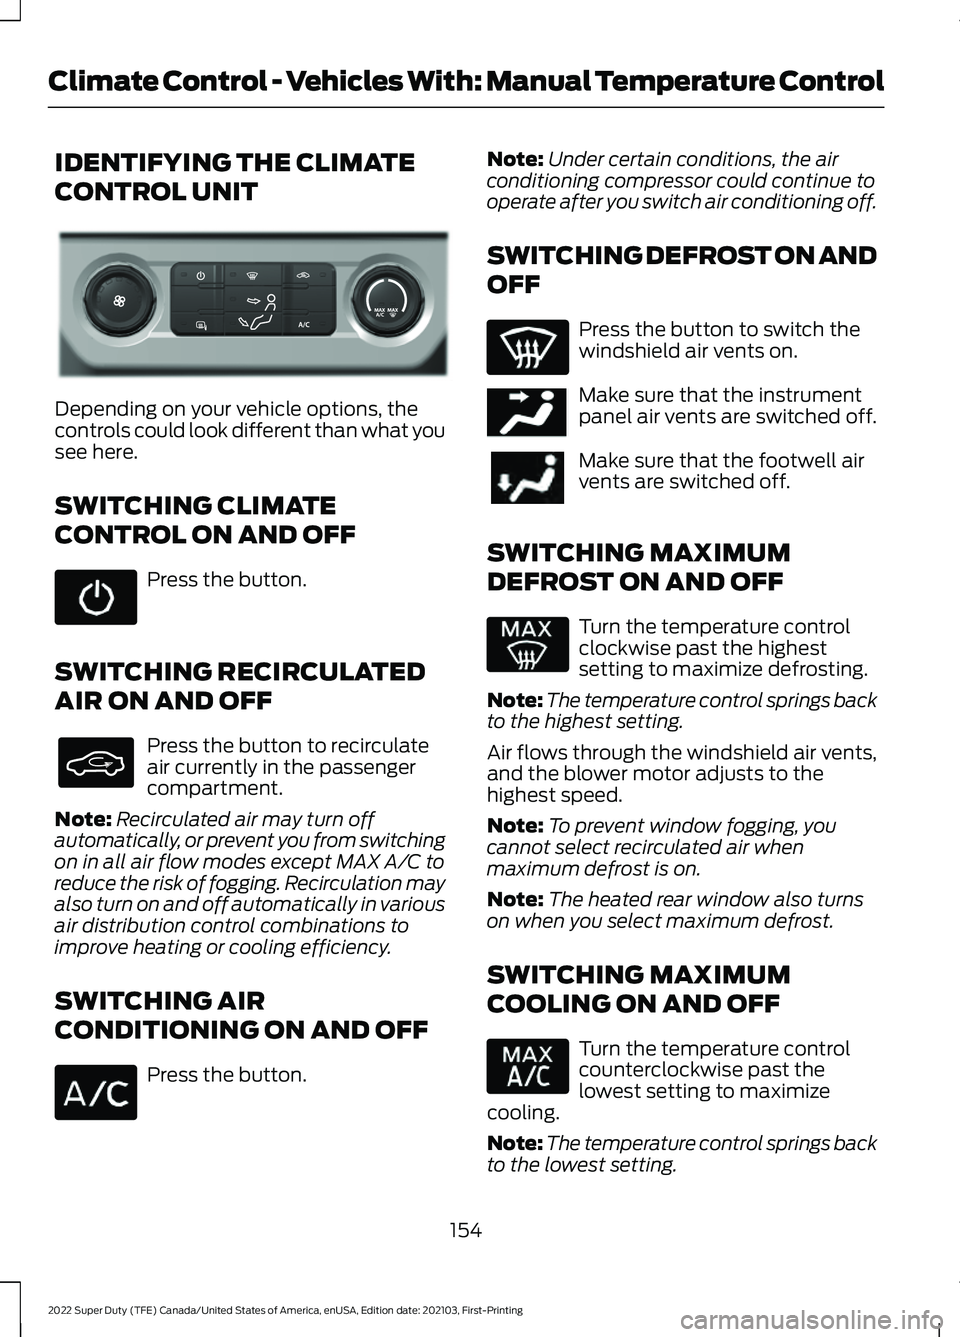
IDENTIFYING THE CLIMATE
CONTROL UNIT
Depending on your vehicle options, the
controls could look different than what you
see here.
SWITCHING CLIMATE
CONTROL ON AND OFF
Press the button.
SWITCHING RECIRCULATED
AIR ON AND OFF Press the button to recirculate
air currently in the passenger
compartment.
Note: Recirculated air may turn off
automatically, or prevent you from switching
on in all air flow modes except MAX A/C to
reduce the risk of fogging. Recirculation may
also turn on and off automatically in various
air distribution control combinations to
improve heating or cooling efficiency.
SWITCHING AIR
CONDITIONING ON AND OFF Press the button. Note:
Under certain conditions, the air
conditioning compressor could continue to
operate after you switch air conditioning off.
SWITCHING DEFROST ON AND
OFF Press the button to switch the
windshield air vents on.
Make sure that the instrument
panel air vents are switched off.
Make sure that the footwell air
vents are switched off.
SWITCHING MAXIMUM
DEFROST ON AND OFF Turn the temperature control
clockwise past the highest
setting to maximize defrosting.
Note: The temperature control springs back
to the highest setting.
Air flows through the windshield air vents,
and the blower motor adjusts to the
highest speed.
Note: To prevent window fogging, you
cannot select recirculated air when
maximum defrost is on.
Note: The heated rear window also turns
on when you select maximum defrost.
SWITCHING MAXIMUM
COOLING ON AND OFF Turn the temperature control
counterclockwise past the
lowest setting to maximize
cooling.
Note: The temperature control springs back
to the lowest setting.
154
2022 Super Duty (TFE) Canada/United States of America, enUSA, Edition date: 202103, First-Printing Climate Control - Vehicles With: Manual Temperature ControlE351180 E244097
Page 158 of 740
Note:
When you switch maximum cooling
off, air conditioning remains on.
SWITCHING THE HEATED
REAR WINDOW ON AND OFF (IF
EQUIPPED) Press the button to clear the rear
window of thin ice and fog. The
heated rear window turns off
after a short period of time.
Note: Do not use harsh chemicals, razor
blades or other sharp objects to clean or
remove decals from the inside of the heated
rear window as this could cause damage to
the heated rear window grid lines not
covered by the vehicle Warranty.
SWITCHING THE HEATED
MIRRORS ON AND OFF Press the button.
SETTING THE BLOWER MOTOR
SPEED Note:
Lights on the control illuminate to
indicate the blower motor speed.
Note: When you switch the blower motor
off, air conditioning turns off and the
windows could fog up. SETTING THE TEMPERATURE
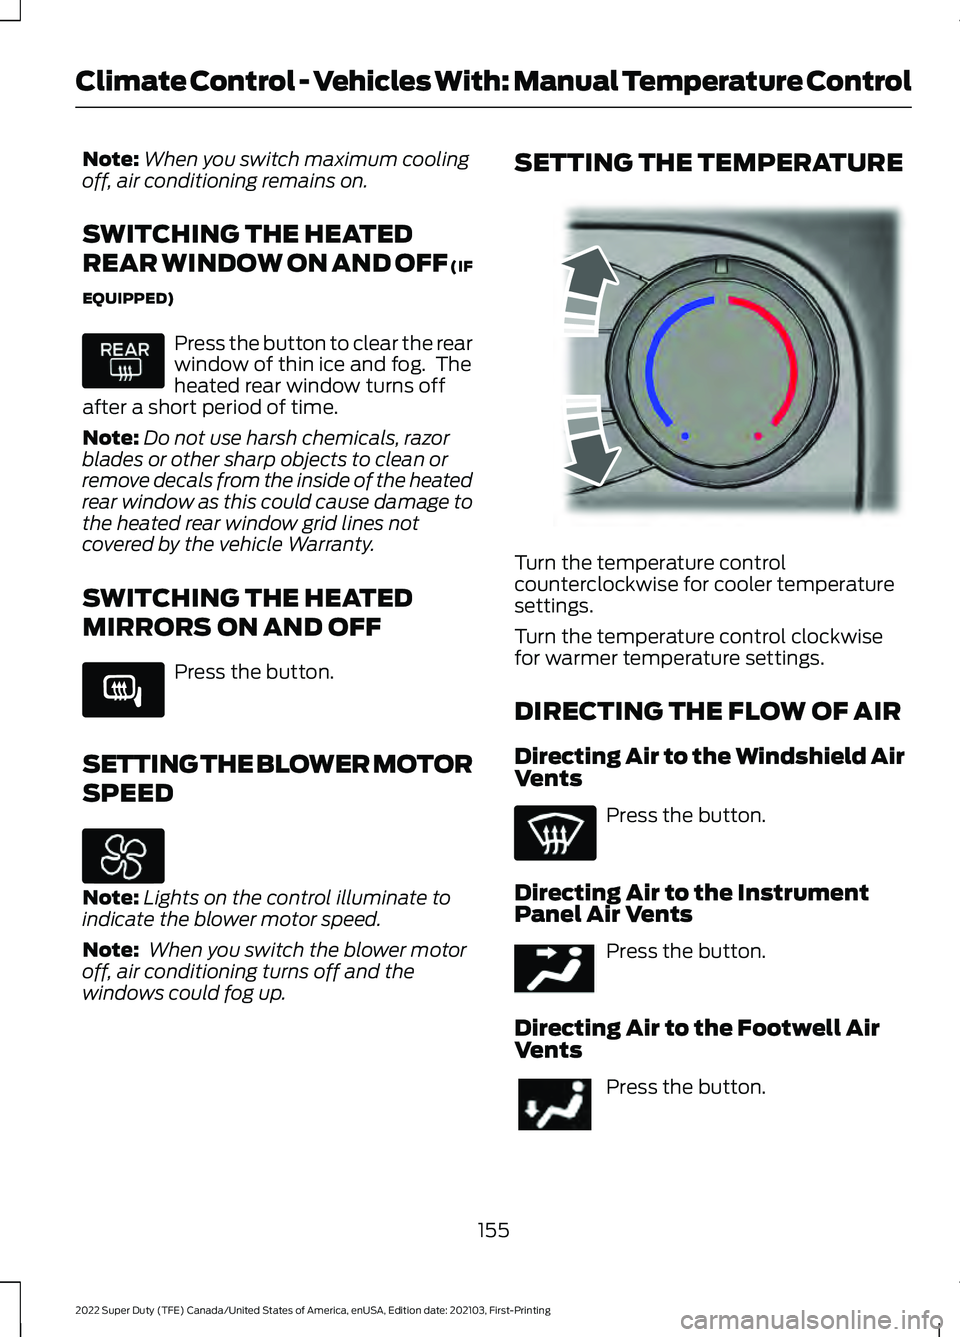
Turn the temperature control
counterclockwise for cooler temperature
settings.
Turn the temperature control clockwise
for warmer temperature settings.
DIRECTING THE FLOW OF AIR
Directing Air to the Windshield Air
Vents
Press the button.
Directing Air to the Instrument
Panel Air Vents Press the button.
Directing Air to the Footwell Air
Vents Press the button.
155
2022 Super Duty (TFE) Canada/United States of America, enUSA, Edition date: 202103, First-Printing Climate Control - Vehicles With: Manual Temperature Control E266189 E244106 E244097
Page 159 of 740
CLIMATE CONTROL HINTS
General Hints
•
Prolonged use of recirculated air may
cause the windows to fog up.
• You may feel a small amount of air
from the footwell air vents regardless
of the air distribution setting.
• To reduce humidity build-up inside your
vehicle, do not drive with the system
switched off or with recirculated air
always switched on.
• Do not place objects under the front
seats as this may interfere with the
airflow to the rear seats.
• Remove any snow, ice or leaves from
the air intake area at the base of the
windshield.
• To improve the time to reach a
comfortable temperature in hot
weather, drive with the windows open
until you feel cold air through the air
vents.
Quickly Heating the Interior
1. Adjust the blower motor speed to the highest speed setting.
2. Adjust the temperature control to the highest setting.
3. Direct air to the footwell air vents.
Recommended Settings for
Heating
1. Adjust the blower motor speed to the center setting.
2. Adjust the temperature control to the midway point of the hot settings.
3. Direct air to the footwell air vents. Quickly Cooling the Interior
1. Turn the temperature control
counterclockwise past the lowest
setting.
2. Drive with the windows open for a short
period of time.
Recommended Settings for
Cooling
1. Adjust the blower motor speed to the center setting.
2. Adjust the temperature control to the midway point of the cold settings.
3. Direct air to the instrument panel air vents.
Defogging the Side Windows in
Cold Weather
1. Direct air to the instrument panel and windshield air vents.
2. Press and release A/C.
3. Adjust the temperature control to the setting you prefer.
4. Adjust the blower motor speed to the highest setting.
5. Direct air toward the side windows.
6. Close the instrument panel air vents.
156
2022 Super Duty (TFE) Canada/United States of America, enUSA, Edition date: 202103, First-Printing Climate Control - Vehicles With: Manual Temperature Control
Page 404 of 740
Note:
The oil consumption of new engines
reaches its normal level after approximately
3,000 mi (5,000 km).
ADDING ENGINE OIL WARNING: Do not remove the filler
cap when the engine is running. WARNING:
Do not add engine oil
when the engine is hot. Failure to follow
this instruction could result in personal
injury.
Do not use supplemental engine oil
additives because they are unnecessary
and could lead to engine damage that the
vehicle warranty may not cover.
1. Clean the area surrounding the engine oil filler cap before you remove it.
2. Remove the engine oil filler cap.
3. Add engine oil that meets our specifications. See
Engine Oil (page
401).
4. Reinstall the engine oil filler cap. Turn it clockwise until you feel a strong
resistance.
Note: Do not add oil further than the
maximum mark. Oil levels above the
maximum mark may cause engine damage.
Note: Immediately soak up any oil spillage
with an absorbent cloth.
RESETTING THE ENGINE OIL
CHANGE REMINDER - VEHICLES
WITH: 2.3 INCH SCREEN/4.2 INCH
SCREEN
1. Press the Menu button on the steering
wheel to enter the information display
main menu.
2. Select
Truck Info.
3. Select
Oil Life. 4. Select
Reset Oil Life.
5. Press and hold the OK button until the
system reset confirmation appears.
RESETTING THE ENGINE OIL
CHANGE REMINDER - VEHICLES
WITH: 8 INCH SCREEN
Depending on your cluster, there are two
paths to reset the engine oil change
reminder.
Path 1
1. Press the Menu button on the steering
wheel to enter the information display
main menu.
2. Select
Settings.
3. Select
Vehicle Maintenance.
4. Select
Oil Life.
5. Press and hold the OK button until the
system reset confirmation appears.
Path 2
1. Press the Menu button on the steering
wheel to enter the information display
main menu.
2. Select
Truck Info.
3. Select
Engine Information.
4. Press and hold the OK button until the
system reset confirmation appears.
ENGINE OIL CAPACITY AND
SPECIFICATION
For filling information, please refer to the
Capacities and Specifications section of
your owner's manual. See
Engine Oil
Capacity and Specification (page 401).
401
2022 Super Duty (TFE) Canada/United States of America, enUSA, Edition date: 202103, First-Printing Maintenance
Page 413 of 740
To maintain correct operation of the
battery management system, if you add
any electrical devices to your vehicle, do
not connect the ground connection directly
to the negative battery terminal. A
connection at the negative battery terminal
can cause inaccurate measurements of
the battery condition and potential
incorrect system operation.
Note:
If you add electrical accessories or
components to your vehicle this may
adversely affect battery performance,
durability and the performance of other
electrical systems on your vehicle.
If you replace the battery make sure it
matches the electrical requirements of
your vehicle.
If you disconnect or replace the battery
and your vehicle has an automatic
transmission, it must relearn its adaptive
strategy. Because of this, the transmission
may shift firmly when first driven. This is
normal operation while the transmission
fully updates its operation to optimum
shift feel.
Remove and Reinstall the Battery
To disconnect or remove the battery, do
the following:
1. Apply the parking brake and switch the
ignition off.
2. Switch all electrical equipment off, for
example lights and radio.
3. Wait a minimum of two minutes before
disconnecting the battery.
Note: The engine management system has
a power hold function and remains powered
for a period of time after you switch the
ignition off. This is to allow diagnostic and
adaptive tables to be stored. Disconnecting
the battery without waiting can cause
damage not covered by the vehicle
Warranty. 4. Disconnect the negative battery cable
terminal.
5. Disconnect the positive battery cable terminal.
6. Remove the battery securing clamp.
7. Remove the battery.
8. To install, reverse the removal procedure.
Note: Before reconnecting the battery,
make sure the ignition remains switched off.
Note: Make sure the battery cable terminals
are fully tightened.
Note: After cleaning or replacing the
battery, make sure you reinstall the battery
cover or shield.
If you disconnect or replace the vehicle
battery, you must reset the following
features:
• Window bounce-back. See Window
Bounce-Back (page 126).
• Clock Settings.
• Pre-set radio stations.
• Steering Angle Sensor.
Note: To calibrate the steering angle
sensor, drive the vehicle above
30 mph
(50 km/h) for a minimum of 1.2 mi (2 km).
Make sure to drive straight ahead for a
minimum of 30 seconds. Several vehicle
functions are disabled and a warning light
could appear until the sensor is calibrated.
Battery Management System
The battery management system monitors
battery conditions and takes actions to
extend battery life. If excessive battery
drain is detected, the system temporarily
disables some of the following features:
• Heated rear window.
• Heated seats.
• Climate control.
• Heated steering wheel.
410
2022 Super Duty (TFE) Canada/United States of America, enUSA, Edition date: 202103, First-Printing Maintenance
Page 512 of 740
Note:
Some features, such as satellite
radio, may not be available in your location.
Check with an authorized dealer.
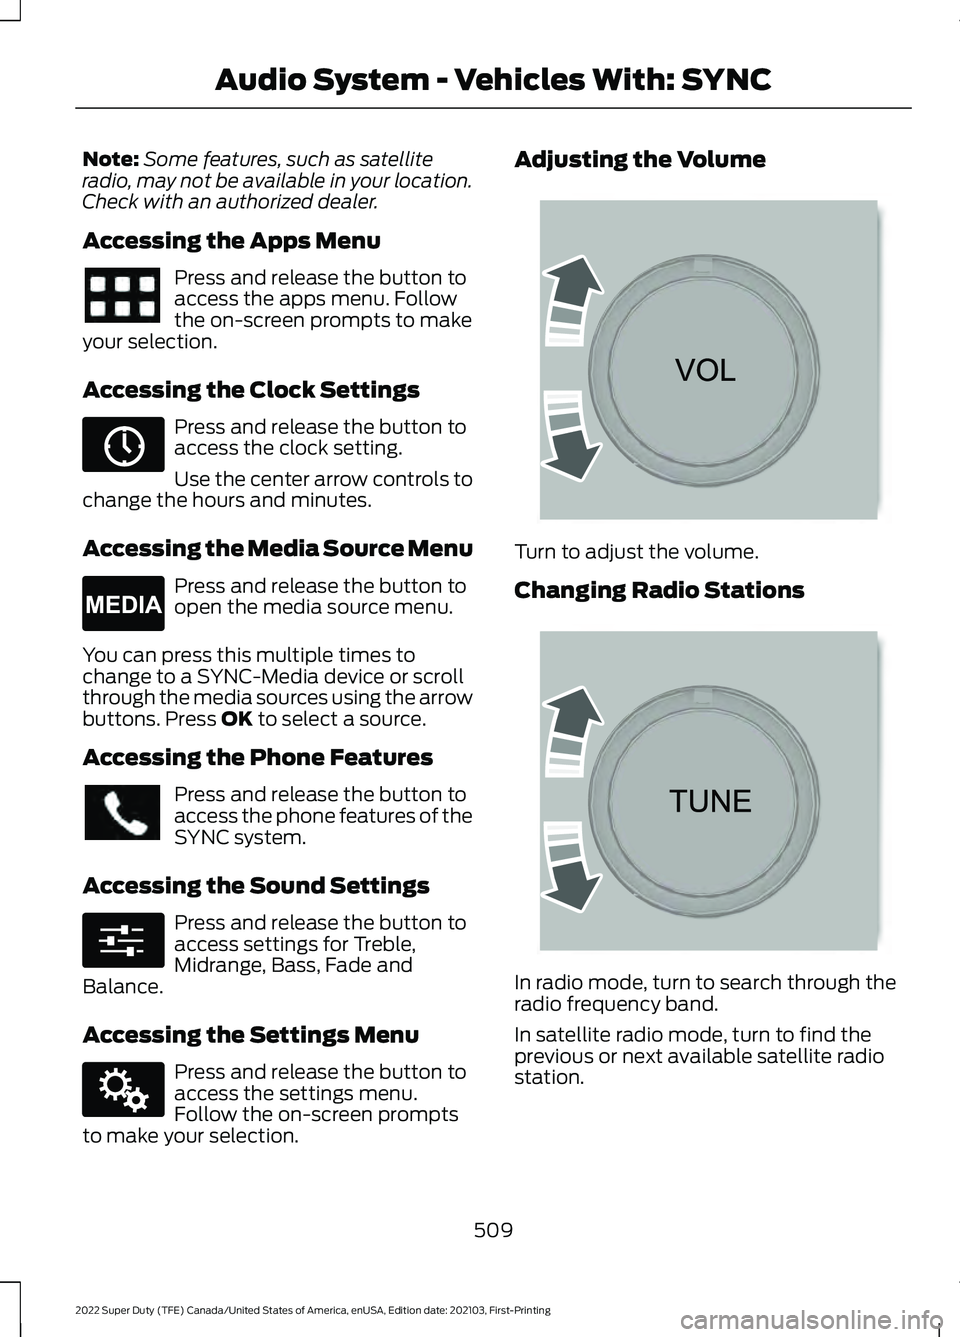
Accessing the Apps Menu Press and release the button to
access the apps menu. Follow
the on-screen prompts to make
your selection.
Accessing the Clock Settings Press and release the button to
access the clock setting.
Use the center arrow controls to
change the hours and minutes.
Accessing the Media Source Menu Press and release the button to
open the media source menu.
You can press this multiple times to
change to a SYNC-Media device or scroll
through the media sources using the arrow
buttons. Press OK to select a source.
Accessing the Phone Features Press and release the button to
access the phone features of the
SYNC system.
Accessing the Sound Settings Press and release the button to
access settings for Treble,
Midrange, Bass, Fade and
Balance.
Accessing the Settings Menu Press and release the button to
access the settings menu.
Follow the on-screen prompts
to make your selection. Adjusting the Volume
Turn to adjust the volume.
Changing Radio Stations
In radio mode, turn to search through the
radio frequency band.
In satellite radio mode, turn to find the
previous or next available satellite radio
station.
509
2022 Super Duty (TFE) Canada/United States of America, enUSA, Edition date: 202103, First-Printing Audio System - Vehicles With: SYNC E265036 E265035 E280315 E142607 E265373 E265696
Page 529 of 740
SWITCHING SHUFFLE MODE
ON AND OFF
Press the button on the
touchscreen to switch shuffle
mode on or off.
Note: Not all sources have shuffle mode.
SWITCHING REPEAT MODE ON
AND OFF Press the button on the
touchscreen to switch repeat
mode on or off.
Note: Not all sources have repeat mode.
SETTING A MEMORY PRESET
1. Select a station or channel.
2. Press and hold a memory preset button
on the touchscreen.
Note: The audio mutes briefly while the
system saves the preset and returns once it
is stored.
Note: You can save presets from multiple
sources to the memory preset bar.
MUTING THE AUDIO Press to mute the signal. Press
again to restore the signal.
ADJUSTING THE SOUND
SETTINGS
Balance and Fade (If Equipped)
1. Press
Settings on the touchscreen.
2. Press
Sound Settings.
3. Press
Balance / Fade. 4.
Press the arrows to adjust the settings.
Tone Settings
1. Press
Settings on the touchscreen.
2. Press
Sound Settings.
3. Press
Tone Settings.
4. Press the arrows or slider bar to adjust
the settings.
Speed Compensated Volume
1. Press
Settings on the touchscreen.
2. Press
Sound Settings.
3. Press
Speed Compensated Volume.
4. Press a setting.
Occupancy Mode
(If Equipped)
1. Press
Settings on the touchscreen.
2. Press
Sound Settings.
3. Press
Occupancy Mode.
4. Press a setting.
Sound Mode
(If Equipped)
1. Press
Settings on the touchscreen.
2. Press
Sound Settings.
3. Press
Sound Mode.
4. Press a setting.
SETTING THE CLOCK AND
DATE
1. Press
Settings on the touchscreen.
2. Press
Clock Settings.
3. Set the time.
Note: The
AM and PM options are not
available if 24-hour mode is on.
526
2022 Super Duty (TFE) Canada/United States of America, enUSA, Edition date: 202103, First-Printing Audio System - Vehicles With: SYNC 4
Page 530 of 740
Switching Automatic Time
Updates On and Off
1. Press Settings on the touchscreen.
2. Press
Clock Settings.
3. Switch
Automatic time zone update
on or off.
AM/FM RADIO
AM/FM RADIO LIMITATIONS
The further you travel from an AM or FM
station, the weaker the signal and the
weaker the reception.
Hills, mountains, tall buildings, bridges,
tunnels, freeway overpasses, parking
garages, dense tree foliage and
thunderstorms can interfere with the
reception.
When you pass a ground-based broadcast
repeating tower, a stronger signal may
overtake a weaker one and result in the
audio system muting. SELECTING A RADIO STATION
Manually Selecting a Radio
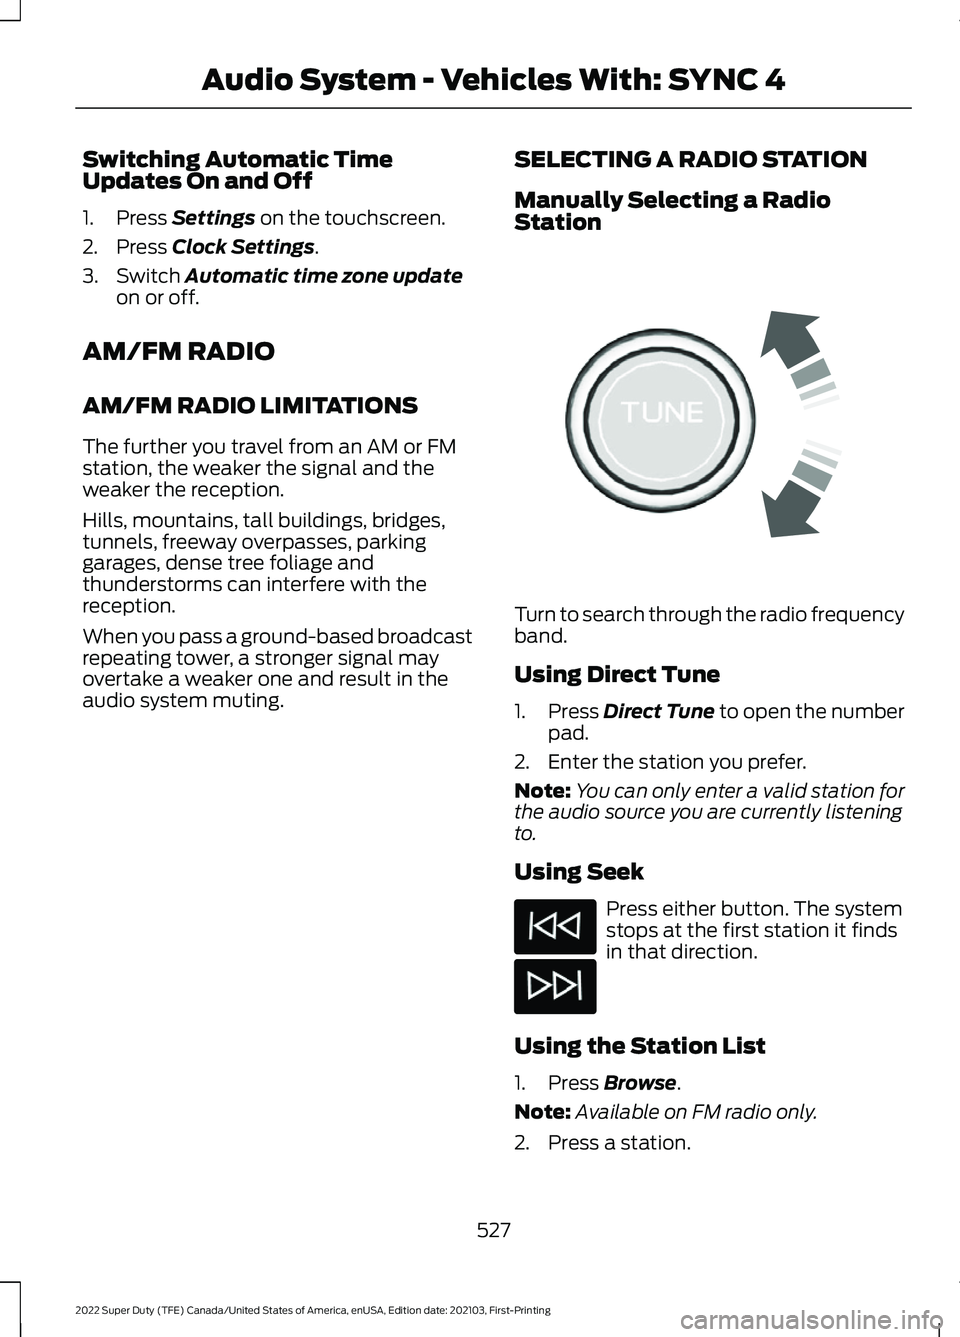
Station Turn to search through the radio frequency
band.
Using Direct Tune
1.
Press
Direct Tune to open the number
pad.
2. Enter the station you prefer.
Note: You can only enter a valid station for
the audio source you are currently listening
to.
Using Seek Press either button. The system
stops at the first station it finds
in that direction.
Using the Station List
1. Press
Browse.
Note: Available on FM radio only.
2. Press a station.
527
2022 Super Duty (TFE) Canada/United States of America, enUSA, Edition date: 202103, First-Printing Audio System - Vehicles With: SYNC 4E270235
Page 555 of 740
GENERAL INFORMATION
WARNING: Driving while distracted
can result in loss of vehicle control, crash
and injury. We strongly recommend that
you use extreme caution when using any
device that may take your focus off the
road. Your primary responsibility is the
safe operation of your vehicle. We
recommend against the use of any
hand-held device while driving and
encourage the use of voice-operated
systems when possible. Make sure you
are aware of all applicable local laws
that may affect the use of electronic
devices while driving.
About SYNC
The system allows you to interact with the
entertainment, information and
communication systems on your vehicle
using voice commands and a touchscreen.
The system provides easy interaction with
audio, phone, navigation, mobile apps and
settings.
Note: You can switch the system on and
use it for up to an hour without switching
the ignition on.
Note: You can use the system after you
switch the ignition off for up to 10 minutes
or until you open a door.
Note: For your safety, some features are
speed-dependent. Their use is limited to
when your vehicle speed is less than 3 mph
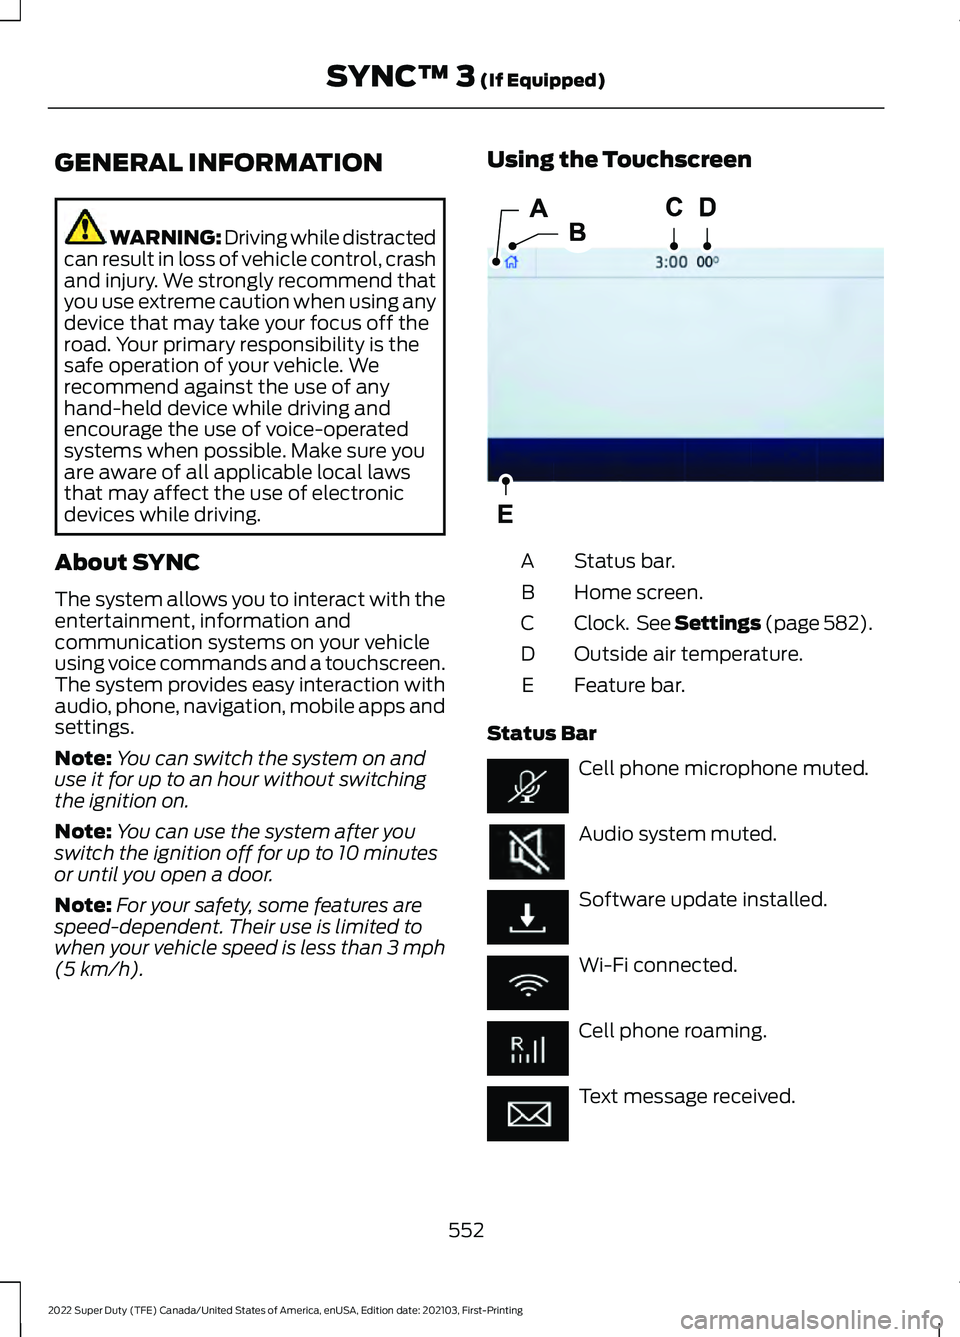
(5 km/h). Using the Touchscreen
Status bar.
A
Home screen.
B
Clock. See Settings (page 582).
C
Outside air temperature.
D
Feature bar.
E
Status Bar Cell phone microphone muted.
Audio system muted.
Software update installed.
Wi-Fi connected.
Cell phone roaming.
Text message received.
552
2022 Super Duty (TFE) Canada/United States of America, enUSA, Edition date: 202103, First-Printing SYNC™ 3
(If Equipped)E293823