FORD F SERIES MOTORHOME AND COMMERCIAL CHASSIS 2009 12.G Owner's Manual
Manufacturer: FORD, Model Year: 2009, Model line: F SERIES MOTORHOME AND COMMERCIAL CHASSIS, Model: FORD F SERIES MOTORHOME AND COMMERCIAL CHASSIS 2009 12.GPages: 136, PDF Size: 1.14 MB
Page 21 of 136
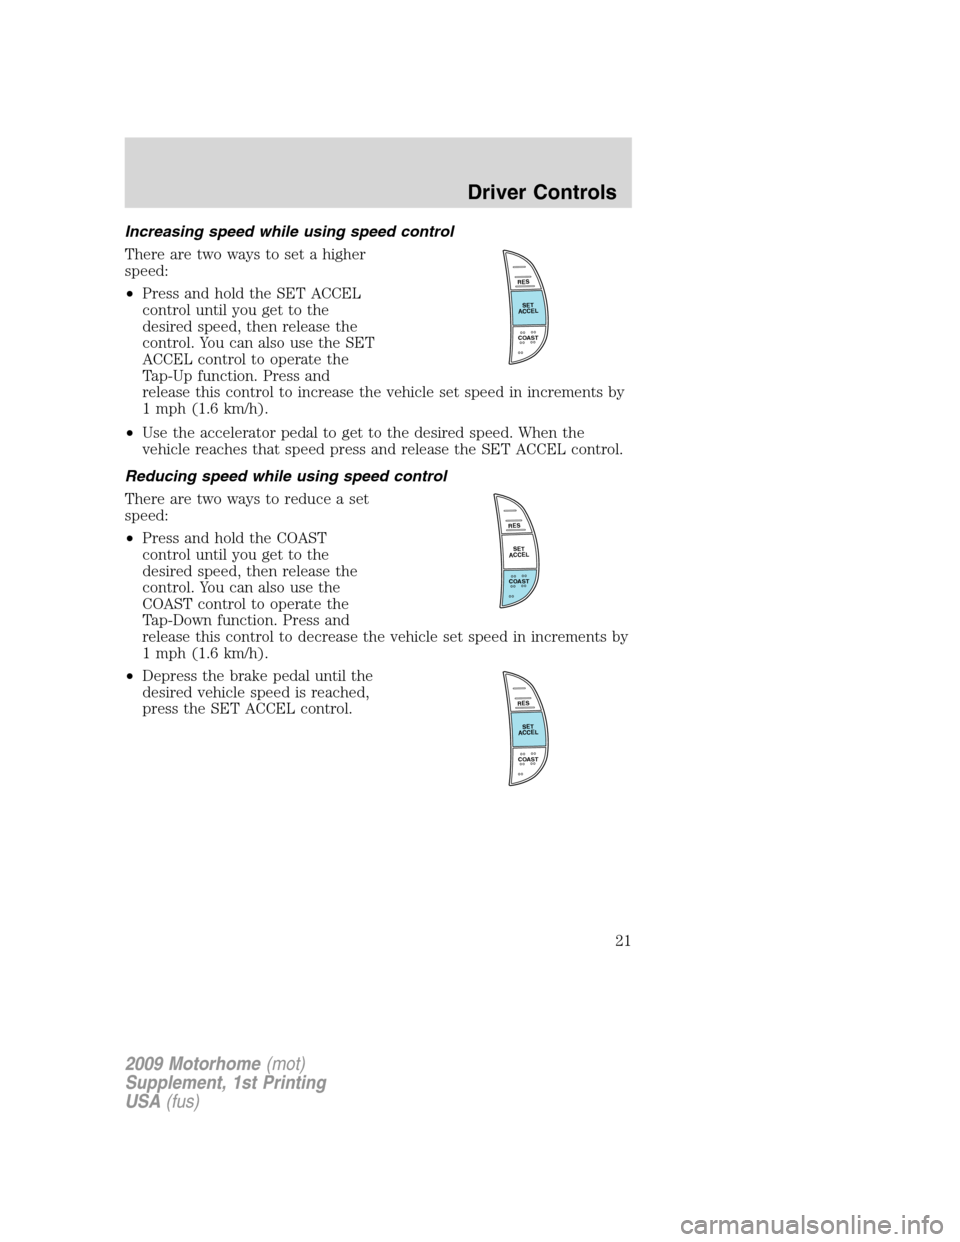
Increasing speed while using speed control
There are two ways to set a higher
speed:
•Press and hold the SET ACCEL
control until you get to the
desired speed, then release the
control. You can also use the SET
ACCEL control to operate the
Tap-Up function. Press and
release this control to increase the vehicle set speed in increments by
1 mph (1.6 km/h).
•Use the accelerator pedal to get to the desired speed. When the
vehicle reaches that speed press and release the SET ACCEL control.
Reducing speed while using speed control
There are two ways to reduce a set
speed:
•Press and hold the COAST
control until you get to the
desired speed, then release the
control. You can also use the
COAST control to operate the
Tap-Down function. Press and
release this control to decrease the vehicle set speed in increments by
1 mph (1.6 km/h).
•Depress the brake pedal until the
desired vehicle speed is reached,
press the SET ACCEL control.
R
E
S
S
E
T
A
C
C
E
L
C
O
A
S
T
R
E
S
S
E
T
A
C
C
E
L
C
O
A
S
T
R
E
S
S
E
T
A
C
C
E
L
C
O
A
S
T
2009 Motorhome(mot)
Supplement, 1st Printing
USA(fus)
Driver Controls
21
Page 22 of 136
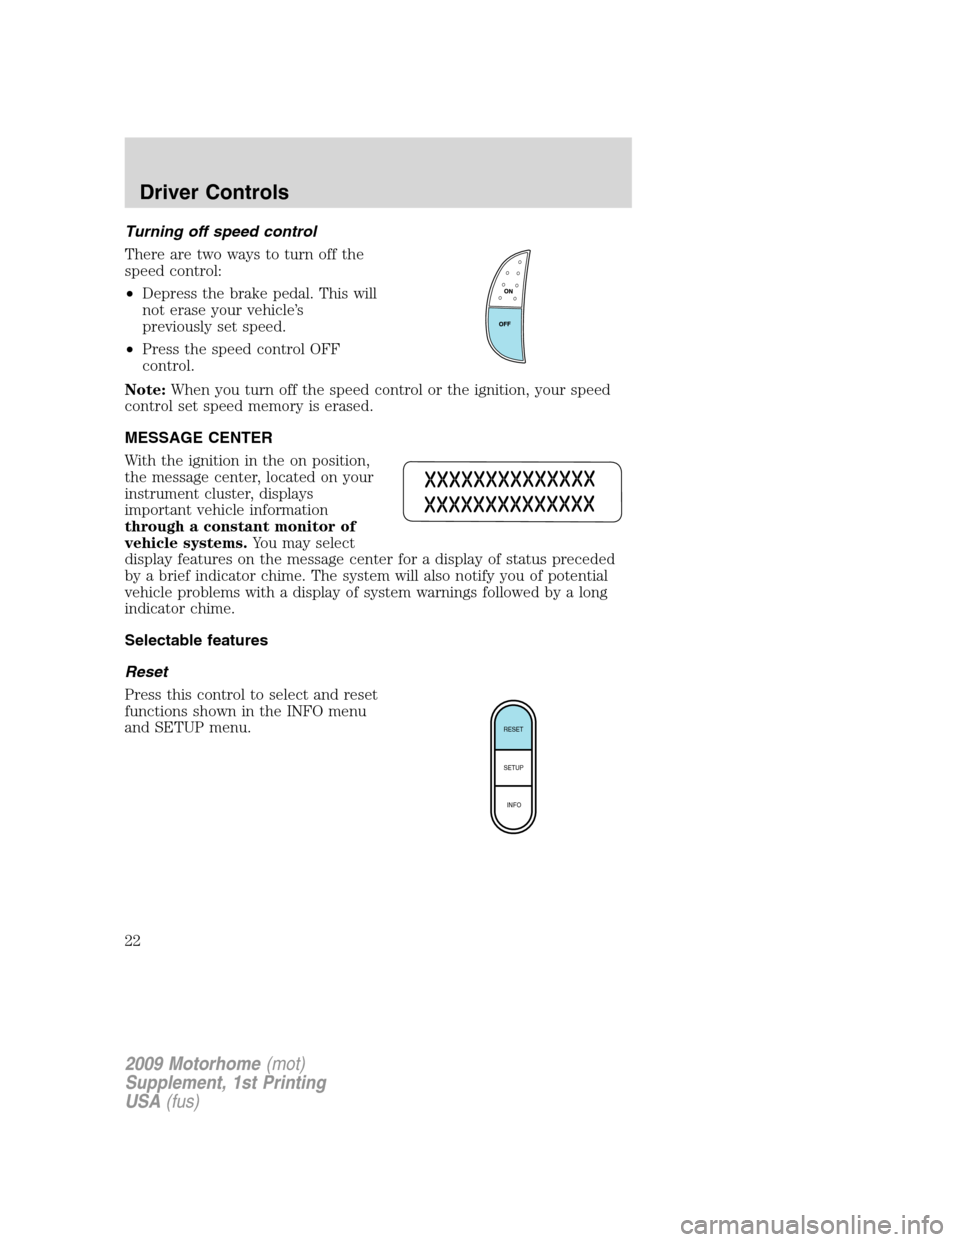
Turning off speed control
There are two ways to turn off the
speed control:
•Depress the brake pedal. This will
not erase your vehicle’s
previously set speed.
•Press the speed control OFF
control.
Note:When you turn off the speed control or the ignition, your speed
control set speed memory is erased.
MESSAGE CENTER
With the ignition in the on position,
the message center, located on your
instrument cluster, displays
important vehicle information
through a constant monitor of
vehicle systems.You may select
display features on the message center for a display of status preceded
by a brief indicator chime. The system will also notify you of potential
vehicle problems with a display of system warnings followed by a long
indicator chime.
Selectable features
Reset
Press this control to select and reset
functions shown in the INFO menu
and SETUP menu.
RESET
SETUP
INFO
2009 Motorhome(mot)
Supplement, 1st Printing
USA(fus)
Driver Controls
22
Page 23 of 136
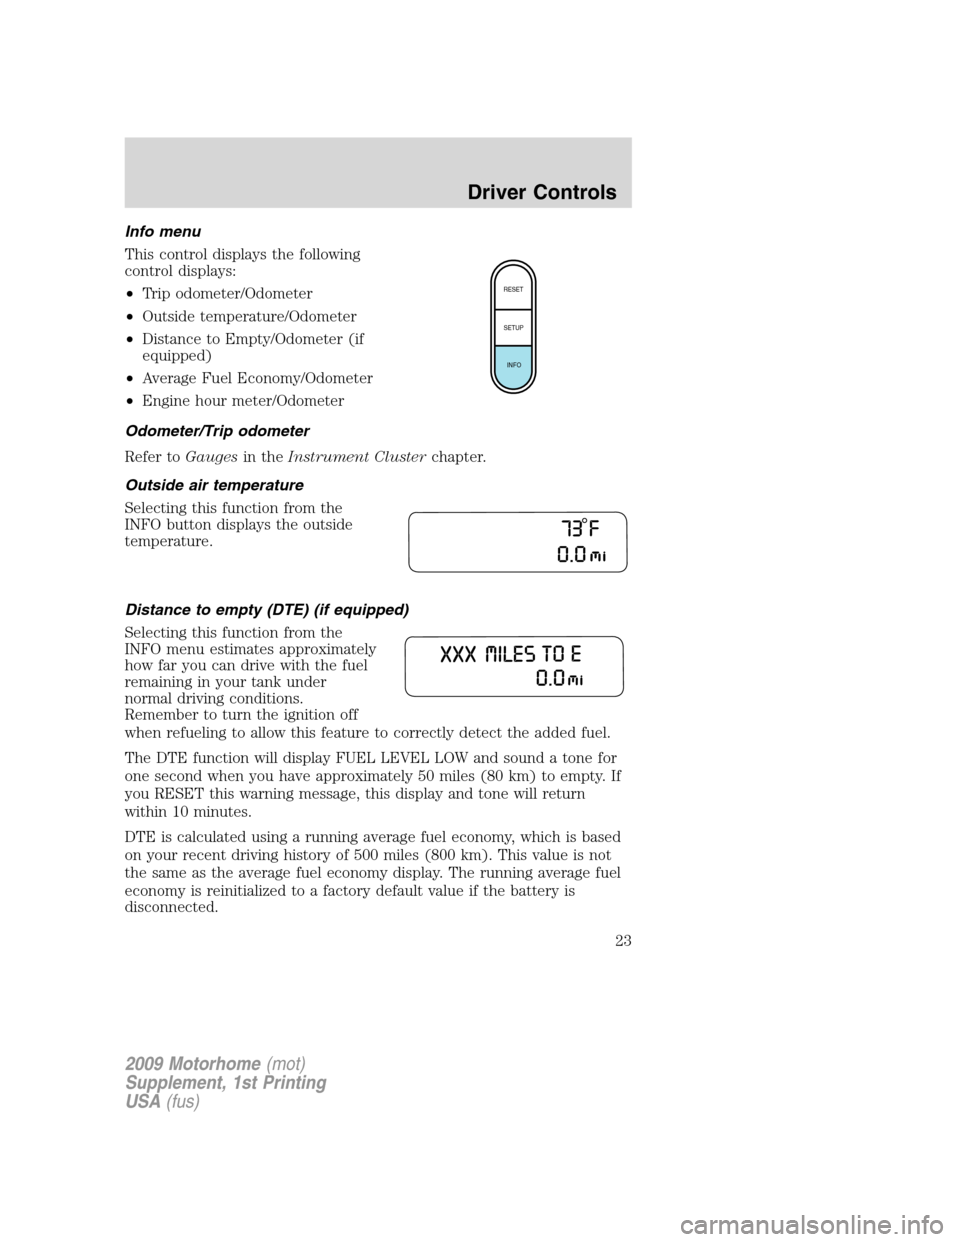
Info menu
This control displays the following
control displays:
•Trip odometer/Odometer
•Outside temperature/Odometer
•Distance to Empty/Odometer (if
equipped)
•Average Fuel Economy/Odometer
•Engine hour meter/Odometer
Odometer/Trip odometer
Refer toGaugesin theInstrument Clusterchapter.
Outside air temperature
Selecting this function from the
INFO button displays the outside
temperature.
Distance to empty (DTE) (if equipped)
Selecting this function from the
INFO menu estimates approximately
how far you can drive with the fuel
remaining in your tank under
normal driving conditions.
Remember to turn the ignition off
when refueling to allow this feature to correctly detect the added fuel.
The DTE function will display FUEL LEVEL LOW and sound a tone for
one second when you have approximately 50 miles (80 km) to empty. If
you RESET this warning message, this display and tone will return
within 10 minutes.
DTE is calculated using a running average fuel economy, which is based
on your recent driving history of 500 miles (800 km). This value is not
the same as the average fuel economy display. The running average fuel
economy is reinitialized to a factory default value if the battery is
disconnected.
RESET
SETUP
INFO
2009 Motorhome(mot)
Supplement, 1st Printing
USA(fus)
Driver Controls
23
Page 24 of 136
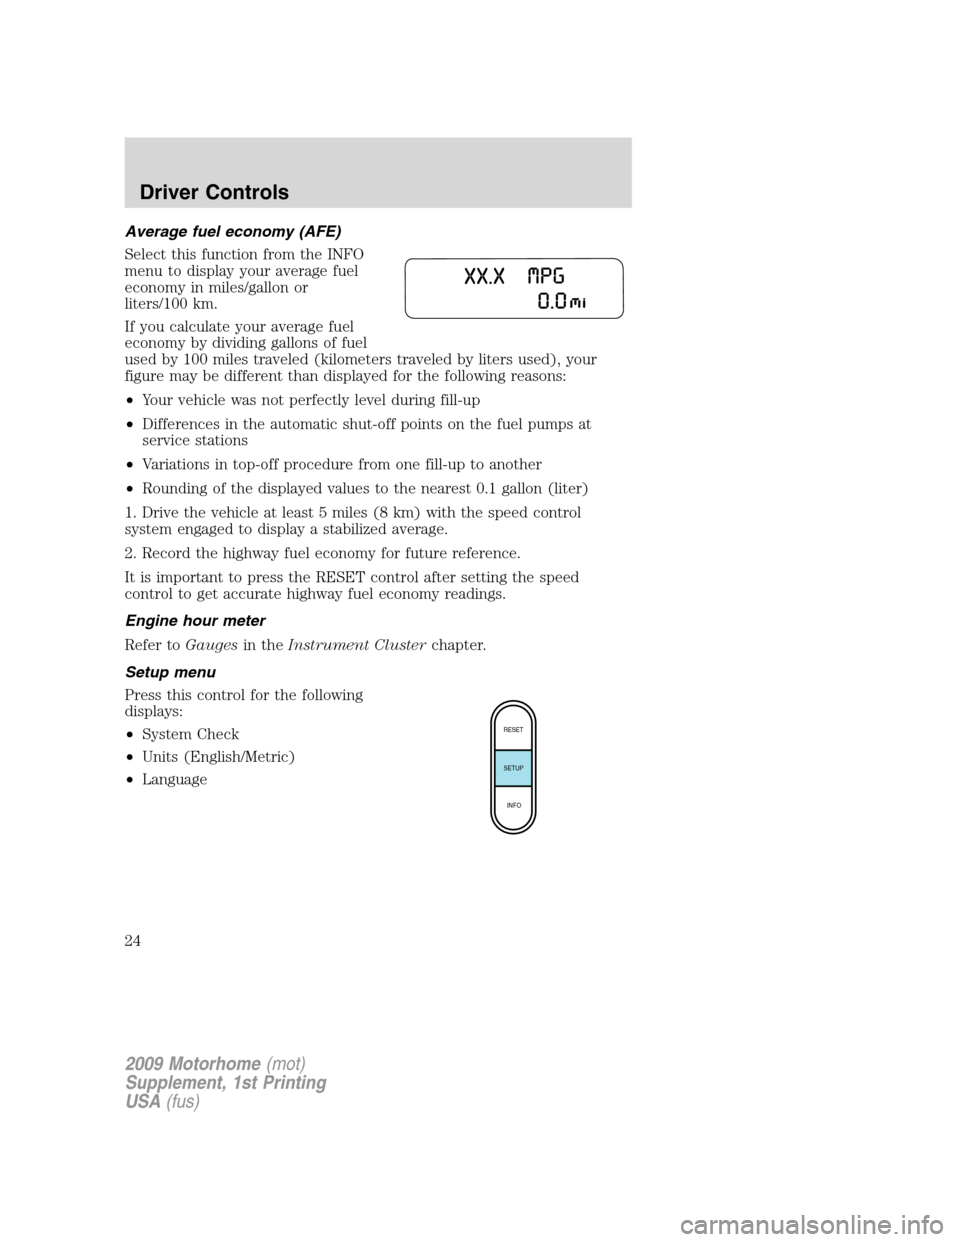
Average fuel economy (AFE)
Select this function from the INFO
menu to display your average fuel
economy in miles/gallon or
liters/100 km.
If you calculate your average fuel
economy by dividing gallons of fuel
used by 100 miles traveled (kilometers traveled by liters used), your
figure may be different than displayed for the following reasons:
•Your vehicle was not perfectly level during fill-up
•Differences in the automatic shut-off points on the fuel pumps at
service stations
•Variations in top-off procedure from one fill-up to another
•Rounding of the displayed values to the nearest 0.1 gallon (liter)
1. Drive the vehicle at least 5 miles (8 km) with the speed control
system engaged to display a stabilized average.
2. Record the highway fuel economy for future reference.
It is important to press the RESET control after setting the speed
control to get accurate highway fuel economy readings.
Engine hour meter
Refer toGaugesin theInstrument Clusterchapter.
Setup menu
Press this control for the following
displays:
•System Check
•Units (English/Metric)
•Language
RESET
SETUP
INFO
2009 Motorhome(mot)
Supplement, 1st Printing
USA(fus)
Driver Controls
24
Page 25 of 136
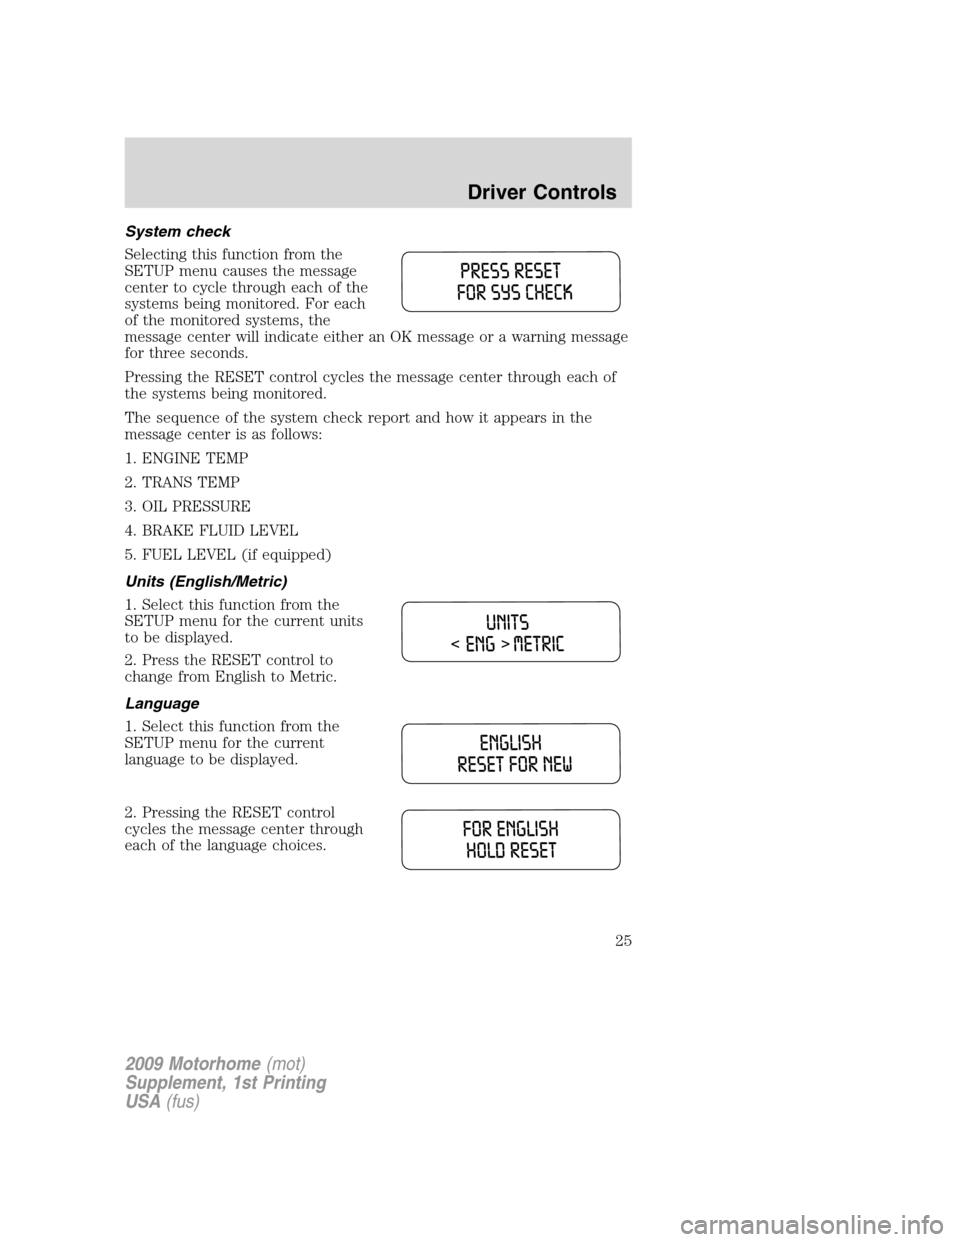
System check
Selecting this function from the
SETUP menu causes the message
center to cycle through each of the
systems being monitored. For each
of the monitored systems, the
message center will indicate either an OK message or a warning message
for three seconds.
Pressing the RESET control cycles the message center through each of
the systems being monitored.
The sequence of the system check report and how it appears in the
message center is as follows:
1. ENGINE TEMP
2. TRANS TEMP
3. OIL PRESSURE
4. BRAKE FLUID LEVEL
5. FUEL LEVEL (if equipped)
Units (English/Metric)
1. Select this function from the
SETUP menu for the current units
to be displayed.
2. Press the RESET control to
change from English to Metric.
Language
1. Select this function from the
SETUP menu for the current
language to be displayed.
2. Pressing the RESET control
cycles the message center through
each of the language choices.
2009 Motorhome(mot)
Supplement, 1st Printing
USA(fus)
Driver Controls
25
Page 26 of 136
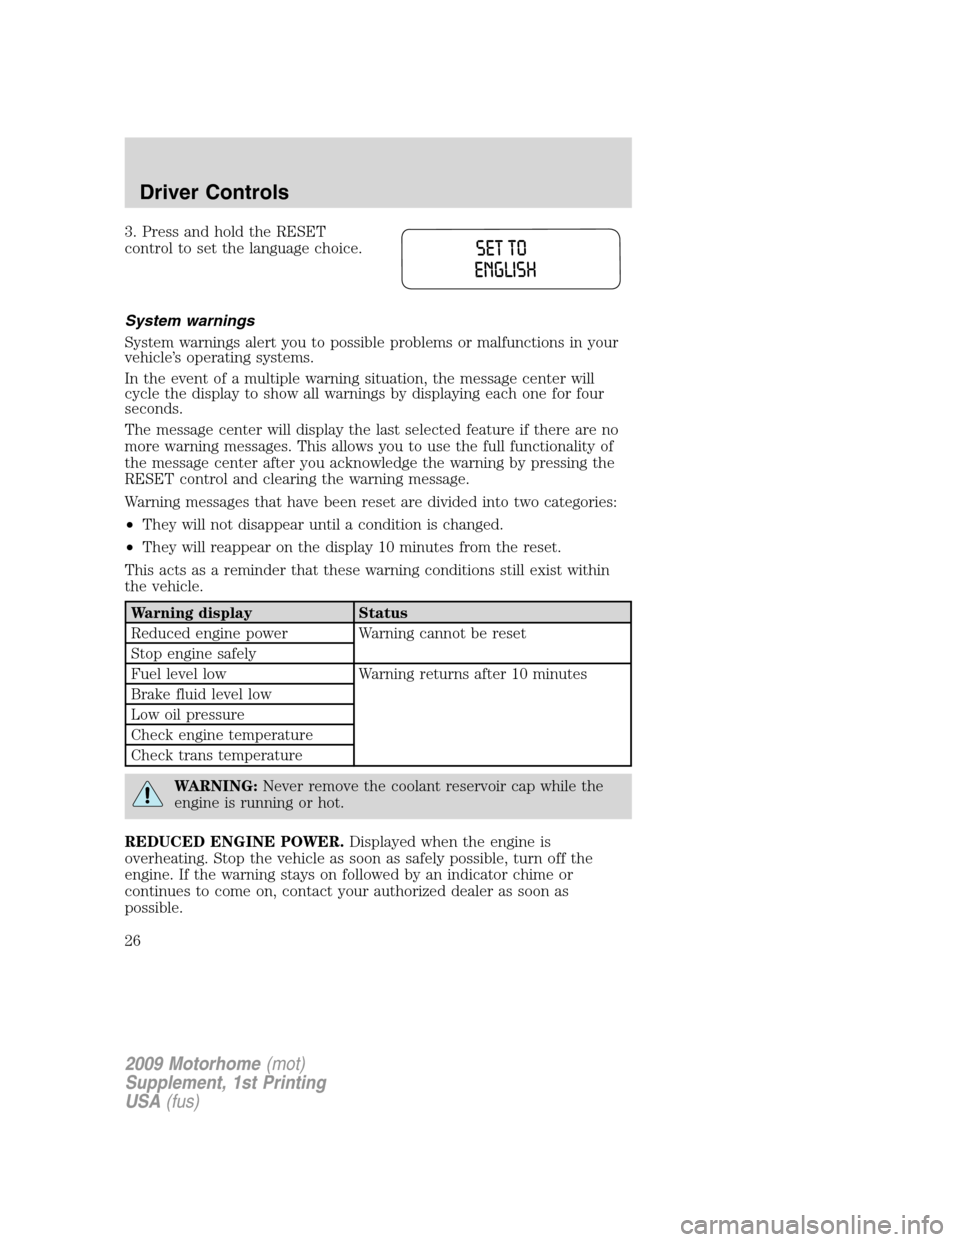
3. Press and hold the RESET
control to set the language choice.
System warnings
System warnings alert you to possible problems or malfunctions in your
vehicle’s operating systems.
In the event of a multiple warning situation, the message center will
cycle the display to show all warnings by displaying each one for four
seconds.
The message center will display the last selected feature if there are no
more warning messages. This allows you to use the full functionality of
the message center after you acknowledge the warning by pressing the
RESET control and clearing the warning message.
Warning messages that have been reset are divided into two categories:
•They will not disappear until a condition is changed.
•They will reappear on the display 10 minutes from the reset.
This acts as a reminder that these warning conditions still exist within
the vehicle.
Warning display Status
Reduced engine power Warning cannot be reset
Stop engine safely
Fuel level low Warning returns after 10 minutes
Brake fluid level low
Low oil pressure
Check engine temperature
Check trans temperature
WARNING:Never remove the coolant reservoir cap while the
engine is running or hot.
REDUCED ENGINE POWER.Displayed when the engine is
overheating. Stop the vehicle as soon as safely possible, turn off the
engine. If the warning stays on followed by an indicator chime or
continues to come on, contact your authorized dealer as soon as
possible.
2009 Motorhome(mot)
Supplement, 1st Printing
USA(fus)
Driver Controls
26
Page 27 of 136
STOP ENGINE SAFELY.Displayed when the engine is overheating.
Stop the vehicle as soon as safely possible, turn off the engine. If the
warning stays on followed by an indicator chime or continues to come
on, contact your authorized dealer as soon as possible.
FUEL LEVEL LOW.Displayed as an early reminder of a low fuel
condition.
BRAKE FLUID LEVEL LOW.Indicates the brake fluid level is low and
the brake system should be inspected immediately. Refer toBrake fluid
in theMaintenance and Specificationschapter.
LOW OIL PRESSURE.Displayed when the engine oil pressure is low. If
this warning message is displayed, check the level of the engine oil.
Refer toEngine oilin theMaintenance and Specificationschapter for
information about adding engine oil. If the oil level is OK and this
warning persists, shut down the engine immediately and contact your
authorized dealer as soon as possible.
CHECK ENGINE TEMPERATURE.Displayed when the engine
coolant is overheating. Stop the vehicle as soon as safely possible, turn
off the engine and let it cool. Check the coolant and coolant level. Refer
toEngine coolantin theMaintenance and Specificationschapter. If
the warning stays on or continues to come on, contact your authorized
dealer as soon as possible.
CHECK TRANS TEMPERATURE.Displayed when the transmission
fluid is overheating. This warning may appear when towing heavy loads
or when driving in a low gear at a high speed for an extended period of
time. Stop the vehicle as soon as safely possible, turn off the engine and
let the transmission cool. Refer toTransmission fluidin the
Maintenance and Specificationschapter.
2009 Motorhome(mot)
Supplement, 1st Printing
USA(fus)
Driver Controls
27
Page 28 of 136
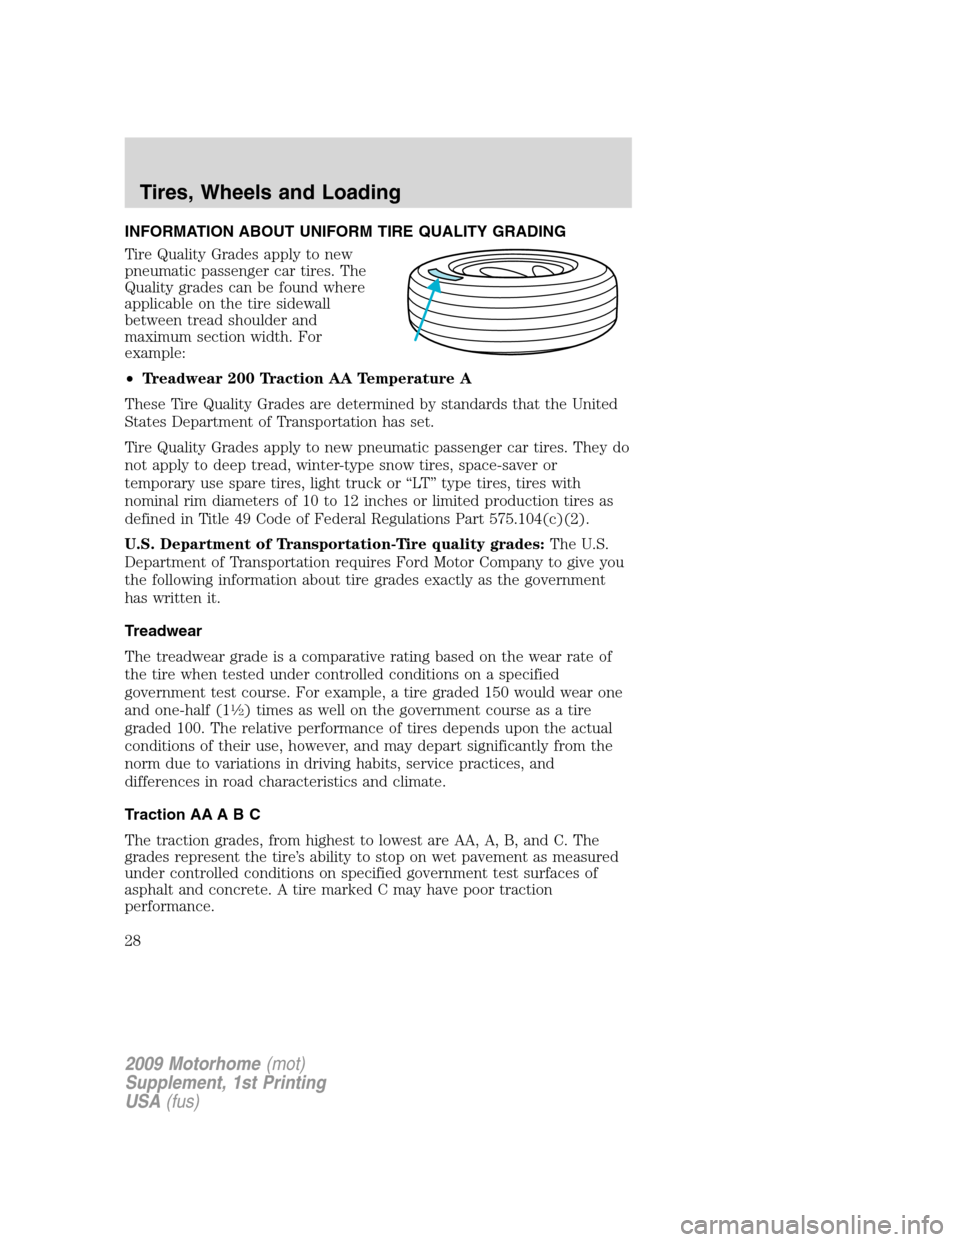
INFORMATION ABOUT UNIFORM TIRE QUALITY GRADING
Tire Quality Grades apply to new
pneumatic passenger car tires. The
Quality grades can be found where
applicable on the tire sidewall
between tread shoulder and
maximum section width. For
example:
•Treadwear 200 Traction AA Temperature A
These Tire Quality Grades are determined by standards that the United
States Department of Transportation has set.
Tire Quality Grades apply to new pneumatic passenger car tires. They do
not apply to deep tread, winter-type snow tires, space-saver or
temporary use spare tires, light truck or “LT” type tires, tires with
nominal rim diameters of 10 to 12 inches or limited production tires as
defined in Title 49 Code of Federal Regulations Part 575.104(c)(2).
U.S. Department of Transportation-Tire quality grades:The U.S.
Department of Transportation requires Ford Motor Company to give you
the following information about tire grades exactly as the government
has written it.
Treadwear
The treadwear grade is a comparative rating based on the wear rate of
the tire when tested under controlled conditions on a specified
government test course. For example, a tire graded 150 would wear one
and one-half (1
1�2) times as well on the government course as a tire
graded 100. The relative performance of tires depends upon the actual
conditions of their use, however, and may depart significantly from the
norm due to variations in driving habits, service practices, and
differences in road characteristics and climate.
Traction AA A B C
The traction grades, from highest to lowest are AA, A, B, and C. The
grades represent the tire’s ability to stop on wet pavement as measured
under controlled conditions on specified government test surfaces of
asphalt and concrete. A tire marked C may have poor traction
performance.
2009 Motorhome(mot)
Supplement, 1st Printing
USA(fus)
Tires, Wheels and Loading
28
Page 29 of 136
WARNING:The traction grade assigned to this tire is based on
straight-ahead braking traction tests, and does not include
acceleration, cornering, hydroplaning or peak traction characteristics.
Temperature A B C
The temperature grades are A (the highest), B and C, representing the
tire’s resistance to the generation of heat and its ability to dissipate heat
when tested under controlled conditions on a specified indoor laboratory
test wheel. Sustained high temperature can cause the material of the tire
to degenerate and reduce tire life, and excessive temperature can lead to
sudden tire failure. The grade C corresponds to a level of performance
which all passenger car tires must meet under the Federal Motor Vehicle
Safety Standard No. 139. Grades B and A represent higher levels of
performance on the laboratory test wheel than the minimum required by
law.
WARNING:The temperature grade for this tire is established
for a tire that is properly inflated and not overloaded. Excessive
speed, underinflation, or excessive loading, either separately or in
combination, can cause heat buildup and possible tire failure.
TIRES
Tires are designed to give many thousands of miles of service, but they
must be maintained in order to get the maximum benefit from them.
Glossary of tire terminology
•Tire label:A label showing the OE (Original Equipment) tire sizes,
recommended inflation pressure and the maximum weight the vehicle
can carry.
•Tire Identification Number (TIN):A number on the sidewall of
each tire providing information about the tire brand and
manufacturing plant, tire size and date of manufacture. Also referred
to as DOT code.
•Inflation pressure:A measure of the amount of air in a tire.
•Standard load:A class of P-metric or Metric tires designed to carry a
maximum load at 35 psi [37 psi (2.5 bar) for Metric tires]. Increasing
the inflation pressure beyond this pressure will not increase the tire’s
load carrying capability.
2009 Motorhome(mot)
Supplement, 1st Printing
USA(fus)
Tires, Wheels and Loading
29
Page 30 of 136
![FORD F SERIES MOTORHOME AND COMMERCIAL CHASSIS 2009 12.G Owners Manual •Extra load:A class of P-metric or Metric tires designed to carry a
heavier maximum load at 41 psi [43 psi (2.9 bar) for Metric tires].
Increasing the inflation pressure beyond this pressure will no FORD F SERIES MOTORHOME AND COMMERCIAL CHASSIS 2009 12.G Owners Manual •Extra load:A class of P-metric or Metric tires designed to carry a
heavier maximum load at 41 psi [43 psi (2.9 bar) for Metric tires].
Increasing the inflation pressure beyond this pressure will no](/img/11/5006/w960_5006-29.png)
•Extra load:A class of P-metric or Metric tires designed to carry a
heavier maximum load at 41 psi [43 psi (2.9 bar) for Metric tires].
Increasing the inflation pressure beyond this pressure will not increase
the tire’s load carrying capability.
•kPa:Kilopascal, a metric unit of air pressure.
•PSI:Pounds per square inch, a standard unit of air pressure.
•Cold inflation pressure:The tire pressure when the vehicle has
been stationary and out of direct sunlight for an hour or more and
prior to the vehicle being driven for 1 mile (1.6 km).
•Recommended inflation pressure:The cold inflation pressure found
on the Safety Compliance Certification Label. See the completed
vehicle’s owner’s guide for the location of the Safety Compliance
Certification Label.
•Bead area of the tire:Area of the tire next to the rim.
•Sidewall of the tire:Area between the bead area and the tread.
•Tread area of the tire:Area of the perimeter of the tire that
contacts the road when mounted on the vehicle.
•Rim:The metal support (wheel) for a tire or a tire and tube assembly
upon which the tire beads are seated.
INFLATING YOUR TIRES
Safe operation of your vehicle requires that your tires are properly
inflated. Every day before you drive, check your tires. If one looks lower
than the others, use a tire gauge to check pressure of all tires and adjust
if required. Remember that a tire can lose up to half of its air pressure
without appearing flat.
At least once a month and before long trips, inspect each tire and check
the tire pressure with a tire gauge (including spare, if equipped). Inflate
all tires to the inflation pressure recommended by Ford Motor Company.
You are strongly urged to buy a reliable tire pressure gauge, as automatic
service station gauges may be inaccurate. Ford recommends the use of a
digital or dial type tire pressure gauge rather than a stick type tire
pressure gauge.
Use the recommended cold inflation pressure for optimum tire
performance and wear. Under-inflation or over-inflation may cause
uneven treadwear patterns.
2009 Motorhome(mot)
Supplement, 1st Printing
USA(fus)
Tires, Wheels and Loading
30