FORD F SERIES MOTORHOME AND COMMERCIAL CHASSIS 2013 12.G User Guide
Manufacturer: FORD, Model Year: 2013, Model line: F SERIES MOTORHOME AND COMMERCIAL CHASSIS, Model: FORD F SERIES MOTORHOME AND COMMERCIAL CHASSIS 2013 12.GPages: 157, PDF Size: 2.44 MB
Page 11 of 157
Notification of delayed warranty start date and accumulated mileage
Verify that your authorized dealer has submitted a Notification of
Delayed Warranty Start Date and Accumulated Mileage (FCS 900) to
Ford Motor Company.
MOBILE COMMUNICATIONS EQUIPMENT
Using mobile communications equipment is becoming increasingly
important in the conduct of business and personal affairs. However, you
must not compromise your own or others’ safety when using such
equipment. Mobile communications can enhance personal safety and
security when appropriately used, particularly in emergency situations.
Safety must be paramount when using mobile communications
equipment to avoid negating these benefits.
Mobile communication equipment includes, but is not limited to, cellular
phones, pagers, portable email devices, text messaging devices and
portable two-way radios.
WARNING:Driving while distracted can result in loss of vehicle
control, accident and injury. Ford strongly recommends that you
use extreme caution when using any device or feature that may take
your focus off the road. Your primary responsibility is the safe operation
of your vehicle. We recommend against the use of any handheld device
while driving, encourage the use of voice operated systems when
possible and that you become aware of applicable state and local laws
that may affect use of electronic devices while driving.
EXPORT UNIQUE (NON–UNITED STATES/CANADA) VEHICLE
SPECIFIC INFORMATION
For your particular global region, your vehicle may be equipped with
features and options that are different from the features and options that
are described in this Owner’s Manual. A market unique supplement may
be supplied that complements this book. By referring to the market
unique supplement, if provided, you can properly identify those features,
recommendations and specifications that are unique to your vehicle. This
Owner’s Manual is written primarily for the U.S. and Canadian Markets.
Features or equipment listed as standard may be different on units built
for Export.Refer to this Owner’s Manual for all other required
information and warnings.
10Introduction
2013 Motorhome(mot)
Owners Guide gf, 1st Printing
USA(fus)
Page 12 of 157
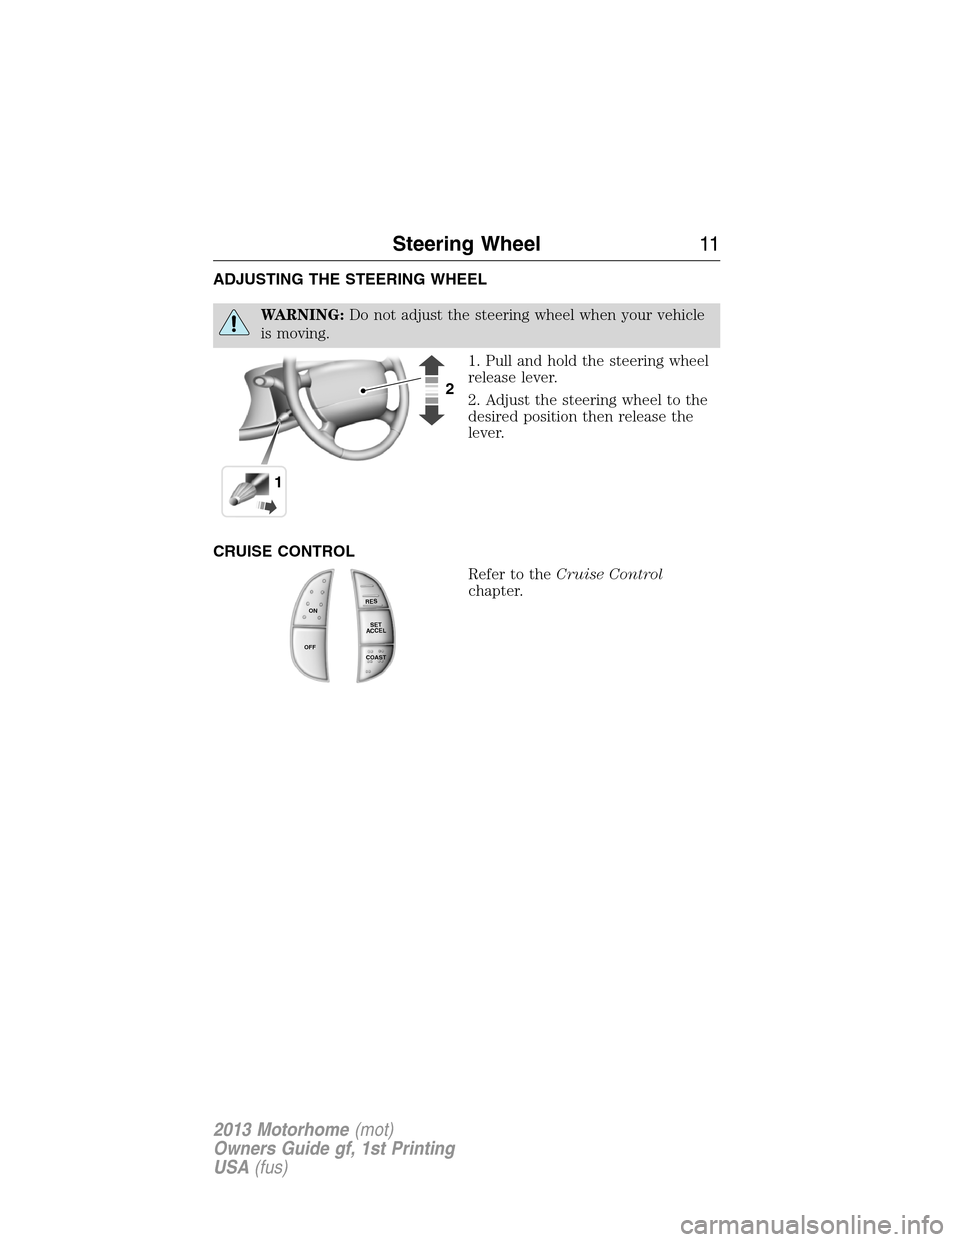
ADJUSTING THE STEERING WHEEL
WARNING:Do not adjust the steering wheel when your vehicle
is moving.
1. Pull and hold the steering wheel
release lever.
2. Adjust the steering wheel to the
desired position then release the
lever.
CRUISE CONTROL
Refer to theCruise Control
chapter.
12
R
E
S
S
E
T
A
C
C
E
L
C
OA
S
T
ON
OFF
Steering Wheel11
2013 Motorhome(mot)
Owners Guide gf, 1st Printing
USA(fus)
Page 13 of 157
WINDSHIELD WIPERS
Note:Fully defrost the windshield before turning on the windshield
wipers.
Note:Make sure the windshield wipers are turned off before entering a
car wash.
Note:Clean the windshield and wiper blades if they begin to leave
streaks or smears. If that does not resolve the issue, install new wiper
blades.
Note:Do not operate the wipers on a dry windshield. This may scratch
the glass, damage the wiper blades or cause the wiper motor to bun out.
Always use the windshield washers before wiping a dry windshield.
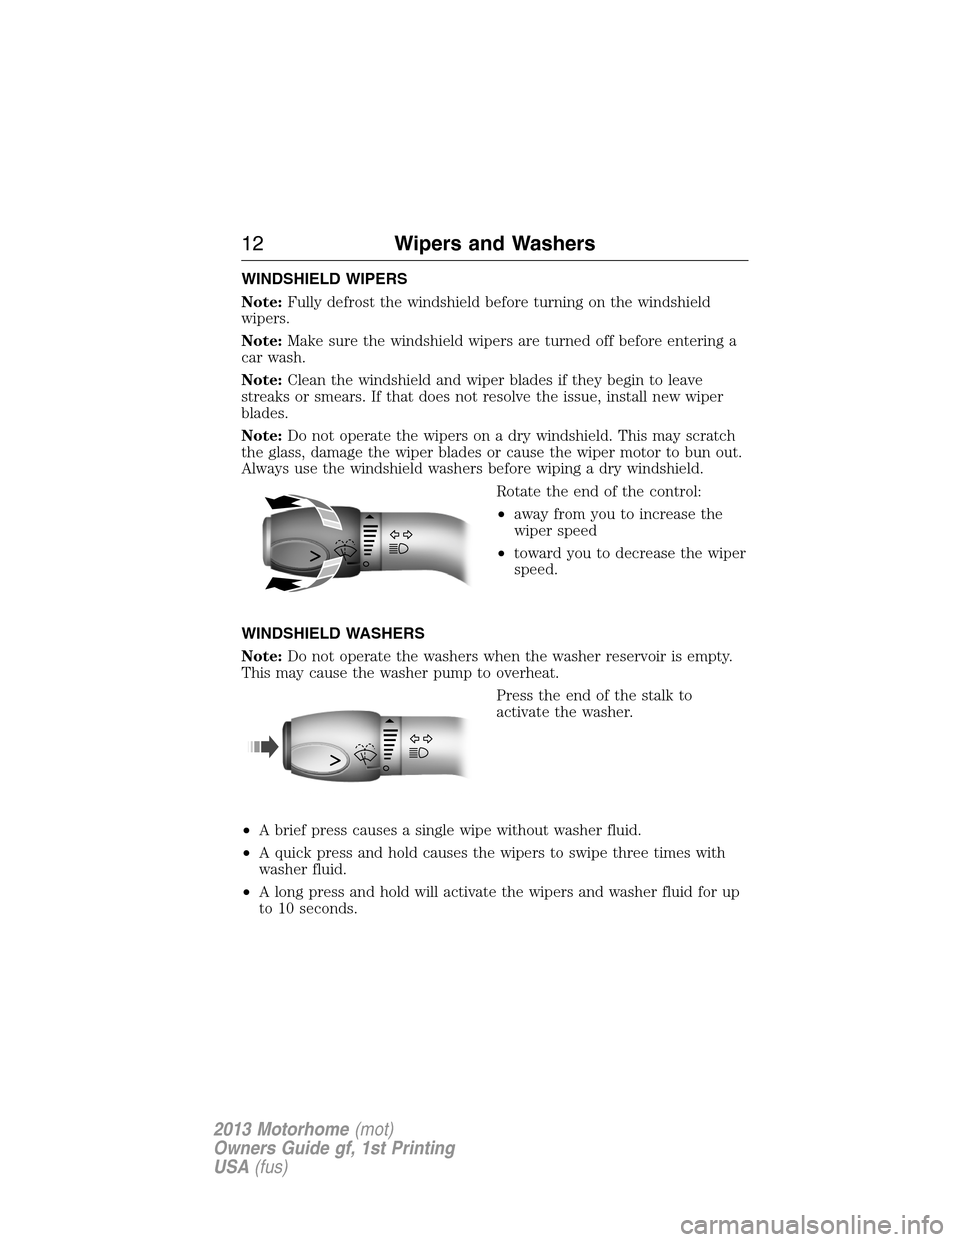
Rotate the end of the control:
•away from you to increase the
wiper speed
•toward you to decrease the wiper
speed.
WINDSHIELD WASHERS
Note:Do not operate the washers when the washer reservoir is empty.
This may cause the washer pump to overheat.
Press the end of the stalk to
activate the washer.
•A brief press causes a single wipe without washer fluid.
•A quick press and hold causes the wipers to swipe three times with
washer fluid.
•A long press and hold will activate the wipers and washer fluid for up
to 10 seconds.
12Wipers and Washers
2013 Motorhome(mot)
Owners Guide gf, 1st Printing
USA(fus)
Page 14 of 157
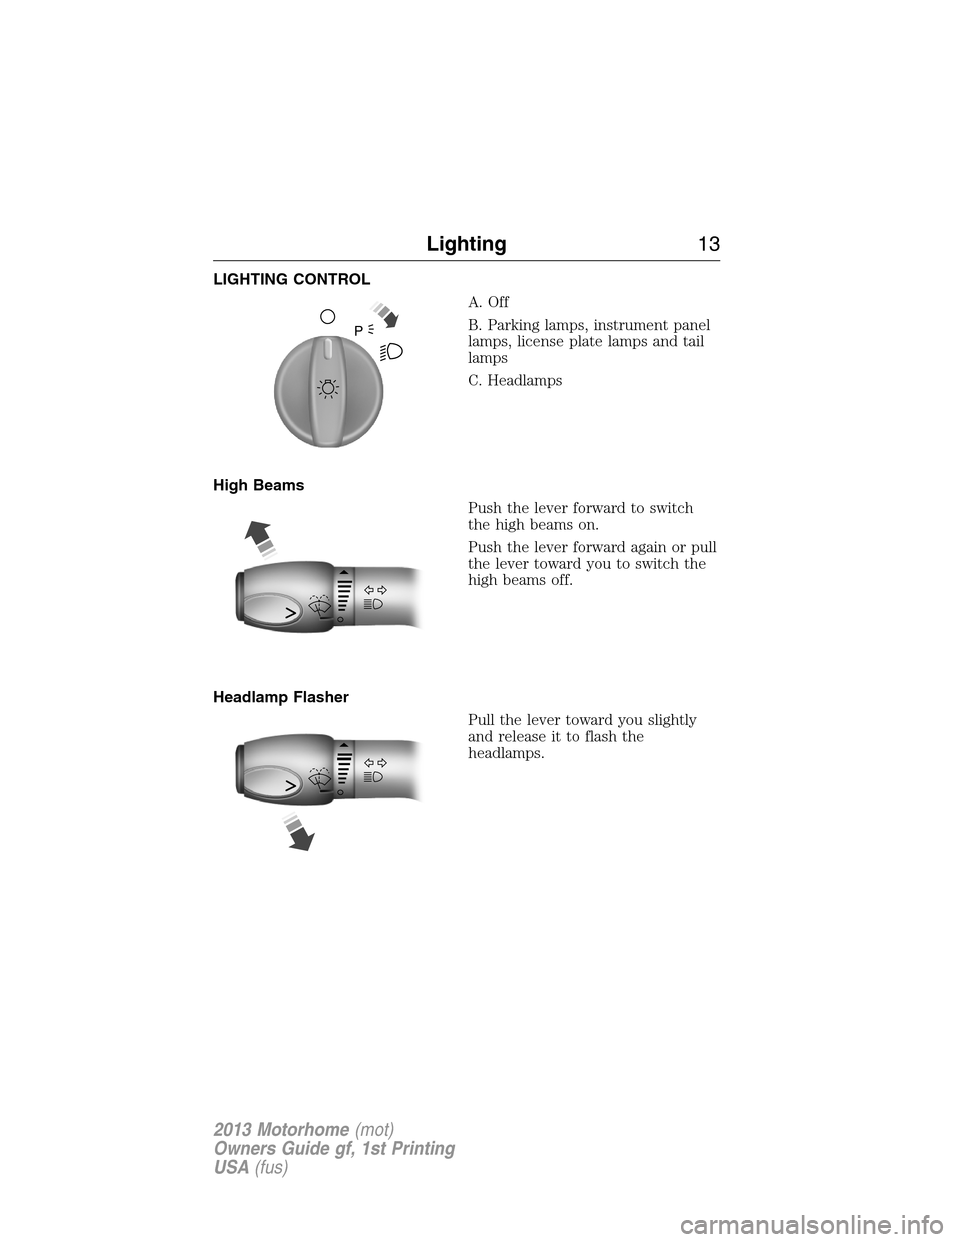
LIGHTING CONTROL
A. Off
B. Parking lamps, instrument panel
lamps, license plate lamps and tail
lamps
C. Headlamps
High Beams
Push the lever forward to switch
the high beams on.
Push the lever forward again or pull
the lever toward you to switch the
high beams off.
Headlamp Flasher
Pull the lever toward you slightly
and release it to flash the
headlamps.
P
Lighting13
2013 Motorhome(mot)
Owners Guide gf, 1st Printing
USA(fus)
Page 15 of 157
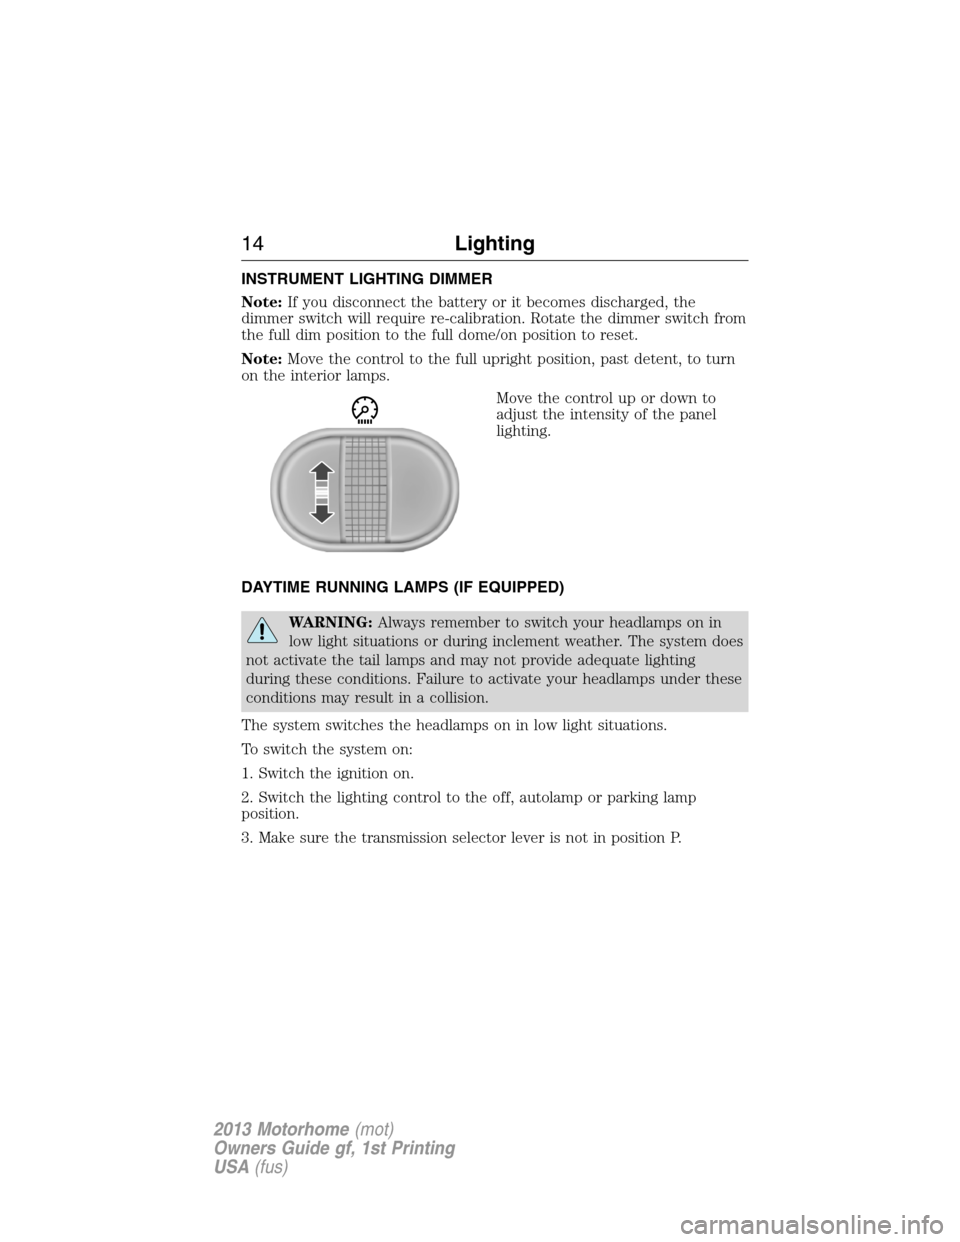
INSTRUMENT LIGHTING DIMMER
Note:If you disconnect the battery or it becomes discharged, the
dimmer switch will require re-calibration. Rotate the dimmer switch from
the full dim position to the full dome/on position to reset.
Note:Move the control to the full upright position, past detent, to turn
on the interior lamps.
Move the control up or down to
adjust the intensity of the panel
lighting.
DAYTIME RUNNING LAMPS (IF EQUIPPED)
WARNING:Always remember to switch your headlamps on in
low light situations or during inclement weather. The system does
not activate the tail lamps and may not provide adequate lighting
during these conditions. Failure to activate your headlamps under these
conditions may result in a collision.
The system switches the headlamps on in low light situations.
To switch the system on:
1. Switch the ignition on.
2. Switch the lighting control to the off, autolamp or parking lamp
position.
3. Make sure the transmission selector lever is not in position P.
14Lighting
2013 Motorhome(mot)
Owners Guide gf, 1st Printing
USA(fus)
Page 16 of 157
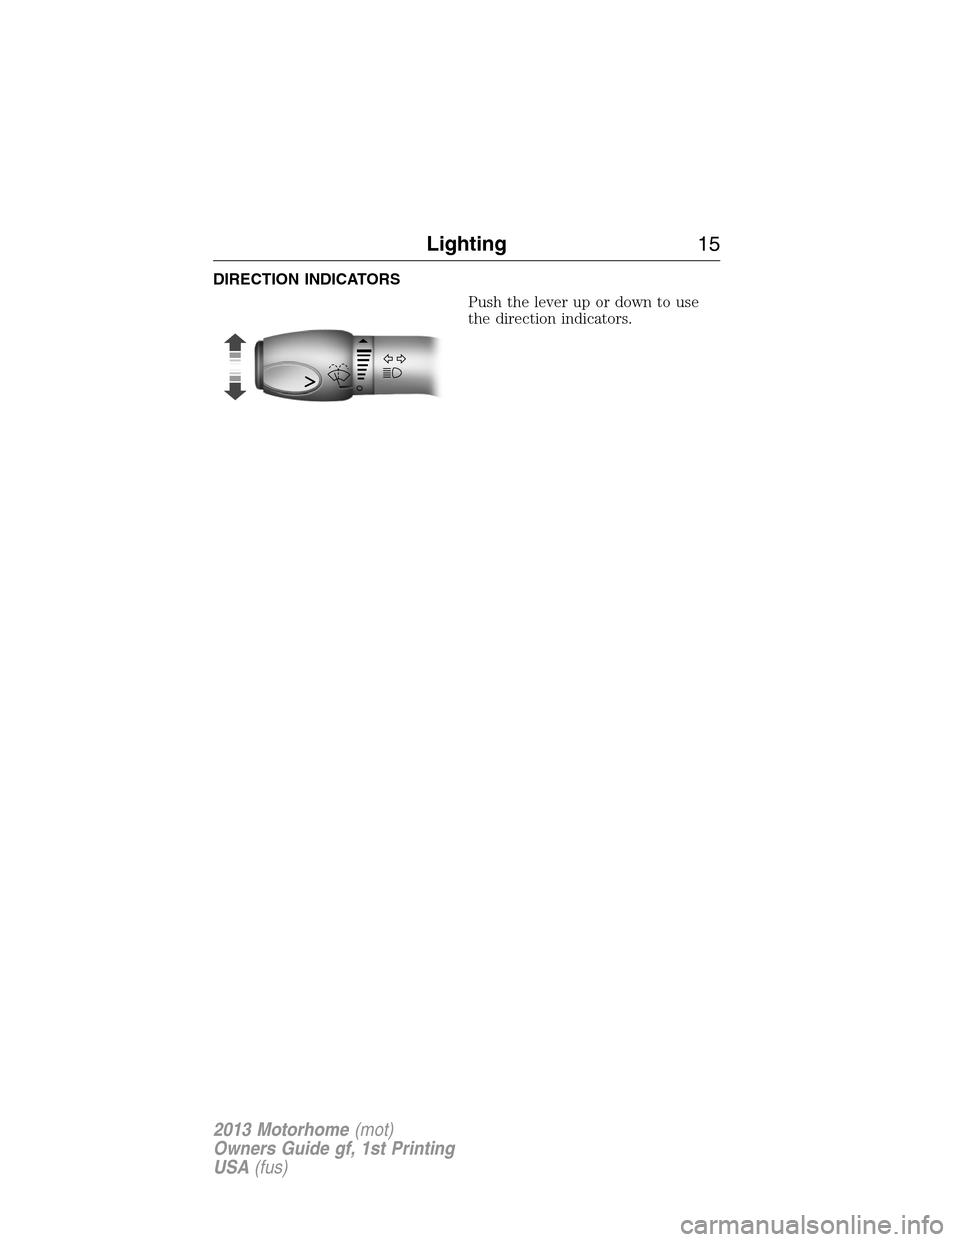
DIRECTION INDICATORS
Push the lever up or down to use
the direction indicators.
Lighting15
2013 Motorhome(mot)
Owners Guide gf, 1st Printing
USA(fus)
Page 17 of 157
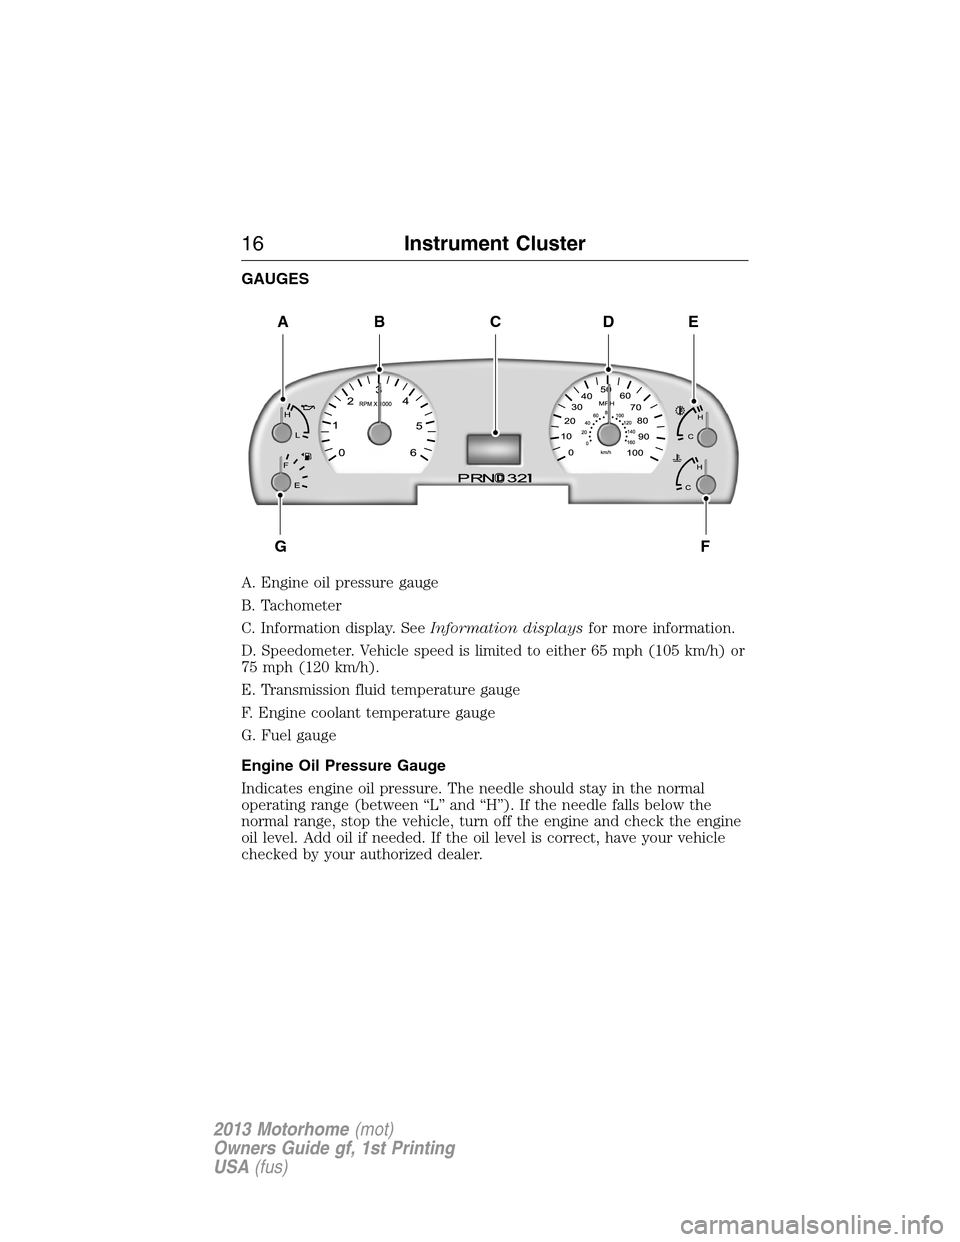
GAUGES
A. Engine oil pressure gauge
B. Tachometer
C. Information display. SeeInformation displaysfor more information.
D. Speedometer. Vehicle speed is limited to either 65 mph (105 km/h) or
75 mph (120 km/h).
E. Transmission fluid temperature gauge
F. Engine coolant temperature gauge
G. Fuel gauge
Engine Oil Pressure Gauge
Indicates engine oil pressure. The needle should stay in the normal
operating range (between “L” and “H”). If the needle falls below the
normal range, stop the vehicle, turn off the engine and check the engine
oil level. Add oil if needed. If the oil level is correct, have your vehicle
checked by your authorized dealer.
ABDEC
GF
16Instrument Cluster
2013 Motorhome(mot)
Owners Guide gf, 1st Printing
USA(fus)
Page 18 of 157
Transmission Fluid Temperature Gauge
Normal area:The transmission fluid is within the normal operating
temperature (between H and C).
Yellow area:The transmission fluid is higher than normal operating
temperature. This can be caused by special operation conditions (i.e.
snowplowing, towing or off-road use). Operating the transmission for
extended periods of time with the gauge in the yellow area may cause
internal transmission damage. Altering the severity of the driving
conditions is recommended to lower the transmission temperature into
the normal range.
Red area:The transmission fluid is overheating. Stop the vehicle to
allow the temperature to return to normal range.
If the gauge is operating in the yellow or red area, stop the vehicle and
verify the airflow is not restricted such as snow or debris blocking airflow
through the grill. If the gauge continues to show high temperatures, see
your authorized dealer.
Engine Coolant Temperature Gauge
At normal operating temperature, the needle will remain in the center
section. If the needle enters the red section, the engine is overheating.
Stop the engine, switch the ignition off and determine the cause once
the engine has cooled down. SeeEngine Coolant Check.
Note:Do not restart the engine until the cause of overheating has been
resolved.
WARNING:Never remove the coolant reservoir cap while the
engine is running or hot.
Fuel Gauge
Switch the ignition on. The fuel gauge will indicate approximately how
much fuel is left in the fuel tank. The fuel gauge may vary slightly when
the vehicle is moving or on a gradient. The arrow adjacent to the fuel
pump symbol indicates on which side of your vehicle the fuel filler door
is located.
Instrument Cluster17
2013 Motorhome(mot)
Owners Guide gf, 1st Printing
USA(fus)
Page 19 of 157
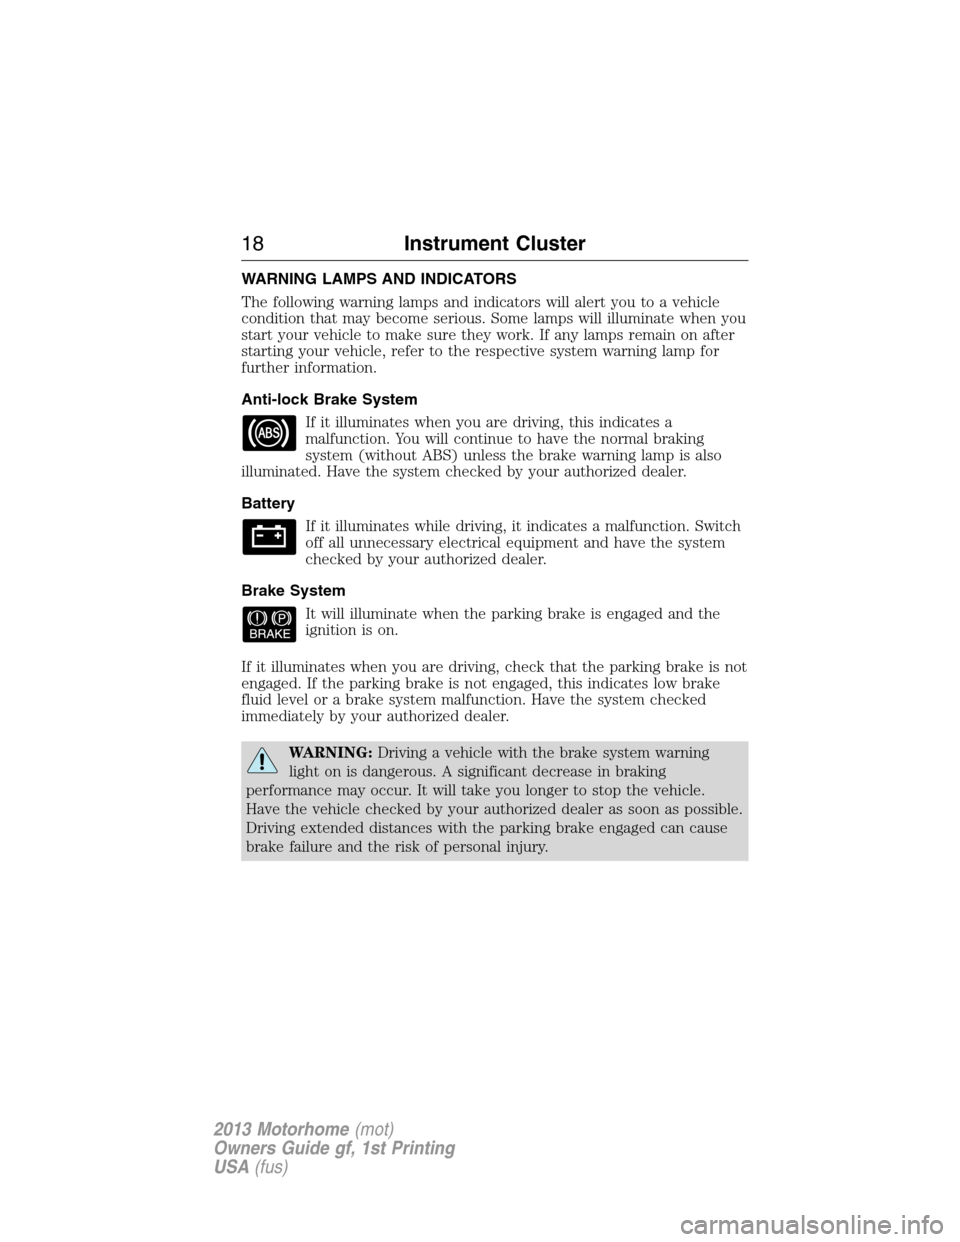
WARNING LAMPS AND INDICATORS
The following warning lamps and indicators will alert you to a vehicle
condition that may become serious. Some lamps will illuminate when you
start your vehicle to make sure they work. If any lamps remain on after
starting your vehicle, refer to the respective system warning lamp for
further information.
Anti-lock Brake System
If it illuminates when you are driving, this indicates a
malfunction. You will continue to have the normal braking
system (without ABS) unless the brake warning lamp is also
illuminated. Have the system checked by your authorized dealer.
Battery
If it illuminates while driving, it indicates a malfunction. Switch
off all unnecessary electrical equipment and have the system
checked by your authorized dealer.
Brake System
It will illuminate when the parking brake is engaged and the
ignition is on.
If it illuminates when you are driving, check that the parking brake is not
engaged. If the parking brake is not engaged, this indicates low brake
fluid level or a brake system malfunction. Have the system checked
immediately by your authorized dealer.
WARNING:Driving a vehicle with the brake system warning
light on is dangerous. A significant decrease in braking
performance may occur. It will take you longer to stop the vehicle.
Have the vehicle checked by your authorized dealer as soon as possible.
Driving extended distances with the parking brake engaged can cause
brake failure and the risk of personal injury.
18Instrument Cluster
2013 Motorhome(mot)
Owners Guide gf, 1st Printing
USA(fus)
Page 20 of 157
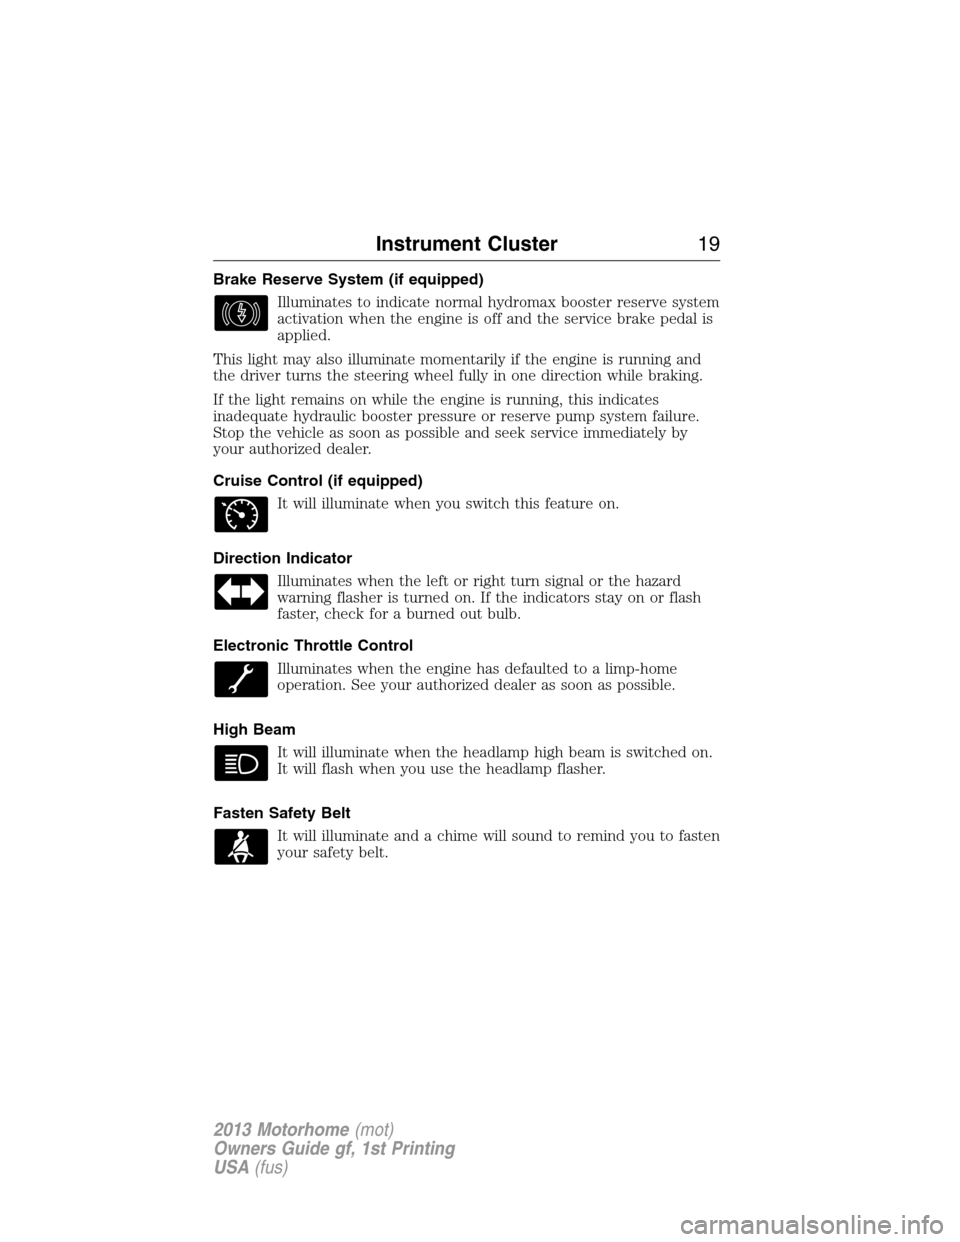
Brake Reserve System (if equipped)
Illuminates to indicate normal hydromax booster reserve system
activation when the engine is off and the service brake pedal is
applied.
This light may also illuminate momentarily if the engine is running and
the driver turns the steering wheel fully in one direction while braking.
If the light remains on while the engine is running, this indicates
inadequate hydraulic booster pressure or reserve pump system failure.
Stop the vehicle as soon as possible and seek service immediately by
your authorized dealer.
Cruise Control (if equipped)
It will illuminate when you switch this feature on.
Direction Indicator
Illuminates when the left or right turn signal or the hazard
warning flasher is turned on. If the indicators stay on or flash
faster, check for a burned out bulb.
Electronic Throttle Control
Illuminates when the engine has defaulted to a limp-home
operation. See your authorized dealer as soon as possible.
High Beam
It will illuminate when the headlamp high beam is switched on.
It will flash when you use the headlamp flasher.
Fasten Safety Belt
It will illuminate and a chime will sound to remind you to fasten
your safety belt.
Instrument Cluster19
2013 Motorhome(mot)
Owners Guide gf, 1st Printing
USA(fus)