FORD F150 1997 10.G Workshop Manual
F150 1997 10.G
FORD
FORD
https://www.carmanualsonline.info/img/11/5016/w960_5016-0.png
FORD F150 1997 10.G Workshop Manual
Trending: airbag off, adding oil, oil change, wheel torque, fog light bulb, coolant, overdrive
Page 51 of 219
²sound the horn
²prohibit the vehicle from
starting.
The flashing headlamps and the
honking horn automatically shut
off after about three minutes and
will remain off unless another
unauthorized entry is attempted.
However, the vehicle will not start
until the system is disarmed.
Disarming an untriggered
anti-theft system
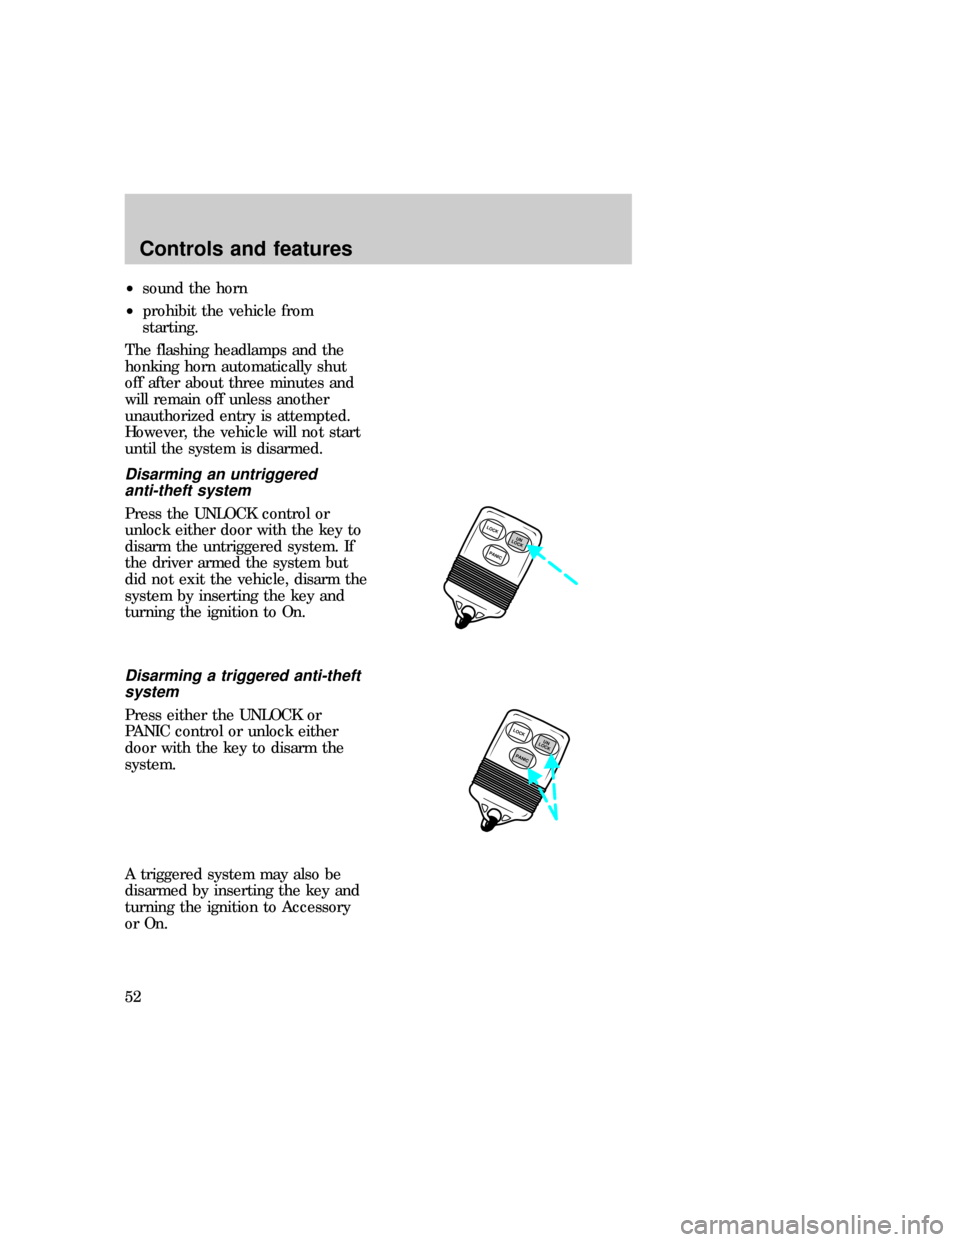
Press the UNLOCK control or
unlock either door with the key to
disarm the untriggered system. If
the driver armed the system but
did not exit the vehicle, disarm the
system by inserting the key and
turning the ignition to On.
Disarming a triggered anti-theft
system
Press either the UNLOCK or
PANIC control or unlock either
door with the key to disarm the
system.
A triggered system may also be
disarmed by inserting the key and
turning the ignition to Accessory
or On.
LOCK
PANICUN
LOCK
PANICUN
LOCKLOCK
f12_disarming_untriggered
Controls and features
52
Page 52 of 219
SEATING
Full bench seat (if equipped)
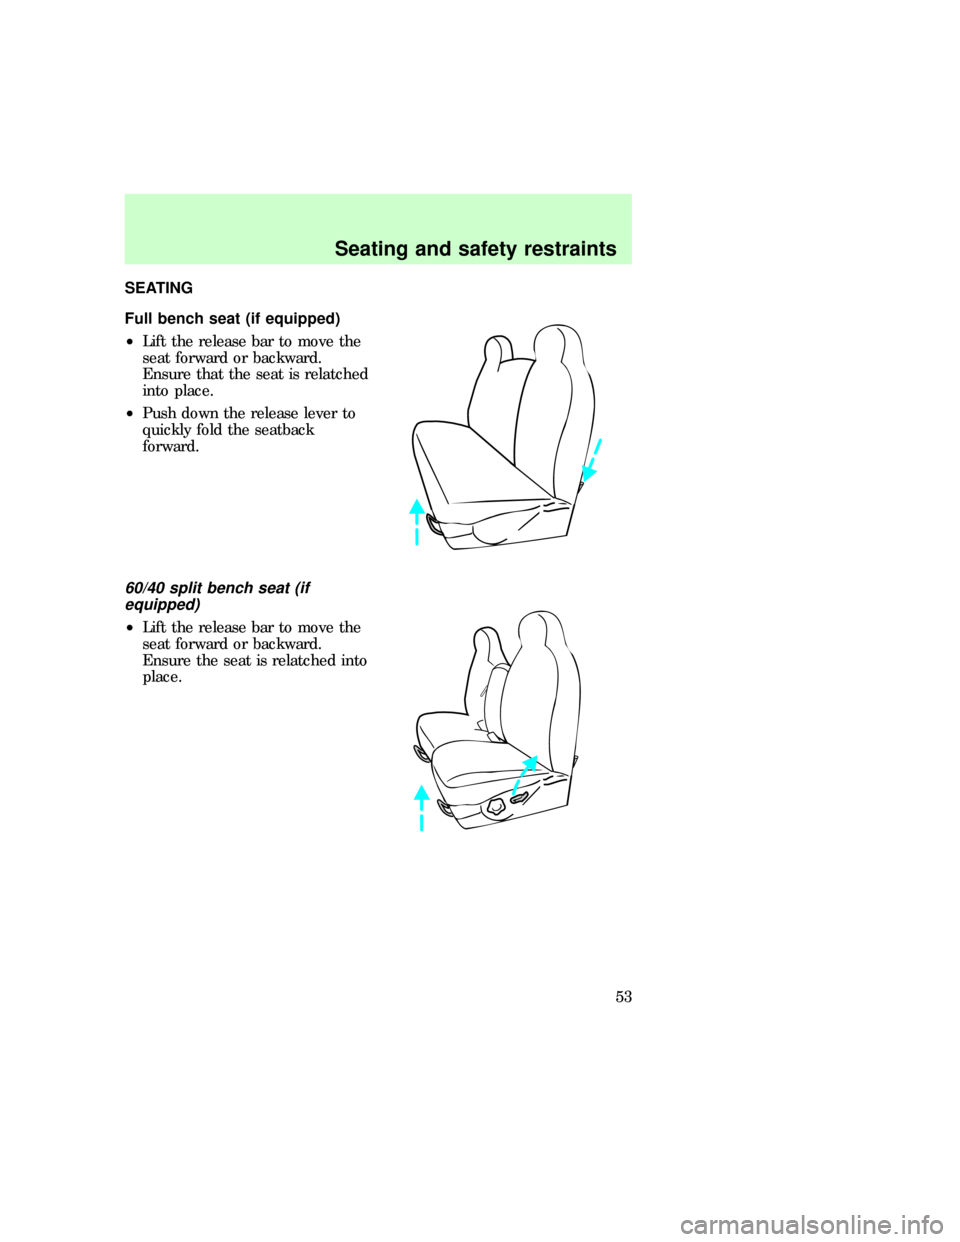
²Lift the release bar to move the
seat forward or backward.
Ensure that the seat is relatched
into place.
²Push down the release lever to
quickly fold the seatback
forward.
60/40 split bench seat (if
equipped)
²Lift the release bar to move the
seat forward or backward.
Ensure the seat is relatched into
place.
f12_adjusting_bench
f12_split_bench
Seating and safety restraints
53
Page 53 of 219
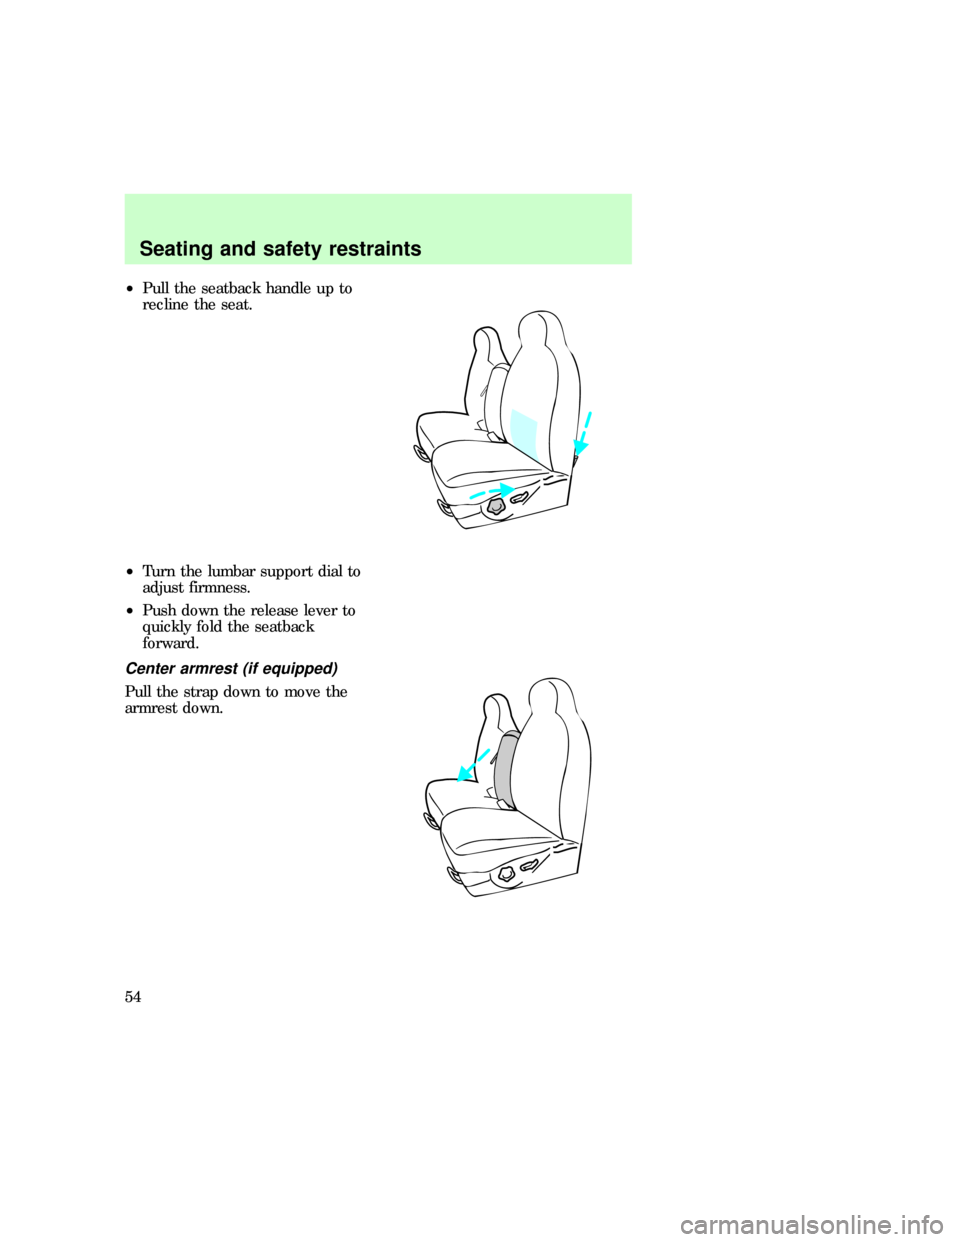
²Pull the seatback handle up to
recline the seat.
²Turn the lumbar support dial to
adjust firmness.
²Push down the release lever to
quickly fold the seatback
forward.
Center armrest (if equipped)
Pull the strap down to move the
armrest down.
f12_adjust_man_bucket
Seating and safety restraints
54
Page 54 of 219
Captain's chair (if equipped)
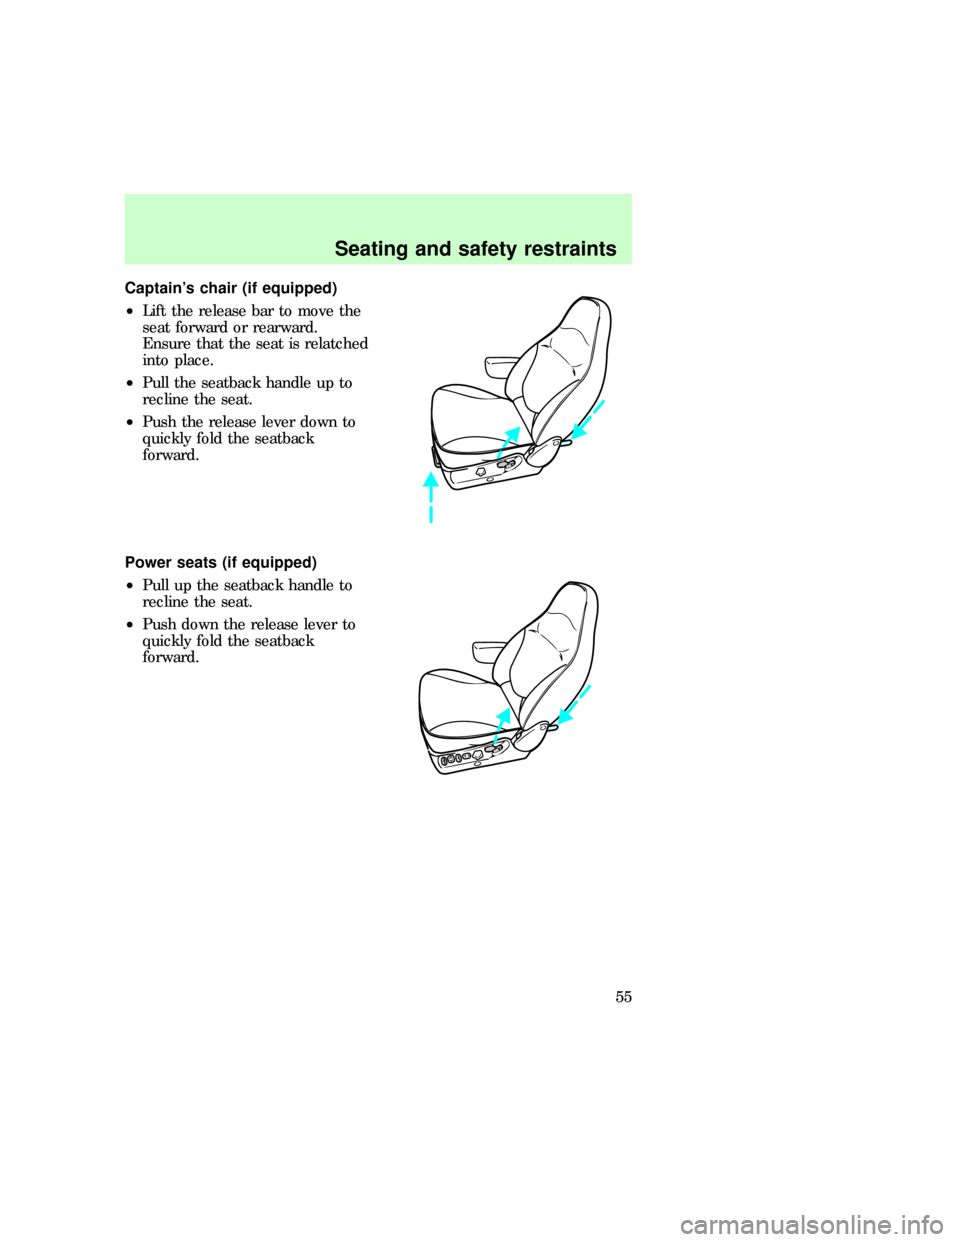
²Lift the release bar to move the
seat forward or rearward.
Ensure that the seat is relatched
into place.
²Pull the seatback handle up to
recline the seat.
²Push the release lever down to
quickly fold the seatback
forward.
Power seats (if equipped)
²Pull up the seatback handle to
recline the seat.
²Push down the release lever to
quickly fold the seatback
forward.
f12_adjust_power_seat
Seating and safety restraints
55
Page 55 of 219
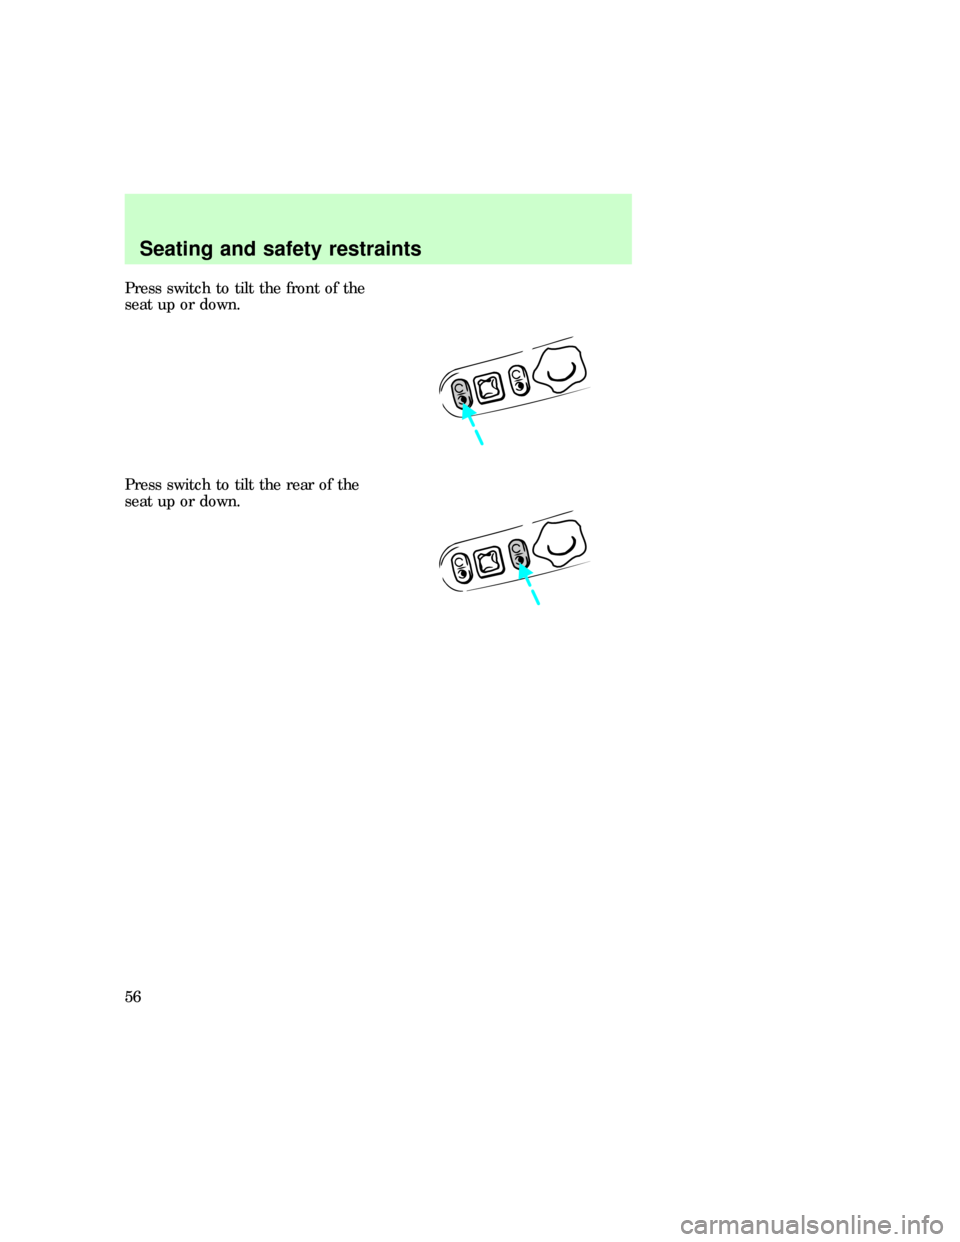
Press switch to tilt the front of the
seat up or down.
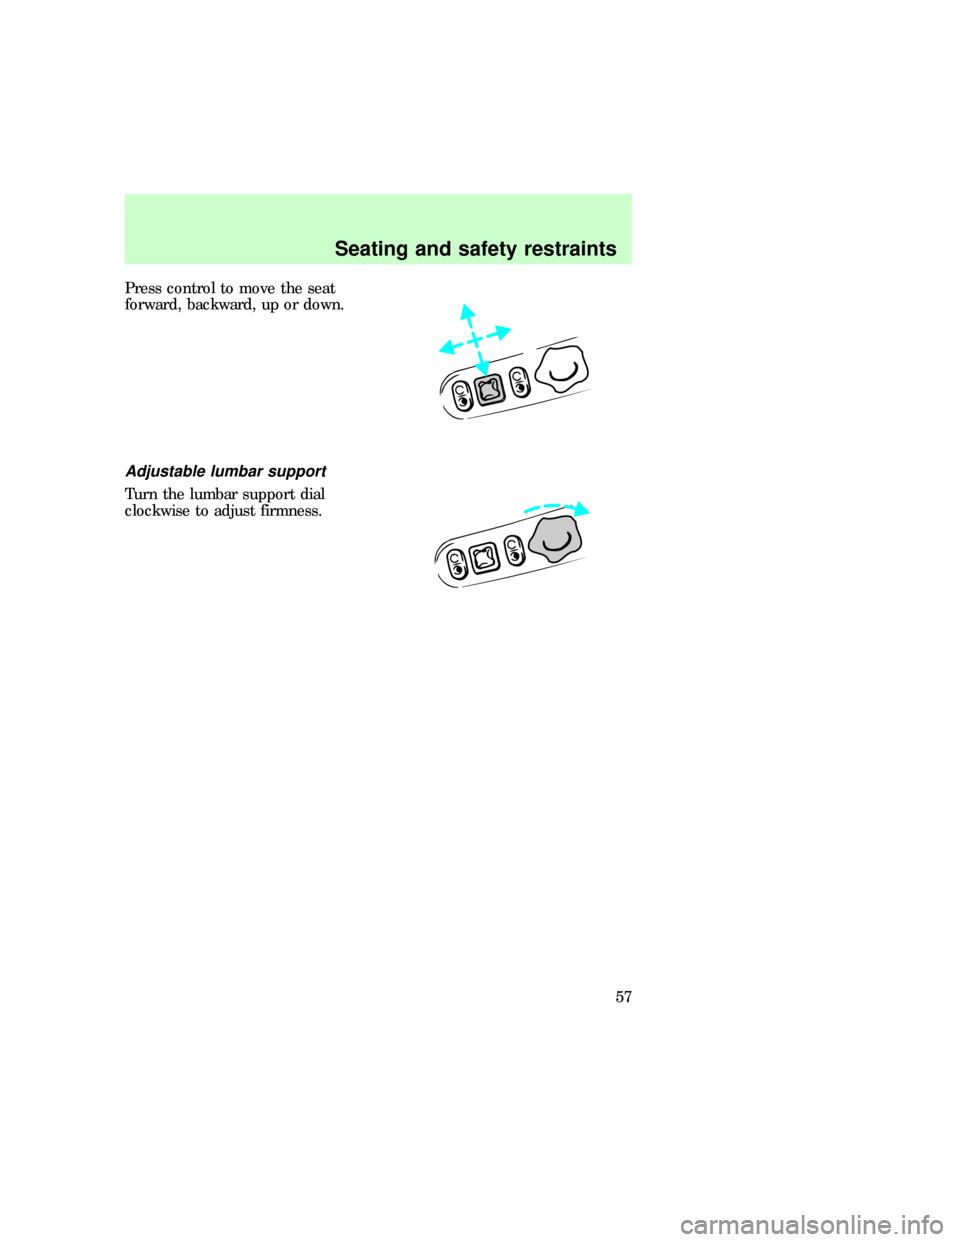
Press switch to tilt the rear of the
seat up or down.
Seating and safety restraints
56
Page 56 of 219
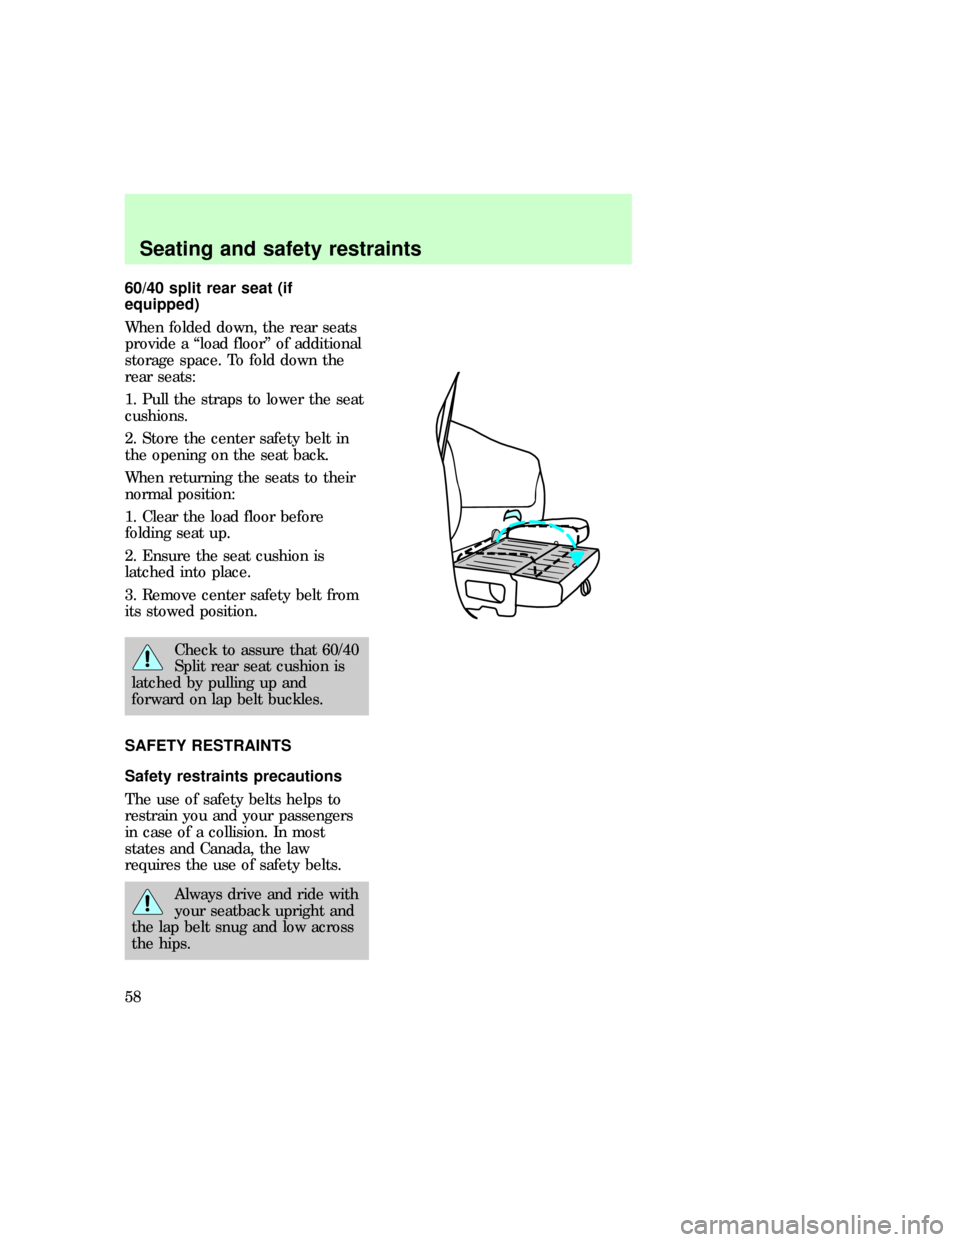
Press control to move the seat
forward, backward, up or down.
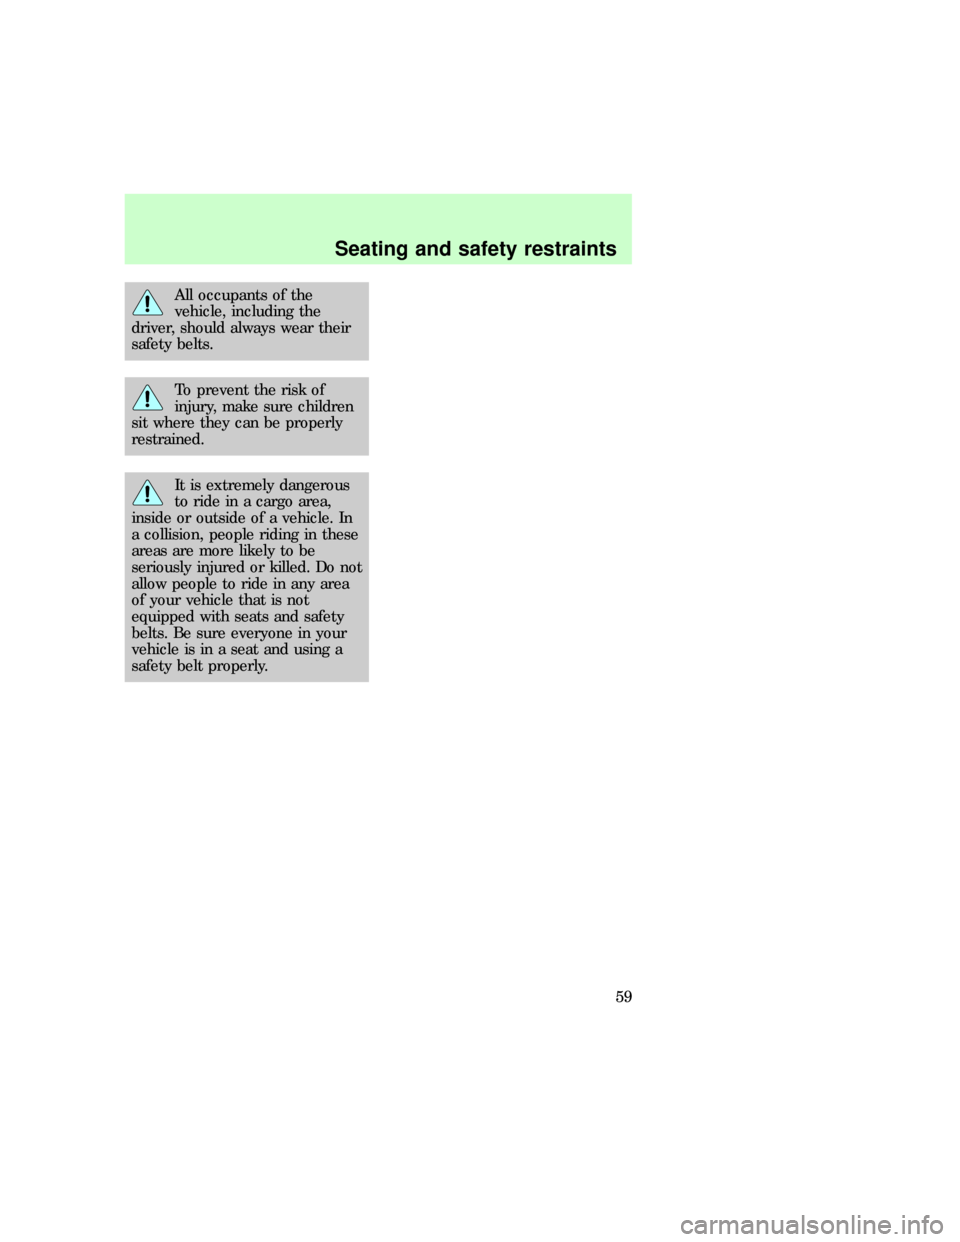
Adjustable lumbar support
Turn the lumbar support dial
clockwise to adjust firmness.
f12_adjust_lumbar
f12_rear_bench
Seating and safety restraints
57
Page 57 of 219
60/40 split rear seat (if
equipped)
When folded down, the rear seats
provide a ªload floorº of additional
storage space. To fold down the
rear seats:
1. Pull the straps to lower the seat
cushions.
2. Store the center safety belt in
the opening on the seat back.
When returning the seats to their
normal position:
1. Clear the load floor before
folding seat up.
2. Ensure the seat cushion is
latched into place.
3. Remove center safety belt from
its stowed position.
Check to assure that 60/40
Split rear seat cushion is
latched by pulling up and
forward on lap belt buckles.
SAFETY RESTRAINTS
Safety restraints precautions
The use of safety belts helps to
restrain you and your passengers
in case of a collision. In most
states and Canada, the law
requires the use of safety belts.
Always drive and ride with
your seatback upright and
the lap belt snug and low across
the hips.
f12_seat_belts
f12_safety_res_prec
Seating and safety restraints
58
Page 58 of 219
All occupants of the
vehicle, including the
driver, should always wear their
safety belts.
To prevent the risk of
injury, make sure children
sit where they can be properly
restrained.
It is extremely dangerous
to ride in a cargo area,
inside or outside of a vehicle. In
a collision, people riding in these
areas are more likely to be
seriously injured or killed. Do not
allow people to ride in any area
of your vehicle that is not
equipped with seats and safety
belts. Be sure everyone in your
vehicle is in a seat and using a
safety belt properly.
f12_using_sr_properly
Seating and safety restraints
59
Page 59 of 219
Using safety restraints properly
Combination lap and shoulder
belts
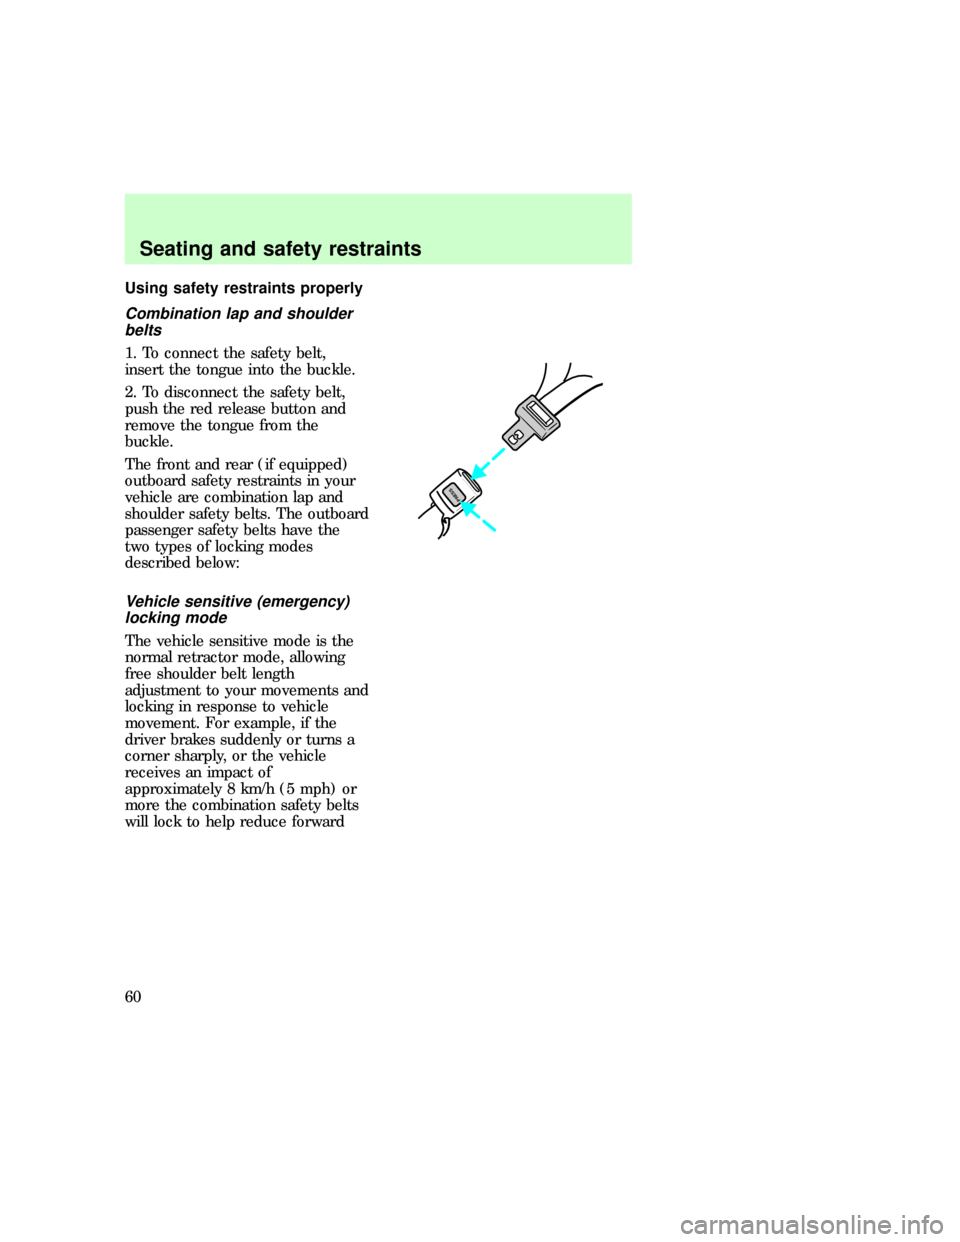
1. To connect the safety belt,
insert the tongue into the buckle.
2. To disconnect the safety belt,
push the red release button and
remove the tongue from the
buckle.
The front and rear (if equipped)
outboard safety restraints in your
vehicle are combination lap and
shoulder safety belts. The outboard
passenger safety belts have the
two types of locking modes
described below:
Vehicle sensitive (emergency)
locking mode
The vehicle sensitive mode is the
normal retractor mode, allowing
free shoulder belt length
adjustment to your movements and
locking in response to vehicle
movement. For example, if the
driver brakes suddenly or turns a
corner sharply, or the vehicle
receives an impact of
approximately 8 km/h (5 mph) or
more the combination safety belts
will lock to help reduce forward
PRESS
f12_comb_lap_sh_belts
Seating and safety restraints
60
Page 60 of 219
movement of the driver and
passengers.
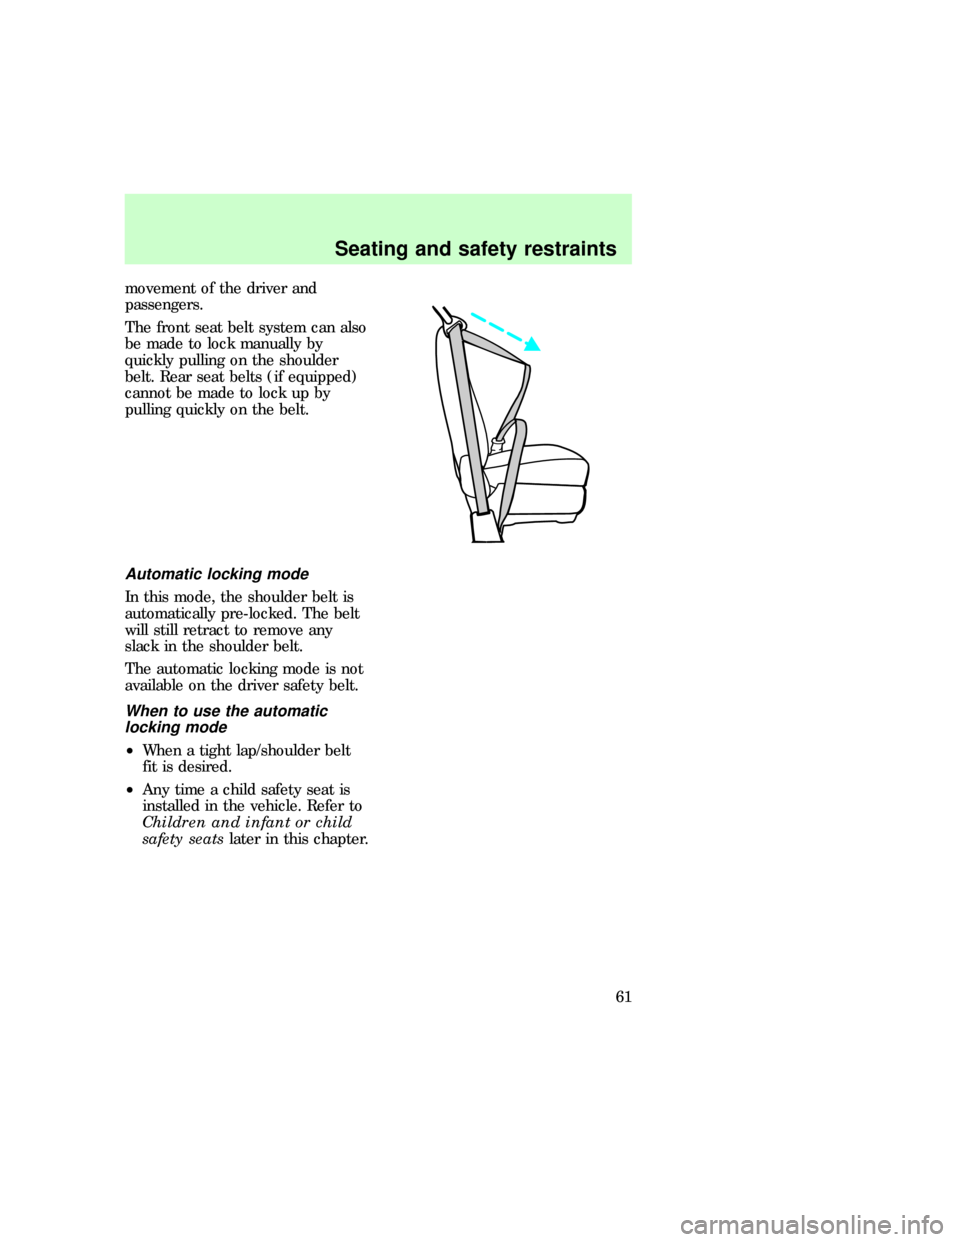
The front seat belt system can also
be made to lock manually by
quickly pulling on the shoulder
belt. Rear seat belts (if equipped)
cannot be made to lock up by
pulling quickly on the belt.
Automatic locking mode
In this mode, the shoulder belt is
automatically pre-locked. The belt
will still retract to remove any
slack in the shoulder belt.
The automatic locking mode is not
available on the driver safety belt.
When to use the automatic
locking mode
²When a tight lap/shoulder belt
fit is desired.
²Any time a child safety seat is
installed in the vehicle. Refer to
Children and infant or child
safety seatslater in this chapter.
f12_auto_lock_mode
f12_when_to_use_alr
f12_how_use_alrSeating and safety restraints
61
Trending: climate control, tailgate, overdrive, mirror controls, low oil pressure, fog light, ECO mode
