brake FORD F150 1999 10.G Owners Manual
[x] Cancel search | Manufacturer: FORD, Model Year: 1999, Model line: F150, Model: FORD F150 1999 10.GPages: 232, PDF Size: 1.56 MB
Page 4 of 232
P
ON
OFFRES
SET
ACCEL
COAST
EL
L
H H
F
CH
BRAKEPRND2
FUEL
RESETSELECT
RESET
THEFT
020406080
00
20
40
60
MPHkm/h
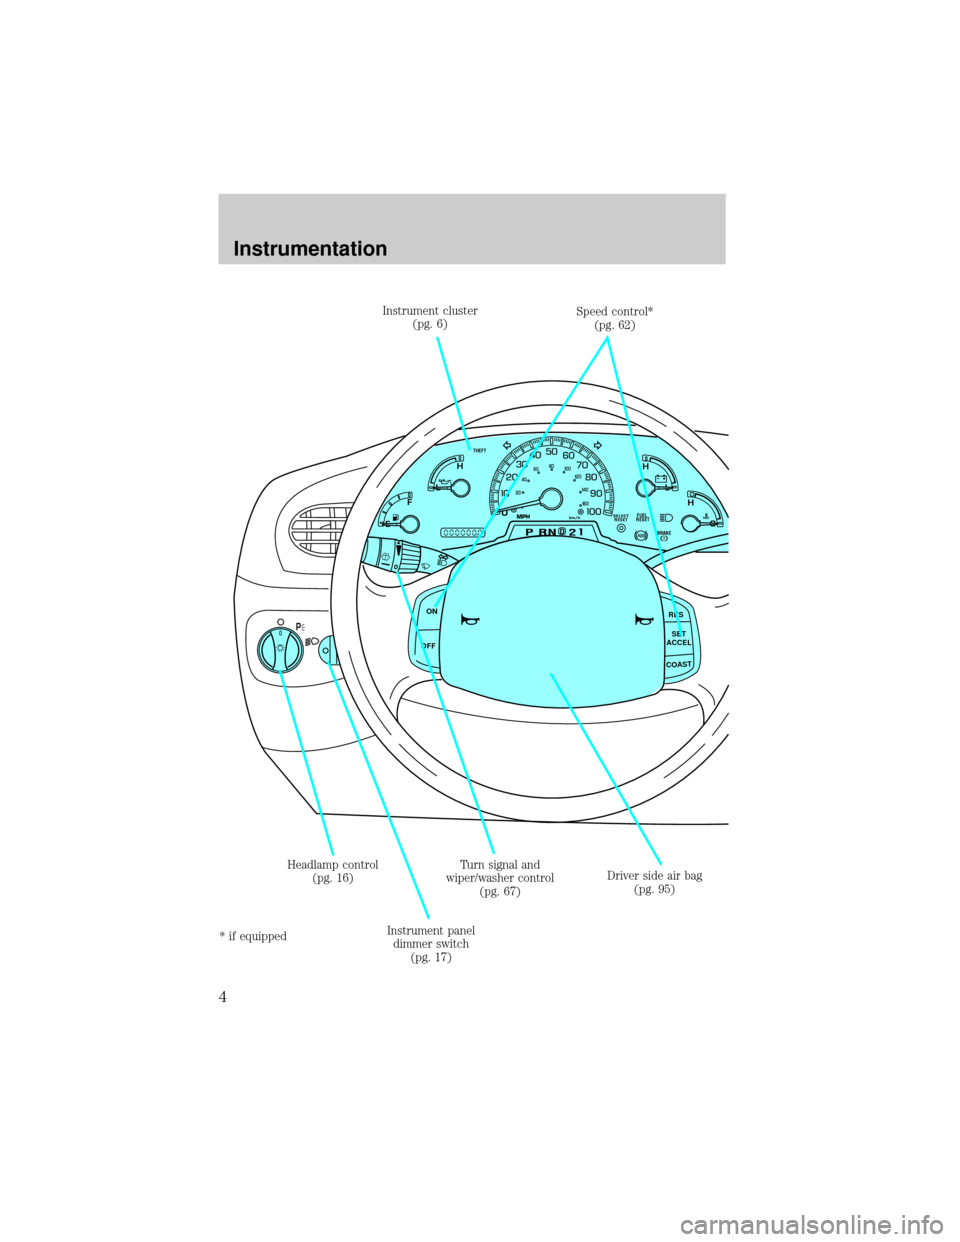
Headlamp control
(pg. 16)
Instrument panel
dimmer switch
(pg. 17)Turn signal and
wiper/washer control
(pg. 67) Instrument cluster
(pg. 6)Speed control*
(pg. 62)
Driver side air bag
(pg. 95)
* if equipped
Instrumentation
4
Page 6 of 232
WARNING LIGHTS AND CHIMES
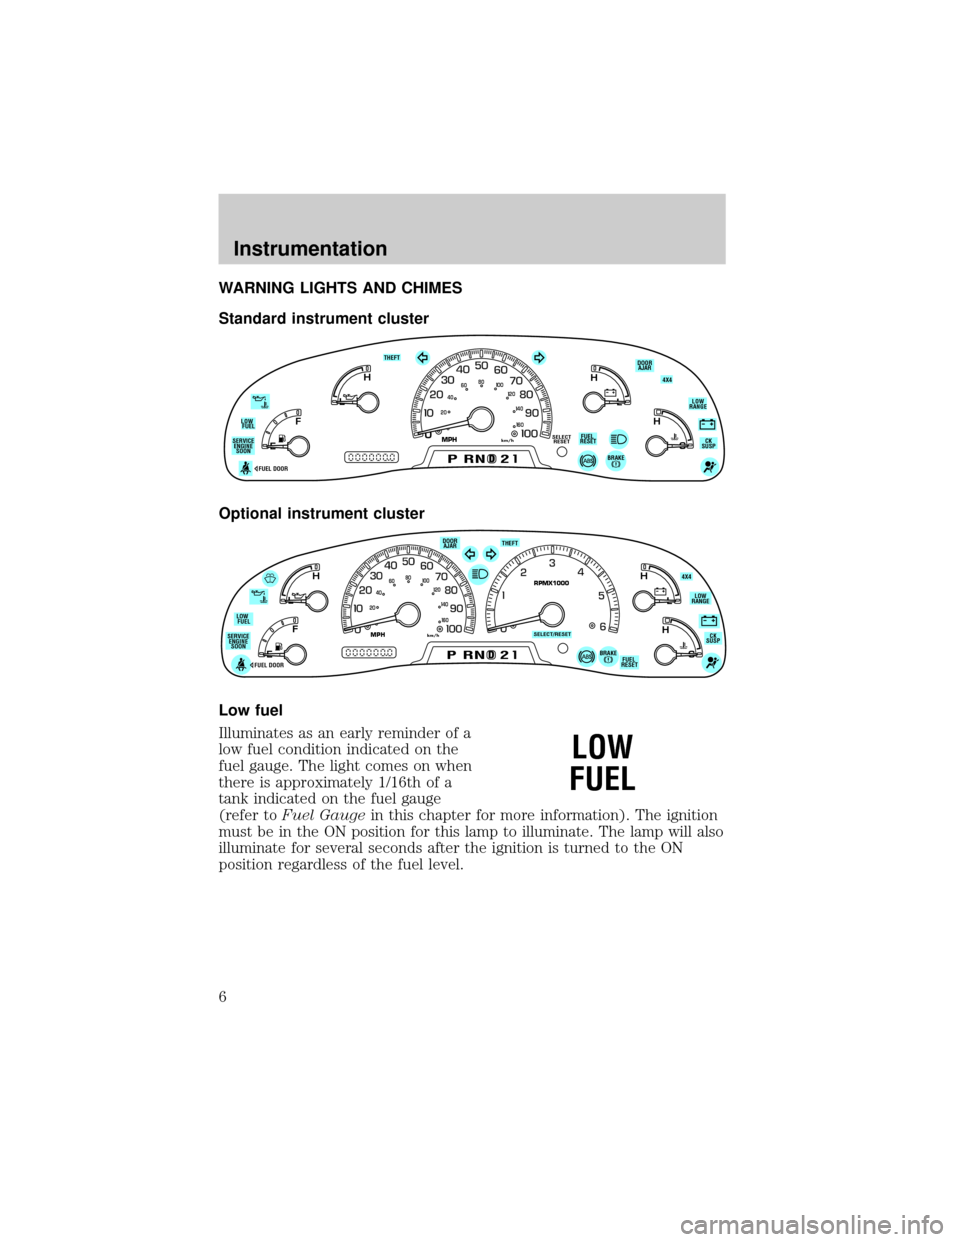
Standard instrument cluster
Optional instrument cluster
Low fuel
Illuminates as an early reminder of a
low fuel condition indicated on the
fuel gauge. The light comes on when
there is approximately 1/16th of a
tank indicated on the fuel gauge
(refer toFuel Gaugein this chapter for more information). The ignition
must be in the ON position for this lamp to illuminate. The lamp will also
illuminate for several seconds after the ignition is turned to the ON
position regardless of the fuel level.
0
E
L
L
H H
F
CH
DPRND2
FUEL
RESETDOOR
AJARSELECT
RESET
4X4
LOW
RANGE
CK
SUSP THEFT
FUEL DOOR SERVICE
ENGINE
SOONLOW
FUEL
20406080
00
20
40
60
BRAKE
MPHkm/h
D
L
H
L
H
E
F
C
H
BRAKEPRND2FUEL
RESET DOOR
AJAR
SELECT/RESET
4X4
LOW
RANGE
CK
SUSP THEFT
FUEL DOOR SERVICE
ENGINE
SOONLOW
FUEL
0MPHRPMX1000km/h
20406080
00
20
40
60
LOW
FUEL
Instrumentation
6
Page 8 of 232
Light is blinking:
Engine misfire is occurring which could damage your catalytic converter.
You should drive in a moderate fashion (avoid heavy acceleration and
deceleration) and have your vehicle serviced at the first available
opportunity.
Under engine misfire conditions, excessive exhaust temperatures
could damage the catalytic converter, the fuel system, interior
floor coverings or other vehicle components, possibly causing a fire.
Air bag readiness
Momentarily illuminates when the
ignition is turned ON. If the light
fails to illuminate, continues to flash
or remains on, have the system
serviced immediately.
Safety belt
Momentarily illuminates when the
ignition is turned to the ON position
to remind you to fasten your safety
belts. For more information, refer to
theSeating and safety restraints
chapter.
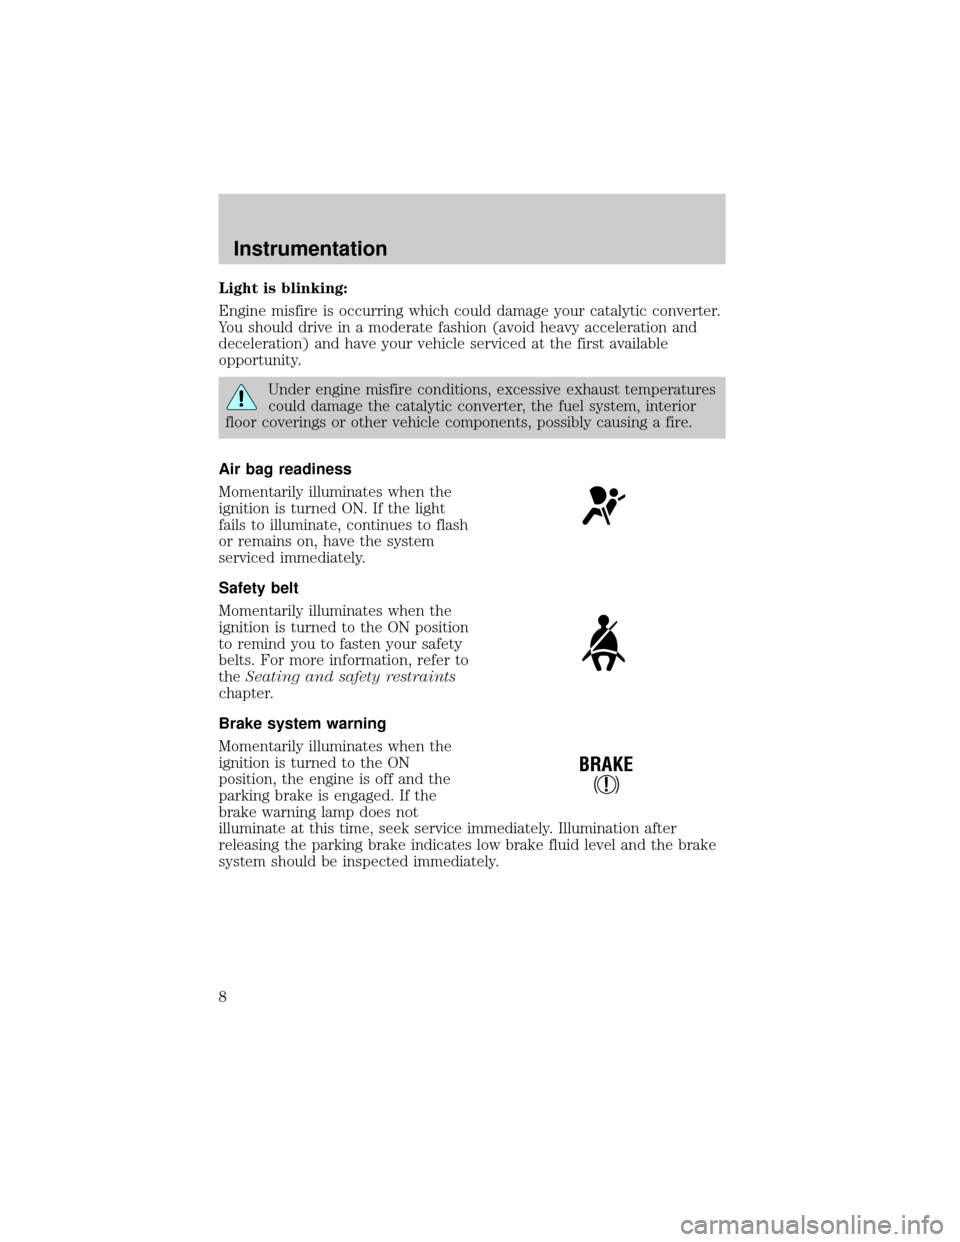
Brake system warning
Momentarily illuminates when the
ignition is turned to the ON
position, the engine is off and the
parking brake is engaged. If the
brake warning lamp does not
illuminate at this time, seek service immediately. Illumination after
releasing the parking brake indicates low brake fluid level and the brake
system should be inspected immediately.
!
BRAKE
Instrumentation
8
Page 9 of 232

Anti-lock brake system (ABS)
Momentarily illuminates when the
ignition is turned to the ON position
and the engine is off. If the light
remains on, continues to flash or
fails to illuminate, have the system
serviced immediately. With the ABS light on, the anti-lock brake system
is disabled and normal braking is still effective unless the brake warning
light also remains illuminated with parking brake released.
Turn signal
Illuminates when the left or right
turn signal or the hazard lights are
turned on. If one or both of the
indicators stay on continuously or
flash faster, check for a burned-out
turn signal bulb. Refer toExterior bulbsin theMaintenance and care
chapter.
High beams
Illuminates when the high beam
headlamps are turned on.
Anti-theft system (if equipped)
Refer toSecuriLockypassive
anti-theft systemin theControls
and featureschapter.
Charging system
Illuminates when the ignition is
turned to the ON position and the
engine is off. The light also
illuminates when the battery is not
charging properly, requiring
electrical system service.
ABS
THEFT
Instrumentation
9
Page 12 of 232
GAUGES
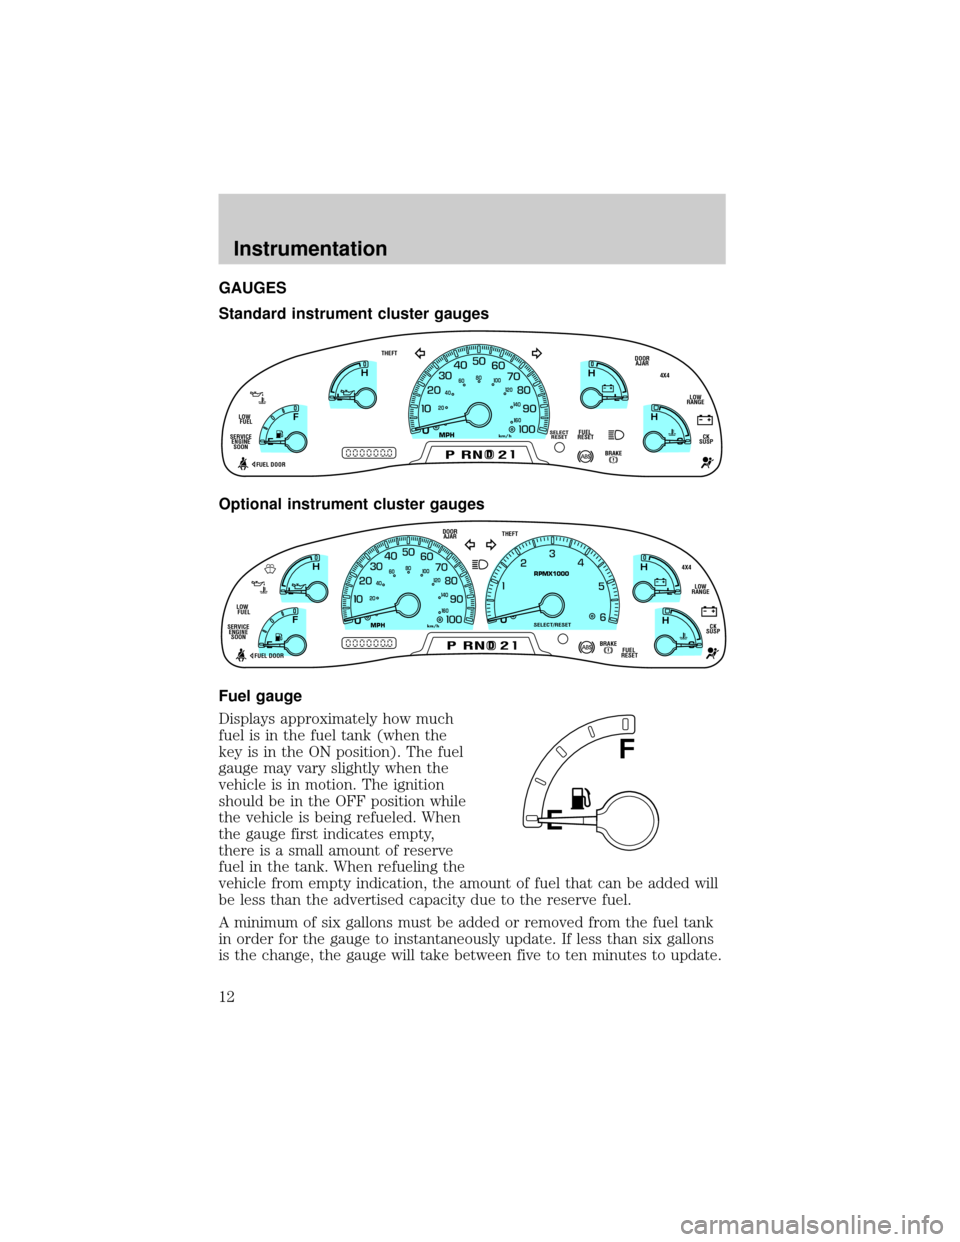
Standard instrument cluster gauges
Optional instrument cluster gauges
Fuel gauge
Displays approximately how much
fuel is in the fuel tank (when the
key is in the ON position). The fuel
gauge may vary slightly when the
vehicle is in motion. The ignition
should be in the OFF position while
the vehicle is being refueled. When
the gauge first indicates empty,
there is a small amount of reserve
fuel in the tank. When refueling the
vehicle from empty indication, the amount of fuel that can be added will
be less than the advertised capacity due to the reserve fuel.
A minimum of six gallons must be added or removed from the fuel tank
in order for the gauge to instantaneously update. If less than six gallons
is the change, the gauge will take between five to ten minutes to update.
0
E
L
L
H H
F
CH
DBRAKE
MPHkm/h
PRND2
FUEL
RESETDOOR
AJARSELECT
RESET
4X4
LOW
RANGE
CK
SUSP THEFT
FUEL DOOR SERVICE
ENGINE
SOONLOW
FUEL
20406080
00
20
40
60
D
L
H
L
H
E
F
C
H
BRAKEPRND2FUEL
RESET DOOR
AJAR
SELECT/RESET
4X4
LOW
RANGE
CK
SUSP THEFT
FUEL DOOR SERVICE
ENGINE
SOONLOW
FUEL
0MPHRPMX1000km/h
20406080
00
20
40
60
E
F
Instrumentation
12
Page 63 of 232
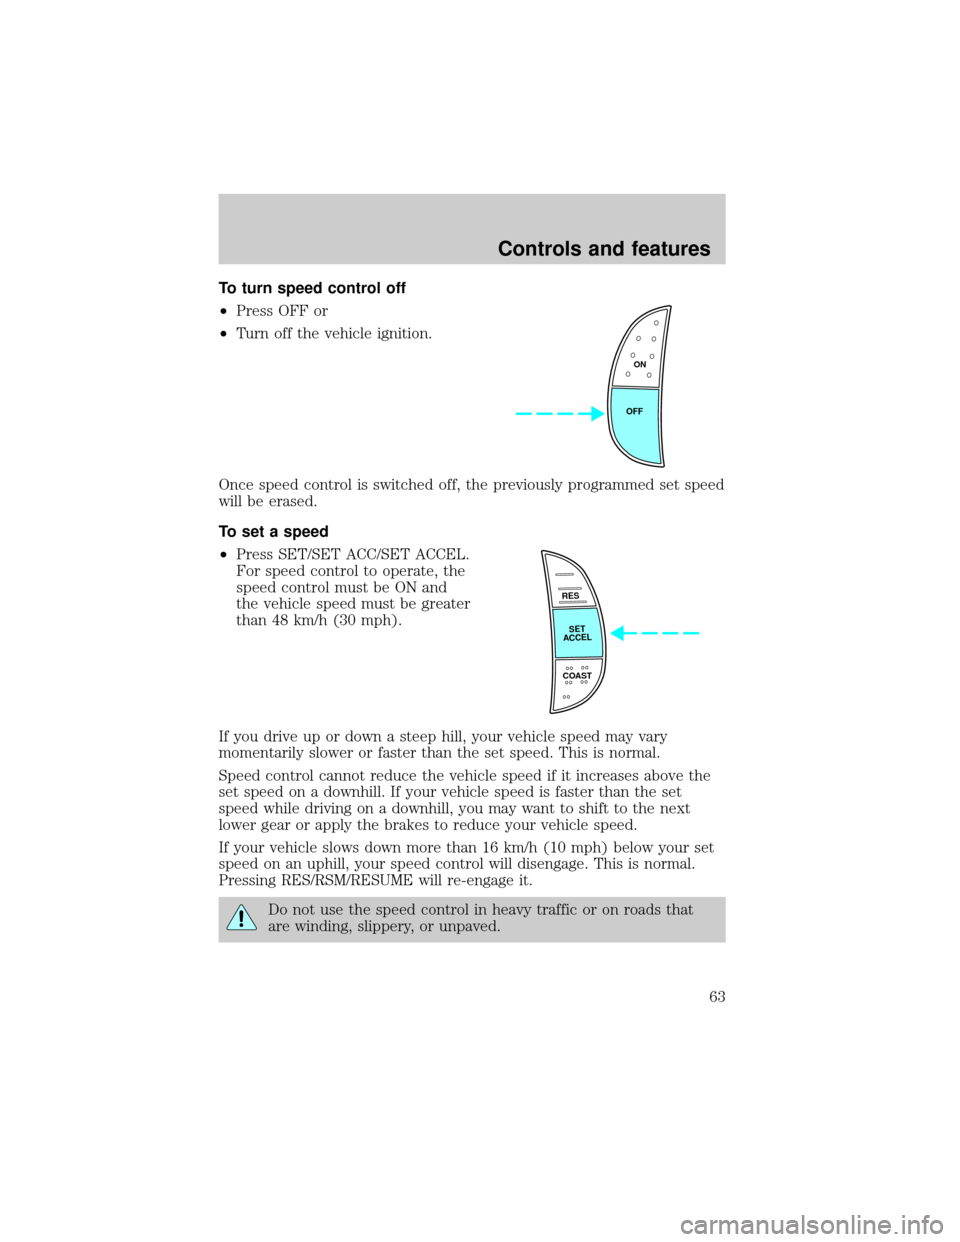
To turn speed control off
²Press OFF or
²Turn off the vehicle ignition.
Once speed control is switched off, the previously programmed set speed
will be erased.
To set a speed
²Press SET/SET ACC/SET ACCEL.
For speed control to operate, the
speed control must be ON and
the vehicle speed must be greater
than 48 km/h (30 mph).
If you drive up or down a steep hill, your vehicle speed may vary
momentarily slower or faster than the set speed. This is normal.
Speed control cannot reduce the vehicle speed if it increases above the
set speed on a downhill. If your vehicle speed is faster than the set
speed while driving on a downhill, you may want to shift to the next
lower gear or apply the brakes to reduce your vehicle speed.
If your vehicle slows down more than 16 km/h (10 mph) below your set
speed on an uphill, your speed control will disengage. This is normal.
Pressing RES/RSM/RESUME will re-engage it.
Do not use the speed control in heavy traffic or on roads that
are winding, slippery, or unpaved.
ON
OFF
RES
SET
ACCEL
COAST
Controls and features
63
Page 64 of 232
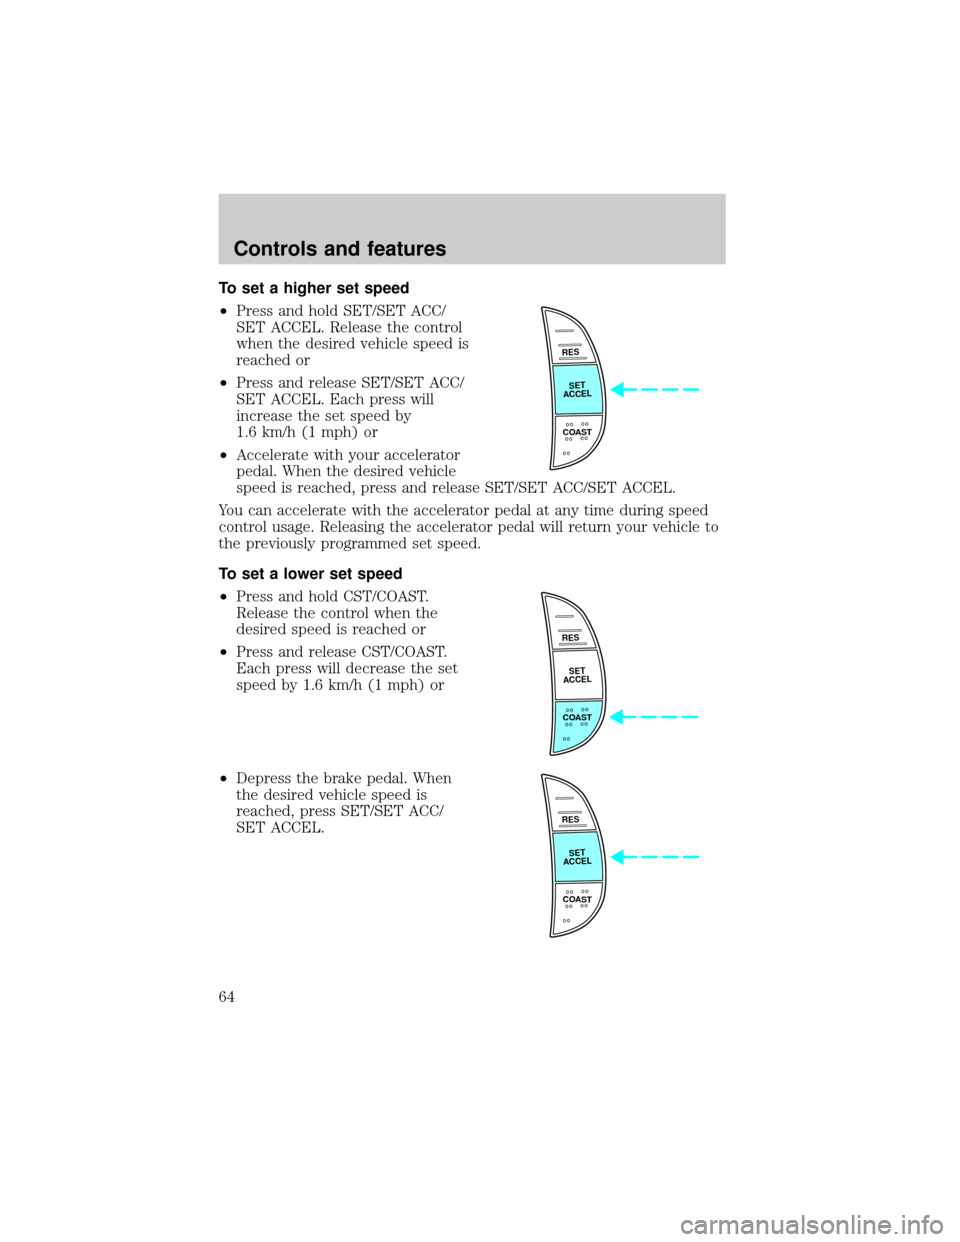
To set a higher set speed
²Press and hold SET/SET ACC/
SET ACCEL. Release the control
when the desired vehicle speed is
reached or
²Press and release SET/SET ACC/
SET ACCEL. Each press will
increase the set speed by
1.6 km/h (1 mph) or
²Accelerate with your accelerator
pedal. When the desired vehicle
speed is reached, press and release SET/SET ACC/SET ACCEL.
You can accelerate with the accelerator pedal at any time during speed
control usage. Releasing the accelerator pedal will return your vehicle to
the previously programmed set speed.
To set a lower set speed
²Press and hold CST/COAST.
Release the control when the
desired speed is reached or
²Press and release CST/COAST.
Each press will decrease the set
speed by 1.6 km/h (1 mph) or
²Depress the brake pedal. When
the desired vehicle speed is
reached, press SET/SET ACC/
SET ACCEL.
RES
SET
ACCEL
COAST
RES
SET
ACCEL
COAST
RES
SET
ACCEL
COAST
Controls and features
64
Page 65 of 232
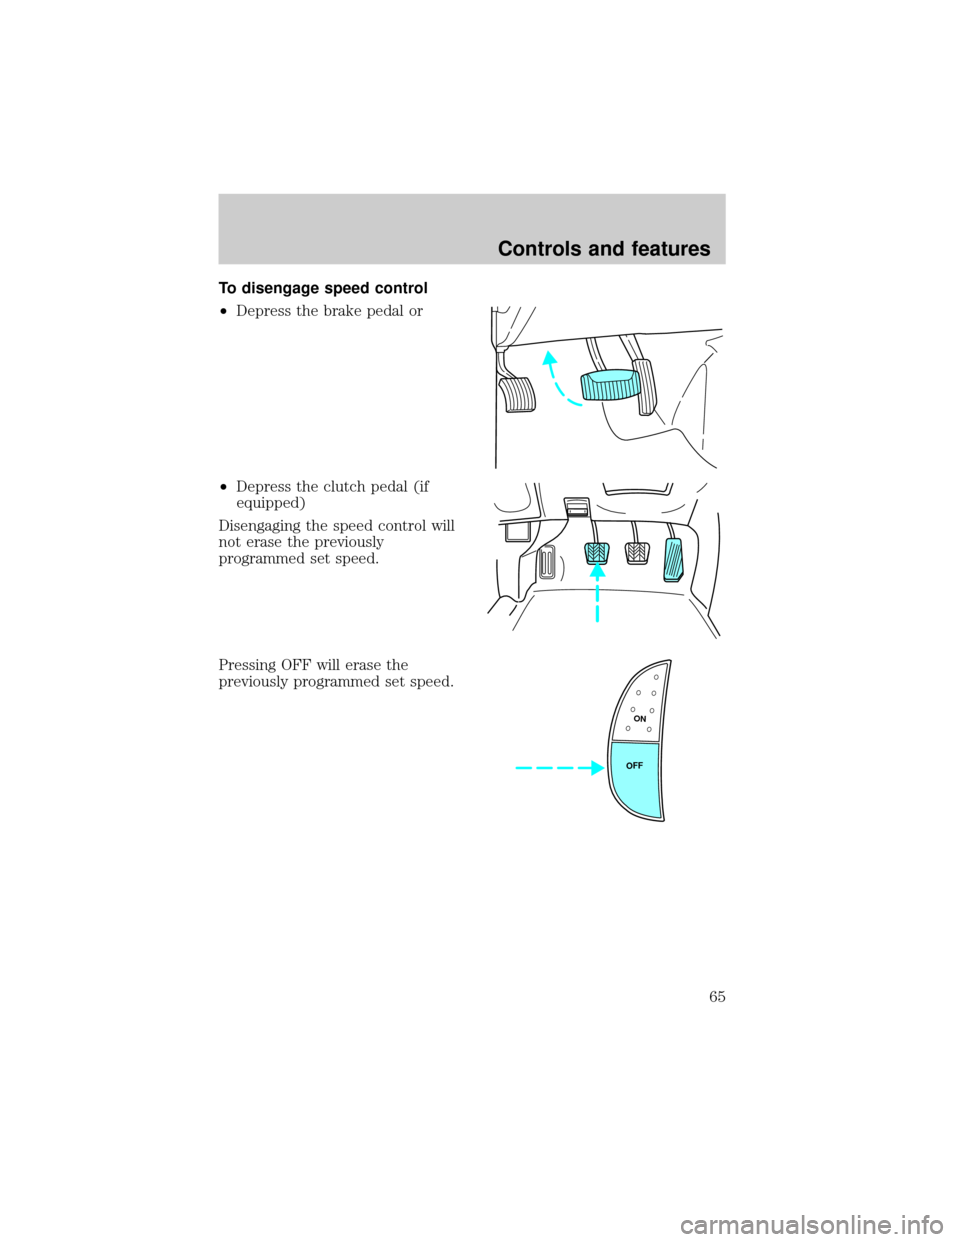
To disengage speed control
²Depress the brake pedal or
²Depress the clutch pedal (if
equipped)
Disengaging the speed control will
not erase the previously
programmed set speed.
Pressing OFF will erase the
previously programmed set speed.
ON
OFF
Controls and features
65
Page 80 of 232
This process will also arm your anti-theft system (if equipped). For more
information on arming the anti-theft system, refer toAnti-theft systemin
this chapter.
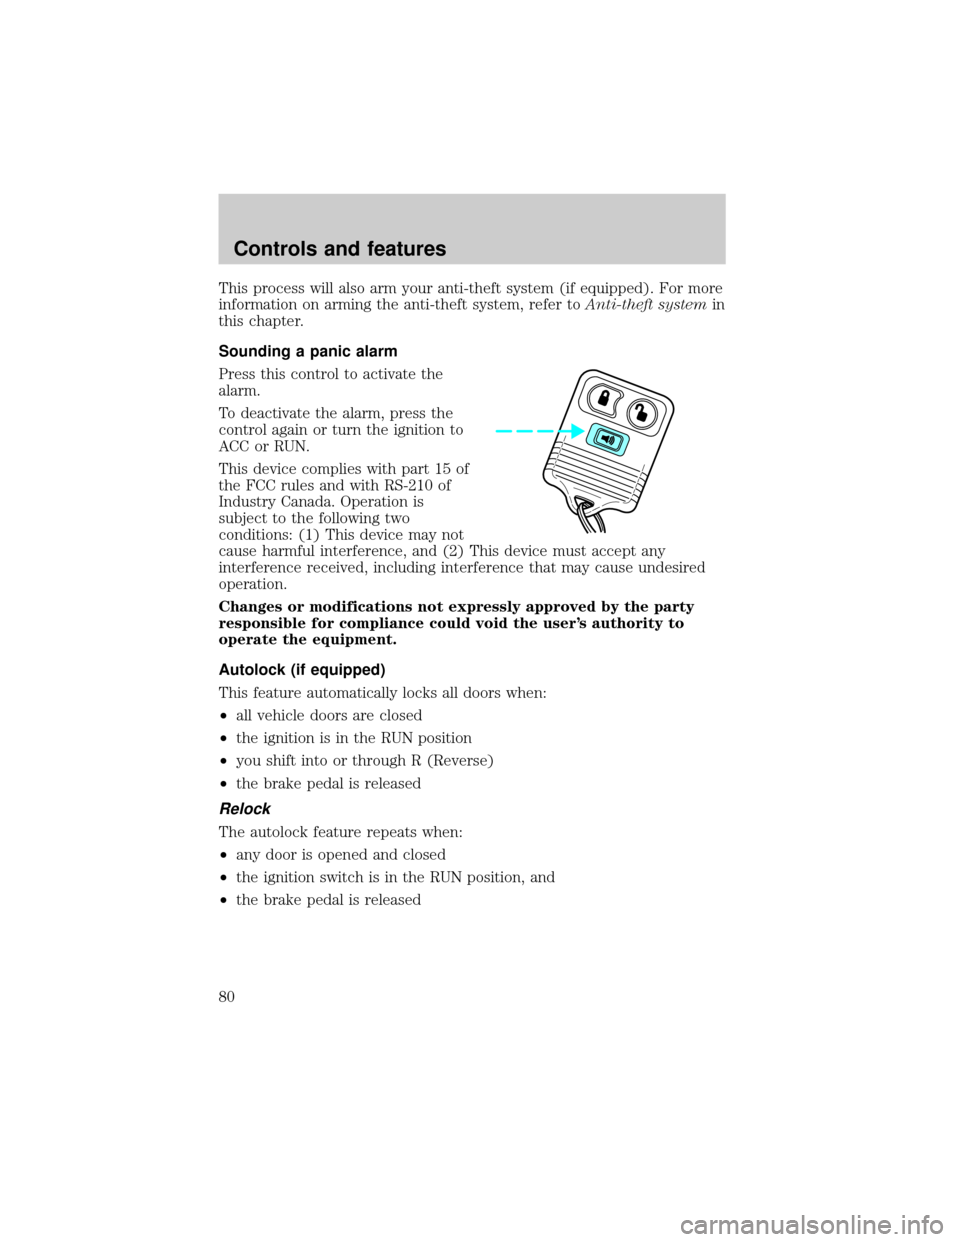
Sounding a panic alarm
Press this control to activate the
alarm.
To deactivate the alarm, press the
control again or turn the ignition to
ACC or RUN.
This device complies with part 15 of
the FCC rules and with RS-210 of
Industry Canada. Operation is
subject to the following two
conditions: (1) This device may not
cause harmful interference, and (2) This device must accept any
interference received, including interference that may cause undesired
operation.
Changes or modifications not expressly approved by the party
responsible for compliance could void the user's authority to
operate the equipment.
Autolock (if equipped)
This feature automatically locks all doors when:
²all vehicle doors are closed
²the ignition is in the RUN position
²you shift into or through R (Reverse)
²the brake pedal is released
Relock
The autolock feature repeats when:
²any door is opened and closed
²the ignition switch is in the RUN position, and
²the brake pedal is released
Controls and features
80
Page 90 of 232
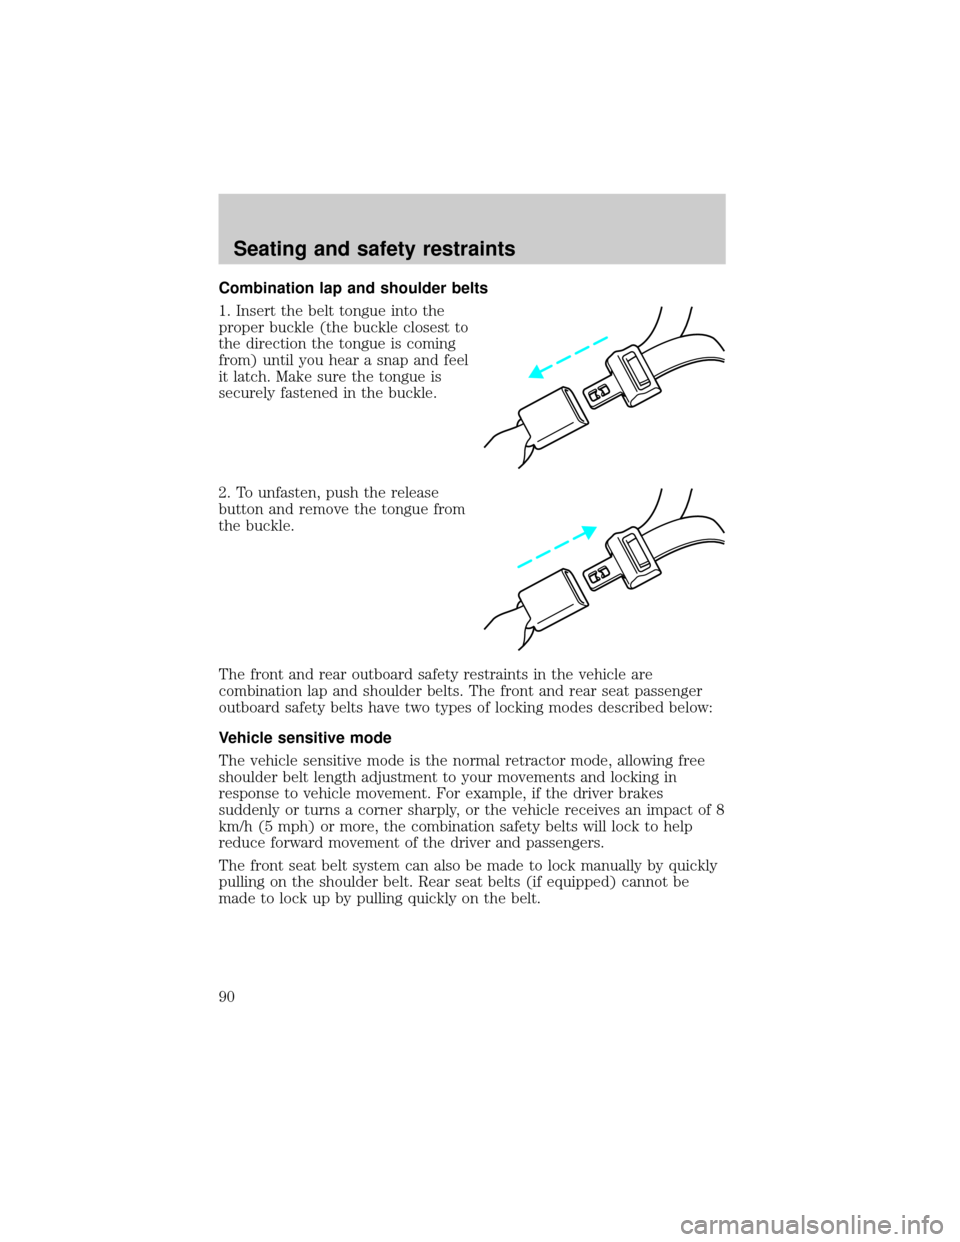
Combination lap and shoulder belts
1. Insert the belt tongue into the
proper buckle (the buckle closest to
the direction the tongue is coming
from) until you hear a snap and feel
it latch. Make sure the tongue is
securely fastened in the buckle.
2. To unfasten, push the release
button and remove the tongue from
the buckle.
The front and rear outboard safety restraints in the vehicle are
combination lap and shoulder belts. The front and rear seat passenger
outboard safety belts have two types of locking modes described below:
Vehicle sensitive mode
The vehicle sensitive mode is the normal retractor mode, allowing free
shoulder belt length adjustment to your movements and locking in
response to vehicle movement. For example, if the driver brakes
suddenly or turns a corner sharply, or the vehicle receives an impact of 8
km/h (5 mph) or more, the combination safety belts will lock to help
reduce forward movement of the driver and passengers.
The front seat belt system can also be made to lock manually by quickly
pulling on the shoulder belt. Rear seat belts (if equipped) cannot be
made to lock up by pulling quickly on the belt.
Seating and safety restraints
90