rear entertainment FORD F150 2002 10.G Owners Manual
[x] Cancel search | Manufacturer: FORD, Model Year: 2002, Model line: F150, Model: FORD F150 2002 10.GPages: 320, PDF Size: 2.95 MB
Page 21 of 320
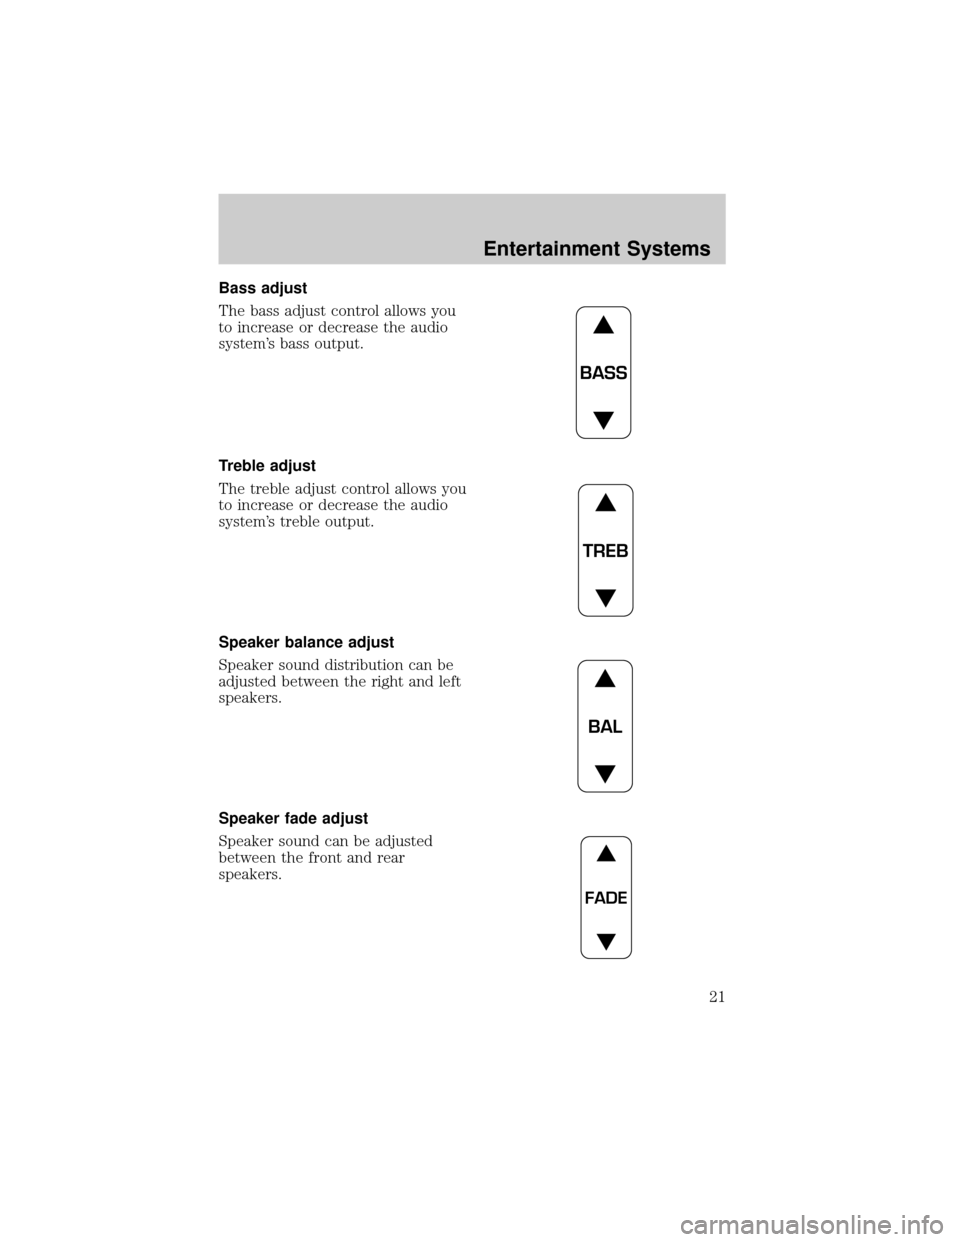
Bass adjust
The bass adjust control allows you
to increase or decrease the audio
system's bass output.
Treble adjust
The treble adjust control allows you
to increase or decrease the audio
system's treble output.
Speaker balance adjust
Speaker sound distribution can be
adjusted between the right and left
speakers.
Speaker fade adjust
Speaker sound can be adjusted
between the front and rear
speakers.
BASS
TREB
BAL
FADE
Entertainment Systems
21
Page 29 of 320
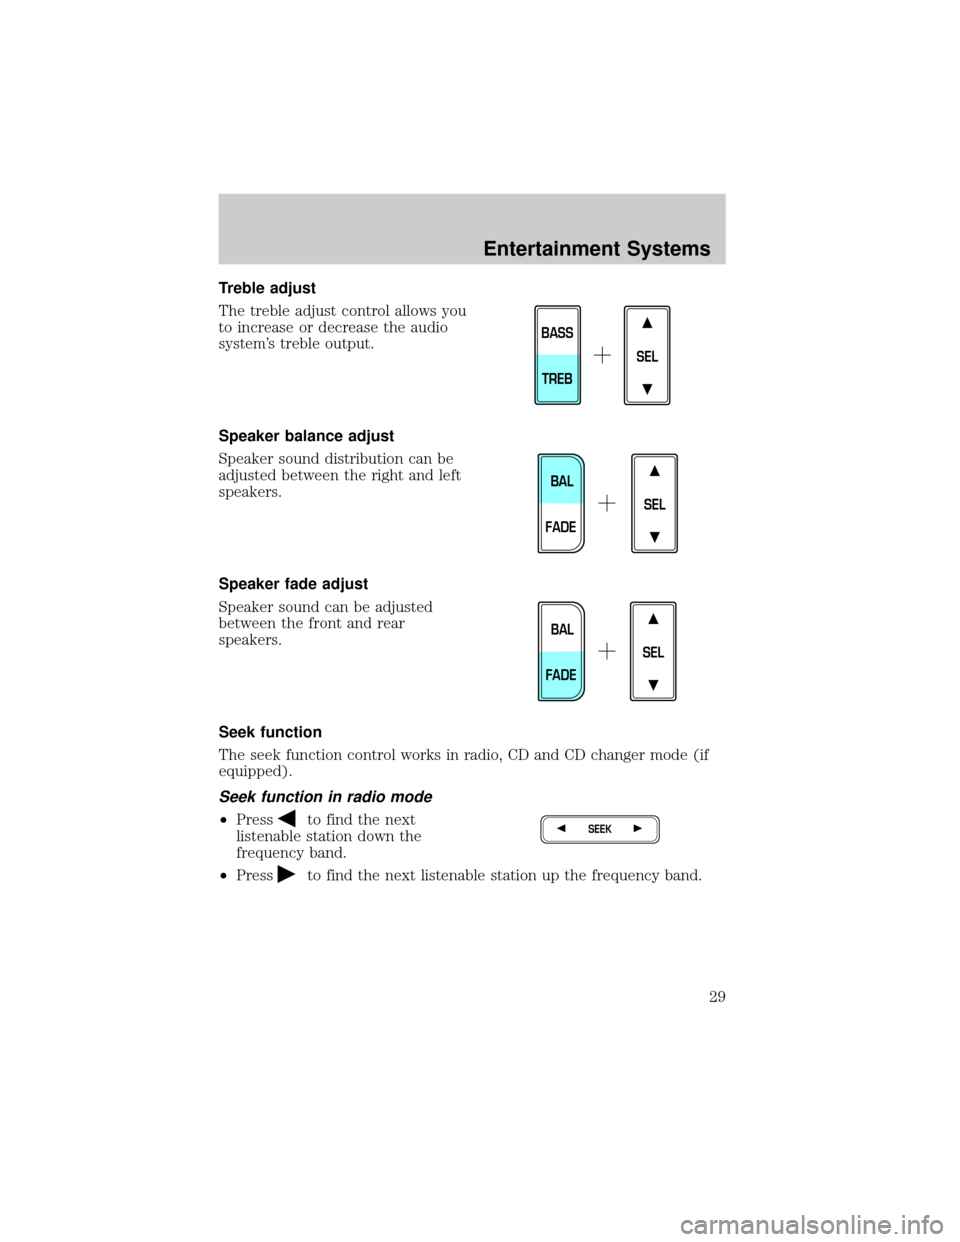
Treble adjust
The treble adjust control allows you
to increase or decrease the audio
system's treble output.
Speaker balance adjust
Speaker sound distribution can be
adjusted between the right and left
speakers.
Speaker fade adjust
Speaker sound can be adjusted
between the front and rear
speakers.
Seek function
The seek function control works in radio, CD and CD changer mode (if
equipped).
Seek function in radio mode
²Pressto find the next
listenable station down the
frequency band.
²Press
to find the next listenable station up the frequency band.
SEL
BASS
TREB
SEL
BAL
FADE
SEL
BAL
FADE
SEEK
Entertainment Systems
29
Page 38 of 320
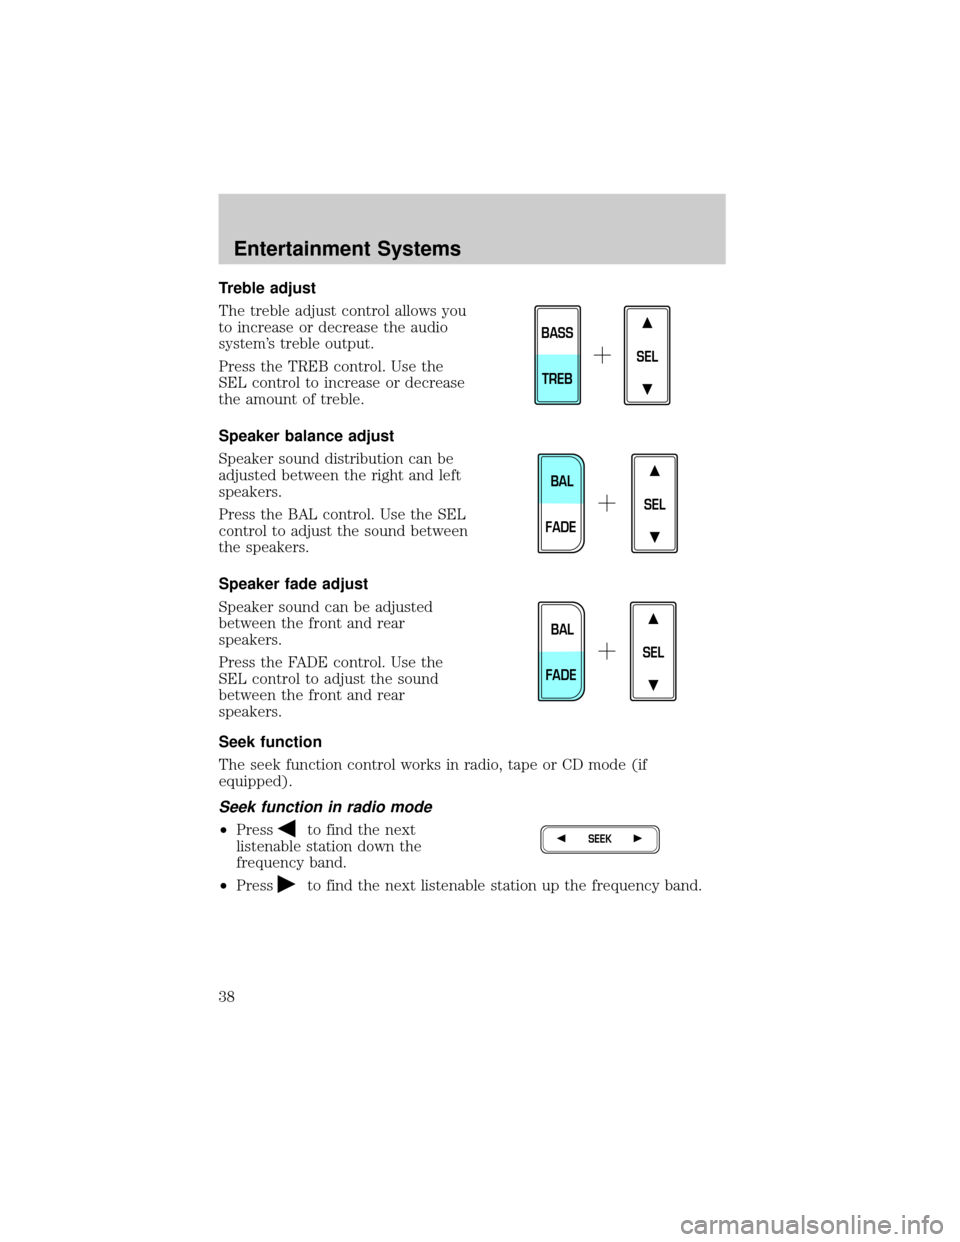
Treble adjust
The treble adjust control allows you
to increase or decrease the audio
system's treble output.
Press the TREB control. Use the
SEL control to increase or decrease
the amount of treble.
Speaker balance adjust
Speaker sound distribution can be
adjusted between the right and left
speakers.
Press the BAL control. Use the SEL
control to adjust the sound between
the speakers.
Speaker fade adjust
Speaker sound can be adjusted
between the front and rear
speakers.
Press the FADE control. Use the
SEL control to adjust the sound
between the front and rear
speakers.
Seek function
The seek function control works in radio, tape or CD mode (if
equipped).
Seek function in radio mode
²Pressto find the next
listenable station down the
frequency band.
²Press
to find the next listenable station up the frequency band.
SEL
BASS
TREB
SEL
BAL
FADE
SEL
BAL
FADE
SEEK
Entertainment Systems
38
Page 46 of 320
Show
²With RDS activated, press the
RDS control until SHOW is
displayed.
²Use the SEL control to select
TYPE (the display shows the
program type), NAME (the
display shows the call letters of
the station) or NONE.
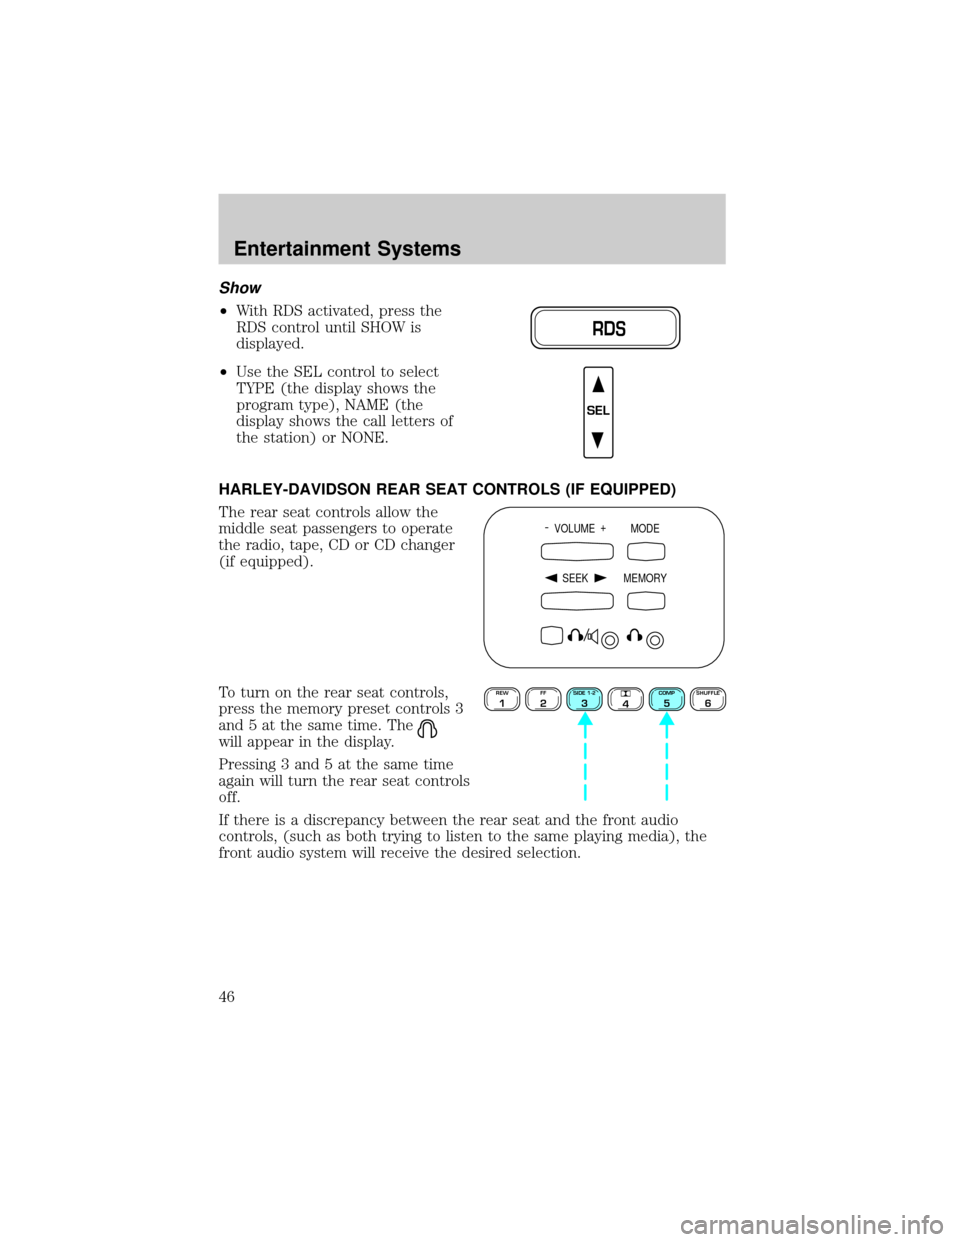
HARLEY-DAVIDSON REAR SEAT CONTROLS (IF EQUIPPED)
The rear seat controls allow the
middle seat passengers to operate
the radio, tape, CD or CD changer
(if equipped).
To turn on the rear seat controls,
press the memory preset controls 3
and 5 at the same time. The
will appear in the display.
Pressing 3 and 5 at the same time
again will turn the rear seat controls
off.
If there is a discrepancy between the rear seat and the front audio
controls, (such as both trying to listen to the same playing media), the
front audio system will receive the desired selection.
RDS
SEL
- VOLUME +
MODE
SEEK MEMORY
REW1FF2SIDE 1-23
4COMP5SHUFFLE6
Entertainment Systems
46
Page 47 of 320
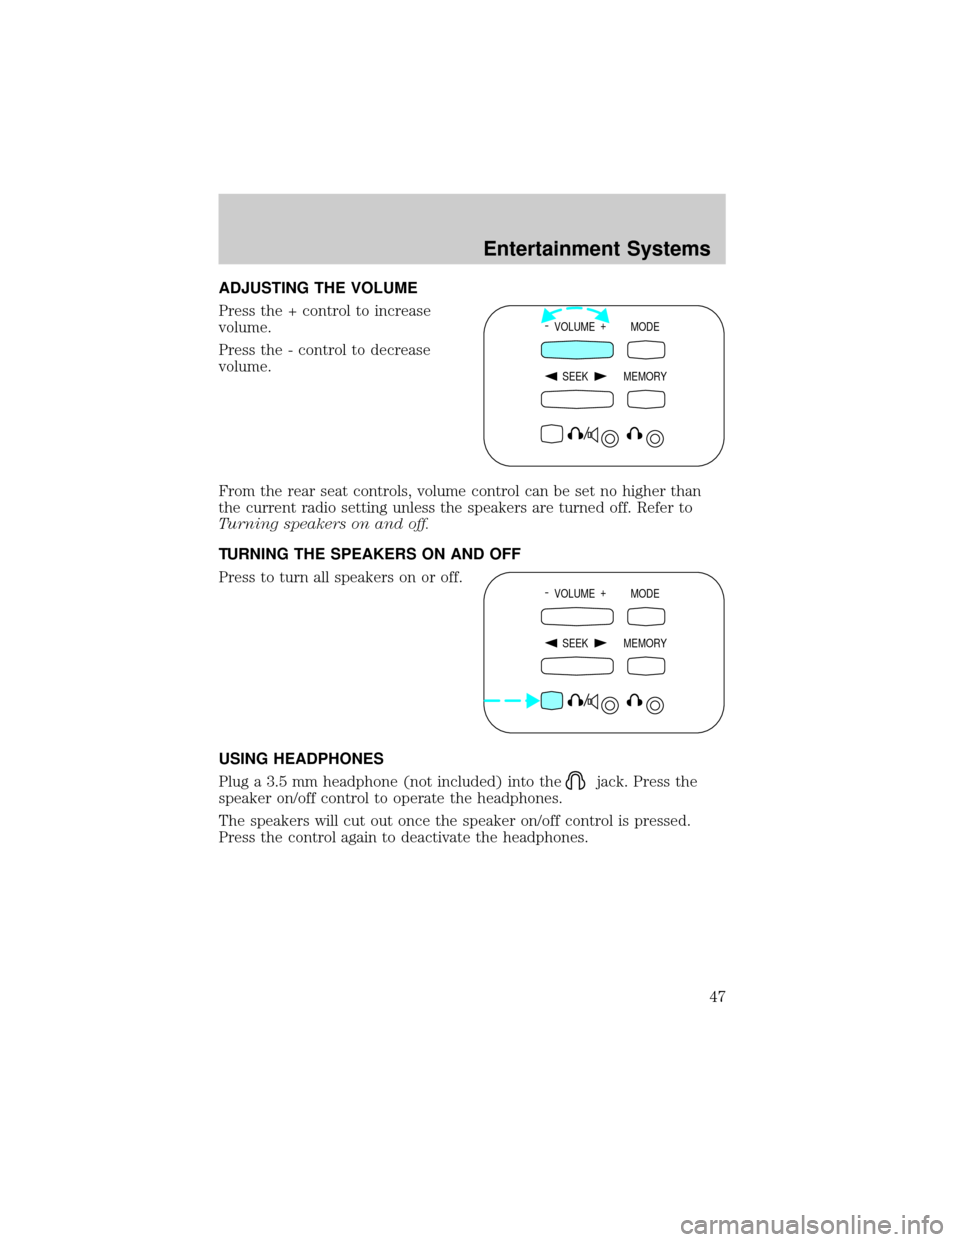
ADJUSTING THE VOLUME
Press the + control to increase
volume.
Press the - control to decrease
volume.
From the rear seat controls, volume control can be set no higher than
the current radio setting unless the speakers are turned off. Refer to
Turning speakers on and off.
TURNING THE SPEAKERS ON AND OFF
Press to turn all speakers on or off.
USING HEADPHONES
Plug a 3.5 mm headphone (not included) into the
jack. Press the
speaker on/off control to operate the headphones.
The speakers will cut out once the speaker on/off control is pressed.
Press the control again to deactivate the headphones.
- VOLUME +
MODE
SEEK MEMORY
- VOLUME +
MODE
SEEK MEMORY
Entertainment Systems
47
Page 48 of 320
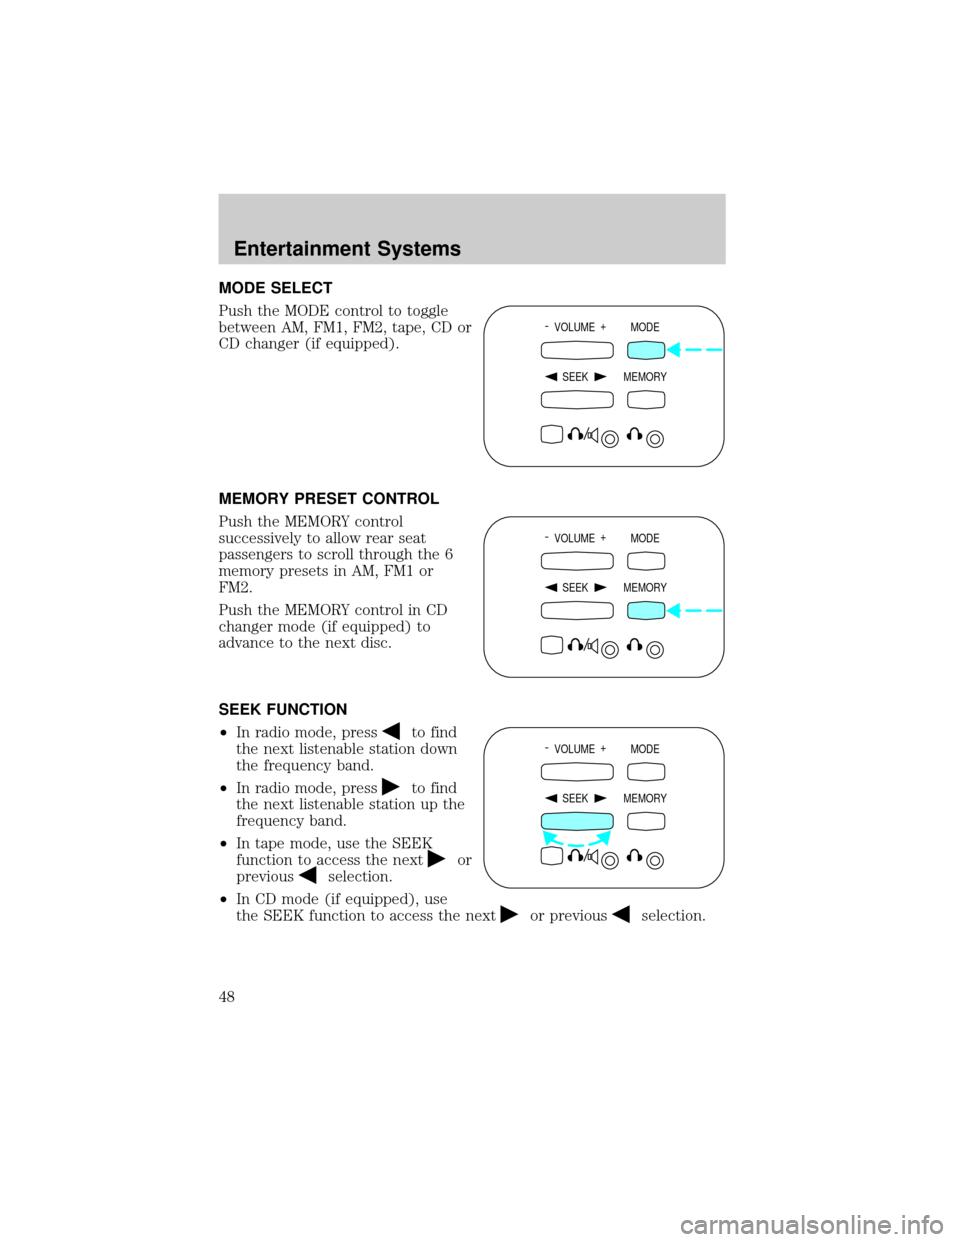
MODE SELECT
Push the MODE control to toggle
between AM, FM1, FM2, tape, CD or
CD changer (if equipped).
MEMORY PRESET CONTROL
Push the MEMORY control
successively to allow rear seat
passengers to scroll through the 6
memory presets in AM, FM1 or
FM2.
Push the MEMORY control in CD
changer mode (if equipped) to
advance to the next disc.
SEEK FUNCTION
²In radio mode, press
to find
the next listenable station down
the frequency band.
²In radio mode, press
to find
the next listenable station up the
frequency band.
²In tape mode, use the SEEK
function to access the next
or
previous
selection.
²In CD mode (if equipped), use
the SEEK function to access the next
or previousselection.
- VOLUME +
MODE
SEEK MEMORY
- VOLUME +
MODE
SEEK MEMORY
- VOLUME +
MODE
SEEK MEMORY
Entertainment Systems
48
Page 49 of 320
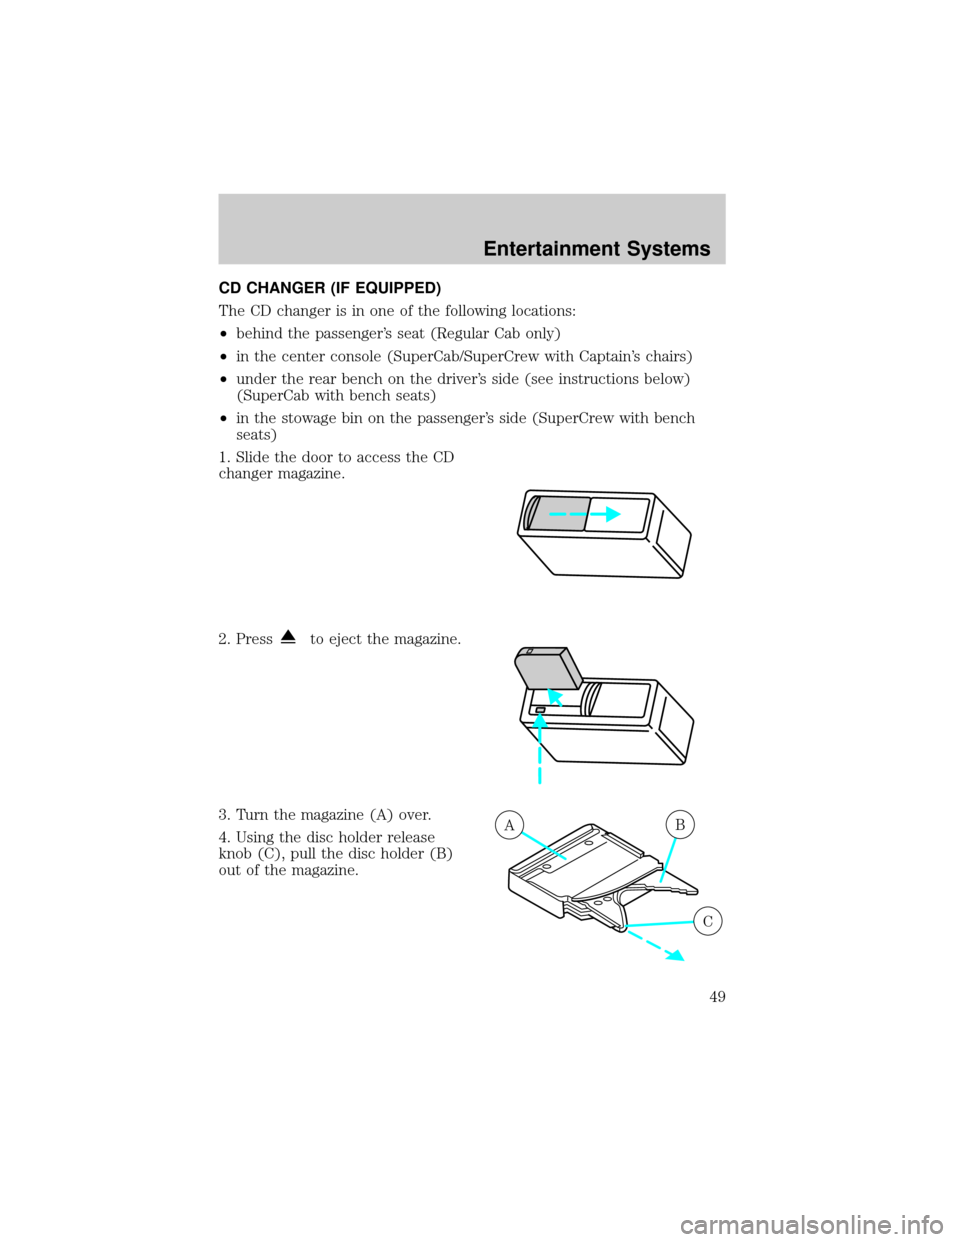
CD CHANGER (IF EQUIPPED)
The CD changer is in one of the following locations:
²behind the passenger's seat (Regular Cab only)
²in the center console (SuperCab/SuperCrew with Captain's chairs)
²under the rear bench on the driver's side (see instructions below)
(SuperCab with bench seats)
²in the stowage bin on the passenger's side (SuperCrew with bench
seats)
1. Slide the door to access the CD
changer magazine.
2. Press
to eject the magazine.
3. Turn the magazine (A) over.
4. Using the disc holder release
knob (C), pull the disc holder (B)
out of the magazine.
AB
C
Entertainment Systems
49
Page 51 of 320
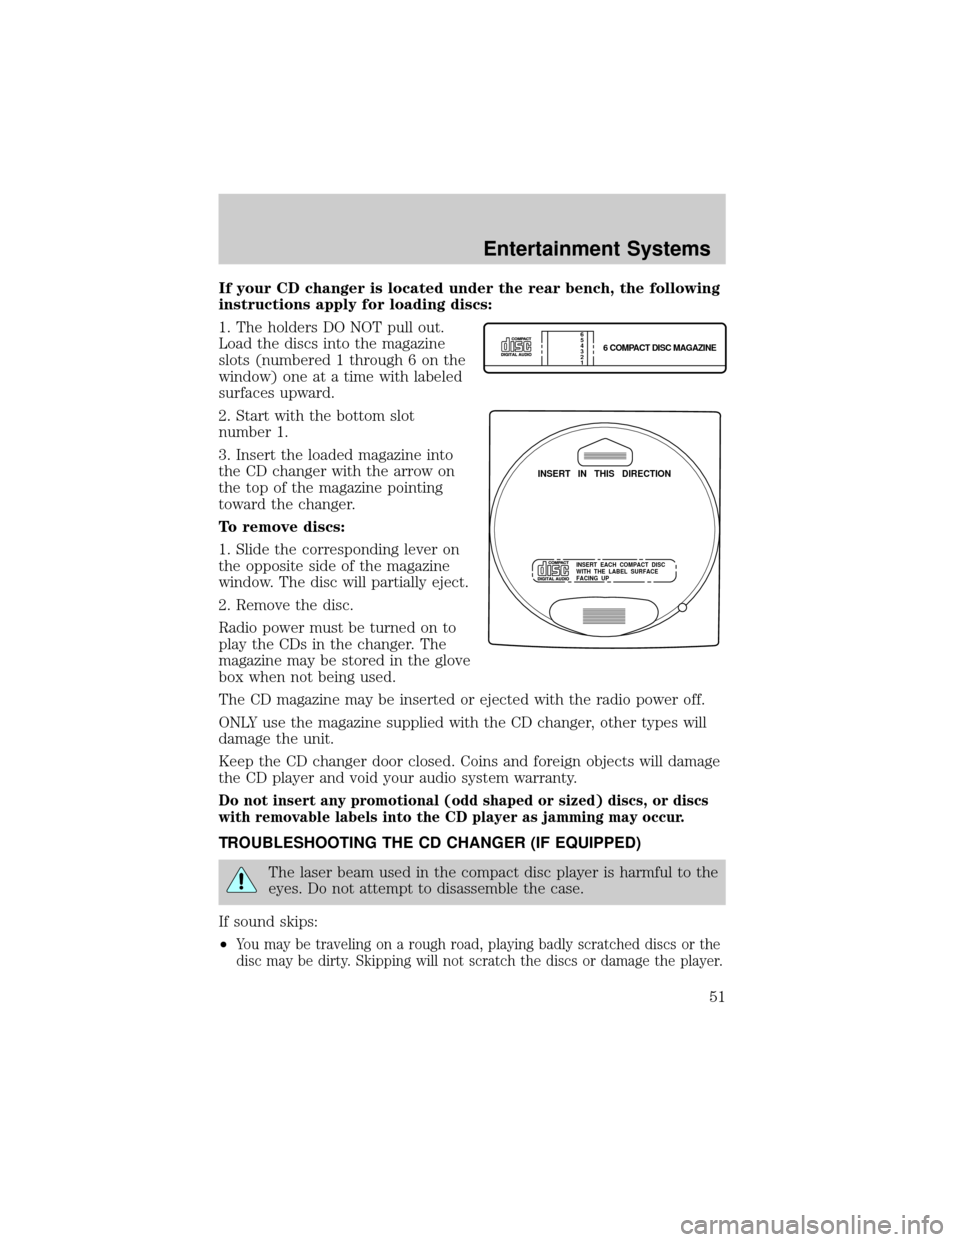
If your CD changer is located under the rear bench, the following
instructions apply for loading discs:
1. The holders DO NOT pull out.
Load the discs into the magazine
slots (numbered 1 through 6 on the
window) one at a time with labeled
surfaces upward.
2. Start with the bottom slot
number 1.
3. Insert the loaded magazine into
the CD changer with the arrow on
the top of the magazine pointing
toward the changer.
To remove discs:
1. Slide the corresponding lever on
the opposite side of the magazine
window. The disc will partially eject.
2. Remove the disc.
Radio power must be turned on to
play the CDs in the changer. The
magazine may be stored in the glove
box when not being used.
The CD magazine may be inserted or ejected with the radio power off.
ONLY use the magazine supplied with the CD changer, other types will
damage the unit.
Keep the CD changer door closed. Coins and foreign objects will damage
the CD player and void your audio system warranty.
Do not insert any promotional (odd shaped or sized) discs, or discs
with removable labels into the CD player as jamming may occur.
TROUBLESHOOTING THE CD CHANGER (IF EQUIPPED)
The laser beam used in the compact disc player is harmful to the
eyes. Do not attempt to disassemble the case.
If sound skips:
²
You may be traveling on a rough road, playing badly scratched discs or the
disc may be dirty. Skipping will not scratch the discs or damage the player.
6 COMPACT DISC MAGAZINE1 2 3 4 5
6
INSERT IN THIS DIRECTION
INSERT EACH COMPACT DISC
WITH THE LABEL SURFACE
FACING UP
Entertainment Systems
51