load capacity FORD F150 2004 11.G Owners Manual
[x] Cancel search | Manufacturer: FORD, Model Year: 2004, Model line: F150, Model: FORD F150 2004 11.GPages: 280, PDF Size: 4.13 MB
Page 169 of 280

Tires, Replacement Requirements
Do not use a size and type of tire and wheel other than that
originally provided by Ford Motor Company because it can affect
the safety and performance of your vehicle, which could result in an
increased risk of loss of vehicle control, vehicle rollover, and/or serious
personal injury or death.
Make sure all tires and wheels on the vehicle are of the same size, type,
tread design, brand and load-carrying capacity. If you have questions
regarding tire replacement, see an authorized Ford or Lincoln/Mercury
dealer.
If you nevertheless decide to equip your 4WD for off-road use with tires
larger than what Ford Motor Company recommends, you should not use
these tires for highway driving.
If you use any tire/wheel combination not recommended by Ford Motor
Company, it may adversely affect vehicle handling and could cause
steering, suspension, axle or transfer case failure as well as the increased
risk of loss of vehicle control.
Do not use ªaftermarket lift kitsº or other suspension modifications,
whether or not they are used with larger tires and wheels.
These ªaftermarket lift kitsº could adversely affect the vehicle's handling
characteristics, which could lead to loss of vehicle control or rollover and
serious injury.
Tires can be damaged during off-road use. For your safety, tires that are
damaged should not be used for highway driving because they are more
likely to blow out or fail.
You should carefully observe the recommended tire inflation pressure
found on the safety compliance certification label attached to the left
front door lock facing or door latch post pillar. Failure to follow tire
pressure recommendations can adversely affect the way your vehicle
handles. Do not exceed the Ford Motor Company recommended pressure
even if it is less than the maximum pressure allowed for the tire.
Driving
169
Page 171 of 280

the wheel rims (for cars). Traction or brake capability may be limited
and your vehicle may stall. Water may also enter your engine's air intake
and severely damage your engine.
Once through the water, always dry the brakes by moving your vehicle
slowly while applying light pressure on the brake pedal. Wet brakes do
not stop the vehicle as quickly as dry brakes.Driving through deep
water where the transmission vent tube is submerged may allow
water into the transmission and cause internal transmission
damage.
VEHICLE LOADING
Before loading a vehicle, familiarize yourself with the following terms:
²Base Curb Weight:Weight of the vehicle including any standard
equipment, fluids, lubricants, etc. It does not include occupants or
aftermarket equipment.
²Payload:Combined maximum allowable weight of cargo, occupants
and optional equipment. The payload equals the gross vehicle weight
rating minus base curb weight.
²
GVW (Gross Vehicle Weight):Base curb weight plus payload weight.
²GVWR (Gross Vehicle Weight Rating):Maximum allowable total
weight of the base vehicle, occupants, optional equipment and cargo.
The GVWR is specific to each vehicle and is listed on the Safety
Certification Label on the driver's door pillar.
²GAWR (Gross Axle Weight Rating):Carrying capacity for each axle
system. The GAWR is specific to each vehicle and is listed on the
Safety Certification Label on the driver's door pillar.
²GCW (Gross Combined Weight):The combined weight of the
towing vehicle (including occupants and cargo) and the loaded trailer.
²GCWR (Gross Combined Weight Rating):Maximum allowable
combined weight of towing vehicle (including occupants and cargo)
and the loaded trailer.
²Maximum Trailer Weight Rating:Maximum weight of a trailer the
vehicle is permitted to tow. The maximum trailer weight rating is
determined by subtracting the vehicle curb weight for each
engine/transmission combination, any required option weight for trailer
towing and the weight of the driver from the GCWR for the towing
vehicle.
Driving
171
Page 173 of 280

Calculating the load your vehicle can carry/tow
1. Use the appropriate maximum GCWR chart (in theTrailer Towing
section in this chapter) for your type of engine, rear axle ratio and tire size.
2. Weigh your vehicle without cargo. To obtain correct weights, take your
vehicle to a shipping company or an inspection station for trucks.
3. Subtract your loaded weight from the maximum GCWR in the chart.
This is the maximum trailer weight your vehicle can tow. It must be
below the maximum trailer weight shown in the chart.
TRAILER TOWING
Your vehicle may tow a class I, II, III or IV trailer provided the maximum
trailer weight is less than or equal to the maximum trailer weight listed
for your engine and rear axle ratio on the following charts.
If your vehicle is not equipped with a heavy-duty trailer towing package,
the maximum weight your vehicle can tow is limited to 2,268 kg (5,000
lbs.)
Your vehicle's load capacity is designated by weight, not by volume, so
you cannot necessarily use all available space when loading a vehicle.
Towing a trailer places an additional load on your vehicle's engine,
transmission, axle, brakes, tires and suspension. Inspect these
components carefully periodically during, and after any towing operation.
Exceeding the maximum GCWR could result in extensive damage
to your vehicle and personal injury.
Do not exceed the GVWR or the GAWR specified on the
certification label.
Towing trailers beyond the maximum recommended gross trailer
weight exceeds the limit of the vehicle and could result in
engine damage, transmission damage, structural damage, loss of vehicle
control, vehicle rollover and personal injury.
Driving
173
Page 180 of 280

2. Measure the height of a reference point on the front and rear bumpers
at the center of the vehicle.
3. Attach the trailer to the vehicle and adjust the hitch equalizers so that
the front bumper height is within 0±13 mm (0.5 in) of the reference
point. After proper adjustment, the rear bumper should be no higher
than in Step 2.
Note:Adjusting an equalizing hitch so the rear bumper of the vehicle is
higher than it was unloaded will defeat the function of the load
equalizing hitch and may cause unpredictable handling.
Safety chains
Always connect the trailer's safety chains to the frame or hook retainers
of the vehicle hitch. To connect the trailer's safety chains, cross the
chains under the trailer tongue and allow slack for turning corners.
If you use a rental trailer, follow the instructions that the rental agency
gives to you.
Do not attach safety chains to the bumper.
Trailer brakes
Electric brakes and manual, automatic or surge-type trailer brakes are safe
if installed properly and adjusted to the manufacturer's specifications. The
trailer brakes must meet local and Federal regulations.
Do not connect a trailer's hydraulic brake system directly to your
vehicle's brake system. Your vehicle may not have enough
braking power and your chances of having a collision greatly increase.
The braking system of the tow vehicle is rated for operation at the
GVWR not GCWR.
Trailer lamps
Trailer lamps are required on most towed vehicles. Make sure all running
lights, brake lights, turn signals and hazard lights are working. See your
dealer or trailer rental agency for proper instructions and equipment for
hooking up trailer lamps.
Using a step bumper (if equipped)
The rear bumper is equipped with an integral hitch and only requires a
ball with a 25.4 mm (one inch) shank diameter. The bumper has a 2,270
kg (5,000 lb.) trailer weight and 227 kg (500 lb.) tongue weight capacity.
Driving
180
Page 183 of 280

Regular Cab and Super Cab (not available or recommended for
SuperCrew), and includes the following upgrades:
²F±150 4x4 (except F±150 SuperCrew)
²5.4L engine
²Heavy-duty payload package
²Snowplow prep package
Installing the snowplow
Weight limits and guidelines for selecting and installing the snowplow can
be found in the Ford Truck Body Builders Layout Book, Snowplow
section, found at www.fleet.ford.com/truckbbas. A typical installation
affects the following:
²Certification to government safety laws such as occupant protection
and air bag deployment, braking, and lighting. Look for an9Alterer's
Label9on the vehicle from the snowplow installer certifying that the
installation meets all applicable Federal Motor Vehicle Safety
Standards (FMVSS).
²The Total Accessory Reserve Capacity (TARC) is shown on the lower
right side of the vehicle's Safety Certification Label. This is the weight
of permanently-attached auxiliary equipment, such as snowplow
frame-mounting hardware, that can be added to the vehicle and satisfy
Ford compliance certification to FMVSS. Exceeding this weight may
require the auxiliary equipment installer additional safety certification
responsibility. The Front Accessory Reserve Capacity (FARC) is added
for customer convenience
²Rear ballast weight behind the rear axle may be required to prevent
exceeding the FGAWR, and provide front-to-rear weight balance for
proper braking and steering.
²Front wheel toe may require re-adjustment to prevent premature
uneven tire wear. Specifications are found in the Ford Workshop
Manual.
²Headlight aim may require re-adjustment.
²The tire air pressures recommended for general driving are found on
the vehicle's Safety Certification Label. The maximum cold inflation
pressure for the tire and associated load rating is imprinted on the tire
sidewall. Tire air pressure may require re-adjustment within these
pressure limits to accommodate the additional weight of the snowplow
installation
Driving
183
Page 242 of 280

Filling the tank
The advertised fuel capacity of the fuel tank on your vehicle is equal to
the rated refill capacity of the fuel tank as listed in theRefill capacities
section of this chapter.
The advertised capacity is the amount of the indicated capacity and the
empty reserve combined. Indicated capacity is the difference in the
amount of fuel in a full tank and a tank when the fuel gauge indicates
empty. Empty reserve is the small amount of fuel remaining in the fuel
tank after the fuel gauge indicates empty.
The amount of usable fuel in the empty reserve varies and should
not be relied upon to increase driving range. When refueling your
vehicle after the fuel gauge indicates empty, you might not be
able to refuel the full amount of the advertised capacity of the
fuel tank due to the empty reserve still present in the tank.
For consistent results when filling the fuel tank:
²Turn the engine/ignition switch to the off position prior to refueling,
an error in the reading may result if the engine is left running.
²Use the same filling rate setting (low Ð medium Ð high) each time
the tank is filled.
²Allow no more than 3 automatic click-offs when filling.
²Always use fuel with the recommended octane rating.
²Use a known quality gasoline, preferably a national brand.
²Use the same side of the same pump and have the vehicle facing the
same direction each time you fill up.
²Have the vehicle loading and distribution the same every time.
Your results will be most accurate if your filling method is consistent.
Calculating fuel economy
1. Fill the fuel tank completely and record the initial odometer reading
(in kilometers or miles).
2. Each time you fill the tank, record the amount of fuel added (in liters
or gallons).
3. After at least three to five tank fill-ups, fill the fuel tank and record
the current odometer reading.
4. Subtract your initial odometer reading from the current odometer
reading.
Maintenance and Specifications
242
Page 256 of 280

When replacing full size tires, never mix radial bias-belted, or
bias-type tires. Use only the tire sizes that are listed on the
Certification Label. Make sure that all tires are the same size, speed
rating, and load-carrying capacity. Use only the tire combinations
recommended on the label. If you do not follow these precautions,
your vehicle handling may be affected which can lead to loss of vehicle
control, vehicle rollover and/or personal injury.
Make sure that all replacement tires are of the same size, type,
speed rating, load-carrying capacity and tread design (e.g., ªAll
Terrainº, ªTouringº, etc.), as originally offered by Ford.
Do not replace your tires with ªhigh performanceº tires or larger
size tires.
Failure to follow these precautions may adversely affect the
handling of the vehicle, and increase the risk of loss of vehicle
control, vehicle rollover and/or personal injury.
Tires that are larger or smaller than your vehicle's original tires may also
affect the accuracy of your speedometer.
SNOW TIRES AND CHAINS
Snow tires must be the same size and grade as the tires you
currently have on your vehicle.
The tires on your vehicle have all weather treads to provide traction in
rain and snow. However, in some climates, you may need to use snow
tires and chains. If you need to use chains, it is recommended that steel
wheels (of the same size and specifications) be used, as chains may chip
aluminum wheels.
Follow these guidelines when using snow tires and chains:
²Use only SAE Class S chains.
²Install chains securely, verifying that the chains do not touch any
wiring, brake lines or fuel lines.
²Drive cautiously. If you hear the chains rub or bang against your
vehicle, stop and re-tighten the chains. If this does not work, remove
the chains to prevent damage to your vehicle.
Maintenance and Specifications
256
Page 257 of 280

²If possible, avoid fully loading your vehicle.
²Remove the tire chains when they are no longer needed. Do not use
tire chains on dry roads.
²The suspension insulation and bumpers will help prevent vehicle
damage. Do not remove these components from your vehicle when
using snow tires and chains.
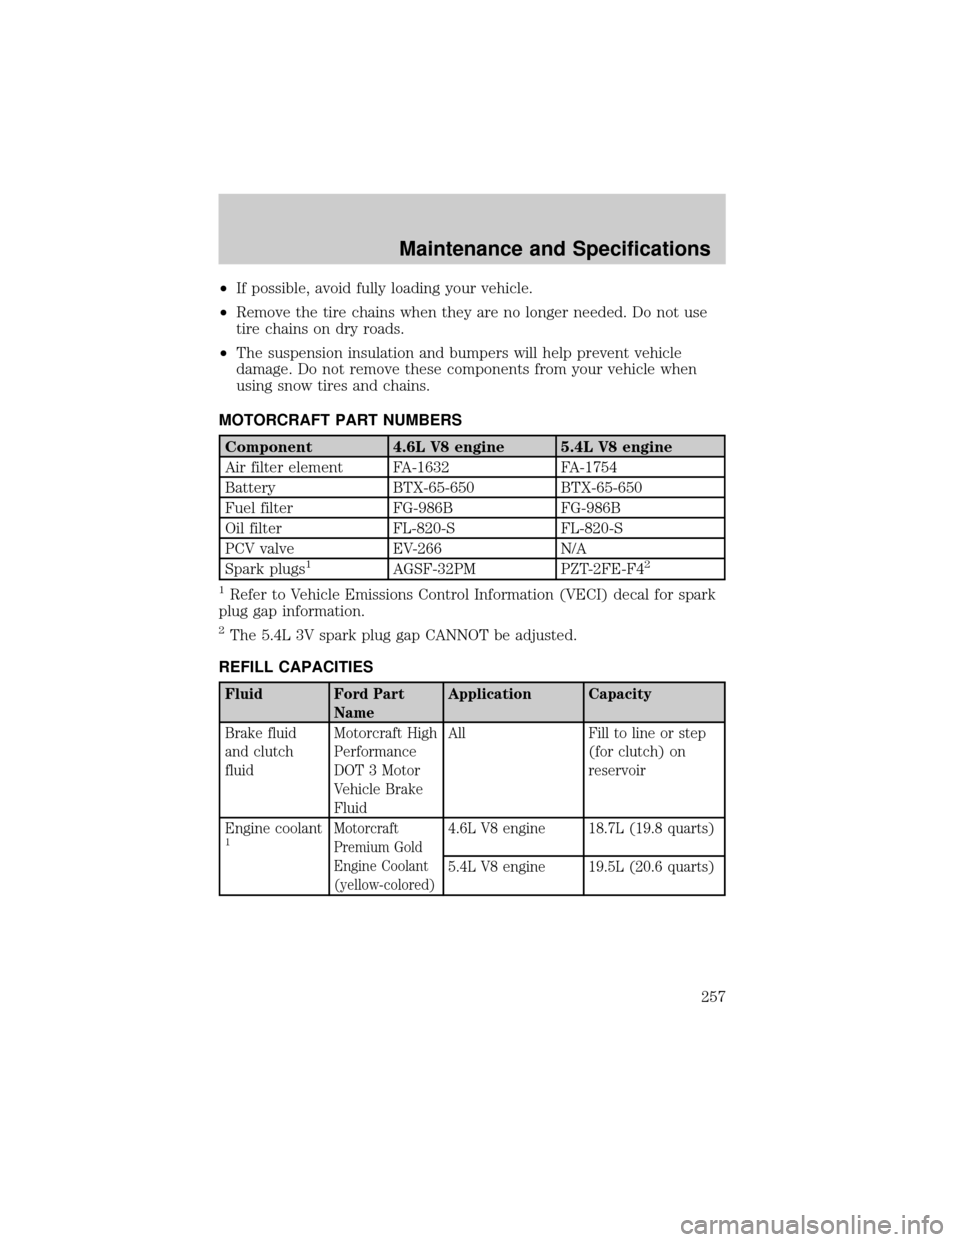
MOTORCRAFT PART NUMBERS
Component 4.6L V8 engine 5.4L V8 engine
Air filter element FA-1632 FA-1754
Battery BTX-65-650 BTX-65-650
Fuel filter FG-986B FG-986B
Oil filter FL-820-S FL-820-S
PCV valve EV-266 N/A
Spark plugs
1AGSF-32PM PZT-2FE-F42
1
Refer to Vehicle Emissions Control Information (VECI) decal for spark
plug gap information.
2The 5.4L 3V spark plug gap CANNOT be adjusted.
REFILL CAPACITIES
Fluid Ford Part
NameApplication Capacity
Brake fluid
and clutch
fluidMotorcraft High
Performance
DOT 3 Motor
Vehicle Brake
FluidAll Fill to line or step
(for clutch) on
reservoir
Engine coolant
1Motorcraft
Premium Gold
Engine Coolant
(yellow-colored)4.6L V8 engine 18.7L (19.8 quarts)
5.4L V8 engine 19.5L (20.6 quarts)
Maintenance and Specifications
257
Page 276 of 280

Engine oil ..................................226
checking and adding ..............226
dipstick ....................................226
filter, specifications ........228, 257
recommendations ...................228
refill capacities ........................257
specifications ..................261, 263
Exhaust fumes ..........................148
F
Fail safe cooling ........................235
Fluid capacities .........................257
Foglamps .....................................42
Four-Wheel Drive vehicles .......159
driving off road .......................162
electronic shift ........................161
indicator light .........................159
lever operated shift ................160
preparing to drive your
vehicle .....................................151
Fuel ............................................237
calculating fuel
economy ............................73, 241
cap ...........................................239
capacity ...................................257
choosing the right fuel ...........240
comparisons with EPA fuel
economy estimates .................244
detergent in fuel .....................241
filling your vehicle with
fuel ...........................237, 239, 242
filter, specifications ........241, 257
fuel pump shut-off switch .....187
improving fuel economy ........241
octane rating ...................240, 263
quality ......................................240
running out of fuel .................241
safety information relating to
automotive fuels .....................237
Fuel pump shut-off switch .......187Fuses ..................................188±189
G
Garage Door Opener
(see Homelink wireless control
system) ........................................66
Gas cap (see Fuel cap) ............239
Gas mileage
(see Fuel economy) .................241
Gauges .........................................15
GAWR (Gross Axle Weight
Rating) .......................................171
calculating ...............................173
definition .................................171
driving with a heavy load ......171
location ....................................171
GVWR (Gross Vehicle Weight
Rating) .......................................171
calculating .......................171, 173
definition .................................171
driving with a heavy load ......171
location ....................................171
H
Hazard flashers .........................187
Head restraints ...................97, 101
Headlamps ...................................41
aiming ........................................43
autolamp system .......................41
bulb specifications ....................47
daytime running lights .............42
flash to pass ..............................43
high beam .................................42
replacing bulbs .........................48
turning on and off ....................41
Heating
heater only system ...................32
Index
276