FORD F150 2015 13.G Manual Online
Manufacturer: FORD, Model Year: 2015, Model line: F150, Model: FORD F150 2015 13.GPages: 549, PDF Size: 5.97 MB
Page 81 of 549
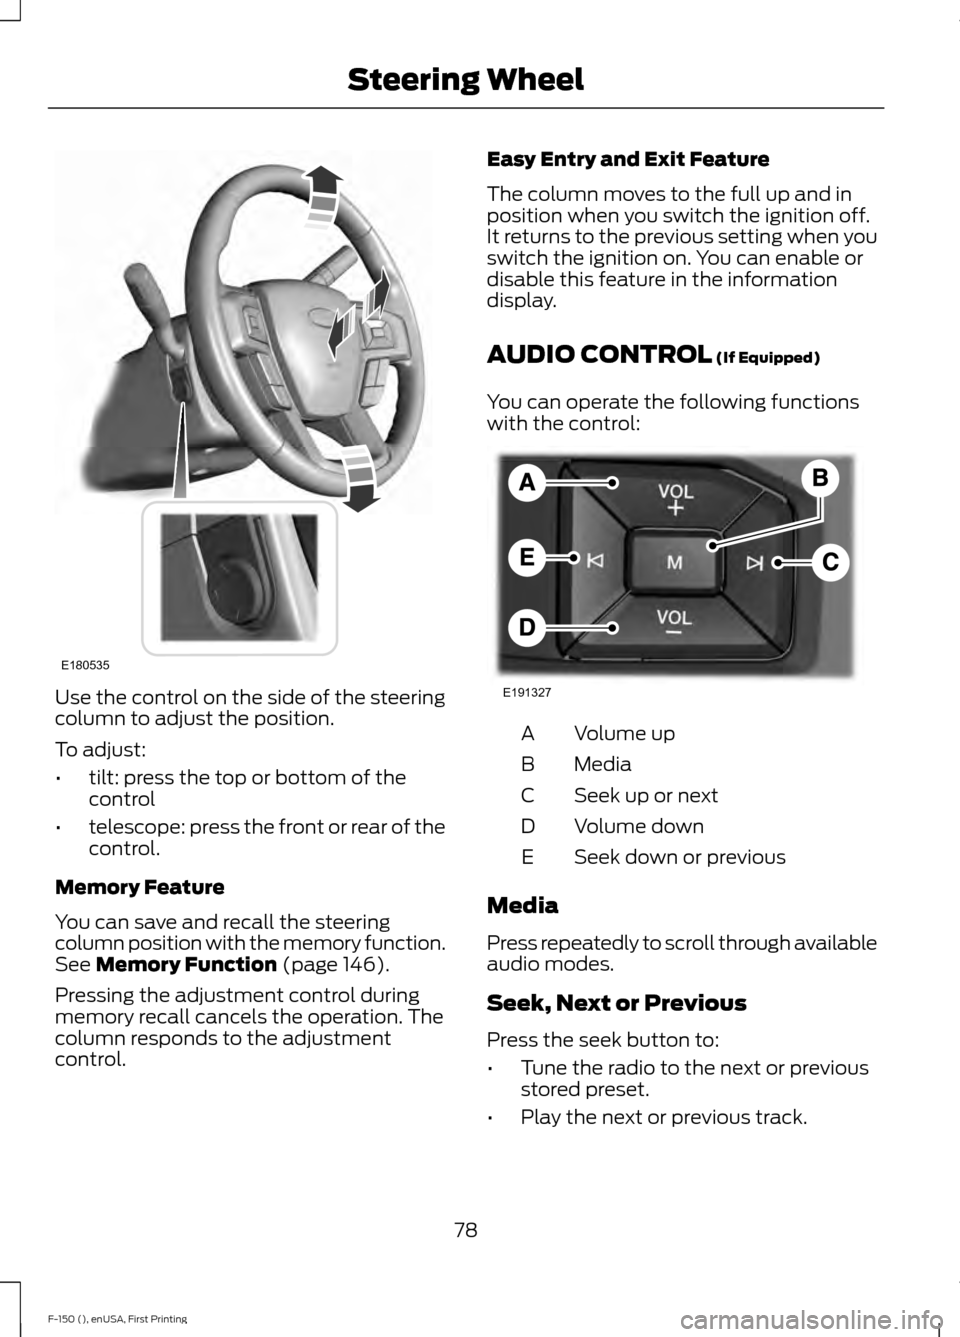
Use the control on the side of the steering
column to adjust the position.
To adjust:
•
tilt: press the top or bottom of the
control
• telescope: press the front or rear of the
control.
Memory Feature
You can save and recall the steering
column position with the memory function.
See Memory Function (page 146).
Pressing the adjustment control during
memory recall cancels the operation. The
column responds to the adjustment
control. Easy Entry and Exit Feature
The column moves to the full up and in
position when you switch the ignition off.
It returns to the previous setting when you
switch the ignition on. You can enable or
disable this feature in the information
display.
AUDIO CONTROL
(If Equipped)
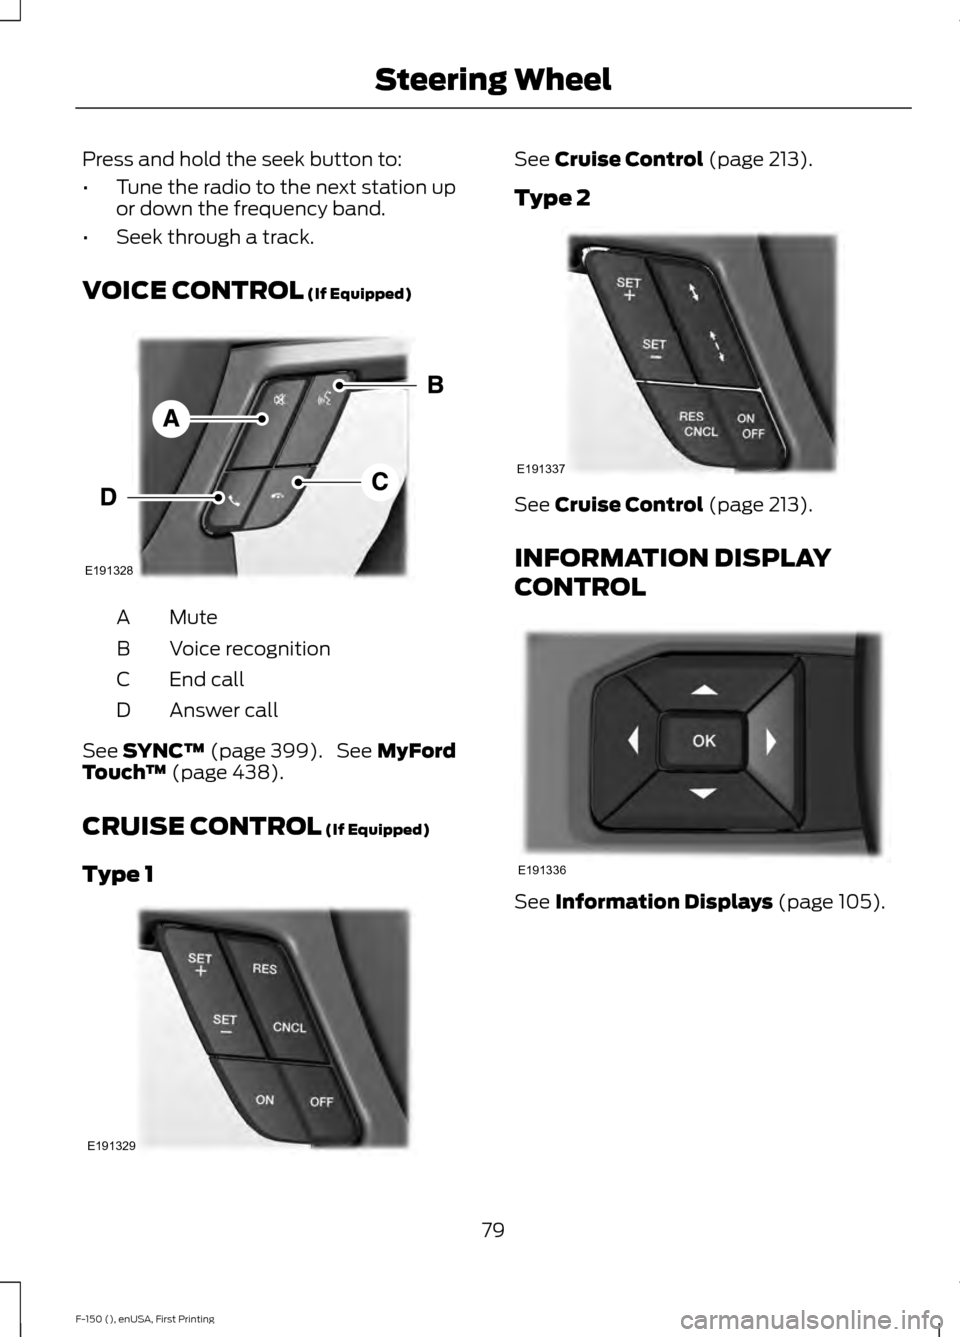
You can operate the following functions
with the control: Volume up
A
Media
B
Seek up or next
C
Volume down
D
Seek down or previous
E
Media
Press repeatedly to scroll through available
audio modes.
Seek, Next or Previous
Press the seek button to:
• Tune the radio to the next or previous
stored preset.
• Play the next or previous track.
78
F-150 (), enUSA, First Printing Steering WheelE180535 E191327
Page 82 of 549
Press and hold the seek button to:
•
Tune the radio to the next station up
or down the frequency band.
• Seek through a track.
VOICE CONTROL (If Equipped) Mute
A
Voice recognition
B
End call
C
Answer call
D
See
SYNC™ (page 399). See MyFord
Touch ™ (page 438).
CRUISE CONTROL
(If Equipped)
Type 1 See
Cruise Control (page 213).
Type 2 See
Cruise Control (page 213).
INFORMATION DISPLAY
CONTROL See
Information Displays (page 105).
79
F-150 (), enUSA, First Printing Steering WheelE191328 E191329 E191337 E191336
Page 83 of 549
ADJUSTING THE PEDALS
Note:
Never use the controls when your feet
are on the accelerator or brake pedals,
especially when the vehicle is moving.
Note: Adjust the pedals only when your
vehicle is in park (P).
Depending on your vehicle and equipment
level, the shape and location of your
power-adjustable pedal control can vary.
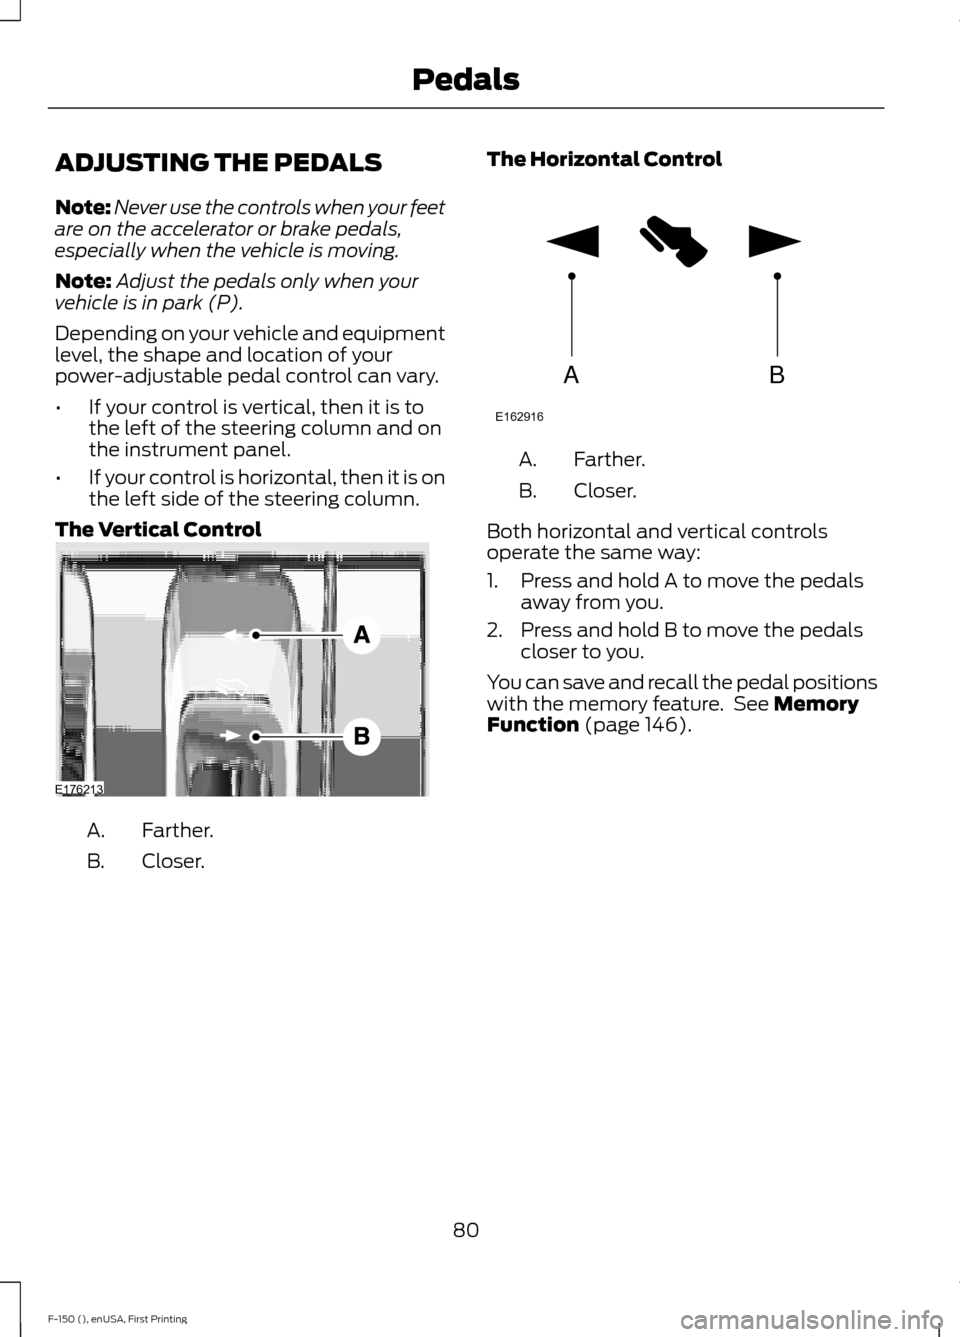
• If your control is vertical, then it is to
the left of the steering column and on
the instrument panel.
• If your control is horizontal, then it is on
the left side of the steering column.
The Vertical Control Farther.
A.
Closer.
B. The Horizontal Control Farther.
A.
Closer.
B.
Both horizontal and vertical controls
operate the same way:
1. Press and hold A to move the pedals away from you.
2. Press and hold B to move the pedals closer to you.
You can save and recall the pedal positions
with the memory feature. See Memory
Function (page 146).
80
F-150 (), enUSA, First Printing PedalsE176213 AB
E162916
Page 84 of 549
WINDSHIELD WIPERS
Note:
Fully defrost the windshield before
switching on the windshield wipers.
Note: Make sure you switch off the
windshield wipers before entering a car
wash.
Note: Clean the windshield and wiper
blades if they begin to leave streaks or
smears. If that does not resolve the issue,
install new wiper blades.
Note: Do not operate the wipers on a dry
windshield. This may scratch the glass,
damage the wiper blades or cause the wiper
motor to burn out. Always use the
windshield washers before wiping a dry
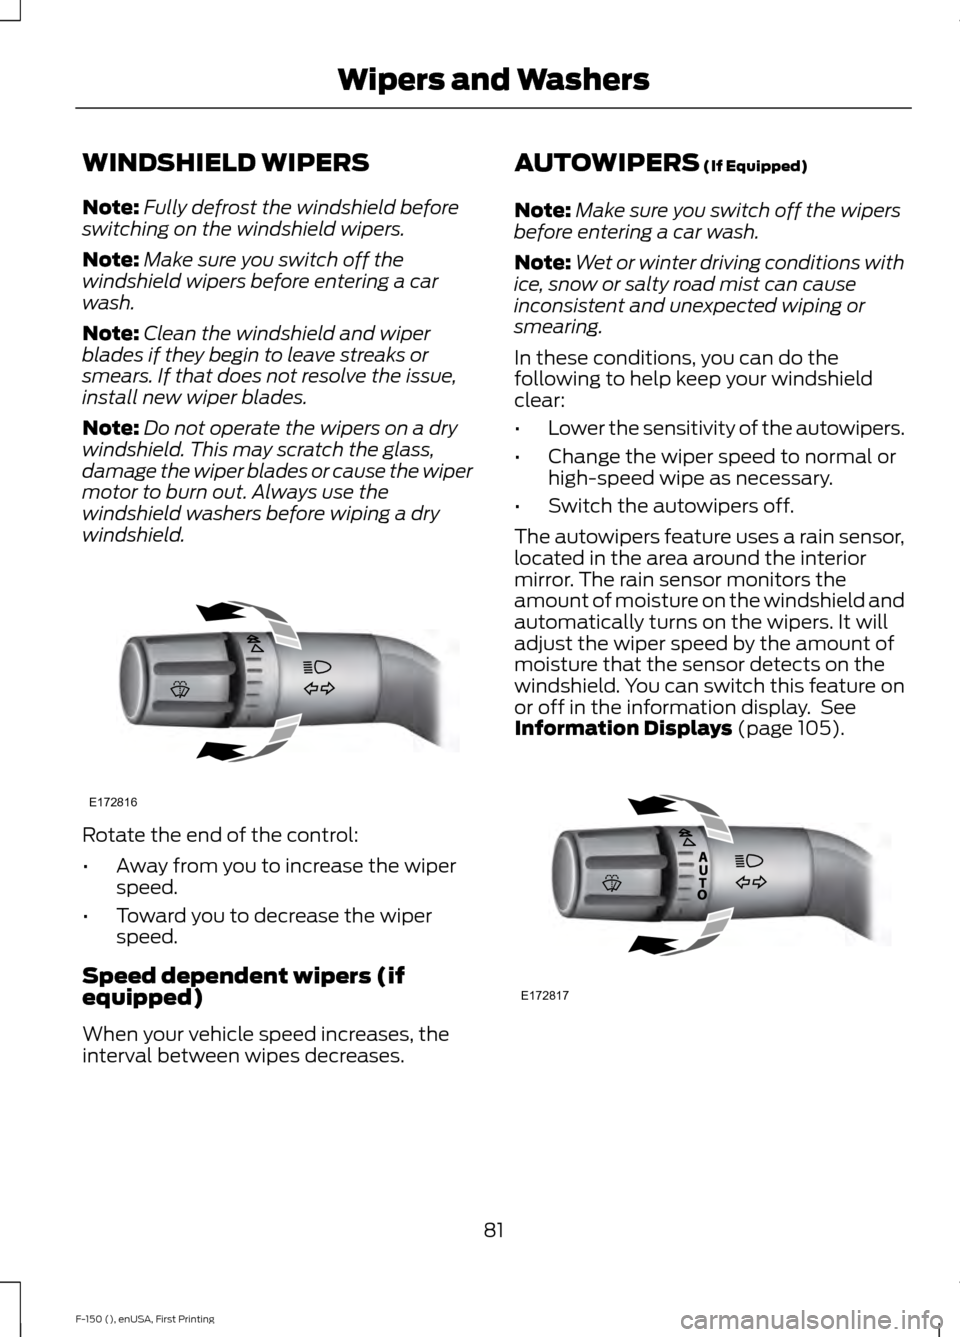
windshield. Rotate the end of the control:
•
Away from you to increase the wiper
speed.
• Toward you to decrease the wiper
speed.
Speed dependent wipers (if
equipped)
When your vehicle speed increases, the
interval between wipes decreases. AUTOWIPERS (If Equipped)
Note: Make sure you switch off the wipers
before entering a car wash.
Note: Wet or winter driving conditions with
ice, snow or salty road mist can cause
inconsistent and unexpected wiping or
smearing.
In these conditions, you can do the
following to help keep your windshield
clear:
• Lower the sensitivity of the autowipers.
• Change the wiper speed to normal or
high-speed wipe as necessary.
• Switch the autowipers off.
The autowipers feature uses a rain sensor,
located in the area around the interior
mirror. The rain sensor monitors the
amount of moisture on the windshield and
automatically turns on the wipers. It will
adjust the wiper speed by the amount of
moisture that the sensor detects on the
windshield. You can switch this feature on
or off in the information display. See
Information Displays
(page 105). 81
F-150 (), enUSA, First Printing Wipers and WashersE172816 E172817
Page 85 of 549
Use the rotary control to adjust the
sensitivity of the rain sensor. With low
sensitivity, the wipers will operate when
the sensor detects a large amount of
moisture on the windshield. With high
sensitivity, the wipers will operate when
the sensor detects a small amount of
moisture on the windshield.
Keep the outside of the windshield clean
because the rain sensor is very sensitive. If
the area around the interior mirror is dirty,
then the wipers may turn on, for example,
if dirt, mist or insects hit the windshield.
WINDSHIELD WASHERS
Note:
Do not operate the wipers on a dry
windshield. This may scratch the glass,
damage the wiper blades or cause the wiper
motor to burn out. Always use the
windshield washer before wiping a dry
windshield.
Note: Do not operate the washers when
the washer reservoir is empty. This may
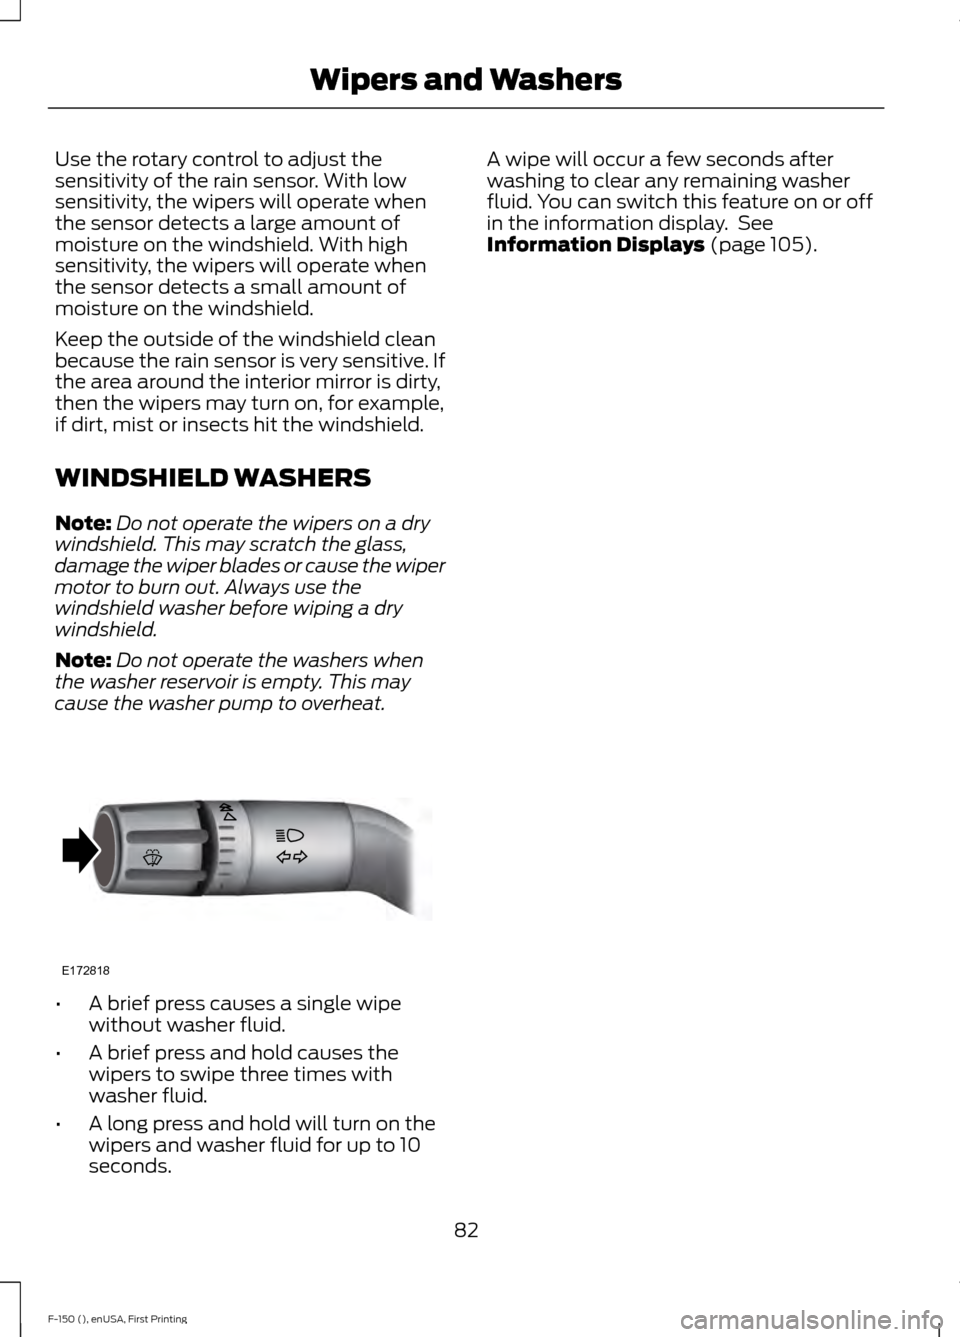
cause the washer pump to overheat. •
A brief press causes a single wipe
without washer fluid.
• A brief press and hold causes the
wipers to swipe three times with
washer fluid.
• A long press and hold will turn on the
wipers and washer fluid for up to 10
seconds. A wipe will occur a few seconds after
washing to clear any remaining washer
fluid. You can switch this feature on or off
in the information display. See
Information Displays (page 105).
82
F-150 (), enUSA, First Printing Wipers and WashersE172818
Page 86 of 549
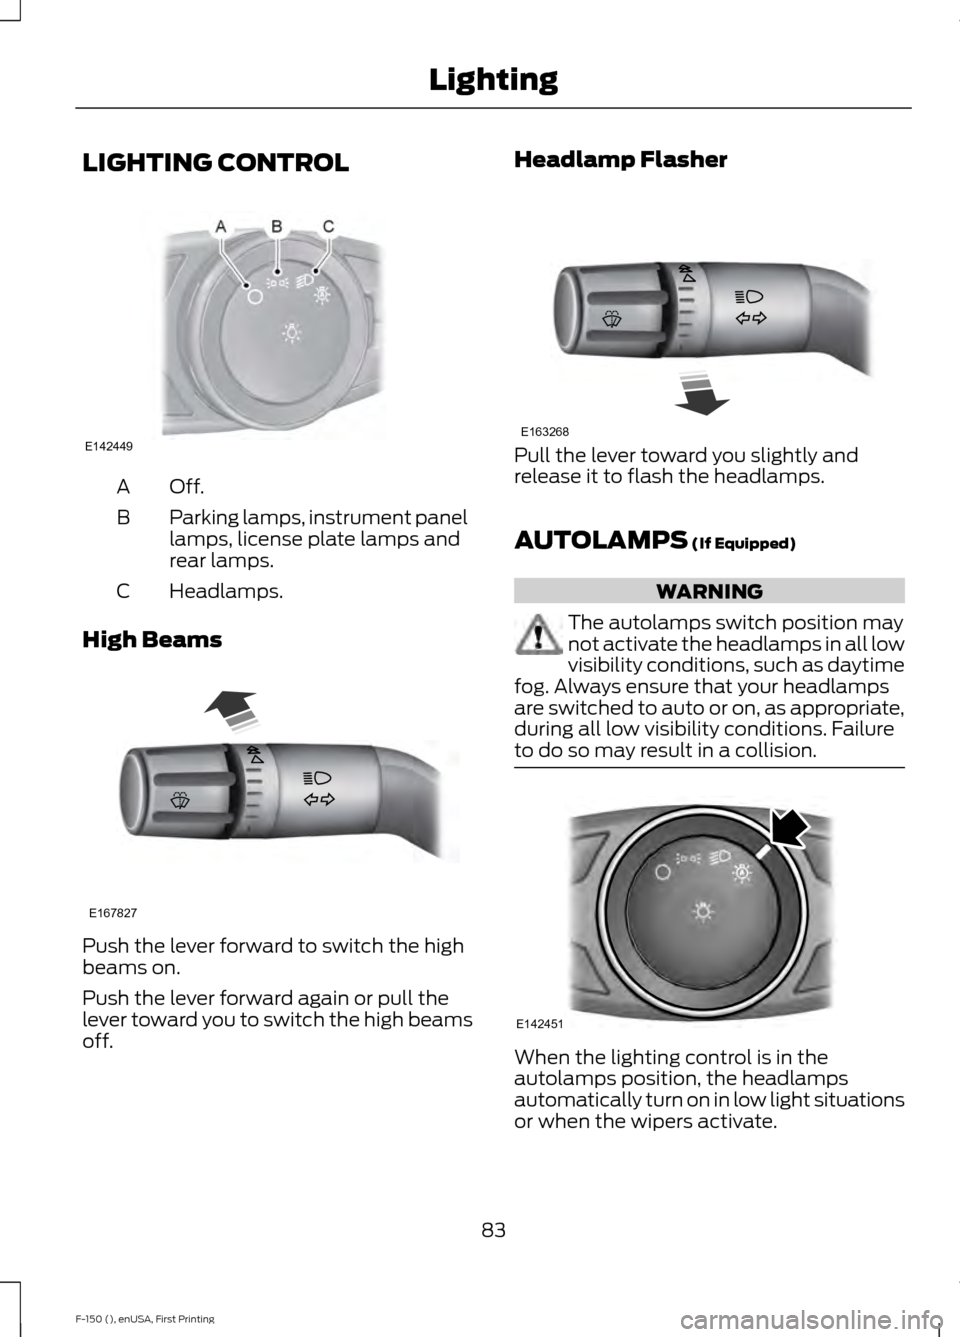
LIGHTING CONTROL
Off.A
Parking lamps, instrument panel
lamps, license plate lamps and
rear lamps.
B
Headlamps.
C
High Beams Push the lever forward to switch the high
beams on.
Push the lever forward again or pull the
lever toward you to switch the high beams
off. Headlamp Flasher
Pull the lever toward you slightly and
release it to flash the headlamps.
AUTOLAMPS (If Equipped)
WARNING
The autolamps switch position may
not activate the headlamps in all low
visibility conditions, such as daytime
fog. Always ensure that your headlamps
are switched to auto or on, as appropriate,
during all low visibility conditions. Failure
to do so may result in a collision. When the lighting control is in the
autolamps position, the headlamps
automatically turn on in low light situations
or when the wipers activate.
83
F-150 (), enUSA, First Printing LightingE142449 E167827 E163268 E142451
Page 87 of 549
If equipped, the following also activate
when the lighting control is in the
autolamps position and you switch them
on in the information display:
•
Configurable daytime running lamps.
• Automatic high beam control.
• Adaptive headlamp control.
The headlamps remain on for a period of
time after you switch the ignition off. Use
the information display controls to adjust
the period of time that the headlamps
remain on. See Information Displays
(page 105).
Note: With the headlamps in the
autolamps position, you cannot switch the
high beam headlamps on until the
autolamps system turns the low beam
headlamps on.
Windshield Wiper Activated
Headlamps
The windshield wiper activated headlamps
turn on within 10 seconds when you switch
the windshield wipers on and the lighting
control is in the autolamps position. They
turn off approximately 60 seconds after
you switch the windshield wipers off.
The headlamps will not turn on by wiper
activation:
• During a mist wipe.
• When the wipers are on to clear washer
fluid during a wash condition.
• If the wipers are in intermittent mode.
Note: If you switch autolamps and
autowipers on, the headlamps will
automatically turn on when the windshield
wipers continuously operate. INSTRUMENT LIGHTING
DIMMER
Note:
You disable the manual dimmer
when you adjust the setting to Auto
Dimming in the information display. See
Information Displays
(page 105).
Note: If you disconnect the battery or it
becomes discharged, the illuminated
components will switch to the maximum
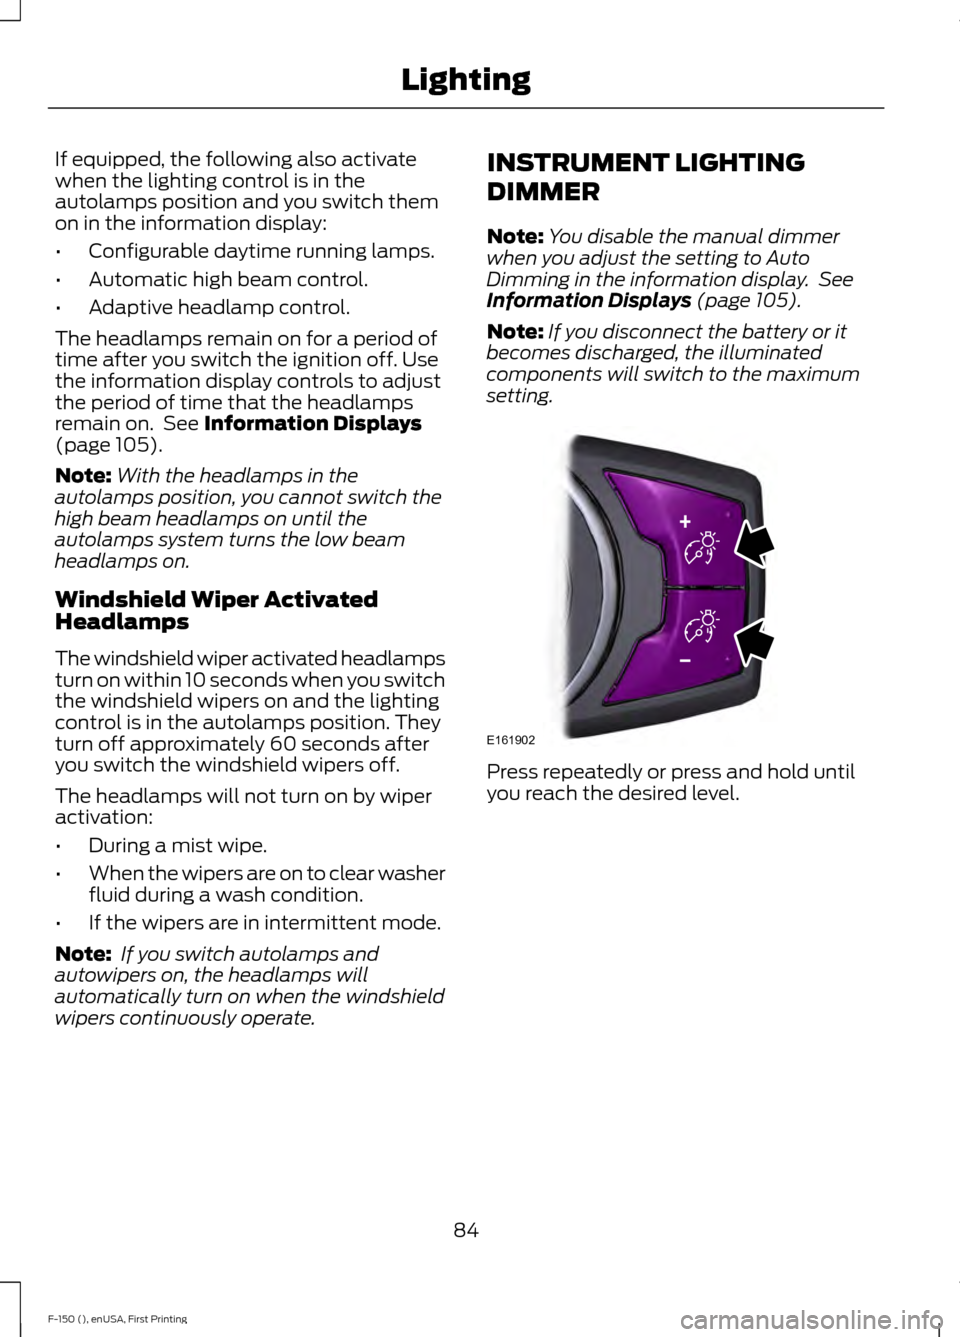
setting. Press repeatedly or press and hold until
you reach the desired level.
84
F-150 (), enUSA, First Printing LightingE161902
Page 88 of 549
DAYTIME RUNNING LAMPS (If
Equipped) WARNING
The daytime running lamps system
does not activate the rear lamps and
may not provide adequate lighting
during low visibility driving conditions. Also,
the autolamps switch position may not
activate the headlamps in all low visibility
conditions, such as daytime fog. Make sure
the headlamps are switched to auto or on,
as appropriate, during all low visibility
conditions. Failure to do so may result in a
crash. Type 1 - Conventional (Non-
Configurable)
The daytime running lamps turn on when:
1. The ignition is switched to the on
position.
2. The transmission is not in park (P) for vehicles with automatic transmissions
or the parking brake is released for
vehicles with manual transmissions.
3. The lighting control is in the off, parking
lamp or autolamps positions.
4. The headlamps are off.
Type 2 - Configurable
Switch the daytime running lamps on or
off using the information display controls.
See
Information Displays (page 105).
The daytime running lamps turn on when:
1. They are switched on in the information
display. See
Information Displays
(page 105).
2. The ignition is switched to the on position. 3. The transmission is not in park (P) for
vehicles with automatic transmissions
or the parking brake is released for
vehicles with manual transmissions.
4. The lighting control is in the autolamps
position.
5. The headlamps are off.
The other lighting control switch positions
do not activate the daytime running lamps,
and you can use them to temporarily
override autolamp control.
When switched off in the information
display, the daytime running lamps are off
in all lighting control switch positions.
AUTOMATIC HIGH BEAM
CONTROL
(If Equipped)
The system automatically turns on the high
beams if it is dark enough and no other
traffic is present. When it detects the
headlights of an approaching vehicle, the
tail lamps of the preceding vehicle or street
lighting, the system turns off the high
beams before they distract other drivers.
The low beams remain on.
Note: If it appears that automatic high
beam is not functioning properly, check the
windshield in front of the camera for a
blockage. A clear view of the road is required
for proper system operation. Make sure that
authorized personnel repair any windshield
damage in the area of the camera's field of
view.
Note: If the system detects a blockage such
as bird droppings, bug splatter, snow or ice,
and you do not observe changes, the system
may go into low beam mode until you clear
the blockage. A message may also appear
in the information display noting the front
camera is blocked.
85
F-150 (), enUSA, First Printing Lighting
Page 89 of 549
Note:
Typical road dust, dirt and water
spots do not affect the performance of the
automatic high beam control. However, in
cold or inclement weather conditions, you
may notice a decrease in the availability of
the automatic high beam control, especially
at start up. If you want to change the beam
state independently of the system, you may
switch the high beams on or off using the
lighting control switch. Automatic high
beam control resumes when conditions are
correct.
Note: Using much larger tires or equipping
vehicle accessories such as snowplows can
modify your vehicle's ride height and
degrade automatic high beam control
performance.
A camera sensor, centrally mounted
behind the windshield of your vehicle,
continuously monitors conditions to decide
when to switch the high beams off and on.
Once the system is active, the high beams
switch on if:
• The outside light level is low enough.
• There is no traffic in front of your
vehicle.
• The vehicle speed is greater than
32 mph (52 km/h).
The high beams switch off if:
• The system detects the headlamps of
an approaching vehicle or the rear
lamps vehicle in front of you.
• Vehicle speed falls below
27 mph
(44 km/h).
• The outside light level is high enough
that high beams are not required.
• The system detects severe rain, snow
or fog.
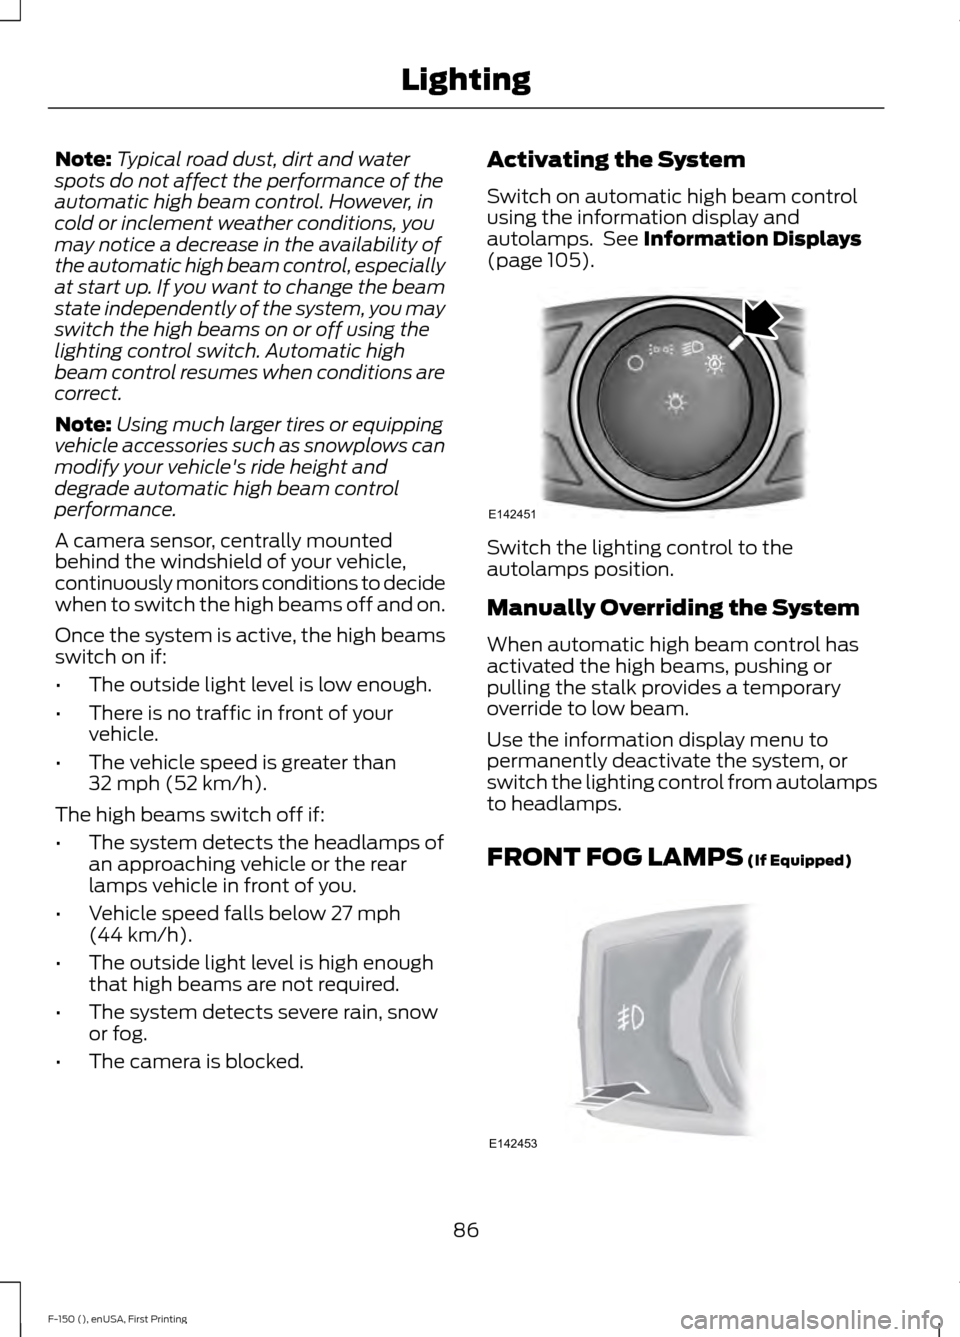
• The camera is blocked. Activating the System
Switch on automatic high beam control
using the information display and
autolamps. See
Information Displays
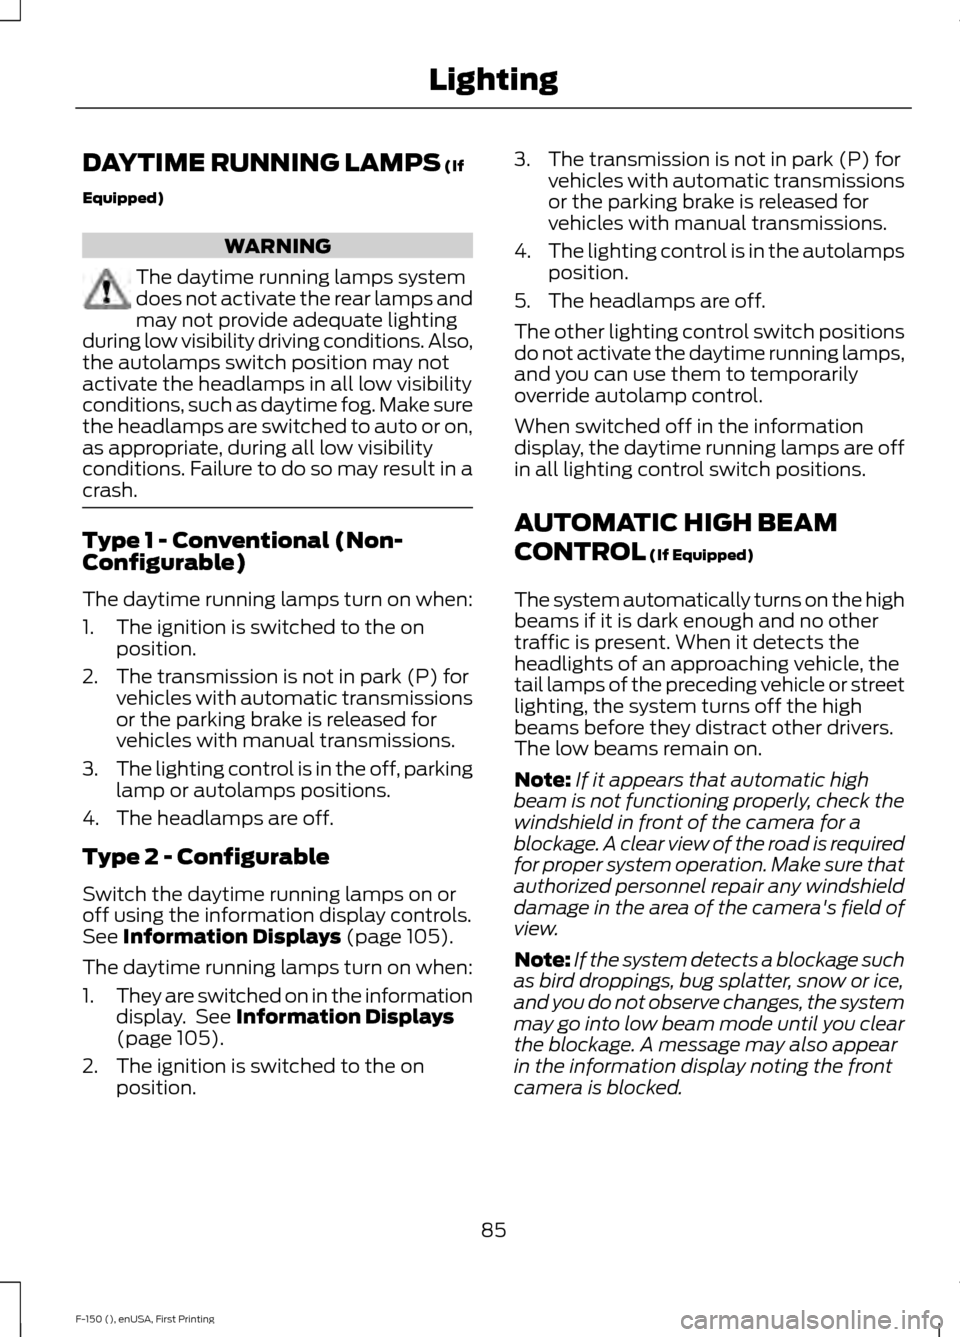
(page 105). Switch the lighting control to the
autolamps position.
Manually Overriding the System
When automatic high beam control has
activated the high beams, pushing or
pulling the stalk provides a temporary
override to low beam.
Use the information display menu to
permanently deactivate the system, or
switch the lighting control from autolamps
to headlamps.
FRONT FOG LAMPS
(If Equipped)
86
F-150 (), enUSA, First Printing LightingE142451 E142453
Page 90 of 549
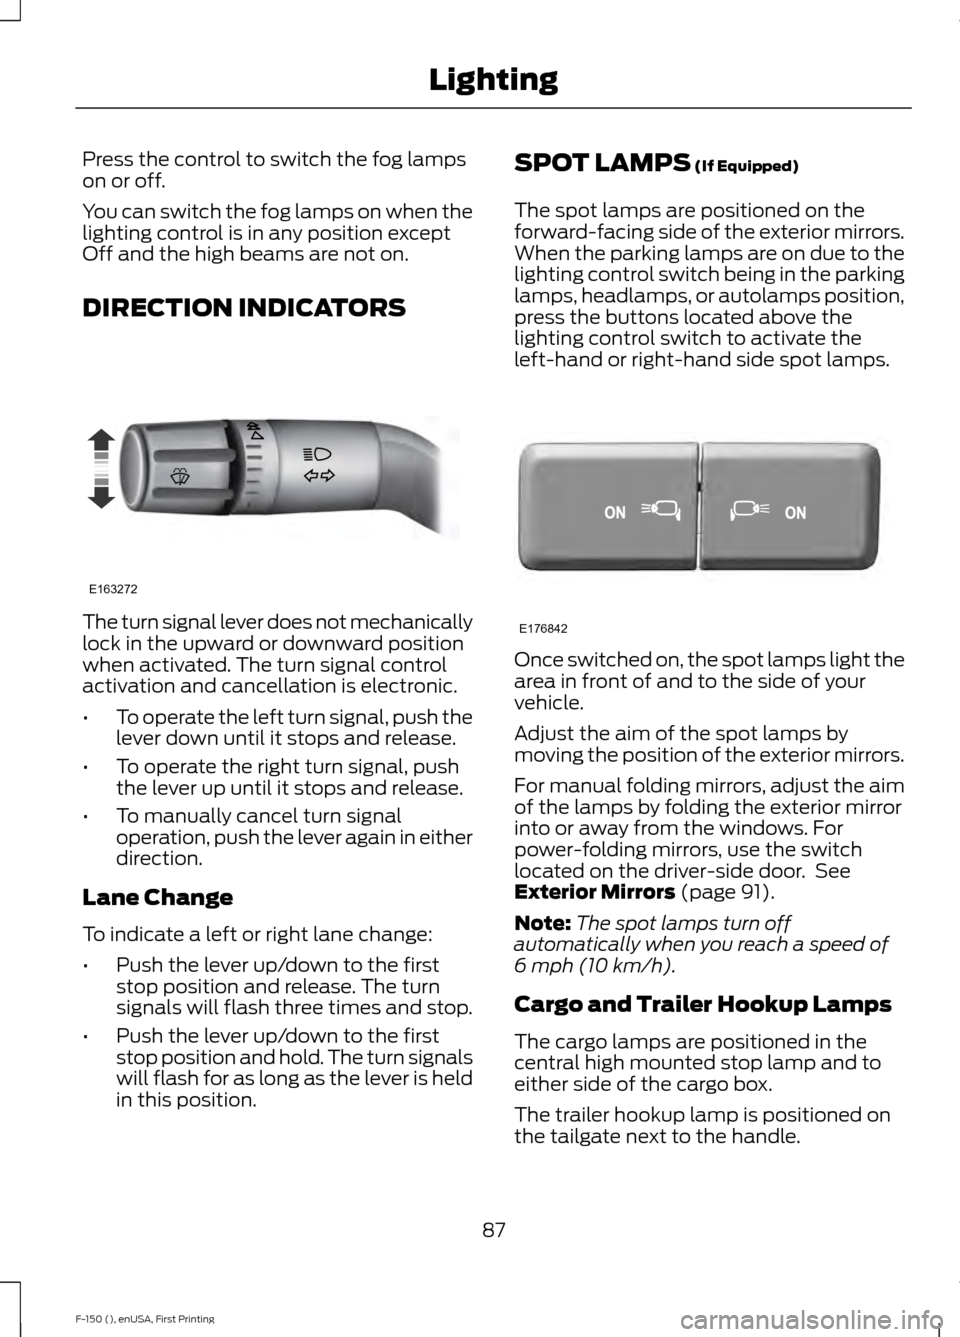
Press the control to switch the fog lamps
on or off.
You can switch the fog lamps on when the
lighting control is in any position except
Off and the high beams are not on.
DIRECTION INDICATORS
The turn signal lever does not mechanically
lock in the upward or downward position
when activated. The turn signal control
activation and cancellation is electronic.
•
To operate the left turn signal, push the
lever down until it stops and release.
• To operate the right turn signal, push
the lever up until it stops and release.
• To manually cancel turn signal
operation, push the lever again in either
direction.
Lane Change
To indicate a left or right lane change:
• Push the lever up/down to the first
stop position and release. The turn
signals will flash three times and stop.
• Push the lever up/down to the first
stop position and hold. The turn signals
will flash for as long as the lever is held
in this position. SPOT LAMPS (If Equipped)
The spot lamps are positioned on the
forward-facing side of the exterior mirrors.
When the parking lamps are on due to the
lighting control switch being in the parking
lamps, headlamps, or autolamps position,
press the buttons located above the
lighting control switch to activate the
left-hand or right-hand side spot lamps. Once switched on, the spot lamps light the
area in front of and to the side of your
vehicle.
Adjust the aim of the spot lamps by
moving the position of the exterior mirrors.
For manual folding mirrors, adjust the aim
of the lamps by folding the exterior mirror
into or away from the windows. For
power-folding mirrors, use the switch
located on the driver-side door. See
Exterior Mirrors
(page 91).
Note: The spot lamps turn off
automatically when you reach a speed of
6 mph (10 km/h)
.
Cargo and Trailer Hookup Lamps
The cargo lamps are positioned in the
central high mounted stop lamp and to
either side of the cargo box.
The trailer hookup lamp is positioned on
the tailgate next to the handle.
87
F-150 (), enUSA, First Printing LightingE163272 E176842