light FORD F250 1999 Owners Manual
[x] Cancel search | Manufacturer: FORD, Model Year: 1999, Model line: F250, Model: FORD F250 1999Pages: 248, PDF Size: 1.72 MB
Page 3 of 248
SPECIAL NOTICES
Notice to owners of diesel-powered vehicles
Read the 7.3 Liter Power Stroke Direct Injection Turbo Diesel Owner’s
Guide Supplement for information regarding correct operation and
maintenance of your diesel-powered light truck.
Notice to owners of utility type vehicles
Before you drive your vehicle, please read this Owner’s Guide carefully.
Your vehicle is not a passenger car. As with other vehicles of this type,
failure to operate this vehicle correctly may result in loss of control or an
accident.
Be sure to readDriving off roadin theDrivingchapter as well as the
“Four Wheeling” supplement included with 4WD and utility type vehicles.
Using your vehicle with a snowplow
For more information and guidelines for using your vehicle with a
snowplow, refer to theDrivingchapter.
Using your vehicle as an ambulance
If your light truck is equipped with theFord ambulance preparation
package,it may be utilized as an ambulance. Ford urges ambulance
manufacturers to follow the recommendations of theFord incomplete
vehicle manual, Ford truck body builder’s layout bookand theQVM
guidelinesas well as pertinent supplements. For additional information,
please contact the Light Truck Body Builders Advisory Service
1–800–635–5560.
Use of your Ford light truck as an ambulance, without the Ford
Ambulance Preparation Package voids the Ford New Vehicle Limited
Warranty and may void the Emissions Warranties. In addition, ambulance
usage without the preparation package could cause high underbody
temperatures, overpressurized fuel and a risk of spraying fuel which
could lead to fires.
Introduction
3
ProCarManuals.com
Page 8 of 248
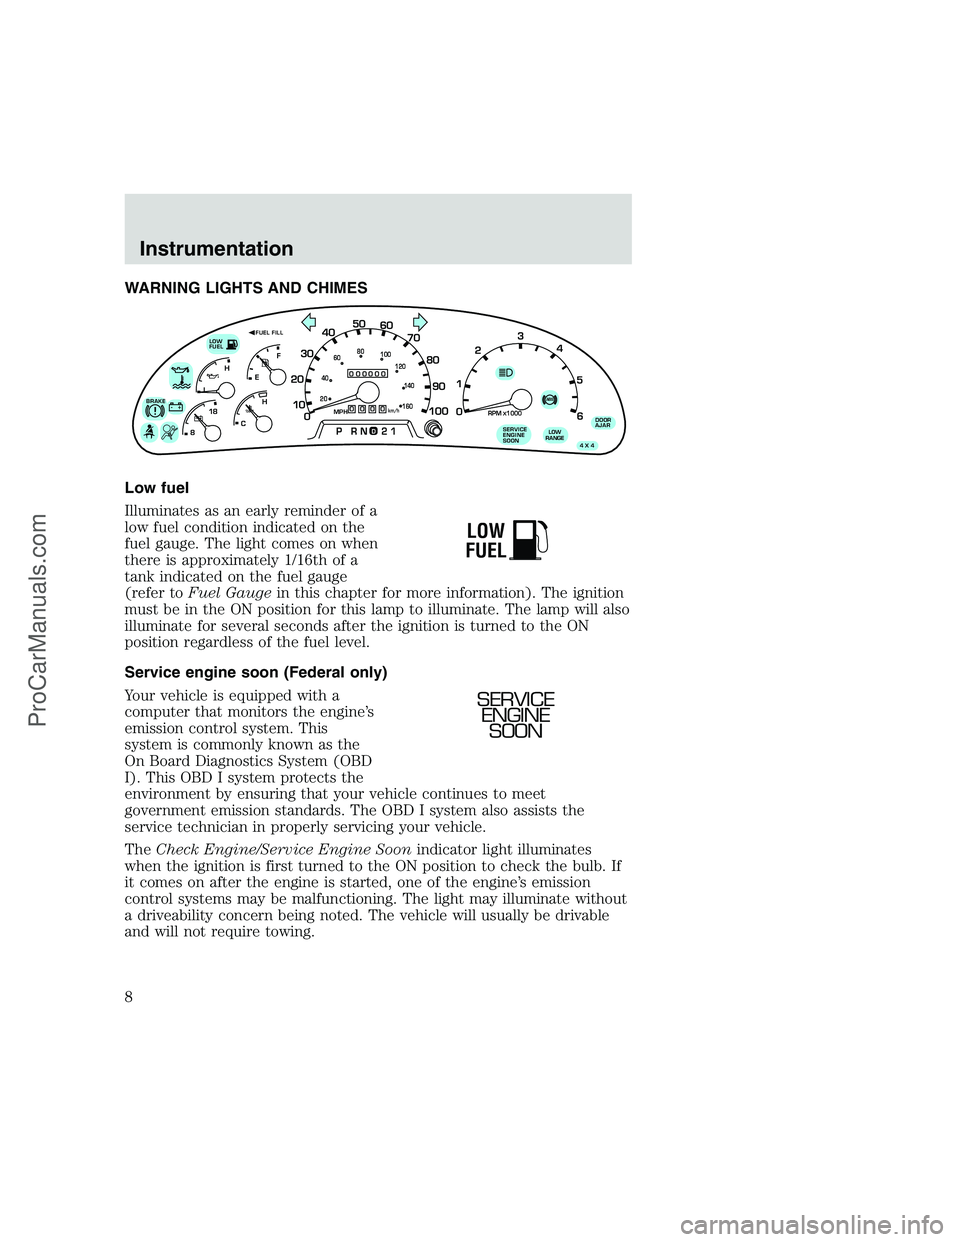
WARNING LIGHTS AND CHIMES
Low fuel
Illuminates as an early reminder of a
low fuel condition indicated on the
fuel gauge. The light comes on when
there is approximately 1/16th of a
tank indicated on the fuel gauge
(refer toFuel Gaugein this chapter for more information). The ignition
must be in the ON position for this lamp to illuminate. The lamp will also
illuminate for several seconds after the ignition is turned to the ON
position regardless of the fuel level.
Service engine soon (Federal only)
Your vehicle is equipped with a
computer that monitors the engine’s
emission control system. This
system is commonly known as the
On Board Diagnostics System (OBD
I). This OBD I system protects the
environment by ensuring that your vehicle continues to meet
government emission standards. The OBD I system also assists the
service technician in properly servicing your vehicle.
TheCheck Engine/Service Engine Soonindicator light illuminates
when the ignition is first turned to the ON position to check the bulb. If
it comes on after the engine is started, one of the engine’s emission
control systems may be malfunctioning. The light may illuminate without
a driveability concern being noted. The vehicle will usually be drivable
and will not require towing.
0
000000000
MPH20km/h
406080
100
120
140
160
010 20304050
60
70
80
90
100
LOW
FUEL
DOOR
AJAR BRAKE
LOW
RANGE
4 X 4
!ABS+ -
LEF
H
RPM1000X0123
5
6 4
PRN 218C 18
H
D
FUEL FILL
SERVICE
ENGINE
SOON
LOW
FUEL
SERVICE
ENGINE
SOON
Instrumentation
8
ProCarManuals.com
Page 9 of 248
What you should do if the Check Engine/Service Engine Soon light
illuminates
Light turns on solid:
This means that the OBD I system has detected a malfunction.
Temporary malfunctions may cause yourService Engine Soonlight to
illuminate. Examples are:
1. The vehicle has run out of fuel. (The engine may misfire or run
poorly.)
2. Poor fuel quality or water in the fuel.
These and other temporary malfunctions can be corrected by filling the
fuel tank with good quality fuel. After three driving cycles without these
or any other temporary malfunctions present, theCheck Engine/Service
Engine Soonlight should turn off. (A driving cycle consists of a cold
engine startup followed by mixed city/highway driving.) No additional
vehicle service is required.
If theCheck Engine/Service Engine Soonlight remains on, have your
vehicle serviced at the first available opportunity.
Under engine misfire conditions, excessive exhaust temperatures
could damage the catalytic converter, the fuel system, interior
floor coverings or other vehicle components, possibly causing a fire.
Service engine soon (California only)
Your vehicle is equipped with a
computer that monitors the engine’s
emission control system. This
system is commonly known as the
On Board Diagnostics System (OBD
II). This OBD II system protects the
environment by ensuring that your vehicle continues to meet
government emission standards. The OBD II system also assists the
service technician in properly servicing your vehicle.
TheService Engine Soonindicator light illuminates when the ignition is
first turned to the ON position to check the bulb. If it comes on after the
engine is started, one of the engine’s emission control systems may be
malfunctioning. The light may illuminate without a driveability concern
being noted. The vehicle will usually be drivable and will not require
towing.
SERVICE
ENGINE
SOON
Instrumentation
9
ProCarManuals.com
Page 10 of 248
What you should do if the Service Engine Soon light illuminates
Light turns on solid:
This means that the OBD II system has detected a malfunction.
Temporary malfunctions may cause yourService Engine Soonlight to
illuminate. Examples are:
1. The vehicle has run out of fuel. (The engine may misfire or run
poorly.)
2. Poor fuel quality or water in the fuel.
3. The fuel cap may not have been properly installed and securely
tightened.
These temporary malfunctions can be corrected by filling the fuel tank
with good quality fuel and/or properly installing and securely tightening
the gas cap. After three driving cycles without these or any other
temporary malfunctions present, theService Engine Soonlight should
turn off. (A driving cycle consists of a cold engine startup followed by
mixed city/highway driving.) No additional vehicle service is required.
If theService Engine Soonlight remains on, have your vehicle serviced
at the first available opportunity.
Light is blinking:
Engine misfire is occurring which could damage your catalytic converter.
You should drive in a moderate fashion (avoid heavy acceleration and
deceleration) and have your vehicle serviced at the first available
opportunity.
Under engine misfire conditions, excessive exhaust temperatures
could damage the catalytic converter, the fuel system, interior
floor coverings or other vehicle components, possibly causing a fire.
Air bag readiness
Momentarily illuminates when the
ignition is turned ON. If the light
fails to illuminate, continues to flash
or remains on, have the system
serviced immediately.
Instrumentation
10
ProCarManuals.com
Page 11 of 248
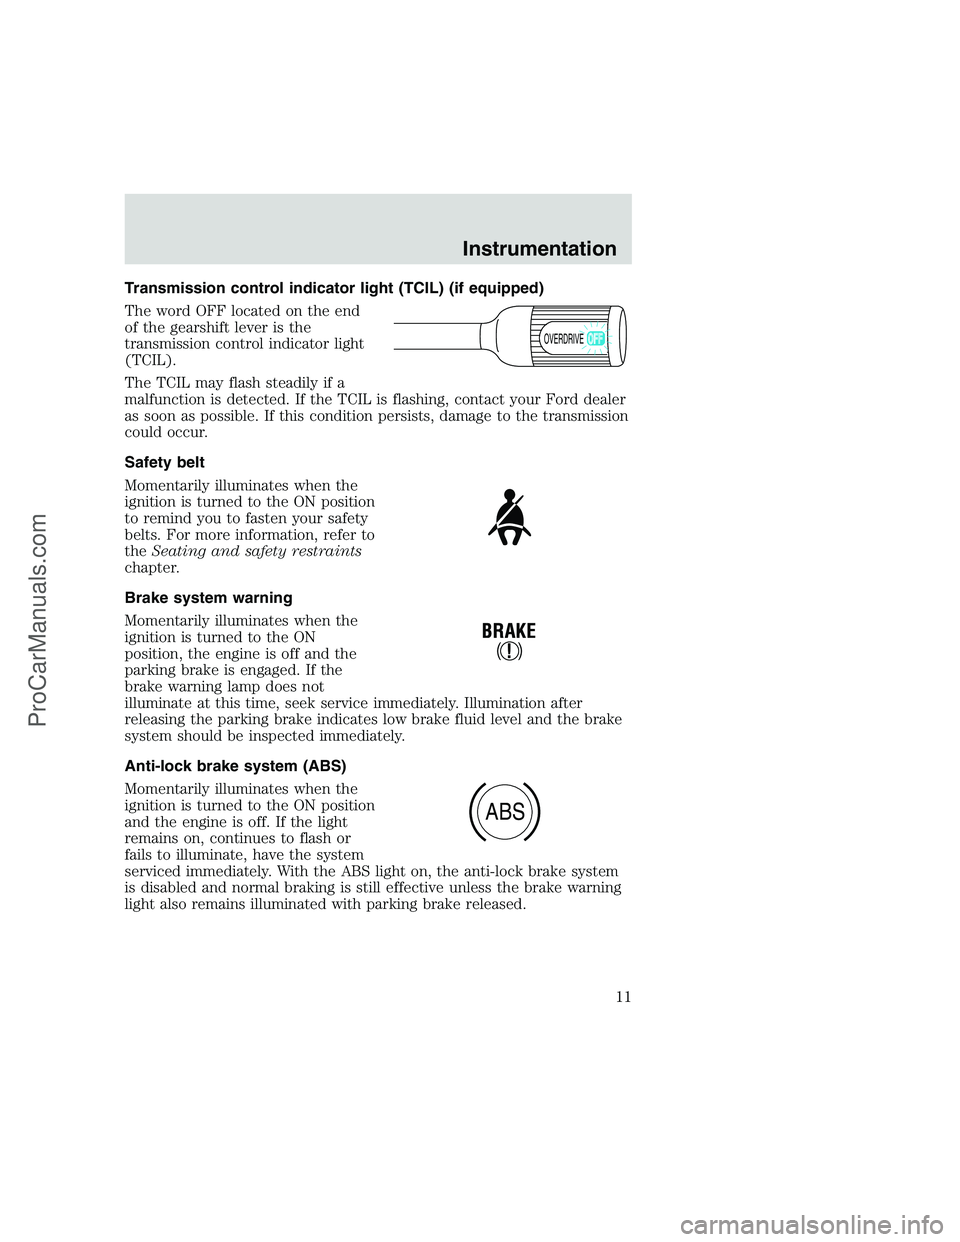
Transmission control indicator light (TCIL) (if equipped)
The word OFF located on the end
of the gearshift lever is the
transmission control indicator light
(TCIL).
The TCIL may flash steadily if a
malfunction is detected. If the TCIL is flashing, contact your Ford dealer
as soon as possible. If this condition persists, damage to the transmission
could occur.
Safety belt
Momentarily illuminates when the
ignition is turned to the ON position
to remind you to fasten your safety
belts. For more information, refer to
theSeating and safety restraints
chapter.
Brake system warning
Momentarily illuminates when the
ignition is turned to the ON
position, the engine is off and the
parking brake is engaged. If the
brake warning lamp does not
illuminate at this time, seek service immediately. Illumination after
releasing the parking brake indicates low brake fluid level and the brake
system should be inspected immediately.
Anti-lock brake system (ABS)
Momentarily illuminates when the
ignition is turned to the ON position
and the engine is off. If the light
remains on, continues to flash or
fails to illuminate, have the system
serviced immediately. With the ABS light on, the anti-lock brake system
is disabled and normal braking is still effective unless the brake warning
light also remains illuminated with parking brake released.
OVERDRIVE
ABS
Instrumentation
11
ProCarManuals.com
Page 12 of 248
Turn signal
Illuminates when the left or right
turn signal or the hazard lights are
turned on. If one or both of the
indicators stay on continuously or
flash faster, check for a burned-out
turn signal bulb. Refer toExterior bulbsin theMaintenance and care
chapter.
High beams
Illuminates when the high beam
headlamps are turned on.
Charging system
Illuminates when the ignition is
turned to the ON position and the
engine is off. The light also
illuminates when the battery is not
charging properly, requiring
electrical system service.
Four wheel drive low (if equipped)
This light momentarily illuminates
when the ignition is turned to ON.
Illuminates when four-wheel drive
low is engaged. If the light continues
to flash have the system serviced.
Four wheel drive indicator (if equipped)
This light momentarily illuminates
when the ignition is turned to ON.
Illuminates when 4x4 range is
engaged.
LOW
RANGE
4x4
Instrumentation
12
ProCarManuals.com
Page 13 of 248
Door ajar
Illuminates when the ignition is in
the ON or START position and any
door is open.
Oil pressure/Engine coolant
This light will illuminate when the
ignition is in the ON position and
the:
•engine coolant temperature is
very high
•engine oil pressure is low
•engine is off
The light serves as a notice that a system needs your attention and to
check the engine coolant temperature gauge and the engine oil pressure
gauge.
Refer toEngine coolant temperature gaugeandEngine oil pressure
gaugein this chapter for more information.
Safety belt warning chime
Chimes to remind you to fasten your safety belts.
For information on the safety belt warning chime, refer to theSeating
and safety restraintschapter.
Supplemental restraint system (SRS) warning chime
For information on the SRS warning chime, refer to theSeating and
safety restraintschapter.
Key-in-ignition warning chime
Sounds when the ignition key is left in the ignition in the OFF/LOCK or
ACC position and the driver’s door is opened.
Headlamps on warning chime
Sounds when the headlamps or parking lamps are on, the ignition in the
OFF position (and the key is not in the ignition) and the driver’s door is
opened.
DOOR
AJAR
Instrumentation
13
ProCarManuals.com
Page 14 of 248
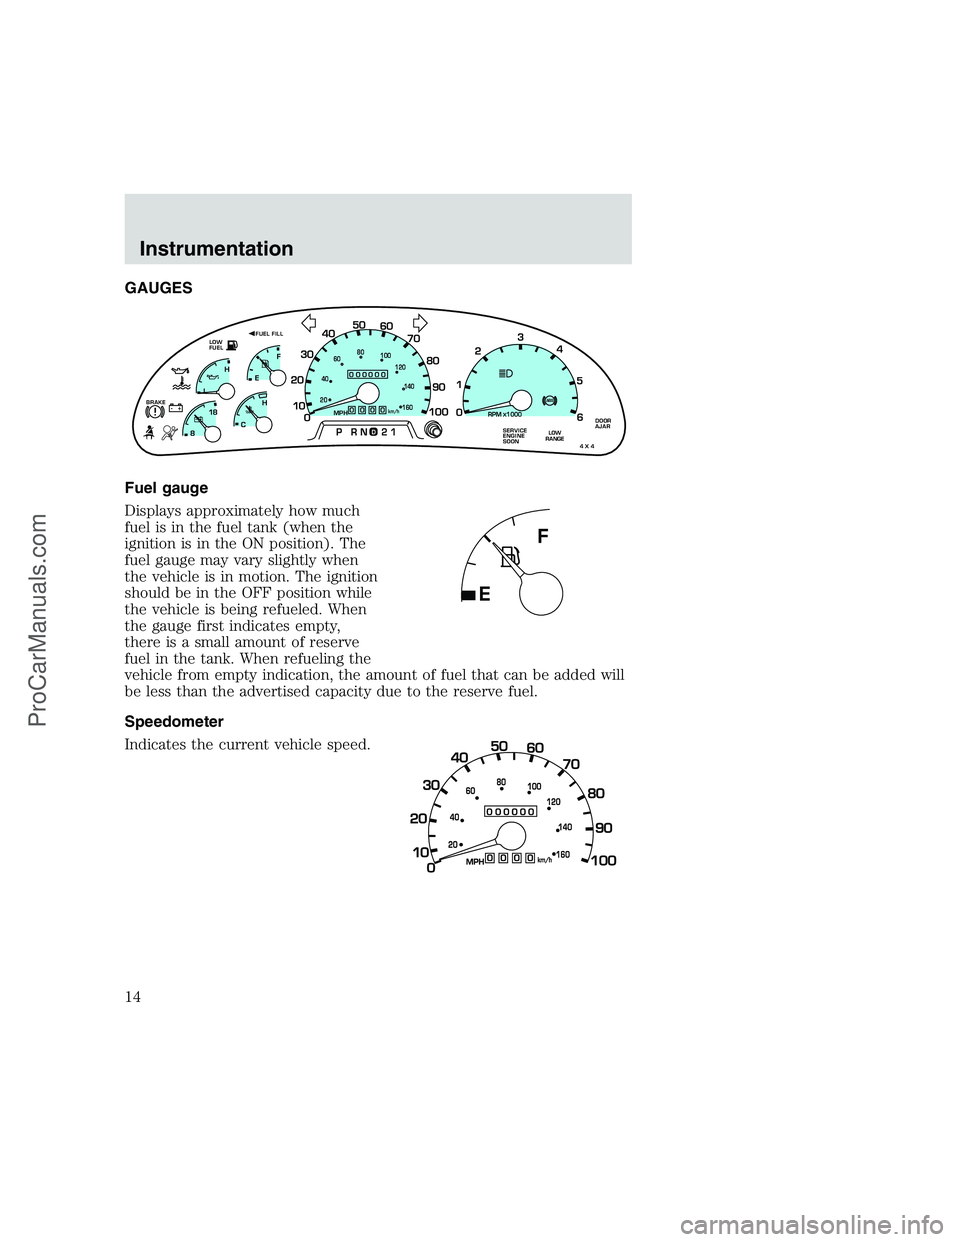
GAUGES
Fuel gauge
Displays approximately how much
fuel is in the fuel tank (when the
ignition is in the ON position). The
fuel gauge may vary slightly when
the vehicle is in motion. The ignition
should be in the OFF position while
the vehicle is being refueled. When
the gauge first indicates empty,
there is a small amount of reserve
fuel in the tank. When refueling the
vehicle from empty indication, the amount of fuel that can be added will
be less than the advertised capacity due to the reserve fuel.
Speedometer
Indicates the current vehicle speed.
0
000000000
MPH20km/h
406080
100
120
140
160
010 20304050
60
70
80
90
100
LOW
FUEL
DOOR
AJAR BRAKE
LOW
RANGE
4 X 4
!ABS+ -
LEF
H
RPM1000X0123
5
6 4
PRN 218C 18
H
D
FUEL FILL
SERVICE
ENGINE
SOON
Instrumentation
14
ProCarManuals.com
Page 20 of 248
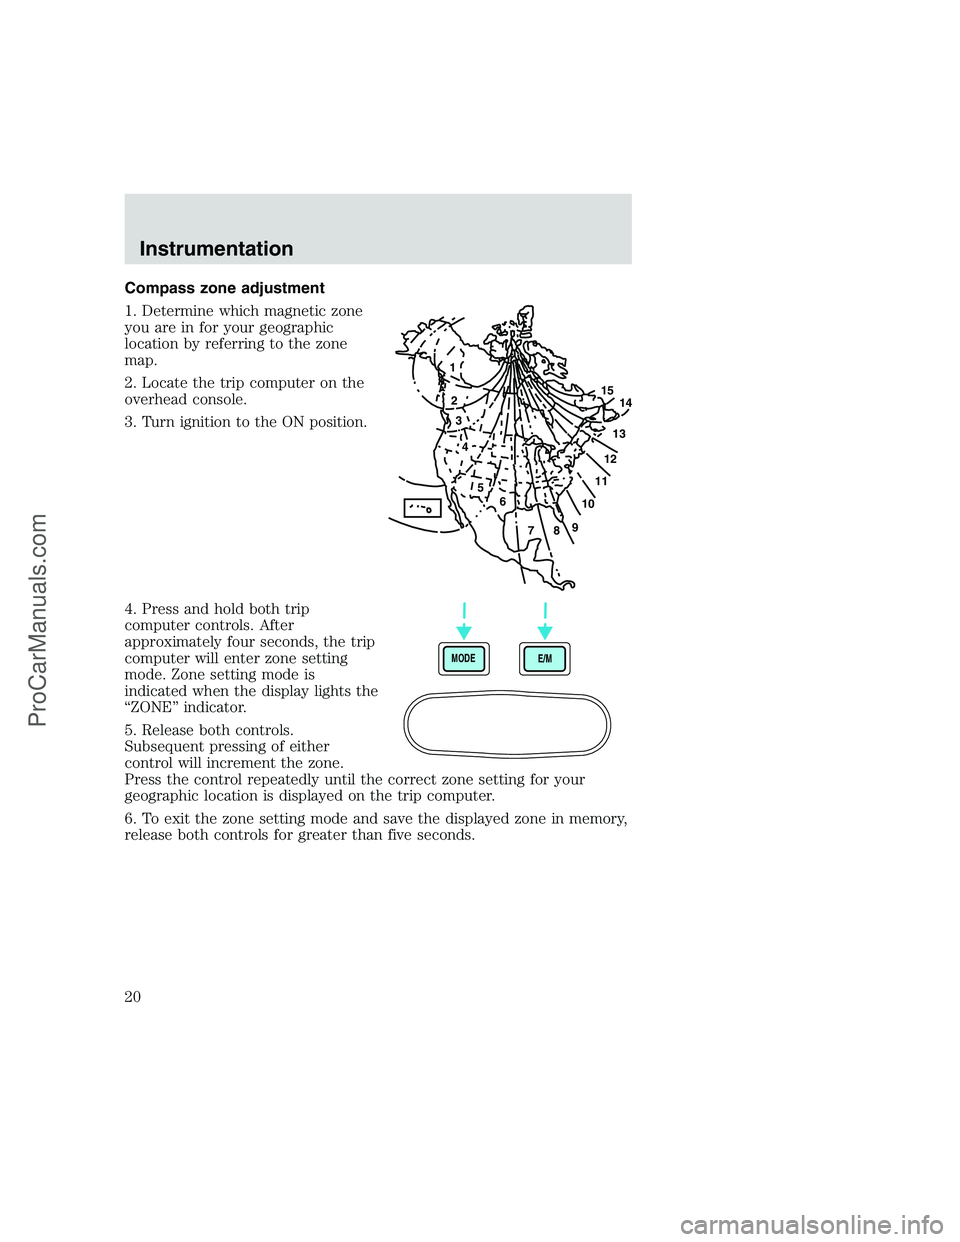
Compass zone adjustment
1. Determine which magnetic zone
you are in for your geographic
location by referring to the zone
map.
2. Locate the trip computer on the
overhead console.
3. Turn ignition to the ON position.
4. Press and hold both trip
computer controls. After
approximately four seconds, the trip
computer will enter zone setting
mode. Zone setting mode is
indicated when the display lights the
“ZONE” indicator.
5. Release both controls.
Subsequent pressing of either
control will increment the zone.
Press the control repeatedly until the correct zone setting for your
geographic location is displayed on the trip computer.
6. To exit the zone setting mode and save the displayed zone in memory,
release both controls for greater than five seconds.
1
2
3
4
5
6
7891011121314 15
MODE
E/M
Instrumentation
20
ProCarManuals.com
Page 21 of 248
Compass calibration adjustment
Perform this adjustment in an open area free from steel structures and
high voltage lines.
For optimum calibration, turn off all electrical accessories (heater/air
conditioning, wipers, etc.) and make sure all vehicle doors are shut.
1. Locate the trip computer located in the overhead console.
2. Start the vehicle.
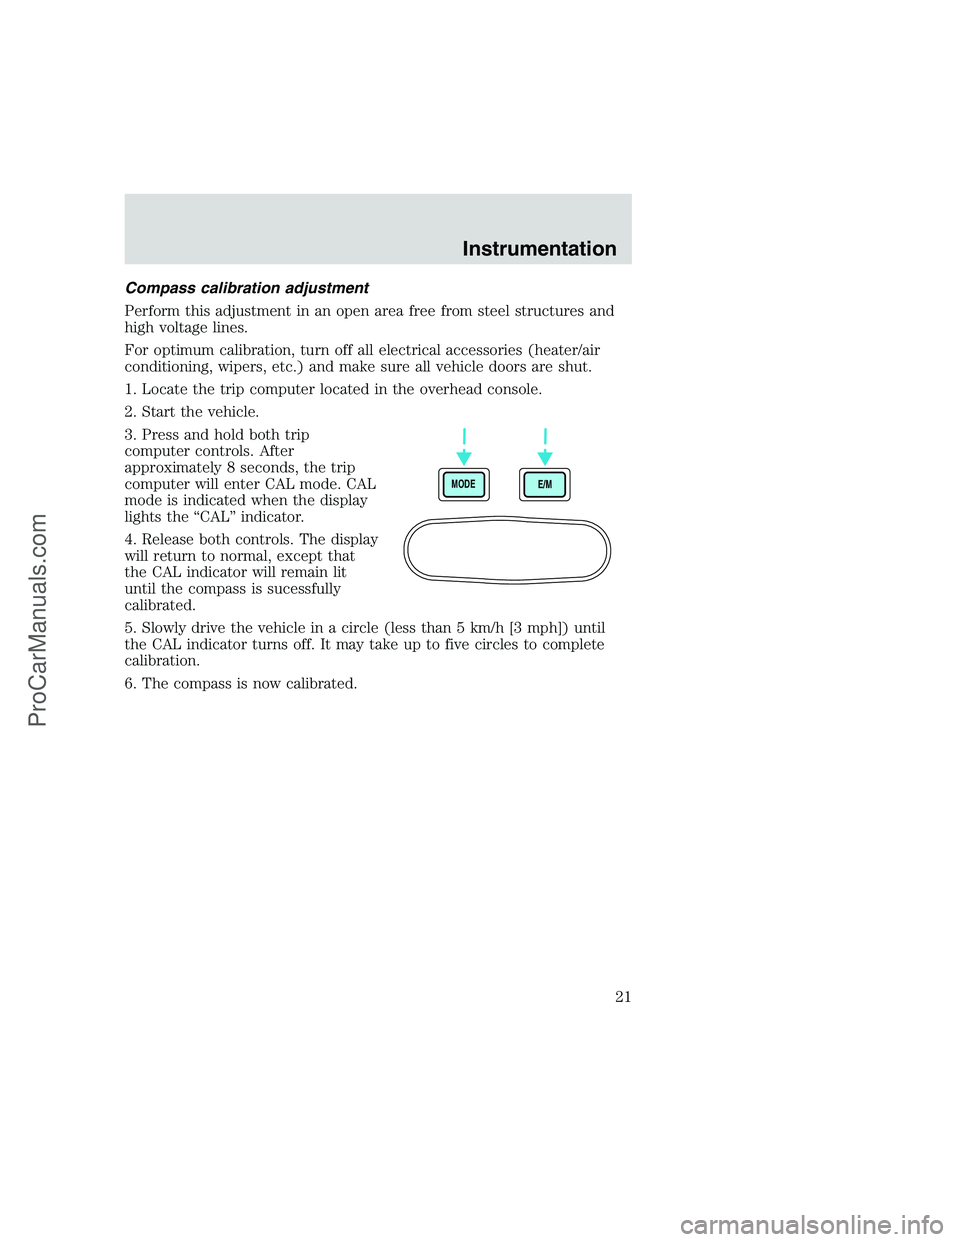
3. Press and hold both trip
computer controls. After
approximately 8 seconds, the trip
computer will enter CAL mode. CAL
mode is indicated when the display
lights the “CAL” indicator.
4. Release both controls. The display
will return to normal, except that
the CAL indicator will remain lit
until the compass is sucessfully
calibrated.
5. Slowly drive the vehicle in a circle (less than 5 km/h [3 mph]) until
the CAL indicator turns off. It may take up to five circles to complete
calibration.
6. The compass is now calibrated.
MODE
E/M
Instrumentation
21
ProCarManuals.com