display FORD F250 SUPER DUTY 2005 Owners Manual
[x] Cancel search | Manufacturer: FORD, Model Year: 2005, Model line: F250 SUPER DUTY, Model: FORD F250 SUPER DUTY 2005Pages: 312, PDF Size: 4.8 MB
Page 13 of 312
Many lights will illuminate when you start your vehicle to make sure the
bulbs work. If any light remains on after starting the vehicle, have the
respective system inspected immediately.
If your vehicle is equipped with a Diesel engine, it has a unique cluster,
refer to Starting the engine in your 6.0 Liter Power Stroke Direct
Injection Turbo Diesel Owner’s Guide Supplement.
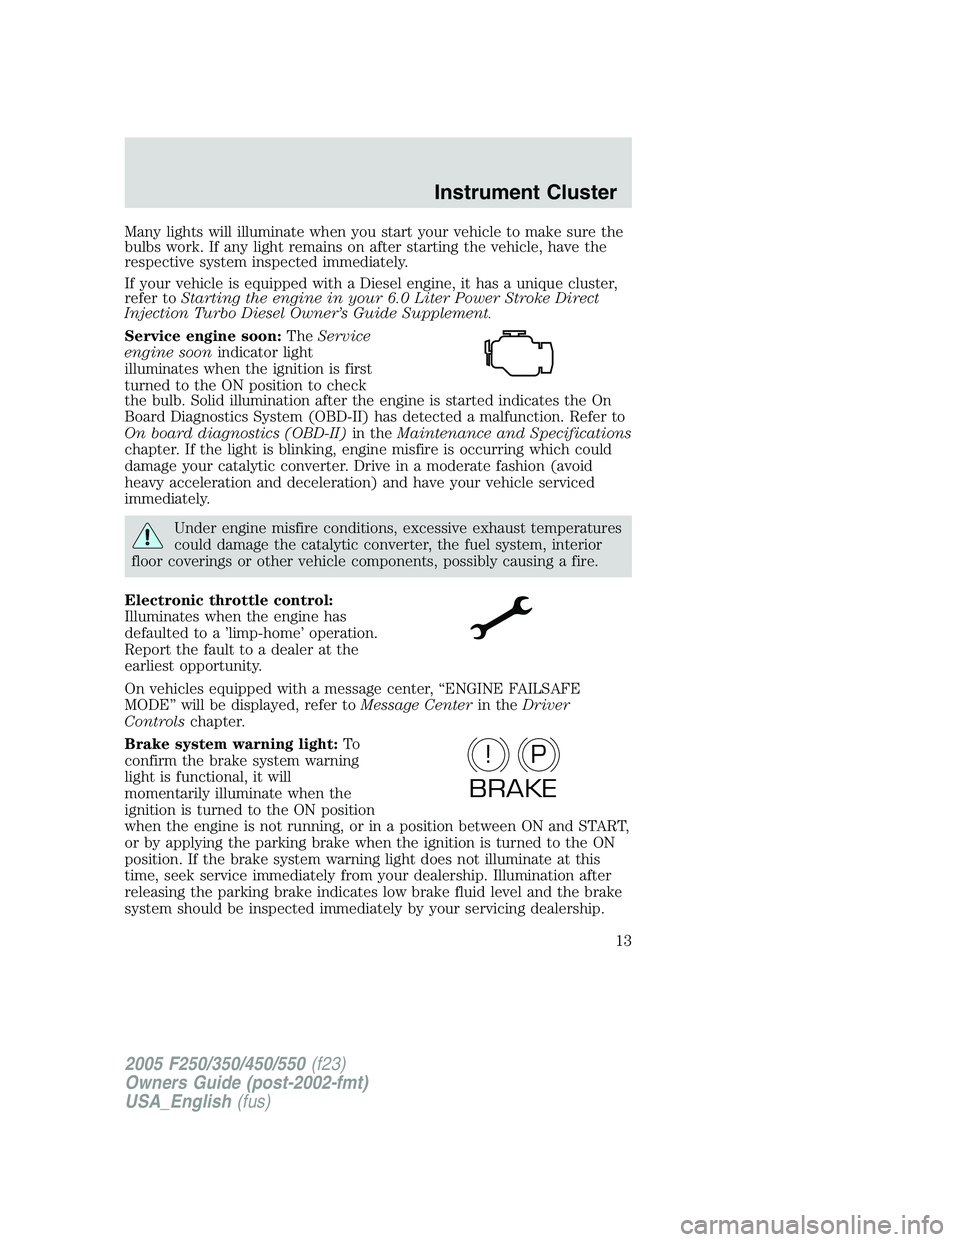
Service engine soon: The Service
engine soon indicator light
illuminates when the ignition is first
turned to the ON position to check
the bulb. Solid illumination after the engine is started indicates the On
Board Diagnostics System (OBD-II) has detected a malfunction. Refer to
On board diagnostics (OBD-II) in the Maintenance and Specifications
chapter. If the light is blinking, engine misfire is occurring which could
damage your catalytic converter. Drive in a moderate fashion (avoid
heavy acceleration and deceleration) and have your vehicle serviced
immediately.
Under engine misfire conditions, excessive exhaust temperatures
could damage the catalytic converter, the fuel system, interior
floor coverings or other vehicle components, possibly causing a fire.
Electronic throttle control:
Illuminates when the engine has
defaulted to a ’limp-home’ operation.
Report the fault to a dealer at the
earliest opportunity.
On vehicles equipped with a message center, “ENGINE FAILSAFE
MODE” will be displayed, refer to Message Center in the Driver
Controls chapter.
Brake system warning light: To
confirm the brake system warning
light is functional, it will
momentarily illuminate when the
ignition is turned to the ON position
when the engine is not running, or in a position between ON and START,
or by applying the parking brake when the ignition is turned to the ON
position. If the brake system warning light does not illuminate at this
time, seek service immediately from your dealership. Illumination after
releasing the parking brake indicates low brake fluid level and the brake
system should be inspected immediately by your servicing dealership.
P!
BRAKE
2005 F250/350/450/550 (f23)
Owners Guide (post-2002-fmt)
USA_English (fus) Instrument Cluster
13
Page 17 of 312
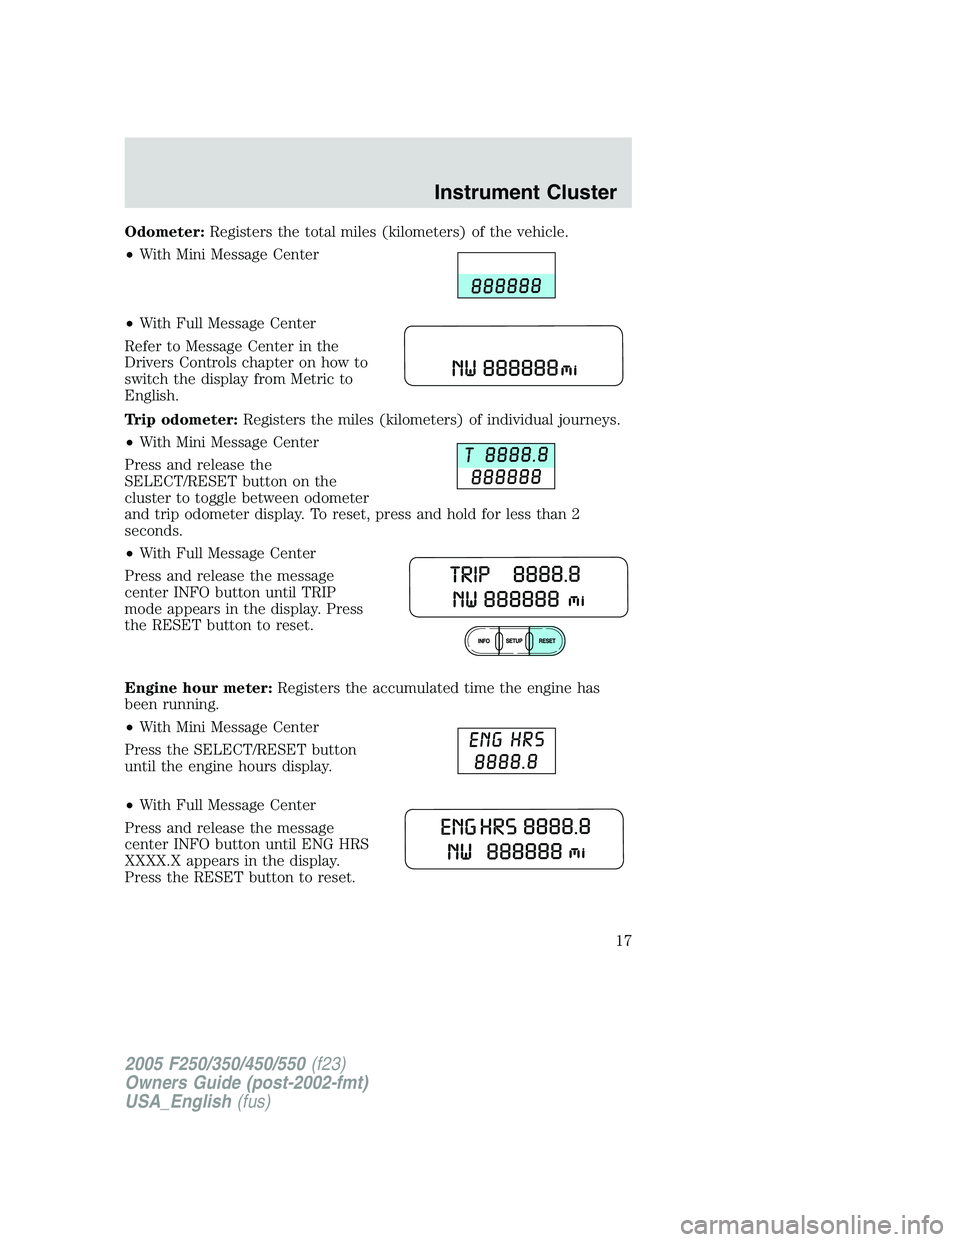
Odometer: Registers the total miles (kilometers) of the vehicle.
• With Mini Message Center
• With Full Message Center
Refer to Message Center in the
Drivers Controls chapter on how to
switch the display from Metric to
English.
Trip odometer: Registers the miles (kilometers) of individual journeys.
• With Mini Message Center
Press and release the
SELECT/RESET button on the
cluster to toggle between odometer
and trip odometer display. To reset, press and hold for less than 2
seconds.
• With Full Message Center
Press and release the message
center INFO button until TRIP
mode appears in the display. Press
the RESET button to reset.
Engine hour meter: Registers the accumulated time the engine has
been running.
• With Mini Message Center
Press the SELECT/RESET button
until the engine hours display.
• With Full Message Center
Press and release the message
center INFO button until ENG HRS
XXXX.X appears in the display.
Press the RESET button to reset.
2005 F250/350/450/550 (f23)
Owners Guide (post-2002-fmt)
USA_English (fus) Instrument Cluster
17
Page 21 of 312
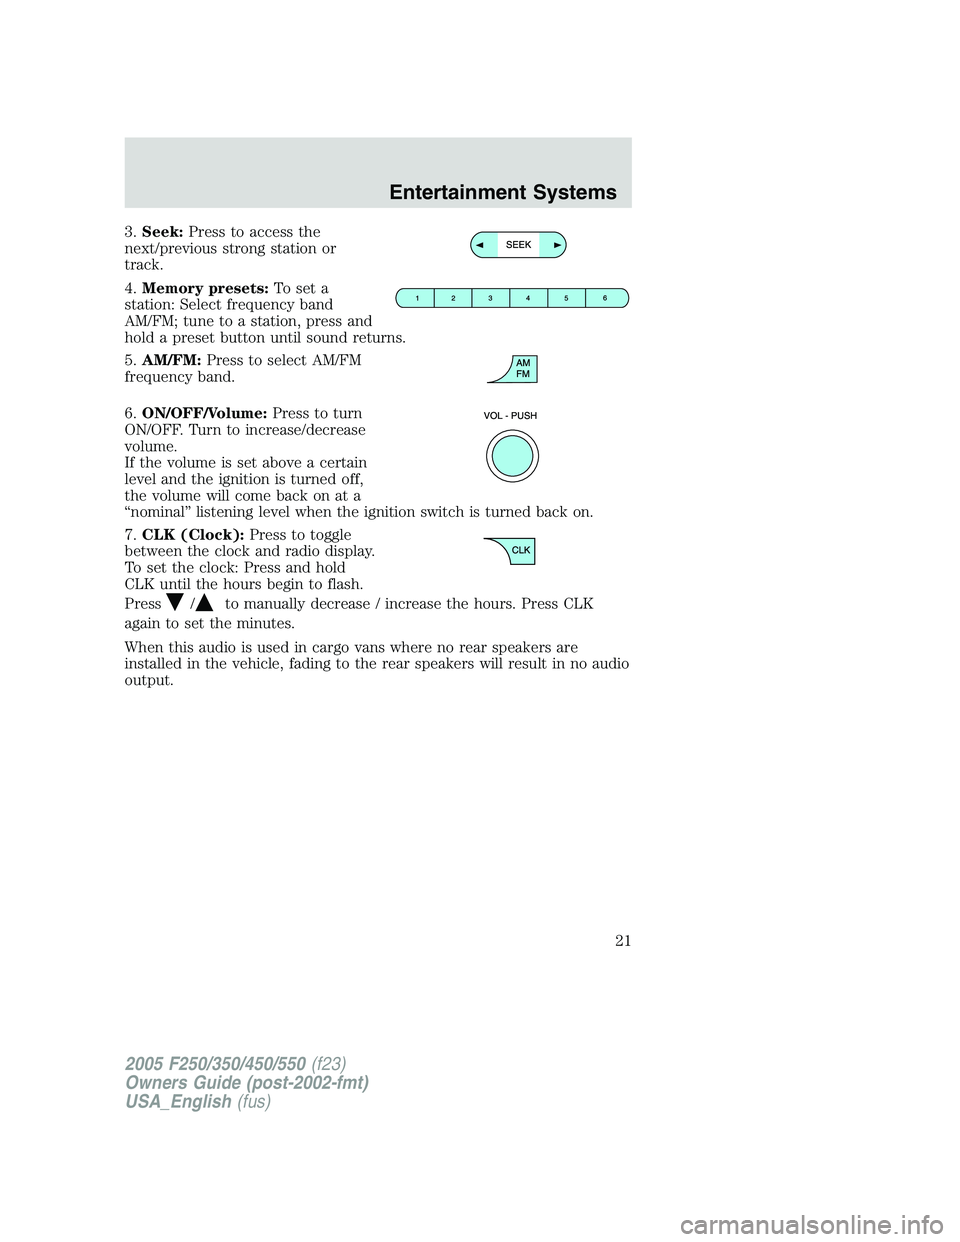
3. Seek: Press to access the
next/previous strong station or
track.
4. Memory presets: To set a
station: Select frequency band
AM/FM; tune to a station, press and
hold a preset button until sound returns.
5. AM/FM: Press to select AM/FM
frequency band.
6. ON/OFF/Volume: Press to turn
ON/OFF. Turn to increase/decrease
volume.
If the volume is set above a certain
level and the ignition is turned off,
the volume will come back on at a
“nominal” listening level when the ignition switch is turned back on.
7. CLK (Clock): Press to toggle
between the clock and radio display.
To set the clock: Press and hold
CLK until the hours begin to flash.
Press / to manually decrease / increase the hours. Press CLK
again to set the minutes.
When this audio is used in cargo vans where no rear speakers are
installed in the vehicle, fading to the rear speakers will result in no audio
output.
2005 F250/350/450/550 (f23)
Owners Guide (post-2002-fmt)
USA_English (fus) Entertainment Systems
21
Page 23 of 312
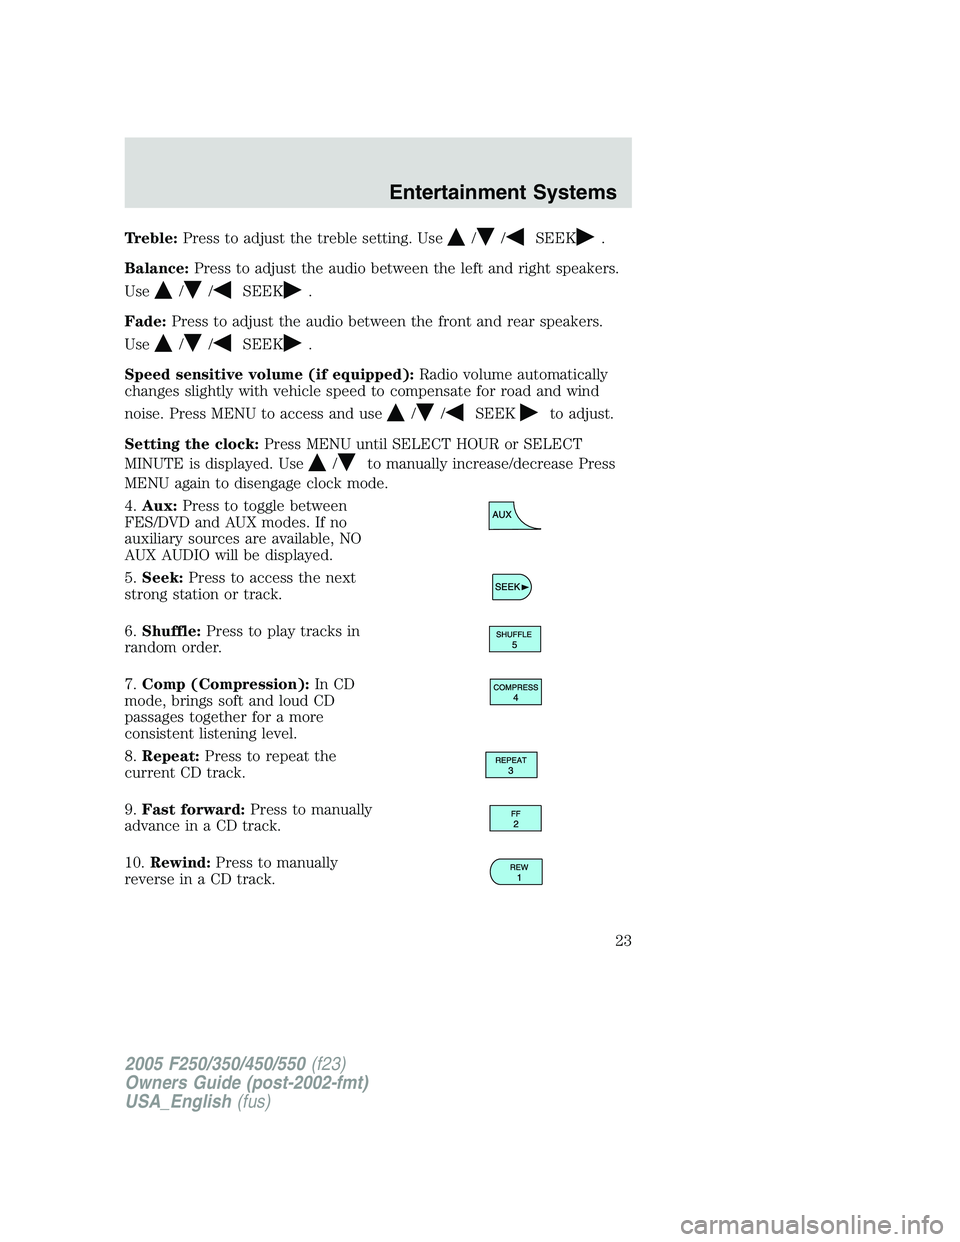
Treble: Press to adjust the treble setting. Use / / SEEK .
Balance: Press to adjust the audio between the left and right speakers.
Use
/ / SEEK .
Fade: Press to adjust the audio between the front and rear speakers.
Use / / SEEK .
Speed sensitive volume (if equipped): Radio volume automatically
changes slightly with vehicle speed to compensate for road and wind
noise. Press MENU to access and use
/ / SEEK to adjust.
Setting the clock: Press MENU until SELECT HOUR or SELECT
MINUTE is displayed. Use / to manually increase/decrease Press
MENU again to disengage clock mode.
4. Aux: Press to toggle between
FES/DVD and AUX modes. If no
auxiliary sources are available, NO
AUX AUDIO will be displayed.
5. Seek: Press to access the next
strong station or track.
6. Shuffle: Press to play tracks in
random order.
7. Comp (Compression): In CD
mode, brings soft and loud CD
passages together for a more
consistent listening level.
8. Repeat: Press to repeat the
current CD track.
9. Fast forward: Press to manually
advance in a CD track.
10. Rewind: Press to manually
reverse in a CD track.
2005 F250/350/450/550 (f23)
Owners Guide (post-2002-fmt)
USA_English (fus) Entertainment Systems
23
Page 26 of 312
Balance: Press to adjust the audio between the left and right speakers.
Use / / SEEK .
Fade: Press to adjust the audio between the front and rear speakers.
Use / / SEEK .
Speed sensitive volume (if equipped): Radio volume automatically
changes slightly with vehicle speed to compensate for road and wind
noise. Press MENU to access and use / / SEEK to adjust.
Setting the clock: Press MENU until SELECT HOUR or SELECT
MINUTE is displayed. Press / / SEEK to adjust the
hours/minutes.
Autoset: Allows you to set the strongest local radio stations without
losing your original manually set preset stations for AM/FM1/FM2 . Press
MENU to access. Use / / SEEK to set.
When the six strongest stations are filled, the station stored in preset 1
will begin playing. If there are less than six strong stations, the system
will store the last one in the remaining presets.
Dolby noise reduction: In tape mode, this feature reduces tape noise
and hiss. Press / / SEEK to cycle ON/OFF. The Dolby noise
reduction system is manufactured under license from Dolby Laboratories
Licensing Corporation. Dolby and double-D are registered trademarks of
Dolby Laboratories Licensing Corporation.
5. AUX: Press to toggle between
FES/DVD and AUX modes. If no
auxiliary sources are available, NO
AUX AUDIO will be displayed. To return to radio mode, press AM/FM.
6. Tape eject: Press to eject a tape.
7. Shuffle: Press to play CD tracks
in random order.
8. Compress (Compression): In
CD mode, brings soft and loud CD
passages together for a more
consistent listening level.
2005 F250/350/450/550 (f23)
Owners Guide (post-2002-fmt)
USA_English (fus)Entertainment Systems
26
Page 29 of 312
3. Menu: Press to toggle through
the following modes:
Autoset: Allows you to set the strongest local radio stations without
losing your original manually set preset stations for AM/FM1/FM2 . Press
MENU to access. Use
/ / SEEK to set.
When the six strongest stations are filled, the station stored in preset 1
will begin playing. If there are less than six strong stations, the system
will store the last one in the remaining presets.
Bass: Press to adjust the bass setting. Use
/ / SEEK .
Treble: Press to adjust the treble setting. Use
/ / SEEK .
Balance: Press to adjust the audio between the left and right speakers.
Use
/ / SEEK .
Fade: Press to adjust the audio between the front and rear speakers.
Use
/ / SEEK .
Speed sensitive volume (if equipped): Radio volume automatically
changes slightly with vehicle speed to compensate for road and wind
noise. Press MENU to access and use
/ / SEEK to adjust.
Setting the clock: Press MENU until SELECT HOUR or SELECT
MINUTE is displayed. Press / / SEEK to adjust the
hours/minutes.
4. Aux: Press to toggle between
FES/DVD and AUX modes. If no
auxiliary sources are available, NO
AUX AUDIO will be displayed.
5. Seek: Press to access the next
strong station or track.
6. Shuffle: Press to play tracks in
random order.
2005 F250/350/450/550 (f23)
Owners Guide (post-2002-fmt)
USA_English (fus) Entertainment Systems
29
Page 31 of 312
17. LOAD: Press to load a CD, then
select a slot number using the radio
presets 1 through 6. If you don’t
select a slot within 5 seconds, the
radio shall choose the first available
slot for you. Press and hold for 2 seconds to auto load up to six CDs.
18. CD eject: Press to eject a CD,
then select the desired CD slot
using the radio presets 1 through 6.
If a slot is not selected within 5 seconds, the radio shall eject the current
disc. Press and hold for 2 seconds to auto eject all CDs present in the
radio mechanism.
19. CD slot: Insert a CD label side
up.
RADIO FREQUENCIES
AM and FM frequencies are established by the Federal Communications
Commission (FCC) and the Canadian Radio and Telecommunications
Commission (CRTC). Those frequencies are:
AM - 530, 540–1700, 1710 kHz
FM- 87.7, 87.9–107.7, 107.9 MHz
RADIO RECEPTION FACTORS
There are three factors that can affect radio reception:
• Distance/strength: The further you travel from an FM station, the
weaker the signal and the weaker the reception.
• Terrain: Hills, mountains, tall buildings, power lines, electric fences,
traffic lights and thunderstorms can interfere with your reception.
• Station overload: When you pass a broadcast tower, a stronger signal
may overtake a weaker one and play while the weak station frequency
is displayed.
CASSETTE/PLAYER CARE
Do:
• Use only cassettes that are 90 minutes long or less.
• Tighten very loose tapes by inserting a finger or pencil into the hole
and turning the hub.
• Remove loose labels before inserting tapes.
2005 F250/350/450/550 (f23)
Owners Guide (post-2002-fmt)
USA_English (fus) Entertainment Systems
31
Page 37 of 312
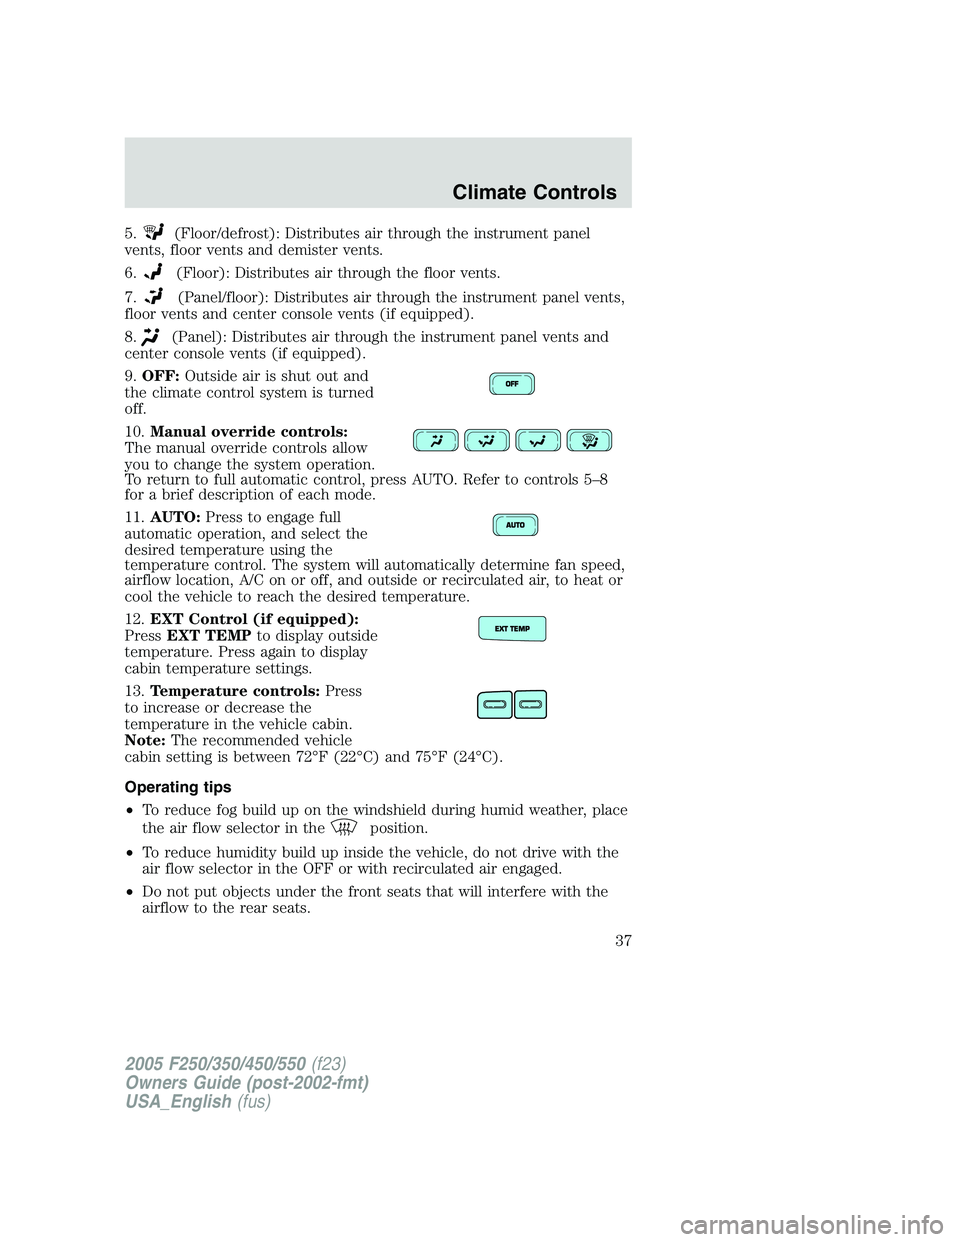
5. (Floor/defrost): Distributes air through the instrument panel
vents, floor vents and demister vents.
6. (Floor): Distributes air through the floor vents.
7. (Panel/floor): Distributes air through the instrument panel vents,
floor vents and center console vents (if equipped).
8. (Panel): Distributes air through the instrument panel vents and
center console vents (if equipped).
9. OFF: Outside air is shut out and
the climate control system is turned
off.
10. Manual override controls:
The manual override controls allow
you to change the system operation.
To return to full automatic control, press AUTO. Refer to controls 5–8
for a brief description of each mode.
11. AUTO: Press to engage full
automatic operation, and select the
desired temperature using the
temperature control. The system will automatically determine fan speed,
airflow location, A/C on or off, and outside or recirculated air, to heat or
cool the vehicle to reach the desired temperature.
12. EXT Control (if equipped):
Press EXT TEMP to display outside
temperature. Press again to display
cabin temperature settings.
13. Temperature controls: Press
to increase or decrease the
temperature in the vehicle cabin.
Note: The recommended vehicle
cabin setting is between 72°F (22°C) and 75°F (24°C).
Operating tips
• To reduce fog build up on the windshield during humid weather, place
the air flow selector in the position.
• To reduce humidity build up inside the vehicle, do not drive with the
air flow selector in the OFF or with recirculated air engaged.
• Do not put objects under the front seats that will interfere with the
airflow to the rear seats.
2005 F250/350/450/550 (f23)
Owners Guide (post-2002-fmt)
USA_English (fus) Climate Controls
37
Page 66 of 312
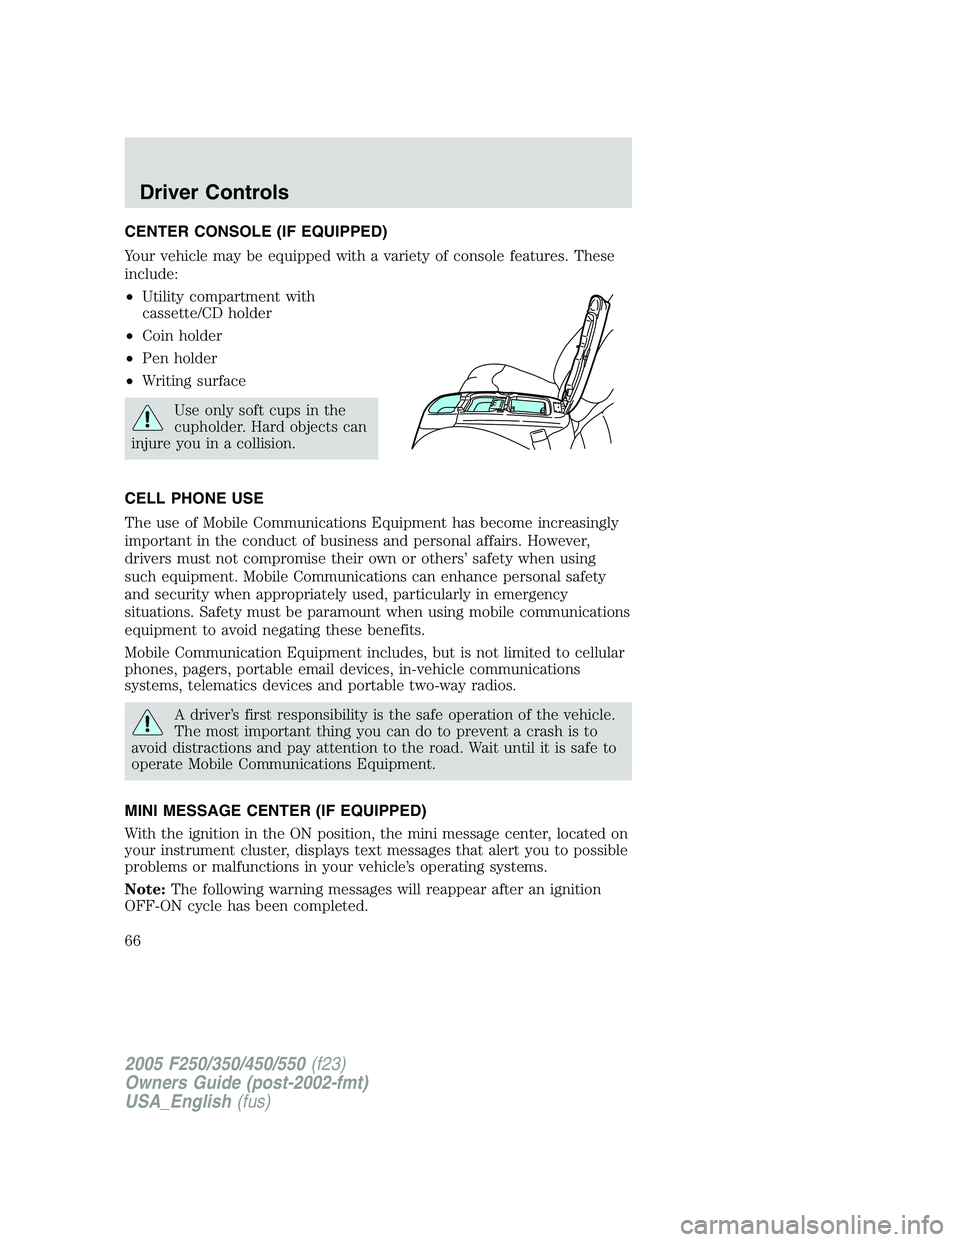
CENTER CONSOLE (IF EQUIPPED)
Your vehicle may be equipped with a variety of console features. These
include:
• Utility compartment with
cassette/CD holder
• Coin holder
• Pen holder
• Writing surface
Use only soft cups in the
cupholder. Hard objects can
injure you in a collision.
CELL PHONE USE
The use of Mobile Communications Equipment has become increasingly
important in the conduct of business and personal affairs. However,
drivers must not compromise their own or others’ safety when using
such equipment. Mobile Communications can enhance personal safety
and security when appropriately used, particularly in emergency
situations. Safety must be paramount when using mobile communications
equipment to avoid negating these benefits.
Mobile Communication Equipment includes, but is not limited to cellular
phones, pagers, portable email devices, in-vehicle communications
systems, telematics devices and portable two-way radios.
A driver’s first responsibility is the safe operation of the vehicle.
The most important thing you can do to prevent a crash is to
avoid distractions and pay attention to the road. Wait until it is safe to
operate Mobile Communications Equipment.
MINI MESSAGE CENTER (IF EQUIPPED)
With the ignition in the ON position, the mini message center, located on
your instrument cluster, displays text messages that alert you to possible
problems or malfunctions in your vehicle’s operating systems.
Note: The following warning messages will reappear after an ignition
OFF-ON cycle has been completed.
2005 F250/350/450/550 (f23)
Owners Guide (post-2002-fmt)
USA_English (fus)Driver Controls
66
Page 67 of 312
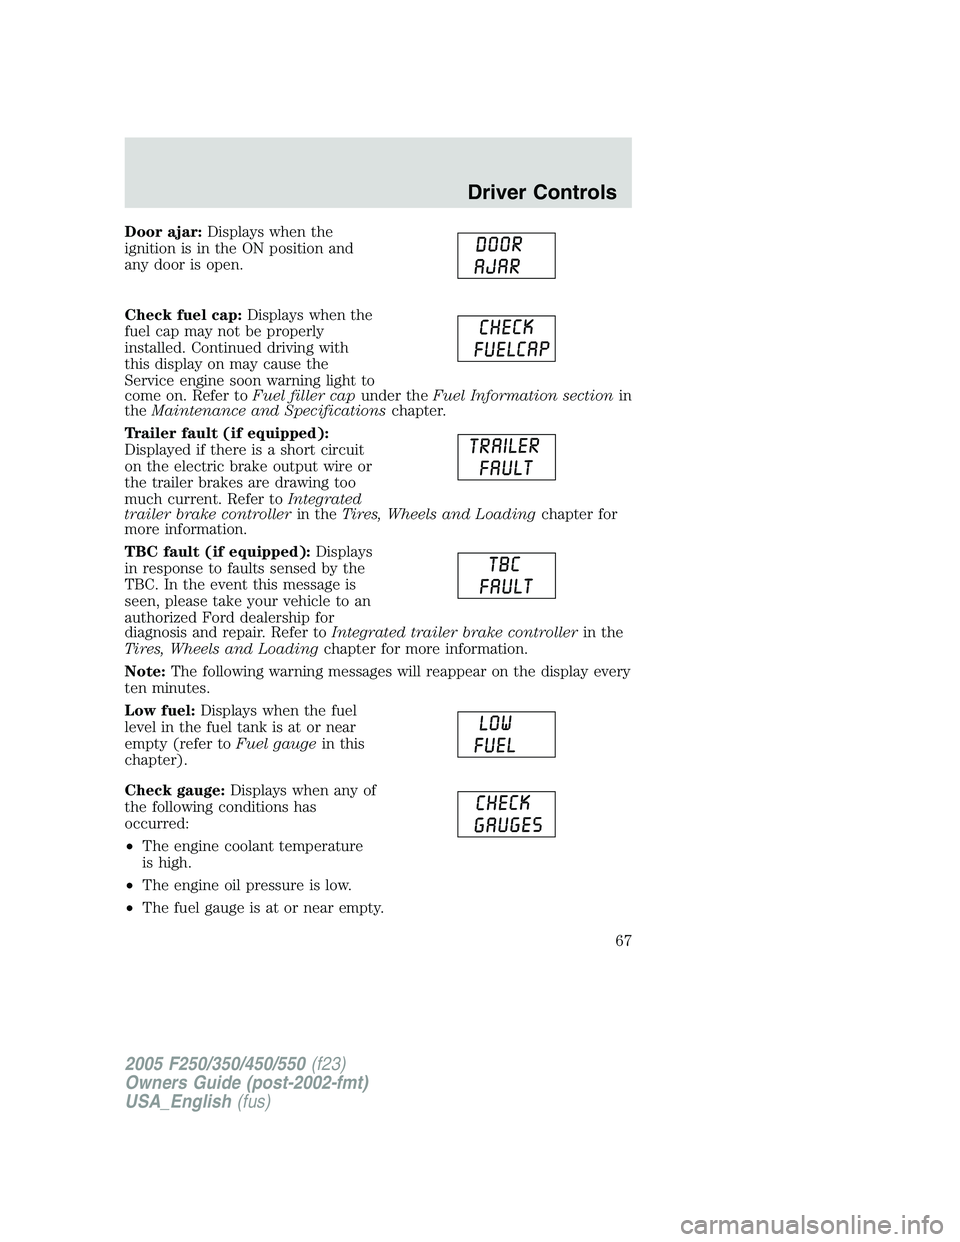
Door ajar: Displays when the
ignition is in the ON position and
any door is open.
Check fuel cap: Displays when the
fuel cap may not be properly
installed. Continued driving with
this display on may cause the
Service engine soon warning light to
come on. Refer to Fuel filler cap under the Fuel Information section in
the Maintenance and Specifications chapter.
Trailer fault (if equipped):
Displayed if there is a short circuit
on the electric brake output wire or
the trailer brakes are drawing too
much current. Refer to Integrated
trailer brake controller in the Tires, Wheels and Loading chapter for
more information.
TBC fault (if equipped): Displays
in response to faults sensed by the
TBC. In the event this message is
seen, please take your vehicle to an
authorized Ford dealership for
diagnosis and repair. Refer to Integrated trailer brake controller in the
Tires, Wheels and Loading chapter for more information.
Note: The following warning messages will reappear on the display every
ten minutes.
Low fuel: Displays when the fuel
level in the fuel tank is at or near
empty (refer to Fuel gauge in this
chapter).
Check gauge: Displays when any of
the following conditions has
occurred:
• The engine coolant temperature
is high.
• The engine oil pressure is low.
• The fuel gauge is at or near empty.
2005 F250/350/450/550 (f23)
Owners Guide (post-2002-fmt)
USA_English (fus) Driver Controls
67