instrument panel FORD F650 2000 10.G Owners Manual
[x] Cancel search | Manufacturer: FORD, Model Year: 2000, Model line: F650, Model: FORD F650 2000 10.GPages: 208, PDF Size: 1.08 MB
Page 8 of 208
0
000000000
MPH20km/h
406080
100
120
140
160
010 20304050
60
70
80
90
100
P
ABS TRAILER
BRAKE
W
A
TE
R
IN
F
U
E
L W
A
I
T
O
S
T
A
ABS
TRANS
TEMP STOP
ENGINE
ENGINE
PROTECT
AIR
CLEAN
CHECK
TRANS SERVICE
ENGINE
SOONCRUIS
+ -LEF
HRPM1
0
0
0 D
IE
S
E
L
F
U
E
L
O
N
L
YX012
3
4
PRN 218C 1
8
H
D
!B
R
A
K
E
B
R
A
K
E
0 30120 90 60
150AIR
PRESSURE
PSIP
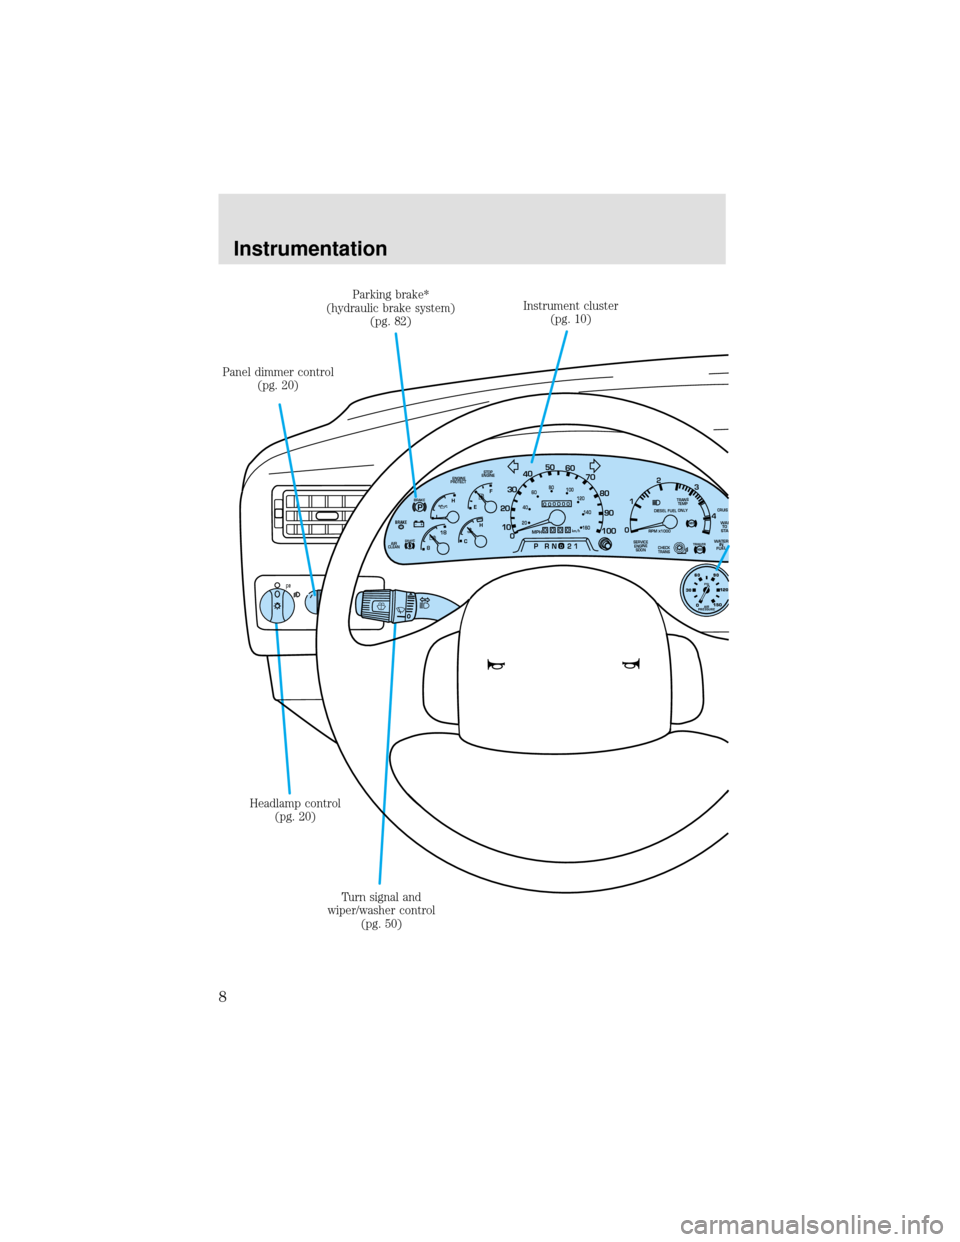
Headlamp control
(pg. 20)Instrument cluster
(pg. 10)
Panel dimmer control
(pg. 20)
Turn signal and
wiper/washer control
(pg. 50) Parking brake*
(hydraulic brake system)
(pg. 82)
Instrumentation
8
Page 20 of 208
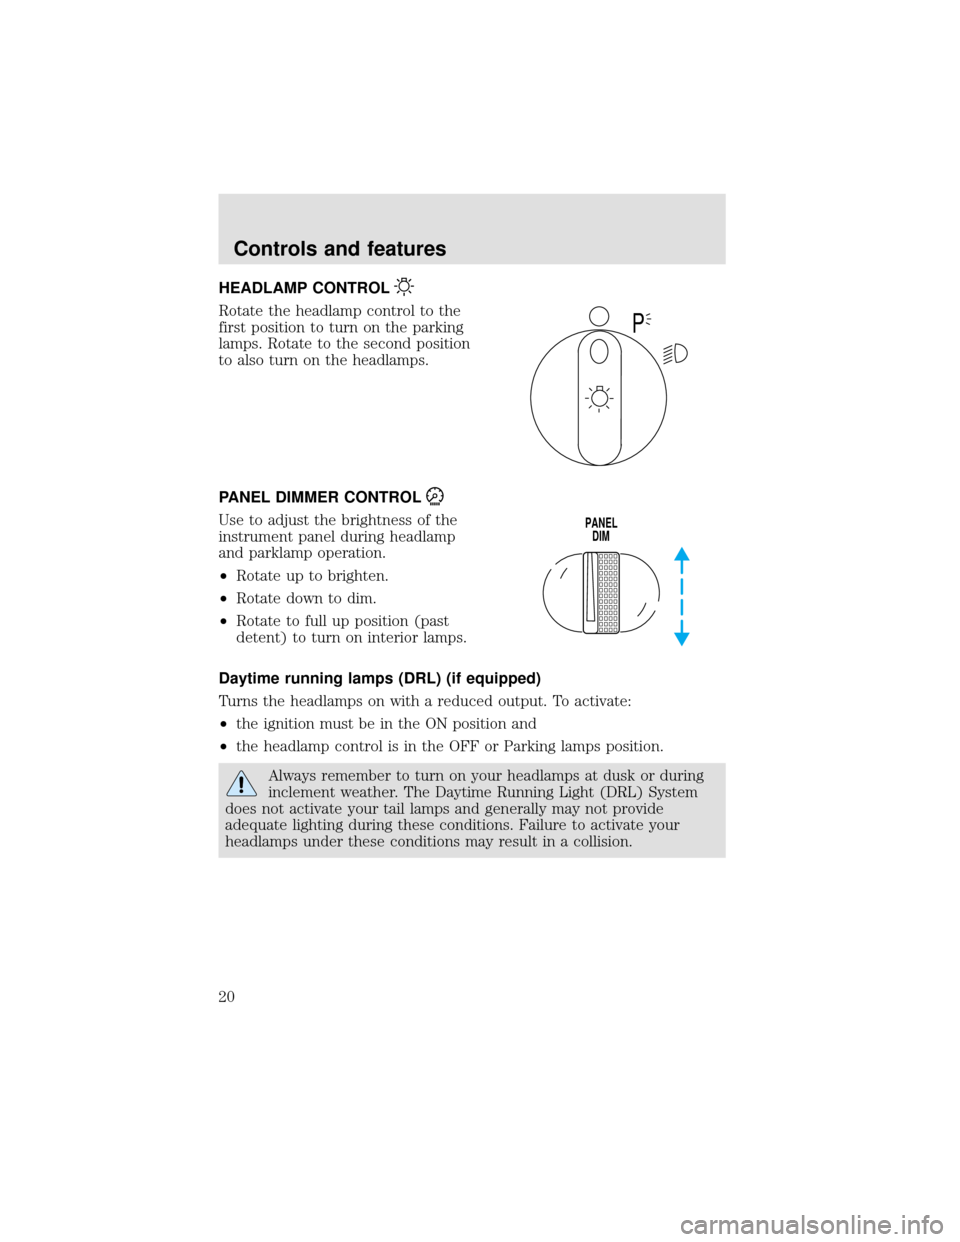
HEADLAMP CONTROL
Rotate the headlamp control to the
first position to turn on the parking
lamps. Rotate to the second position
to also turn on the headlamps.
PANEL DIMMER CONTROL
Use to adjust the brightness of the
instrument panel during headlamp
and parklamp operation.
•Rotate up to brighten.
•Rotate down to dim.
•Rotate to full up position (past
detent) to turn on interior lamps.
Daytime running lamps (DRL) (if equipped)
Turns the headlamps on with a reduced output. To activate:
•the ignition must be in the ON position and
•the headlamp control is in the OFF or Parking lamps position.
Always remember to turn on your headlamps at dusk or during
inclement weather. The Daytime Running Light (DRL) System
does not activate your tail lamps and generally may not provide
adequate lighting during these conditions. Failure to activate your
headlamps under these conditions may result in a collision.
P
PANEL
DIM
Controls and features
20
Page 21 of 208
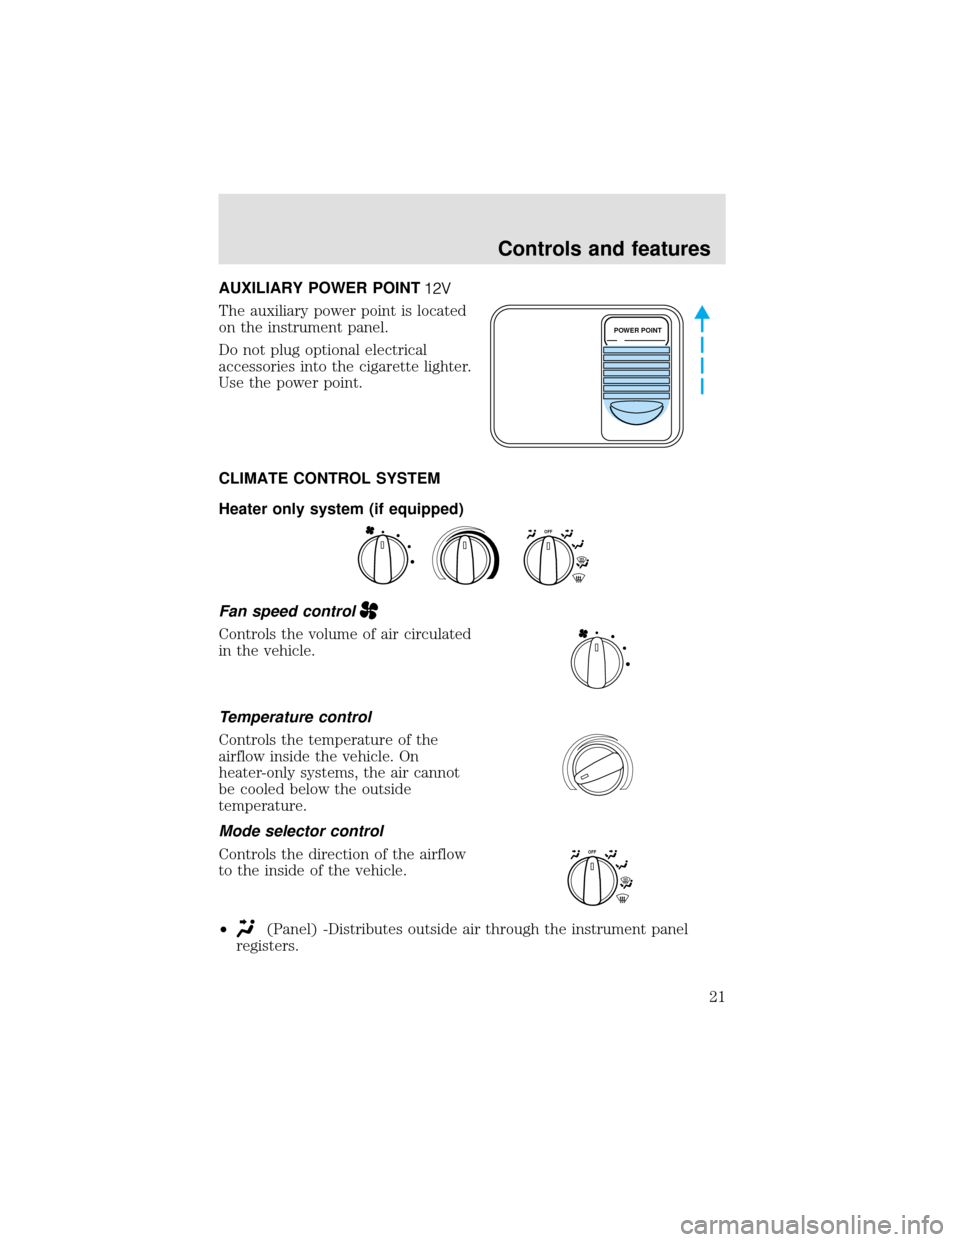
AUXILIARY POWER POINT
The auxiliary power point is located
on the instrument panel.
Do not plug optional electrical
accessories into the cigarette lighter.
Use the power point.
CLIMATE CONTROL SYSTEM
Heater only system (if equipped)
Fan speed control
Controls the volume of air circulated
in the vehicle.
Temperature control
Controls the temperature of the
airflow inside the vehicle. On
heater-only systems, the air cannot
be cooled below the outside
temperature.
Mode selector control
Controls the direction of the airflow
to the inside of the vehicle.
•
(Panel) -Distributes outside air through the instrument panel
registers.
POWER POINT
OFF
OFF
Controls and features
21
Page 22 of 208
•OFF-Outside air is shut out and the fan will not operate.
•
(Panel and floor) -Distributes outside air through the instrument
panel registers and the floor ducts.
•
(Floor) -Allows for maximum heating. Distributes outside air
through the floor ducts.
•
(Floor and defrost) -Distributes outside air through the floor
ducts and the windshield defroster ducts.
•
(Defrost) -Distributes outside air through the windshield
defroster ducts. It can be used to clear ice or fog from the windshield.
Operating tips
•In humid weather, select
before driving. This will reduce fogging
on your windshield. After a few minutes, select any desired position.
•To reduce humidity buildup inside the vehicle, don’t drive with the
climate control system in the OFF position.
•Don’t put objects under the front seat that will interfere with the
airflow to the rear seats (if equipped).
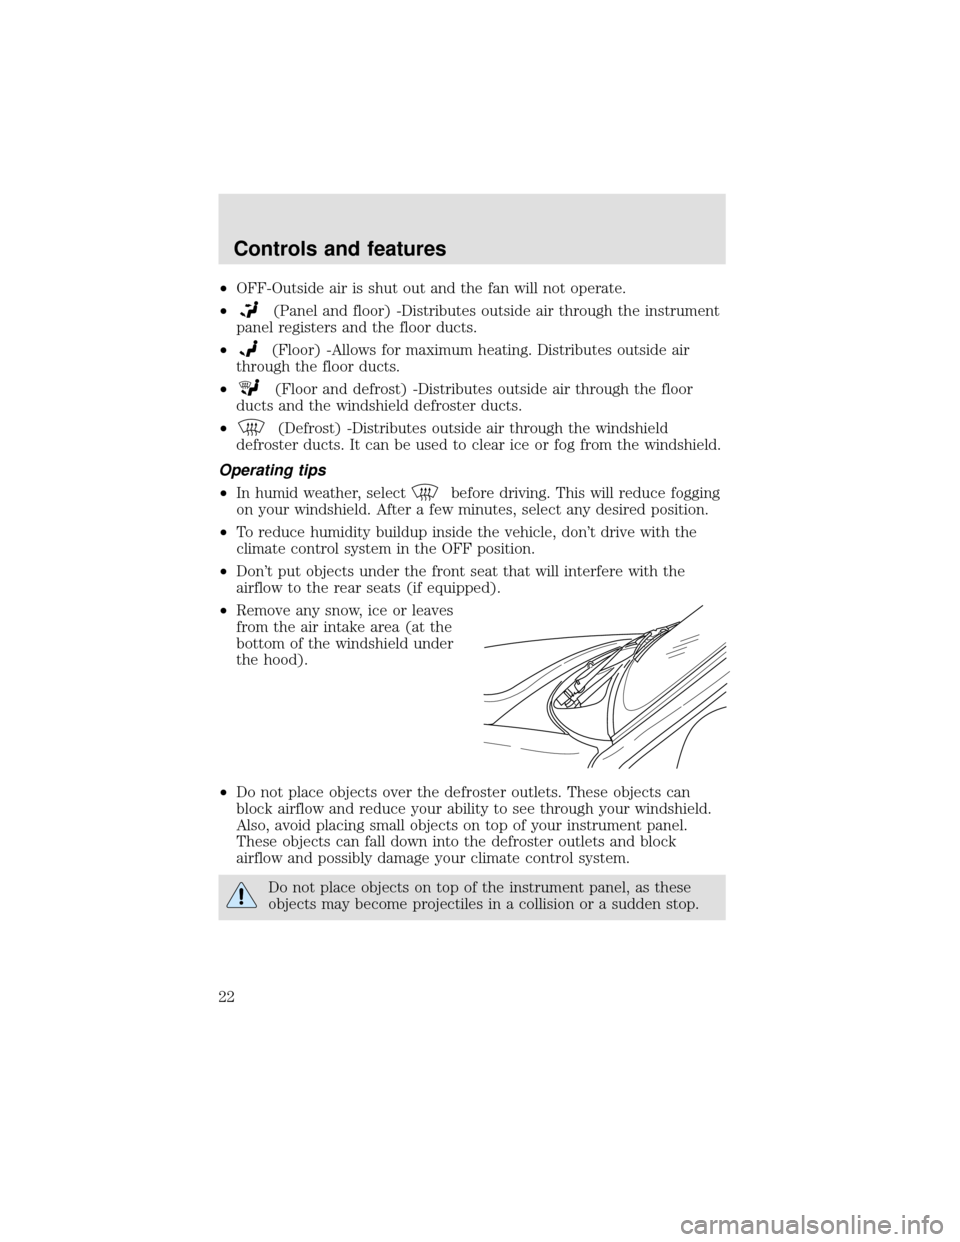
•Remove any snow, ice or leaves
from the air intake area (at the
bottom of the windshield under
the hood).
•Do not place objects over the defroster outlets. These objects can
block airflow and reduce your ability to see through your windshield.
Also, avoid placing small objects on top of your instrument panel.
These objects can fall down into the defroster outlets and block
airflow and possibly damage your climate control system.
Do not place objects on top of the instrument panel, as these
objects may become projectiles in a collision or a sudden stop.
Controls and features
22
Page 23 of 208
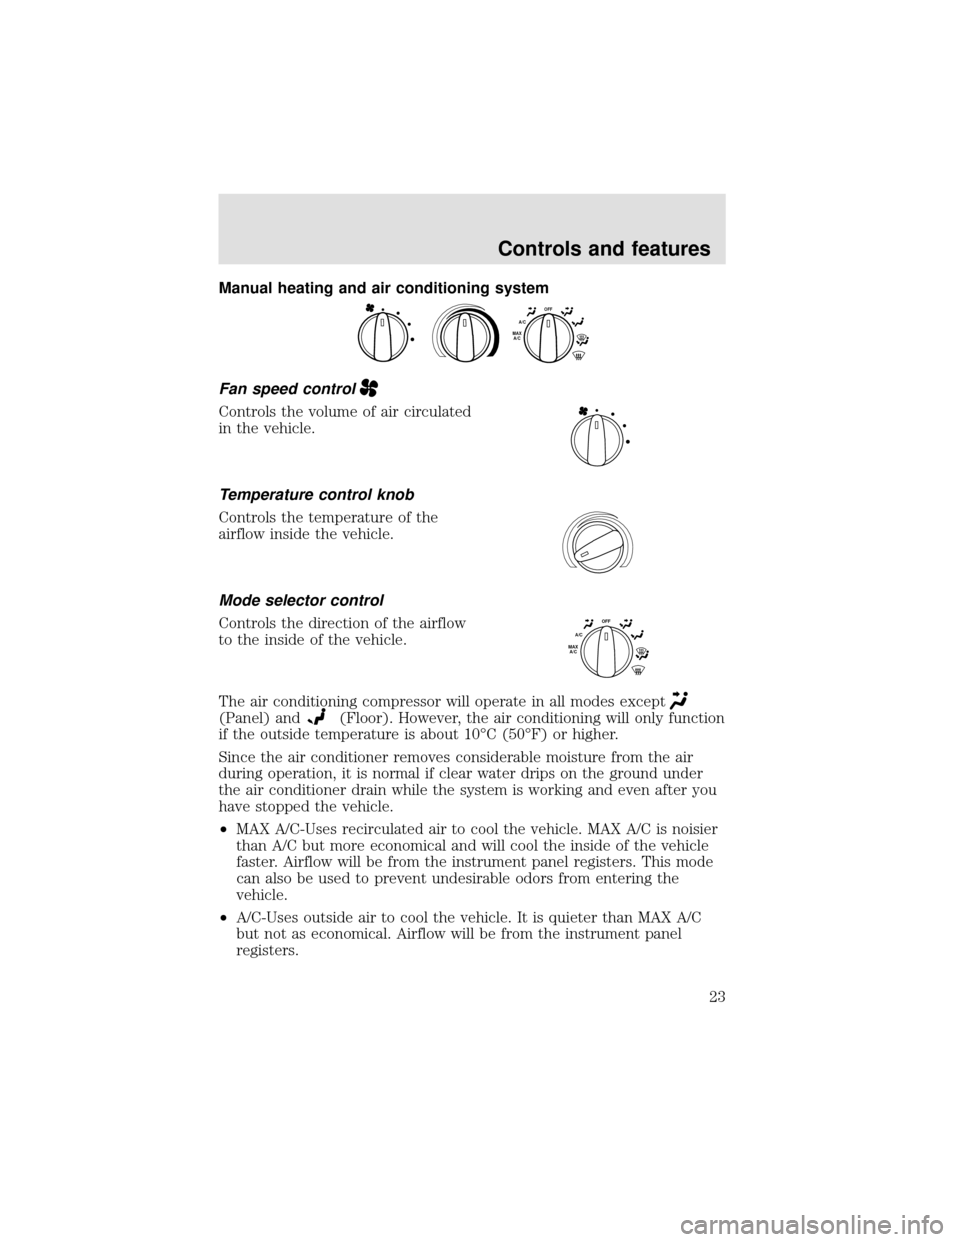
Manual heating and air conditioning system
Fan speed control
Controls the volume of air circulated
in the vehicle.
Temperature control knob
Controls the temperature of the
airflow inside the vehicle.
Mode selector control
Controls the direction of the airflow
to the inside of the vehicle.
The air conditioning compressor will operate in all modes except
(Panel) and(Floor). However, the air conditioning will only function
if the outside temperature is about 10°C (50°F) or higher.
Since the air conditioner removes considerable moisture from the air
during operation, it is normal if clear water drips on the ground under
the air conditioner drain while the system is working and even after you
have stopped the vehicle.
•MAX A/C-Uses recirculated air to cool the vehicle. MAX A/C is noisier
than A/C but more economical and will cool the inside of the vehicle
faster. Airflow will be from the instrument panel registers. This mode
can also be used to prevent undesirable odors from entering the
vehicle.
•A/C-Uses outside air to cool the vehicle. It is quieter than MAX A/C
but not as economical. Airflow will be from the instrument panel
registers.
OFFA/CMAX
A/C
OFFA/CMAX
A/C
Controls and features
23
Page 24 of 208

•(Panel) -Distributes outside air through the instrument panel
registers. However, the air will not be cooled below the outside
temperature because the air conditioning does not operate in this
mode.
•OFF-Outside air is shut out and the fan will not operate. For short
periods of time only, use this mode to prevent undesirable odors from
entering the vehicle.
•
(Panel and floor) -Distributes outside air through the instrument
panel registers and the floor ducts. Heating and air conditioning
capabilities are provided in this mode. For added customer comfort,
when the temperature control knob is anywhere in between the full
hot and full cold positions, the air distributed through the floor ducts
will be slightly warmer than the air sent to the instrument panel
registers.
•
(Floor) -Allows for maximum heating by distributing outside air
through the floor ducts. However, the air will not be cooled below the
outside temperature because the air conditioning does not operate in
this mode.
•
(Floor and defrost) -Distributes outside air through the
windshield defroster ducts and the floor ducts. Heating and air
conditioning capabilities are provided in this mode. For added
customer comfort, the air distributed through the floor ducts will be
slightly warmer than the air sent to the windshield defroster ducts. If
the temperature is about 10°C (50°F) or higher, the air conditioner
will automatically dehumidify the air to reduce fogging.
•
(Defrost) -Distributes outside air through the windshield
defroster ducts. It can be used to clear ice or fog from the windshield.
If the temperature is about 10°C (50°F) or higher, the air conditioner
will automatically dehumidify the air to reduce fogging.
Operating tips
•In humid weather, select
before driving. This will reduce fogging
on your windshield. After a few minutes, select any desired position.
•To prevent humidity buildup inside the vehicle, don’t drive with the
climate control system in the OFF or MAX A/C position.
•Don’t put objects under the front seat that will interfere with the
airflow to the rear seats (if equipped).
Controls and features
24
Page 25 of 208
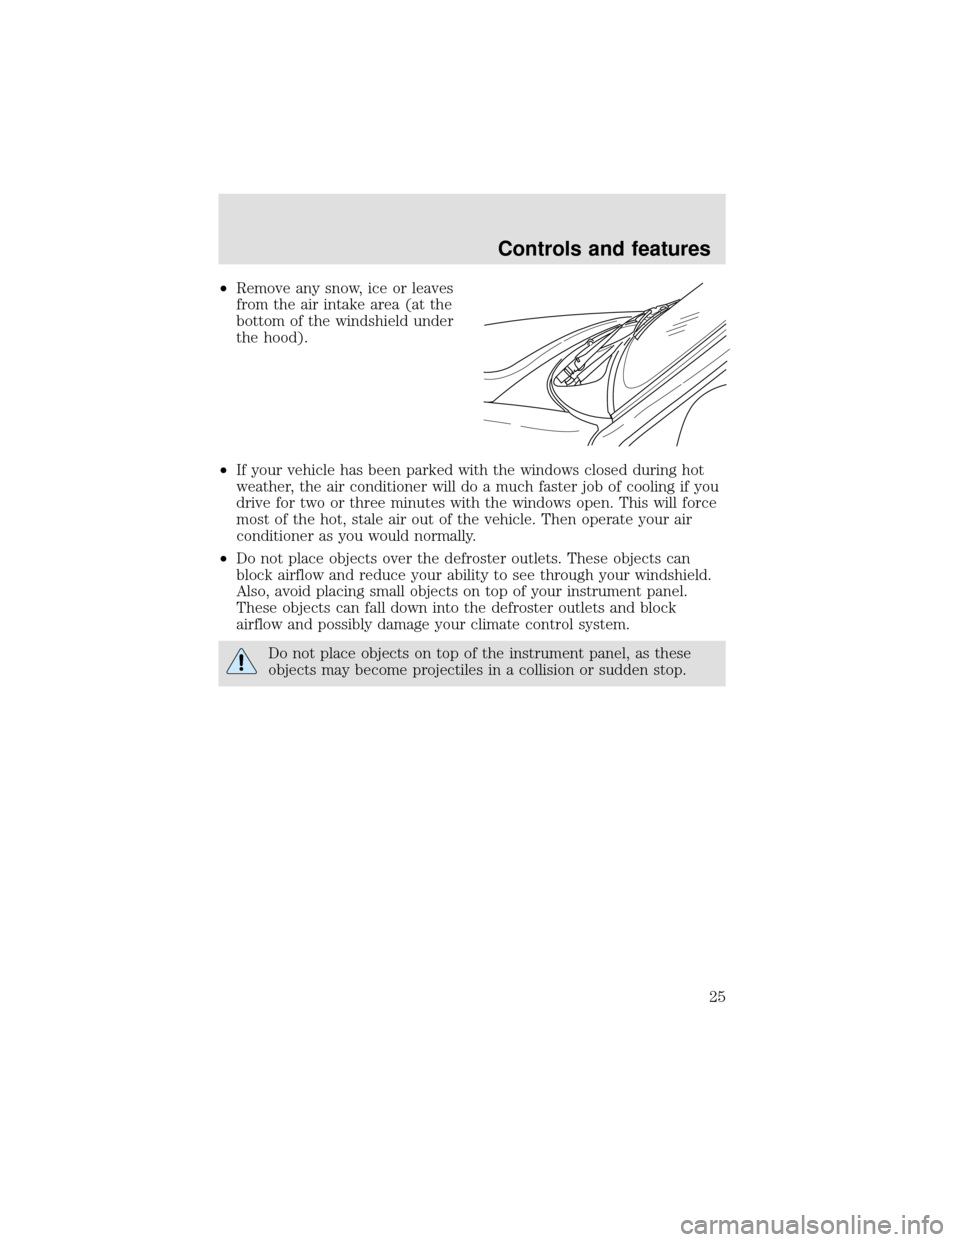
•Remove any snow, ice or leaves
from the air intake area (at the
bottom of the windshield under
the hood).
•If your vehicle has been parked with the windows closed during hot
weather, the air conditioner will do a much faster job of cooling if you
drive for two or three minutes with the windows open. This will force
most of the hot, stale air out of the vehicle. Then operate your air
conditioner as you would normally.
•Do not place objects over the defroster outlets. These objects can
block airflow and reduce your ability to see through your windshield.
Also, avoid placing small objects on top of your instrument panel.
These objects can fall down into the defroster outlets and block
airflow and possibly damage your climate control system.
Do not place objects on top of the instrument panel, as these
objects may become projectiles in a collision or sudden stop.
Controls and features
25
Page 104 of 208

The push button shifter has a R
(Reverse), N (Neutral) and D
(Drive) selections as well as a
MODE button, up arrow (for
upshifts) and a down arrow
(downshift) and a digital display.
When a range button is pressed, a
tone will sound, the SELECT
indicator displays a chosen
operation (if the Electronic Control
Unit determines the shift is
acceptable) and the transmission
will shift to the starting range. In D
(Drive), selection of a specific gear
can be accomplished by pressing the
up or down arrow button. If the
CHECK TRANS light (located on the instrument panel) is illuminated,
the shifter control pad may be disabled, tones will not be heard, shifts
may not occur and directional shift changes will not be able to be
performed.
The MODE button may be used to
activate a second shift schedule
(this is typically programmed for
Economywhich will enable the
transmission to shift at a lower RPM
to conserve fuel).
These transmissions incorporate a hold feature to prohibit upshifting
above the gear selected during normal driving. During downhill
operation, the transmission may upshift from the selected gear if the
Electronic Control Unit detects the possibility of engine damage from
exceeding the governed engine speed.
D N R
MODE
D N R
MODE
Driving
104
Page 159 of 208

Driving style—good driving and fuel economy habits
Give consideration to the lists that follow and you may be able to change
a number of variables and improve your fuel economy.
Habits
•Smooth, moderate operation can yield up to 10% savings in fuel.
•Steady speeds without stopping will usually give the best fuel
economy.
•Anticipate stopping; slowing down may eliminate the need to stop.
•Sudden or hard accelerations may reduce fuel economy.
•Slow down gradually.
•Driving at reasonable speeds (traveling at 88 km/h [55 mph] uses 15%
less fuel than traveling at 105 km/h [65 mph]).
•Using the air conditioner or defroster may reduce fuel economy.
•Resting your foot on the brake pedal while driving may reduce fuel
economy.
Conditions
•Carrying unnecessary weight may reduce fuel economy.
•Fuel economy may decrease with lower temperatures during the first
12–16 km (8–10 miles) of driving.
•Flat terrain driving improves fuel economy over hilly roads.
•Transmissions give their best fuel economy when operated in the top
cruise gear and with steady pressure on the accelerator.
•Close windows for highway driving.
EXTERIOR BULBS
Check operation of lamps, safety equipment and warning signals
It is a good safety practice to check operation of headlamps, parking
lamps, turn signals, clearance and marker lamps, instrument panel and
control lamps each day.
Replacing headlamp bulbs
To remove the headlamp bulbs:
1. Make sure headlamp switch is in OFF position.
Maintenance and care
159
Page 162 of 208
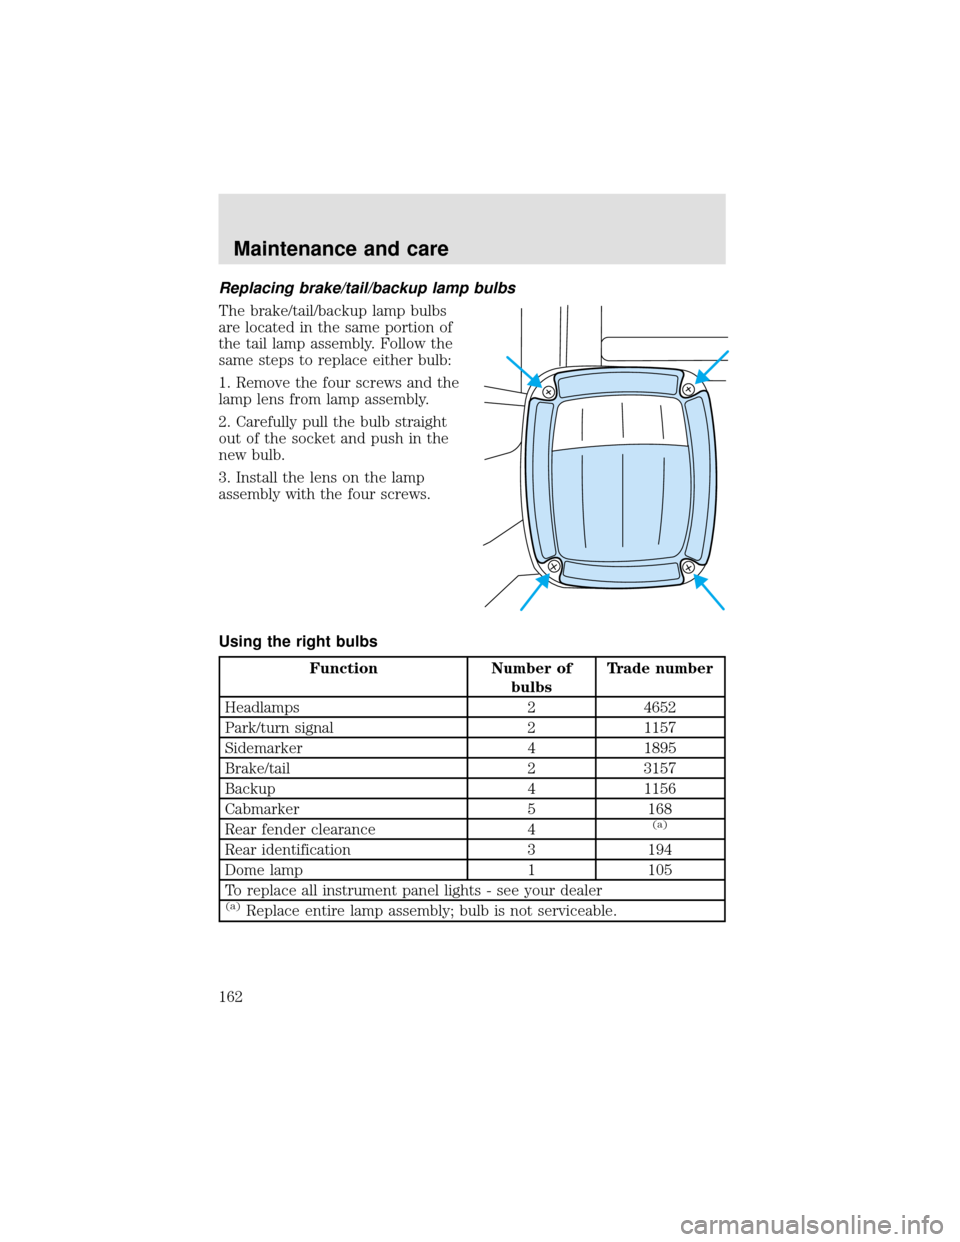
Replacing brake/tail/backup lamp bulbs
The brake/tail/backup lamp bulbs
are located in the same portion of
the tail lamp assembly. Follow the
same steps to replace either bulb:
1. Remove the four screws and the
lamp lens from lamp assembly.
2. Carefully pull the bulb straight
out of the socket and push in the
new bulb.
3. Install the lens on the lamp
assembly with the four screws.
Using the right bulbs
Function Number of
bulbsTrade number
Headlamps 2 4652
Park/turn signal 2 1157
Sidemarker 4 1895
Brake/tail 2 3157
Backup 4 1156
Cabmarker 5 168
Rear fender clearance 4
(a)
Rear identification 3 194
Dome lamp 1 105
To replace all instrument panel lights - see your dealer
(a)Replace entire lamp assembly; bulb is not serviceable.
Maintenance and care
162