display FORD F650 2003 10.G Owner's Manual
[x] Cancel search | Manufacturer: FORD, Model Year: 2003, Model line: F650, Model: FORD F650 2003 10.GPages: 248, PDF Size: 2.54 MB
Page 72 of 248
Compass calibration adjustment
Perform this adjustment in an open area free from steel structures and
high voltage lines.
For optimum calibration, turn off all electrical accessories (heater/air
conditioning, wipers, etc.) and make sure all vehicle doors are shut.
1. Locate the controls located in the overhead console.
2. Start the vehicle.
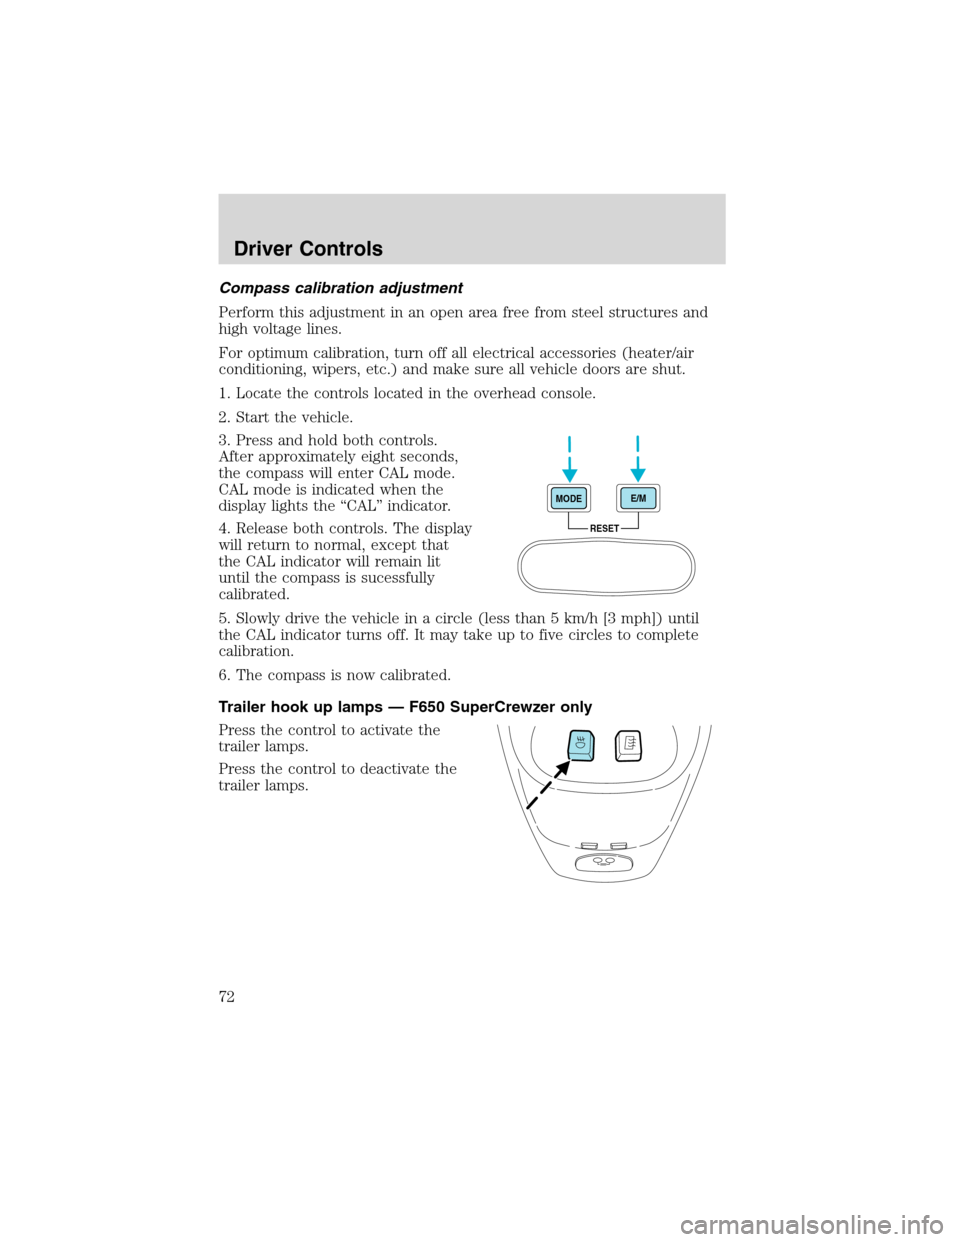
3. Press and hold both controls.
After approximately eight seconds,
the compass will enter CAL mode.
CAL mode is indicated when the
display lights the“CAL”indicator.
4. Release both controls. The display
will return to normal, except that
the CAL indicator will remain lit
until the compass is sucessfully
calibrated.
5. Slowly drive the vehicle in a circle (less than 5 km/h [3 mph]) until
the CAL indicator turns off. It may take up to five circles to complete
calibration.
6. The compass is now calibrated.
Trailer hook up lamps—F650 SuperCrewzer only
Press the control to activate the
trailer lamps.
Press the control to deactivate the
trailer lamps.
RESET MODEE/M
Driver Controls
72
Page 134 of 248
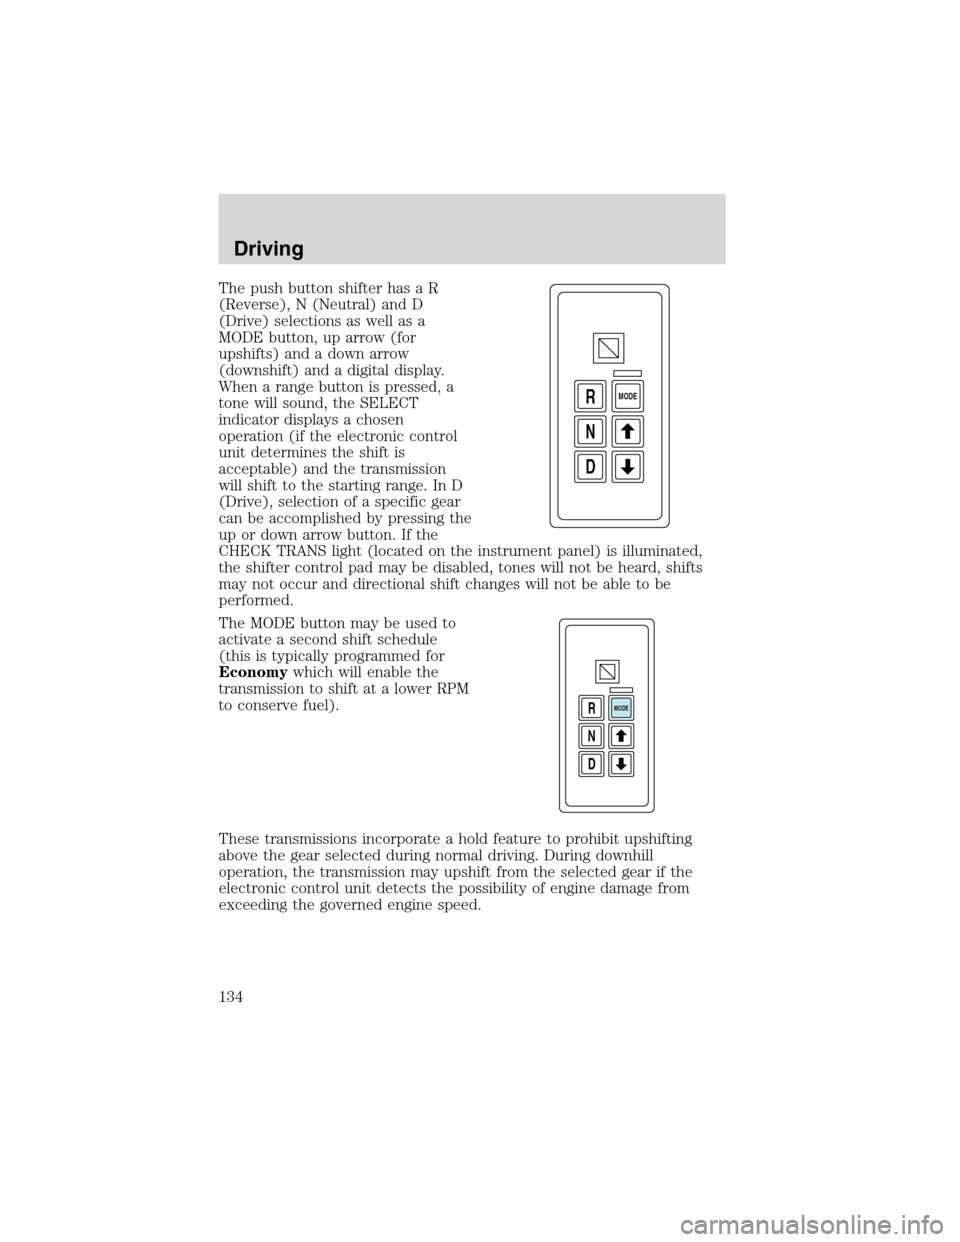
The push button shifter has a R
(Reverse), N (Neutral) and D
(Drive) selections as well as a
MODE button, up arrow (for
upshifts) and a down arrow
(downshift) and a digital display.
When a range button is pressed, a
tone will sound, the SELECT
indicator displays a chosen
operation (if the electronic control
unit determines the shift is
acceptable) and the transmission
will shift to the starting range. In D
(Drive), selection of a specific gear
can be accomplished by pressing the
up or down arrow button. If the
CHECK TRANS light (located on the instrument panel) is illuminated,
the shifter control pad may be disabled, tones will not be heard, shifts
may not occur and directional shift changes will not be able to be
performed.
The MODE button may be used to
activate a second shift schedule
(this is typically programmed for
Economywhich will enable the
transmission to shift at a lower RPM
to conserve fuel).
These transmissions incorporate a hold feature to prohibit upshifting
above the gear selected during normal driving. During downhill
operation, the transmission may upshift from the selected gear if the
electronic control unit detects the possibility of engine damage from
exceeding the governed engine speed.
D N R
MODE
D N R
MODE
Driving
134
Page 135 of 248
Gearshift positions
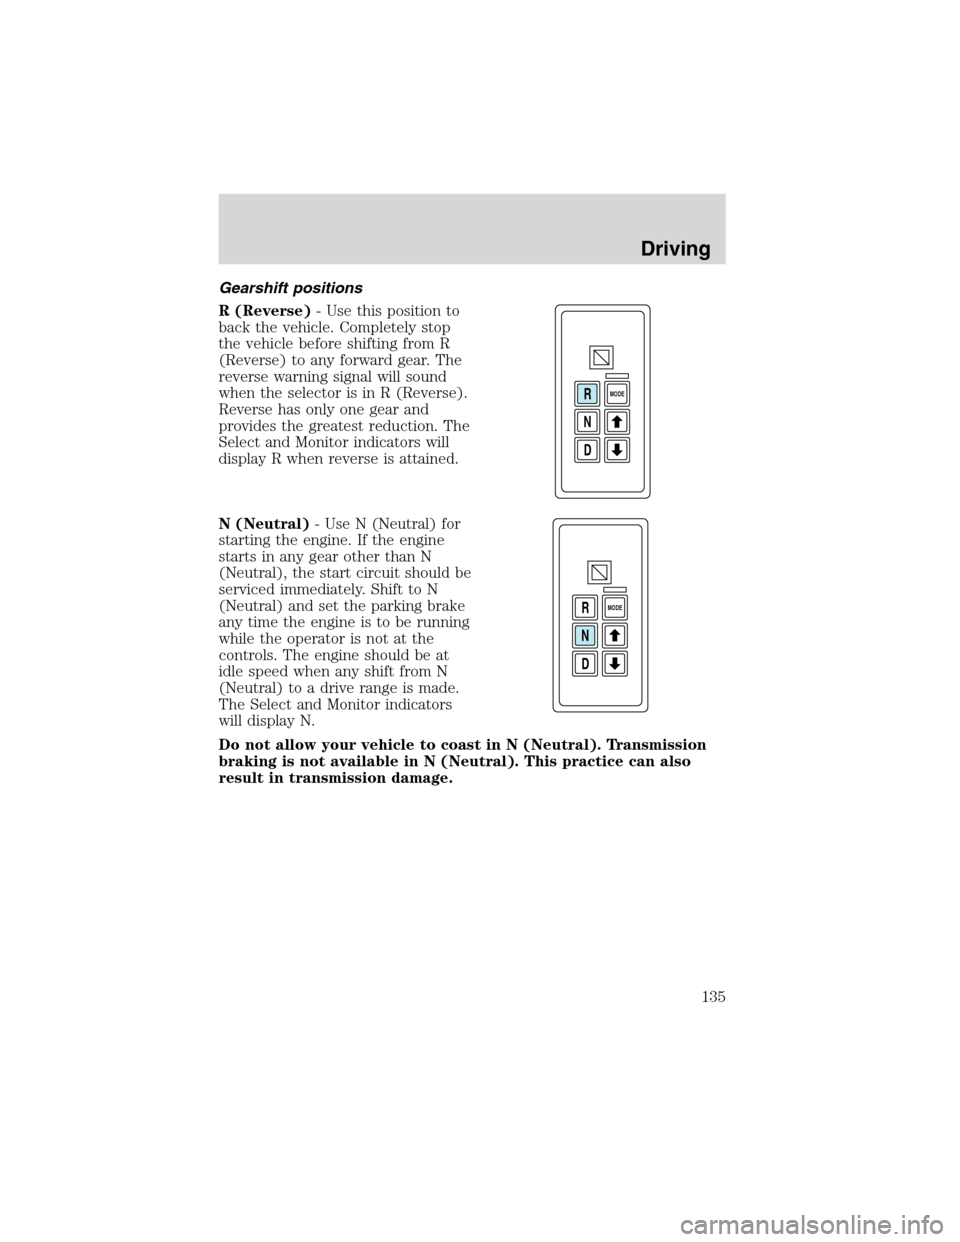
R (Reverse)- Use this position to
back the vehicle. Completely stop
the vehicle before shifting from R
(Reverse) to any forward gear. The
reverse warning signal will sound
when the selector is in R (Reverse).
Reverse has only one gear and
provides the greatest reduction. The
Select and Monitor indicators will
display R when reverse is attained.
N (Neutral)- Use N (Neutral) for
starting the engine. If the engine
starts in any gear other than N
(Neutral), the start circuit should be
serviced immediately. Shift to N
(Neutral) and set the parking brake
any time the engine is to be running
while the operator is not at the
controls. The engine should be at
idle speed when any shift from N
(Neutral) to a drive range is made.
The Select and Monitor indicators
will display N.
Do not allow your vehicle to coast in N (Neutral). Transmission
braking is not available in N (Neutral). This practice can also
result in transmission damage.
D N R
MODE
D N R
MODE
Driving
135
Page 136 of 248
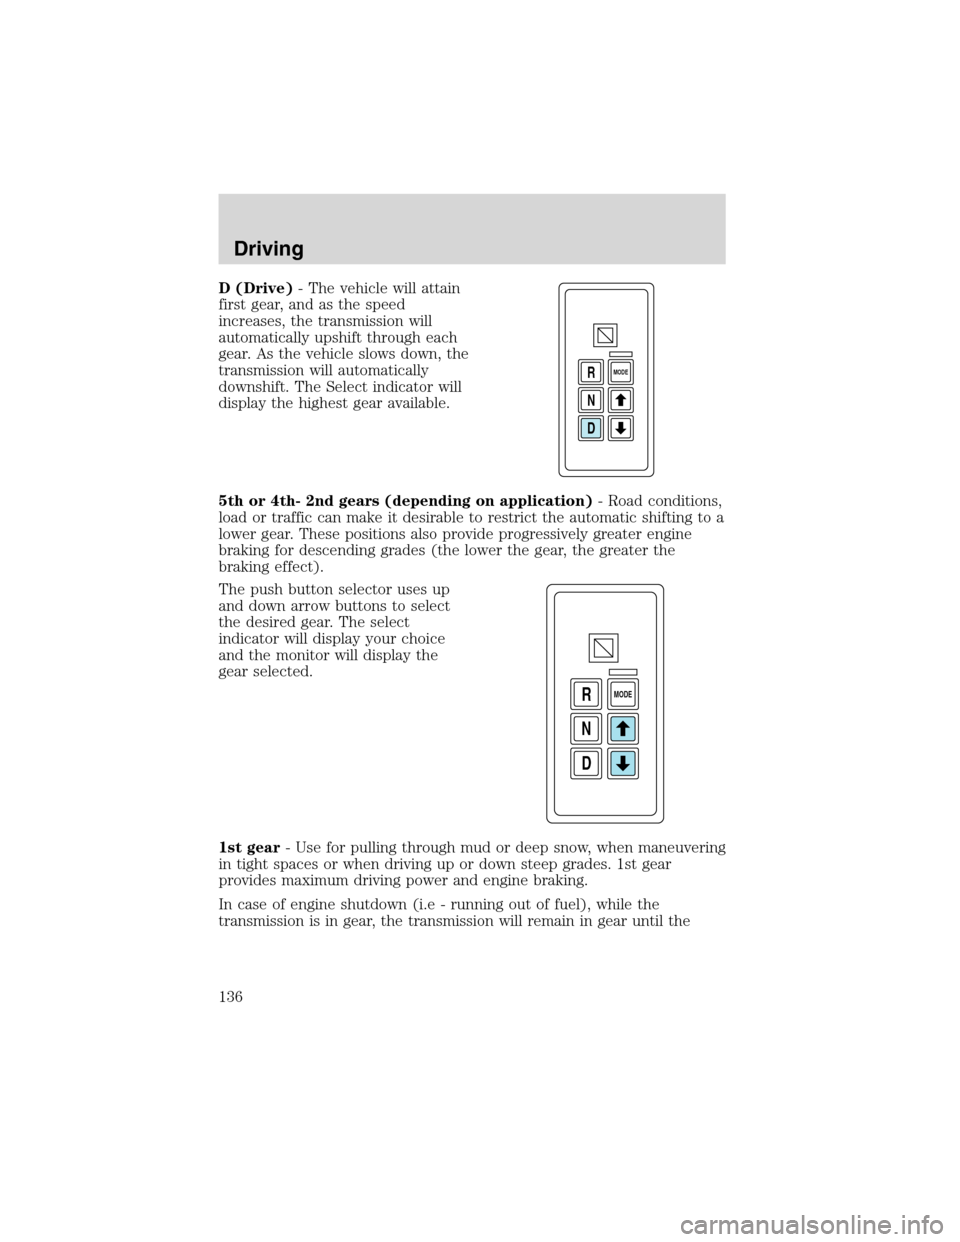
D (Drive)- The vehicle will attain
first gear, and as the speed
increases, the transmission will
automatically upshift through each
gear. As the vehicle slows down, the
transmission will automatically
downshift. The Select indicator will
display the highest gear available.
5th or 4th- 2nd gears (depending on application)- Road conditions,
load or traffic can make it desirable to restrict the automatic shifting to a
lower gear. These positions also provide progressively greater engine
braking for descending grades (the lower the gear, the greater the
braking effect).
The push button selector uses up
and down arrow buttons to select
the desired gear. The select
indicator will display your choice
and the monitor will display the
gear selected.
1st gear- Use for pulling through mud or deep snow, when maneuvering
in tight spaces or when driving up or down steep grades. 1st gear
provides maximum driving power and engine braking.
In case of engine shutdown (i.e - running out of fuel), while the
transmission is in gear, the transmission will remain in gear until the
D N R
MODE
D N R
MODE
Driving
136
Page 137 of 248
ignition key is turned to the OFF position. After the ignition is turned
off, the transmission will automatically shift to N (Neutral) and the
monitor on the shift pad will display N (Neutral) when the ignition key is
turned to the ON position.
Allison 2000 series
These transmissions have no P (Park) position. Before leaving
the driver’s seat, always shift into N (Neutral) and set the
parking brake. Shut off the engine and remove your ignition key.
Always use wheel chocks for hilly or off-road parking. Unexpected and
possibly sudden vehicle movement may occur if these precautions are
not taken.
This transmission provides five forward speeds in four ranges and one
reverse range.
R (Reverse)
Use this position to back the vehicle. Completely stop the vehicle before
shifting from R (Reverse) to any forward gear (1, 2, 4 or D). The reverse
warning signal will sound when the selector is in R (Reverse). Reverse
has only one gear and provides the greatest gear reduction.
N (Neutral)
Place the selector in N (Neutral) before starting the engine. Shift to N
(Neutral) and set the parking brake any time the engine is to be running
while the operator is not at the controls. The engine should be at idle
speed when any shift from N (Neutral) to a drive range is made.
Do not allow your vehicle to coast in N (Neutral). Engine
braking is not available in N (Neutral). Allowing your vehicle to
coast in N (Neutral) may result in loss of vehicle control and severe
internal transmission damage.
D (Drive-Normal driving position)
In this position, the transmission starts in first gear and automatically
shifts through second, third, fourth and fifth depending on load and
speed demands. When the vehicle is slowing down, the transmission will
automatically downshift. This range is used for highway driving under
normal conditions.
Driving
137
Page 141 of 248
DRIVING WITH A MANUAL TRANSMISSION (IF EQUIPPED)
Continued use of a damaged or worn clutch, prolonged clutch
slippage or downshifting at excessive speeds can result in a
failure of the engine, transmission or clutch components.
To avoid premature clutch wear and failure, do not drive with
your foot resting on the clutch pedal or use it to hold the vehicle
at a standstill on an upgrade as when waiting for a traffic light.
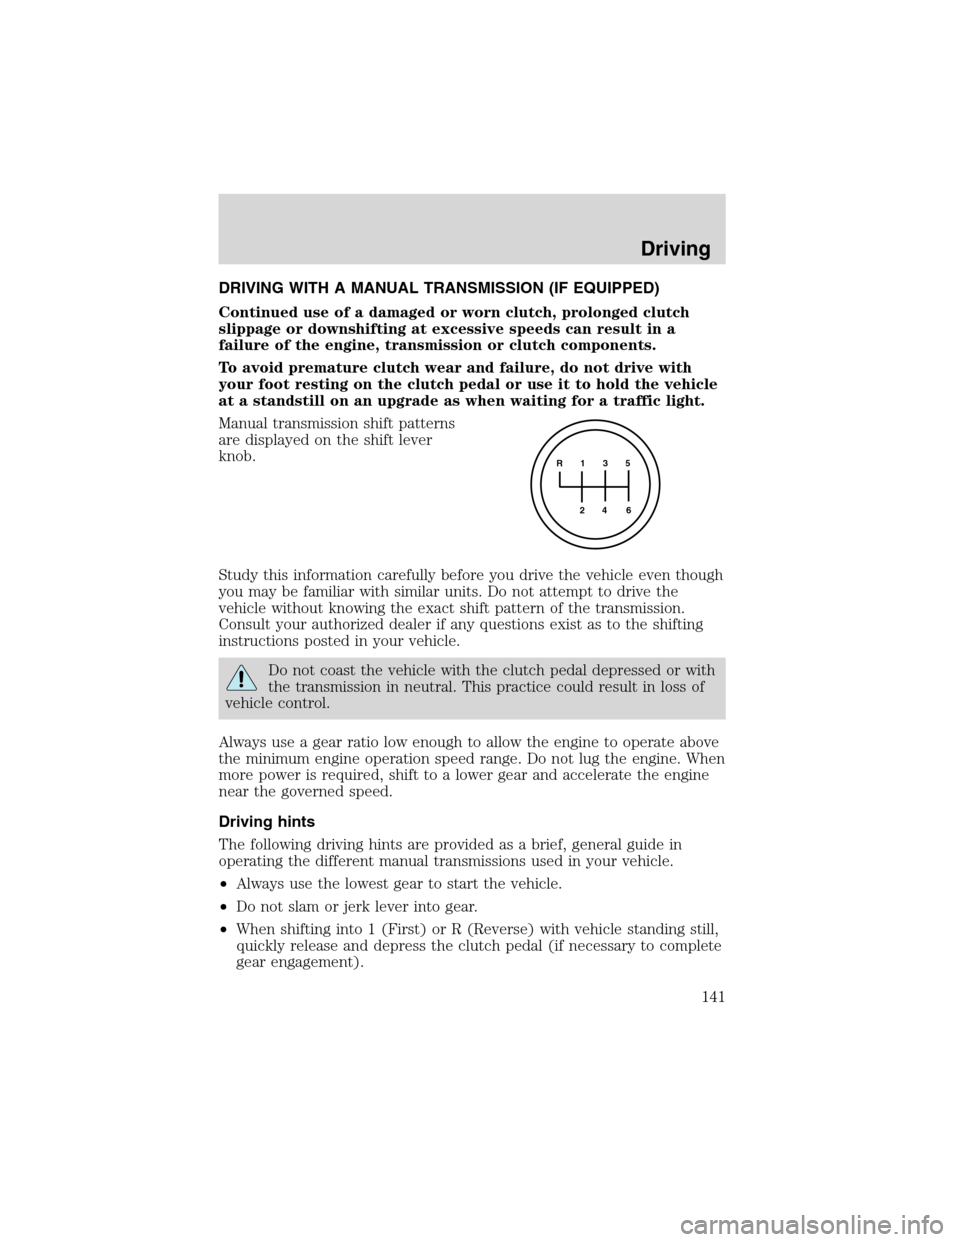
Manual transmission shift patterns
are displayed on the shift lever
knob.
Study this information carefully before you drive the vehicle even though
you may be familiar with similar units. Do not attempt to drive the
vehicle without knowing the exact shift pattern of the transmission.
Consult your authorized dealer if any questions exist as to the shifting
instructions posted in your vehicle.
Do not coast the vehicle with the clutch pedal depressed or with
the transmission in neutral. This practice could result in loss of
vehicle control.
Always use a gear ratio low enough to allow the engine to operate above
the minimum engine operation speed range. Do not lug the engine. When
more power is required, shift to a lower gear and accelerate the engine
near the governed speed.
Driving hints
The following driving hints are provided as a brief, general guide in
operating the different manual transmissions used in your vehicle.
•Always use the lowest gear to start the vehicle.
•Do not slam or jerk lever into gear.
•When shifting into 1 (First) or R (Reverse) with vehicle standing still,
quickly release and depress the clutch pedal (if necessary to complete
gear engagement).
R 1 3 5
4
6 2
Driving
141