FORD F650 2005 11.G Workshop Manual
Manufacturer: FORD, Model Year: 2005, Model line: F650, Model: FORD F650 2005 11.GPages: 272, PDF Size: 1.5 MB
Page 51 of 272
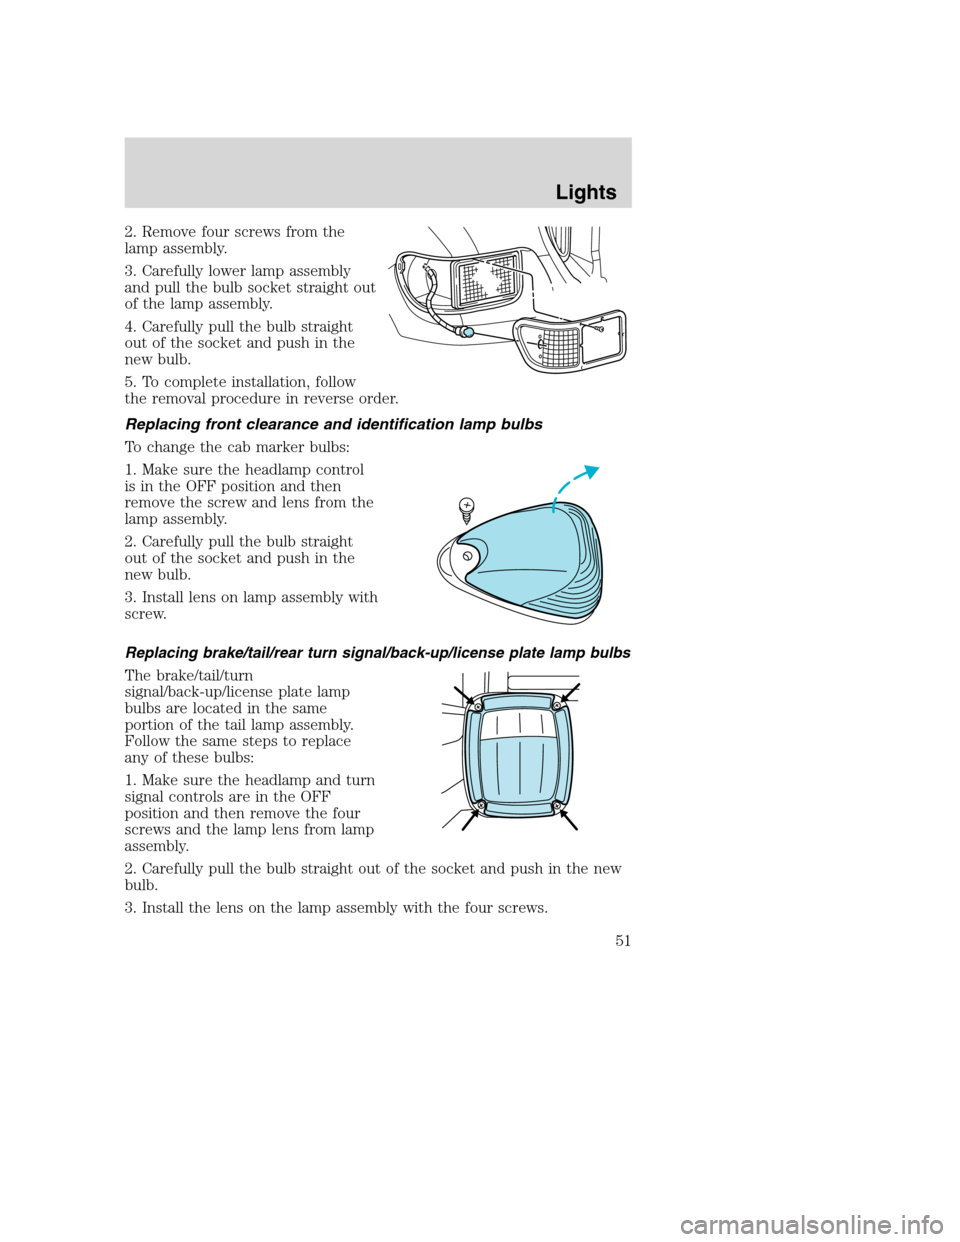
2. Remove four screws from the
lamp assembly.
3. Carefully lower lamp assembly
and pull the bulb socket straight out
of the lamp assembly.
4. Carefully pull the bulb straight
out of the socket and push in the
new bulb.
5. To complete installation, follow
the removal procedure in reverse order.
Replacing front clearance and identification lamp bulbs
To change the cab marker bulbs:
1. Make sure the headlamp control
is in the OFF position and then
remove the screw and lens from the
lamp assembly.
2. Carefully pull the bulb straight
out of the socket and push in the
new bulb.
3. Install lens on lamp assembly with
screw.
Replacing brake/tail/rear turn signal/back-up/license plate lamp bulbs
The brake/tail/turn
signal/back-up/license plate lamp
bulbs are located in the same
portion of the tail lamp assembly.
Follow the same steps to replace
any of these bulbs:
1. Make sure the headlamp and turn
signal controls are in the OFF
position and then remove the four
screws and the lamp lens from lamp
assembly.
2. Carefully pull the bulb straight out of the socket and push in the new
bulb.
3. Install the lens on the lamp assembly with the four screws.
Lights
51
Page 52 of 272
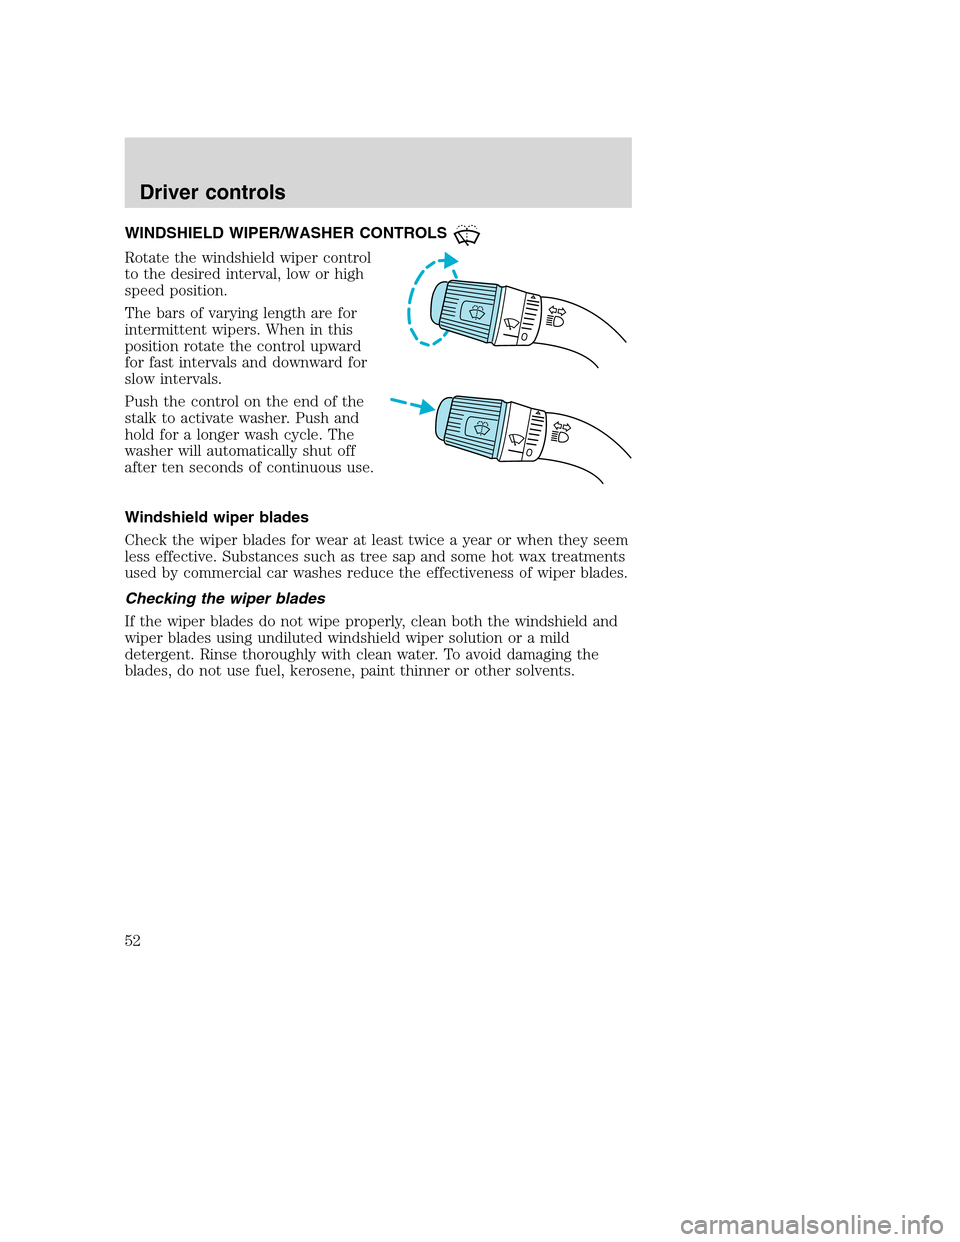
WINDSHIELD WIPER/WASHER CONTROLS
Rotate the windshield wiper control
to the desired interval, low or high
speed position.
The bars of varying length are for
intermittent wipers. When in this
position rotate the control upward
for fast intervals and downward for
slow intervals.
Push the control on the end of the
stalk to activate washer. Push and
hold for a longer wash cycle. The
washer will automatically shut off
after ten seconds of continuous use.
Windshield wiper blades
Check the wiper blades for wear at least twice a year or when they seem
less effective. Substances such as tree sap and some hot wax treatments
used by commercial car washes reduce the effectiveness of wiper blades.
Checking the wiper blades
If the wiper blades do not wipe properly, clean both the windshield and
wiper blades using undiluted windshield wiper solution or a mild
detergent. Rinse thoroughly with clean water. To avoid damaging the
blades, do not use fuel, kerosene, paint thinner or other solvents.
Driver controls
Driver controls
52
Page 53 of 272
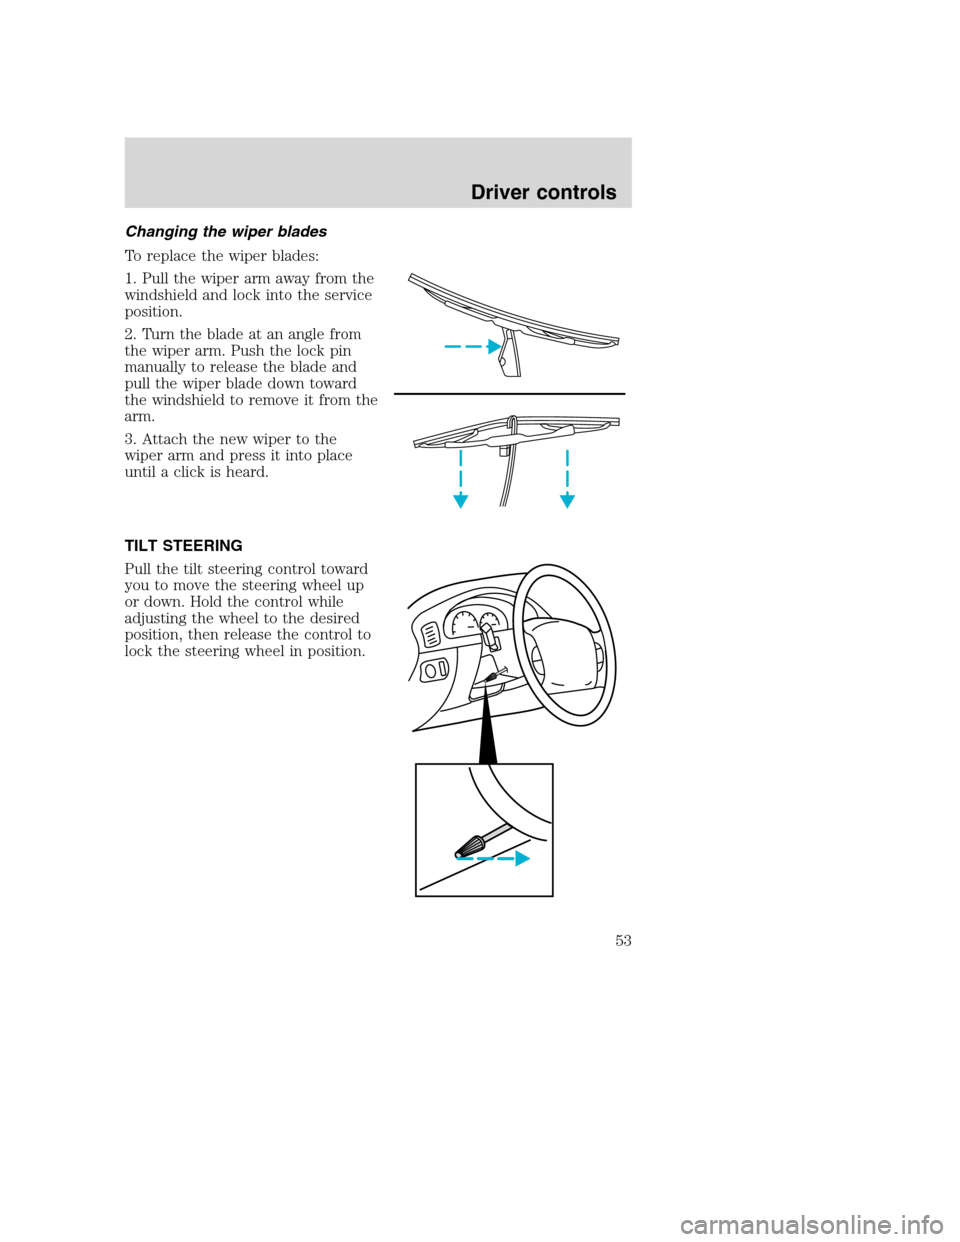
Changing the wiper blades
To replace the wiper blades:
1. Pull the wiper arm away from the
windshield and lock into the service
position.
2. Turn the blade at an angle from
the wiper arm. Push the lock pin
manually to release the blade and
pull the wiper blade down toward
the windshield to remove it from the
arm.
3. Attach the new wiper to the
wiper arm and press it into place
until a click is heard.
TILT STEERING
Pull the tilt steering control toward
you to move the steering wheel up
or down. Hold the control while
adjusting the wheel to the desired
position, then release the control to
lock the steering wheel in position.
Driver controls
53
Page 54 of 272
Never adjust the steering wheel when the vehicle is moving.
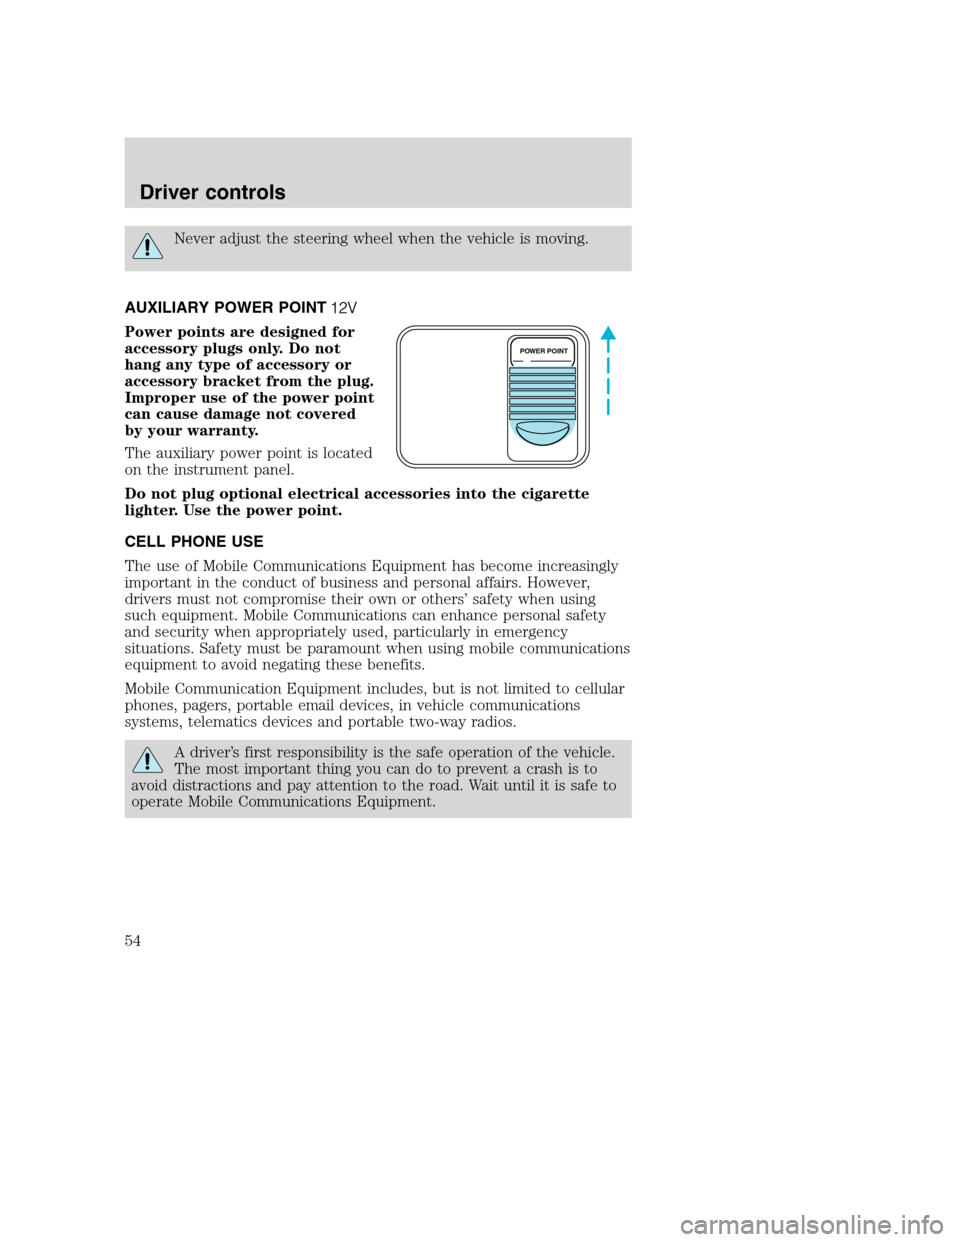
AUXILIARY POWER POINT
Power points are designed for
accessory plugs only. Do not
hang any type of accessory or
accessory bracket from the plug.
Improper use of the power point
can cause damage not covered
by your warranty.
The auxiliary power point is located
on the instrument panel.
Do not plug optional electrical accessories into the cigarette
lighter. Use the power point.
CELL PHONE USE
The use of Mobile Communications Equipment has become increasingly
important in the conduct of business and personal affairs. However,
drivers must not compromise their own or others’safety when using
such equipment. Mobile Communications can enhance personal safety
and security when appropriately used, particularly in emergency
situations. Safety must be paramount when using mobile communications
equipment to avoid negating these benefits.
Mobile Communication Equipment includes, but is not limited to cellular
phones, pagers, portable email devices, in vehicle communications
systems, telematics devices and portable two-way radios.
A driver’s first responsibility is the safe operation of the vehicle.
The most important thing you can do to prevent a crash is to
avoid distractions and pay attention to the road. Wait until it is safe to
operate Mobile Communications Equipment.
POWER POINT
Driver controls
54
Page 55 of 272
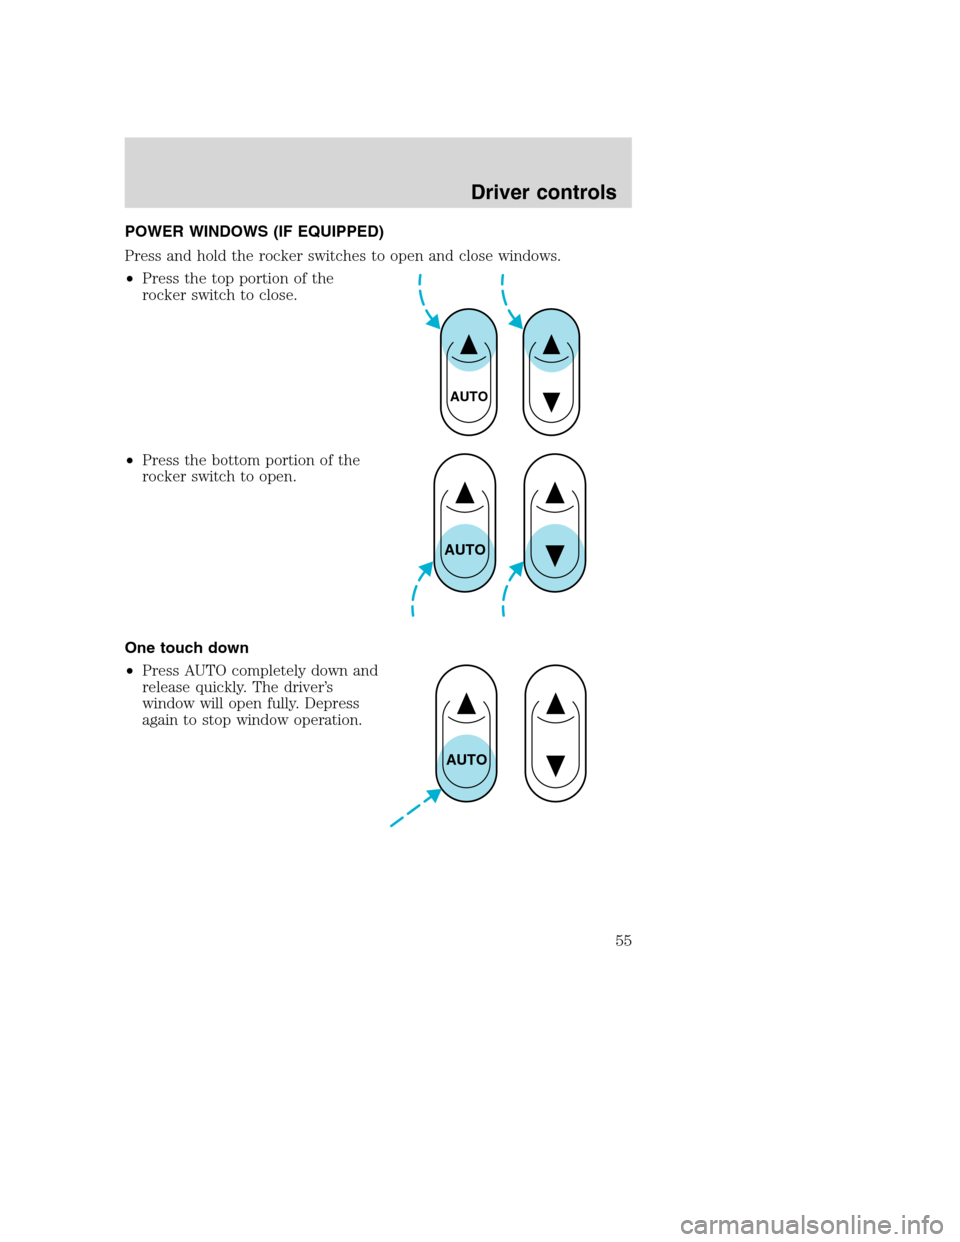
POWER WINDOWS (IF EQUIPPED)
Press and hold the rocker switches to open and close windows.
•Press the top portion of the
rocker switch to close.
•Press the bottom portion of the
rocker switch to open.
One touch down
•Press AUTO completely down and
release quickly. The driver’s
window will open fully. Depress
again to stop window operation.
AUTO
AUTO
AUTO
Driver controls
55
Page 56 of 272
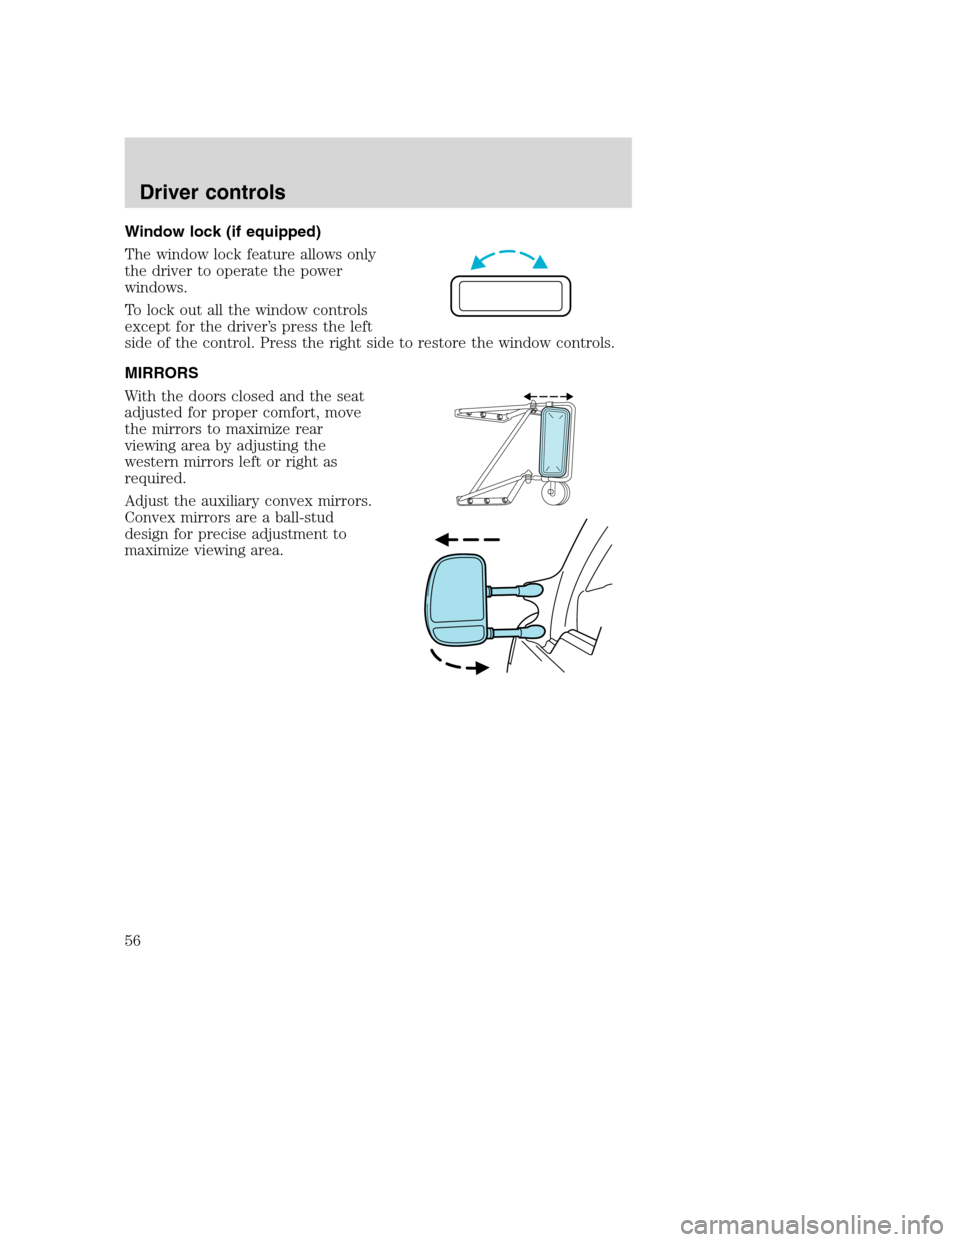
Window lock (if equipped)
The window lock feature allows only
the driver to operate the power
windows.
To lock out all the window controls
except for the driver’s press the left
side of the control. Press the right side to restore the window controls.
MIRRORS
With the doors closed and the seat
adjusted for proper comfort, move
the mirrors to maximize rear
viewing area by adjusting the
western mirrors left or right as
required.
Adjust the auxiliary convex mirrors.
Convex mirrors are a ball-stud
design for precise adjustment to
maximize viewing area.
Driver controls
56
Page 57 of 272
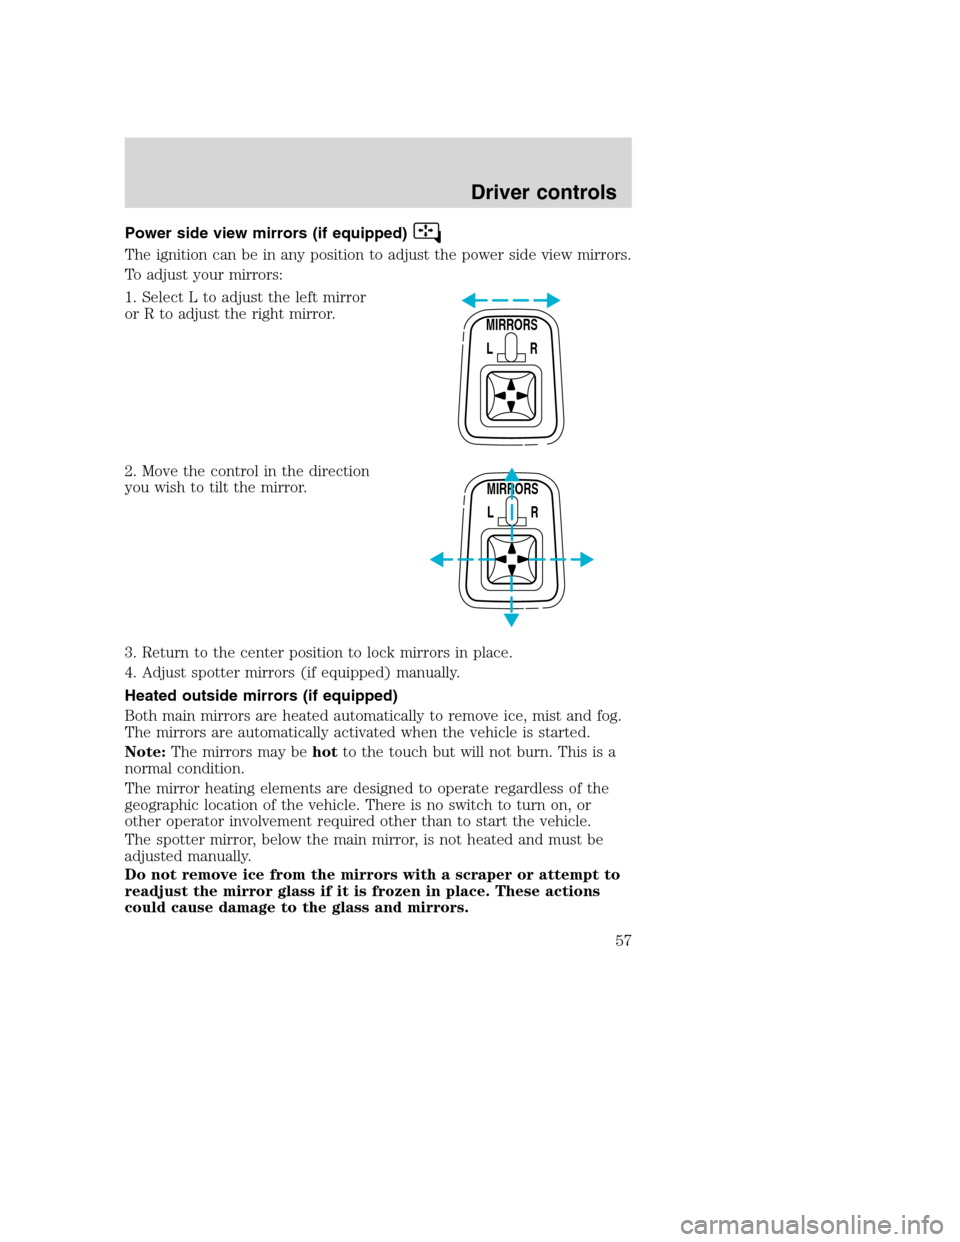
Power side view mirrors (if equipped)
The ignition can be in any position to adjust the power side view mirrors.
To adjust your mirrors:
1. Select L to adjust the left mirror
or R to adjust the right mirror.
2. Move the control in the direction
you wish to tilt the mirror.
3. Return to the center position to lock mirrors in place.
4. Adjust spotter mirrors (if equipped) manually.
Heated outside mirrors (if equipped)
Both main mirrors are heated automatically to remove ice, mist and fog.
The mirrors are automatically activated when the vehicle is started.
Note:The mirrors may behotto the touch but will not burn. This is a
normal condition.
The mirror heating elements are designed to operate regardless of the
geographic location of the vehicle. There is no switch to turn on, or
other operator involvement required other than to start the vehicle.
The spotter mirror, below the main mirror, is not heated and must be
adjusted manually.
Do not remove ice from the mirrors with a scraper or attempt to
readjust the mirror glass if it is frozen in place. These actions
could cause damage to the glass and mirrors.
MIRRORS
L R
MIRRORS
L R
Driver controls
57
Page 58 of 272
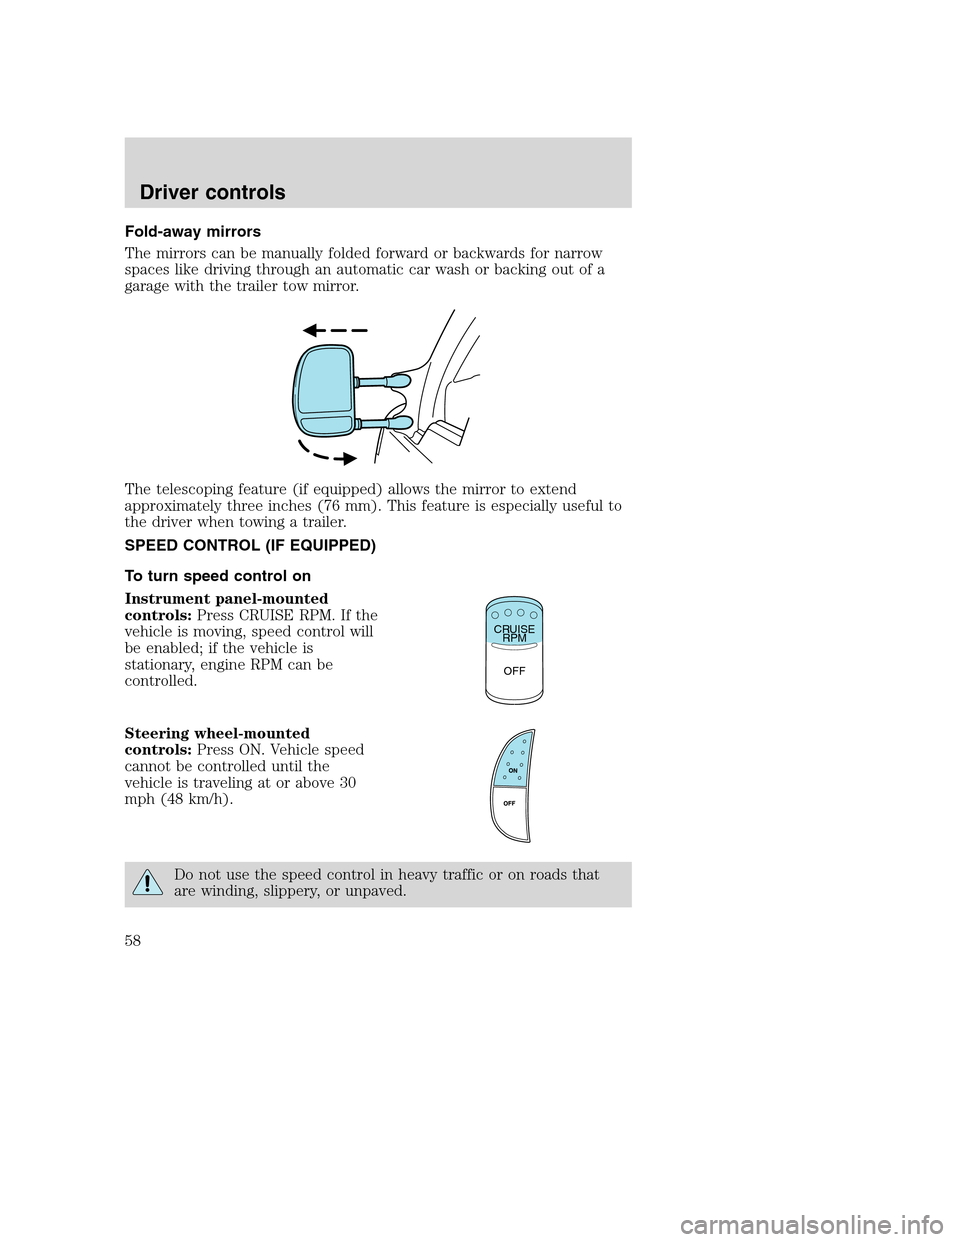
Fold-away mirrors
The mirrors can be manually folded forward or backwards for narrow
spaces like driving through an automatic car wash or backing out of a
garage with the trailer tow mirror.
The telescoping feature (if equipped) allows the mirror to extend
approximately three inches (76 mm). This feature is especially useful to
the driver when towing a trailer.
SPEED CONTROL (IF EQUIPPED)
To turn speed control on
Instrument panel-mounted
controls:Press CRUISE RPM. If the
vehicle is moving, speed control will
be enabled; if the vehicle is
stationary, engine RPM can be
controlled.
Steering wheel-mounted
controls:Press ON. Vehicle speed
cannot be controlled until the
vehicle is traveling at or above 30
mph (48 km/h).
Do not use the speed control in heavy traffic or on roads that
are winding, slippery, or unpaved.
CRUISE
RPM
OFF
Driver controls
58
Page 59 of 272
Do not shift the gearshift lever into N (Neutral) with the speed
control on.
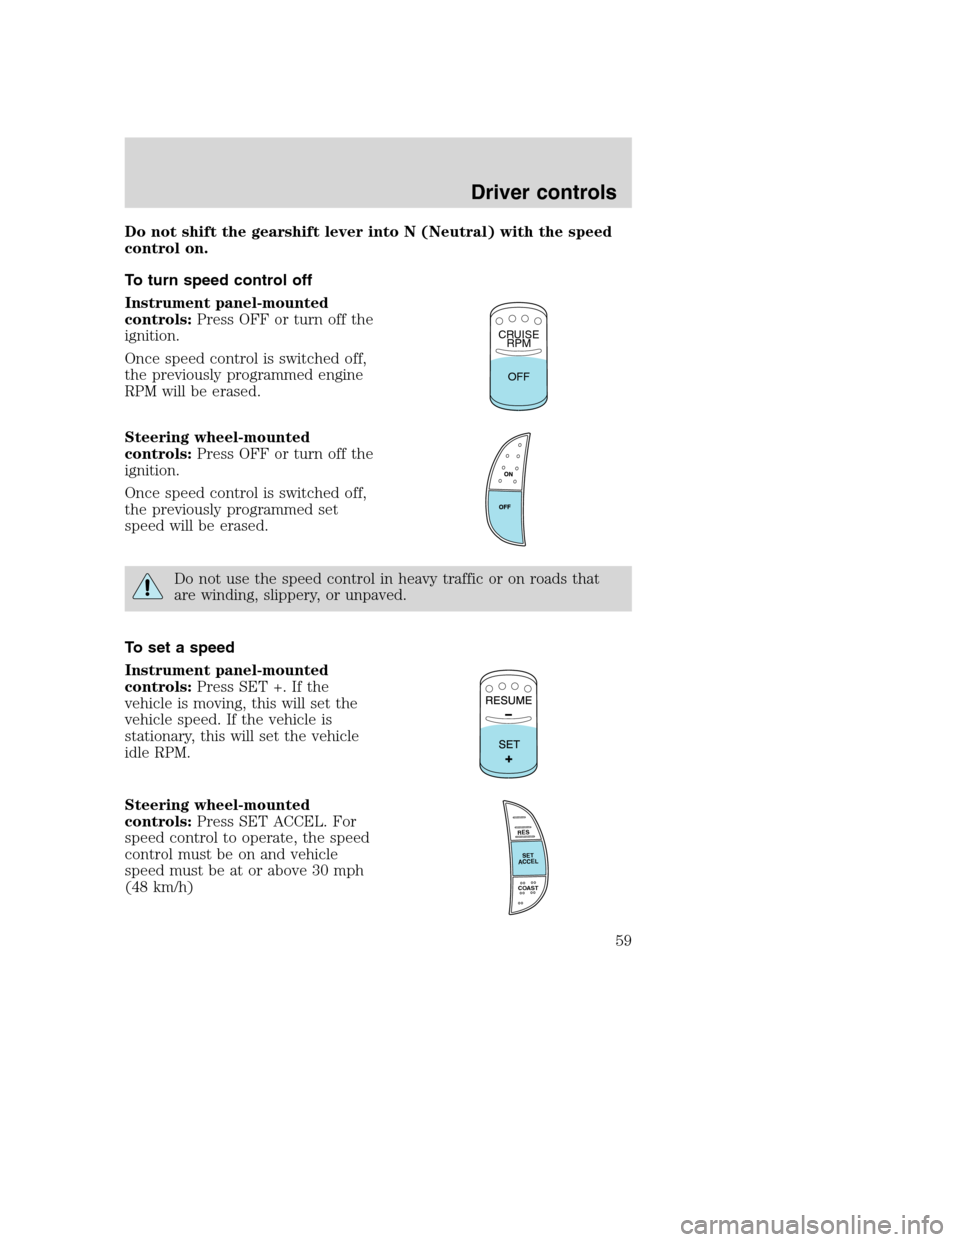
To turn speed control off
Instrument panel-mounted
controls:Press OFF or turn off the
ignition.
Once speed control is switched off,
the previously programmed engine
RPM will be erased.
Steering wheel-mounted
controls:Press OFF or turn off the
ignition.
Once speed control is switched off,
the previously programmed set
speed will be erased.
Do not use the speed control in heavy traffic or on roads that
are winding, slippery, or unpaved.
To set a speed
Instrument panel-mounted
controls:Press SET +. If the
vehicle is moving, this will set the
vehicle speed. If the vehicle is
stationary, this will set the vehicle
idle RPM.
Steering wheel-mounted
controls:Press SET ACCEL. For
speed control to operate, the speed
control must be on and vehicle
speed must be at or above 30 mph
(48 km/h)
CRUISE
RPM
OFF
RES
SET
ACCEL
COAST
Driver controls
59
Page 60 of 272
If you drive up or down a steep hill, your vehicle speed may vary
momentarily slower or faster than the set speed; this is normal.
Speed control cannot reduce the vehicle speed if it increases above the
set speed on a downhill. If your vehicle speed is faster than the set
speed while driving on a downhill, you may want to shift to the next
lower gear or apply the brakes to reduce your vehicle speed.
If the vehicle speed falls below 30 mph (48 km/h) or engine RPM falls
below 1,000 RPM, your speed control will disengage; this is normal.
Pressing RESUME - (instrument panel-mounted controls) or RES
(steering wheel-mounted controls) will re-engage it.
Do not use the speed control in heavy traffic or on roads that
are winding, slippery, or unpaved.
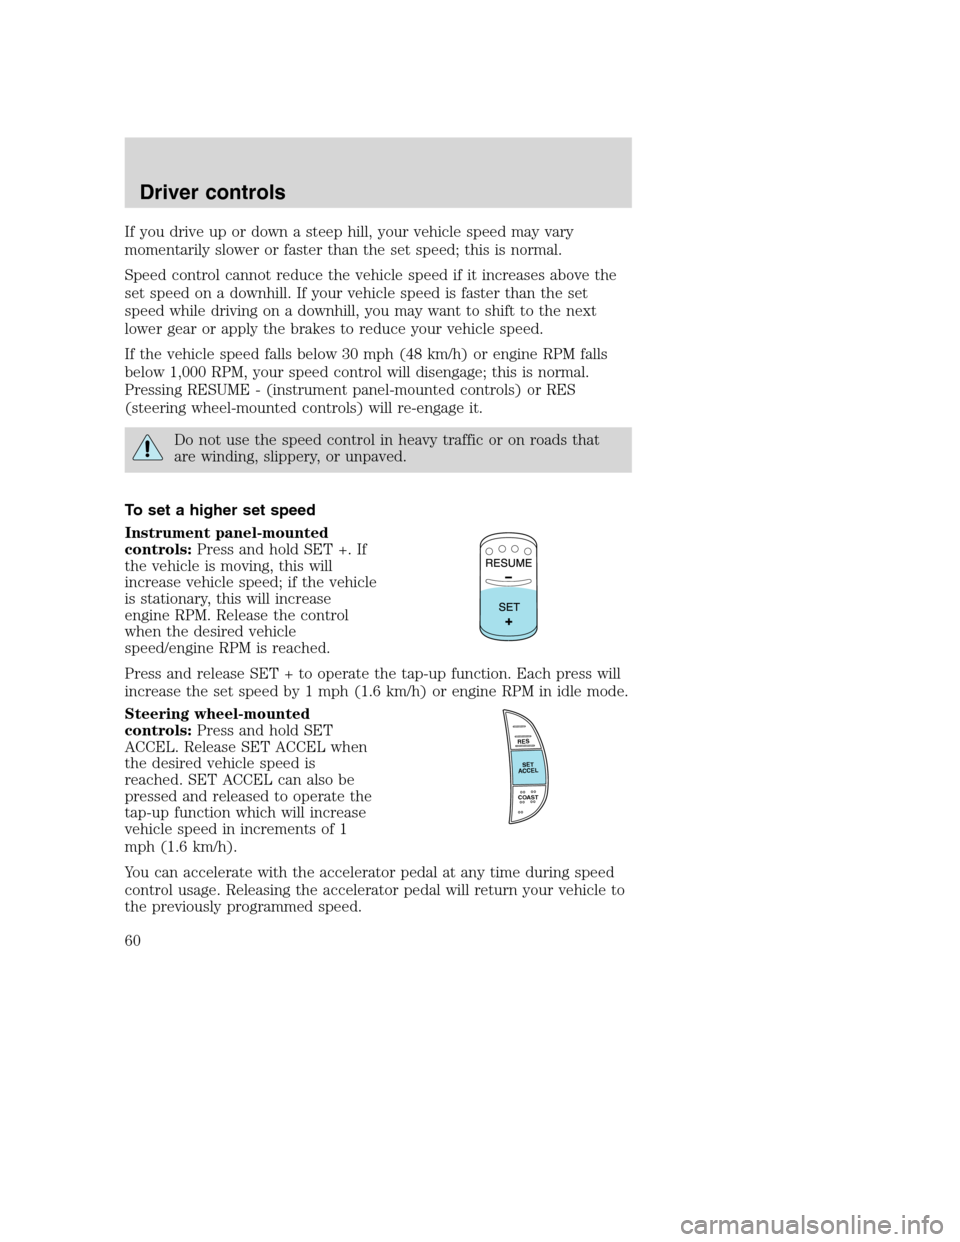
To set a higher set speed
Instrument panel-mounted
controls:Press and hold SET +. If
the vehicle is moving, this will
increase vehicle speed; if the vehicle
is stationary, this will increase
engine RPM. Release the control
when the desired vehicle
speed/engine RPM is reached.
Press and release SET + to operate the tap-up function. Each press will
increase the set speed by 1 mph (1.6 km/h) or engine RPM in idle mode.
Steering wheel-mounted
controls:Press and hold SET
ACCEL. Release SET ACCEL when
the desired vehicle speed is
reached. SET ACCEL can also be
pressed and released to operate the
tap-up function which will increase
vehicle speed in increments of 1
mph (1.6 km/h).
You can accelerate with the accelerator pedal at any time during speed
control usage. Releasing the accelerator pedal will return your vehicle to
the previously programmed speed.
RES
SET
ACCEL
COAST
Driver controls
60