headlamp FORD F650 2015 13.G Owners Manual
[x] Cancel search | Manufacturer: FORD, Model Year: 2015, Model line: F650, Model: FORD F650 2015 13.GPages: 384, PDF Size: 4.95 MB
Page 5 of 384
Fuses 187
Changing a fuse......................................187
Fuse specification chart................................188
Fuses and relays......................................196
Maintenance 197
General information...................................197
Opening and closing the hood............................208
Engine oil dipstick....................................210
Engine oil check......................................210
Engine coolant check..................................211
Automatic transmission fluid check........................215
Brake fluid check.....................................220
Power steering fluid check..............................222
Fuel filter...........................................224
Washer fluid check....................................224
Changing the vehicle battery.............................224
Checking the wiper blades..............................227
Changing the wiper blades..............................228
Air filter(s).........................................228
Adjusting the headlamps................................231
Changing a bulb......................................231
Bulb specification chart.................................233
4Table of Contents
2015 F-650/750(f67)
Owners Guide gf(ownloose), 1st Printing, December 2013
Canadian_French(fr_can)
Page 50 of 384
Deactivating and Activating the Belt-Minder® Feature
WARNING:While the design allows you to deactivate your
Belt-Minder®, this system is designed to improve your chances of
being safely belted and surviving an accident. We recommend you leave
the Belt-Minder® system activated for yourself and others who may use
the vehicle. To reduce the risk of injury, do not deactivate or activate
the Belt-Minder® feature while driving the vehicle.
Read Steps 1-4 thoroughly before proceeding with the deactivation or
activation programming procedure.
The system can be deactivated and activated by performing the following
procedure:
Before following the procedure, make sure that:
•the parking brake is set
•the gearshift is in positionP(if equipped) orNfor an automatic
transmission or neutral for a manual transmission
•the ignition is off
•all vehicle doors are closed
•the driver’s safety belt is unbuckled
•the parklamps and headlamps are off.
1. Turn the ignition on. (DO NOT START THE ENGINE.)
2. Wait until the safety belt warning light turns off (approximately one
or two minutes).
•Steps 3–5 must be completed within 60 seconds after the safety
belt warning light turns off, or the procedure has to be repeated.
3. Buckle then unbuckle the safety belt three times at a moderate
speed, ending with the safety belt in the unbuckled state.
4. Turn on the parklamps and headlamps, then turn them off.
5. Buckle then unbuckle the safety belt three times at a moderate
speed, ending with the safety belt in the unbuckled state.
•After Step 5, the safety belt warning light turns on for three
seconds.
6. Within seven seconds of the light turning on, buckle then unbuckle
the safety belt.
•This disables the Belt-Minder® feature if it is currently enabled.
•This enables the Belt-Minder® feature if it is currently disabled.
Confirmation of disabling Belt-Minder® is provided by the safety belt
warning light flashing four times per second for three seconds.
Safety Belts49
2015 F-650/750(f67)
Owners Guide gf(ownloose), 1st Printing, December 2013
Canadian_French(fr_can)
Page 56 of 384
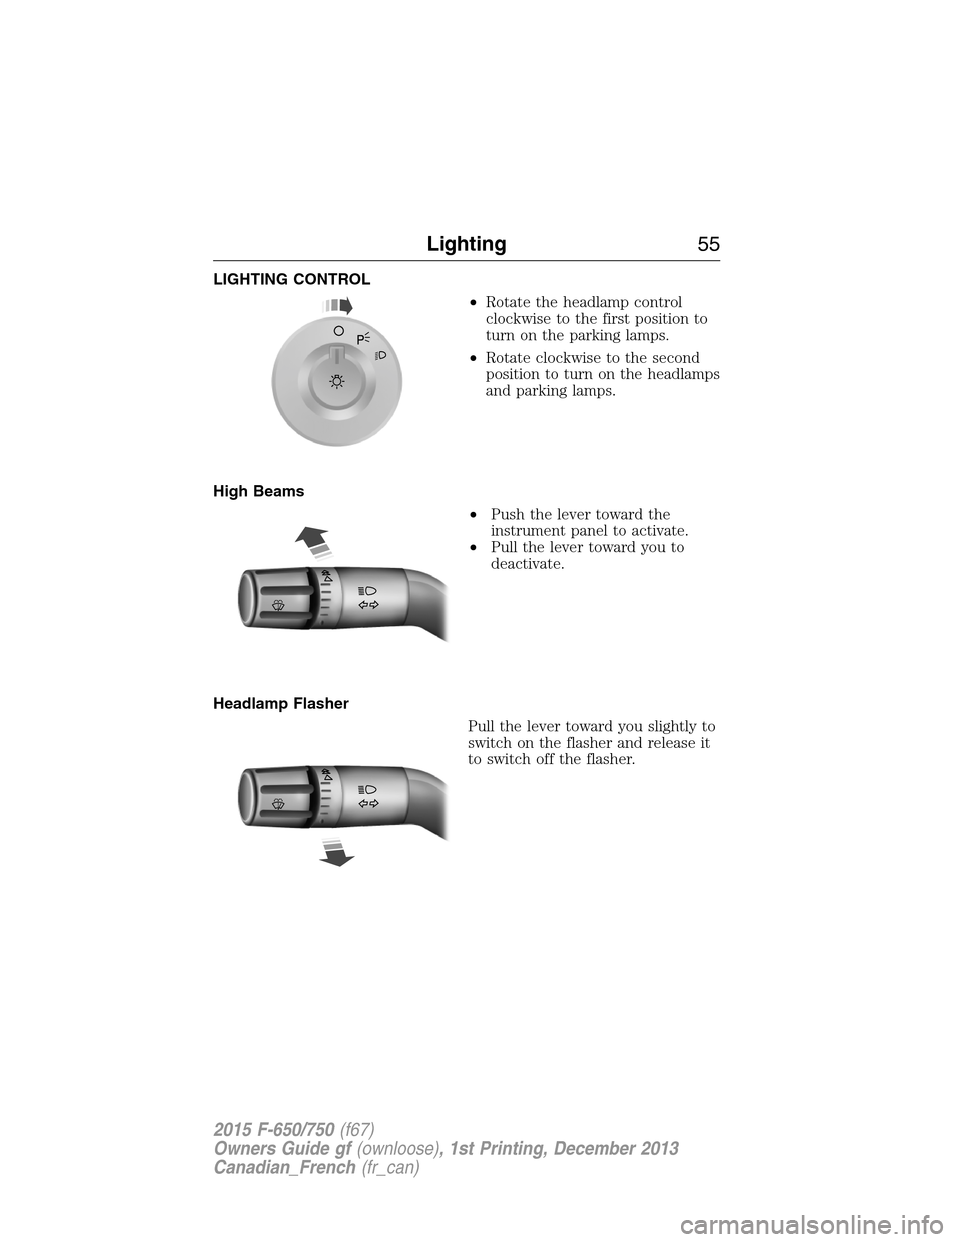
LIGHTING CONTROL
•Rotate the headlamp control
clockwise to the first position to
turn on the parking lamps.
•Rotate clockwise to the second
position to turn on the headlamps
and parking lamps.
High Beams
•Push the lever toward the
instrument panel to activate.
•Pull the lever toward you to
deactivate.
Headlamp Flasher
Pull the lever toward you slightly to
switch on the flasher and release it
to switch off the flasher.
Lighting55
2015 F-650/750(f67)
Owners Guide gf(ownloose), 1st Printing, December 2013
Canadian_French(fr_can)
Page 57 of 384
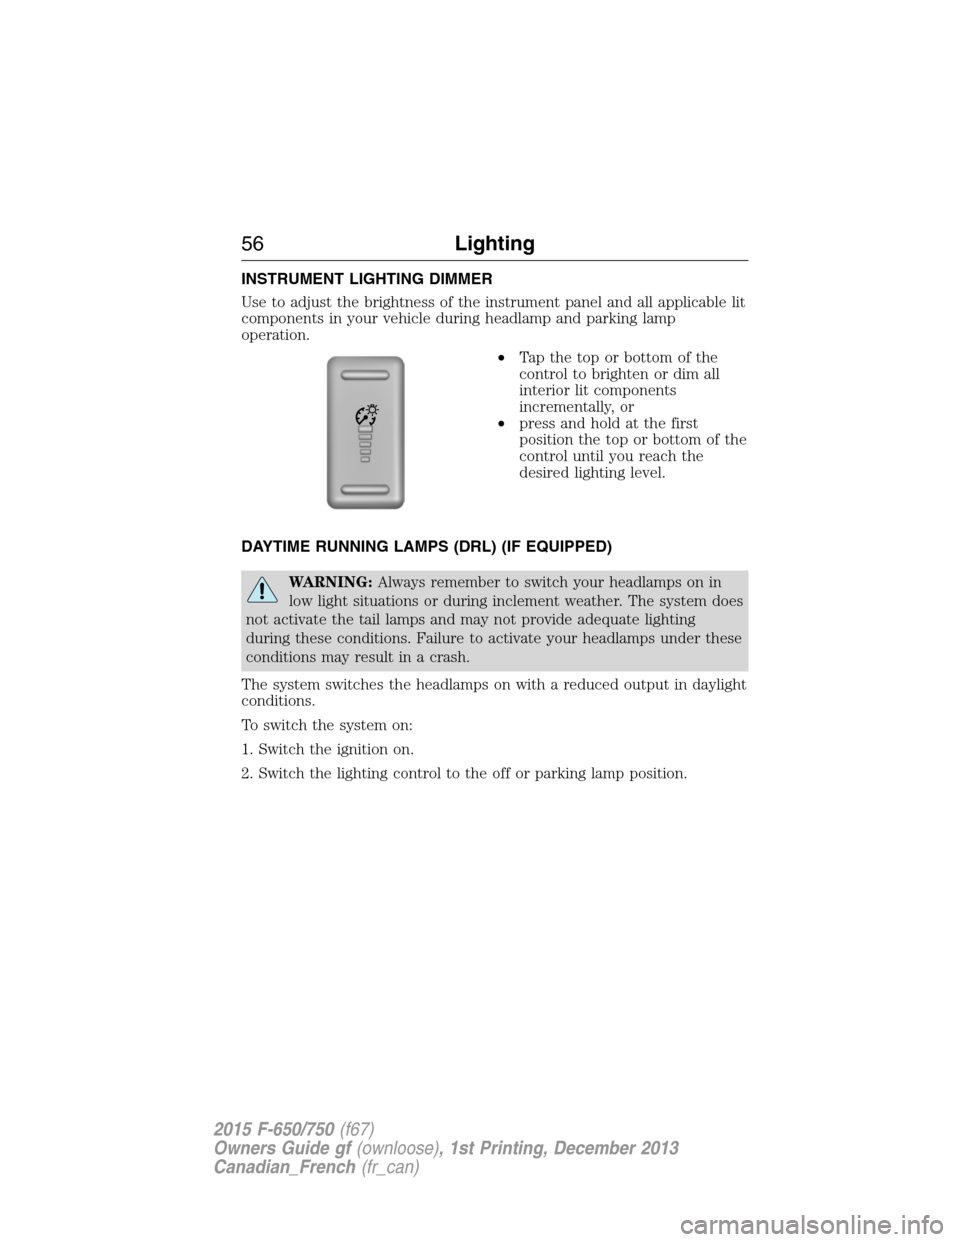
INSTRUMENT LIGHTING DIMMER
Use to adjust the brightness of the instrument panel and all applicable lit
components in your vehicle during headlamp and parking lamp
operation.
•Tapthetoporbottomofthe
control to brighten or dim all
interior lit components
incrementally, or
•press and hold at the first
position the top or bottom of the
control until you reach the
desired lighting level.
DAYTIME RUNNING LAMPS (DRL) (IF EQUIPPED)
WARNING:Always remember to switch your headlamps on in
low light situations or during inclement weather. The system does
not activate the tail lamps and may not provide adequate lighting
during these conditions. Failure to activate your headlamps under these
conditions may result in a crash.
The system switches the headlamps on with a reduced output in daylight
conditions.
To switch the system on:
1. Switch the ignition on.
2. Switch the lighting control to the off or parking lamp position.
56Lighting
2015 F-650/750(f67)
Owners Guide gf(ownloose), 1st Printing, December 2013
Canadian_French(fr_can)
Page 62 of 384
Foldaway Exterior Mirrors
Push the mirror toward the door window glass. Make sure that you fully
engage the mirror in its support when returning it to its original position.
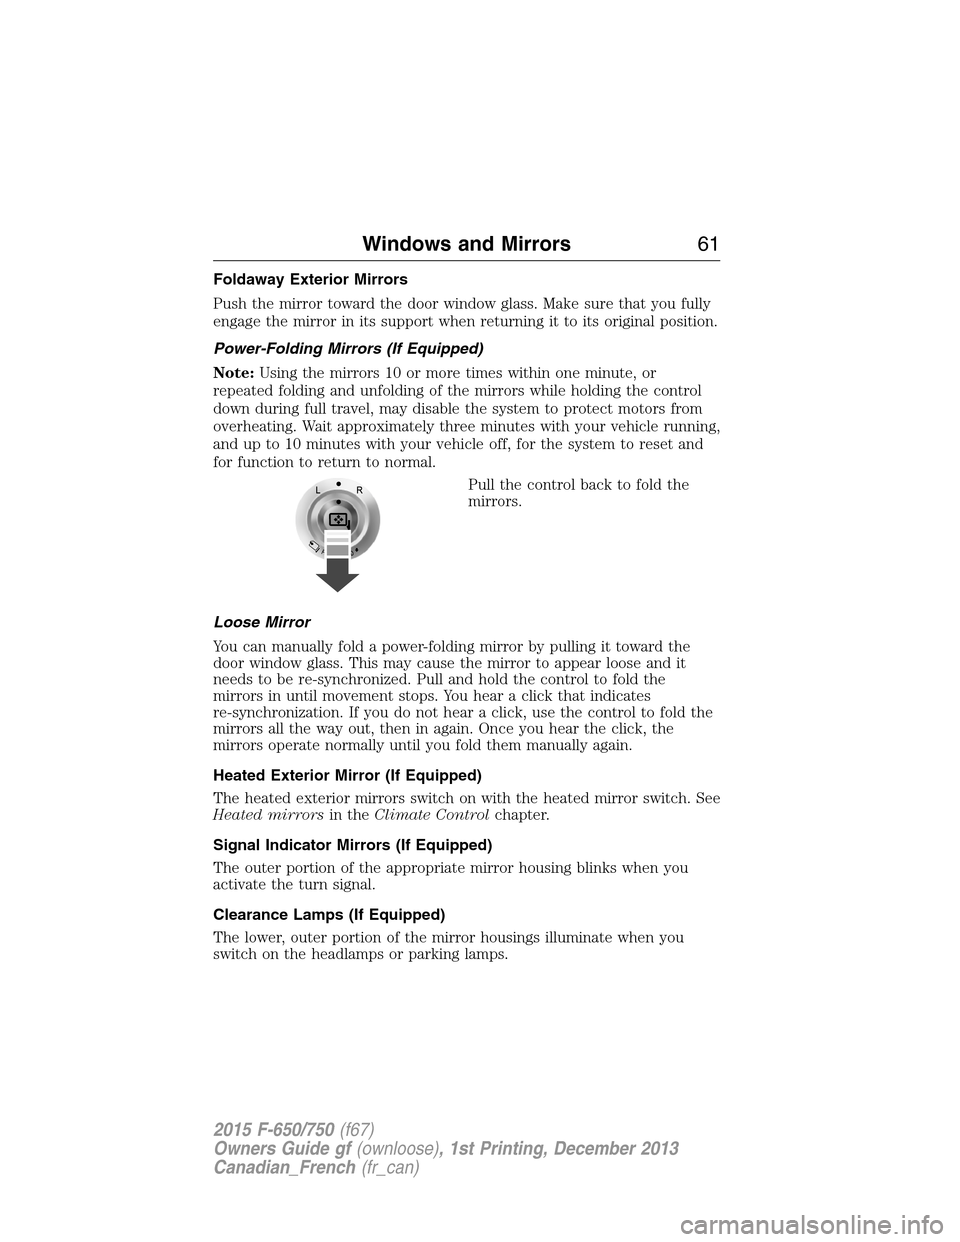
Power-Folding Mirrors (If Equipped)
Note:Using the mirrors 10 or more times within one minute, or
repeated folding and unfolding of the mirrors while holding the control
down during full travel, may disable the system to protect motors from
overheating. Wait approximately three minutes with your vehicle running,
and up to 10 minutes with your vehicle off, for the system to reset and
for function to return to normal.
Pull the control back to fold the
mirrors.
Loose Mirror
You can manually fold a power-folding mirror by pulling it toward the
door window glass. This may cause the mirror to appear loose and it
needs to be re-synchronized. Pull and hold the control to fold the
mirrors in until movement stops. You hear a click that indicates
re-synchronization. If you do not hear a click, use the control to fold the
mirrors all the way out, then in again. Once you hear the click, the
mirrors operate normally until you fold them manually again.
Heated Exterior Mirror (If Equipped)
The heated exterior mirrors switch on with the heated mirror switch. See
Heated mirrorsin theClimate Controlchapter.
Signal Indicator Mirrors (If Equipped)
The outer portion of the appropriate mirror housing blinks when you
activate the turn signal.
Clearance Lamps (If Equipped)
The lower, outer portion of the mirror housings illuminate when you
switch on the headlamps or parking lamps.
Windows and Mirrors61
2015 F-650/750(f67)
Owners Guide gf(ownloose), 1st Printing, December 2013
Canadian_French(fr_can)
Page 71 of 384
High Beam
It illuminates when you turn on the headlamp high beam.
Low Fuel Level (gasoline engine only)
It illuminates when the fuel level is low or near empty. Refuel
as soon as possible.
Parking Brake Warning
It momentarily illuminates when you turn the ignition to the on
position (with the engine off). It also illuminates when you
apply the parking brake. If the parking brake warning lamp
does not illuminate at these times, seek service immediately.
Vehicles equipped with the Power Park Parking Brake option: If the park
brake warning lamp begins to blink after setting the parking brake on
your vehicle, this may indicate a failure in the parking brake system.
Seek service from an authorized dealer immediately.
Powertrain Malfunction/Reduced Power/Electronic Throttle
Control (gasoline engine only)
It illuminates when a powertrain fault exists. Contact an
authorized dealer as soon as possible.
Service Engine Soon
It illuminates when you turn the ignition to the on position to
check the bulb and to indicate whether the vehicle is ready for
Inspection/Maintenance (I/M) testing.
Solid illumination after you start the engine indicates the on-board
diagnostics (OBD-II) system has detected a malfunction.
WARNING:Under engine misfire conditions, excessive exhaust
temperatures could damage the catalytic converter, the fuel
system, interior floor coverings or other vehicle components, possibly
causing a fire.
P
70Instrument Cluster
2015 F-650/750(f67)
Owners Guide gf(ownloose), 1st Printing, December 2013
Canadian_French(fr_can)
Page 73 of 384
Water in Fuel (diesel engine only)
It illuminates when the fuel filter/water separator has a
significant quantity of water in it.
If the light illuminates when the engine is running, stop the
vehicle as soon as safely possible, shut off the engine, then drain the fuel
filter and water separator. See your engine operator’s manual for the
drain procedure. Allowing water to stay in the system could result in
extensive damage to, or failure of, the fuel injection system.
WARNING:Do not drain the water separator while the engine is
running. Fuel may ignite if the separator is drained while the
engine is running or the vehicle is moving.
AUDIBLE WARNINGS AND INDICATORS
Key In Ignition Warning Tone
Sounds when you leave the key in the ignition in the off or accessory
position and open the driver’s door.
Headlamps On Warning Tone
Sounds when the headlamps or parking lamps are on, the ignition is off
(the key is not in the ignition) and the driver’s door is opened.
72Instrument Cluster
2015 F-650/750(f67)
Owners Guide gf(ownloose), 1st Printing, December 2013
Canadian_French(fr_can)
Page 94 of 384
IGNITION SWITCH
Note:When you switch the ignition off and leave your vehicle, do not
leave your key in the ignition. This could discharge your vehicle battery.
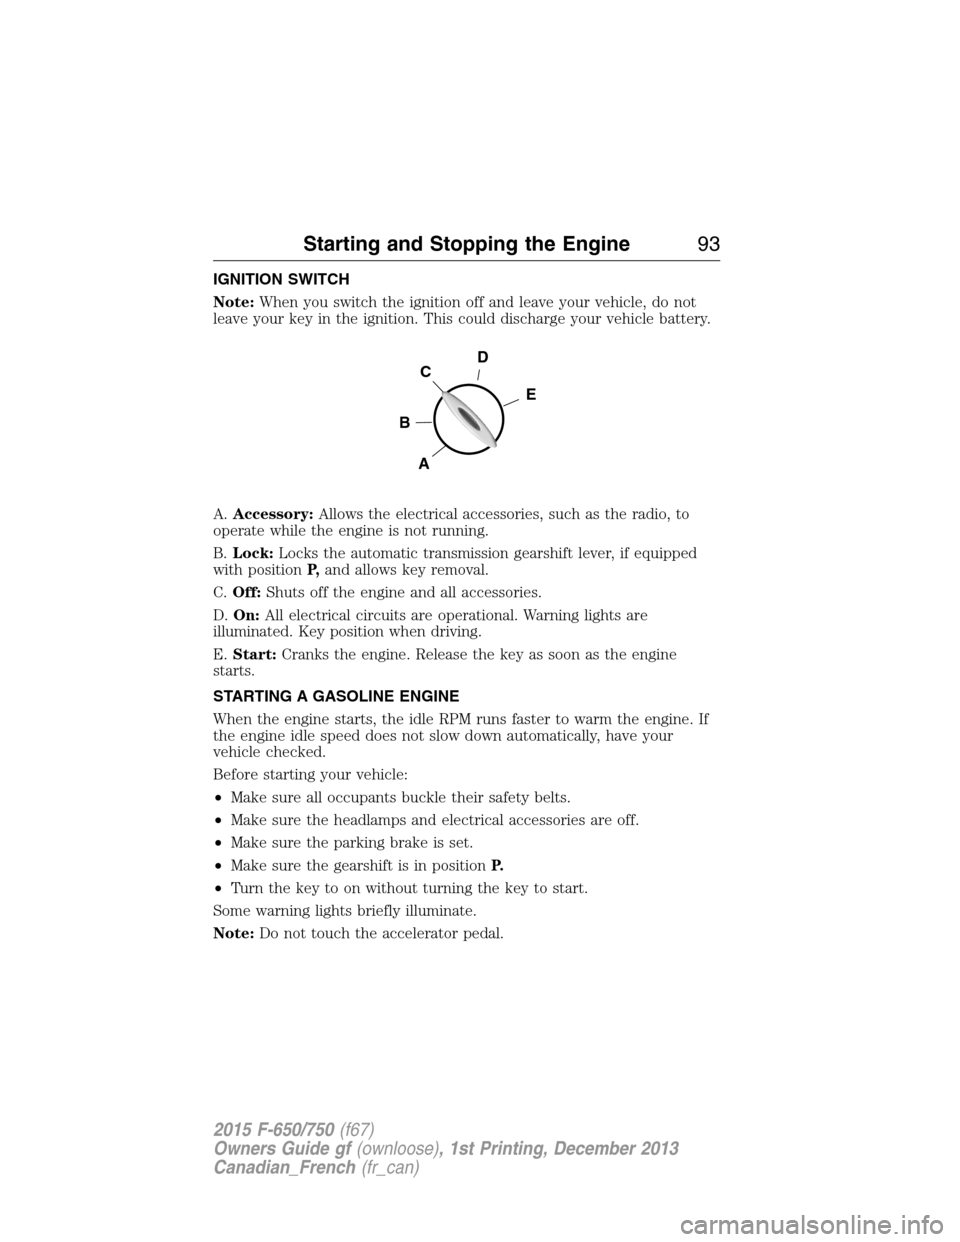
A.Accessory:Allows the electrical accessories, such as the radio, to
operate while the engine is not running.
B.Lock:Locks the automatic transmission gearshift lever, if equipped
with positionP,and allows key removal.
C.Off:Shuts off the engine and all accessories.
D.On:All electrical circuits are operational. Warning lights are
illuminated. Key position when driving.
E.Start:Cranks the engine. Release the key as soon as the engine
starts.
STARTING A GASOLINE ENGINE
When the engine starts, the idle RPM runs faster to warm the engine. If
the engine idle speed does not slow down automatically, have your
vehicle checked.
Before starting your vehicle:
•Make sure all occupants buckle their safety belts.
•Make sure the headlamps and electrical accessories are off.
•Make sure the parking brake is set.
•Make sure the gearshift is in positionP.
•Turn the key to on without turning the key to start.
Some warning lights briefly illuminate.
Note:Do not touch the accelerator pedal.
D
E
C
B
A
Starting and Stopping the Engine93
2015 F-650/750(f67)
Owners Guide gf(ownloose), 1st Printing, December 2013
Canadian_French(fr_can)
Page 232 of 384
ADJUSTING THE HEADLAMPS
The headlamps on your vehicle are properly aimed at the assembly plant.
If your vehicle has been in an accident, an authorized dealer should
check the alignment of your headlamps.
CHANGING A BULB
Lamp Assembly Condensation
Exterior lamps have vents to accommodate normal changes in pressure.
Condensation can be a natural by-product of this design. When moist air
enters the lamp assembly through the vents, there is a possibility that
condensation can occur when the temperature is cold. When normal
condensation occurs, a thin film of mist can form on the interior of the
lens. The thin mist eventually clears and exits through the vents during
normal operation. Clearing time may take as long as 48 hours under dry
weather conditions.
Examples of acceptable condensation are:
•Presence of thin mist (no streaks, drip marks or droplets).
•Fine mist covers less than 50% of the lens.
Examples of unacceptable moisture (usually caused by a lamp water
leak) are:
•Water puddle inside the lamp.
•Large water droplets, drip marks or streaks present on the interior of
the lens.
Take your vehicle to an authorized dealer for service if any of the above
conditions of unacceptable moisture are present.
Replacing Headlamp Bulbs
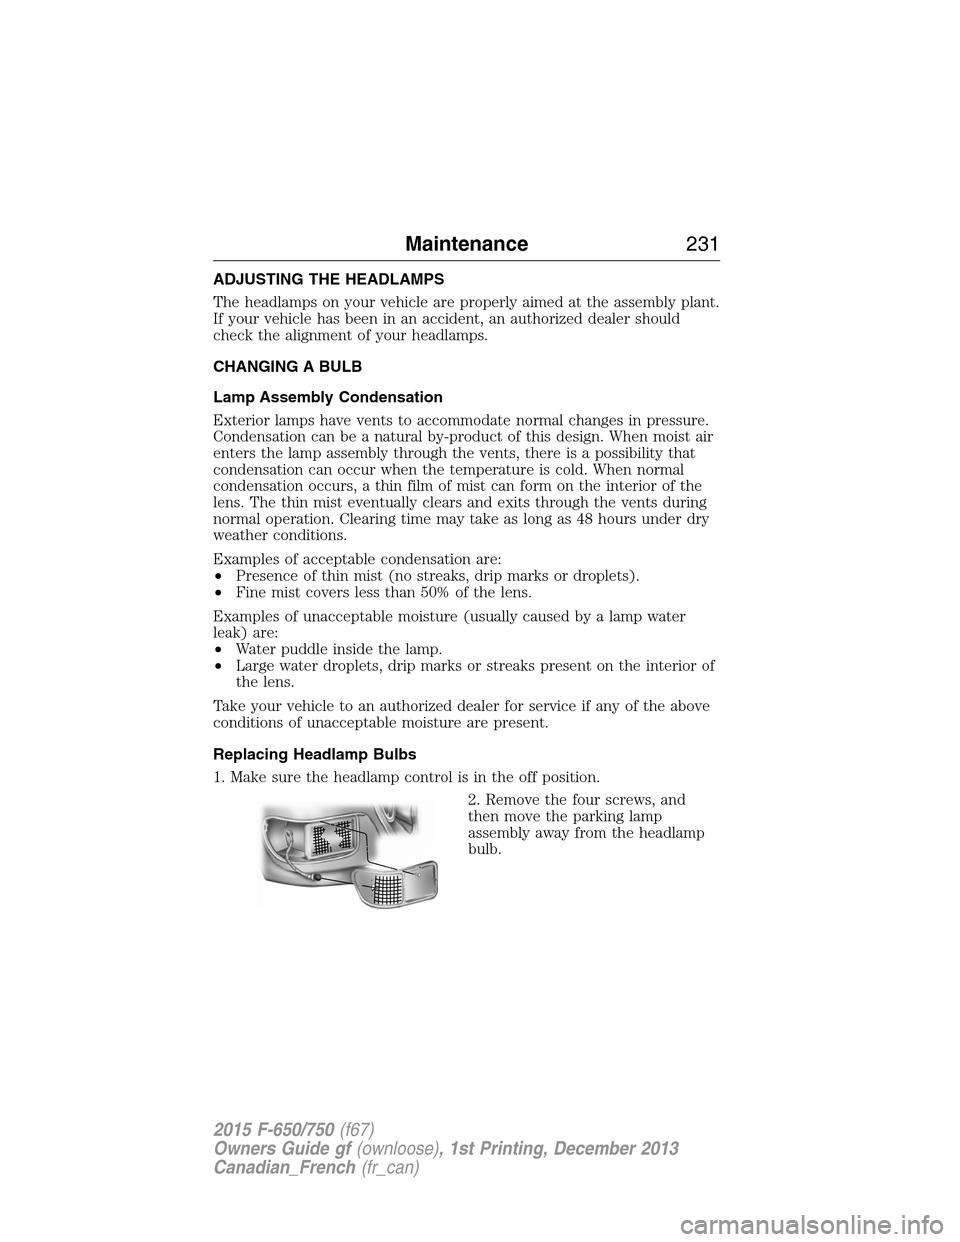
1. Make sure the headlamp control is in the off position.
2. Remove the four screws, and
then move the parking lamp
assembly away from the headlamp
bulb.
Maintenance231
2015 F-650/750(f67)
Owners Guide gf(ownloose), 1st Printing, December 2013
Canadian_French(fr_can)
Page 233 of 384
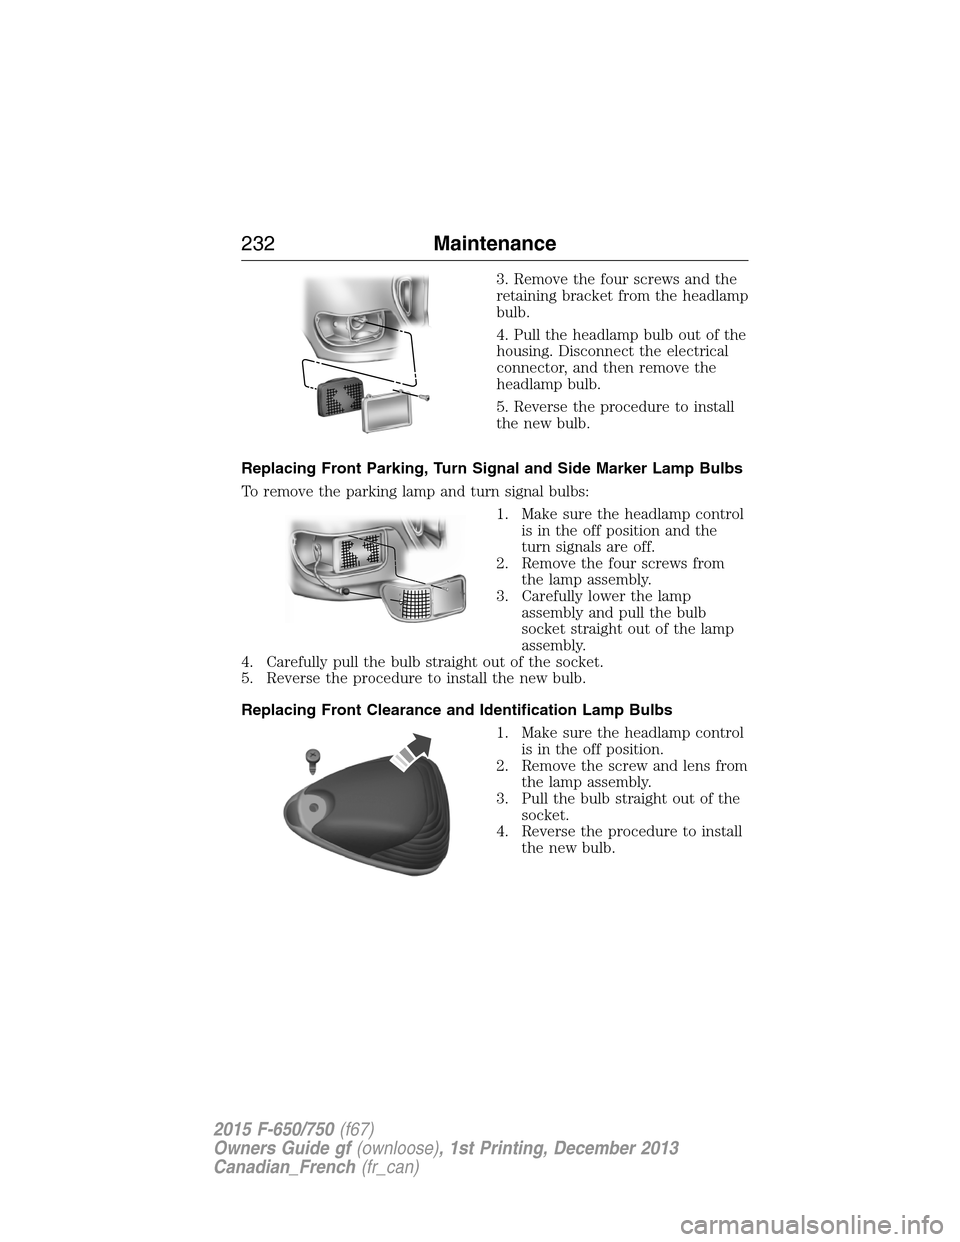
3. Remove the four screws and the
retaining bracket from the headlamp
bulb.
4. Pull the headlamp bulb out of the
housing. Disconnect the electrical
connector, and then remove the
headlamp bulb.
5. Reverse the procedure to install
the new bulb.
Replacing Front Parking, Turn Signal and Side Marker Lamp Bulbs
To remove the parking lamp and turn signal bulbs:
1. Make sure the headlamp control
is in the off position and the
turn signals are off.
2. Remove the four screws from
the lamp assembly.
3. Carefully lower the lamp
assembly and pull the bulb
socket straight out of the lamp
assembly.
4. Carefully pull the bulb straight out of the socket.
5. Reverse the procedure to install the new bulb.
Replacing Front Clearance and Identification Lamp Bulbs
1. Make sure the headlamp control
is in the off position.
2. Remove the screw and lens from
the lamp assembly.
3. Pull the bulb straight out of the
socket.
4. Reverse the procedure to install
the new bulb.
232Maintenance
2015 F-650/750(f67)
Owners Guide gf(ownloose), 1st Printing, December 2013
Canadian_French(fr_can)