suspension FORD F650/750 2021 Owners Manual
[x] Cancel search | Manufacturer: FORD, Model Year: 2021, Model line: F650/750, Model: FORD F650/750 2021Pages: 390, PDF Size: 5.16 MB
Page 6 of 390
Air Brakes
........................................................135
Exhaust Brake ...............................................
136
Trailer Brakes .................................................
138
Traction Control
Principle of Operation ................................
142
Using Traction Control - Vehicles With: Air Brakes ....................................................
142
Using Traction Control - Vehicles With: Hydraulic Brakes ......................................
142
Stability Control
Principle of Operation - Vehicles With: Hydraulic Brakes ......................................
144
Principle of Operation - Vehicles With: Air Brakes ....................................................
145
Using Stability Control ..............................
146
Cruise Control - Vehicles With: Adaptive Cruise Control
Using Adaptive Cruise Control ...............
148
Cruise Control - Vehicles With: Cruise Control
What Is Cruise Control ...............................
154
Switching Cruise Control On and Off ........................................................................\
.
154
Setting the Cruise Control Speed .........
154
Canceling the Set Speed ..........................
155
Resuming the Set Speed ..........................
155
Cruise Control Indicators ..........................
155
Driving Aids
Driver Alert .....................................................
156
Lane Keeping System .................................
157
Steering ...........................................................
160
Pre-Collision Assist - Vehicles With: Air Brakes ...........................................................
161
Pre-Collision Assist - Vehicles With: Hydraulic Brakes ......................................
163Load Carrying
Load Limit
......................................................
168
Air Suspension .............................................
169
Towing
Towing a Trailer ..............................................
171
Recommended Towing Weights ............
172
Essential Towing Checks ...........................
173
Fifth Wheel Operation ...............................
174
Driving Hints
General Driving Points ...............................
176
Economical Driving ......................................
177
Cold Weather Precautions ........................
177
Breaking-In .....................................................
179
Driving Through Water ..............................
180
Roadside Emergencies
Roadside Assistance ...................................
181
Hazard Flashers ...........................................
182
Fuel Shutoff ...................................................
182
Jump Starting the Vehicle ........................
183
Transporting the Vehicle ..........................
185
Towing Points ...............................................
186
Customer Assistance
Getting the Services You Need ...............
187
In California (U.S. Only) ............................
188
The Better Business Bureau (BBB) Auto Line Program (U.S. Only) .....................
189
Getting Assistance Outside the U.S. and Canada .......................................................
190
Ordering Additional Owner's Literature ........................................................................\
..
191
Reporting Safety Defects (U.S. Only) ........................................................................\
..
191
Reporting Safety Defects (Canada Only) ........................................................................\
.
192
3
F650750 (TBC) , enUSA, Edition date: 202010, Second-Printing Table of Contents
Page 7 of 390
Fuses
Fuse Specification Chart
..........................193
Changing a Fuse ..........................................
201
Vehicle Inspection Guide
Vehicle Inspection Information .............
203
Maintenance
General Information ....................................
212
Opening and Closing the Hood ..............
213
Under Hood Overview - 6.7L Diesel ......
215
Under Hood Overview - 7.3L ....................
216
Engine Oil Dipstick - 7.3L ...........................
217
Engine Oil Dipstick - 6.7L Diesel .............
217
Engine Oil Check - 7.3L ...............................
217
Engine Oil Check - 6.7L Diesel ................
218
Changing the Engine Oil and Oil Filter ........................................................................\
.
219
Oil Change Indicator Reset .....................
220
Changing the Engine Air Filter - 6.7L Diesel ............................................................
221
Changing the Engine Air Filter - 7.3L .....
223
Draining the Fuel Filter Water Trap - 6.7L Diesel ...........................................................
225
Engine Coolant Check - 7.3L ...................
226
Engine Coolant Check - 6.7L Diesel ......
231
Automatic Transmission Fluid Check ........................................................................\
236
Brake Fluid Check ........................................
237
Power Steering Fluid Check ....................
238
Changing the 12V Battery ........................
239
Adjusting the Headlamps .......................
240
Washer Fluid Check ...................................
242
Fuel Filter - 7.3L ............................................
242
Checking the Wiper Blades .....................
242
Changing the Wiper Blades ....................
242
Removing a Headlamp .............................
243
Changing a Bulb ..........................................
243Changing the Engine-Mounted and
Diesel Fuel Conditioner Module Fuel
Filters - 6.7L Diesel .................................
244
Electrical System Inspection ..................
247
Air Induction System Inspection ...........
247
Exhaust System Inspection ....................
248
Brake System Inspection .........................
248
Axle Inspection .............................................
251
Steering System Inspection ....................
252
Suspension System Inspection .............
252
Frame and Tow Hook Inspection ..........
253
Rear Axle Fluid Check ................................
253
Spring U-Bolt Check ..................................
253
Vehicle Care
General Information ..................................
255
Cleaning Products ......................................
255
Cleaning the Exterior .................................
256
Waxing .............................................................
257
Cleaning the Engine ...................................
257
Cleaning the Windows and Wiper Blades ........................................................................\
257
Cleaning the Interior ..................................
258
Cleaning the Instrument Panel and Instrument Cluster Lens ......................
258
Repairing Minor Paint Damage .............
259
Cleaning the Wheels .................................
259
Vehicle Storage ...........................................
260
Wheels and Tires
Tire Care .........................................................
262
Using Snow Chains .....................................
277
Changing a Road Wheel ...........................
277
Technical Specifications ..........................
279
Capacities and Specifications
Engine Specifications - 6.7L Diesel .......
281
Engine Specifications - 7.3L ....................
282
Motorcraft Parts - 6.7L Diesel ................
283
4
F650750 (TBC) , enUSA, Edition date: 202010, Second-Printing Table of Contents
Page 69 of 390
Diesel Exhaust Fluid Gauge
Indicates the fluid level in the DEF tank.
Voltmeter
Displays electrical system voltage.
WARNING LAMPS AND
INDICATORS
The following warning lamps and
indicators alert you to a vehicle condition
that may become serious. Some lamps
illuminate when you start your vehicle to
make sure they work. If any lamps remain
on after starting your vehicle, refer to the
respective system warning lamp for further
information.
Note:
Some warning indicators appear in
the information display and operate the
same as a warning lamp but do not
illuminate when you start your vehicle.
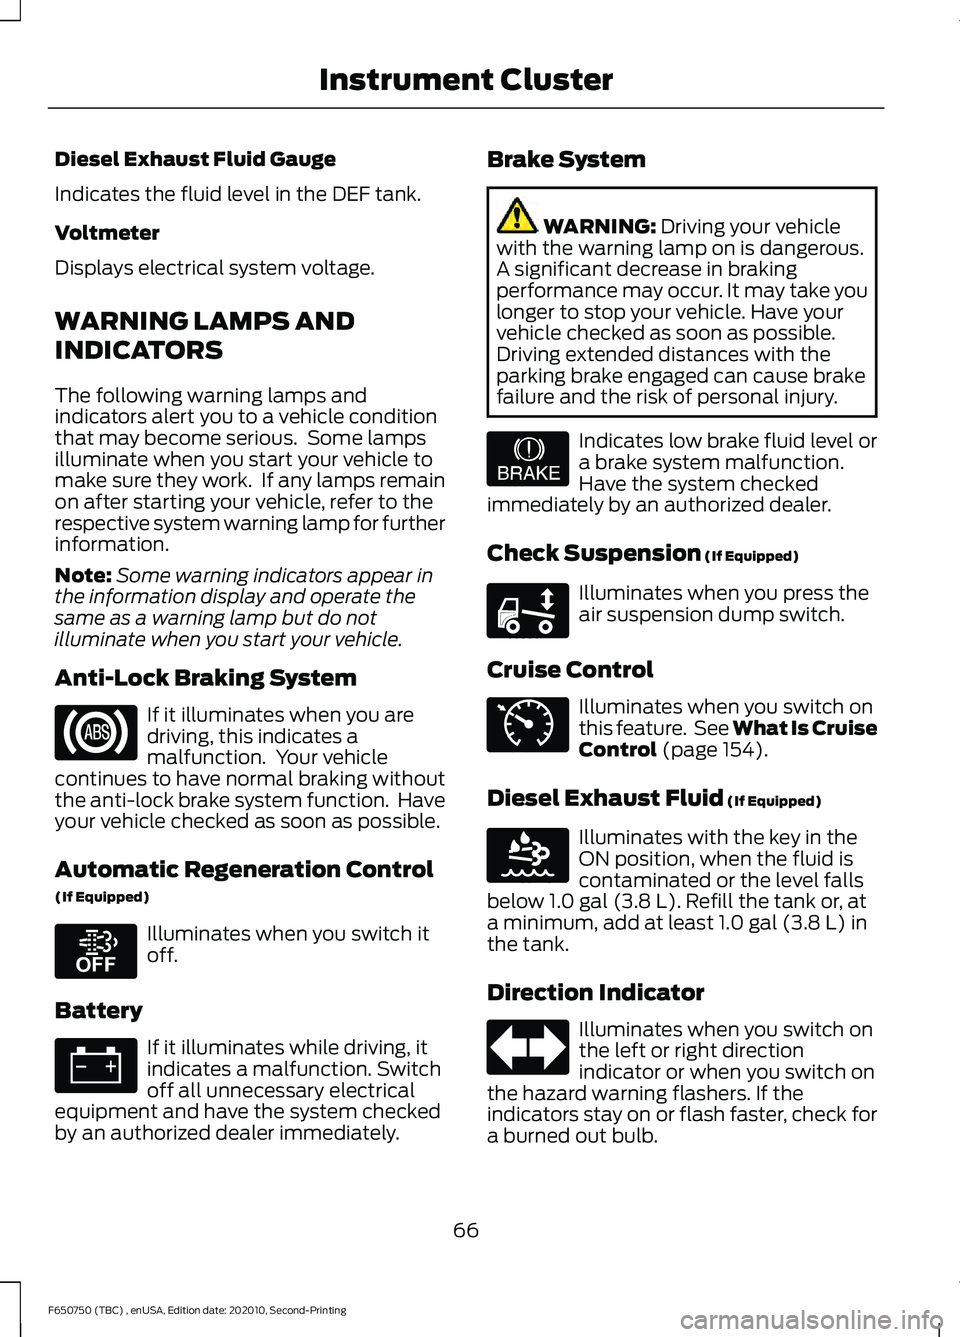
Anti-Lock Braking System If it illuminates when you are
driving, this indicates a
malfunction. Your vehicle
continues to have normal braking without
the anti-lock brake system function. Have
your vehicle checked as soon as possible.
Automatic Regeneration Control
(If Equipped) Illuminates when you switch it
off.
Battery If it illuminates while driving, it
indicates a malfunction. Switch
off all unnecessary electrical
equipment and have the system checked
by an authorized dealer immediately. Brake System WARNING: Driving your vehicle
with the warning lamp on is dangerous.
A significant decrease in braking
performance may occur. It may take you
longer to stop your vehicle. Have your
vehicle checked as soon as possible.
Driving extended distances with the
parking brake engaged can cause brake
failure and the risk of personal injury. Indicates low brake fluid level or
a brake system malfunction.
Have the system checked
immediately by an authorized dealer.
Check Suspension
(If Equipped) Illuminates when you press the
air suspension dump switch.
Cruise Control Illuminates when you switch on
this feature. See What Is Cruise
Control
(page 154).
Diesel Exhaust Fluid
(If Equipped) Illuminates with the key in the
ON position, when the fluid is
contaminated or the level falls
below
1.0 gal (3.8 L). Refill the tank or, at
a minimum, add at least 1.0 gal (3.8 L) in
the tank.
Direction Indicator Illuminates when you switch on
the left or right direction
indicator or when you switch on
the hazard warning flashers. If the
indicators stay on or flash faster, check for
a burned out bulb.
66
F650750 (TBC) , enUSA, Edition date: 202010, Second-Printing Instrument Cluster E208811 E209041 E208808 E71340 E163176
Page 147 of 390
PRINCIPLE OF OPERATION -
VEHICLES WITH: HYDRAULIC
BRAKES
WARNING: Vehicle modifications
involving braking system, aftermarket
roof racks, suspension, steering system,
tire construction and wheel and tire size
may change the handling characteristics
of your vehicle and may adversely affect
the performance of the electronic
stability control system. In addition,
installing any stereo loudspeakers may
interfere with and adversely affect the
electronic stability control system. Install
any aftermarket stereo loudspeaker as
far as possible from the front center
console, the tunnel, and the front seats
in order to minimize the risk of interfering
with the electronic stability control
sensors. Reducing the effectiveness of
the electronic stability control system
could lead to an increased risk of loss of
vehicle control, vehicle rollover, personal
injury and death. WARNING:
Remember that even
advanced technology cannot defy the
laws of physics. It's always possible to
lose control of a vehicle due to
inappropriate driver input for the
conditions. Aggressive driving on any
road condition can cause you to lose
control of your vehicle increasing the risk
of personal injury or property damage.
Activation of the electronic stability
control system is an indication that at
least some of the tires have exceeded
their ability to grip the road; this could reduce the operator's ability to control
the vehicle potentially resulting in a loss
of vehicle control, vehicle rollover,
personal injury and death. If your
electronic stability control system
activates, SLOW DOWN.
The system turns on each time you switch
the ignition on.
If a fault occurs in either the stability
control or the traction control system, the
following conditions are possible:
• The stability and traction control light
illuminate.
• The stability control and traction
control systems are not maintaining
traction of the wheels.
If a driving condition activates either the
stability control or the traction control
system, the following conditions are
possible:
• The stability and traction control light
flash.
• Your vehicle slows down.
• The system reduces engine power.
• A vibration in the brake pedal.
• The brake pedal is stiffer than usual.
• If the driving condition is severe and
your foot is not on the brake, the brake
pedal could move as the system
applies higher brake force.
The stability control system has several
features built into it to help you maintain
control of your vehicle:
Electronic Stability Control
The system assists in preventing skids or
lateral slides by applying the brakes to one
or more of the wheels individually and, if
necessary, decreases engine power.
144
F650750 (TBC) , enUSA, Edition date: 202010, Second-Printing Stability Control
(If Equipped)
Page 148 of 390
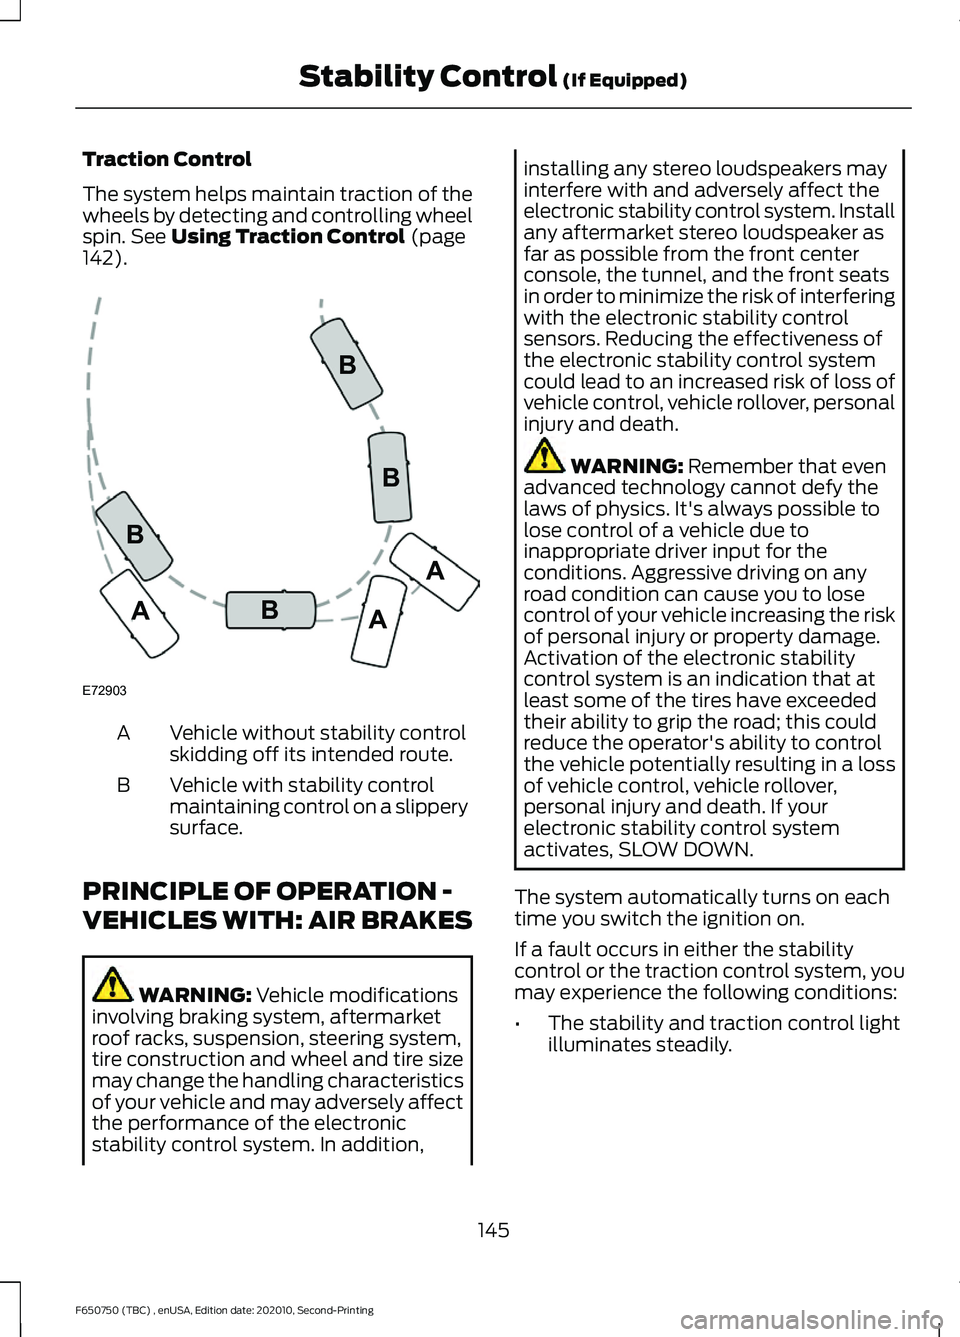
Traction Control
The system helps maintain traction of the
wheels by detecting and controlling wheel
spin. See Using Traction Control (page
142). Vehicle without stability control
skidding off its intended route.
A
Vehicle with stability control
maintaining control on a slippery
surface.
B
PRINCIPLE OF OPERATION -
VEHICLES WITH: AIR BRAKES WARNING:
Vehicle modifications
involving braking system, aftermarket
roof racks, suspension, steering system,
tire construction and wheel and tire size
may change the handling characteristics
of your vehicle and may adversely affect
the performance of the electronic
stability control system. In addition, installing any stereo loudspeakers may
interfere with and adversely affect the
electronic stability control system. Install
any aftermarket stereo loudspeaker as
far as possible from the front center
console, the tunnel, and the front seats
in order to minimize the risk of interfering
with the electronic stability control
sensors. Reducing the effectiveness of
the electronic stability control system
could lead to an increased risk of loss of
vehicle control, vehicle rollover, personal
injury and death.
WARNING:
Remember that even
advanced technology cannot defy the
laws of physics. It's always possible to
lose control of a vehicle due to
inappropriate driver input for the
conditions. Aggressive driving on any
road condition can cause you to lose
control of your vehicle increasing the risk
of personal injury or property damage.
Activation of the electronic stability
control system is an indication that at
least some of the tires have exceeded
their ability to grip the road; this could
reduce the operator's ability to control
the vehicle potentially resulting in a loss
of vehicle control, vehicle rollover,
personal injury and death. If your
electronic stability control system
activates, SLOW DOWN.
The system automatically turns on each
time you switch the ignition on.
If a fault occurs in either the stability
control or the traction control system, you
may experience the following conditions:
• The stability and traction control light
illuminates steadily.
145
F650750 (TBC) , enUSA, Edition date: 202010, Second-Printing Stability Control
(If Equipped)E72903A
AA
B
BB
B
Page 150 of 390
•
Your load shifts due to improper
retention, accident damage or the
inherently mobile nature of some loads,
for example, hanging meat, live
animals or partially laden tankers.
• Your vehicle or load has an unusually
high or off-set center of gravity (CG).
• Your brakes are not properly adjusted
or maintained.
• One side of your vehicle drops off the
pavement at an angle that is too great
to be counteracted by a reduction in
speed.
To Maximize the Effectiveness Of
Stability Control
• Make sure that the weight of your load
is evenly distributed, from front to back,
side to side and you secure it properly
at all times.
• Exercise extreme caution at all times
while driving and avoid sharp turns,
sudden steering inputs or abrupt lane
changes at high speeds, particularly if:
•Hauling loads that can shift.
• Your vehicle or load has a high or
off-set center of gravity when
loaded.
• You are towing doubles or triples.
ESC Usage with Tractor/Trailer
The ESC system is designed to work with
trailer air brake systems. We do not
recommend its use with any other trailer
brake system.
ESC and Towing with Non-tractor
Trucks (Straight or Kick-up Frame)
Non-tractor Trucks (Straight or Kick-up
Frame) with air brake ESC, should not be
used for towing any type of trailer. Chassis Modifications
Stability Control is specifically calibrated
and validated only for your vehicle's
original configuration. If you alter your
vehicle's chassis components, for example,
a wheel base extension or reduction, tag
axle addition or removal, a major body
change such as conversion of a tractor into
a truck. Ford Motor Company is not
responsible for the performance of the
stability control system if you modify any
major components such as axle,
suspension or steering system.
147
F650750 (TBC) , enUSA, Edition date: 202010, Second-Printing Stability Control (If Equipped)
Page 159 of 390
DRIVER ALERT (IF EQUIPPED)
WARNING: You are responsible for
controlling your vehicle at all times. The
system is designed to be an aid and does
not relieve you of your responsibility to
drive with due care and attention. Failure
to follow this instruction could result in
the loss of control of your vehicle,
personal injury or death. WARNING:
The system may not
function if the sensor is blocked. WARNING:
Take regular rest
breaks if you feel tired. Do not wait for
the system to warn you. WARNING:
Certain driving styles
may result in the system warning you
even if you are not feeling tired. WARNING:
In cold and severe
weather conditions the system may not
function. Rain, snow and spray can all
limit sensor performance. WARNING:
The system will not
operate if the sensor cannot track the
road lane markings. WARNING:
If damage occurs in the
immediate area surrounding the sensor,
have your vehicle checked as soon as
possible. WARNING:
The system may not
correctly operate if your vehicle is fitted
with a suspension kit not approved by
us.
Note: Keep the windshield free from
obstructions. For example, bird droppings,
insects and snow or ice. Note:
If you have a blocked camera or
damaged windshield, the system may not
function.
Note: The system remembers the last
setting when you start your vehicle, unless
it detects a MyKey ™.
Note: If enabled in the menu, the system
activates at speeds above
40 mph
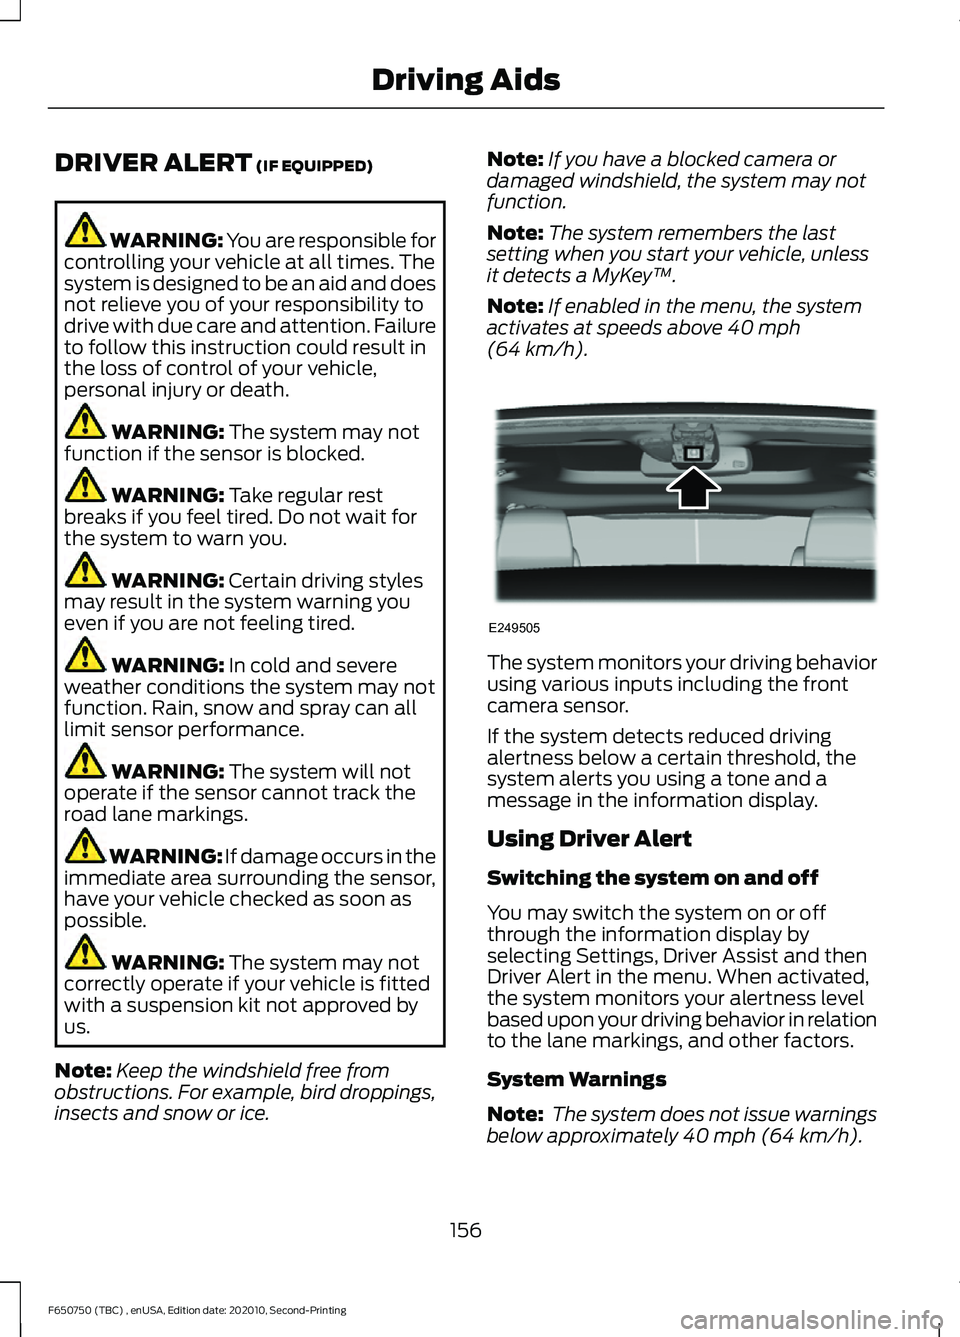
(64 km/h). The system monitors your driving behavior
using various inputs including the front
camera sensor.
If the system detects reduced driving
alertness below a certain threshold, the
system alerts you using a tone and a
message in the information display.
Using Driver Alert
Switching the system on and off
You may switch the system on or off
through the information display by
selecting Settings, Driver Assist and then
Driver Alert in the menu. When activated,
the system monitors your alertness level
based upon your driving behavior in relation
to the lane markings, and other factors.
System Warnings
Note:
The system does not issue warnings
below approximately
40 mph (64 km/h).
156
F650750 (TBC) , enUSA, Edition date: 202010, Second-Printing Driving AidsE249505
Page 160 of 390
The warning system is in two stages. At
first the system issues a temporary warning
that you need to take a rest. This message
only appears for a short time. If the system
detects further reduction in driving
alertness, another warning could be issued
which remains in the information display
for a longer time. Press OK on the steering
wheel control to clear the warning. When
active the system runs in the background
and only issues a warning if required.
Resetting the System
You can reset the system by either:
•
Switching the ignition off and on.
• Stopping the vehicle and then opening
and closing the driver door.
LANE KEEPING SYSTEM (IF
EQUIPPED) WARNING: You are responsible for
controlling your vehicle at all times. The
system is designed to be an aid and does
not relieve you of your responsibility to
drive with due care and attention. Failure
to follow this instruction could result in
the loss of control of your vehicle,
personal injury or death. WARNING:
Always drive with due
care and attention when using and
operating the controls and features on
your vehicle. WARNING:
In cold and severe
weather conditions the system may not
function. Rain, snow and spray can all
limit sensor performance. WARNING:
The system will not
operate if the sensor cannot track the
road lane markings. WARNING:
The sensor may
incorrectly track lane markings as other
structures or objects. This can result in
a false or missed warning. WARNING:
Large contrasts in
outside lighting can limit sensor
performance. WARNING:
The system may not
operate properly if the sensor is blocked.
Keep the windshield free from
obstruction. WARNING:
If damage occurs in the
immediate area surrounding the sensor,
have your vehicle checked as soon as
possible. WARNING:
The system may not
correctly operate if your vehicle is fitted
with a suspension kit not approved by
us.
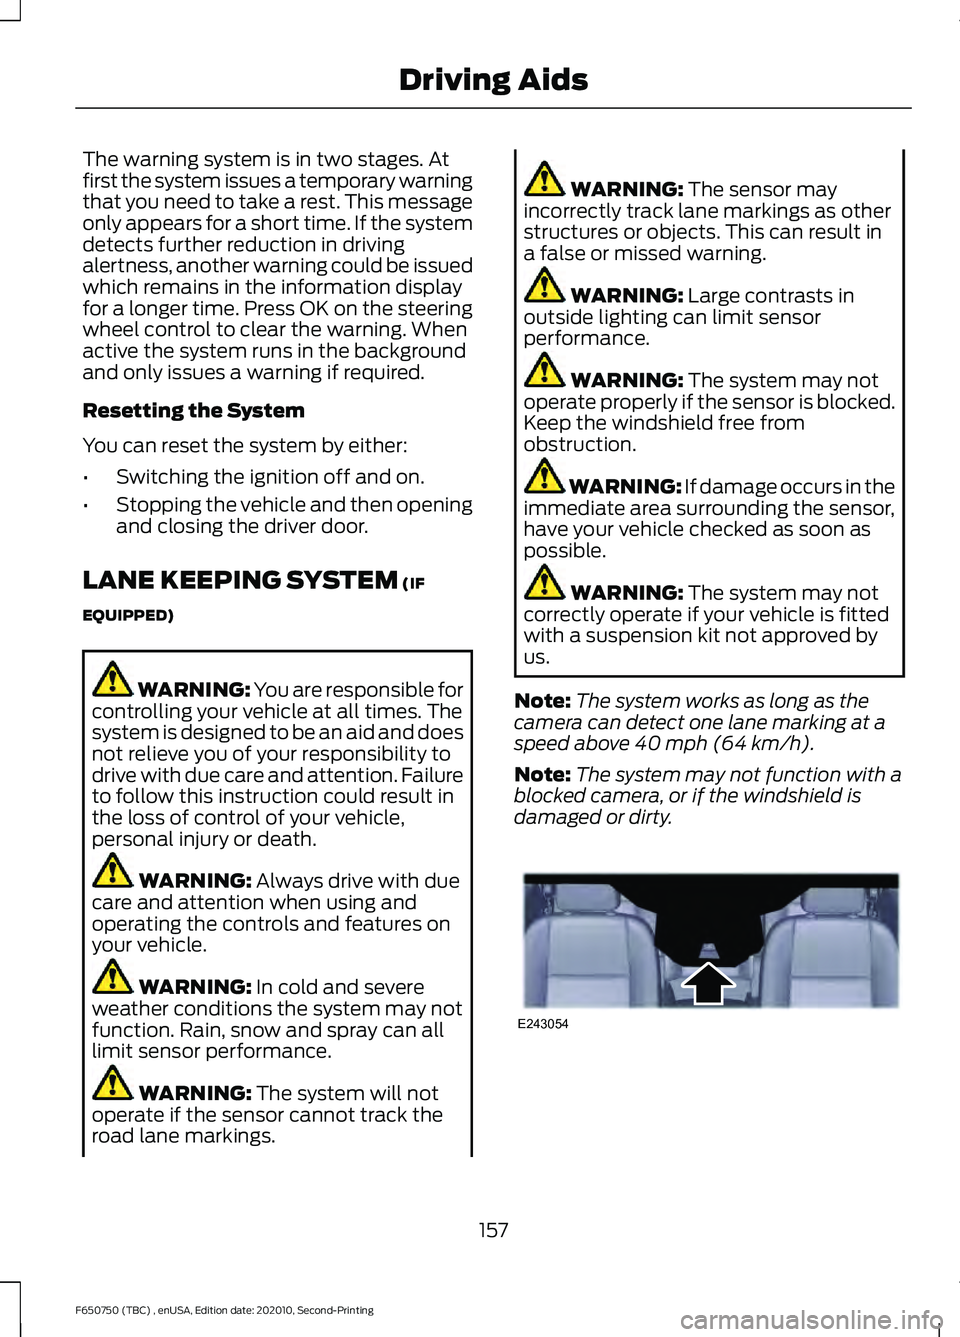
Note: The system works as long as the
camera can detect one lane marking at a
speed above
40 mph (64 km/h).
Note: The system may not function with a
blocked camera, or if the windshield is
damaged or dirty. 157
F650750 (TBC) , enUSA, Edition date: 202010, Second-Printing Driving AidsE243054
Page 163 of 390
Why is the feature not available (line markings are gray) when I can see the lane markings
on the road?
There is standing water on the road.
Faint lane markings, for example partial yellow lane markings on concrete roads.
Lane width is too narrow or too wide.
The camera has not been calibrated after a windshield replacement.
Driving on tight roads or on uneven roads.
Vehicle accessories are blocking the camera, for example a snow plow.
STEERING
Hydraulic Power Steering
To help prevent damage to the power
steering system:
• Do not hold the steering wheel at its
furthest turning points for more than
three to five seconds when the engine
is running.
• Avoid continuously steering back and
forth with elevated engine RPM as this
may overheat the system. If trying to
free a stuck vehicle, pause between
attempts to allow the power steering
system to cool or seek assistance.
Typical steering and driving maneuvers
allow the system to cool.
• Do not operate the vehicle if the power
steering pump fluid level is below the
MIN mark on the reservoir.
• Some noise is normal during operation.
If excessive, check for low power
steering pump fluid level before
seeking service by your dealer. •
Heavy or uneven efforts may be caused
by low power steering fluid. Check for
low power steering pump fluid level
before seeking service by your dealer.
• Do not fill the power steering pump
reservoir above the MAX mark on the
reservoir, as this may result in leaks
from the reservoir.
If the power steering system breaks down
or if you switch the engine off, you can
steer the vehicle manually, but it takes
more effort.
If you have any steering components
serviced or replaced, install new fasteners.
Many fasteners have coatings with thread
adhesive, or have prevailing torque
features you cannot reuse. Do not reuse a
bolt or nut. Torque fasteners to
specifications.
Steering Tips
If the steering wanders or pulls, check for:
• An improperly inflated tire.
• Uneven tire wear.
• Loose or worn suspension
components.
• Loose or worn steering components.
• Improper vehicle alignment.
160
F650750 (TBC) , enUSA, Edition date: 202010, Second-Printing Driving Aids
Page 172 of 390
AIR SUSPENSION (IF EQUIPPED)
Note: Do not operate your vehicle without
air in the suspension springs. Operating your
vehicle without air in the suspension springs
damages the suspension, degrades ride
performance and may cause property
damage.
The air suspension system automatically
adjusts to different loads to maintain a
constant frame height, allows for ease of
vehicle loading, provides improved vehicle
ride, and increased driver comfort.
Air Suspension Dump Button Note:
The suspension dumps air when the
ignition is in the accessory or on position,
but fills only when the ignition is in the on
position.
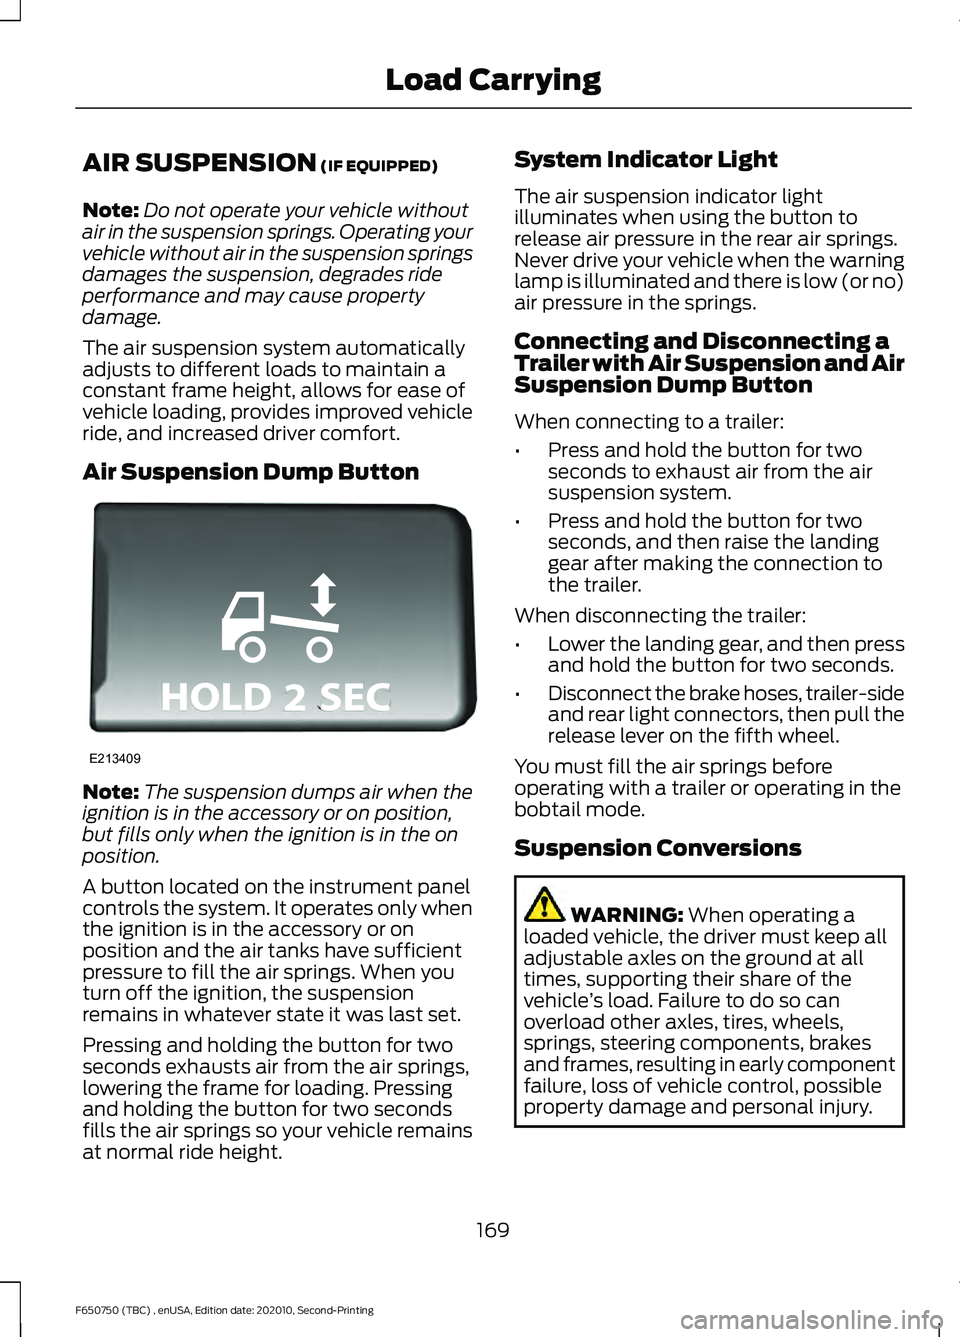
A button located on the instrument panel
controls the system. It operates only when
the ignition is in the accessory or on
position and the air tanks have sufficient
pressure to fill the air springs. When you
turn off the ignition, the suspension
remains in whatever state it was last set.
Pressing and holding the button for two
seconds exhausts air from the air springs,
lowering the frame for loading. Pressing
and holding the button for two seconds
fills the air springs so your vehicle remains
at normal ride height. System Indicator Light
The air suspension indicator light
illuminates when using the button to
release air pressure in the rear air springs.
Never drive your vehicle when the warning
lamp is illuminated and there is low (or no)
air pressure in the springs.
Connecting and Disconnecting a
Trailer with Air Suspension and Air
Suspension Dump Button
When connecting to a trailer:
•
Press and hold the button for two
seconds to exhaust air from the air
suspension system.
• Press and hold the button for two
seconds, and then raise the landing
gear after making the connection to
the trailer.
When disconnecting the trailer:
• Lower the landing gear, and then press
and hold the button for two seconds.
• Disconnect the brake hoses, trailer-side
and rear light connectors, then pull the
release lever on the fifth wheel.
You must fill the air springs before
operating with a trailer or operating in the
bobtail mode.
Suspension Conversions WARNING:
When operating a
loaded vehicle, the driver must keep all
adjustable axles on the ground at all
times, supporting their share of the
vehicle ’s load. Failure to do so can
overload other axles, tires, wheels,
springs, steering components, brakes
and frames, resulting in early component
failure, loss of vehicle control, possible
property damage and personal injury.
169
F650750 (TBC) , enUSA, Edition date: 202010, Second-Printing Load CarryingE213409