FORD F750 2001 10.G Owners Manual
Manufacturer: FORD, Model Year: 2001, Model line: F750, Model: FORD F750 2001 10.GPages: 240, PDF Size: 1.3 MB
Page 121 of 240
Reservoir selection
The number one service reservoir will at all times be selected as the
primary supply source for the MV-3. This is accomplished automatically
by the function of the dual circuit supply valve contained in the body of
the MV-3. Only in the event of a pressure drop of more than 207 kPa (30
psi) below that of the number two service reservoir will the dual circuit
supply valve shuttle and establish the front service reservoir as the
supply.
Exhaust brake (if equipped)
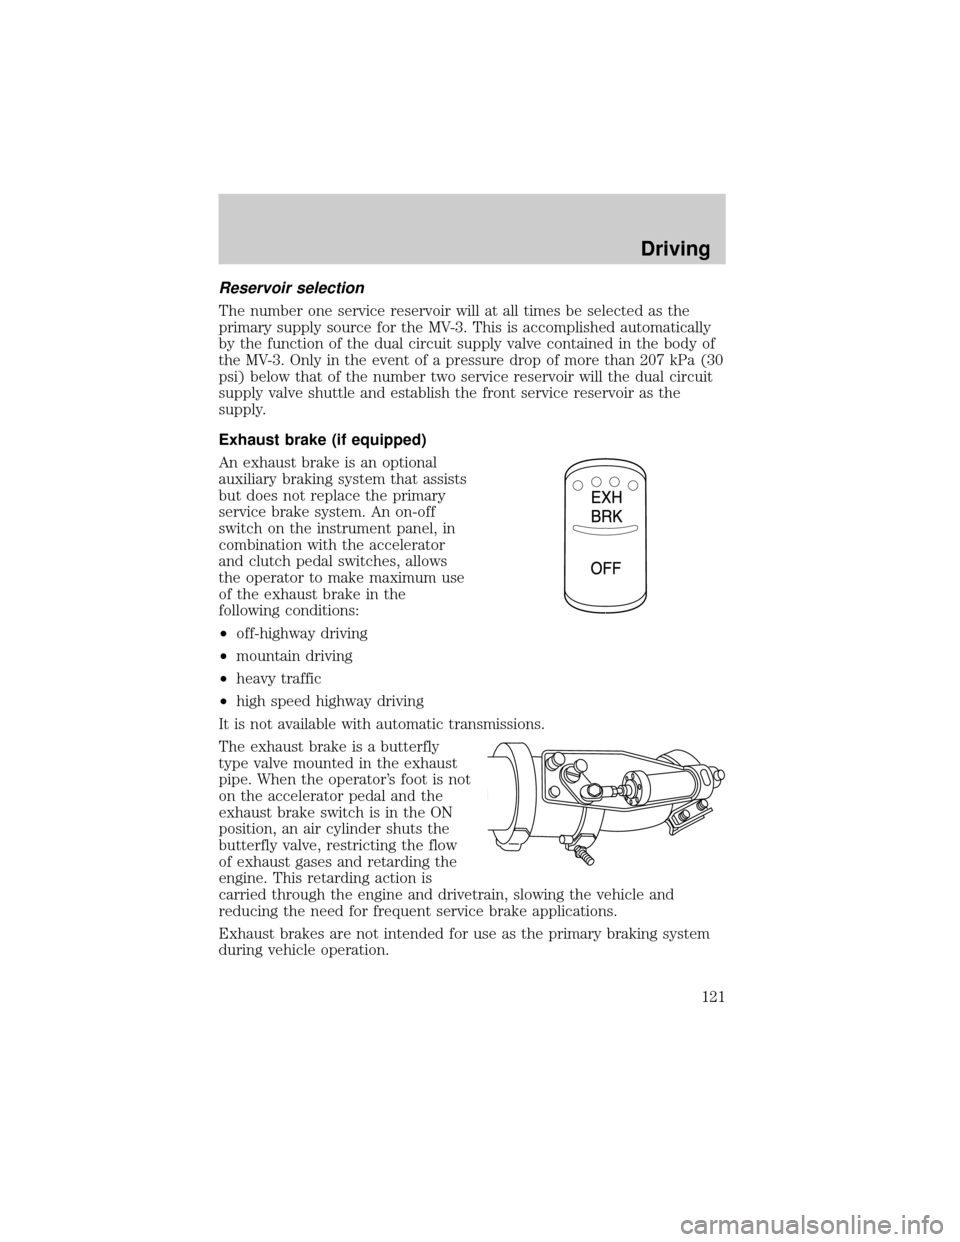
An exhaust brake is an optional
auxiliary braking system that assists
but does not replace the primary
service brake system. An on-off
switch on the instrument panel, in
combination with the accelerator
and clutch pedal switches, allows
the operator to make maximum use
of the exhaust brake in the
following conditions:
²off-highway driving
²mountain driving
²heavy traffic
²high speed highway driving
It is not available with automatic transmissions.
The exhaust brake is a butterfly
type valve mounted in the exhaust
pipe. When the operator's foot is not
on the accelerator pedal and the
exhaust brake switch is in the ON
position, an air cylinder shuts the
butterfly valve, restricting the flow
of exhaust gases and retarding the
engine. This retarding action is
carried through the engine and drivetrain, slowing the vehicle and
reducing the need for frequent service brake applications.
Exhaust brakes are not intended for use as the primary braking system
during vehicle operation.
Driving
121
Page 122 of 240
Operation
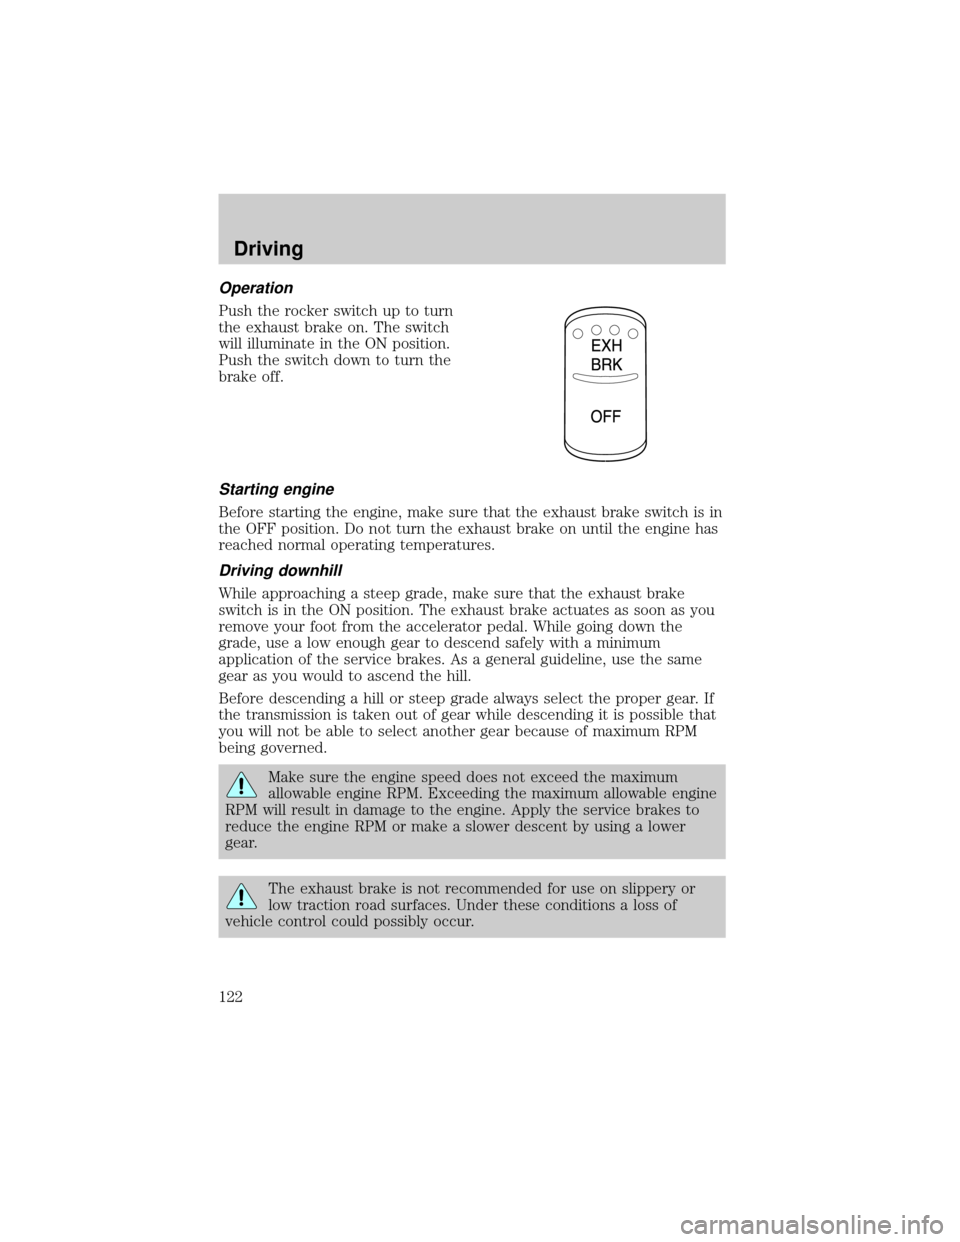
Push the rocker switch up to turn
the exhaust brake on. The switch
will illuminate in the ON position.
Push the switch down to turn the
brake off.
Starting engine
Before starting the engine, make sure that the exhaust brake switch is in
the OFF position. Do not turn the exhaust brake on until the engine has
reached normal operating temperatures.
Driving downhill
While approaching a steep grade, make sure that the exhaust brake
switch is in the ON position. The exhaust brake actuates as soon as you
remove your foot from the accelerator pedal. While going down the
grade, use a low enough gear to descend safely with a minimum
application of the service brakes. As a general guideline, use the same
gear as you would to ascend the hill.
Before descending a hill or steep grade always select the proper gear. If
the transmission is taken out of gear while descending it is possible that
you will not be able to select another gear because of maximum RPM
being governed.
Make sure the engine speed does not exceed the maximum
allowable engine RPM. Exceeding the maximum allowable engine
RPM will result in damage to the engine. Apply the service brakes to
reduce the engine RPM or make a slower descent by using a lower
gear.
The exhaust brake is not recommended for use on slippery or
low traction road surfaces. Under these conditions a loss of
vehicle control could possibly occur.
Driving
122
Page 123 of 240
Exhaust brake operating characteristics
When you remove your feet from both the accelerator and clutch pedals
and the exhaust brake switch is in the ON position, the exhaust brake is
activated. The following conditions should exist if the brake is operating
properly:
²A slight change in the sound of the engine when the exhaust brake is
activated.
²Exhaust smoke appears normal.
²Engine temperature remains in the normal operating range.
²Road speed usually decreases when the exhaust brake is applied
during a descent, except when the vehicle is carrying a heavy load or
the grade is extremely steep. In these instances, you may need to
apply the service brakes occasionally.
²During a descent, the tachometer usually shows a drop in RPM
depending on the grade and the vehicle load.
²Do not expect a retarding effect similar to sudden hard application of
the service brakes. The exhaust brake retards the vehicle with a
smooth braking effect.
²Depending on the grade and vehicle load, you may or may not feel the
retarding force acting against your body when the brake is applied.
The brake's retarding force is actually preventing the vehicle from
going much faster.
Make sure the exhaust brake is turned off before shutting off the engine.
Installing an exhaust or auxiliary brake should never allow the
engine to exceed maximum governed speeds under any
conditions. Refer to theStartingchapter.
Air brake reservoir draining
Failure to drain air brake reservoirs can result in a reduction or
loss of braking ability due to fluid accumulation in the reservoir
and/or possible freeze-up during cold weather.
Driving
123
Page 124 of 240

Drain all the air brake reservoirs
daily, completely to 0 kPa/psi, by
opening the draincock at the bottom
of the tanks. Close draincock after
complete draining. Air tanks
equipped with automatic moisture
ejector valves may also be drained
manually as required to maintain a
dry air system. Contact your dealer
if you are unsure of the air reservoir
locations or the draining procedure.
STEERING
Your vehicle is equipped with power steering. Power steering uses energy
from the engine to help steer the vehicle.
Never hold the steering wheel to the extreme right or the extreme left
for more than a few seconds when the engine is running. This action
could damage the power steering pump.
Suspension and steering
The suspension and steering linkage in your vehicle should be inspected
periodically for the following:
²Spring leaf damage
²Spring sag
²Abnormal looseness
²Damaged seals.
The following changes indicate a need to inspect and service your
vehicle:
²Changes in steering action.
²Hard steering.
²Excessive free play.
²Unusual sounds when turning or parking.
Driving
124
Page 125 of 240

If the steering wanders or pulls
This condition can be caused by any of the following conditions:
²Underinflated tire(s) on any wheel(s)
²Front end out of alignment
²Total vehicle out of alignment (i.e. rear axle[s] out of alignment with
front axle)
²Improper adjustment in the steering gear
²Vehicle overloaded or unevenly loaded
²High crosswinds
²High crown in center of road
²Components in steering linkage loose or worn
²Wheel bearings improperly adjusted
²Excessive lash in steering shaft or universal joints
If the vehicle steers hard
Hard steering can be caused by any of the following conditions:
²Underinflated tire(s) on any wheel(s)
²Vehicle overload
²Misalignment of the front tires
²Lack of lubricant in the front spindle bearings or linkage components
²Low oil level in the power steering system
²Broken or loose power steering pump direct drive connection
²Malfunctioning relief valve in power steering gear or steering pump
²Malfunctioning power steering pump
²Restriction in power steering lines
²Improperly set turn stops
²Air entrapped in power steering system fluid
AIR SUSPENSION SYSTEM (IF EQUIPPED)
The on-highway air suspension system is designed to provide a superior
ride, outstanding driver comfort while minimizing wear on the cab, frame
and payload.
The height control valve automatically keeps the vehicle at a constant
level due to load changes and uneven road surfaces.
Driving
125
Page 126 of 240
AIR SUSPENSION DUMP VALVE
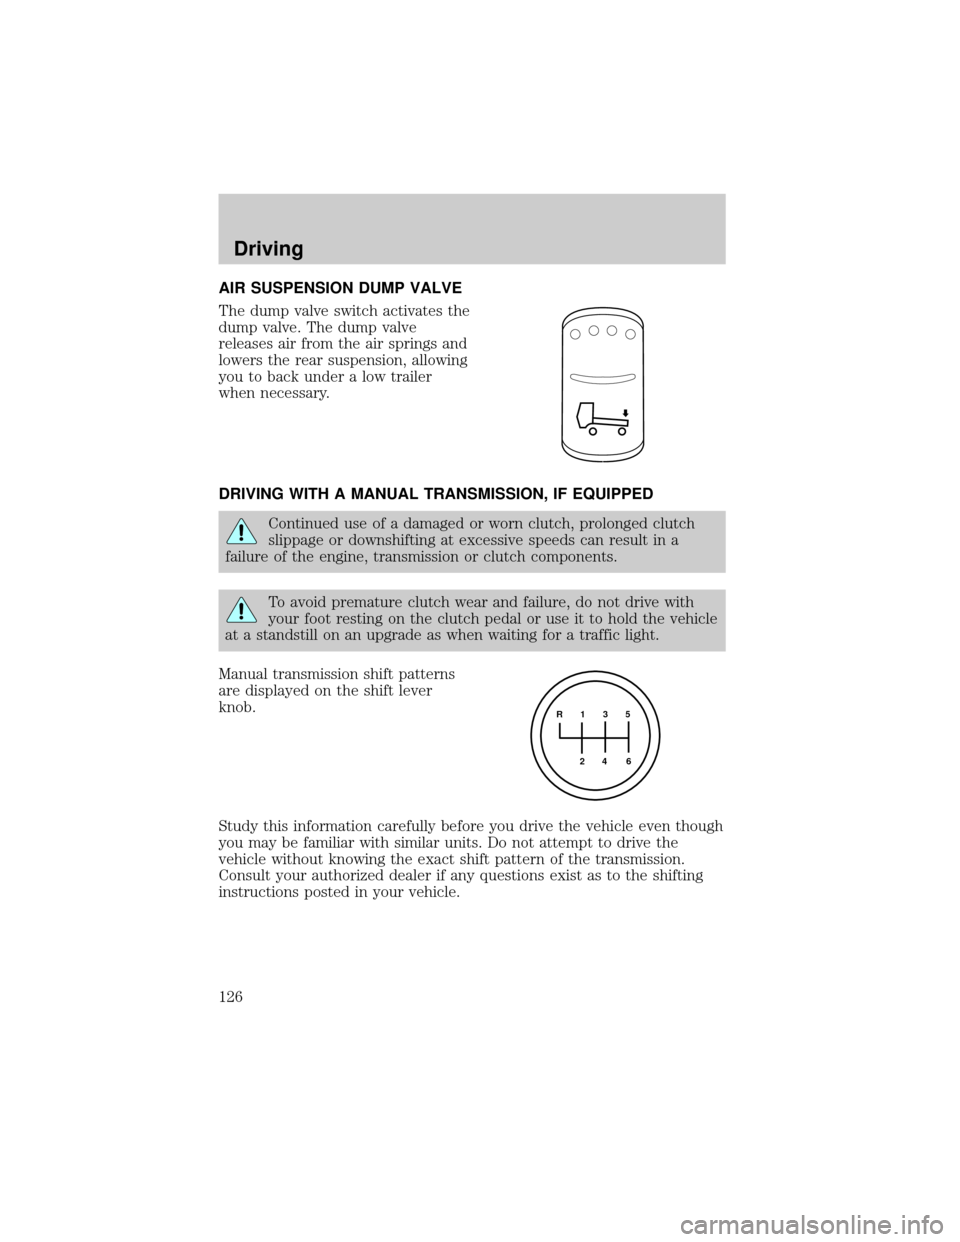
The dump valve switch activates the
dump valve. The dump valve
releases air from the air springs and
lowers the rear suspension, allowing
you to back under a low trailer
when necessary.
DRIVING WITH A MANUAL TRANSMISSION, IF EQUIPPED
Continued use of a damaged or worn clutch, prolonged clutch
slippage or downshifting at excessive speeds can result in a
failure of the engine, transmission or clutch components.
To avoid premature clutch wear and failure, do not drive with
your foot resting on the clutch pedal or use it to hold the vehicle
at a standstill on an upgrade as when waiting for a traffic light.
Manual transmission shift patterns
are displayed on the shift lever
knob.
Study this information carefully before you drive the vehicle even though
you may be familiar with similar units. Do not attempt to drive the
vehicle without knowing the exact shift pattern of the transmission.
Consult your authorized dealer if any questions exist as to the shifting
instructions posted in your vehicle.
R 1 3 5
4
6 2
Driving
126
Page 127 of 240
Do not coast the vehicle with the clutch pedal depressed or with
the transmission in neutral. This practice could result in loss of
vehicle control.
Always use a gear ratio low enough to allow the engine to operate above
the minimum engine operation speed range. Do not lug the engine. When
more power is required, shift to a lower gear and accelerate the engine
near the governed speed.
Driving hints
The following driving hints are provided as a brief, general guide in
operating the different manual transmissions used in your vehicle.
²Always use the lowest gear to start the vehicle.
²Do not slam or jerk lever into gear.
²When shifting into 1 (First) or R (Reverse) with vehicle standing still,
quickly release and depress the clutch pedal (if necessary to complete
gear engagement).
Operating the Eaton FS-4205A and FS-5205A 5±speed
transmissions
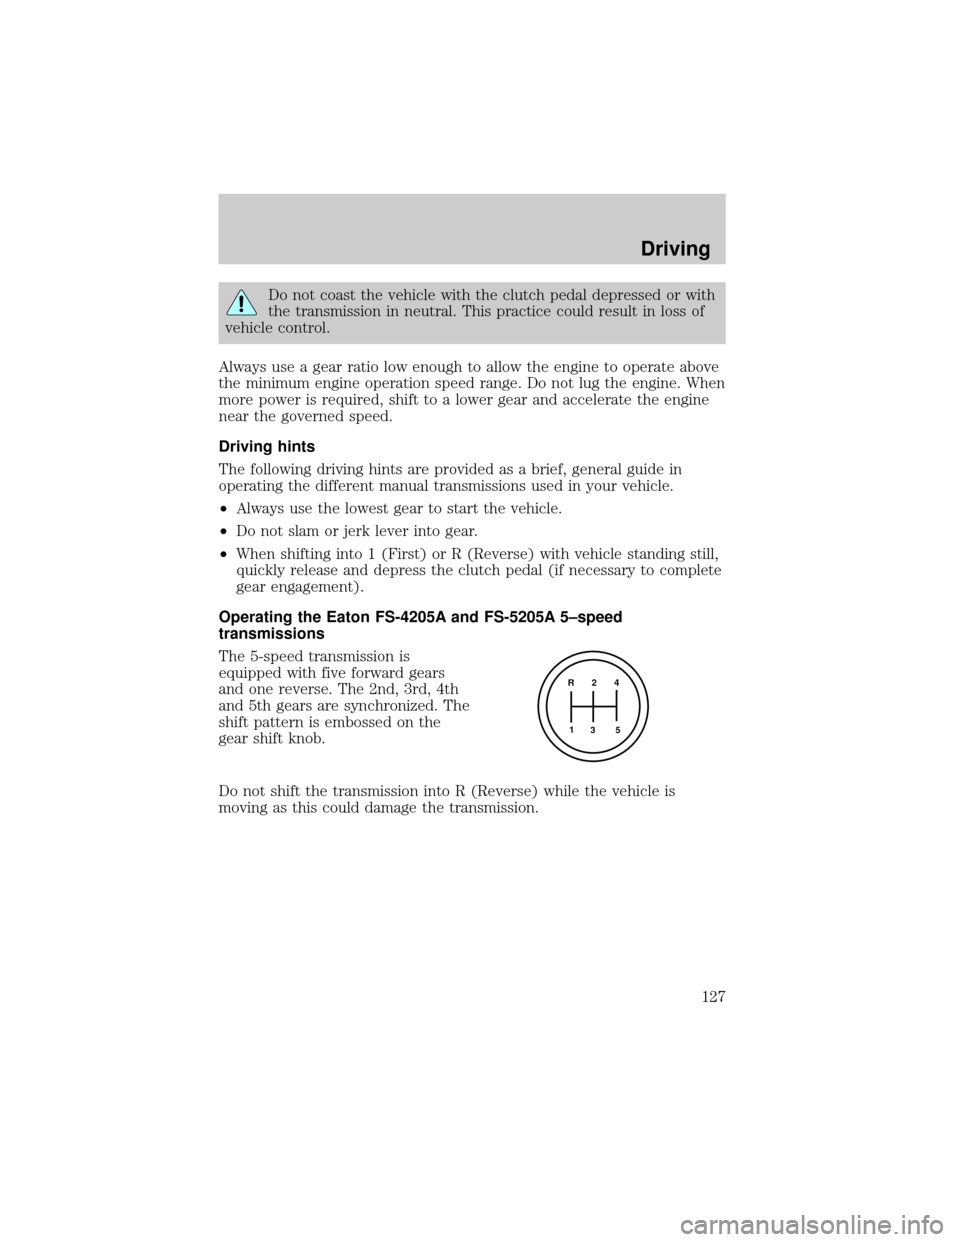
The 5-speed transmission is
equipped with five forward gears
and one reverse. The 2nd, 3rd, 4th
and 5th gears are synchronized. The
shift pattern is embossed on the
gear shift knob.
Do not shift the transmission into R (Reverse) while the vehicle is
moving as this could damage the transmission.
R 2 4
3 5 1
Driving
127
Page 128 of 240
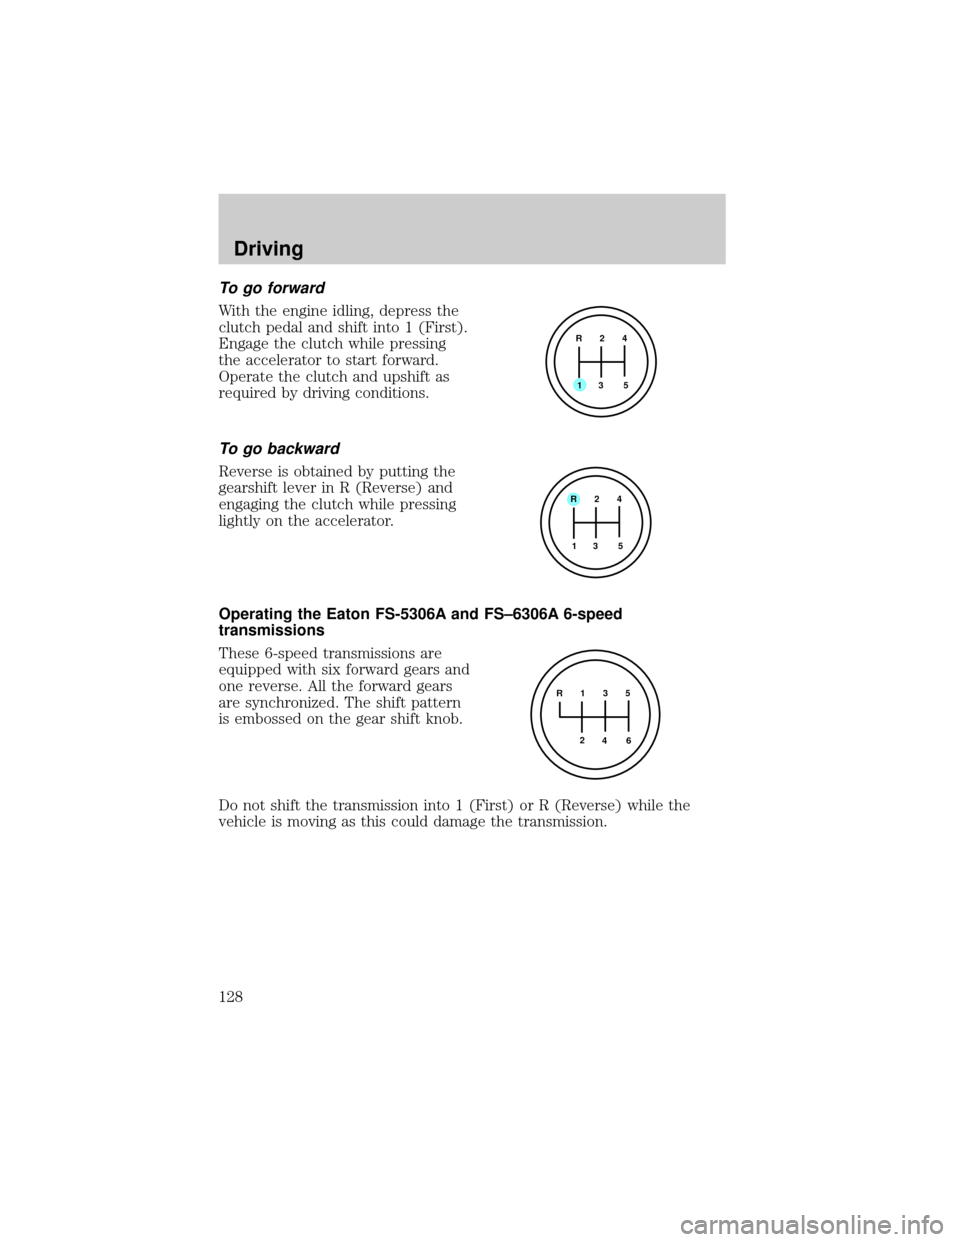
To go forward
With the engine idling, depress the
clutch pedal and shift into 1 (First).
Engage the clutch while pressing
the accelerator to start forward.
Operate the clutch and upshift as
required by driving conditions.
To go backward
Reverse is obtained by putting the
gearshift lever in R (Reverse) and
engaging the clutch while pressing
lightly on the accelerator.
Operating the Eaton FS-5306A and FS±6306A 6-speed
transmissions
These 6-speed transmissions are
equipped with six forward gears and
one reverse. All the forward gears
are synchronized. The shift pattern
is embossed on the gear shift knob.
Do not shift the transmission into 1 (First) or R (Reverse) while the
vehicle is moving as this could damage the transmission.
R 2 4
3 5
1
R 2 4
3 5 1
R 1 3 5
4
6 2
Driving
128
Page 129 of 240
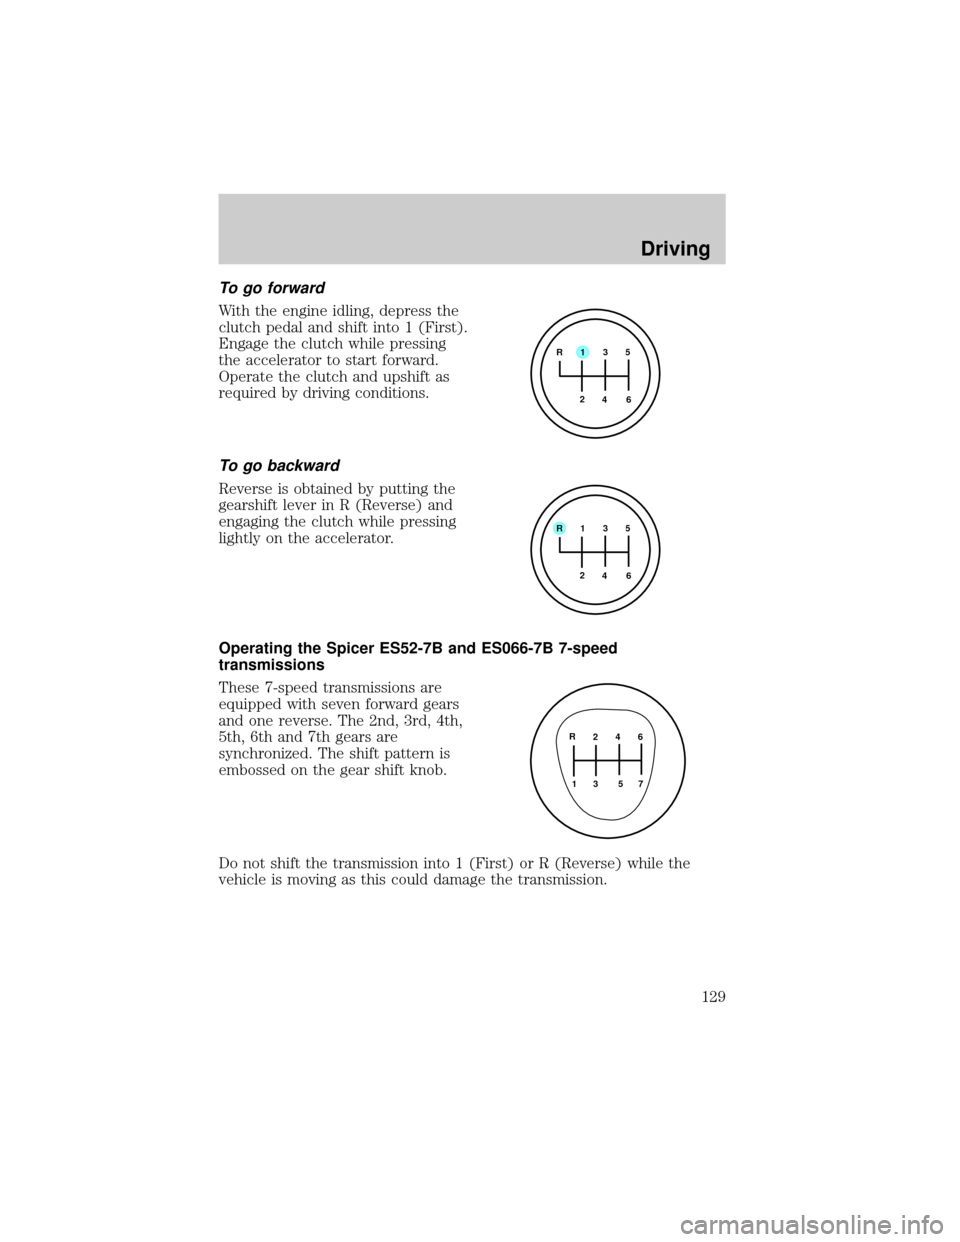
To go forward
With the engine idling, depress the
clutch pedal and shift into 1 (First).
Engage the clutch while pressing
the accelerator to start forward.
Operate the clutch and upshift as
required by driving conditions.
To go backward
Reverse is obtained by putting the
gearshift lever in R (Reverse) and
engaging the clutch while pressing
lightly on the accelerator.
Operating the Spicer ES52-7B and ES066-7B 7-speed
transmissions
These 7-speed transmissions are
equipped with seven forward gears
and one reverse. The 2nd, 3rd, 4th,
5th, 6th and 7th gears are
synchronized. The shift pattern is
embossed on the gear shift knob.
Do not shift the transmission into 1 (First) or R (Reverse) while the
vehicle is moving as this could damage the transmission.
R 1 3 5
4
6 2
R 1 3 5
4
6 2
2 4 6
3 5 71 R
Driving
129
Page 130 of 240
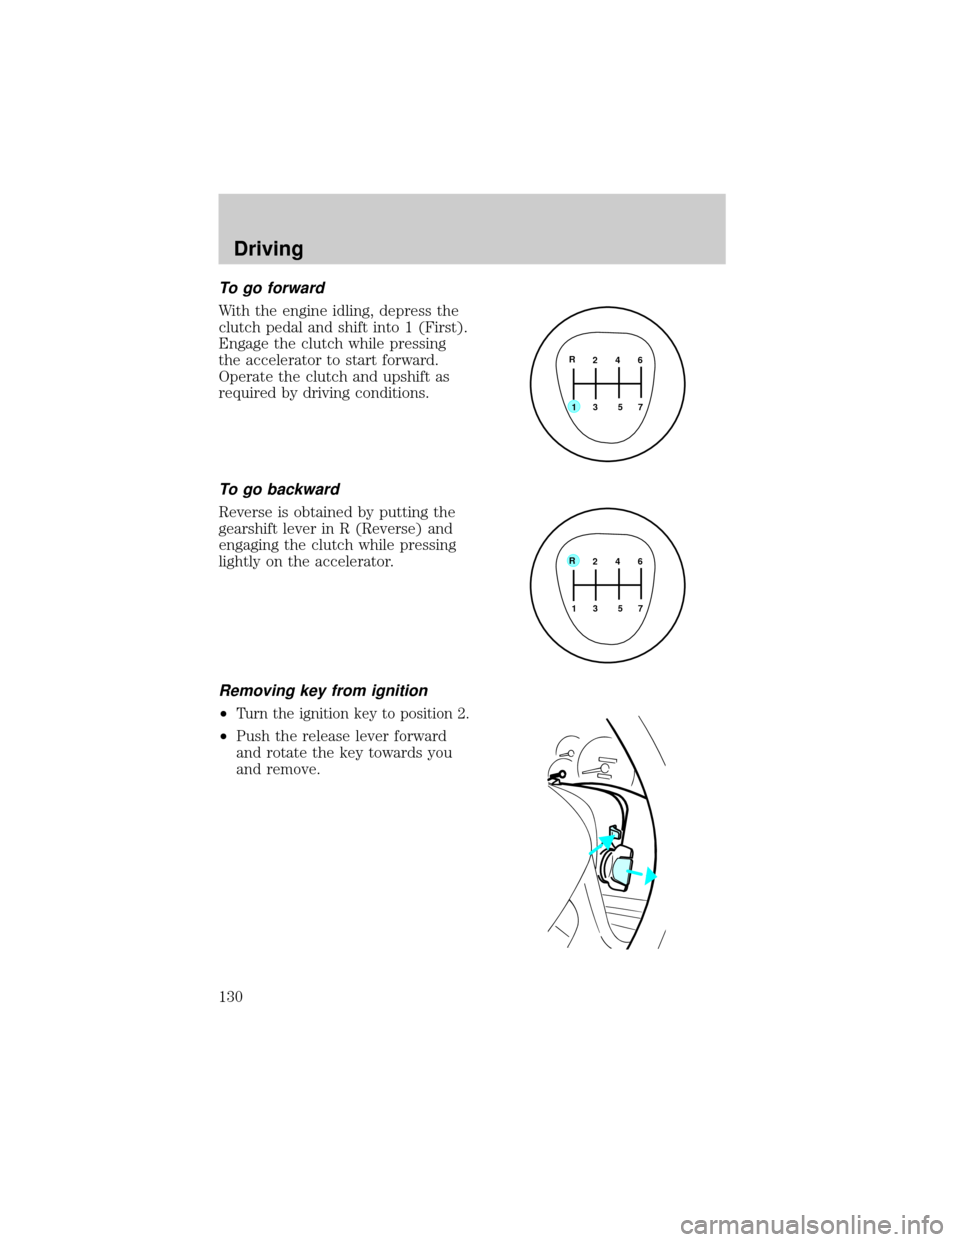
To go forward
With the engine idling, depress the
clutch pedal and shift into 1 (First).
Engage the clutch while pressing
the accelerator to start forward.
Operate the clutch and upshift as
required by driving conditions.
To go backward
Reverse is obtained by putting the
gearshift lever in R (Reverse) and
engaging the clutch while pressing
lightly on the accelerator.
Removing key from ignition
²Turn the ignition key to position 2.
²Push the release lever forward
and rotate the key towards you
and remove.
2 4 6
3 5 7
1 R
2 4 6
3 5 7
1 R
Driving
130