engine FORD F750 2001 10.G User Guide
[x] Cancel search | Manufacturer: FORD, Model Year: 2001, Model line: F750, Model: FORD F750 2001 10.GPages: 240, PDF Size: 1.3 MB
Page 19 of 240
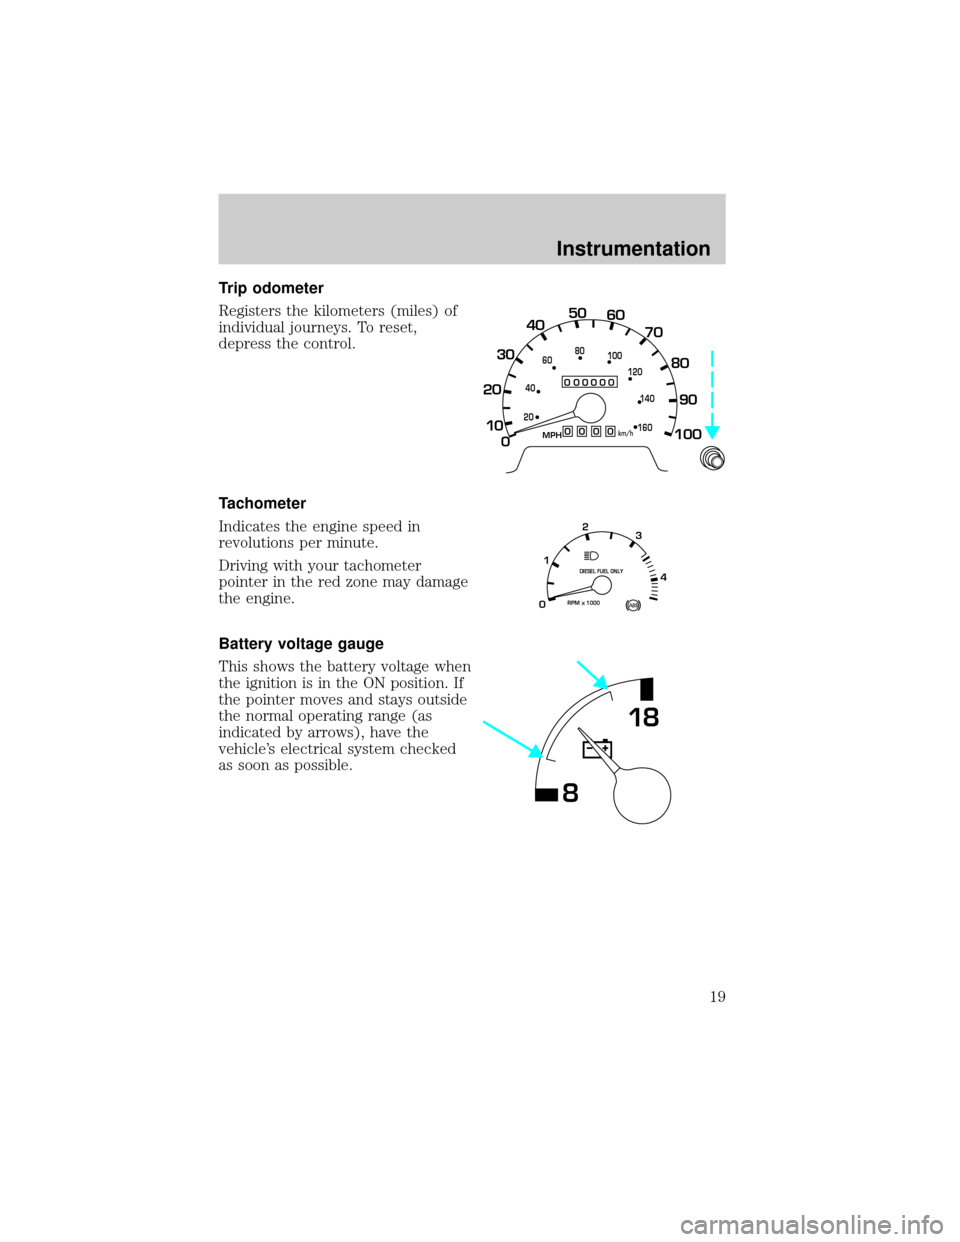
Trip odometer
Registers the kilometers (miles) of
individual journeys. To reset,
depress the control.
Tachometer
Indicates the engine speed in
revolutions per minute.
Driving with your tachometer
pointer in the red zone may damage
the engine.
Battery voltage gauge
This shows the battery voltage when
the ignition is in the ON position. If
the pointer moves and stays outside
the normal operating range (as
indicated by arrows), have the
vehicle's electrical system checked
as soon as possible.
0
000000000
MPH
20km/h
406080
100
120
140
160
0
10 20304050
60
70
80
90
100
RPM1000
DIESEL FUEL ONLY
X012
3
4
818
Instrumentation
19
Page 20 of 240
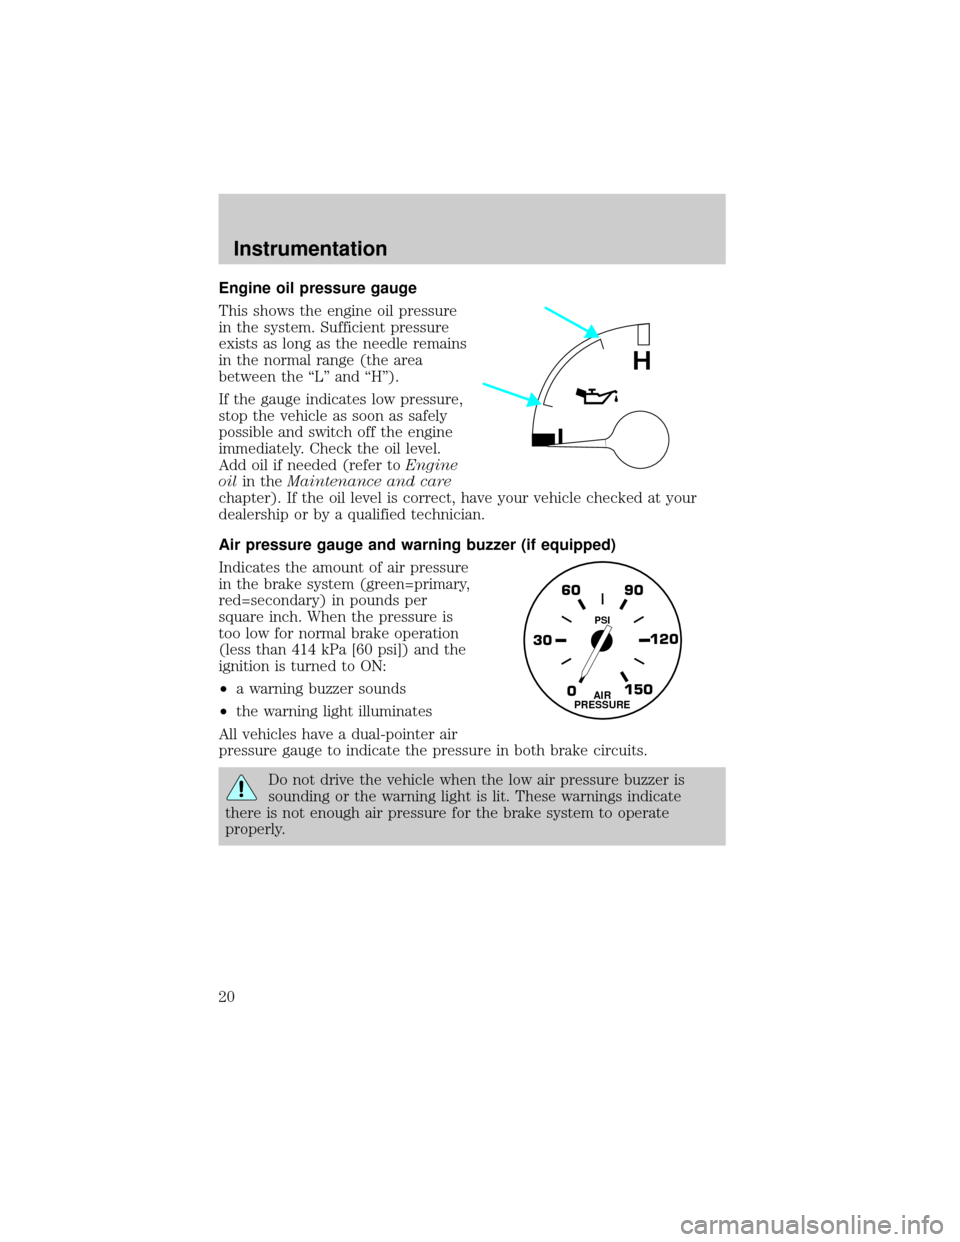
Engine oil pressure gauge
This shows the engine oil pressure
in the system. Sufficient pressure
exists as long as the needle remains
in the normal range (the area
between the ªLº and ªHº).
If the gauge indicates low pressure,
stop the vehicle as soon as safely
possible and switch off the engine
immediately. Check the oil level.
Add oil if needed (refer toEngine
oilin theMaintenance and care
chapter). If the oil level is correct, have your vehicle checked at your
dealership or by a qualified technician.
Air pressure gauge and warning buzzer (if equipped)
Indicates the amount of air pressure
in the brake system (green=primary,
red=secondary) in pounds per
square inch. When the pressure is
too low for normal brake operation
(less than 414 kPa [60 psi]) and the
ignition is turned to ON:
²a warning buzzer sounds
²the warning light illuminates
All vehicles have a dual-pointer air
pressure gauge to indicate the pressure in both brake circuits.
Do not drive the vehicle when the low air pressure buzzer is
sounding or the warning light is lit. These warnings indicate
there is not enough air pressure for the brake system to operate
properly.
L
H
0 30120 90 60
150AIR
PRESSURE
PSI
Instrumentation
20
Page 66 of 240
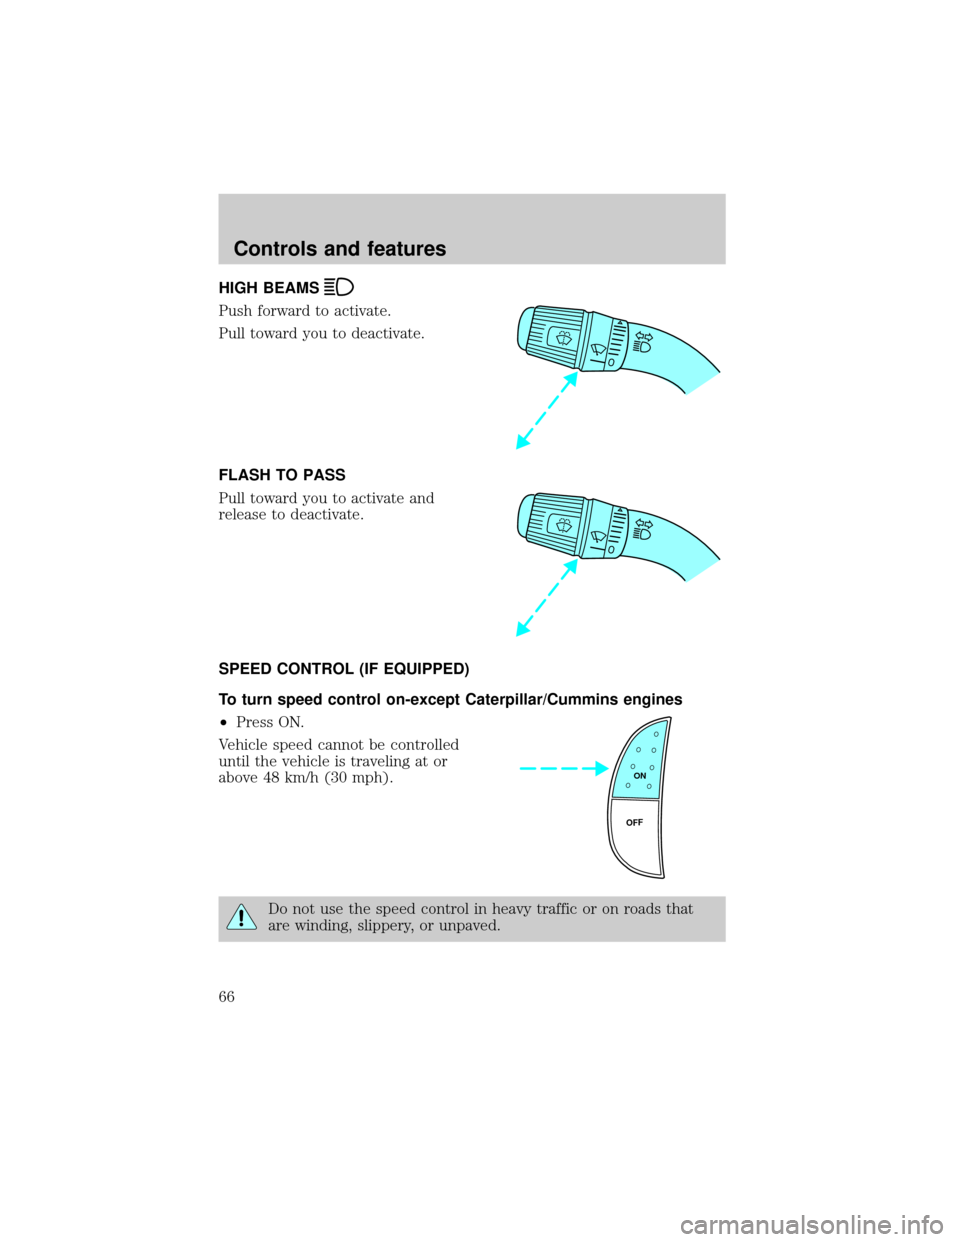
HIGH BEAMS
Push forward to activate.
Pull toward you to deactivate.
FLASH TO PASS
Pull toward you to activate and
release to deactivate.
SPEED CONTROL (IF EQUIPPED)
To turn speed control on-except Caterpillar/Cummins engines
²Press ON.
Vehicle speed cannot be controlled
until the vehicle is traveling at or
above 48 km/h (30 mph).
Do not use the speed control in heavy traffic or on roads that
are winding, slippery, or unpaved.
ON
OFF
Controls and features
66
Page 67 of 240
Do not shift the gearshift lever into N (Neutral) with the speed
control on.
Caterpillar/Cummins engines
Press CRUISE RPM. If the vehicle is moving, speed control will be
enabled; if the vehicle is stationary, engine RPM can be controlled.
Do not use the speed control in heavy traffic or on roads that
are winding, slippery, or unpaved.
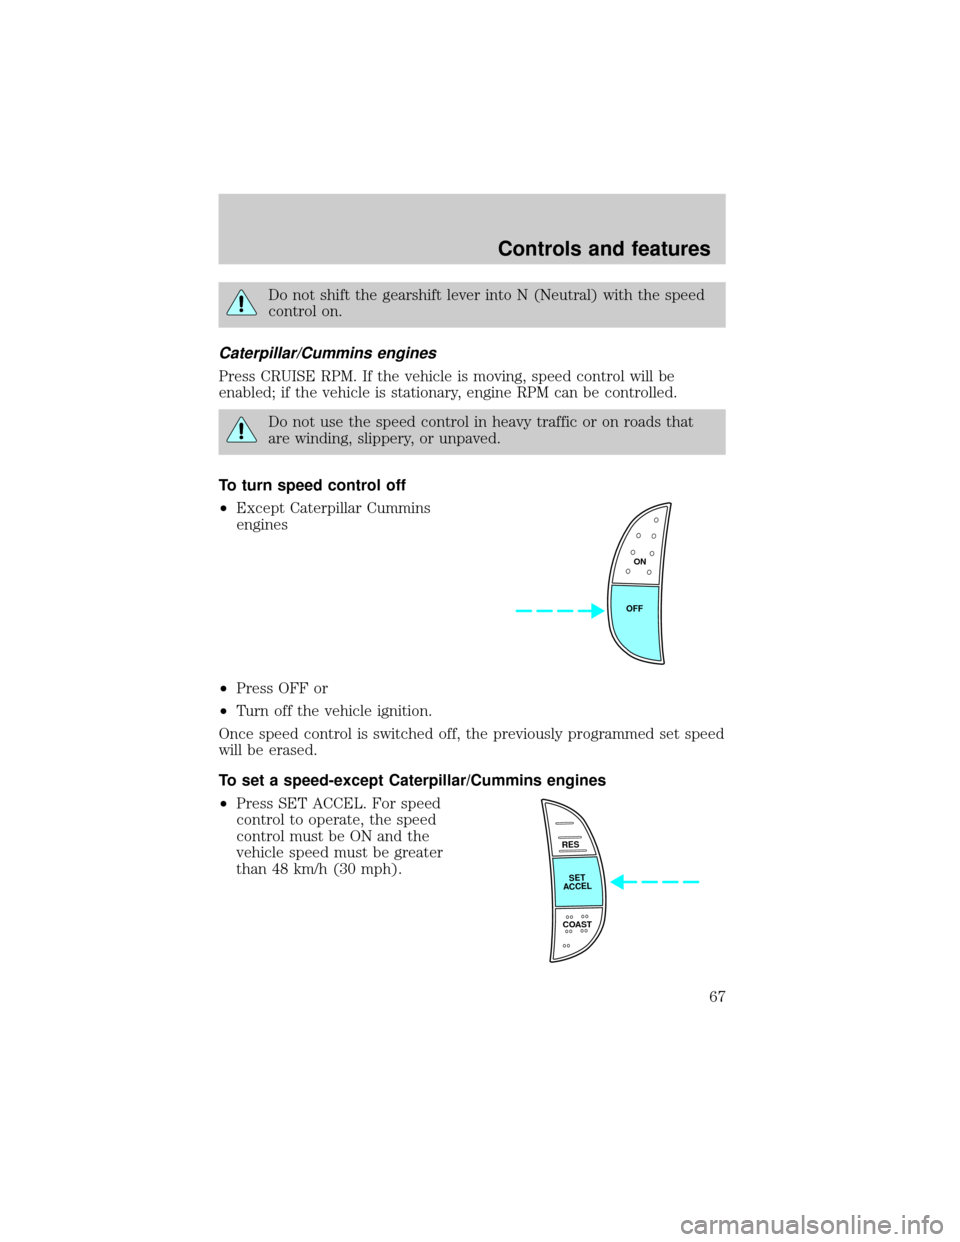
To turn speed control off
²Except Caterpillar Cummins
engines
²Press OFF or
²Turn off the vehicle ignition.
Once speed control is switched off, the previously programmed set speed
will be erased.
To set a speed-except Caterpillar/Cummins engines
²Press SET ACCEL. For speed
control to operate, the speed
control must be ON and the
vehicle speed must be greater
than 48 km/h (30 mph).
ON
OFF
RES
SET
ACCEL
COAST
Controls and features
67
Page 68 of 240
Do not use the speed control in heavy traffic or on roads that
are winding, slippery, or unpaved.
Caterpillar/Cummins engines
Press SET +. If the vehicles is moving, this will set the vehicle speed. If
the vehicle is stationary, this will set the vehicle idle RPM.
If you drive up or down a steep hill, your vehicle speed may vary
momentarily slower or faster than the set speed. This is normal.
Speed control cannot reduce the vehicle speed if it increases above the
set speed on a downhill. If your vehicle speed is faster than the set
speed while driving on a downhill, you may want to shift to the next
lower gear or apply the brakes to reduce your vehicle speed.
If the vehicle speed falls below 48 km/h (30 mph) or engine RPM falls
below 1 000 RPM, your speed control will disengage. This is normal.
Pressing RESUME - will re-engage it.
Do not use the speed control in heavy traffic or on roads that
are winding, slippery, or unpaved.
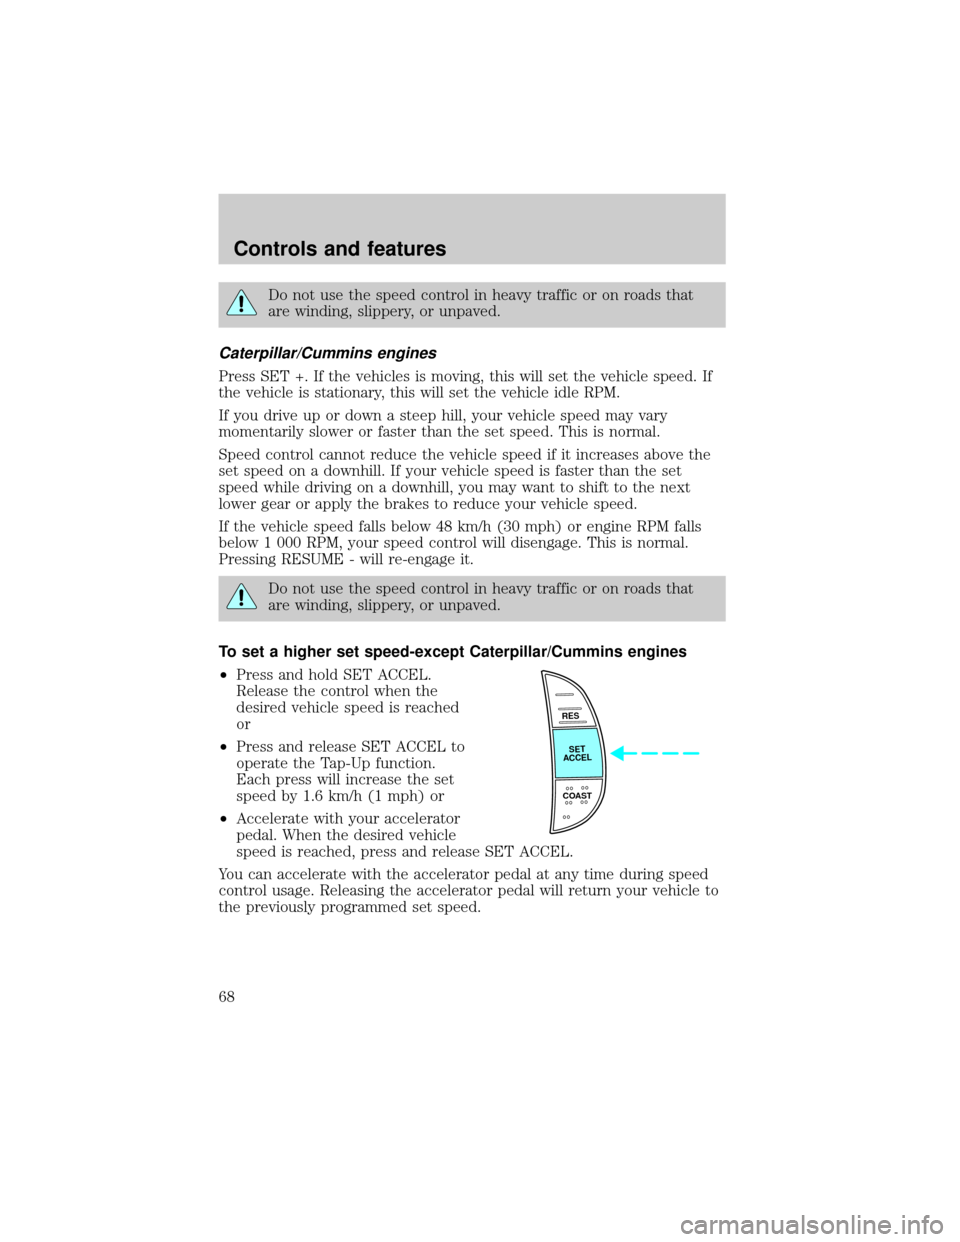
To set a higher set speed-except Caterpillar/Cummins engines
²Press and hold SET ACCEL.
Release the control when the
desired vehicle speed is reached
or
²Press and release SET ACCEL to
operate the Tap-Up function.
Each press will increase the set
speed by 1.6 km/h (1 mph) or
²Accelerate with your accelerator
pedal. When the desired vehicle
speed is reached, press and release SET ACCEL.
You can accelerate with the accelerator pedal at any time during speed
control usage. Releasing the accelerator pedal will return your vehicle to
the previously programmed set speed.
RES
SET
ACCEL
COAST
Controls and features
68
Page 69 of 240
Caterpillar/Cummins engines
Press and hold SET +. If the vehicle is moving, this will increase vehicle
speed; if the vehicle is stationary, this will increase engine RPM. Release
the control when the desired vehicle speed/engine RPM is reached.
Press and release SET + to operate the Tap-Up function. Each press will
increase the set speed by 1.6 km/h (1 mph) or engine RPM in idle mode.
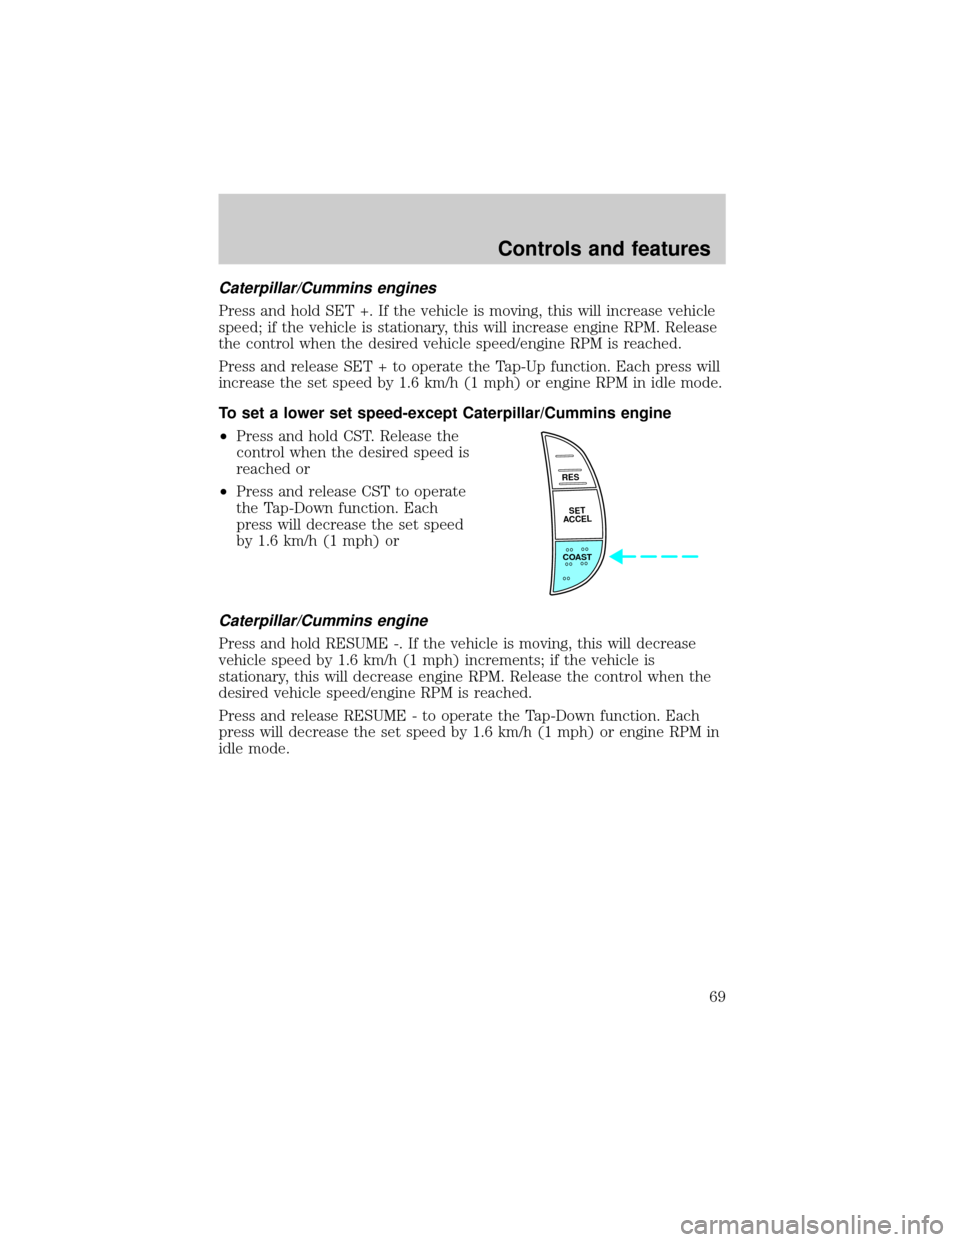
To set a lower set speed-except Caterpillar/Cummins engine
²Press and hold CST. Release the
control when the desired speed is
reached or
²Press and release CST to operate
the Tap-Down function. Each
press will decrease the set speed
by 1.6 km/h (1 mph) or
Caterpillar/Cummins engine
Press and hold RESUME -. If the vehicle is moving, this will decrease
vehicle speed by 1.6 km/h (1 mph) increments; if the vehicle is
stationary, this will decrease engine RPM. Release the control when the
desired vehicle speed/engine RPM is reached.
Press and release RESUME - to operate the Tap-Down function. Each
press will decrease the set speed by 1.6 km/h (1 mph) or engine RPM in
idle mode.
RES
SET
ACCEL
COAST
Controls and features
69
Page 70 of 240
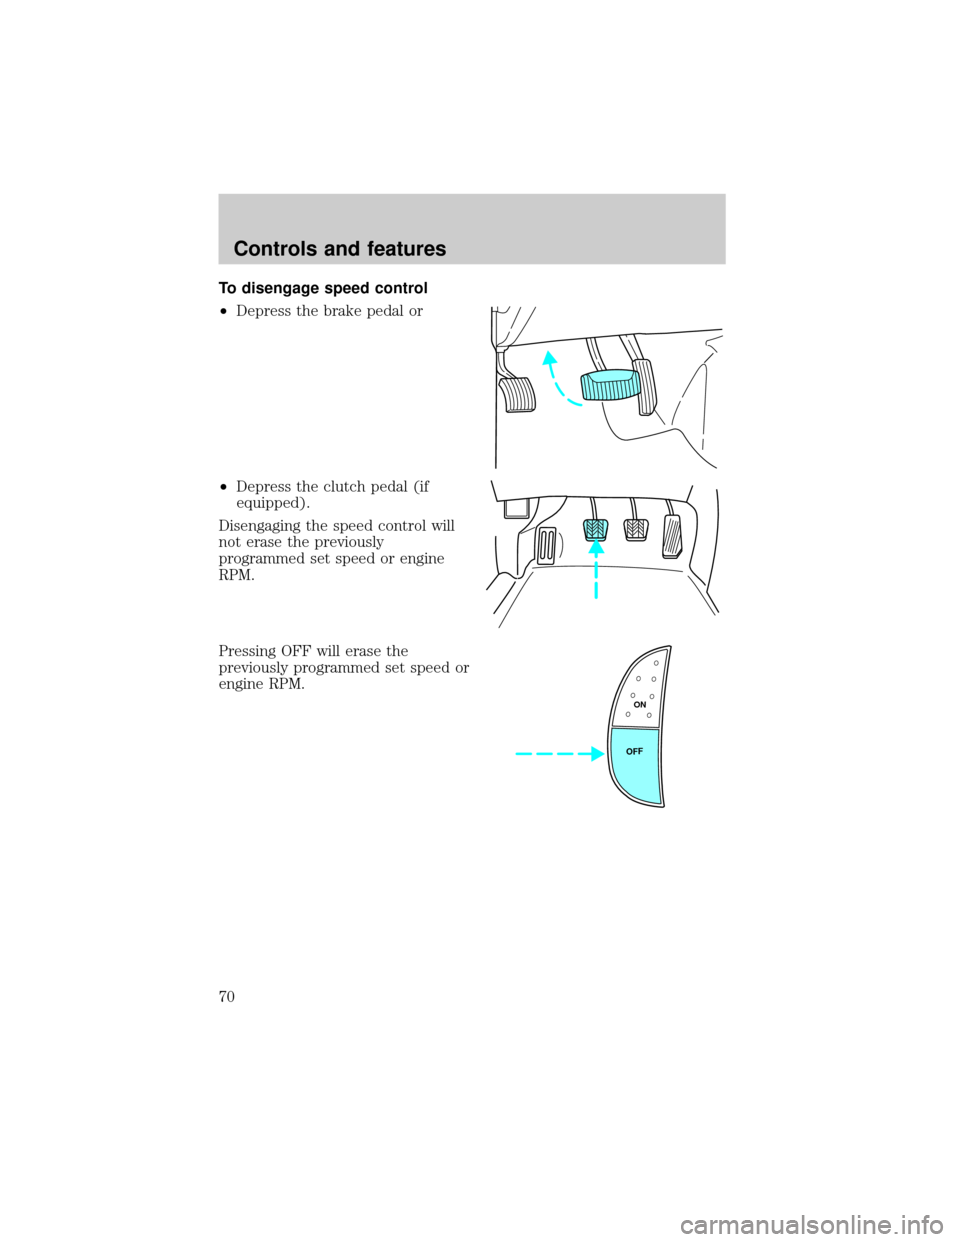
To disengage speed control
²Depress the brake pedal or
²Depress the clutch pedal (if
equipped).
Disengaging the speed control will
not erase the previously
programmed set speed or engine
RPM.
Pressing OFF will erase the
previously programmed set speed or
engine RPM.
ON
OFF
Controls and features
70
Page 71 of 240
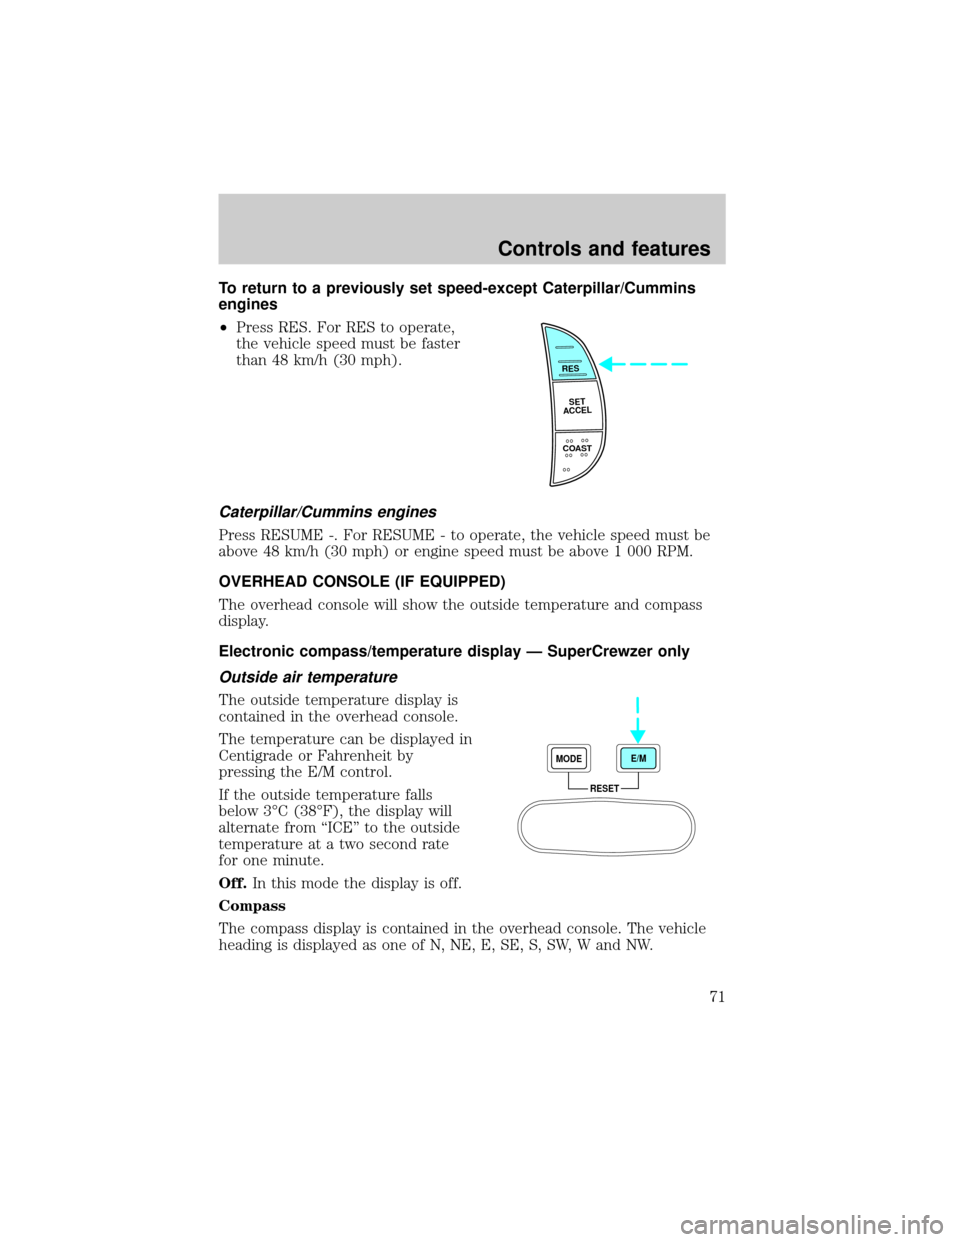
To return to a previously set speed-except Caterpillar/Cummins
engines
²Press RES. For RES to operate,
the vehicle speed must be faster
than 48 km/h (30 mph).
Caterpillar/Cummins engines
Press RESUME -. For RESUME - to operate, the vehicle speed must be
above 48 km/h (30 mph) or engine speed must be above 1 000 RPM.
OVERHEAD CONSOLE (IF EQUIPPED)
The overhead console will show the outside temperature and compass
display.
Electronic compass/temperature display Ð SuperCrewzer only
Outside air temperature
The outside temperature display is
contained in the overhead console.
The temperature can be displayed in
Centigrade or Fahrenheit by
pressing the E/M control.
If the outside temperature falls
below 3ÉC (38ÉF), the display will
alternate from ªICEº to the outside
temperature at a two second rate
for one minute.
Off.In this mode the display is off.
Compass
The compass display is contained in the overhead console. The vehicle
heading is displayed as one of N, NE, E, SE, S, SW, W and NW.
RES
SET
ACCEL
COAST
RESET MODEE/M
Controls and features
71
Page 95 of 240

1. Turn the ignition switch to the RUN (or ON) position. (DO NOT
START THE ENGINE)
2. Wait until the safety belt warning light turns off. (Approximately 1±2
minutes)
²Steps 3±5 must be completed within 60 seconds or the procedure will
have to be repeated.
3. Buckle then unbuckle the safety belt three times, ending with the
safety belt unbuckled. This can be done before or during Belt Minder
warning activation.
4. Turn on the parklamps/headlamps, turn off the parklamps/headlamps.
5. Buckle then unbuckle the safety belt three times, ending with the
safety belt unbuckled.
²After step 5 the safety belt warning light will be turned on for three
seconds.
6. Within seven seconds of the safety belt warning light turning off,
buckle then unbuckle the safety belt.
²This will disable Belt Minder if it is currently enabled, or enable Belt
Minder if it is currently disabled.
7. Confirmation of disabling Belt Minder is provided by flashing the
safety belt warning light four times per second for three seconds.
8. Confirmation of enabling Belt Minder is provided by flashing the safety
belt warning light four times per second for three seconds, followed by
three seconds with the safety belt warning light off, then followed by
flashing the safety belt warning light four times per second for three
seconds again.
9. After receiving confirmation, the deactivation/activation procedure is
complete.
Safety belt maintenance
Inspect the safety belt systems periodically to make sure they work
properly and are not damaged. Inspect the safety belts to make sure
there are no nicks, wears or cuts, replacing if necessary. All safety belt
assemblies, including retractors, buckles, front seat belt buckle
assemblies, buckle support assemblies (slide bar-if equipped), shoulder
belt height adjusters (if equipped), shoulder belt guide on seatback (if
equipped), child safety seat tether bracket assemblies (if equipped), and
attaching hardware, should be inspected after a collision. Ford
Seating and safety restraints
95
Page 102 of 240
STARTING PROCEDURES
Operating precautions
²
Always shift to a lower gear at high altitudes to prevent engine smoking.
²Avoid extended and unnecessary idling.
Do not operate a diesel engine where the vapors can be
combustible. These vapors can be sucked through the air intake
system and cause engine acceleration and overspeeding, which may
result in bodily injury and extensive property damage. The equipment
owner and operator are responsible for safe operation in a hostile
environment.
STARTING THE ENGINE
1. Ensure headlamps and all accessories are turned off and the parking
brake is applied.
2.Automatic transmissions,ensure gearshift is in N (Neutral).
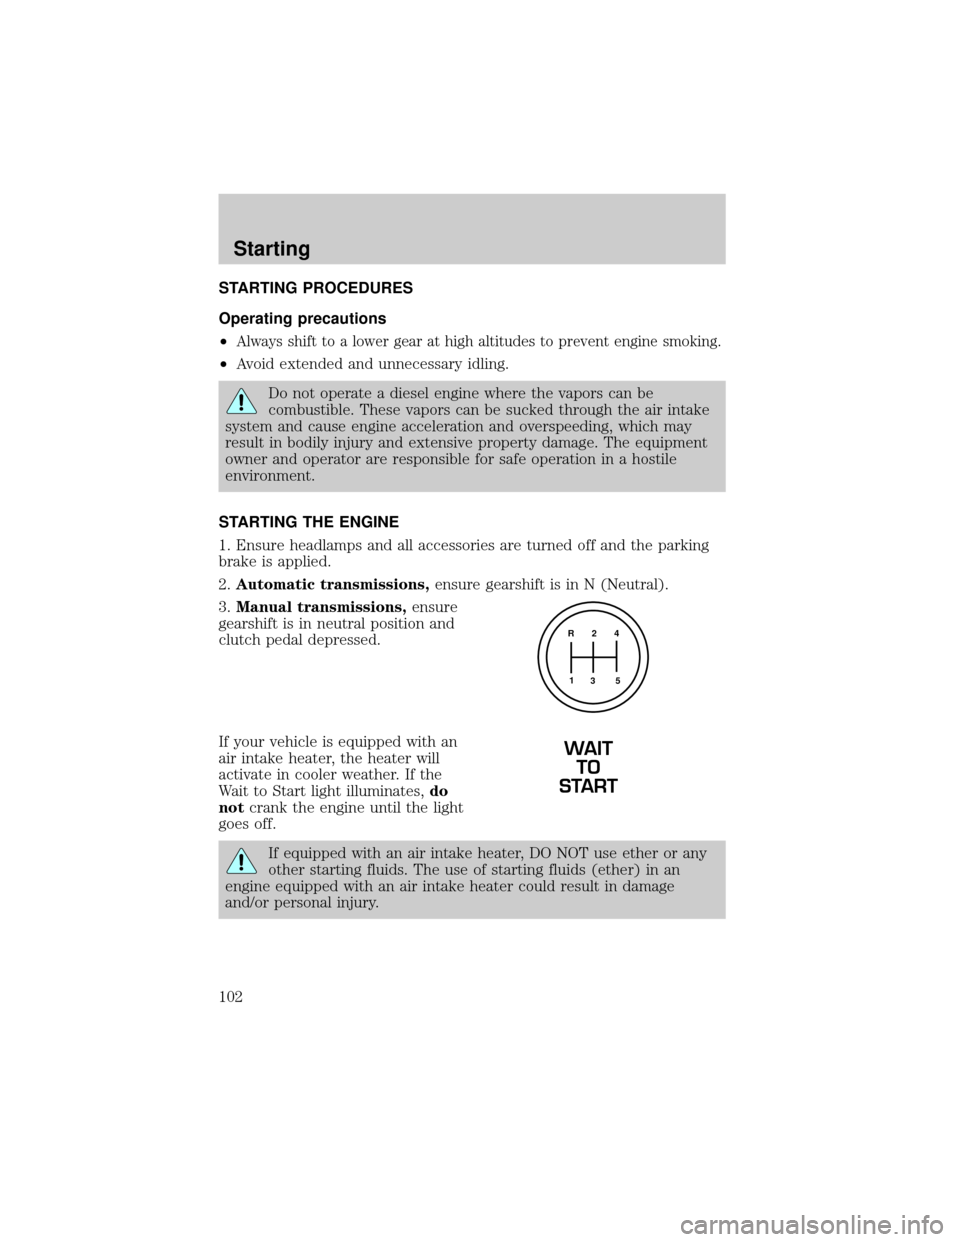
3.Manual transmissions,ensure
gearshift is in neutral position and
clutch pedal depressed.
If your vehicle is equipped with an
air intake heater, the heater will
activate in cooler weather. If the
Wait to Start light illuminates,do
notcrank the engine until the light
goes off.
If equipped with an air intake heater, DO NOT use ether or any
other starting fluids. The use of starting fluids (ether) in an
engine equipped with an air intake heater could result in damage
and/or personal injury.
R 2 4
3 5 1
WAIT
TO
START
Starting
102