oil level FORD F750 2009 12.G Owners Manual
[x] Cancel search | Manufacturer: FORD, Model Year: 2009, Model line: F750, Model: FORD F750 2009 12.GPages: 276, PDF Size: 1.75 MB
Page 9 of 276
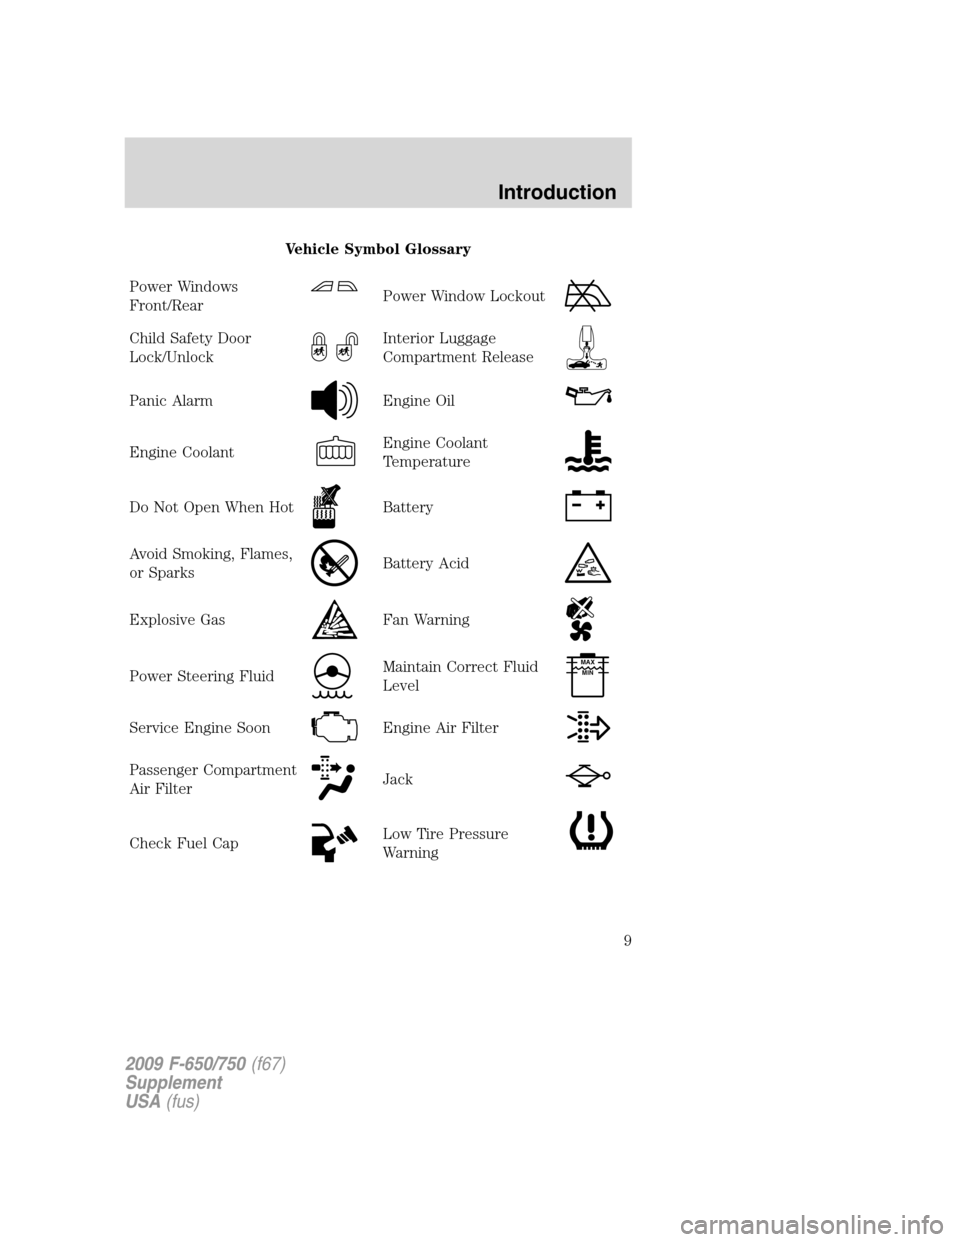
Vehicle Symbol Glossary
Power Windows
Front/Rear
Power Window Lockout
Child Safety Door
Lock/UnlockInterior Luggage
Compartment Release
Panic AlarmEngine Oil
Engine CoolantEngine Coolant
Temperature
Do Not Open When HotBattery
Avoid Smoking, Flames,
or SparksBattery Acid
Explosive GasFan Warning
Power Steering FluidMaintain Correct Fluid
LevelMAX
MIN
Service Engine SoonEngine Air Filter
Passenger Compartment
Air FilterJack
Check Fuel CapLow Tire Pressure
Warning
2009 F-650/750(f67)
Supplement
USA(fus)
Introduction
9
Page 11 of 276
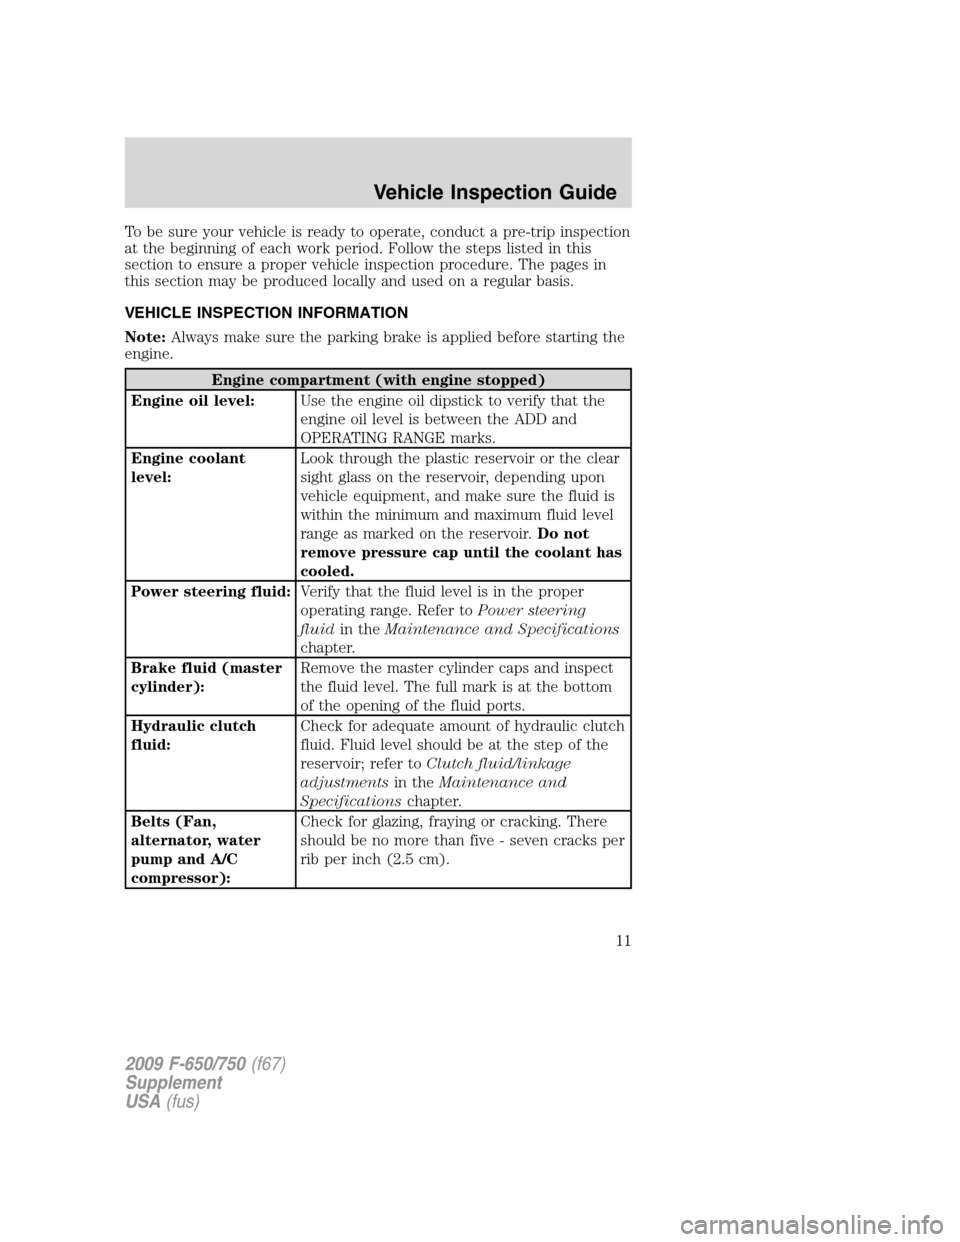
To be sure your vehicle is ready to operate, conduct a pre-trip inspection
at the beginning of each work period. Follow the steps listed in this
section to ensure a proper vehicle inspection procedure. The pages in
this section may be produced locally and used on a regular basis.
VEHICLE INSPECTION INFORMATION
Note:Always make sure the parking brake is applied before starting the
engine.
Engine compartment (with engine stopped)
Engine oil level:Use the engine oil dipstick to verify that the
engine oil level is between the ADD and
OPERATING RANGE marks.
Engine coolant
level:Look through the plastic reservoir or the clear
sight glass on the reservoir, depending upon
vehicle equipment, and make sure the fluid is
within the minimum and maximum fluid level
range as marked on the reservoir.Do not
remove pressure cap until the coolant has
cooled.
Power steering fluid:Verify that the fluid level is in the proper
operating range. Refer toPower steering
fluidin theMaintenance and Specifications
chapter.
Brake fluid (master
cylinder):Remove the master cylinder caps and inspect
the fluid level. The full mark is at the bottom
of the opening of the fluid ports.
Hydraulic clutch
fluid:Check for adequate amount of hydraulic clutch
fluid. Fluid level should be at the step of the
reservoir; refer toClutch fluid/linkage
adjustmentsin theMaintenance and
Specificationschapter.
Belts (Fan,
alternator, water
pump and A/C
compressor):Check for glazing, fraying or cracking. There
should be no more than five - seven cracks per
rib per inch (2.5 cm).
2009 F-650/750(f67)
Supplement
USA(fus)
Vehicle Inspection Guide
11
Page 17 of 276
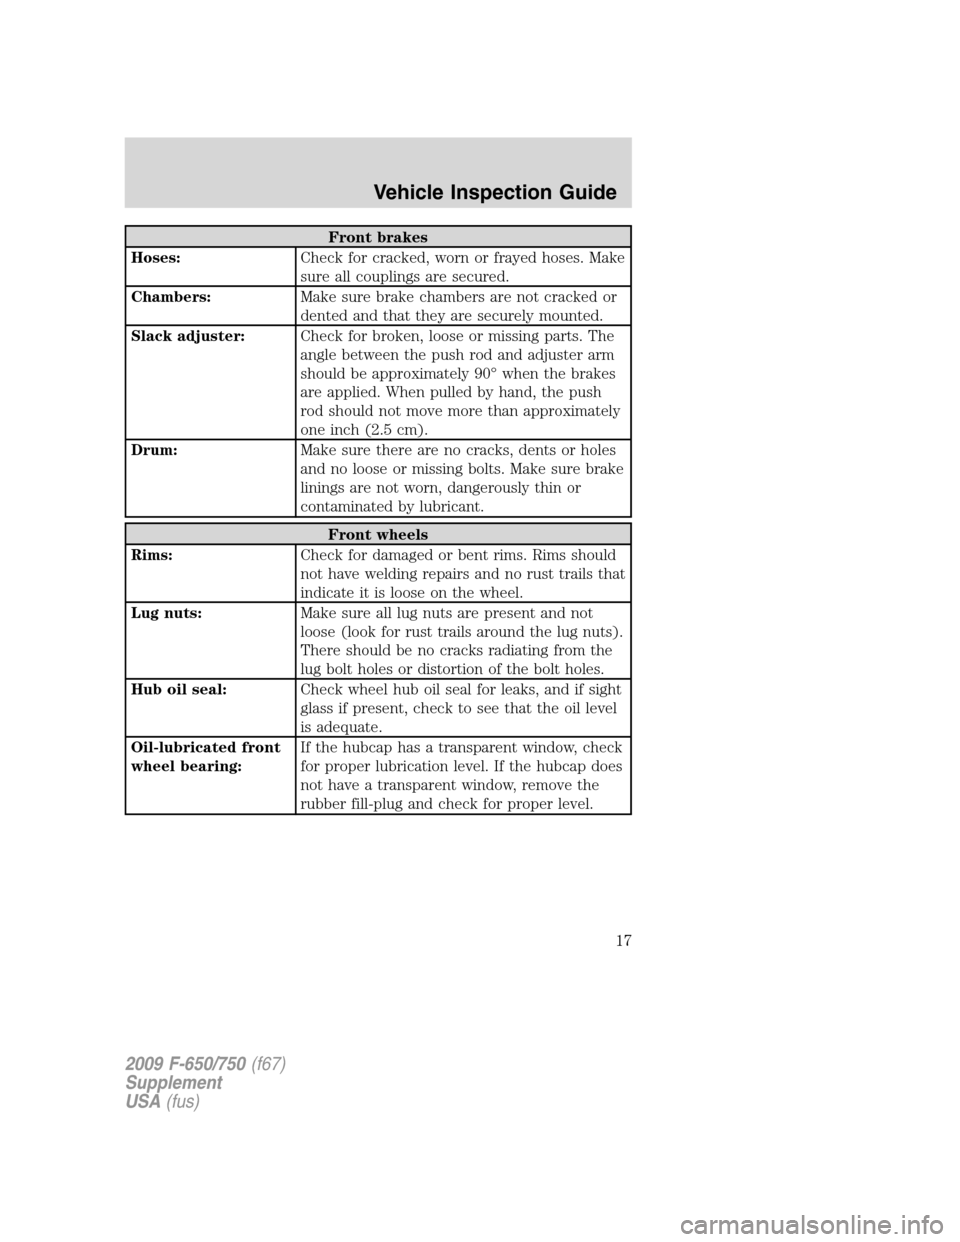
Front brakes
Hoses:Check for cracked, worn or frayed hoses. Make
sure all couplings are secured.
Chambers:Make sure brake chambers are not cracked or
dented and that they are securely mounted.
Slack adjuster:Check for broken, loose or missing parts. The
angle between the push rod and adjuster arm
should be approximately 90° when the brakes
are applied. When pulled by hand, the push
rod should not move more than approximately
one inch (2.5 cm).
Drum:Make sure there are no cracks, dents or holes
and no loose or missing bolts. Make sure brake
linings are not worn, dangerously thin or
contaminated by lubricant.
Front wheels
Rims:Check for damaged or bent rims. Rims should
not have welding repairs and no rust trails that
indicate it is loose on the wheel.
Lug nuts:Make sure all lug nuts are present and not
loose (look for rust trails around the lug nuts).
There should be no cracks radiating from the
lug bolt holes or distortion of the bolt holes.
Hub oil seal:Check wheel hub oil seal for leaks, and if sight
glass if present, check to see that the oil level
is adequate.
Oil-lubricated front
wheel bearing:If the hubcap has a transparent window, check
for proper lubrication level. If the hubcap does
not have a transparent window, remove the
rubber fill-plug and check for proper level.
2009 F-650/750(f67)
Supplement
USA(fus)
Vehicle Inspection Guide
17
Page 30 of 276
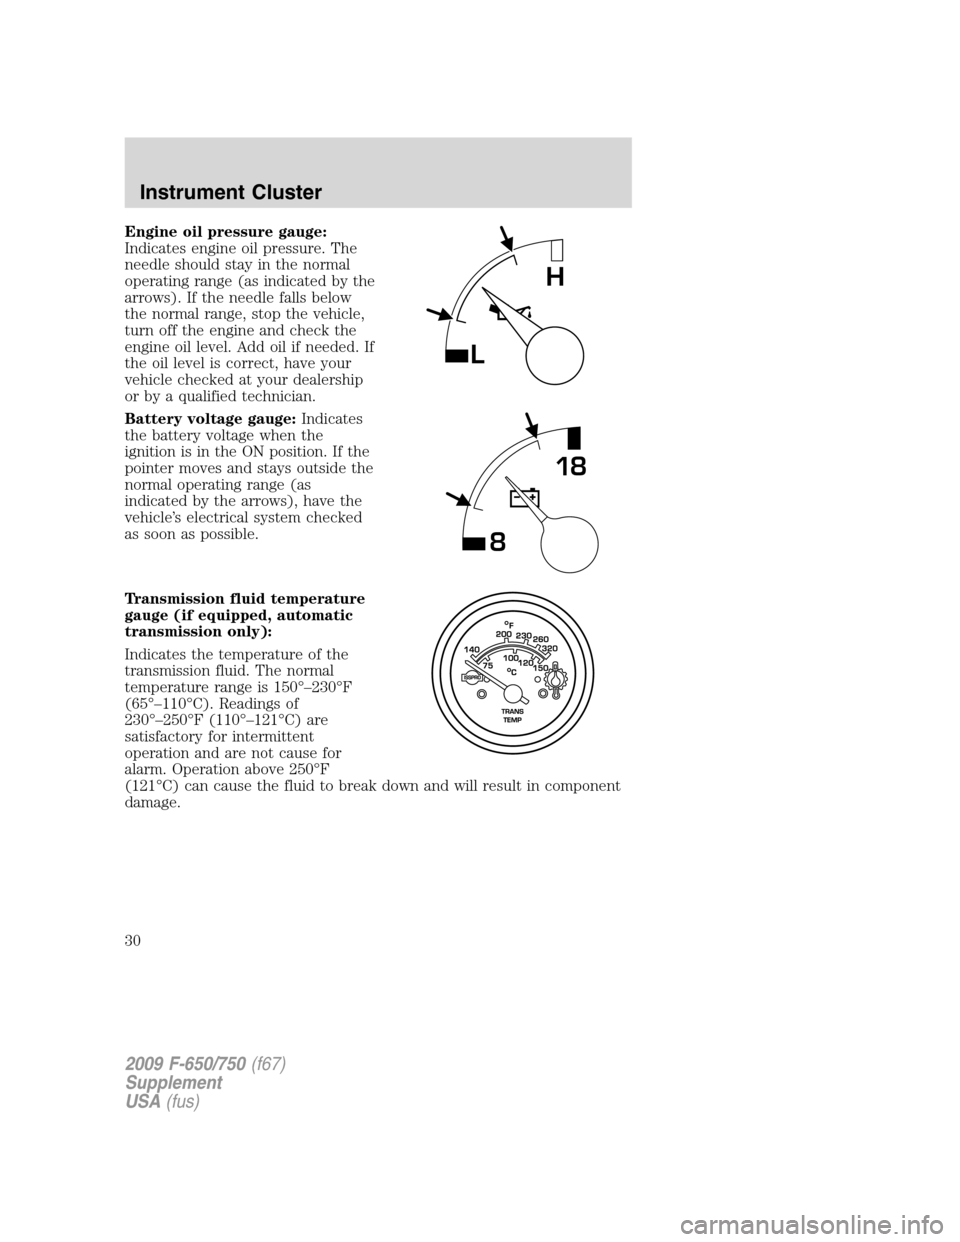
Engine oil pressure gauge:
Indicates engine oil pressure. The
needle should stay in the normal
operating range (as indicated by the
arrows). If the needle falls below
the normal range, stop the vehicle,
turn off the engine and check the
engine oil level. Add oil if needed. If
the oil level is correct, have your
vehicle checked at your dealership
or by a qualified technician.
Battery voltage gauge:Indicates
the battery voltage when the
ignition is in the ON position. If the
pointer moves and stays outside the
normal operating range (as
indicated by the arrows), have the
vehicle’s electrical system checked
as soon as possible.
Transmission fluid temperature
gauge (if equipped, automatic
transmission only):
Indicates the temperature of the
transmission fluid. The normal
temperature range is 150°–230°F
(65°–110°C). Readings of
230°–250°F (110°–121°C) are
satisfactory for intermittent
operation and are not cause for
alarm. Operation above 250°F
(121°C) can cause the fluid to break down and will result in component
damage.
818
2009 F-650/750(f67)
Supplement
USA(fus)
Instrument Cluster
30
Page 94 of 276
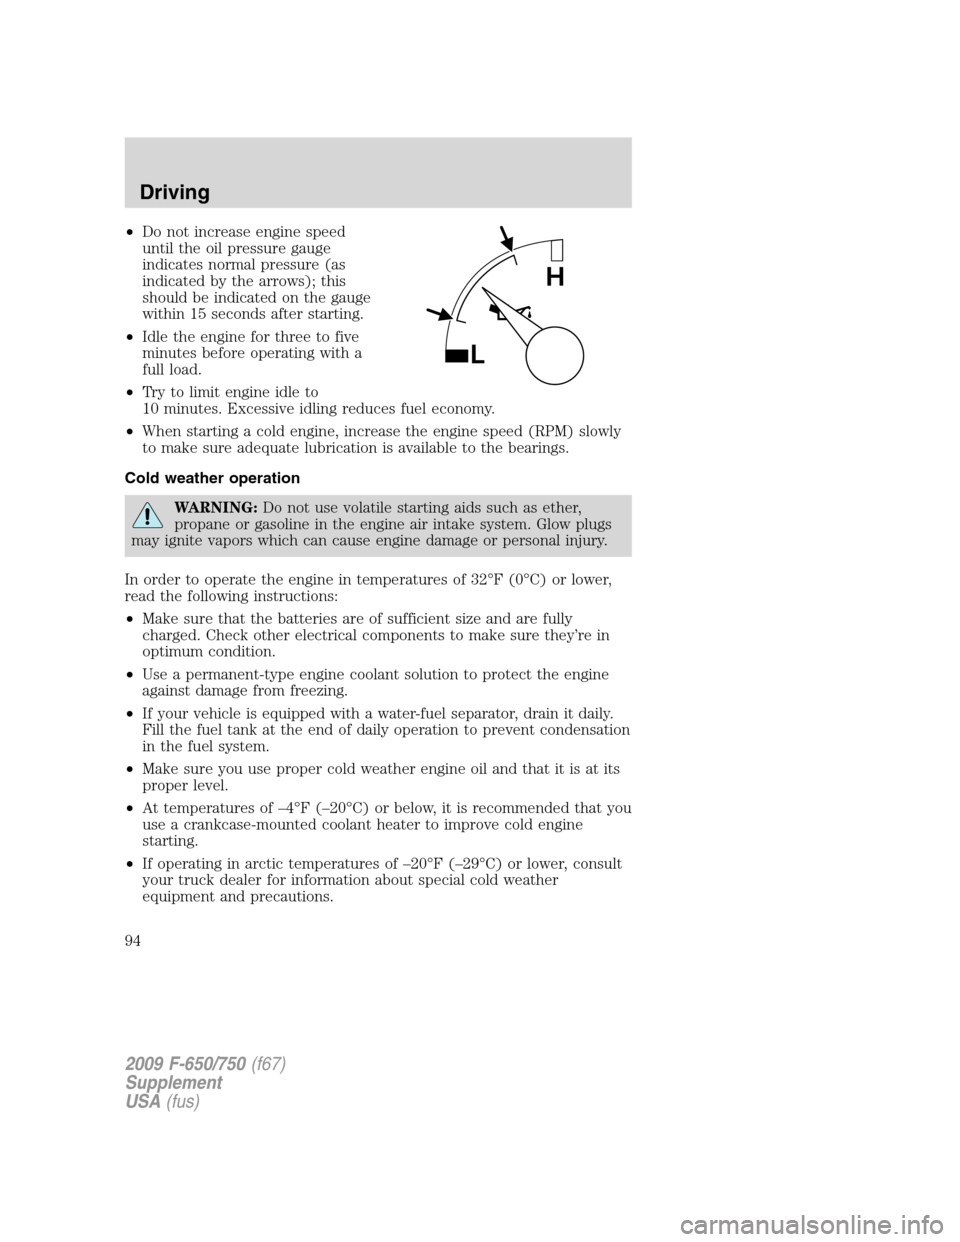
•Do not increase engine speed
until the oil pressure gauge
indicates normal pressure (as
indicated by the arrows); this
should be indicated on the gauge
within 15 seconds after starting.
•Idle the engine for three to five
minutes before operating with a
full load.
•Try to limit engine idle to
10 minutes. Excessive idling reduces fuel economy.
•When starting a cold engine, increase the engine speed (RPM) slowly
to make sure adequate lubrication is available to the bearings.
Cold weather operation
WARNING:Do not use volatile starting aids such as ether,
propane or gasoline in the engine air intake system. Glow plugs
may ignite vapors which can cause engine damage or personal injury.
In order to operate the engine in temperatures of 32°F (0°C) or lower,
read the following instructions:
•Make sure that the batteries are of sufficient size and are fully
charged. Check other electrical components to make sure they’re in
optimum condition.
•Use a permanent-type engine coolant solution to protect the engine
against damage from freezing.
•If your vehicle is equipped with a water-fuel separator, drain it daily.
Fill the fuel tank at the end of daily operation to prevent condensation
in the fuel system.
•Make sure you use proper cold weather engine oil and that it is at its
proper level.
•At temperatures of –4°F (–20°C) or below, it is recommended that you
use a crankcase-mounted coolant heater to improve cold engine
starting.
•If operating in arctic temperatures of –20°F (–29°C) or lower, consult
your truck dealer for information about special cold weather
equipment and precautions.
2009 F-650/750(f67)
Supplement
USA(fus)
Driving
94
Page 98 of 276
•Within the final 30 seconds, the timer can be reset by:
1. changing the position of the accelerator pedal, or
2. changing the brake pedal, clutch pedal, or park brake from engaged
to disengaged or from disengaged to engaged.
•When the timer reaches zero, the engine will shut down.
•In this event, the key remains in the ON (Run) position, and power
continues to be supplied to the accessories.
Battery power may be drained if the key is left in the ON (Run)
position without the engine running.
Note:The engine idle shutdown timer will not start if:
•The engine is operating in power take-off (PTO) mode.
•The engine coolant temperature is below 60° F (16° C).
•The exhaust emission control system is regenerating the diesel
particulate filter (DPF).
ENGINE AUTOMATIC SHUTDOWN WARNING LIGHT OR CHIME
(IF EQUIPPED)
Your vehicle may be equipped with an automatic shutdown feature that
stops the engine in the event of high coolant temperature, low engine oil
pressure, high diesel particulate filter soot loading or low engine coolant
level. A warning light in the instrument cluster and a warning chime will
indicate high engine coolant temperature, low engine oil pressure or the
need to have the diesel particulate filter cleaned or serviced. If the
engine coolant temperature becomes too high, engine oil pressure too
low or the diesel particulate filter too restricted, the engine will
automatically shut down.
If the engine shuts down, it can be restarted and operated for
30 seconds at a time or until the problem is corrected. Do not attempt to
use this restarting feature to drive the vehicle very far as serious engine
damage could result.
WARNING:In the event of engine shutdown, make sure the
vehicle is safely off the road and the problem is remedied prior
to returning to the road. Failure to remove the vehicle from the road
could result in an accident, causing serious injury or death.
GENERAL BRAKE INFORMATION
All standard equipment brakes are designed to be self-adjusting.
Automatic adjustment, when required, occurs whenever the brakes are
applied and released during forward or reverse operation. Refer to the
Scheduled Maintenance Guidechapter for scheduled maintenance.
2009 F-650/750(f67)
Supplement
USA(fus)
Driving
98
Page 177 of 276
Note:If brake fluid requires attention to maintain a proper master
cylinder level, this is an indication of either severe operation (pad wear)
or fluid system leakage. A more frequent and thorough brake inspection
will be required.
Hydraulic brakes - brake lines, hoses and fittings
Inspect these components every 4,000 miles (6,400 km).
•Check lines for kinks, dents, corrosion or rupture.
•Check hoses for abrasions, kinks, soft spots or rupture, collapse,
cracks, twists or loose frame supports. When replacing a hose, be sure
there is adequate clearance to the hose to avoid an abrasion to the
new hose.
•Examine all connections for leaks.
•Repair or replace brake line tubes, hoses or fittings as required.
Driveline parking brake
Parking brake adjustment should only be performed by a qualified
technician, and in accordance with the instructions in the service
manual.
WARNING:Use wheel chocks and exercise caution when
inspecting under the vehicle. A vehicle roll-away could result in
property damage, personal injury or death.
Catalytic converter
If your diesel engine is equipped with a catalytic converter, it is
important to review the maintenance schedule to ensure proper
functioning of the catalytic converter. Also, take precautions not to
damage the catalytic converter when servicing your engine or storing
your vehicle.
Note:If your vehicle is equipped with a catalytic converter/muffler,do
notblend waste oil with Diesel fuel. Operate only on ultra low sulfur
(less than 15 parts per million sulfur) diesel fuel with a cetane value of
45 or higher.
Air induction system
Once each year, perform a complete inspection of the air induction
system. In areas where road salt is used, the inspection consists of
disassembling the joints of each aluminum component and inspecting for
salt build-up, presence of chlorine that can cause aluminum particles to
flake off and enter the engine combustion chambers.
2009 F-650/750(f67)
Supplement
USA(fus)
Maintenance and Specifications
177
Page 195 of 276
3. Remove feet from the accelerator pedal and clutch pedal (if
equipped).
4. Set the parking brake.
5.Within 5 seconds of setting the parking brake,remove foot from
the service brake pedal.
When these steps are performed successfully in the order outlined above,
the DPF lamp will begin flashing at a rate of once every 10 seconds. The
engine speed may also increase slightly. To allow parked regeneration to
continue uninterrupted:
1. The vehicle must remain parked
2. The transmission must remain in P (Park) or N (Neutral) (as
previously described in Step 2).
3. The accelerator pedal, service brake pedal, and clutch pedal (if
equipped) must not be depressed
4. The parking brake must remain set
On average (depending on filter level and other factors), the process will
take 20–30 minutes to complete. The DPF lamp will turn off when the
process is complete. Repeat Steps 1–5, if parked regeneration is
interrupted.
To discontinue parked regeneration (Cummins engine only)
Depress any of the floor pedals to discontinue parked regeneration.
Diesel particulate filter maintenance and service
The DPF is designed to retain a relatively large amount of residual ash
and provide many miles and hours of maintenance-free operation. At
some point, generally beyond 150,000 miles (240,000 km) or 5,000 hours
of operation (whichever comes first), the DPF will require professional
cleaning to remove the accumulated ash
The exact number of miles or hours of operation will vary greatly
depending upon vehicle/engine loading and operating conditions, ash
content of the engine oil, and quality of the diesel fuel used in your
truck. Adhering to your engine manufacturer’s recommended oil and fuel
specifications will maximize the miles and hours of operation before a
DPF professional cleaning is required. Refer to your engine
manufacturer’s owner’s manual for more details regarding recommended
maintenance and service of your DPF.
2009 F-650/750(f67)
Supplement
USA(fus)
Maintenance and Specifications
195
Page 197 of 276
•The fan ratio should not be changed and the fan spacer dimensions
and positions should not be altered.
•Inspect the fan clutch for proper operation, make sure that the fan is
disengaged when cooling of the engine is not required.
•Check for proper operation of radiator shutters, if equipped. The
shutters should be open during normal operating temperatures.
Engine and Driveline System
•Transmission Enclosure:inspect for cracks, holes, and tears. Clean
any deposits such as oil, dirt, and stones.
•Engine valve covers and block covers are made to damp out engine
mechanical noise and, if needed, should be replaced with
recommended parts. Check for mechanical isolations.
Exhaust System
•Inspect the exhaust system for leaks at various joint connections and
tighten the clamps.
•Do a visual inspection for cracks or holes in the muffler and tail pipe.
•Always use the recommended parts when items need to be replaced.
•The tail pipe elbow or offset tail pipe orientation must not be changed
from the standard position as originally received.
•To avoid abnormal changes in vehicle sound levels, it is necessary for
the owner to perform inspections and necessary maintenance at the
intervals shown in theScheduled Maintenance Guidechapter.
POWER STEERING FLUID
Check the power steering fluid level using the following procedure. If
adding fluid is necessary, refer toLubricant Specificationsin this
chapter for the proper fluid type. Refer to theScheduled Maintenance
Guidechapter for the recommended service intervals.
1. Set the parking brake, shift into N (Neutral) (automatic transmission)
or 1 (First) (manual transmission) and turn the engine off.
2. Open the hood.
3. Clean the top of the power steering fluid reservoir.
4. Remove the dipstick from the reservoir and wipe the dipstick clean.
5. Reinstall the dipstick. Remove it again and check the fluid level.
2009 F-650/750(f67)
Supplement
USA(fus)
Maintenance and Specifications
197
Page 204 of 276
manufacturer, to ensure that any additional body lights and accessories
are connected to circuits that are both appropriate and not overloaded.
No modification should be made to any vehicle control system without
first contacting your dealer.
SUSPENSION INSPECTION
Note:Do not adjust air suspension height to any setting other than the
specified setting. Altering the height setting will change the driveline
angle and may result in unwarrantable component damage, such as
transmission component damage.
Verify drive axle air suspension height and height control valve
performance at engine lube oil change intervals.
Periodically:
•Check condition of spring leaves for evidence of fatigue, bending or
breakage.
•Check condition of suspension mounting brackets and bushings.
•Check that torque rod mounting fasteners are tight.
•Check to be sure the suspension alignment is maintained at all times.
•Check U-bolts after the chassis has been operating under load for
1,000 miles (1,600 km) or six months, whichever comes first, the
U-Bolt nuts must be re-torqued. The U-Bolt nuts thereafter must be
re-torqued every 36,000 miles (58,000 km). The U-Bolt and nut
threads and seats should be cleaned and lubricated to ensure a “like
new” condition when re-torquing.
Note:See theU-Bolt Nut Torquechart later in this section.
Supporting your vehicle for service
When performing service repairs on your vehicle, first prepare the
vehicle by doing the following:
1. Park the vehicle on a level concrete floor.
2. Set the parking brake and block the wheels to prevent the vehicle
from moving.
3. Select a jack with a rated capacity sufficient to lift and hold up the
vehicle.
4. Raise the vehicle with the jack applied to the axle(s). DO NOT use the
bumper as a lifting point.
5. Support the vehicle with floor stands under the axle(s). If the axle or
the suspension are being serviced, support the vehicle with floor stands
under the frame side-members, preferably between the axles.
2009 F-650/750(f67)
Supplement
USA(fus)
Maintenance and Specifications
204