wheel FORD F750 2011 12.G Owner's Manual
[x] Cancel search | Manufacturer: FORD, Model Year: 2011, Model line: F750, Model: FORD F750 2011 12.GPages: 290, PDF Size: 1.96 MB
Page 130 of 290
ANTI-LOCK BRAKE SYSTEM (ABS)
A noise from the hydraulic pump motor and pulsation in the pedal may
be observed during ABS braking events. Pedal pulsation coupled with
noise while braking under panic conditions or on loose gravel, bumps,
wet or snowy roads is normal and indicates proper functioning of the
vehicle’s ABS. If the vehicle has continuous vibration or shudder in the
steering wheel while braking, the vehicle should be inspected by a
qualified service technician.
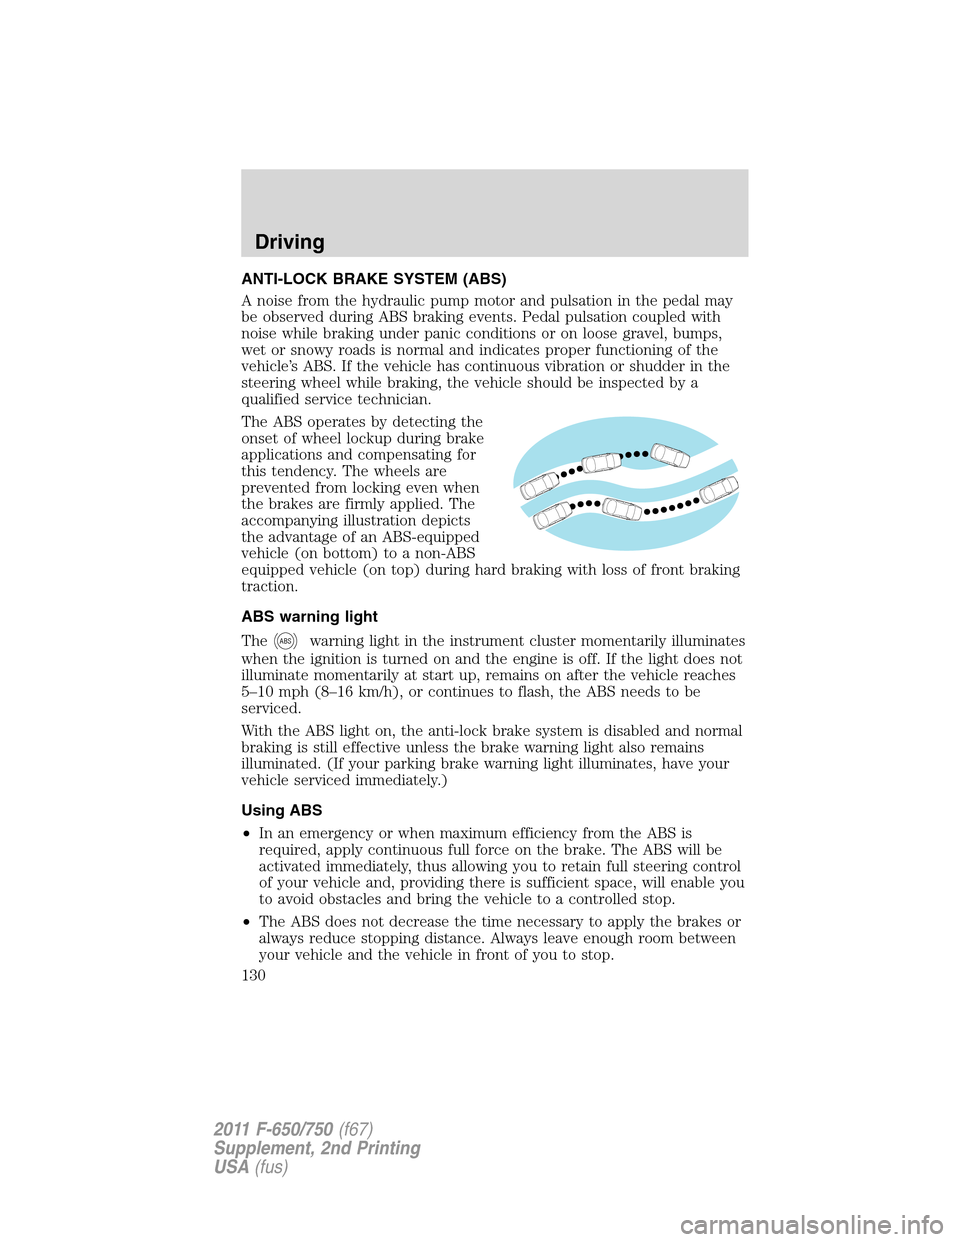
The ABS operates by detecting the
onset of wheel lockup during brake
applications and compensating for
this tendency. The wheels are
prevented from locking even when
the brakes are firmly applied. The
accompanying illustration depicts
the advantage of an ABS-equipped
vehicle (on bottom) to a non-ABS
equipped vehicle (on top) during hard braking with loss of front braking
traction.
ABS warning light
The
ABSwarning light in the instrument cluster momentarily illuminates
when the ignition is turned on and the engine is off. If the light does not
illuminate momentarily at start up, remains on after the vehicle reaches
5–10 mph (8–16 km/h), or continues to flash, the ABS needs to be
serviced.
With the ABS light on, the anti-lock brake system is disabled and normal
braking is still effective unless the brake warning light also remains
illuminated. (If your parking brake warning light illuminates, have your
vehicle serviced immediately.)
Using ABS
•In an emergency or when maximum efficiency from the ABS is
required, apply continuous full force on the brake. The ABS will be
activated immediately, thus allowing you to retain full steering control
of your vehicle and, providing there is sufficient space, will enable you
to avoid obstacles and bring the vehicle to a controlled stop.
•The ABS does not decrease the time necessary to apply the brakes or
always reduce stopping distance. Always leave enough room between
your vehicle and the vehicle in front of you to stop.
Driving
130
2011 F-650/750(f67)
Supplement, 2nd Printing
USA(fus)
Page 131 of 290
•We recommend that you familiarize yourself with this braking
technique. However, avoid taking any unnecessary risks.
TRACTION CONTROL (IF EQUIPPED)
Your vehicle may be equipped with a traction control system. This
system helps you maintain the stability and steerability of your vehicle,
especially on slippery road surfaces such as snow- or ice-covered roads
and gravel roads, by reducing engine power and/or selectively applying
the rear brakes. The system will allow your vehicle to make better use of
available traction in these conditions.
Note:The traction control system will not apply the brakes when the
vehicle speed is above 25 mph (40 km/h).
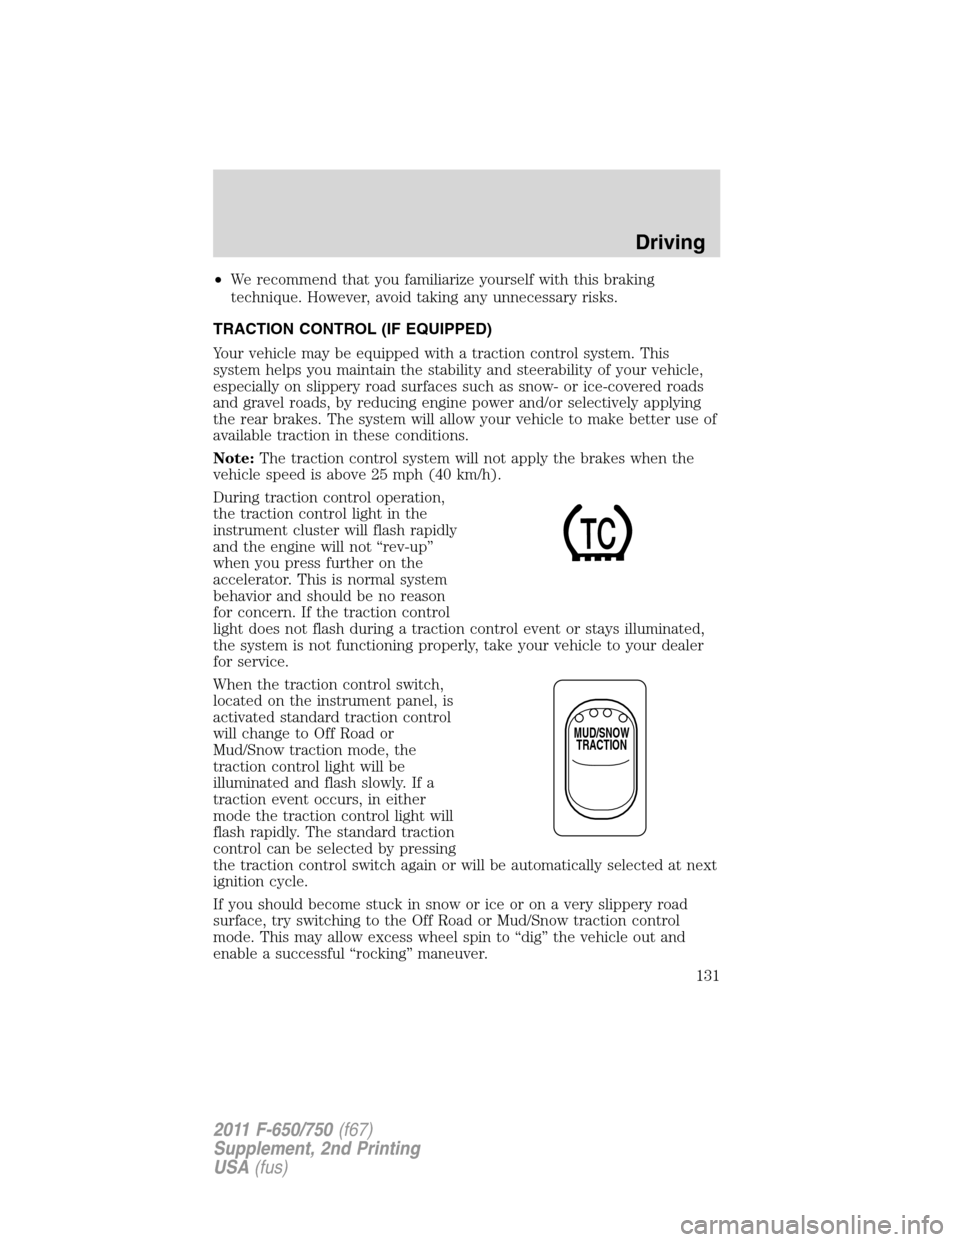
During traction control operation,
the traction control light in the
instrument cluster will flash rapidly
and the engine will not “rev-up”
when you press further on the
accelerator. This is normal system
behavior and should be no reason
for concern. If the traction control
light does not flash during a traction control event or stays illuminated,
the system is not functioning properly, take your vehicle to your dealer
for service.
When the traction control switch,
located on the instrument panel, is
activated standard traction control
will change to Off Road or
Mud/Snow traction mode, the
traction control light will be
illuminated and flash slowly. If a
traction event occurs, in either
mode the traction control light will
flash rapidly. The standard traction
control can be selected by pressing
the traction control switch again or will be automatically selected at next
ignition cycle.
If you should become stuck in snow or ice or on a very slippery road
surface, try switching to the Off Road or Mud/Snow traction control
mode. This may allow excess wheel spin to “dig” the vehicle out and
enable a successful “rocking” maneuver.
MUD/SNOW
TRACTION
Driving
131
2011 F-650/750(f67)
Supplement, 2nd Printing
USA(fus)
Page 133 of 290
Tractor-trailer connections
WARNING:To reduce the risk of personal injury, use extreme
caution when making brake and light connections. Inclement
weather and accumulated road contamination deposits on handhold
and stepping surfaces require extra care to avoid slip and falls. Provide
adequate lighting of working areas.
WARNING:Do not climb on the back of the tractor unless it
has been provided with a deck plate and handholds. Use a
three-point stance when climbing up and down from a deck plate. Do
not jump from the vehicle. Whenever possible, make all connections
while standing on the ground.
Connecting and disconnecting a trailer with air suspension and air
suspension dump switch (if equipped)
When connecting to a trailer:
•Press the lower portion of the dump switch and air will exhaust from
the air suspension system.
•After making the connection to the trailer, press the upper portion of
the dump switch, then raise the landing gear.
When disconnecting the trailer:
•Lower the landing gear, then press the lower portion of the dump
switch.
•Disconnect the brake hoses, trailer-side and rear light connectors,
then pull the release lever on the fifth wheel.
The upper portion of the dump switch must be pressed before operating
with a trailer or operating in the bobtail mode.
Suspension conversions
It is not recommended, or approved, that suspension conversions be
performed. However, it is understood that, on occasion, aftermarket
add-on suspensions are installed by others on the truck chassis which
allow operator control for weight transfer from other axles (i.e., air lift
axles).
WARNING:When operating a loaded vehicle, the driver must
keep all adjustable axles on the ground at all times, supporting
their share of the vehicle’s load. Failure to do so can overload other
axles, tires, wheels, springs, steering components, brakes and frames,
resulting in early component failure, loss of vehicle control, possible
property damage and personal injury.
Driving
133
2011 F-650/750(f67)
Supplement, 2nd Printing
USA(fus)
Page 137 of 290
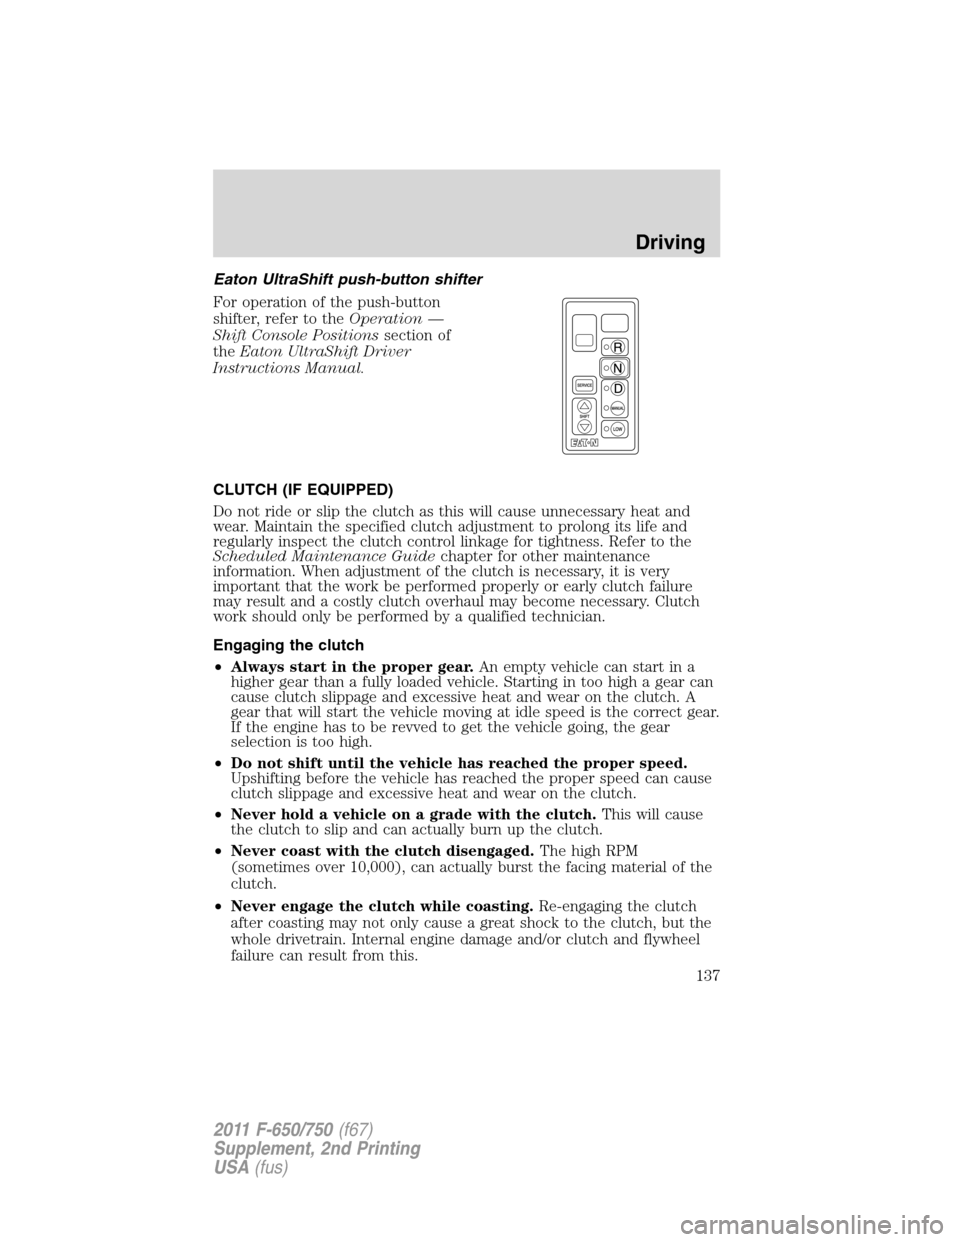
Eaton UltraShift push-button shifter
For operation of the push-button
shifter, refer to theOperation —
Shift Console Positionssection of
theEaton UltraShift Driver
Instructions Manual.
CLUTCH (IF EQUIPPED)
Do not ride or slip the clutch as this will cause unnecessary heat and
wear. Maintain the specified clutch adjustment to prolong its life and
regularly inspect the clutch control linkage for tightness. Refer to the
Scheduled Maintenance Guidechapter for other maintenance
information. When adjustment of the clutch is necessary, it is very
important that the work be performed properly or early clutch failure
may result and a costly clutch overhaul may become necessary. Clutch
work should only be performed by a qualified technician.
Engaging the clutch
•Always start in the proper gear.An empty vehicle can start in a
higher gear than a fully loaded vehicle. Starting in too high a gear can
cause clutch slippage and excessive heat and wear on the clutch. A
gear that will start the vehicle moving at idle speed is the correct gear.
If the engine has to be revved to get the vehicle going, the gear
selection is too high.
•Do not shift until the vehicle has reached the proper speed.
Upshifting before the vehicle has reached the proper speed can cause
clutch slippage and excessive heat and wear on the clutch.
•Never hold a vehicle on a grade with the clutch.This will cause
the clutch to slip and can actually burn up the clutch.
•Never coast with the clutch disengaged.The high RPM
(sometimes over 10,000), can actually burst the facing material of the
clutch.
•Never engage the clutch while coasting.Re-engaging the clutch
after coasting may not only cause a great shock to the clutch, but the
whole drivetrain. Internal engine damage and/or clutch and flywheel
failure can result from this.
Driving
137
2011 F-650/750(f67)
Supplement, 2nd Printing
USA(fus)
Page 142 of 290
PTO operation while vehicle is moving
After the PTO is engaged for driven vehicle operation, shift to the
desired range and drive the vehicle. The speed of the PTO, during this
period of operation, will always maintain direct relation to vehicle speed.
PTO speed will decrease in relation to vehicle (transmission output)
speed as shifts to a higher gear occur. When operating the PTO while the
vehicle is moving, the PTO may be disengaged whenever it is no longer
required. When there is no load on the PTO gear, it can be pulled out of
engagement.
Vehicles equipped with an Allison 3000 Series automatic
transmission
The PTO drive gear is engine-driven and provides direct engine power.
The PTO can be operated when the vehicle is either stationary or
moving.
The PTO gear is in constant mesh with the drive gear in the torque
converter housing. A friction clutch or constant drive is used to transmit
power to the PTO.
Vehicles equipped with an Eaton UltraShift transmission
Refer to the operationTransmission Power Take Offsection of the
UltraShift Driver Instructions Manual.
Vehicles equipped with a manual transmission
Transmission-mounted PTO units are available for local installation on
your vehicle. See yourBody Builder’s Layout Bookfor restrictions on
use and installation of PTO units.
To engage the PTO unit, stop the vehicle and place the transmission in N
(Neutral). Press the clutch and allow the gears to stop rotating, then
engage the PTO unit. The PTO can also be selected with the
transmission in gear as long as the clutch is pressed.
When operating the PTO with the vehicle stationary, first set the parking
brake (chock the wheels if the vehicle is on a hill or another uneven
surface).
Driving
142
2011 F-650/750(f67)
Supplement, 2nd Printing
USA(fus)
Page 143 of 290
REAR AXLE INFORMATION
Axle operating temperature normally will not exceed 100°F (38°C). If
the operating temperature exceeds 230°F (110°C), the rate of axle
lubrication oxidation will increase and shorten the life of the lubricant
and seals, requiring axle lubrication changes to become more frequent to
preserve the axle. Extreme Pressure (EP) lubricants should not be run
consistently above 230°F (110°C).
Gross axle weight
Your truck has gross axle weight, gross vehicle weight and gross
combination weight ratings. Do not exceed these ratings.
WARNING:Exceeding these ratings by overloading can cause
component failure resulting in property damage, personal injury
or death.
Rear axles with locking or limited-slip differentials (if equipped)
If your vehicle is equipped with a locking or limited-slip differential, note
the following:
•Power will be transmitted to the opposite wheel should one of the
wheels begin to slip.
•Both wheels must be raised off the ground should it be necessary to
operate one wheel with the vehicle stationary.
WARNING:If both wheels are not raised off the ground, the
one wheel that is not raised may pull the vehicle off its support,
possibly resulting in personal injury
Driver-controlled differential lock
To prevent the vehicle from moving when servicing the wheels, tires or
brakes, turn the engine off and raise all drive wheels of the locker
differential axle. Axles equipped with NoSPIN Detroit Locker differentials
deliver power to both wheels even when only one wheel is on the
ground.
WARNING:Failure to raise all drive wheels with this type of
differential could cause the vehicle to move unexpectedly,
resulting in property damage, personal injury or death.
Driving
143
2011 F-650/750(f67)
Supplement, 2nd Printing
USA(fus)
Page 144 of 290
Care should be taken to avoid sudden accelerations when both drive
wheels are on a slippery surface.
WARNING:Sudden accelerations on slippery surfaces could
cause the wheels to spin, the vehicle to turn sideways on a
crowned road surface or in a turn, possibly resulting in loss of vehicle
control and personal injury.
Some drive axles have a driver-controlled differential lock. The
differential lock can lock or unlock the differential when the vehicle is
moving or stopped. When extra traction is required, the differential lock
will provide full power to both axles.
When the differential is locked, the vehicle’s turning radius will increase
(vehicle will “under-steer”)
The differential can be locked or unlocked when the vehicle is moving at
a constant speed of less than 25 mph (40 km/h) and while the wheels
are not slipping. The differential must not be locked when the vehicle is
traveling down steep grades and traction is minimal.
Note:Never use the differential lock at vehicle speeds above 25 mph
(40 km/h).
The differential lock and differential lock light will automatically
disengage at speeds above 25 mph (40 km/h). The differential lock will
remain off until either the vehicle is restarted or the differential lock
switch is turned off then back on.
Axle conversions
It is not recommended, or approved, for axle conversions to be
performed. However, it is understood that, on occasion, aftermarket
add-on axles are installed by others on the truck chassis which allow
operator control for weight transfer from other axles (i.e., air lift axles).
WARNING:When operating a loaded vehicle, the driver must
keep all adjustable axles on the ground at all times, supporting
their share of the vehicle’s load. Failure to do so can overload other
axles, tires, wheels, springs, steering components, brakes and frames,
resulting in early component failure, loss of vehicle control, possible
property damage and personal injury.
Driving
144
2011 F-650/750(f67)
Supplement, 2nd Printing
USA(fus)
Page 148 of 290
WARNING:Do not use replacement tires with lower load
carrying capacities than the originals because they may lower
the vehicle’s GVWR and GAWR limitations. Replacement tires with a
higher limit than the originals do not increase the GVWR and GAWR
limitations.
WARNING:Exceeding any vehicle weight rating limitation could
result in serious damage to the vehicle and/or personal injury.
Unloaded or lightly loaded vehicles
The braking system has been designed to safely stop your vehicle when
fully loaded to its GVWR.
WARNING:When operating empty or lightly loaded, sudden or
hard braking may induce wheel lockup with loss of vehicle
control and the possibility of accident and serious injury, especially on
wet or slippery road surfaces.
TRAILER TOWING
Towing a trailer places an additional load on your vehicle’s engine,
transmission, axle, brakes, tires and suspension. Inspect these
components carefully prior to and after any towing operation.
Consult your local motor vehicle speed regulations for towing a trailer.
Your vehicle’s load capacity is designated by weight, not by volume, so
you cannot necessarily use all available space when loading a vehicle.
2nd unit bodies are not included in maximum trailer weight ratings. The
weight of the additional “body” must be subtracted from the maximum
trailer weight.
Note:Do not exceed the GVWR or the GAWR specified on the
certification label.
Note:Do not exceed the GCWR rating or transmission damage may
occur.
WARNING:Towing trailers beyond the maximum recommended
gross trailer weight exceeds the limit of the vehicle and could
result in engine damage, transmission damage, structural damage, loss
of vehicle control, vehicle rollover and personal injury.
Driving
148
2011 F-650/750(f67)
Supplement, 2nd Printing
USA(fus)
Page 150 of 290
WARNING:Do not connect a trailer’s hydraulic brake system
directly to your vehicle’s brake system. Your vehicle may not
have enough braking power and your chances of having a collision
greatly increase.
Trailer lamps
Trailer lamps are required on most towed vehicles. Your vehicle may be
equipped with one of two possible trailer wiring designs. Make sure all
running lights, brake lights, turn signals and hazard lights are working.
See your dealer or trailer rental agency for proper instructions and
equipment for hooking up trailer lamps.
Driving while you tow
When towing a trailer:
•Do not drive faster than 70 mph (113 km/h) during the first 500 miles
(800 km) of trailer towing and don’t make full-throttle starts.
•Turn off the speed control. The speed control may shut off
automatically when you are towing on long, steep grades.
•Use a lower gear to eliminate excessive shifting and assist in
transmission cooling.
•Allow more distance for stopping with a trailer attached; anticipate
stops and brake gradually.
Servicing after towing
If you tow a trailer for long distances, your vehicle will require more
frequent service intervals. Refer to theScheduled Maintenance Guide
chapter for more information.
Trailer towing tips
•Practice turning, stopping and backing up before starting on a trip to
get the feel of the vehicle trailer combination. When turning, make
wider turns so the trailer wheels will clear curbs and other obstacles.
•Allow more distance for stopping with a trailer attached.
•If you are driving down a long or steep hill, shift to a lower gear. Do
not apply the brakes continuously, as they may overheat and become
less effective.
•The trailer tongue weight should be 10–15% of the loaded trailer
weight.
Driving
150
2011 F-650/750(f67)
Supplement, 2nd Printing
USA(fus)
Page 151 of 290
•If you will be towing a trailer frequently in hot weather, hilly
conditions, at GCW, or any combination of these factors, consider
refilling your rear axle with synthetic gear lube if not already so
equipped. Refer toLubricant specificationsin theMaintenance and
Specificationschapter for the lubricant specification. Remember that
regardless of the rear axle lube used, do not tow a trailer for the first
500 miles (800 km) of a new vehicle, and that the first 500 miles
(800 km) of towing be done at no faster than 70 mph (112 km/h) with
no full throttle starts.
•After you have traveled 50 miles (80 km), thoroughly check your
hitch, electrical connections and trailer wheel lug nuts.
•To aid in engine/transmission cooling and A/C efficiency during hot
weather while stopped in traffic, place the gearshift lever in P (Park)
(if available on your automatic transmission) or N (Neutral) (manual
transmissions and automatic transmissions without a P [Park]
position).
•Vehicles with trailers should not be parked on a grade. If you must
park on a grade, place wheel chocks under the trailer’s wheels.
FIFTH-WHEEL OPERATION
WARNING:Failure to follow the fifth-wheel manufacturer’s
instructions for hooking and unhooking as well as sliding the
fifth-wheel could result in an accident, personal injury or death.
WARNING:When the tractor and trailer are parked unattended,
the trailer brake hand control should never be used to apply the
brake, since air may leak from the system, allowing vehicle movement,
resulting in possible property damage, personal injury or death.
Before hook-up, make sure:
•The fifth-wheel jaws are fully opened.
•The fifth-wheel is fully tilted back to prevent body damage when the
tractor is backed under a trailer.
•The trailer wheels are blocked and the trailer spring brakes are
adjusted and applied. Never chase a trailer.
•The brake hoses and light cords are clear of the fifth-wheel.
Driving
151
2011 F-650/750(f67)
Supplement, 2nd Printing
USA(fus)