window FORD F750 2015 13.G Owners Manual
[x] Cancel search | Manufacturer: FORD, Model Year: 2015, Model line: F750, Model: FORD F750 2015 13.GPages: 384, PDF Size: 4.95 MB
Page 3 of 384
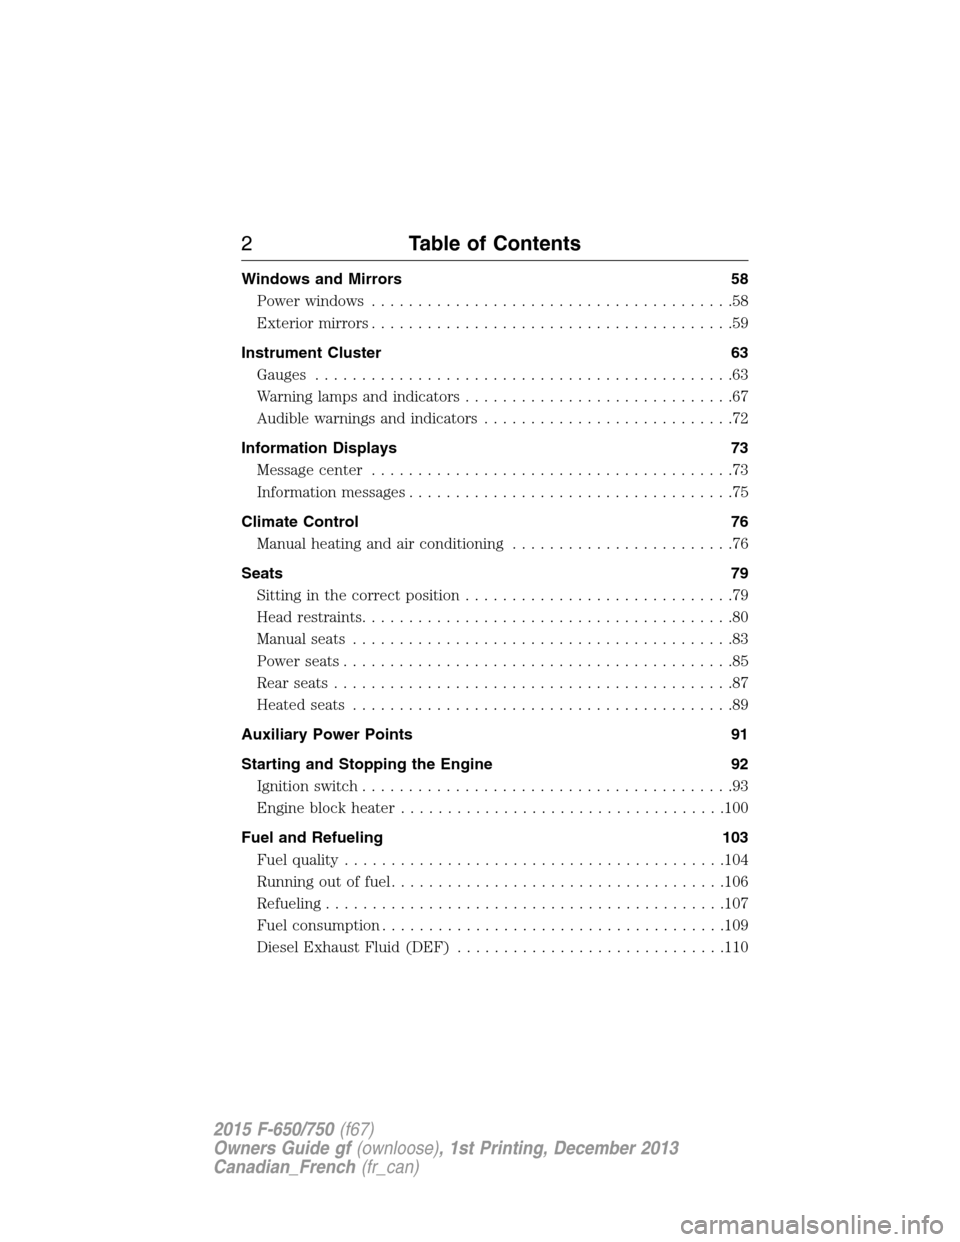
Windows and Mirrors 58
Power windows.......................................58
Exteriormirrors.......................................59
Instrument Cluster 63
Gauges.............................................63
Warning lamps and indicators.............................67
Audible warnings and indicators...........................72
Information Displays 73
Message center.......................................73
Information messages...................................75
Climate Control 76
Manual heating and air conditioning........................76
Seats 79
Sitting in the correct position.............................79
Head restraints........................................80
Manual seats.........................................83
Power seats..........................................85
Rear seats...........................................87
Heated seats.........................................89
Auxiliary Power Points 91
Starting and Stopping the Engine 92
Ignition switch........................................93
Engine block heater...................................100
Fuel and Refueling 103
Fuel quality.........................................104
Running out of fuel....................................106
Refueling...........................................107
Fuel consumption.....................................109
Diesel Exhaust Fluid (DEF).............................110
2Table of Contents
2015 F-650/750(f67)
Owners Guide gf(ownloose), 1st Printing, December 2013
Canadian_French(fr_can)
Page 6 of 384
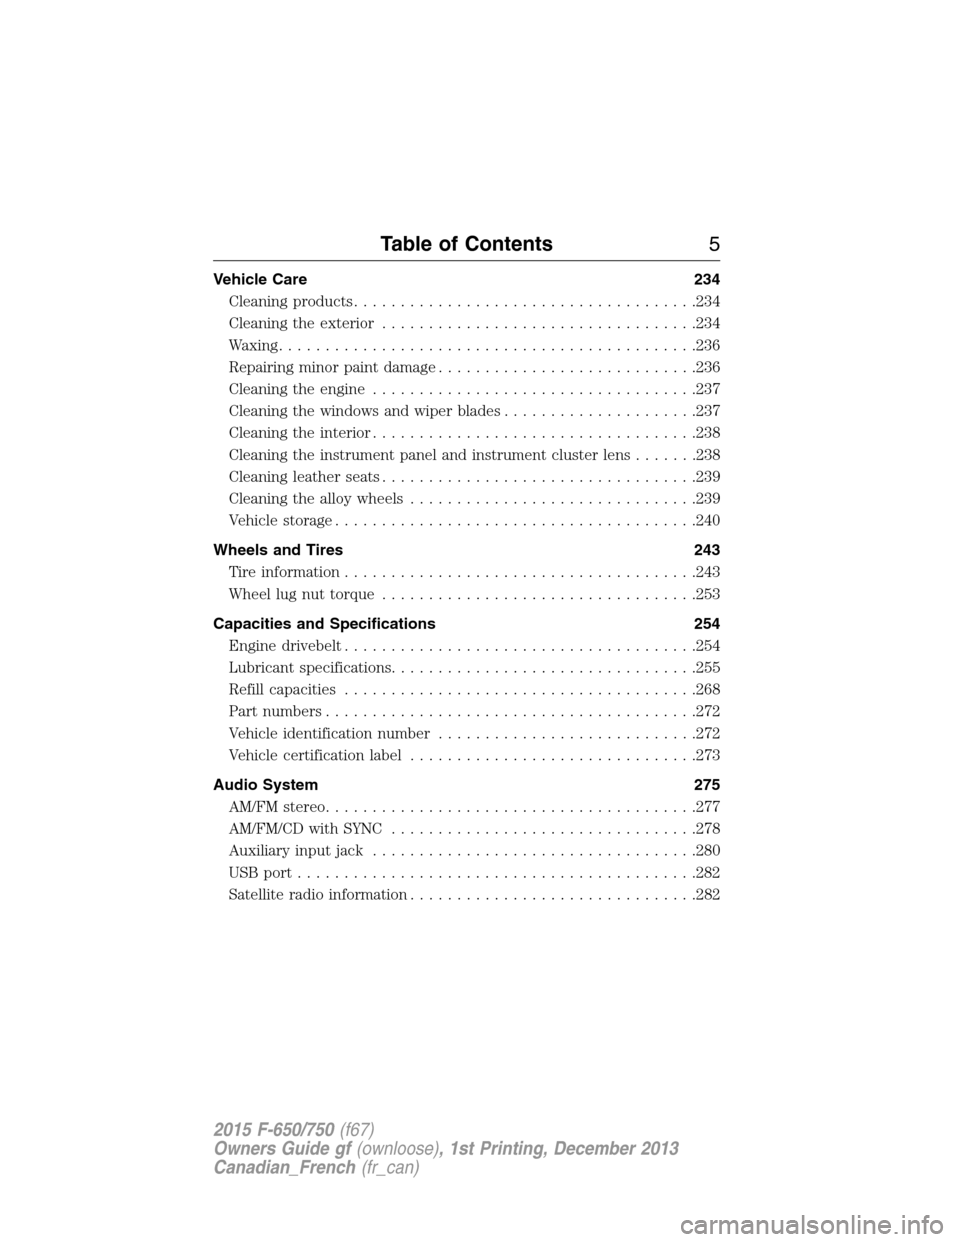
Vehicle Care 234
Cleaning products.....................................234
Cleaning the exterior..................................234
Waxing.............................................236
Repairing minor paint damage............................236
Cleaning the engine...................................237
Cleaning the windows and wiper blades.....................237
Cleaning the interior...................................238
Cleaning the instrument panel and instrument cluster lens.......238
Cleaning leather seats..................................239
Cleaning the alloy wheels...............................239
Vehiclestorage.......................................240
Wheels and Tires 243
Tire information......................................243
Wheel lug nut torque..................................253
Capacities and Specifications 254
Engine drivebelt......................................254
Lubricant specifications.................................255
Refill capacities......................................268
Part numbers........................................272
Vehicle identification number............................272
Vehicle certification label...............................273
Audio System 275
AM/FMstereo........................................277
AM/FM/CD with SYNC.................................278
Auxiliary input jack...................................280
USBport...........................................282
Satellite radio information...............................282
Table of Contents5
2015 F-650/750(f67)
Owners Guide gf(ownloose), 1st Printing, December 2013
Canadian_French(fr_can)
Page 10 of 384
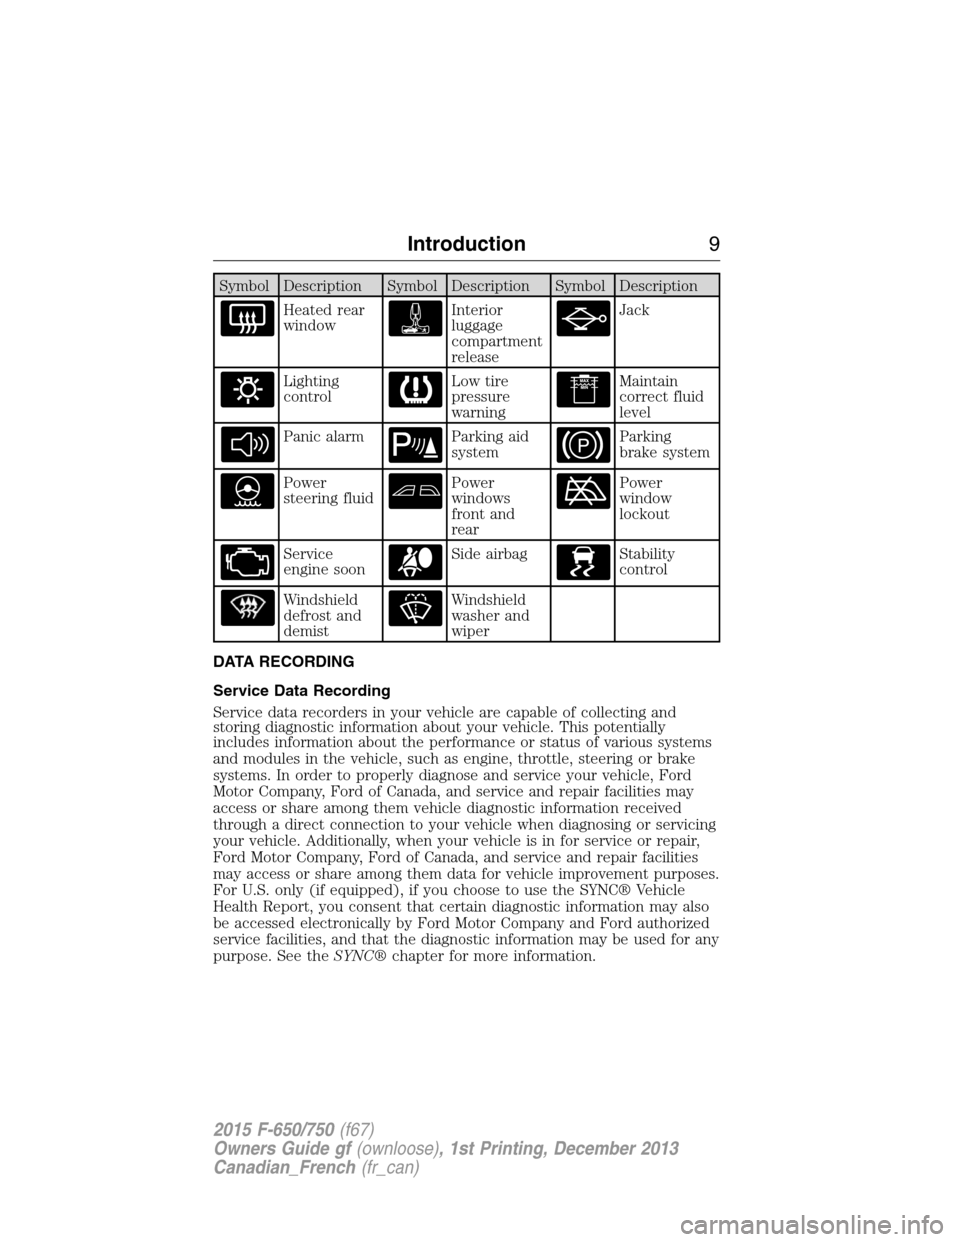
Symbol Description Symbol Description Symbol Description
Heated rear
windowInterior
luggage
compartment
releaseJack
Lighting
controlLow tire
pressure
warningMaintain
correct fluid
level
Panic alarmParking aid
systemParking
brake system
Power
steering fluidPower
windows
front and
rearPower
window
lockout
Service
engine soonSide airbagStability
control
Windshield
defrost and
demistWindshield
washer and
wiper
DATA RECORDING
Service Data Recording
Service data recorders in your vehicle are capable of collecting and
storing diagnostic information about your vehicle. This potentially
includes information about the performance or status of various systems
and modules in the vehicle, such as engine, throttle, steering or brake
systems. In order to properly diagnose and service your vehicle, Ford
Motor Company, Ford of Canada, and service and repair facilities may
access or share among them vehicle diagnostic information received
through a direct connection to your vehicle when diagnosing or servicing
your vehicle. Additionally, when your vehicle is in for service or repair,
Ford Motor Company, Ford of Canada, and service and repair facilities
may access or share among them data for vehicle improvement purposes.
For U.S. only (if equipped), if you choose to use the SYNC® Vehicle
Health Report, you consent that certain diagnostic information may also
be accessed electronically by Ford Motor Company and Ford authorized
service facilities, and that the diagnostic information may be used for any
purpose. See theSYNC®chapter for more information.
Introduction9
2015 F-650/750(f67)
Owners Guide gf(ownloose), 1st Printing, December 2013
Canadian_French(fr_can)
Page 19 of 384
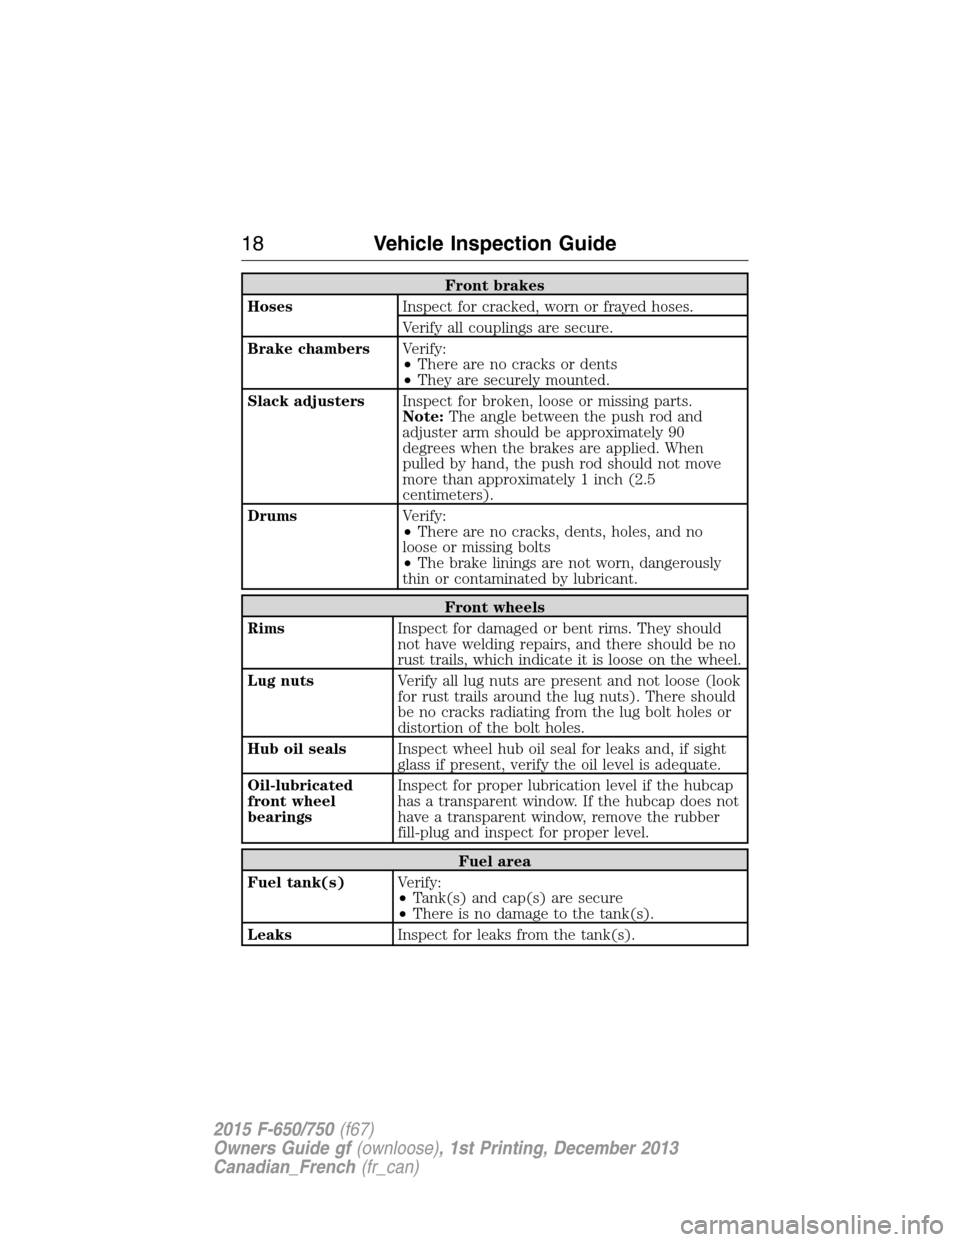
Front brakes
HosesInspect for cracked, worn or frayed hoses.
Verify all couplings are secure.
Brake chambersVerify:
•There are no cracks or dents
•They are securely mounted.
Slack adjustersInspect for broken, loose or missing parts.
Note:The angle between the push rod and
adjuster arm should be approximately 90
degrees when the brakes are applied. When
pulled by hand, the push rod should not move
more than approximately 1 inch (2.5
centimeters).
DrumsVerify:
•There are no cracks, dents, holes, and no
loose or missing bolts
•The brake linings are not worn, dangerously
thin or contaminated by lubricant.
Front wheels
RimsInspect for damaged or bent rims. They should
not have welding repairs, and there should be no
rust trails, which indicate it is loose on the wheel.
Lug nutsVerify all lug nuts are present and not loose (look
for rust trails around the lug nuts). There should
be no cracks radiating from the lug bolt holes or
distortion of the bolt holes.
Hub oil sealsInspect wheel hub oil seal for leaks and, if sight
glass if present, verify the oil level is adequate.
Oil-lubricated
front wheel
bearingsInspect for proper lubrication level if the hubcap
has a transparent window. If the hubcap does not
have a transparent window, remove the rubber
fill-plug and inspect for proper level.
Fuel area
Fuel tank(s)Verify:
•Tank(s) and cap(s) are secure
•There is no damage to the tank(s).
LeaksInspect for leaks from the tank(s).
18Vehicle Inspection Guide
2015 F-650/750(f67)
Owners Guide gf(ownloose), 1st Printing, December 2013
Canadian_French(fr_can)
Page 39 of 384
3. You may need to pull the seat back forward to access the tether
anchors. Make sure the seat is locked in the upright position before
installing the child seat.
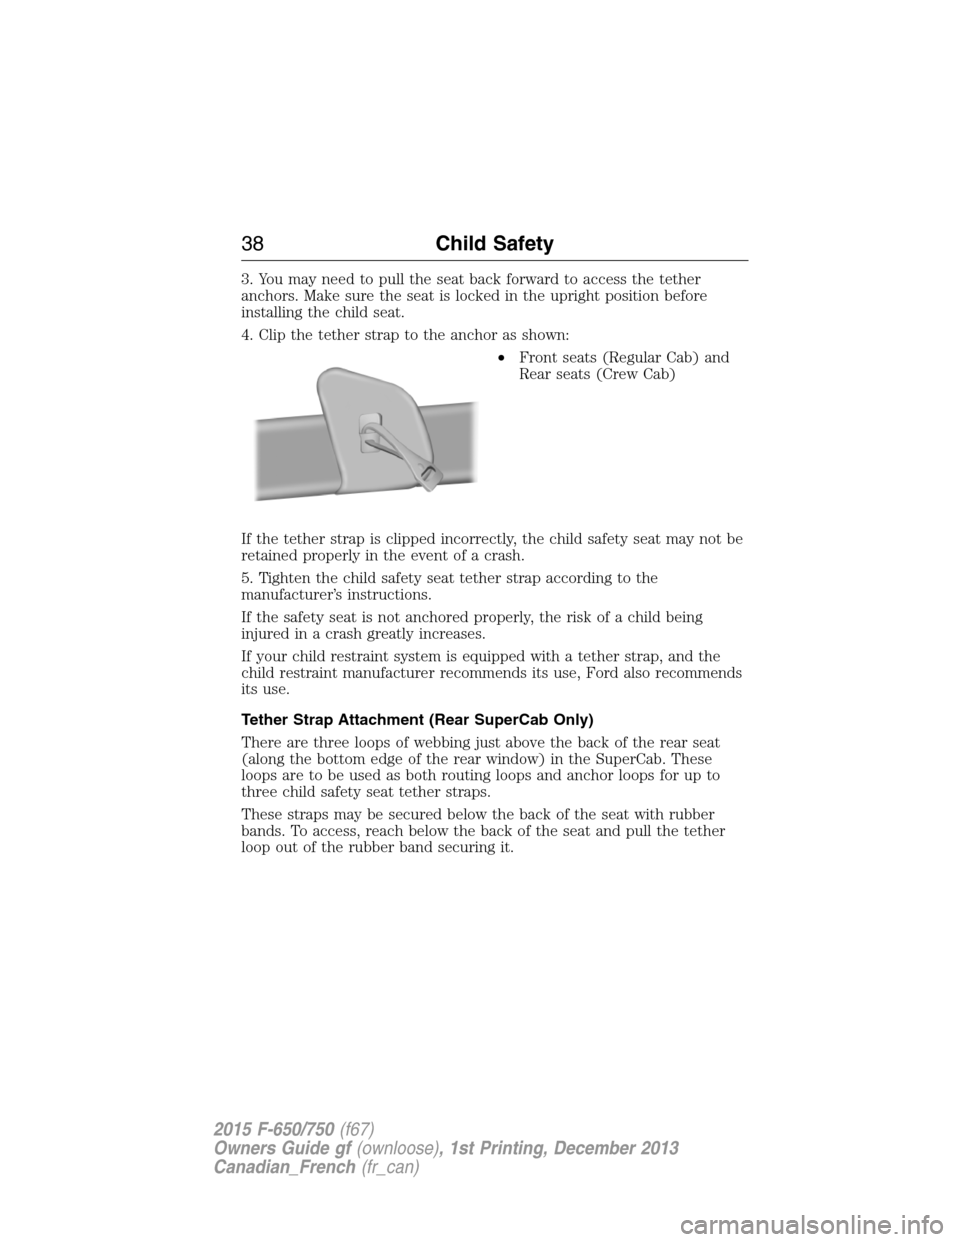
4. Clip the tether strap to the anchor as shown:
•Front seats (Regular Cab) and
Rear seats (Crew Cab)
If the tether strap is clipped incorrectly, the child safety seat may not be
retained properly in the event of a crash.
5. Tighten the child safety seat tether strap according to the
manufacturer’s instructions.
If the safety seat is not anchored properly, the risk of a child being
injured in a crash greatly increases.
If your child restraint system is equipped with a tether strap, and the
child restraint manufacturer recommends its use, Ford also recommends
its use.
Tether Strap Attachment (Rear SuperCab Only)
There are three loops of webbing just above the back of the rear seat
(along the bottom edge of the rear window) in the SuperCab. These
loops are to be used as both routing loops and anchor loops for up to
three child safety seat tether straps.
These straps may be secured below the back of the seat with rubber
bands. To access, reach below the back of the seat and pull the tether
loop out of the rubber band securing it.
38Child Safety
2015 F-650/750(f67)
Owners Guide gf(ownloose), 1st Printing, December 2013
Canadian_French(fr_can)
Page 59 of 384
POWER WINDOWS (IF EQUIPPED)
WARNING:Do not leave children unattended in your vehicle
and do not let them play with the power windows. They may
seriously injure themselves.
WARNING:When closing the power windows, you should verify
they are free of obstructions and make sure that children and
pets are not in the proximity of the window openings.
Note:You may hear a rumbling noise when one or both of the rear
windows are open. Lower a front window slightly to reduce this noise.
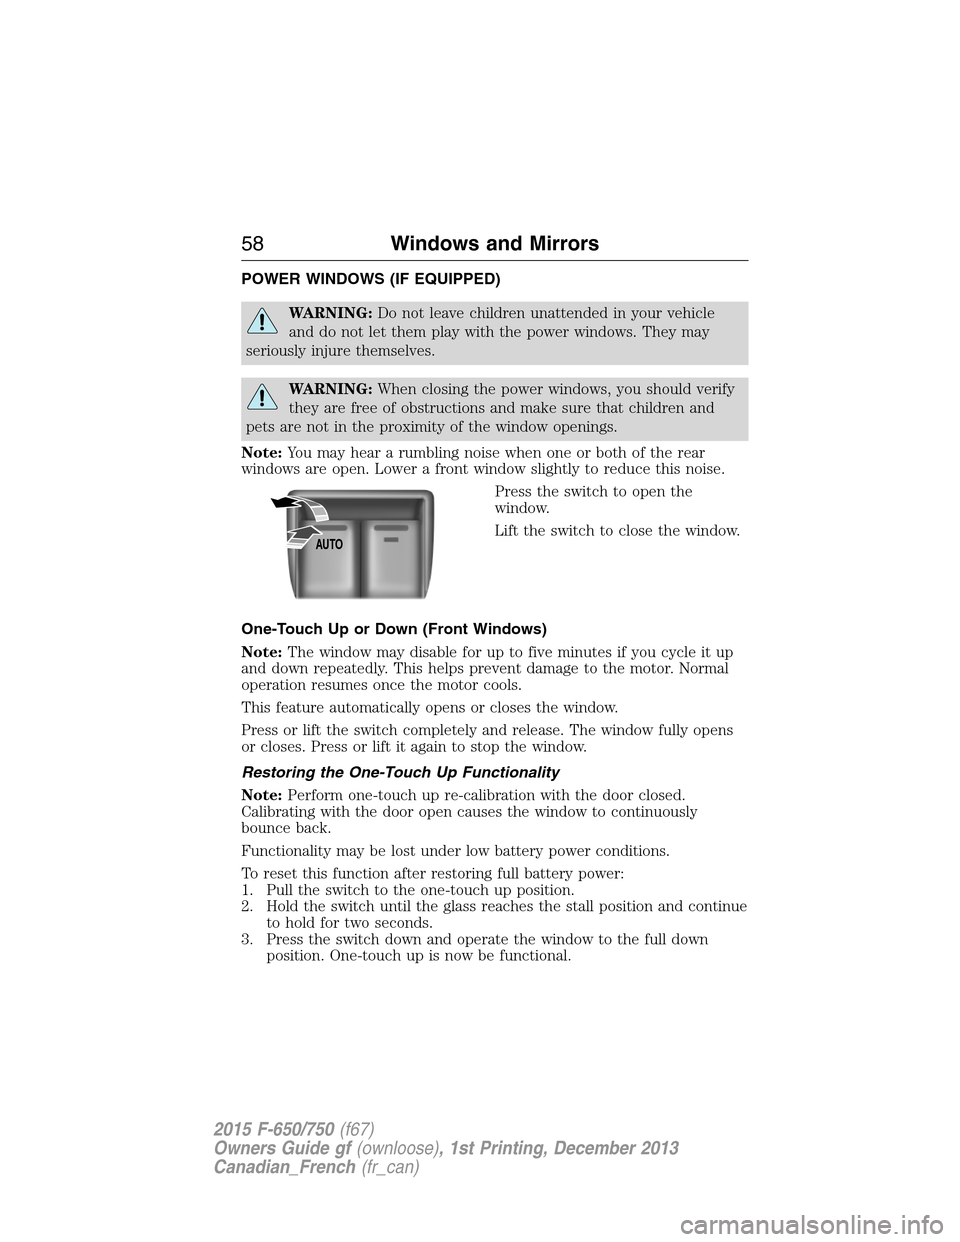
Press the switch to open the
window.
Lift the switch to close the window.
One-Touch Up or Down (Front Windows)
Note:The window may disable for up to five minutes if you cycle it up
and down repeatedly. This helps prevent damage to the motor. Normal
operation resumes once the motor cools.
This feature automatically opens or closes the window.
Press or lift the switch completely and release. The window fully opens
or closes. Press or lift it again to stop the window.
Restoring the One-Touch Up Functionality
Note:Perform one-touch up re-calibration with the door closed.
Calibrating with the door open causes the window to continuously
bounce back.
Functionality may be lost under low battery power conditions.
To reset this function after restoring full battery power:
1. Pull the switch to the one-touch up position.
2. Hold the switch until the glass reaches the stall position and continue
to hold for two seconds.
3. Press the switch down and operate the window to the full down
position. One-touch up is now be functional.
AUTO
58Windows and Mirrors
2015 F-650/750(f67)
Owners Guide gf(ownloose), 1st Printing, December 2013
Canadian_French(fr_can)
Page 60 of 384
Bounce-Back (One-Touch Up or Down Windows Only)
The window stops automatically while closing and reverse some distance
if there is an obstacle in the way.
Overriding the Bounce-Back Feature
WARNING:When you override the bounce-back feature the
window will not reverse if it detects an obstacle. Take care when
closing the windows to avoid personal injury or damage to your vehicle.
Pull up the window switch and hold within two seconds of the window
reaching the bounce-back position. The window travels up with no
bounce-back protection. The window stops if you release the switch
before the window is fully closed.
Window Lock
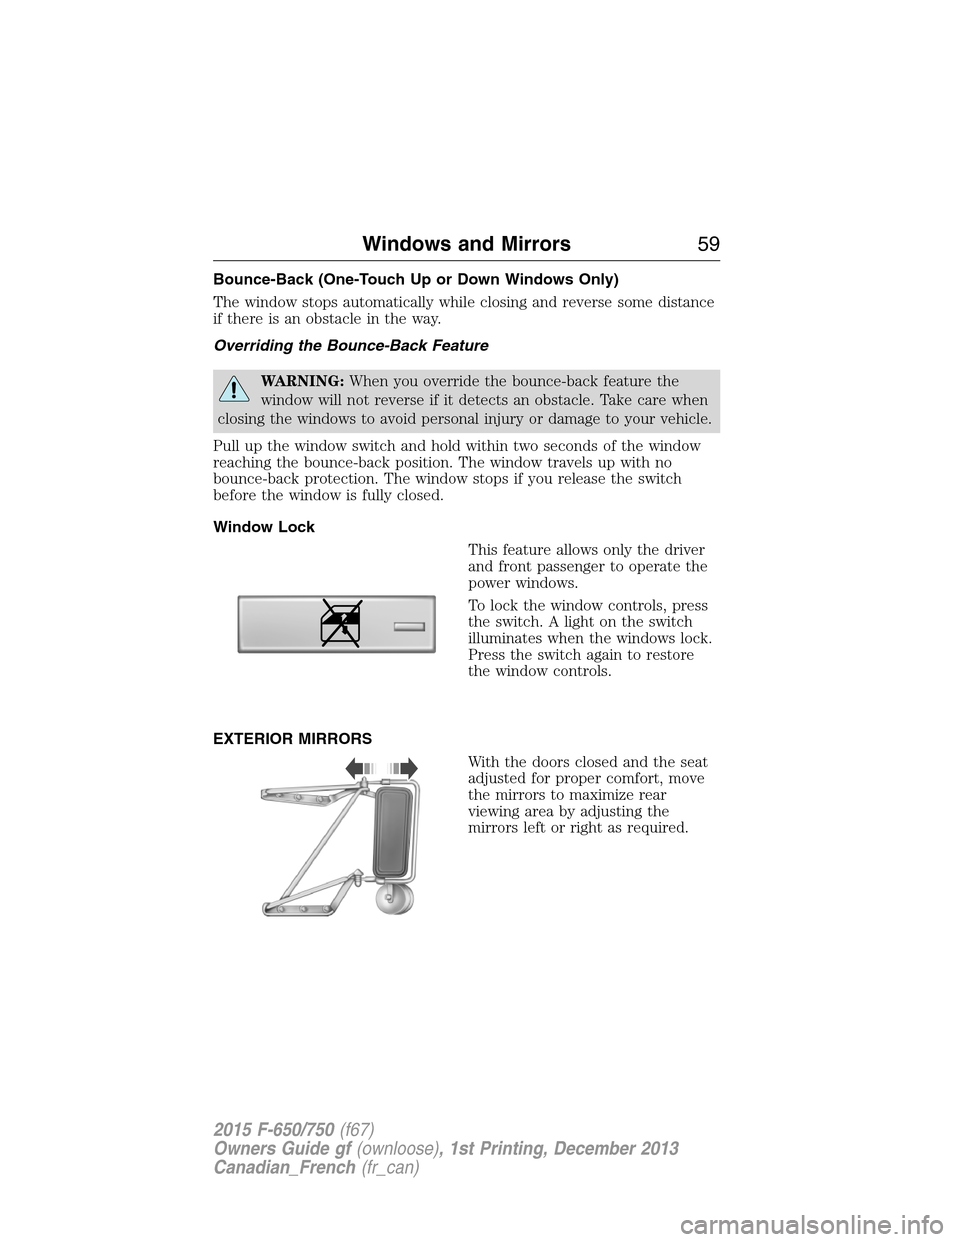
This feature allows only the driver
and front passenger to operate the
power windows.
To lock the window controls, press
the switch. A light on the switch
illuminates when the windows lock.
Press the switch again to restore
the window controls.
EXTERIOR MIRRORS
With the doors closed and the seat
adjusted for proper comfort, move
the mirrors to maximize rear
viewing area by adjusting the
mirrors left or right as required.
Windows and Mirrors59
2015 F-650/750(f67)
Owners Guide gf(ownloose), 1st Printing, December 2013
Canadian_French(fr_can)
Page 61 of 384
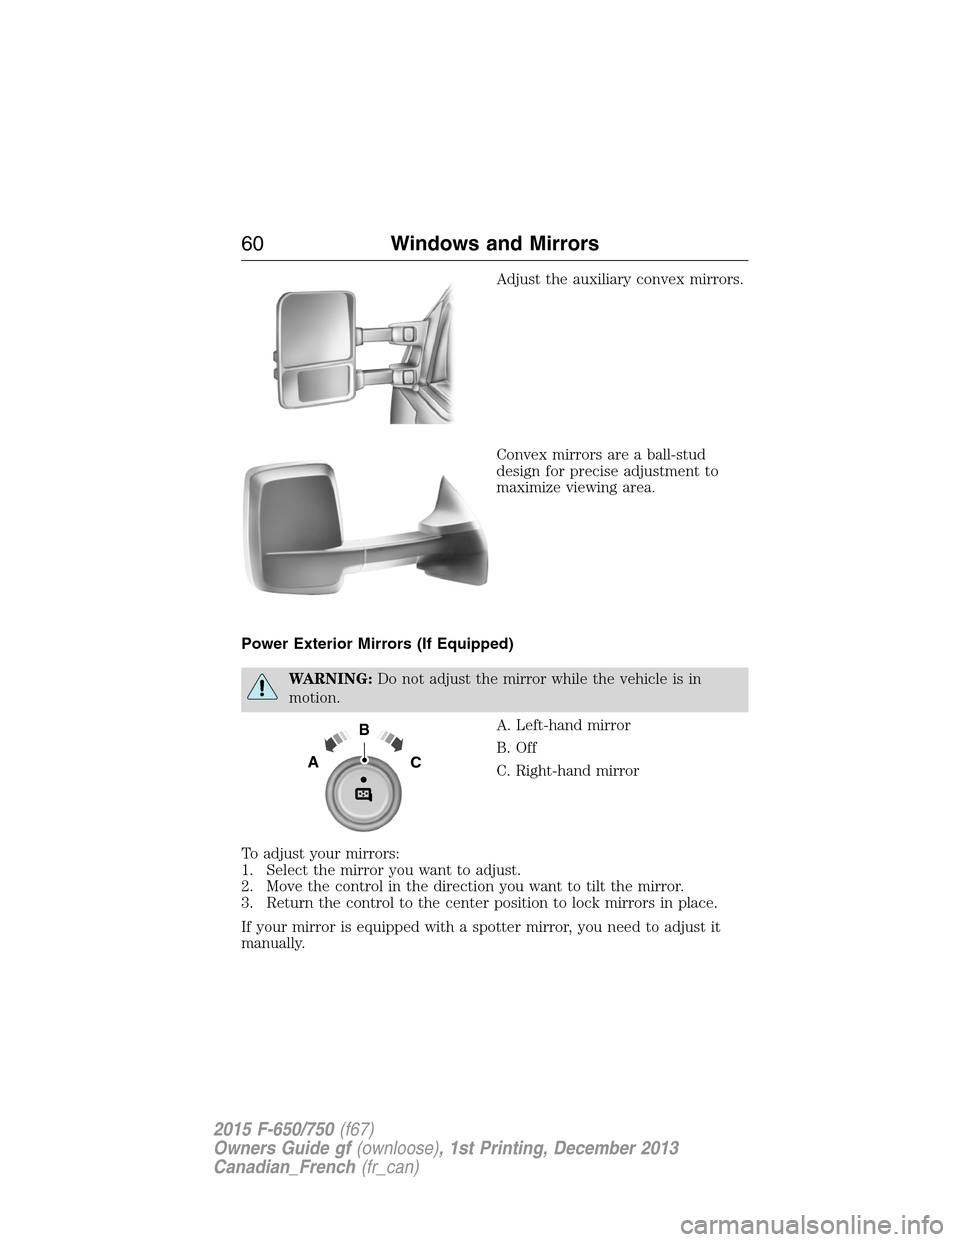
Adjust the auxiliary convex mirrors.
Convex mirrors are a ball-stud
design for precise adjustment to
maximize viewing area.
Power Exterior Mirrors (If Equipped)
WARNING:Do not adjust the mirror while the vehicle is in
motion.
A. Left-hand mirror
B. Off
C. Right-hand mirror
To adjust your mirrors:
1. Select the mirror you want to adjust.
2. Move the control in the direction you want to tilt the mirror.
3. Return the control to the center position to lock mirrors in place.
If your mirror is equipped with a spotter mirror, you need to adjust it
manually.
B
AC
60Windows and Mirrors
2015 F-650/750(f67)
Owners Guide gf(ownloose), 1st Printing, December 2013
Canadian_French(fr_can)
Page 62 of 384
Foldaway Exterior Mirrors
Push the mirror toward the door window glass. Make sure that you fully
engage the mirror in its support when returning it to its original position.
Power-Folding Mirrors (If Equipped)
Note:Using the mirrors 10 or more times within one minute, or
repeated folding and unfolding of the mirrors while holding the control
down during full travel, may disable the system to protect motors from
overheating. Wait approximately three minutes with your vehicle running,
and up to 10 minutes with your vehicle off, for the system to reset and
for function to return to normal.
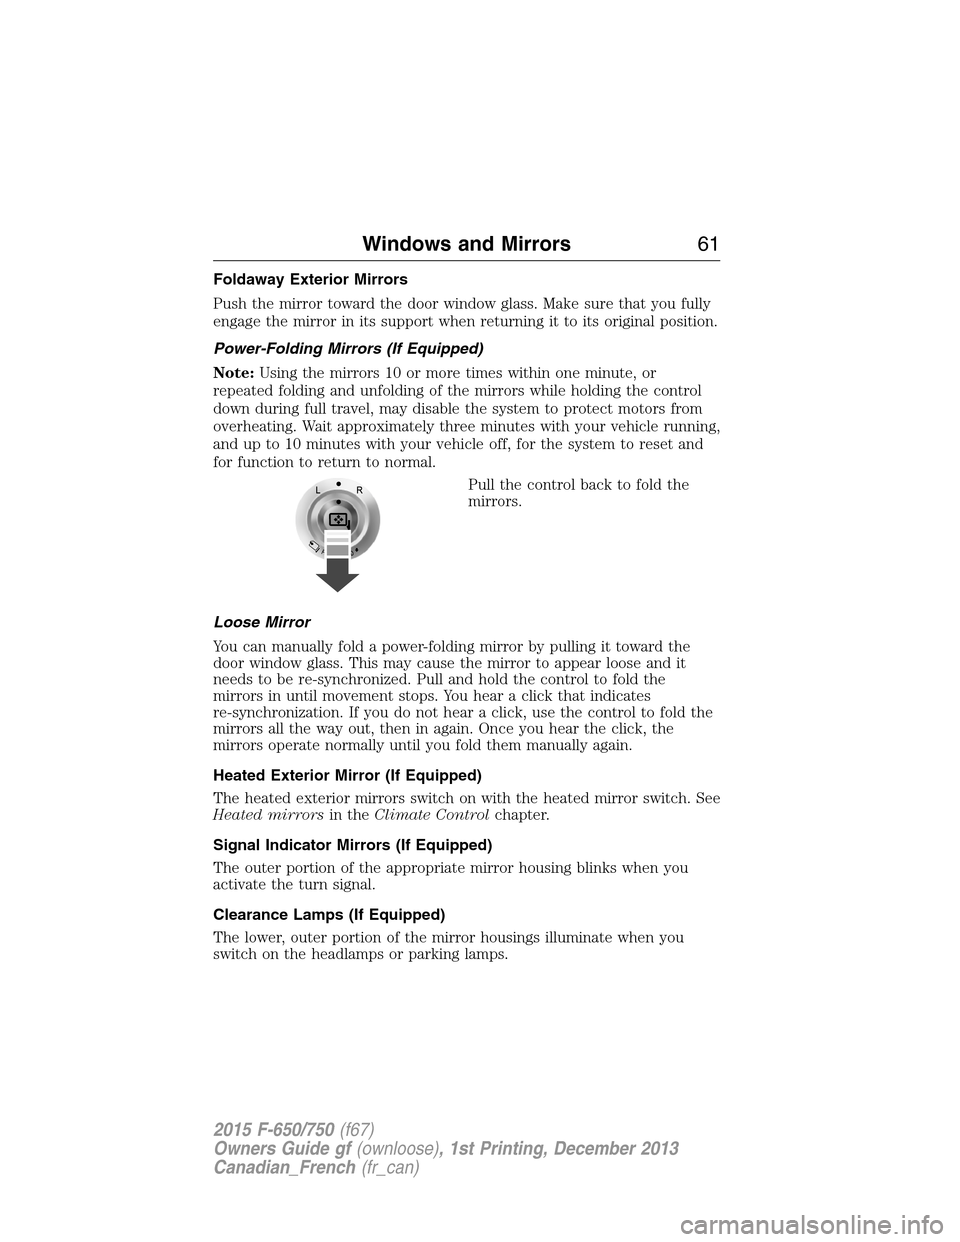
Pull the control back to fold the
mirrors.
Loose Mirror
You can manually fold a power-folding mirror by pulling it toward the
door window glass. This may cause the mirror to appear loose and it
needs to be re-synchronized. Pull and hold the control to fold the
mirrors in until movement stops. You hear a click that indicates
re-synchronization. If you do not hear a click, use the control to fold the
mirrors all the way out, then in again. Once you hear the click, the
mirrors operate normally until you fold them manually again.
Heated Exterior Mirror (If Equipped)
The heated exterior mirrors switch on with the heated mirror switch. See
Heated mirrorsin theClimate Controlchapter.
Signal Indicator Mirrors (If Equipped)
The outer portion of the appropriate mirror housing blinks when you
activate the turn signal.
Clearance Lamps (If Equipped)
The lower, outer portion of the mirror housings illuminate when you
switch on the headlamps or parking lamps.
Windows and Mirrors61
2015 F-650/750(f67)
Owners Guide gf(ownloose), 1st Printing, December 2013
Canadian_French(fr_can)
Page 63 of 384
Telescoping Mirrors (If Equipped)
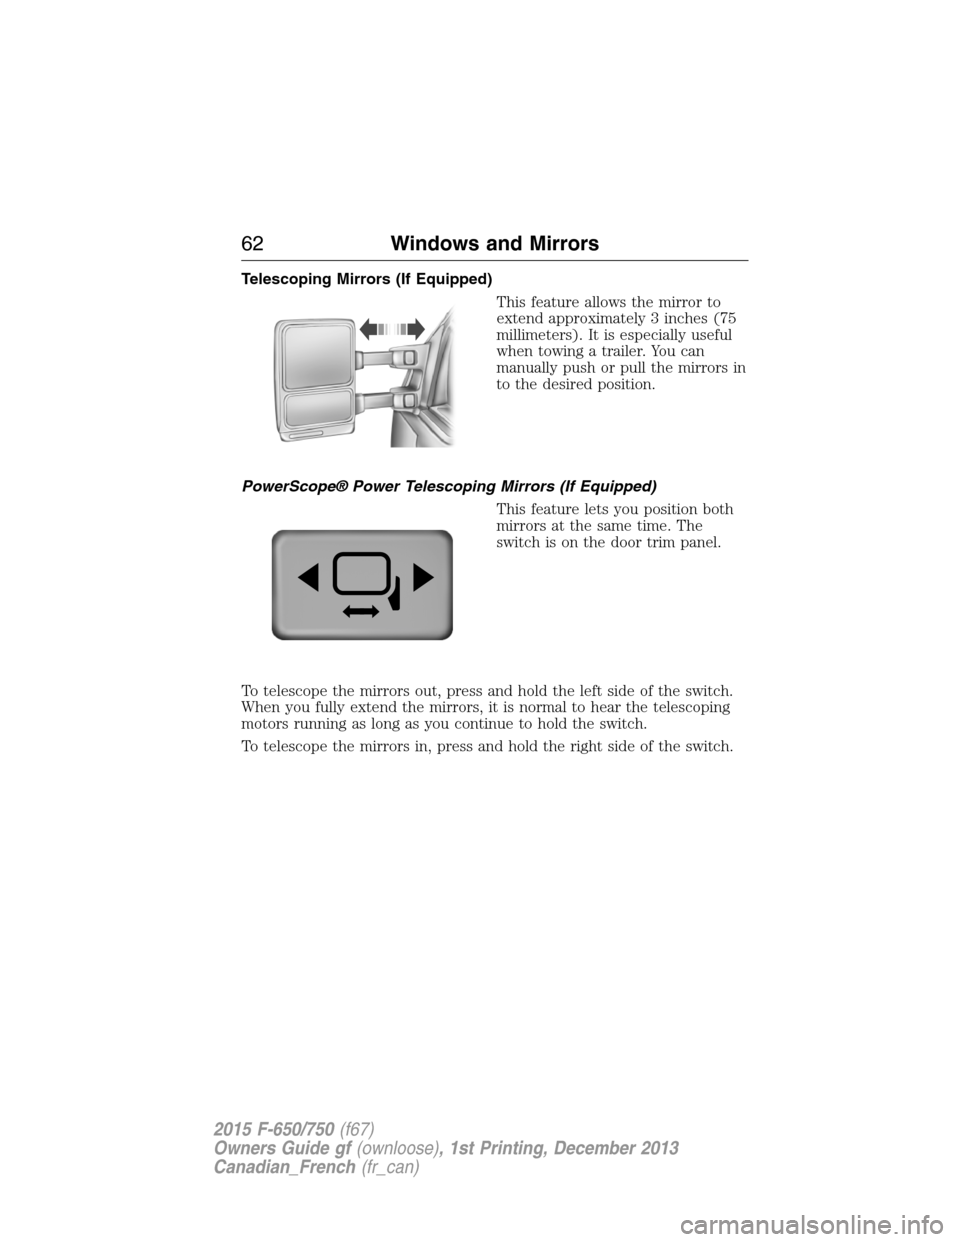
This feature allows the mirror to
extend approximately 3 inches (75
millimeters). It is especially useful
when towing a trailer. You can
manually push or pull the mirrors in
to the desired position.
PowerScope® Power Telescoping Mirrors (If Equipped)
This feature lets you position both
mirrors at the same time. The
switch is on the door trim panel.
To telescope the mirrors out, press and hold the left side of the switch.
When you fully extend the mirrors, it is normal to hear the telescoping
motors running as long as you continue to hold the switch.
To telescope the mirrors in, press and hold the right side of the switch.
62Windows and Mirrors
2015 F-650/750(f67)
Owners Guide gf(ownloose), 1st Printing, December 2013
Canadian_French(fr_can)