glove box FORD FLEX 2010 1.G Owners Manual
[x] Cancel search | Manufacturer: FORD, Model Year: 2010, Model line: FLEX, Model: FORD FLEX 2010 1.GPages: 397
Page 39 of 397

Troubleshooting:
1. Do not connect the audio input jack to a line level output. Line level
outputs are intended for connection to a home stereo and are not
compatible with the AIJ. The AIJ will only work correctly with devices
that have a headphone output with a volume control.
2. Do not set the portable music player’s volume level higher than is
necessary to match the volume of the CD or FM radio in your audio
system as this will cause distortion and will reduce sound quality. Many
portable music players have different output levels, so not all players
should be set at the same levels. Some players will sound best at full
volume and others will need to be set at a lower volume.
3. If the music sounds distorted at lower listening levels, turn the
portable music player volume down. If the problems persists, replace or
recharge the batteries in the portable music player.
4. The portable music player must be controlled in the same manner
when it is used with headphones as the AIJ does not provide control
(play, pause, etc.) over the attached portable music player.
5. For safety reasons, connecting or adjusting the settings on your
portable music player should not be attempted while the vehicle is
moving. Also, the portable music player should be stored in a secure
location, such as the center console or the glove box, when the vehicle is
in motion. The audio extension cable must be long enough to allow the
portable music player to be safely stored while the vehicle is in motion.
USB port (if equipped)
WARNING:Driving while distracted can result in loss of vehicle
control, accident and injury. Ford strongly recommends that
drivers use extreme caution when using any device that may take their
focus off the road. The driver’s primary responsibility is the safe
operation of their vehicle. Only use cell phones and other devices not
essential to the driving task when it is safe to do so.
Entertainment Systems
39
2010 Flex(471)
Owners Guide, 1st Printing
USA(fus)
Page 79 of 397

6.Rear Passenger side heated seat control (if equipped):Press
to heat the seat. Refer toHeated seatsin theSeating and Safety
Restraintschapter for more information.
7.REAR LOCK:Illuminates when the rear (auxiliary) climate system is
being controlled by the front controls. The rear (auxiliary) climate
controls will not work when this is lit.
8.
Rear driver side heated seat control (if equipped):Press to
heat the seat. Refer toHeated seatsin theSeating and Safety
Restraintschapter for more information.
REAR WINDOW DEFROSTER
R
The rear defroster control is located on the climate control panel and
works to clear the rear window of fog and thin ice.
The ignition must be on to operate the rear window defroster.
The rear defroster turns off automatically after 10 minutes or when the
ignition is turned off. To manually turn off the defroster before
10 minutes have passed, press the control again.
Do not use razor blades or other sharp objects to clean the inside
of the rear window or to remove decals from the inside of the
rear window. This may cause damage to the heated grid lines and
will not be covered by your warranty.
CABIN AIR FILTER
The cabin air filter element is designed to reduce the concentration of
airborne particles such as dust, spores and pollen in the air being
supplied to the interior of the vehicle. The presence of a particulate filter
element provides the following benefits:
•Improves your driving comfort by reducing particle concentration.
•Improves the interior compartment cleanliness.
•Protects the climate control components from particle deposits.
Note:A cabin air filter must be installed at all times to prevent foreign
objects from entering the system. Running the system without a filter in
place could result in degradation or damage to the system.
The access door for the filter is located behind the glove box. For
replacement intervals regarding the cabin air filter, see thescheduled
maintenance information. For more information regarding your filter,
see your authorized dealer.
Climate Controls
79
2010 Flex(471)
Owners Guide, 1st Printing
USA(fus)
Page 138 of 397

•The battery saver will shut off the headlamps 10 minutes after the
ignition has been turned to the off position.
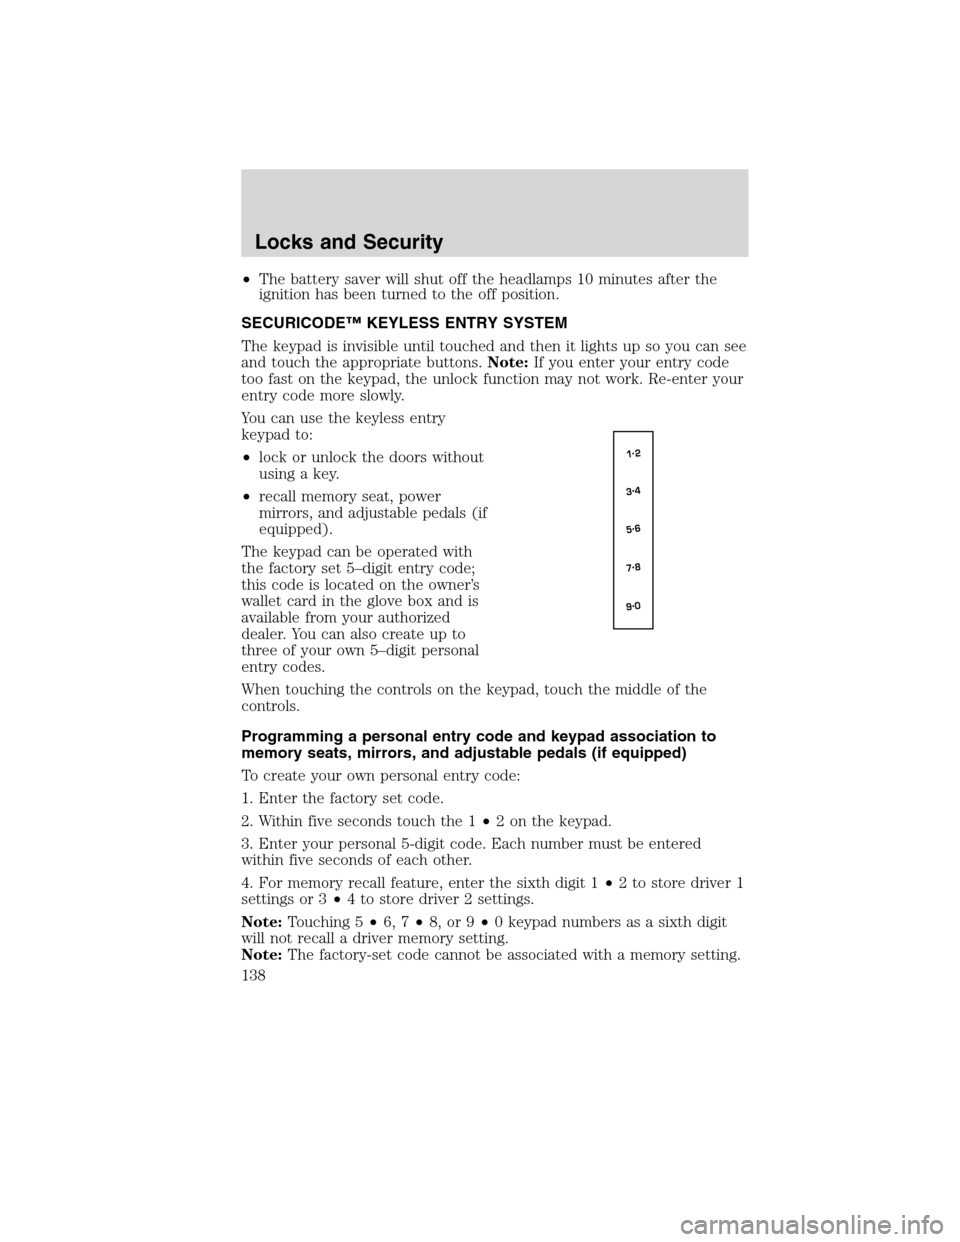
SECURICODE™ KEYLESS ENTRY SYSTEM
The keypad is invisible until touched and then it lights up so you can see
and touch the appropriate buttons.Note:If you enter your entry code
too fast on the keypad, the unlock function may not work. Re-enter your
entry code more slowly.
You can use the keyless entry
keypad to:
•lock or unlock the doors without
using a key.
•recall memory seat, power
mirrors, and adjustable pedals (if
equipped).
The keypad can be operated with
the factory set 5–digit entry code;
this code is located on the owner’s
wallet card in the glove box and is
available from your authorized
dealer. You can also create up to
three of your own 5–digit personal
entry codes.
When touching the controls on the keypad, touch the middle of the
controls.
Programming a personal entry code and keypad association to
memory seats, mirrors, and adjustable pedals (if equipped)
To create your own personal entry code:
1. Enter the factory set code.
2. Within five seconds touch the 1•2 on the keypad.
3. Enter your personal 5-digit code. Each number must be entered
within five seconds of each other.
4. For memory recall feature, enter the sixth digit 1•2 to store driver 1
settings or 3•4 to store driver 2 settings.
Note:Touching 5•6, 7•8, or 9•0 keypad numbers as a sixth digit
will not recall a driver memory setting.
Note:The factory-set code cannot be associated with a memory setting.
Locks and Security
138
2010 Flex(471)
Owners Guide, 1st Printing
USA(fus)
Page 312 of 397

•Operating the temporary mobility kit could cause an electrical
disturbance in radio and DVD player operation.
What to do when a tire is punctured
A tire puncture within the tire’s tread area can be repaired in two stages
with the temporary mobility kit:
•In the first stage, the tire will be reinflated with a sealing compound
and air. After the tire has been reinflated, you will need to drive the
vehicle a short distance (approximately 4 miles [6 km]) to distribute
the sealant in the tire.
•In the second stage, you will need to check the tire pressure and
adjust, if necessary, to the vehicle’s tire inflation pressure.
First stage: Reinflating the tire with sealing compound and air
Preparation
Park the vehicle in a safe, level and secure area, away from moving
traffic. Turn the hazard lights on. Apply the parking brake and turn the
engine off. Inspect the flat tire for visible damage.
Sealant compound contains latex. To avoid any allergic reactions, use the
non-latex gloves located in the accessory box on the underside of the
temporary mobility kit housing.
Do not remove any foreign object that has pierced the tire. If a puncture
is located in the tire sidewall, stop and call roadside assistance.
1. Remove the valve cap from the tire valve.
2. Unwrap the clear tube from the compressor housing.
3. Remove the tube cap and fasten the metal connector of the tube to
the tire valve, turning clockwise. Make sure the connection is tightly
fastened.
Roadside Emergencies
312
2010 Flex(471)
Owners Guide, 1st Printing
USA(fus)