remote start FORD FOCUS ELECTRIC 2015 3.G Quick Reference Guide
[x] Cancel search | Manufacturer: FORD, Model Year: 2015, Model line: FOCUS ELECTRIC, Model: FORD FOCUS ELECTRIC 2015 3.GPages: 8, PDF Size: 1.59 MB
Page 7 of 8

1213
Convenience
REMOTE ENTRY ICONS
• Press once to lock all doors. Press again within three
seconds to confirm that you locked all doors.
• Press
once to unlock the driver’s door. Press again
within three seconds to unlock all doors.
• Press
to activate the panic alarm. Press again or
switch the vehicle on to deactivate.
• Press
twice within three seconds to release the
liftgate latch.
• Car finder: Press
twice within three seconds to
locate your vehicle. The horn sounds and the direction
indicators flash.
INTELLIGENT ACCESS
Note: Your transmitter must be within 3 feet (1 meter) of the
vehicle for intelligent access to function properly.
To unlock the driver’s door, pull the front exterior door
handle. To lock the doors, press the sensor button on
the door handles. To unlock and open the liftgate, press
the exterior liftgate release button near the license plate. The intelligent access
transmitter also contains
a mechanical key blade
which can be used to
unlock the driver door,
if necessary.
REMOTE START
Remote start allows you to start your vehicle from outside
the vehicle using your key. To start, press and then press twice within three seconds. Once inside, apply the
brake while pressing the START STOP button. Shift into
drive (D) and go. To switch off your vehicle from outside
the vehicle after using your remote start, press
once.
Note: It is also possible to switch your vehicle on and off using the
MyFord® Mobile application on your smartphone.
CHARGING YOUR VEHICLE
Your vehicle must be in park (P) to charge. Press the
indentation located on the charge port door and the door
rotates open. Plug the charging coupler into the vehicle’s
charge port receptacle and make sure that the button
“clicks” confirming that you completely engaged it.
• When the vehicle detects the connection, each quadrant
of the light ring flashes in a clockwise manner two full
times (indicating the start of a normal charge cycle).
• When you are done charging your vehicle, press the
button on the charging coupler and remove it from the
charge port receptacle.
• Close the charge port door by
pressing and holding the indentation
on the door until the door rotates
counterclockwise and closes. See
your Owner’s Manual for complete
information on charging your vehicle.
ENTERTAINMENT
No matter how you store your music, SYNC makes it yours
to enjoy when you’re behind the wheel. Press the lower-left,
red corner of the touchscreen. From here, you can easily go
between AM, FM, CD, USB and other media sources.
Set Your Radio Presets
• Touch the Entertainment corner on the touchscreen.
• Touch FM.
• Touch Direct Tune.
• Enter the desired station and touch Enter.
• Touch Presets and then touch and hold one of the memory
preset buttons to save it. The sound mutes briefly and
returns once the system saves the station.
USING SYNC TO ACCESS DIGITAL MEDIA
Plug in your USB media devices, such as phones and MP3
players, and use SYNC to play all of your favorite music. Using Voice Commands to Play Music
1.
Plug your media player into your USB port.
2. Pull the voice control
. When prompted, say “USB”,
then follow-up by saying one of the voice commands.
SURPLUS MODE
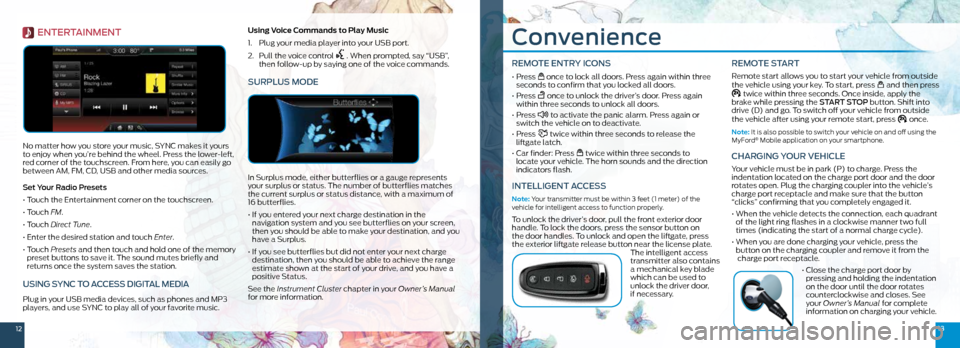
In Surplus mode, either butterflies or a gauge represents
your surplus or status. The number of butterflies matches
the current surplus or status distance, with a maximum of
16 butterflies.
• If you entered your next charge destination in the
navigation system and you see butterflies on your screen,
then you should be able to make your destination, and you
have a Surplus.
• If you see butterflies but did not enter your next charge
destination, then you should be able to achieve the range
estimate shown at the start of your drive, and you have a
positive Status.
See the Instrument Cluster chapter in your Owner’s Manual
for more information.