ECO mode FORD FREESTAR 2005 1.G Owners Manual
[x] Cancel search | Manufacturer: FORD, Model Year: 2005, Model line: FREESTAR, Model: FORD FREESTAR 2005 1.GPages: 312, PDF Size: 3.96 MB
Page 10 of 312
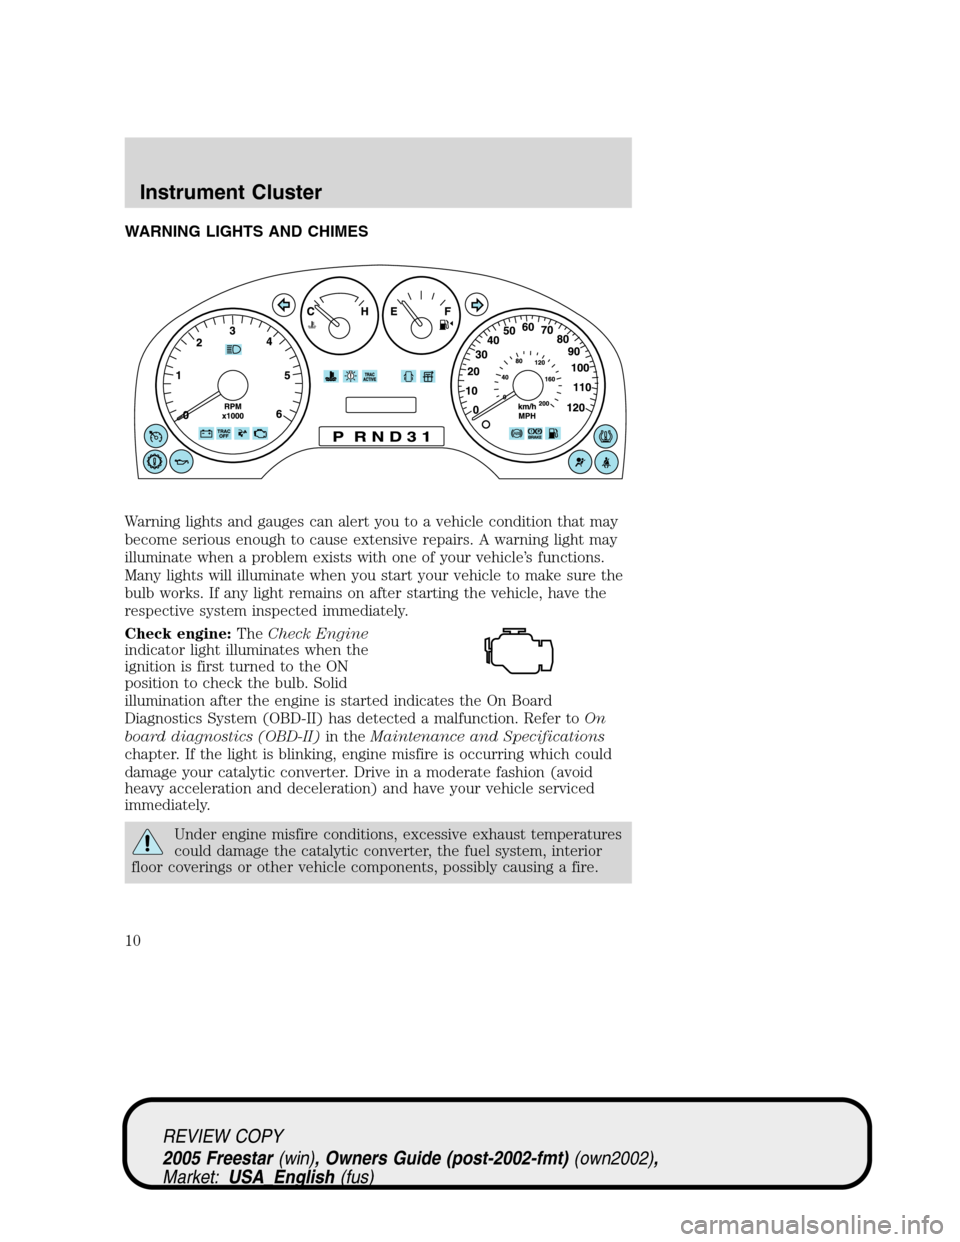
WARNING LIGHTS AND CHIMES
Warning lights and gauges can alert you to a vehicle condition that may
become serious enough to cause extensive repairs. A warning light may
illuminate when a problem exists with one of your vehicle’s functions.
Many lights will illuminate when you start your vehicle to make sure the
bulb works. If any light remains on after starting the vehicle, have the
respective system inspected immediately.
Check engine:TheCheck Engine
indicator light illuminates when the
ignition is first turned to the ON
position to check the bulb. Solid
illumination after the engine is started indicates the On Board
Diagnostics System (OBD-II) has detected a malfunction. Refer toOn
board diagnostics (OBD-II)in theMaintenance and Specifications
chapter. If the light is blinking, engine misfire is occurring which could
damage your catalytic converter. Drive in a moderate fashion (avoid
heavy acceleration and deceleration) and have your vehicle serviced
immediately.
Under engine misfire conditions, excessive exhaust temperatures
could damage the catalytic converter, the fuel system, interior
floor coverings or other vehicle components, possibly causing a fire.
REVIEW COPY
2005 Freestar(win), Owners Guide (post-2002-fmt)(own2002),
Market:USA_English(fus)
Instrument Cluster
Instrument Cluster
10
Page 25 of 312
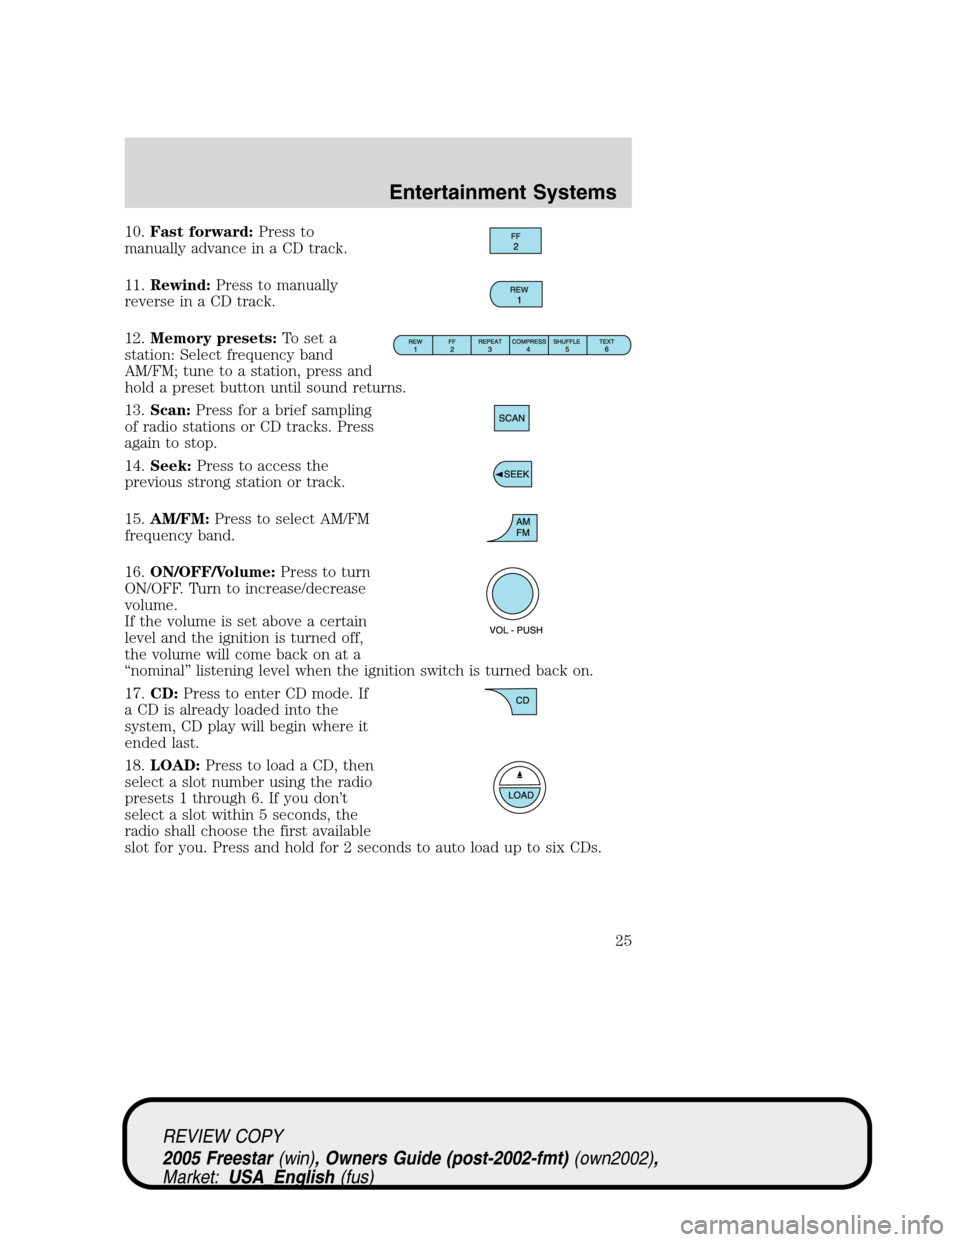
10.Fast forward:Press to
manually advance in a CD track.
11.Rewind:Press to manually
reverse in a CD track.
12.Memory presets:To set a
station: Select frequency band
AM/FM; tune to a station, press and
hold a preset button until sound returns.
13.Scan:Press for a brief sampling
of radio stations or CD tracks. Press
again to stop.
14.Seek:Press to access the
previous strong station or track.
15.AM/FM:Press to select AM/FM
frequency band.
16.ON/OFF/Volume:Press to turn
ON/OFF. Turn to increase/decrease
volume.
If the volume is set above a certain
level and the ignition is turned off,
the volume will come back on at a
“nominal”listening level when the ignition switch is turned back on.
17.CD:Press to enter CD mode. If
a CD is already loaded into the
system, CD play will begin where it
ended last.
18.LOAD:Press to load a CD, then
select a slot number using the radio
presets 1 through 6. If you don’t
select a slot within 5 seconds, the
radio shall choose the first available
slot for you. Press and hold for 2 seconds to auto load up to six CDs.
REVIEW COPY
2005 Freestar(win), Owners Guide (post-2002-fmt)(own2002),
Market:USA_English(fus)
Entertainment Systems
25
Page 26 of 312
19.CD eject:Press to eject a CD,
then select the desired CD slot
using the radio presets 1 through 6.
If a slot is not selected within 5 seconds, the radio shall eject the current
disc. Press and hold for 2 seconds to auto eject all CDs present in the
radio mechanism.
20.CD slot:Insert a CD label side
up.
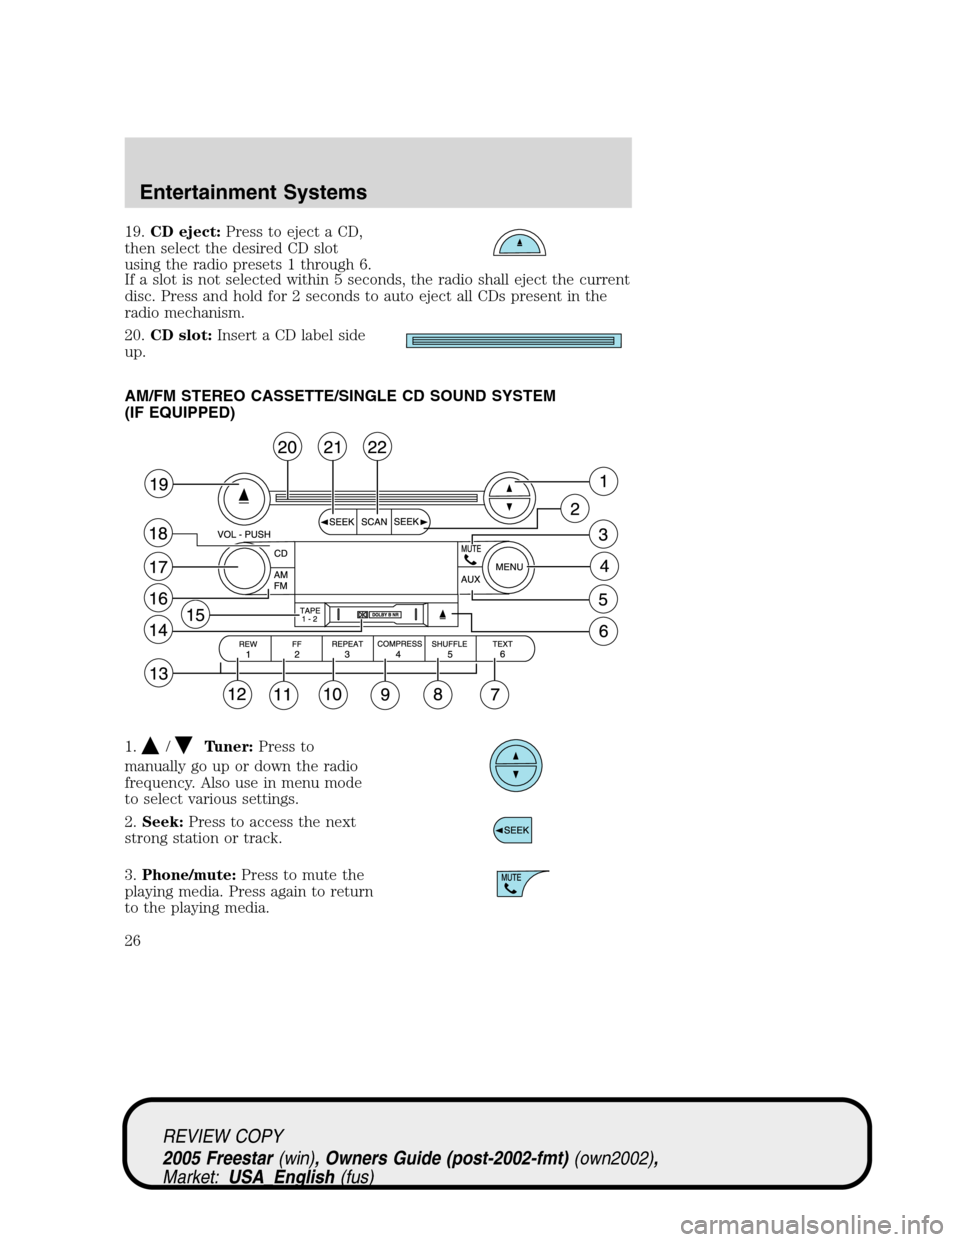
AM/FM STEREO CASSETTE/SINGLE CD SOUND SYSTEM
(IF EQUIPPED)
1.
/Tuner:Press to
manually go up or down the radio
frequency. Also use in menu mode
to select various settings.
2.Seek:Press to access the next
strong station or track.
3.Phone/mute:Press to mute the
playing media. Press again to return
to the playing media.
REVIEW COPY
2005 Freestar(win), Owners Guide (post-2002-fmt)(own2002),
Market:USA_English(fus)
Entertainment Systems
26
Page 31 of 312
PARENTAL CONTROL
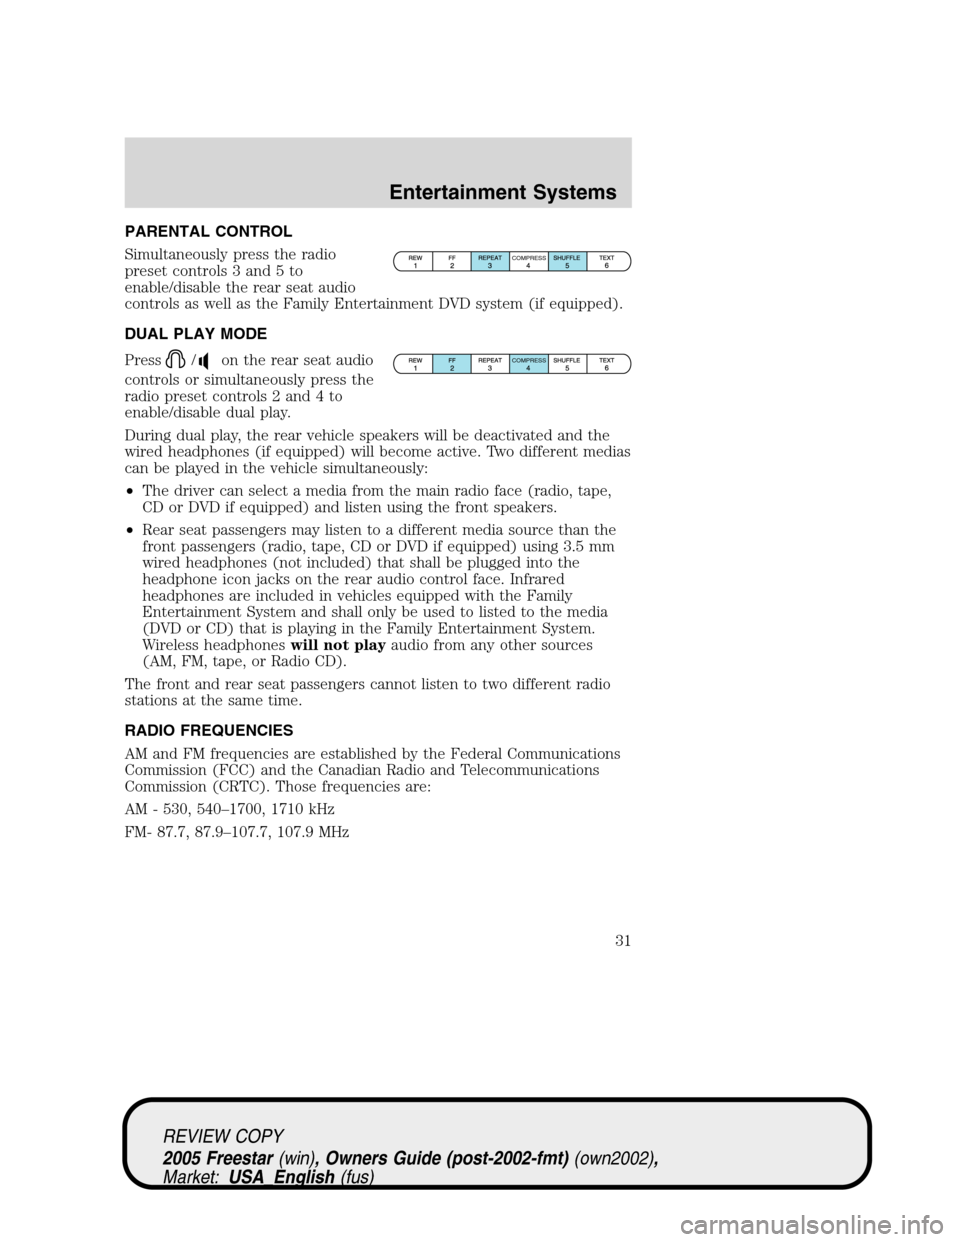
Simultaneously press the radio
preset controls 3 and 5 to
enable/disable the rear seat audio
controls as well as the Family Entertainment DVD system (if equipped).
DUAL PLAY MODE
Press
/on the rear seat audio
controls or simultaneously press the
radio preset controls 2 and 4 to
enable/disable dual play.
During dual play, the rear vehicle speakers will be deactivated and the
wired headphones (if equipped) will become active. Two different medias
can be played in the vehicle simultaneously:
•The driver can select a media from the main radio face (radio, tape,
CD or DVD if equipped) and listen using the front speakers.
•Rear seat passengers may listen to a different media source than the
front passengers (radio, tape, CD or DVD if equipped) using 3.5 mm
wired headphones (not included) that shall be plugged into the
headphone icon jacks on the rear audio control face. Infrared
headphones are included in vehicles equipped with the Family
Entertainment System and shall only be used to listed to the media
(DVD or CD) that is playing in the Family Entertainment System.
Wireless headphoneswill not playaudio from any other sources
(AM, FM, tape, or Radio CD).
The front and rear seat passengers cannot listen to two different radio
stations at the same time.
RADIO FREQUENCIES
AM and FM frequencies are established by the Federal Communications
Commission (FCC) and the Canadian Radio and Telecommunications
Commission (CRTC). Those frequencies are:
AM - 530, 540–1700, 1710 kHz
FM- 87.7, 87.9–107.7, 107.9 MHz
COMPRESS
COMPRESS
REVIEW COPY
2005 Freestar(win), Owners Guide (post-2002-fmt)(own2002),
Market:USA_English(fus)
Entertainment Systems
31
Page 35 of 312
Operating tips
•To reduce fog build up on the windshield during humid weather, place
the air flow selector in the
position.
•To reduce humidity build up inside the vehicle: do not drive with the
airflow selector in the OFF or with recirculated air engaged.
•Do not put objects under the front seats that will interfere with the
airflow to the back seats.
•Remove any snow, ice or leaves from the air intake area at the base of
the windshield.
•For maximum cooling performance (MAX A/C):
In the MAX A/C mode:
•Move the temperature control selector to the coldest setting.
•Set the fan to the highest speed initially, then adjust to maintain
passenger comfort.
In the
andmodes:
•Move the temperature control selector to the coldest setting.
•Select A/C and recirculated air
. Usewith A/C to provide
colder airflow.
•Set the fan to the highest speed initially, then adjust to maintain
passenger comfort.
For maximum heating performance, turn the auxiliary climate control
system (if equipped) on, set the temperature setting to the warmest
setting and set the fan to the highest blower speed.
To aid in side window defogging/demisting in cold weather:
1. Select
.
2. Select A/C.
3. Set the temperature control to full heat.
4. Set the fan speed to the highest setting.
5. Direct the outer instrument panel vents towards the side windows.
Do not place objects on top of the instrument panel as these
objects may become projectiles in a collision or sudden stop.
REVIEW COPY
2005 Freestar(win), Owners Guide (post-2002-fmt)(own2002),
Market:USA_English(fus)
Climate Controls
35
Page 38 of 312
In theandmodes:
•Move the temperature control selector to the coldest setting.
•Select A/C and recirculated air
. Usewith A/C to provide
colder airflow.
•Set the fan to the highest speed initially, then adjust to maintain
passenger comfort.
For maximum heating performance, turn the auxiliary climate control
system (if equipped) on, set the temperature setting to the warmest
setting and set the fan to the highest blower speed.
To aid in side window defogging/demisting in cold weather:
1. Select
.
2. Select A/C.
3. Set the temperature control to full heat.
4. Set the fan speed to the highest setting.
5. Direct the outer instrument panel vents towards the side windows.
Do not place objects on top of the instrument panel as these
objects may become projectiles in a collision or sudden stop.
REVIEW COPY
2005 Freestar(win), Owners Guide (post-2002-fmt)(own2002),
Market:USA_English(fus)
Climate Controls
38
Page 43 of 312
19.REAR:Press to enable the control located in the rear seat. Press
again to turn the auxiliary system off.
OPERATING TIPS
•To reduce fog build up on the windshield during humid weather, place
the air flow selector in the
position.
•To reduce humidity build up inside the vehicle: do not drive with the
airflow selector in the OFF or with recirculated air engaged.
•Do not put objects under the front seats that will interfere with the
airflow to the back seats.
•Remove any snow, ice or leaves from the air intake area at the base of
the windshield.
•For maximum cooling performance (MAX A/C):
In AUTO mode, press AUTO control and set to desired temperature.
In manual override control, select
or, A/C and recirculated
air
and set the temperature to 60°F (16°C). Set the fan to the
highest speed initially, then adjust to maintain passenger comfort.
•To improve the A/C cool down, drive with the windows slightly open
for 2–3 minutes after starting the vehicle or until the vehicle has
“aired out.”
For maximum heating performance, turn the auxiliary climate control
system (if equipped) on, set the temperature setting to the warmest
setting and set the fan to the highest blower speed.
To aid in side window defogging/demisting in cold weather:
1. Select
.
2. Select A/C.
3. Modulate the temperature control to maintain comfort.
4. Set the fan to the highest speed.
5. Direct the outer instrument panel vents towards the side windows.
Do not place objects on top of the instrument panel as these
objects may become projectiles in a collision or sudden stop.
REVIEW COPY
2005 Freestar(win), Owners Guide (post-2002-fmt)(own2002),
Market:USA_English(fus)
Climate Controls
43
Page 45 of 312
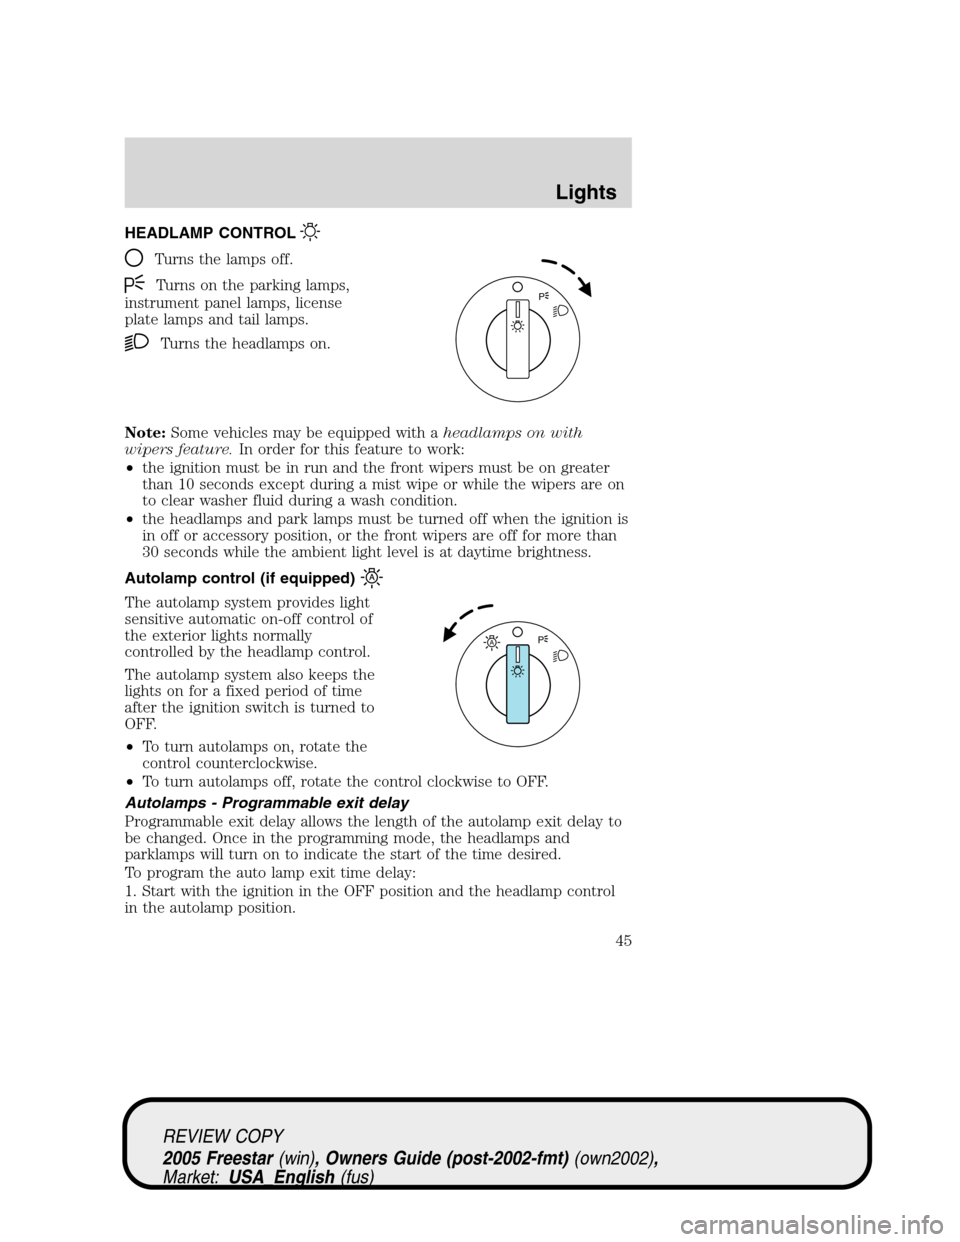
HEADLAMP CONTROL
Turns the lamps off.
Turns on the parking lamps,
instrument panel lamps, license
plate lamps and tail lamps.
Turns the headlamps on.
Note:Some vehicles may be equipped with aheadlamps on with
wipers feature.In order for this feature to work:
•the ignition must be in run and the front wipers must be on greater
than 10 seconds except during a mist wipe or while the wipers are on
to clear washer fluid during a wash condition.
•the headlamps and park lamps must be turned off when the ignition is
in off or accessory position, or the front wipers are off for more than
30 seconds while the ambient light level is at daytime brightness.
Autolamp control (if equipped)
The autolamp system provides light
sensitive automatic on-off control of
the exterior lights normally
controlled by the headlamp control.
The autolamp system also keeps the
lights on for a fixed period of time
after the ignition switch is turned to
OFF.
•To turn autolamps on, rotate the
control counterclockwise.
•To turn autolamps off, rotate the control clockwise to OFF.
Autolamps - Programmable exit delay
Programmable exit delay allows the length of the autolamp exit delay to
be changed. Once in the programming mode, the headlamps and
parklamps will turn on to indicate the start of the time desired.
To program the auto lamp exit time delay:
1. Start with the ignition in the OFF position and the headlamp control
in the autolamp position.
P
AP
REVIEW COPY
2005 Freestar(win), Owners Guide (post-2002-fmt)(own2002),
Market:USA_English(fus)
Lights
Lights
45
Page 60 of 312
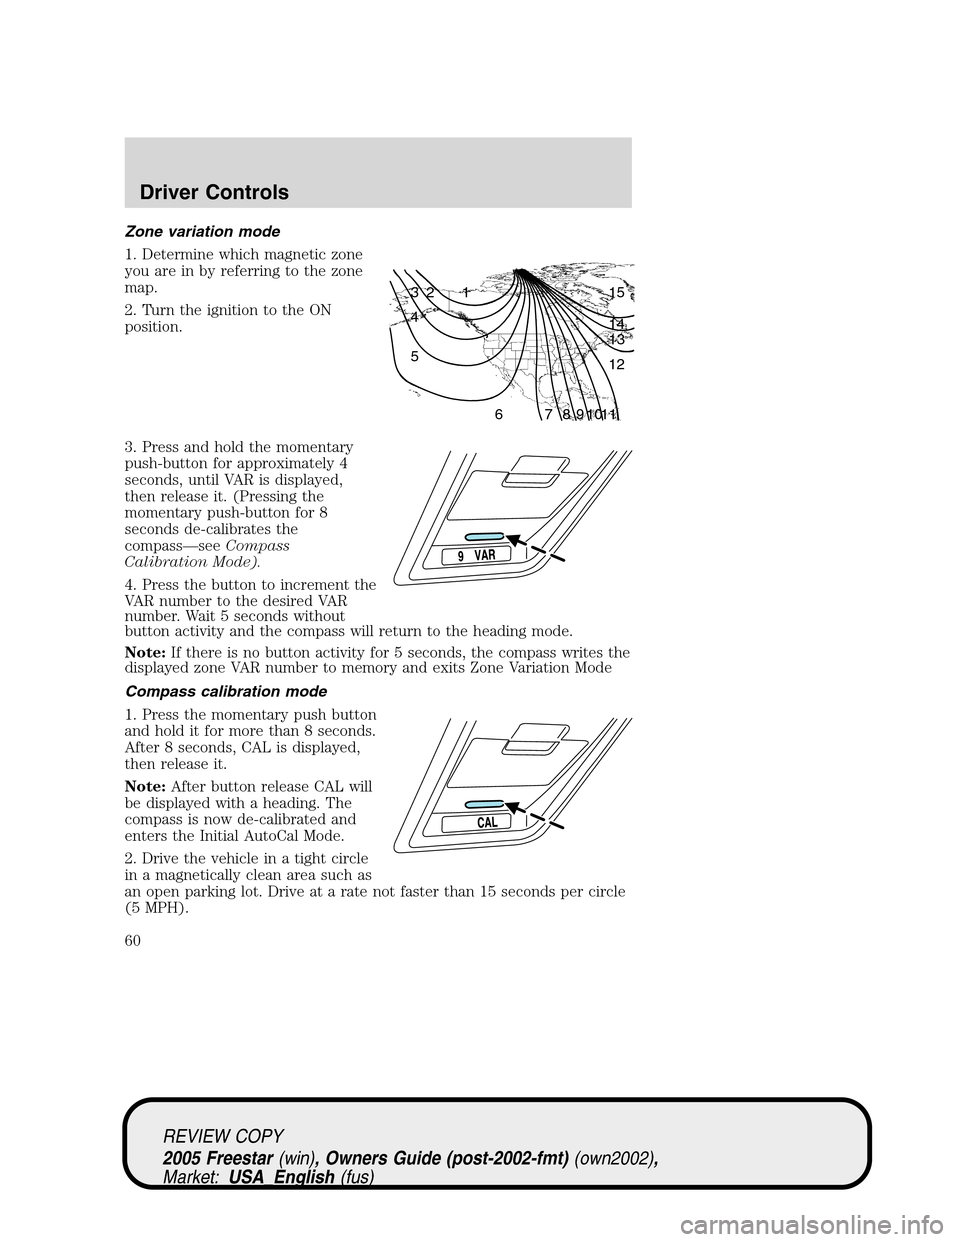
Zone variation mode
1. Determine which magnetic zone
you are in by referring to the zone
map.
2. Turn the ignition to the ON
position.
3. Press and hold the momentary
push-button for approximately 4
seconds, until VAR is displayed,
then release it. (Pressing the
momentary push-button for 8
seconds de-calibrates the
compass—seeCompass
Calibration Mode).
4. Press the button to increment the
VAR number to the desired VAR
number. Wait 5 seconds without
button activity and the compass will return to the heading mode.
Note:If there is no button activity for 5 seconds, the compass writes the
displayed zone VAR number to memory and exits Zone Variation Mode
Compass calibration mode
1. Press the momentary push button
and hold it for more than 8 seconds.
After 8 seconds, CAL is displayed,
then release it.
Note:After button release CAL will
be displayed with a heading. The
compass is now de-calibrated and
enters the Initial AutoCal Mode.
2. Drive the vehicle in a tight circle
in a magnetically clean area such as
an open parking lot. Drive at a rate not faster than 15 seconds per circle
(5 MPH).
1 2 3
4
5
6 7 8 9 101112 13 14 15
REVIEW COPY
2005 Freestar(win), Owners Guide (post-2002-fmt)(own2002),
Market:USA_English(fus)
Driver Controls
60
Page 62 of 312
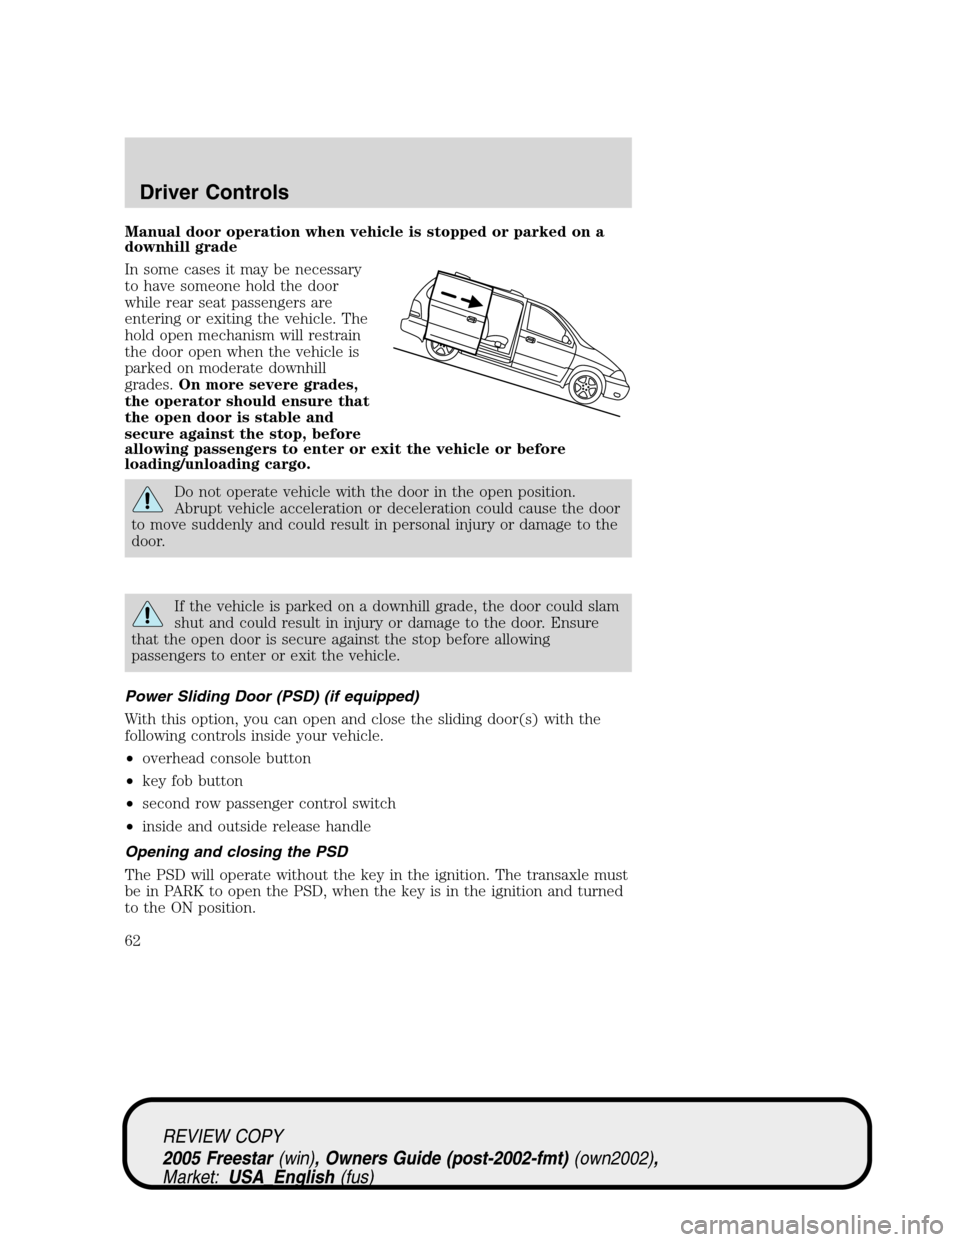
Manual door operation when vehicle is stopped or parked on a
downhill grade
In some cases it may be necessary
to have someone hold the door
while rear seat passengers are
entering or exiting the vehicle. The
hold open mechanism will restrain
the door open when the vehicle is
parked on moderate downhill
grades.On more severe grades,
the operator should ensure that
the open door is stable and
secure against the stop, before
allowing passengers to enter or exit the vehicle or before
loading/unloading cargo.
Do not operate vehicle with the door in the open position.
Abrupt vehicle acceleration or deceleration could cause the door
to move suddenly and could result in personal injury or damage to the
door.
If the vehicle is parked on a downhill grade, the door could slam
shut and could result in injury or damage to the door. Ensure
that the open door is secure against the stop before allowing
passengers to enter or exit the vehicle.
Power Sliding Door (PSD) (if equipped)
With this option, you can open and close the sliding door(s) with the
following controls inside your vehicle.
•overhead console button
•key fob button
•second row passenger control switch
•inside and outside release handle
Opening and closing the PSD
The PSD will operate without the key in the ignition. The transaxle must
be in PARK to open the PSD, when the key is in the ignition and turned
to the ON position.
REVIEW COPY
2005 Freestar(win), Owners Guide (post-2002-fmt)(own2002),
Market:USA_English(fus)
Driver Controls
62