ESP FORD GT 2005 1.G Owners Manual
[x] Cancel search | Manufacturer: FORD, Model Year: 2005, Model line: GT, Model: FORD GT 2005 1.GPages: 200, PDF Size: 17.38 MB
Page 5 of 200
SAFETY AND ENVIRONMENT PROTECTION
Warning symbols in this guide
How can you reduce the risk of personal injury to yourself or others? In
this guide, answers to such questions are contained in comments
highlighted by the warning triangle symbol. These comments should be
read and observed.
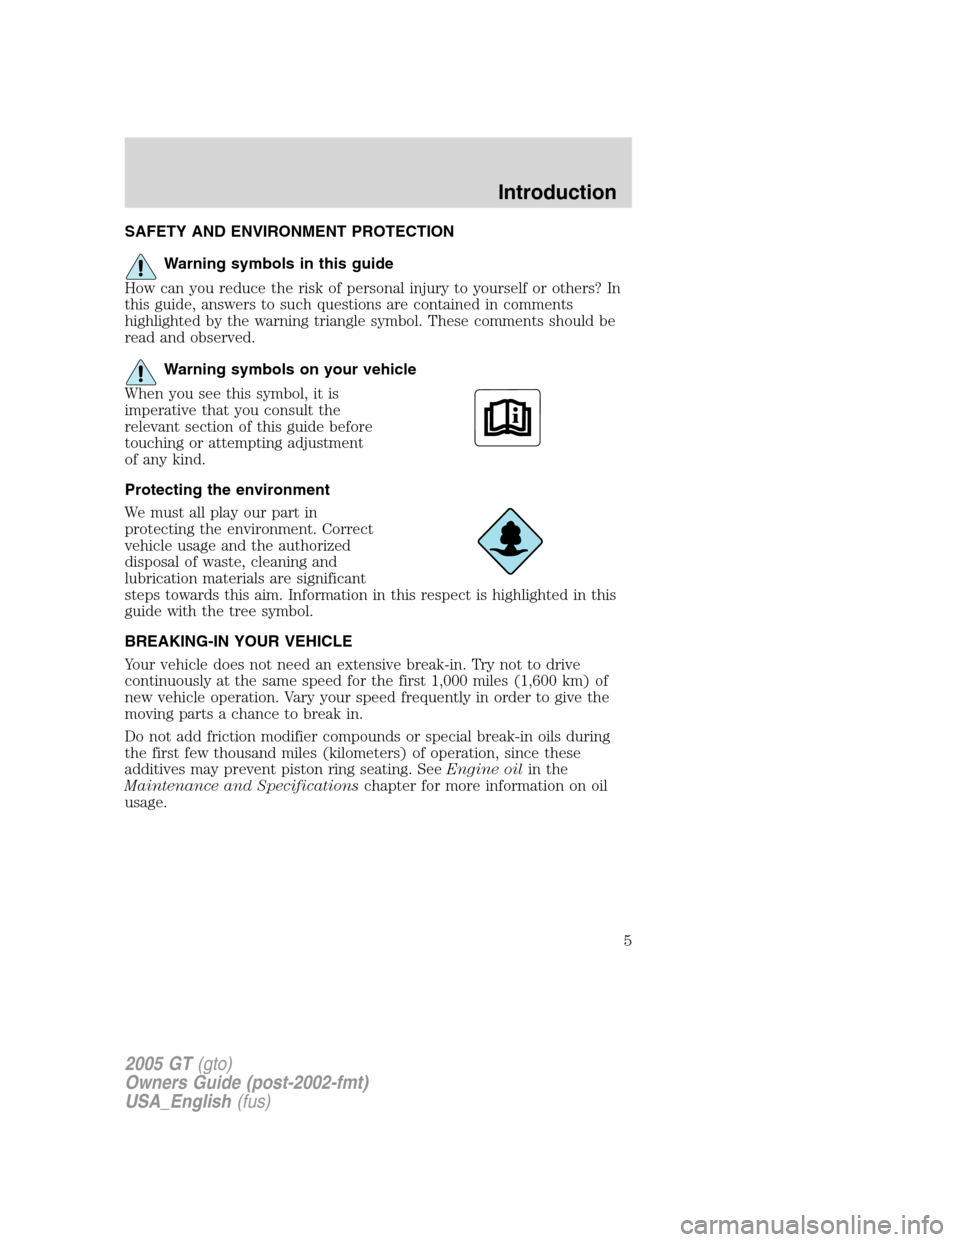
Warning symbols on your vehicle
When you see this symbol, it is
imperative that you consult the
relevant section of this guide before
touching or attempting adjustment
of any kind.
Protecting the environment
We must all play our part in
protecting the environment. Correct
vehicle usage and the authorized
disposal of waste, cleaning and
lubrication materials are significant
steps towards this aim. Information in this respect is highlighted in this
guide with the tree symbol.
BREAKING-IN YOUR VEHICLE
Your vehicle does not need an extensive break-in. Try not to drive
continuously at the same speed for the first 1,000 miles (1,600 km) of
new vehicle operation. Vary your speed frequently in order to give the
moving parts a chance to break in.
Do not add friction modifier compounds or special break-in oils during
the first few thousand miles (kilometers) of operation, since these
additives may prevent piston ring seating. See Engine oilin the
Maintenance and Specifications chapter for more information on oil
usage.
2005 GT(gto)
Owners Guide (post-2002-fmt)
USA_English (fus)
Introduction
5
Page 10 of 200
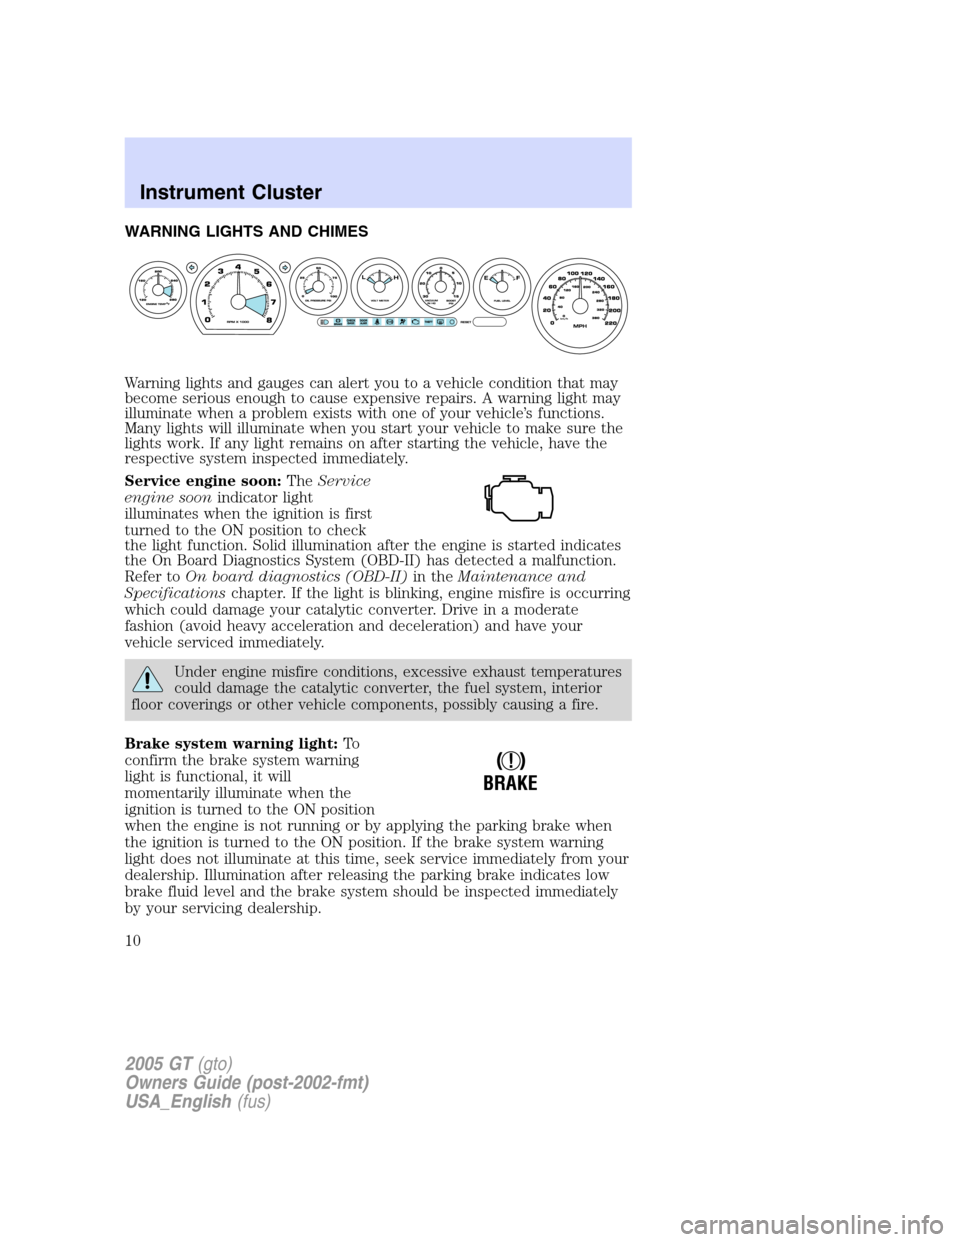
WARNING LIGHTS AND CHIMES
Warning lights and gauges can alert you to a vehicle condition that may
become serious enough to cause expensive repairs. A warning light may
illuminate when a problem exists with one of your vehicle’s functions.
Many lights will illuminate when you start your vehicle to make sure the
lights work. If any light remains on after starting the vehicle, have the
respective system inspected immediately.
Service engine soon: TheService
engine soon indicator light
illuminates when the ignition is first
turned to the ON position to check
the light function. Solid illumination after the engine is started indicates
the On Board Diagnostics System (OBD-II) has detected a malfunction.
Refer to On board diagnostics (OBD-II) in theMaintenance and
Specifications chapter. If the light is blinking, engine misfire is occurring
which could damage your catalytic converter. Drive in a moderate
fashion (avoid heavy acceleration and deceleration) and have your
vehicle serviced immediately.
Under engine misfire conditions, excessive exhaust temperatures
could damage the catalytic converter, the fuel system, interior
floor coverings or other vehicle components, possibly causing a fire.
Brake system warning light: To
confirm the brake system warning
light is functional, it will
momentarily illuminate when the
ignition is turned to the ON position
when the engine is not running or by applying the parking brake when
the ignition is turned to the ON position. If the brake system warning
light does not illuminate at this time, seek service immediately from your
dealership. Illumination after releasing the parking brake indicates low
brake fluid level and the brake system should be inspected immediately
by your servicing dealership.
!
BRAKE
2005 GT(gto)
Owners Guide (post-2002-fmt)
USA_English (fus)
Instrument Cluster
Instrument Cluster
10
Page 27 of 200
Mobile Communication Equipment includes, but is not limited to cellular
phones, pagers, portable email devices, in-vehicle communications
systems, telematics devices and portable two-way radios.
A driver’s first responsibility is the safe operation of the vehicle.
The most important thing you can do to prevent a crash is to
avoid distractions and pay attention to the road. Wait until it is safe to
operate Mobile Communications Equipment.
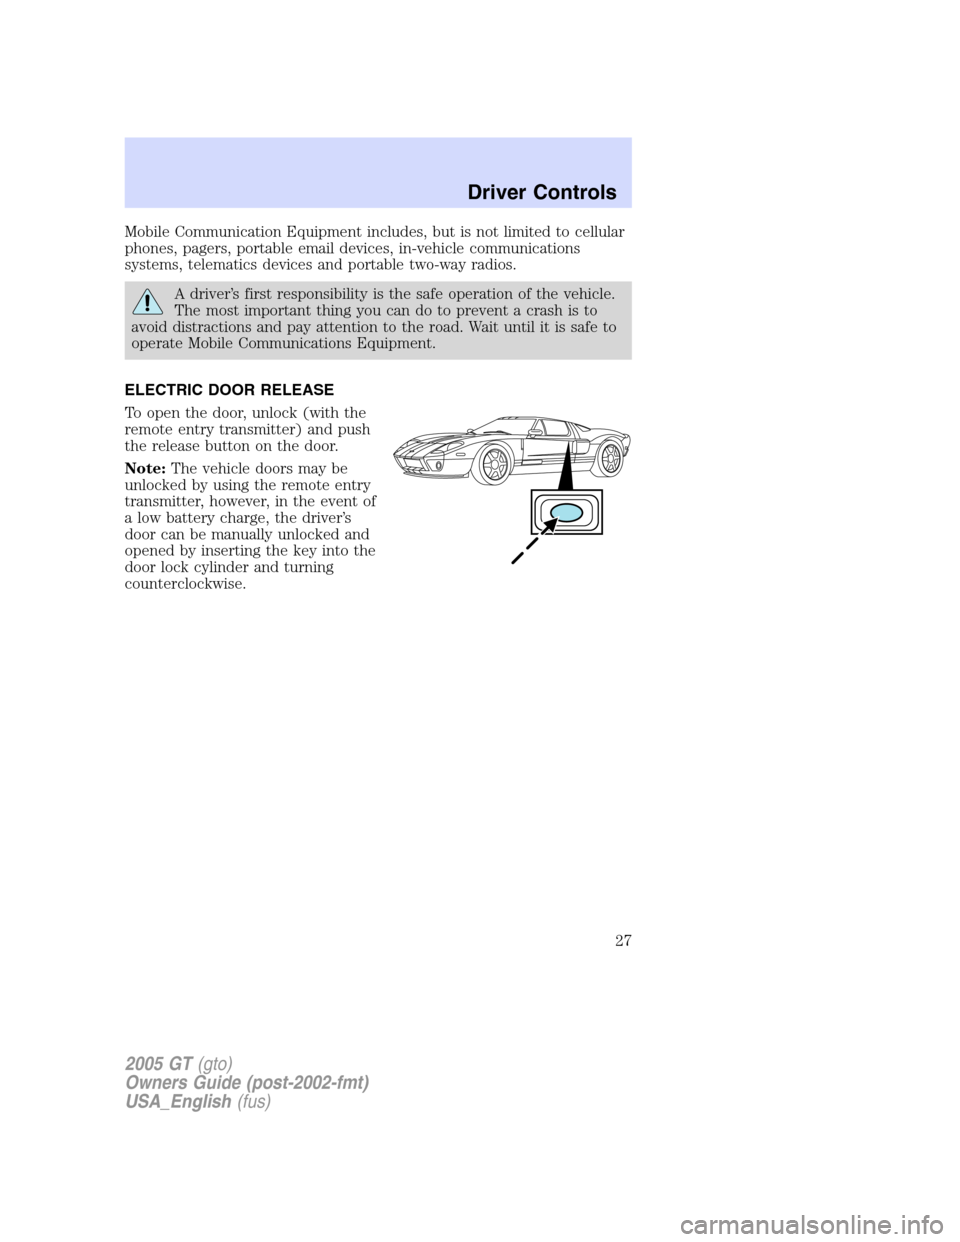
ELECTRIC DOOR RELEASE
To open the door, unlock (with the
remote entry transmitter) and push
the release button on the door.
Note: The vehicle doors may be
unlocked by using the remote entry
transmitter, however, in the event of
a low battery charge, the driver ’s
door can be manually unlocked and
opened by inserting the key into the
door lock cylinder and turning
counterclockwise.
2005 GT(gto)
Owners Guide (post-2002-fmt)
USA_English (fus)
Driver Controls
27
Page 29 of 200
To deactivate/reactivate the autolock feature using the power door
unlock control
You must complete steps 1-7 within 30 seconds or the procedure will
have to be repeated. If the procedure needs to be repeated, you must
wait 30 seconds.Note:The default setting for the autolock feature is
“ disabled. ”
1. Turn the ignition to the 3 (ON) position. Note:Both vehicle doors
must be closed during the activation/deactivation procedure.
2. Press the power door unlock control three times.
3. Turn the ignition from 3 (ON) position to the 1 (OFF/LOCK) position.
4. Press the power door unlock control three times.
5. Turn the ignition back to 3 (ON) position. The horn will chirp.
6. Press the unlock control, then press the lock control. The horn will
chirp once if autolock was deactivated or twice (one short and one long
chirp) if autolock was activated.
7. Turn the ignition to the 1 (OFF/LOCK) position. The horn will chirp
once to confirm the procedure is complete.
REMOTE ENTRY SYSTEM
This device complies with part 15 of the FCC rules and with RS-210 of
Industry Canada. Operation is subject to the following two conditions:
(1) This device may not cause harmful interference, and (2) This device
must accept any interference received, including interference that may
cause undesired operation.
Changes or modifications not expressly approved by the party
responsible for compliance could void the user’s authority to
operate the equipment.
The typical operating range for your remote entry transmitter is
approximately 33 feet (10 meters). A decrease in operating range could
be caused by:
• weather conditions,
• nearby radio towers,
• structures around the vehicle, or
• other vehicles parked next to your vehicle.
2005 GT(gto)
Owners Guide (post-2002-fmt)
USA_English (fus)
Locks and Security
29
Page 36 of 200
PERIMETER ALARM SYSTEM
The perimeter anti-theft system will warn you in the event of an
unauthorized entry to your vehicle.
If there is any potential perimeter anti-theft problem with your vehicle,
ensureALL remote entry transmitters are taken to the dealership to
aid in troubleshooting.
Arming the system
When armed, this system will respond if unauthorized entry is
attempted. When unauthorized entry occurs, the system will flash the
park/turn lamps and will sound the horn.
The system is ready to arm whenever the key is removed from the
ignition. Either of the following actions will prearm the alarm system:
• Press the
control on the remote entry transmitter.
• Lock the doors with the key in the key cylinder.
• Open a door and press the power door lock control to lock all the
doors, and then close the door.
Disarming the system
You can disarm the system by any of the following actions:
• Unlock the doors by pressing the
control on your remote entry
transmitter.
• Unlock the doors with a key. Turn the key full travel (toward the front
of the vehicle) to ensure the alarm disarms.
Triggering the anti-theft system
The armed system will be triggered if either door, the luggage
compartment or the engine cover is opened without using the remote
entry transmitter.
2005 GT(gto)
Owners Guide (post-2002-fmt)
USA_English (fus)
Locks and Security
36
Page 41 of 200
•This seat belt system has a retractor assembly that is designed to pay
out webbing in a controlled manner. This feature is designed to help
reduce the belt force acting on the occupant ’s chest.
The safety restraints in the vehicle are combination lap and shoulder
belts. The safety belts have two types of locking modes described below.
Vehicle sensitive mode
The vehicle sensitive mode is the normal retractor mode, allowing free
shoulder belt length adjustment to your movements and locking in
response to vehicle movement. For example, if the driver brakes
suddenly or turns a corner sharply, or the vehicle receives an impact of
approximately 5 mph (8 km/h) or more, the combination safety belts will
lock to help reduce forward movement of the driver and passengers.
Automatic locking mode
The automatic locking mode is not available on the driver safety belt.
When to use the automatic locking mode
In this mode, the shoulder belt is automatically pre-locked. The belt will
still retract to remove any slack in the shoulder belt. The automatic
locking mode is not available on the driver safety belt.
This mode should be used any timea child safety seat is installed in a
passenger front seating position. Refer to Safety restraints for children
or Safety seats for children later in this chapter.
How to use the automatic locking mode
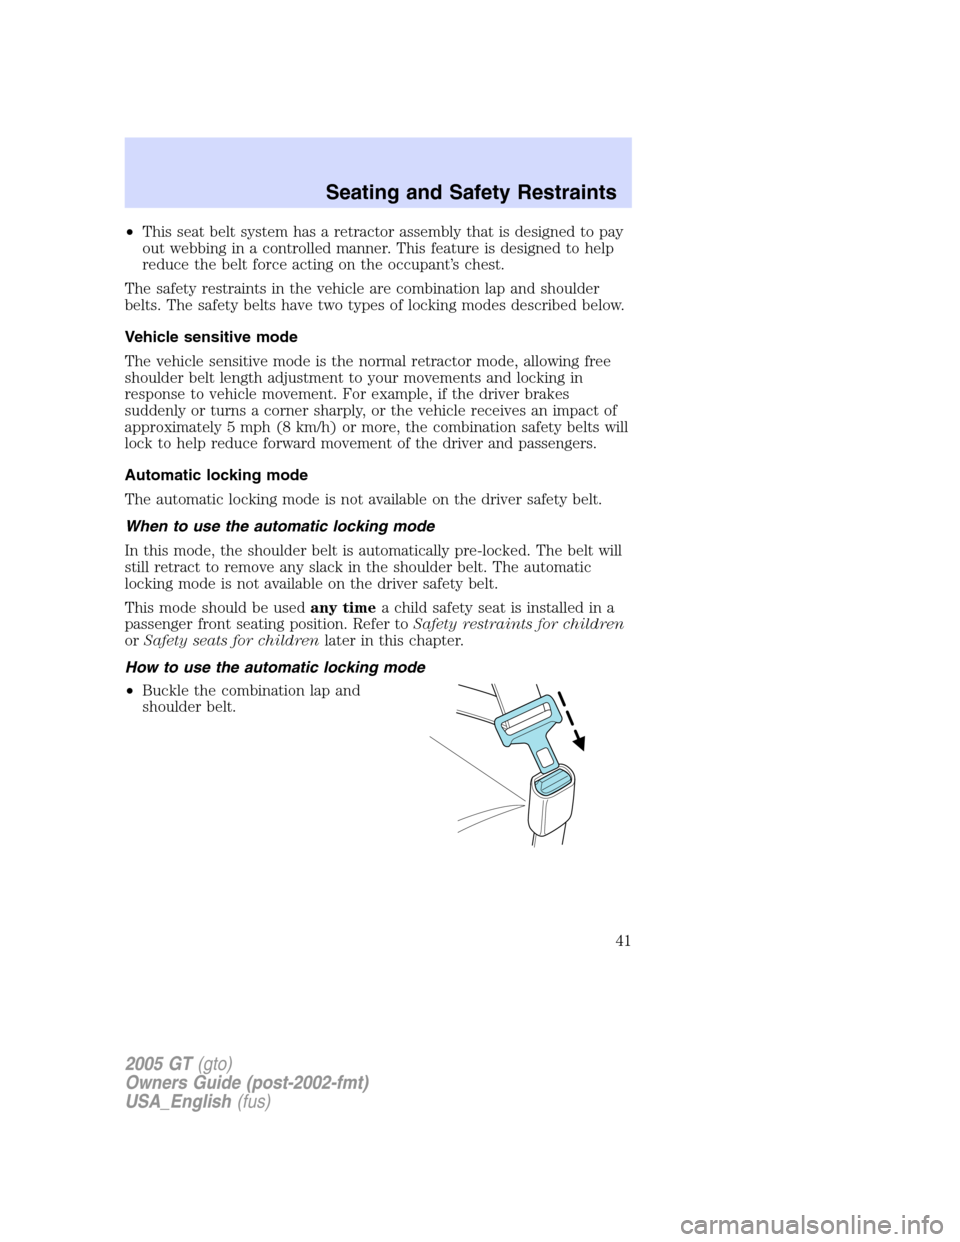
• Buckle the combination lap and
shoulder belt.
2005 GT(gto)
Owners Guide (post-2002-fmt)
USA_English (fus)
Seating and Safety Restraints
41
Page 54 of 200
occupant is not properly buckled up. The most effective way to reduce
the risk of unnecessary air bag injuries, without reducing the overall
safety of the vehicle, is to make sure all occupants are properly
restrained in the vehicle, especially in the front seat. This provides the
protection of safety belts and permits the air bags to provide the
additional protection they were designed to provide. If you choose to
deactivate your air bag, you are losing the very significant risk reducing
benefits of the air bag and you are also reducing the effectiveness of the
safety belts, because safety belts in modern vehicles are designed to
work as a safety system with the air bags.
Read all air bag Warning labels in the vehicle as well as the other
important air bag instructions and Warnings in this Owner’s Guide.
NHTSA deactivation criteria
1. Infant. An infant (less than 1 year old) must ride in the front seat
because:
• the vehicle has no rear seat, or
• the vehicle has a rear seat too small to accommodate a rear-facing
infant seat, or
• the infant has a medical condition which, according to the infant ’s
physician, makes it necessary for the infant to ride in the front so that
the driver can constantly monitor the child ’s condition.
2. Child age 1 to 12. A child age 1 to 12 must ride in the front seat
because:
• the vehicle has no rear seat, or
• although children ages 1 to 12 ride in the rear seat(s) whenever
possible, children ages 1 to 12 sometimes must ride in the front
because no space is available in the rear seat(s) of the vehicle, or
• the child has a medical condition which, according to the child ’s
physician, makes it necessary for the child to ride in the front seat so
that the driver can constantly monitor the child ’s condition.
3. Medical condition. A passenger has a medical condition which,
according to his or her physician:
• causes the passenger air bag to pose a special risk for the passenger
and
• makes the potential harm from the passenger air bag in a crash
greater than the potential harm from turning OFF the air bag and
allowing the passenger, even if belted, to hit the dashboard or
windshield in a crash.
2005 GT(gto)
Owners Guide (post-2002-fmt)
USA_English (fus)
Seating and Safety Restraints
54
Page 55 of 200
This vehicle has special energy management safety belts for the
driver and right front passenger. These particular belts are
specifically designed to work with air bags to help reduce the risk of
injury in a collision. The energy management safety belt is designed to
give or release additional belt webbing in some accidents to reduce
concentration of force on an occupant ’s chest and reduce the risk of
certain bone fractures and injuries to underlying organs. In a crash, if
the air bag is turned OFF, this energy management safety belt might
permit the person wearing the belt to move forward enough to incur a
serious or fatal injury. The more severe the crash, and the heavier the
occupant, the greater the risk is. Be sure the air bag is turned ON for
any person who does not qualify under the NHTSA deactivation
criteria.
Disposal of air bags and air bag equipped vehicles (including
pretensioners)
See your local dealership or qualified technician. Air bags MUST BE
disposed of by qualified personnel.
SAFETY RESTRAINTS FOR CHILDREN
See the following sections for directions on how to properly use safety
restraints for children. Also see Air bag supplemental restraint system
(SRS) in this chapter for special instructions about using air bags.
Important child restraint precautions
You are required by law to use safety restraints for children in the U.S.
and Canada. If small children (generally children who are four years old
or younger and who weigh 40 lb. [18 kg] or less) ride in your vehicle, you
must put them in safety seats made especially for children. Many states
require that children use approved booster seats until they are eight
years old. Check your local and state or provincial laws for specific
requirements regarding the safety of children in your vehicle.
Never let a passenger hold a child on his or her lap while the
vehicle is moving. The passenger cannot protect the child from
injury in a collision.
Always follow the instructions and warnings that come with any infant or
child restraint you might use.
2005 GT(gto)
Owners Guide (post-2002-fmt)
USA_English (fus)
Seating and Safety Restraints
55
Page 67 of 200
The traction grade assigned to this tire is based on
straight-ahead braking traction tests, and does not include
acceleration, cornering, hydroplaning or peak traction characteristics.
Temperature A B C
The temperature grades are A (the highest), B and C, representing the
tire ’s resistance to the generation of heat and its ability to dissipate heat
when tested under controlled conditions on a specified indoor laboratory
test wheel. Sustained high temperature can cause the material of the tire
to degenerate and reduce tire life, and excessive temperature can lead to
sudden tire failure. The grade C corresponds to a level of performance
which all passenger car tires must meet under the Federal Motor Vehicle
Safety Standard No. 109. Grades B and A represent higher levels of
performance on the laboratory test wheel than the minimum required by
law.
The temperature grade for this tire is established for a tire that
is properly inflated and not overloaded. Excessive speed,
underinflation, or excessive loading, either separately or in
combination, can cause heat buildup and possible tire failure.
TIRES
Tires are designed to give many thousands of miles of service, but they
must be maintained in order to get the maximum benefit from them.
Glossary of tire terminology
• Tire label: A label showing the OE (Original Equipment) tire sizes,
recommended inflation pressure and the maximum weight the vehicle
can carry.
• Tire Identification Number (TIN): A number on the sidewall of
each tire providing information about the tire brand and
manufacturing plant, tire size and date of manufacture.
• Inflation pressure: A measure of the amount of air in a tire.
• Standard load: A class of P-metric or Metric tires designed to carry a
maximum load at 35 psi [37 psi (2.5 bar) for Metric tires]. Increasing
the inflation pressure beyond this pressure will not increase the tire ’s
load carrying capability.
2005 GT(gto)
Owners Guide (post-2002-fmt)
USA_English (fus)
Tires, Wheels and Loading
67
Page 70 of 200
higher than the manufacturer’s recommended cold inflation pressure
which can be found on either the tire label or certification label which is
located on the B-Pillar or the edge of the driver ’s door. The cold inflation
pressure should never be set lower than the recommended pressure on
the tire label or certification label.
When weather temperature changes occur, tire inflation pressures also
change. A 10 °F(6 °C) temperature drop can cause a corresponding
drop of 1 psi (7 kPa) in inflation pressure. Check your tire pressures
frequently and adjust them to the proper pressure which can be found
on the tire label or certification label.
If you are checking tire pressure when the tire is hot, (i.e. driven more
than 1 mile [1.6 km]), never “bleed ”or reduce air pressure. The tires are
hot from driving and it is normal for pressures to increase above
recommended cold pressures. A hot tire at or below recommended cold
inflation pressure could be significantly under-inflated.
To check the pressure in your tire(s):
1. Make sure the tires are cool, meaning they are not hot from driving
even a mile.
Note: If you have to drive a distance to get air for your tire(s), check
and record the tire pressure first and add the appropriate air pressure
when you get to the pump. It is normal for tires to heat up and the air
pressure inside to go up as you drive. Never “bleed ”or reduce air
pressure when tires are hot.
2. Remove the cap from the valve on one tire, then firmly press the tire
gauge onto the valve and measure the pressure with the tire gauge.
3. Add enough air to reach the recommended air pressure
Note: If you overfill the tire, release air by pushing on the metal stem in
the center of the valve. Then recheck the pressure with your tire gauge.
4. Replace the valve cap.
5. Repeat this procedure for each tire, including the spare.
Note: Some spare tires require higher inflation pressure than the other
tires. Check the tire label on the B pillar or the edge of the driver ’s door
for the recommended spare tire pressure.
6. Visually inspect the tires to make sure there are no nails or other
objects embedded that could poke a hole in the tire and cause an air
leak.
7. Check the sidewalls to make sure there are no gouges, cuts or bulges.
2005 GT(gto)
Owners Guide (post-2002-fmt)
USA_English (fus)
Tires, Wheels and Loading
70