display FORD KUGA 2010 1.G Owner's Manual
[x] Cancel search | Manufacturer: FORD, Model Year: 2010, Model line: KUGA, Model: FORD KUGA 2010 1.GPages: 226, PDF Size: 8.07 MB
Page 91 of 226
To deactivate the heater, highlight
Active
now and press the SET/RESETbutton
again.
Diesel auxiliary heater
(depending on country)
The diesel auxiliary heater (PTC electrical
heater) aids in warming the engine and
the vehicle interior on vehicles with a
diesel engine. It is switched on or off
automatically depending on the outside
air temperature, the coolant temperature
and the alternator load.
Fuel operated heater
(depending on country)
The fuel operated heater aids in warming
the engine and the vehicle interior on
vehicles with a petrol or diesel engine. It
is switched on or off automatically
depending on the outside air temperature
and the coolant temperature, unless you
have deactivated it. When the fuel
operated heater is operating, a message
appears in the information display. See
Information displays (page 68).
To deactivate the fuel operated heater:
1. Use the rotary control to enter the main menu.
2. Highlight Setupand press the
SET/RESET button.
3. Highlight Aux. Heater and press the
SET/RESET button. A cross appears
in the box when the heater is
activated.
4. Press the SET/RESET button to exit
the menu.
89
Climate control
Page 110 of 226
MANUAL TRANSMISSION
CAUTION
Do not engage reverse gear when
the vehicle is moving. This can cause
damage to the transmission.
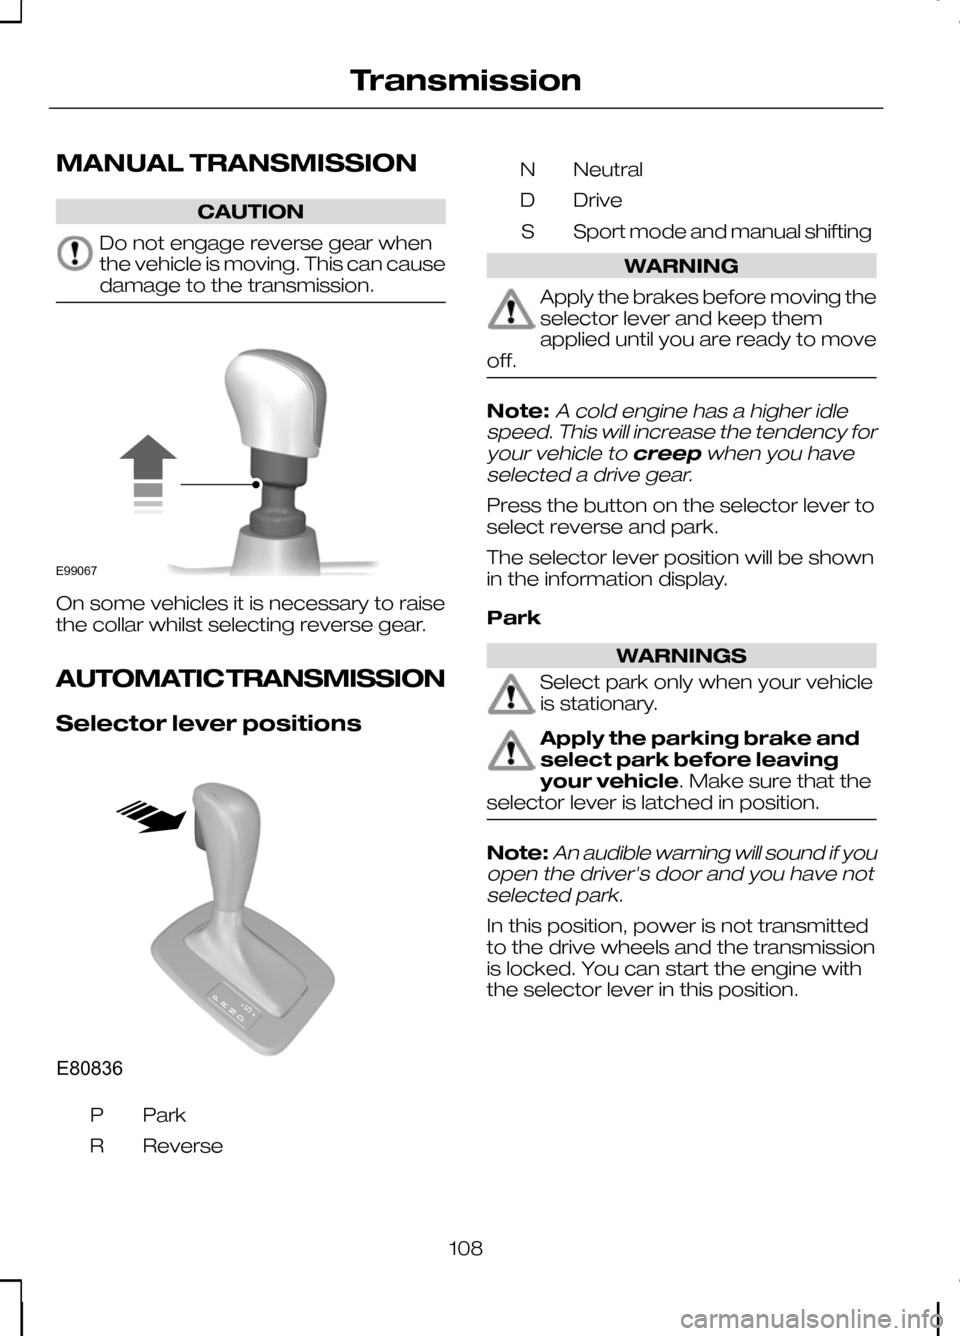
On some vehicles it is necessary to raise
the collar whilst selecting reverse gear.
AUTOMATIC TRANSMISSION
Selector lever positions
ParkP
Reverse
R Neutral
N
Drive
D
Sport mode and manual shifting
S WARNING
Apply the brakes before moving the
selector lever and keep them
applied until you are ready to move
off. Note:A cold engine has a higher idle
speed. This will increase the tendency for
your vehicle to creepwhen you have
selected a drive gear.
Press the button on the selector lever to
select reverse and park.
The selector lever position will be shown
in the information display.
Park WARNINGS
Select park only when your vehicle
is stationary.
Apply the parking brake and
select park before leaving
your vehicle. Make sure that the
selector lever is latched in position. Note:
An audible warning will sound if you
open the driver's door and you have not selected park.
In this position, power is not transmitted
to the drive wheels and the transmission
is locked. You can start the engine with
the selector lever in this position.
108
TransmissionE99067 E80836S
Page 111 of 226
Reverse
WARNING
Select reverse only when your
vehicle is stationary and the engine
is at idle speed.
Neutral
In this position, power is not transmitted
to the drive wheels but the transmission
is not locked. You can start the engine
with the selector lever in this position.
Drive
Select drive to shift automatically through
the forward gears.
The transmission will select the
appropriate gear for optimum
performance based on ambient
temperature, road gradient, vehicle load
and driver input.
Manual shifting - Vehicles with
a 5 speed transmission
WARNING
Do not hold the selector lever
permanently in – or +.
CAUTION
The transmission will automatically
downshift when the engine speed is
too low and upshift when too high.
Note:A shift will occur only when the
vehicle speed and the engine speed are appropriate.
Note:In Select mode the current gear
(1, 2, 3, 4 or 5) will be displayed on the instrument panel.
Move the selector lever to position S.
Push the selector lever forwards to shift
down and pull it backwards to shift up. Gears may be skipped by moving the
selector lever repeatedly at short intervals.
Manual mode also provides a kickdown
function. See
Kickdown.
Sport mode and manual shifting
- Vehicles with a 6 speed
transmission
Note:
A shift will occur only when the
vehicle speed and the engine speed are appropriate.
Note:In Sport mode the transmission
operates as normal but gears are selected more quickly and at higherengine speeds.
Note:In Sport modeSwill be displayed
on the instrument panel.
Sport Mode
Activate Sportmode by moving the
selector lever to position S.Sport mode
will remain active until either you shift
manually up or down the gears or return
the selector lever to position D.
Manual shifting WARNING
Do not hold the selector lever
permanently in – or +.
CAUTION
The transmission will automatically
downshift when the engine speed is
too low and upshift when too high.
Push the selector lever forwards to shift
down and pull it backwards to shift up.
Gears may be skipped by moving the
selector lever repeatedly at short intervals.
Manual mode also provides a kickdown
function. See
Kickdown.
109
Transmission
Page 116 of 226
To turn the system off and on. See
Information displays
(page 68).
114
Stability control
Page 119 of 226
PRINCIPLE OF OPERATION
The camera is a visual aid for use when
reversing.
WARNING
The camera does not relieve you of
your responsibility to drive with due
care and attention.
CAUTIONS
If you use a high pressure spray to
wash your vehicle, only spray the
camera briefly from a distance not
less than 20 centimetres (8 inches). Do not apply pressure to the camera.
The position and the angle of the
camera automatically changes.
Note:Keep the camera free from dirt,
ice and snow. Do not clean with sharp objects, degreaser, wax or organicproducts. Use only a soft cloth.
During operation, guide lines appear in
the display which represent your vehicle's
path and approximate distance from
rearward objects.
USING THE REAR VIEW
CAMERA WARNINGS
The operation of the camera may
vary depending on the ambient
temperature, vehicle and road
conditions. The distances shown in the display
may differ from the actual distance.
Do not place objects in front of the
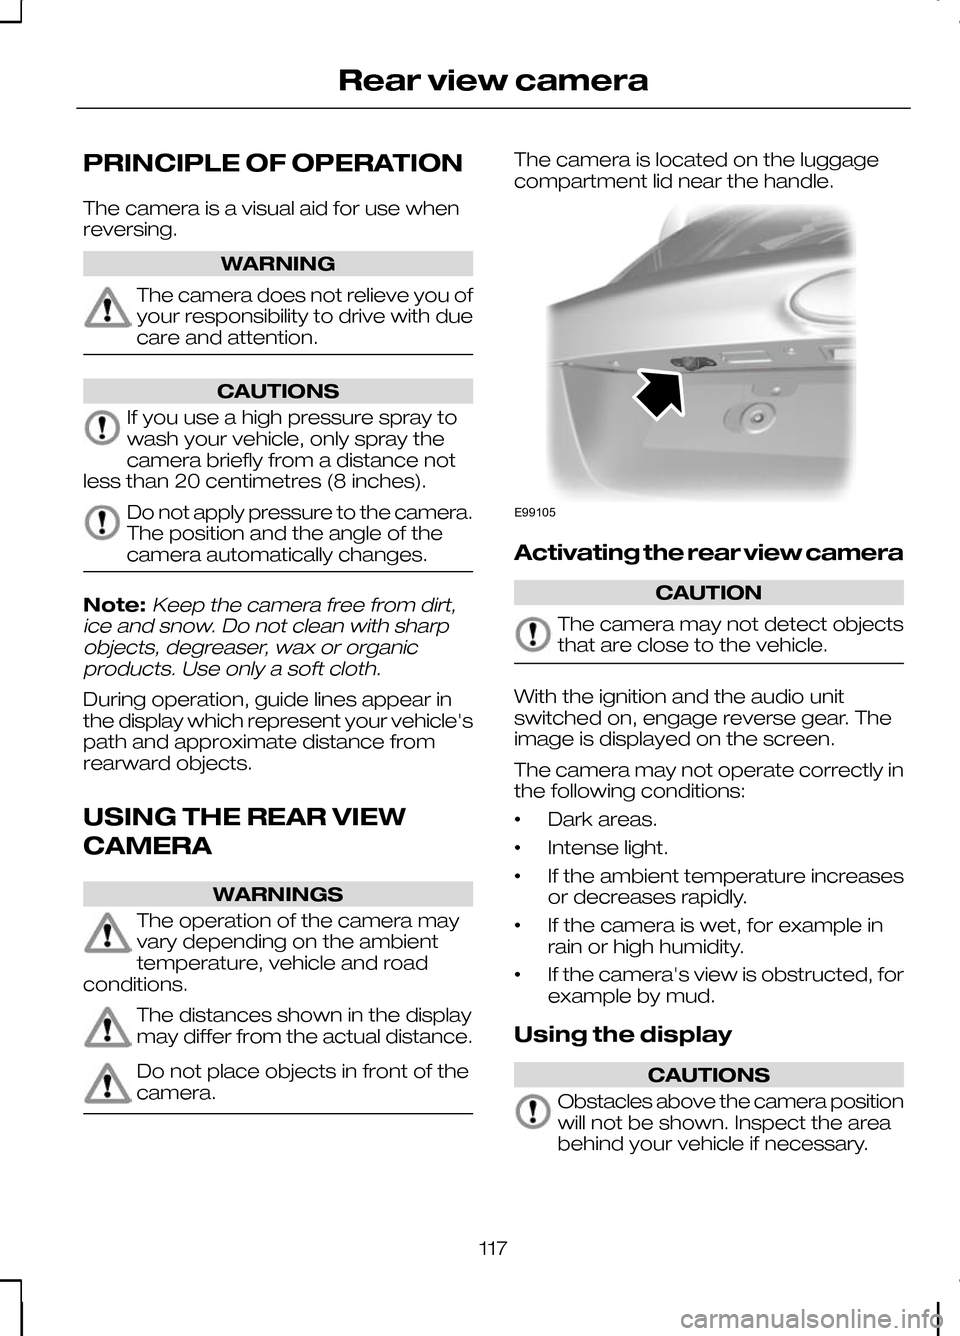
camera. The camera is located on the luggage
compartment lid near the handle.
Activating the rear view camera
CAUTION
The camera may not detect objects
that are close to the vehicle.
With the ignition and the audio unit
switched on, engage reverse gear. The
image is displayed on the screen.
The camera may not operate correctly in
the following conditions:
•
Dark areas.
• Intense light.
• If the ambient temperature increases
or decreases rapidly.
• If the camera is wet, for example in
rain or high humidity.
• If the camera's view is obstructed, for
example by mud.
Using the display CAUTIONS
Obstacles above the camera position
will not be shown. Inspect the area
behind your vehicle if necessary.
117
Rear view cameraE99105
Page 121 of 226
Amber - 2 metres (79 inches)
D
Amber - centre line of the
projected vehicle path
E
Note:When reversing with a trailer, the
lines on the screen show the vehicle direction and not the trailer.
Deactivating the rear view
camera
Note:
Disengage reverse gear. The
display will stay on for a short period before switching off.
The system will automatically switch off
once the vehicle speed has reached
approximately 15 km/h (9 mph).
Vehicles with parking aid
The display will additionally show a
coloured distance bar. This guide
indicates the distance from the rear
bumper to the detected obstacle.
These are colour coded as follows:
• Green - 0.8 to 1.5 metres (31 to 59
inches).
• Amber - 0.3 to 0.8 metre (12 to 31
inches).
• Red - 0.3 metre (12 inches) or less.
119
Rear view camera
Page 158 of 226
GENERAL INFORMATION
CAUTIONS
Use only approved wheel and tyre
sizes. Using other sizes could
damage the vehicle and will make
the National Type Approval invalid. If you change the diameter of the
tyres from that fitted at the factory,
the speedometer may not display
the correct speed. Take the vehicle to
your dealer to have the engine
management system reprogrammed. A decal with tyre pressure data is located
in the driver’s door opening at the B-pillar.
Check and set the tyre pressure at the
ambient temperature in which you are
intending to drive the vehicle and when
the tyres are cold.
CHANGING A ROAD WHEEL
Locking wheel nuts
You can obtain a replacement locking
wheel nut key and replacement locking
wheel nuts from your dealer using the
reference number certificate.
Vehicles with a temporary
spare wheel
WARNINGS
If the spare wheel differs from the
other fitted wheels, these rules must
be followed:
Do not exceed 80 km/h (50 mph).
Drive the shortest possible
distances.
Do not fit more than one spare
wheel on your vehicle at any one
time. WARNINGS
Do not use snow chains on this type
of wheel.
Do not drive through an automatic
car wash.
Do not carry out any tyre repairs on
a temporary spare wheel.
CAUTION
The ground clearance of your vehicle
will be reduced. Take care when
parking next to a kerb.
Note:Your vehicle may exhibit some
unusual driving characteristics.
Vehicle jack WARNINGS
The vehicle jack supplied with your
vehicle should only be used when
changing a wheel in emergency
situations. Before using the vehicle jack, check
that it is not damaged or deformed
and that the thread is lubricated and
free from foreign matter. Never place anything between the
jack and the ground, or the jack and
the vehicle.
Note:
Vehicles with a tyre repair kit or run
flat tyres are not equipped with a vehicle jack or a wheel brace.
It is recommended to use a workshop
type hydraulic jack for changing between
summer and winter tyres.
Note:
Use a jack with a minimum lifting
capacity of 1.5 tonnes and a lifting plate with a minimum diameter of 80 millimetres(3.1 inches).
156
Wheels and tyres
Page 169 of 226
Vehicles with stability control
(ESP)
Vehicles with stability control (ESP) may
exhibit some unusual driving
characteristics which can be avoided by
switching the system off. See
Using
stability control (page 113).
TYRE PRESSURE
MONITORING SYSTEM WARNINGS
The system does not relieve you of
your responsibility to regularly check
the tyre pressures.
The system will only provide a low
tyre pressure warning. It will not
inflate the tyres.
Do not drive on significantly
under-inflated tyres. This may cause
the tyres to overheat and fail.
Under-inflation reduces fuel efficiency,
tyre tread life and may also affect your
ability to drive the vehicle safely. CAUTIONS
Do not bend or damage the valves
when you are inflating the tyres.
Have tyres installed by properly
trained technicians.
The Deflation Detection System will alert
you if there is a change of air pressure in
any tyre. It does this by using the ABS
sensors to detect the rolling
circumference of the wheels. When the
circumference changes, this indicates low
pressure in a tyre, a warning message is
displayed in the information display and
the message indicator will illuminate. See
Information messages
(page 73).Apart from a too low tyre pressure or a
damaged tyre, the following situations can
affect the rolling circumference:
•
Vehicle load is uneven.
• When using a trailer or travelling up
and down an incline.
• Using snow chains.
• Driving on soft surfaces such as snow
or mud.
Note:The system will still function
correctly, but there may be an increased detection time.
If a low pressure warning message is
displayed in the information display, check
the tyre pressures as soon as possible
and inflate them to the recommended
pressure. See Technical
specifications (page 168).
If this happens frequently, have the cause
determined and rectified as soon as
possible.
System reset
Note:
Do not reset the system when the
vehicle is moving.
Note:You should reset the system
following any adjustment to the tyre pressures or any changing of tyres.
Note:Turn the ignition on.
Type 2 instrument cluster
1. Using the multifunction lever, navigate
to'SET' > T. Pres.
2. Press and hold the SET/RESET
button until the message Tyre
Pressure set appears.
Type 3 instrument cluster
1. Using the multifunction lever, navigate
tohold 'SET' to set Tyre Pres.
167
Wheels and tyres
Page 177 of 226
GENERAL INFORMATION
CAUTION
Using the system with the engine off
will drain the battery.
This section describes the functions and
features of the Bluetooth mobile phone
hands free system.
The Bluetooth mobile phone part of the
system provides interaction with the audio
or navigation system and your mobile
phone. It allows you to use the audio or
navigation system to make and receive
calls without having to use your mobile
phone.
Compatibility of phones
CAUTION
As no common agreement exists,
mobile phone manufacturers are able
to implement a variety of profiles in
their Bluetooth devices. Because of this,
an incompatibility can occur between the
phone and hands-free system, which in
some cases may significantly degrade the
system performance. To avoid this
situation, only recommended phones
should be used.
Please visit the website www.ford-
mobile-connectivity.com for full
details. TELEPHONE SETUP
Phonebook
After start up access to the phonebook
list can be delayed for several minutes,
depending upon the size. Phonebook categories
Depending on your phonebook entry,
different categories can be displayed in
the audio unit.
For example: Mobile
M
Office
O
Home
H
Fax
F
Note:Entries may be displayed without
a category attachment.
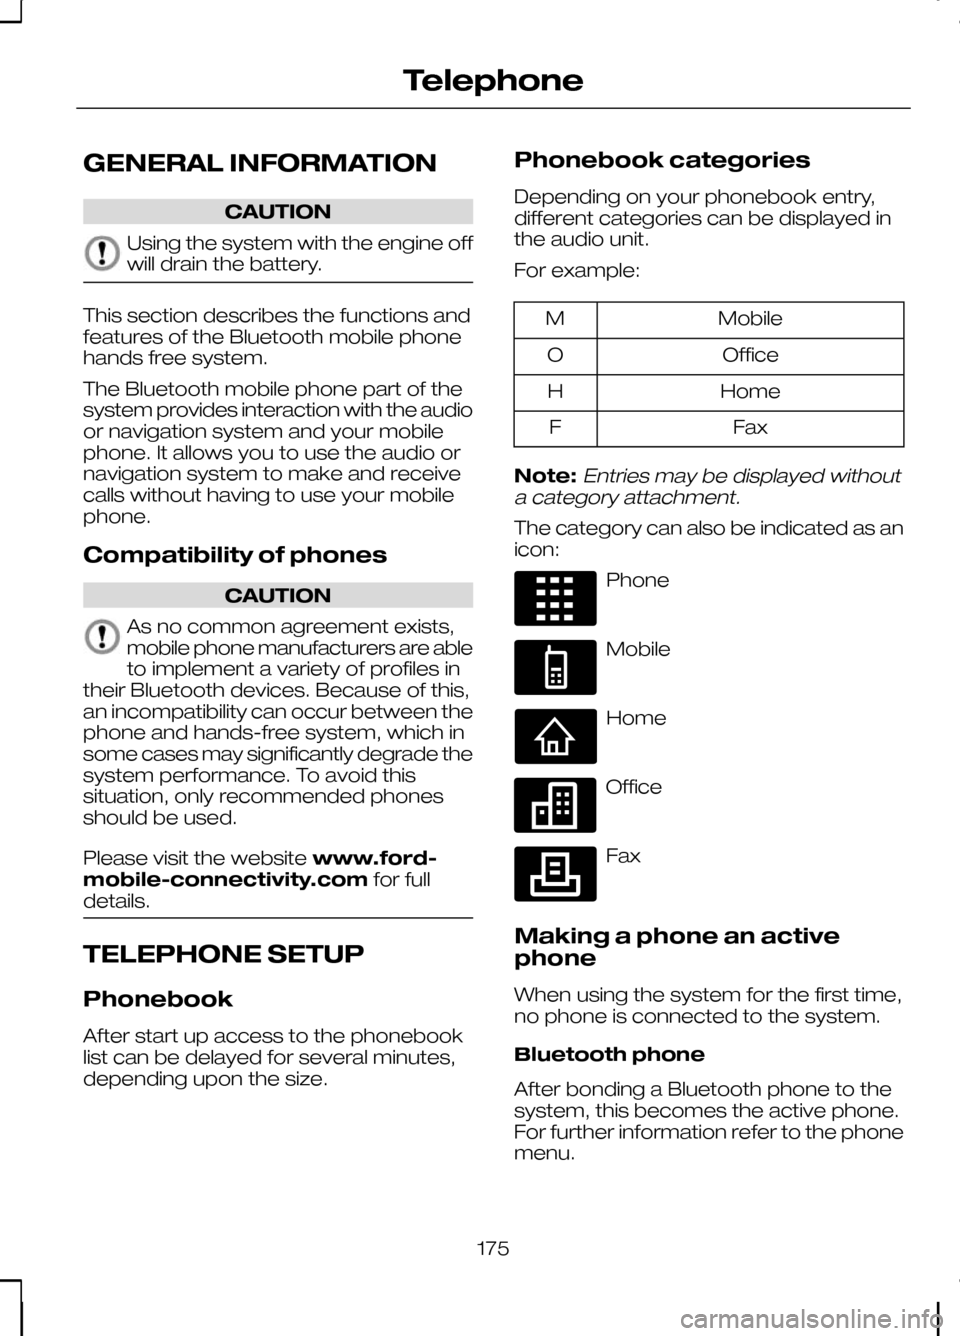
The category can also be indicated as an
icon: Phone
Mobile
Home
Office
Fax
Making a phone an active
phone
When using the system for the first time,
no phone is connected to the system.
Bluetooth phone
After bonding a Bluetooth phone to the
system, this becomes the active phone.
For further information refer to the phone
menu.
175
TelephoneE87990 E87991 E87992 E87993 E87994
Page 178 of 226
Select the phone from the active phone
menu.
Turning the ignition and radio or navigation
unit back on again, the last active phone
is picked up by the system.
Note:In some cases the Bluetooth
connection must also be confirmed on the phone.
Bond another Bluetooth phone
Bond a new Bluetooth phone as
described in the requirements for a
Bluetooth connection.
Phones stored in the system are
accessible by using the phone list on the
audio unit.
Note:
A maximum of six devices may be
bonded. If six Bluetooth devices have already been bonded, one of these hasto be debonded in order to bond a newdevice.
BLUETOOTH SETUP
Before you can use your telephone with
your vehicle it must be bonded to the
vehicle telephone system.
Handling of phones
Up to six Bluetooth devices can be
bonded to the vehicle system.
Note:
If there is an ongoing call when the
phone in use is selected as the new active phone, the call is transferred to the vehicleaudio system.
Note:Even if connected to the car
system, your phone can still be used in the usual way.
Requirements for Bluetooth
connection
The following are required before a
Bluetooth phone connection can be
made.
1. The Bluetooth feature must be activated on the phone and on the
audio unit. Make sure the Bluetooth
menu option in the audio unit is set to
ON. For information on phone
settings, refer to your phone user
guide.
2. The private mode must not be activated on the Bluetooth phone.
3. Search for audio device.
4. Select Ford Audio.
5. Enter the code number shown on the vehicle display using the phone
keypad. If no code number is shown
on the display, enter the Bluetooth PIN
number 0000 using the phone
keypad. Now enter the Bluetooth PIN
number shown on the vehicle display.
Note:
A phone call will be disconnected
if the audio unit is switched off. If the ignition key is turned to the off positionthe phone call will remain in progress.
176
Telephone