Brake caliper FORD KUGA 2011 1.G User Guide
[x] Cancel search | Manufacturer: FORD, Model Year: 2011, Model line: KUGA, Model: FORD KUGA 2011 1.GPages: 2057
Page 1379 of 2057
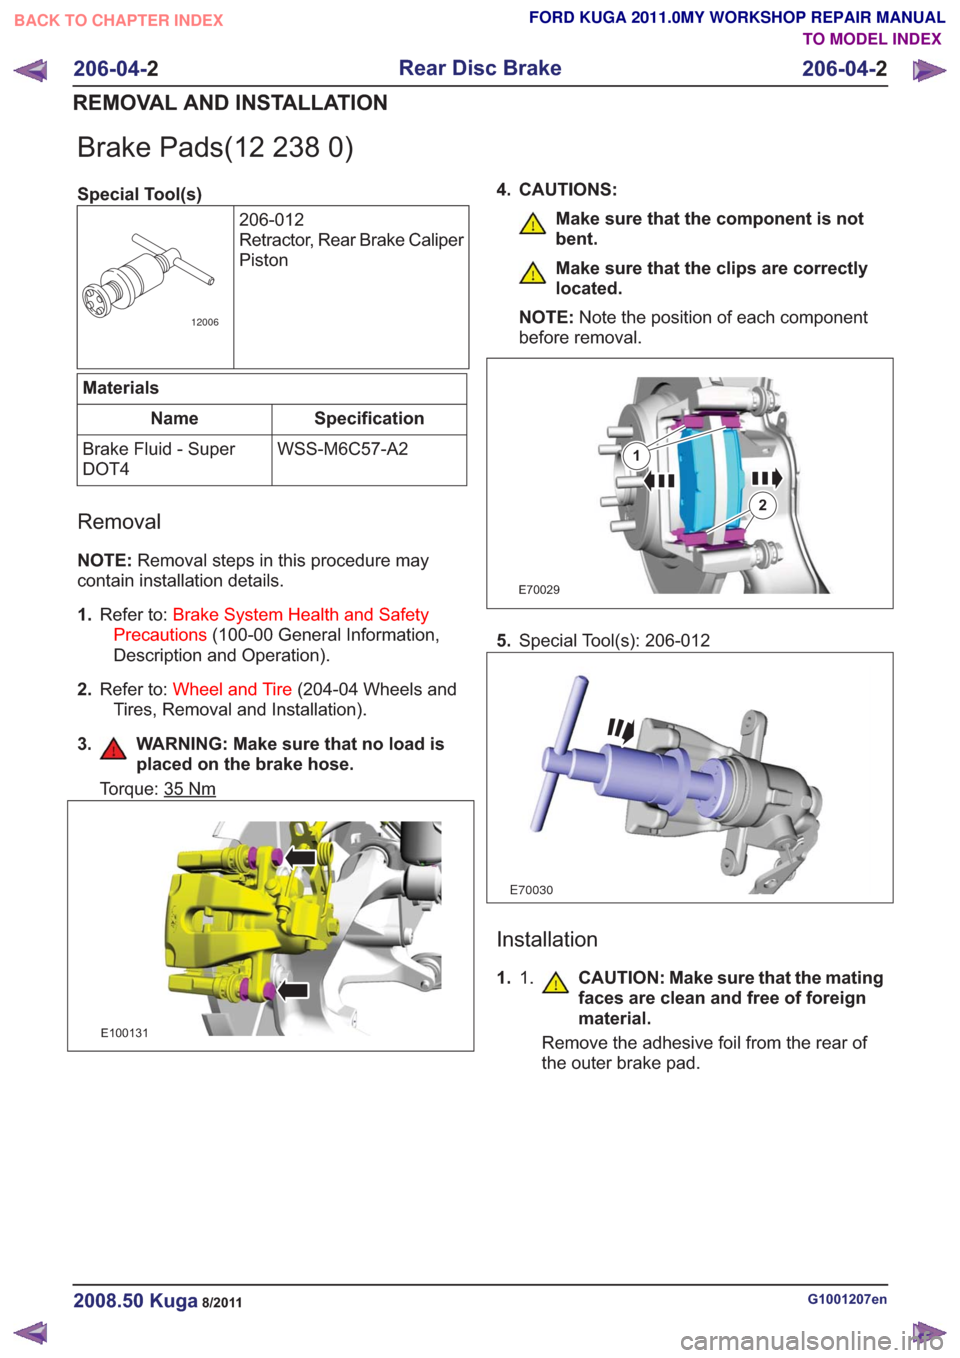
Brake Pads(12 238 0)
Special Tool(s)206-012
Retractor, Rear Brake Caliper
Piston
12006
Materials
Specification
Name
WSS-M6C57-A2
Brake Fluid - Super
DOT4
Removal
NOTE: Removal steps in this procedure may
contain installation details.
1. Refer to: Brake System Health and Safety
Precautions (100-00 General Information,
Description and Operation).
2. Refer to: Wheel and Tire (204-04 Wheels and
Tires, Removal and Installation).
3. WARNING: Make sure that no load is placed on the brake hose.
Torque: 35Nm
E100131
4. CAUTIONS:
Make sure that the component is not
bent.
Make sure that the clips are correctly
located.
NOTE: Note the position of each component
before removal.
E70029
1
2
5. Special Tool(s): 206-012
E70030
Installation
1. 1. CAUTION: Make sure that the mating
faces are clean and free of foreign
material.
Remove the adhesive foil from the rear of
the outer brake pad.
G1001207en2008.50 Kuga8/2011
206-04- 2
Rear Disc Brake
206-04- 2
REMOVAL AND INSTALLATION
TO MODEL INDEX
BACK TO CHAPTER INDEX
FORD KUGA 2011.0MY WORKSHOP REPAIR MANUAL
Page 1381 of 2057
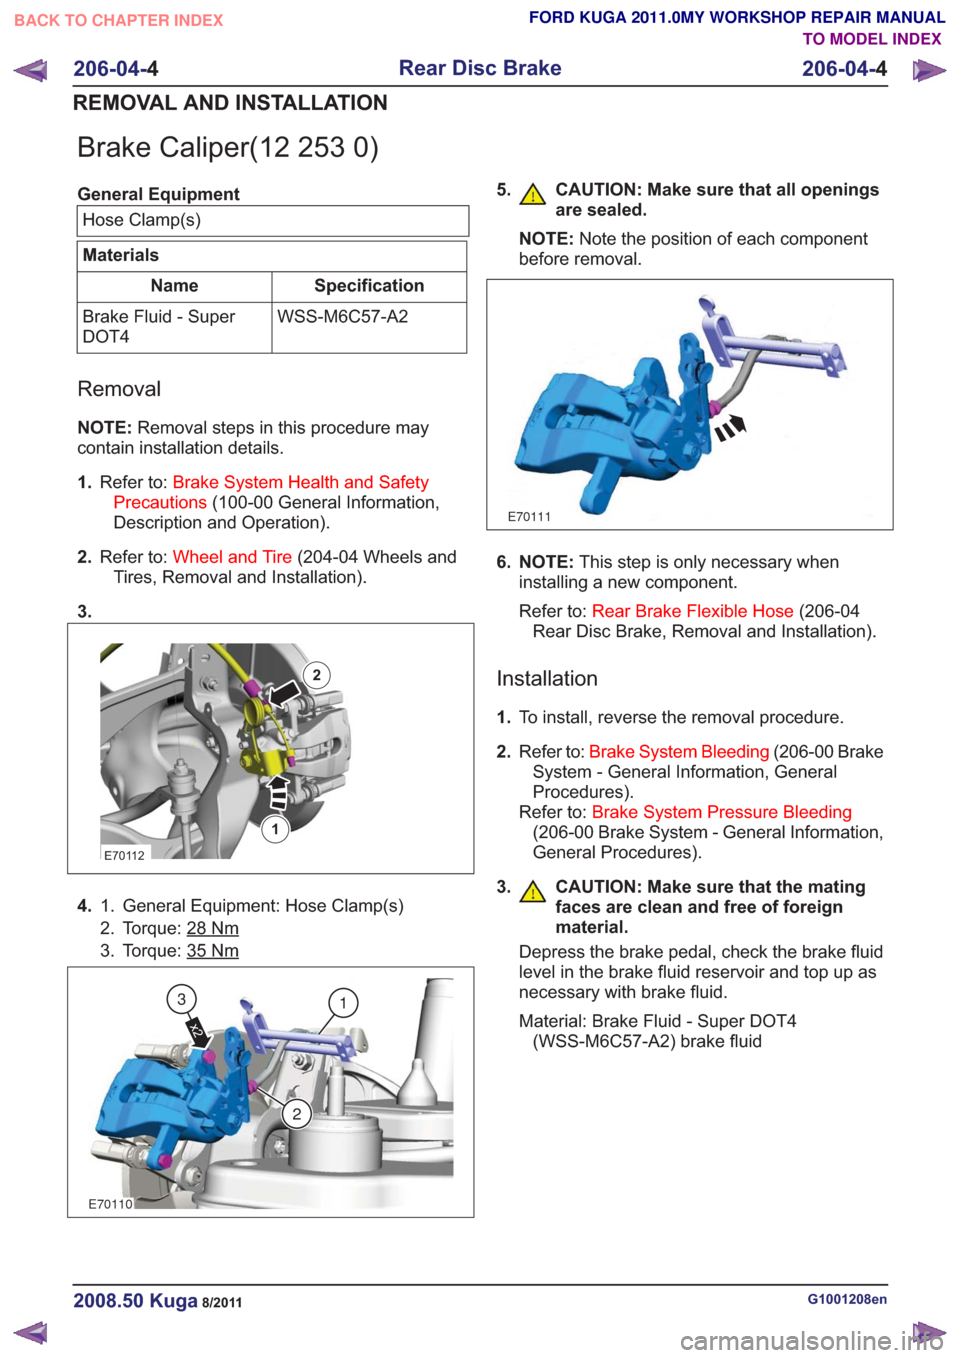
Brake Caliper(12 253 0)
General EquipmentHose Clamp(s)
Materials
Specification
Name
WSS-M6C57-A2
Brake Fluid - Super
DOT4
Removal
NOTE: Removal steps in this procedure may
contain installation details.
1. Refer to: Brake System Health and Safety
Precautions (100-00 General Information,
Description and Operation).
2. Refer to: Wheel and Tire (204-04 Wheels and
Tires, Removal and Installation).
3.
E70112
1
2
4. General Equipment: Hose Clamp(s)
1.
2. Torque: 28
Nm
3. Torque: 35Nm
E70110
1
2
x2
3
5. CAUTION: Make sure that all openings
are sealed.
NOTE: Note the position of each component
before removal.
E70111
6. NOTE: This step is only necessary when
installing a new component.
Refer to: Rear Brake Flexible Hose (206-04
Rear Disc Brake, Removal and Installation).
Installation
1. To install, reverse the removal procedure.
2. Refer to: Brake System Bleeding (206-00 Brake
System - General Information, General
Procedures).
Refer to: Brake System Pressure Bleeding
(206-00 Brake System - General Information,
General Procedures).
3.
CAUTION: Make sure that the mating
faces are clean and free of foreign
material.
Depress the brake pedal, check the brake fluid
level in the brake fluid reservoir and top up as
necessary with brake fluid.
Material: Brake Fluid - Super DOT4 (WSS-M6C57-A2) brake fluid
G1001208en2008.50 Kuga8/2011
206-04- 4
Rear Disc Brake
206-04- 4
REMOVAL AND INSTALLATION
TO MODEL INDEX
BACK TO CHAPTER INDEX
FORD KUGA 2011.0MY WORKSHOP REPAIR MANUAL
Page 1388 of 2057
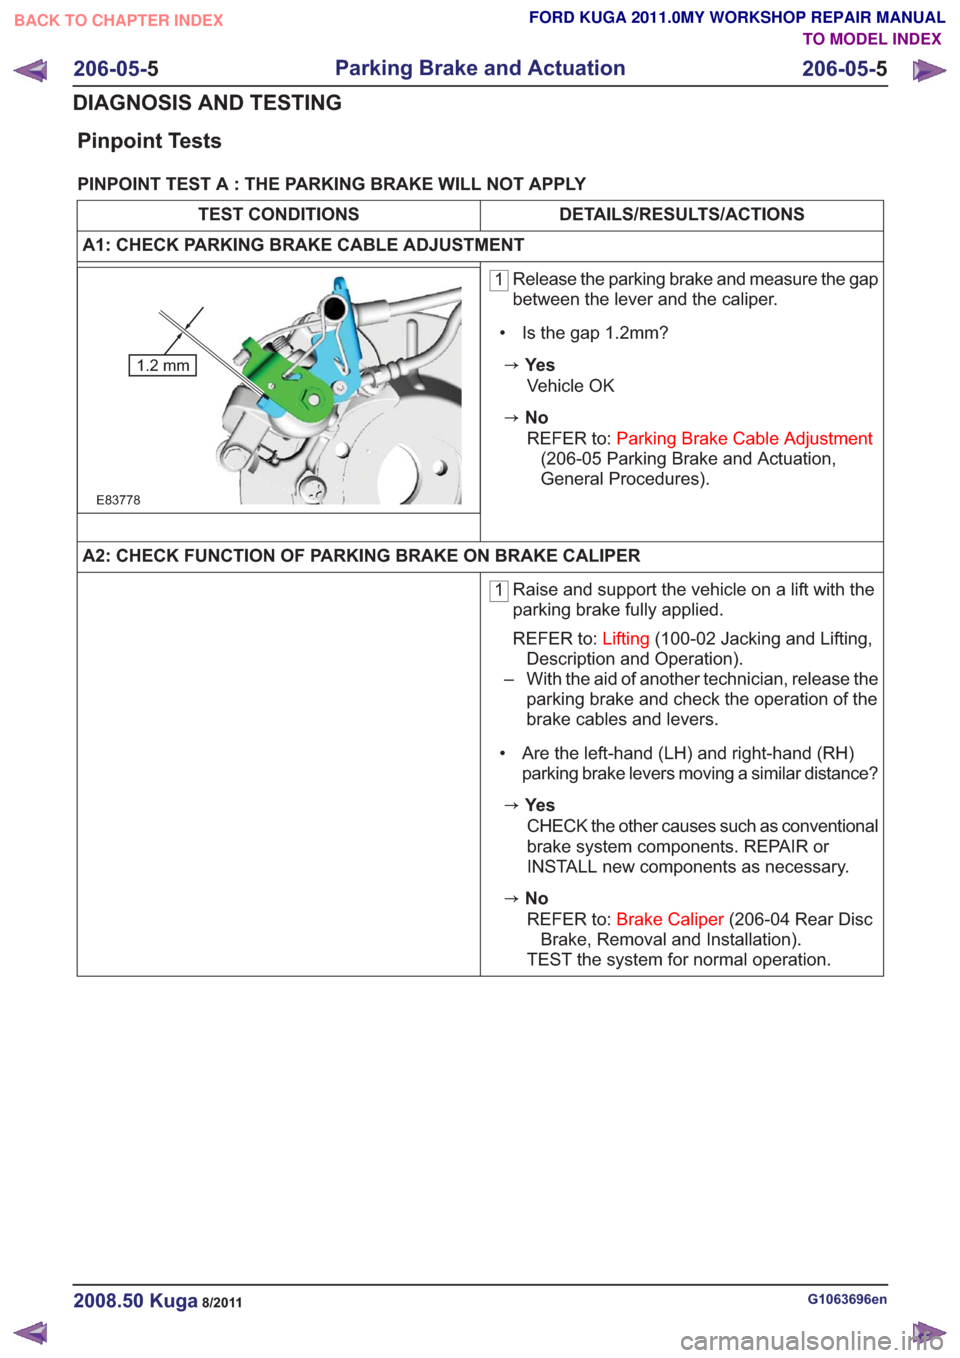
Pinpoint Tests
PINPOINT TEST A : THE PARKING BRAKE WILL NOT APPLY
DETAILS/RESULTS/ACTIONS
TEST CONDITIONS
A1: CHECK PARKING BRAKE CABLE ADJUSTMENT
1 Release the parking brake and measure the gap
between the lever and the caliper.
• Is the gap 1.2mm?
zYe s
E83778
1.2 mm
Vehicle OK
zNo REFER to: Parking Brake Cable Adjustment
(206-05 Parking Brake and Actuation,
General Procedures).
A2: CHECK FUNCTION OF PARKING BRAKE ON BRAKE CALIPER
1 Raise and support the vehicle on a lift with the
parking brake fully applied.
REFER to:
Lifting(100-02 Jacking and Lifting,
Description and Operation).
– With the aid of another technician, release the parking brake and check the operation of the
brake cables and levers.
• Are the left-hand (LH) and right-hand (RH) parking brake levers moving a similar distance?
zYe s
CHECK the other causes such as conventional
brake system components. REPAIR or
INSTALL new components as necessary.
zNoREFER to: Brake Caliper (206-04 Rear Disc
Brake, Removal and Installation).
TEST the system for normal operation.
G1063696en2008.50 Kuga8/2011
206-05- 5
Parking Brake and Actuation
206-05- 5
DIAGNOSIS AND TESTING
TO MODEL INDEX
BACK TO CHAPTER INDEX
FORD KUGA 2011.0MY WORKSHOP REPAIR MANUAL
Page 1391 of 2057
DETAILS/RESULTS/ACTIONS
TEST CONDITIONS
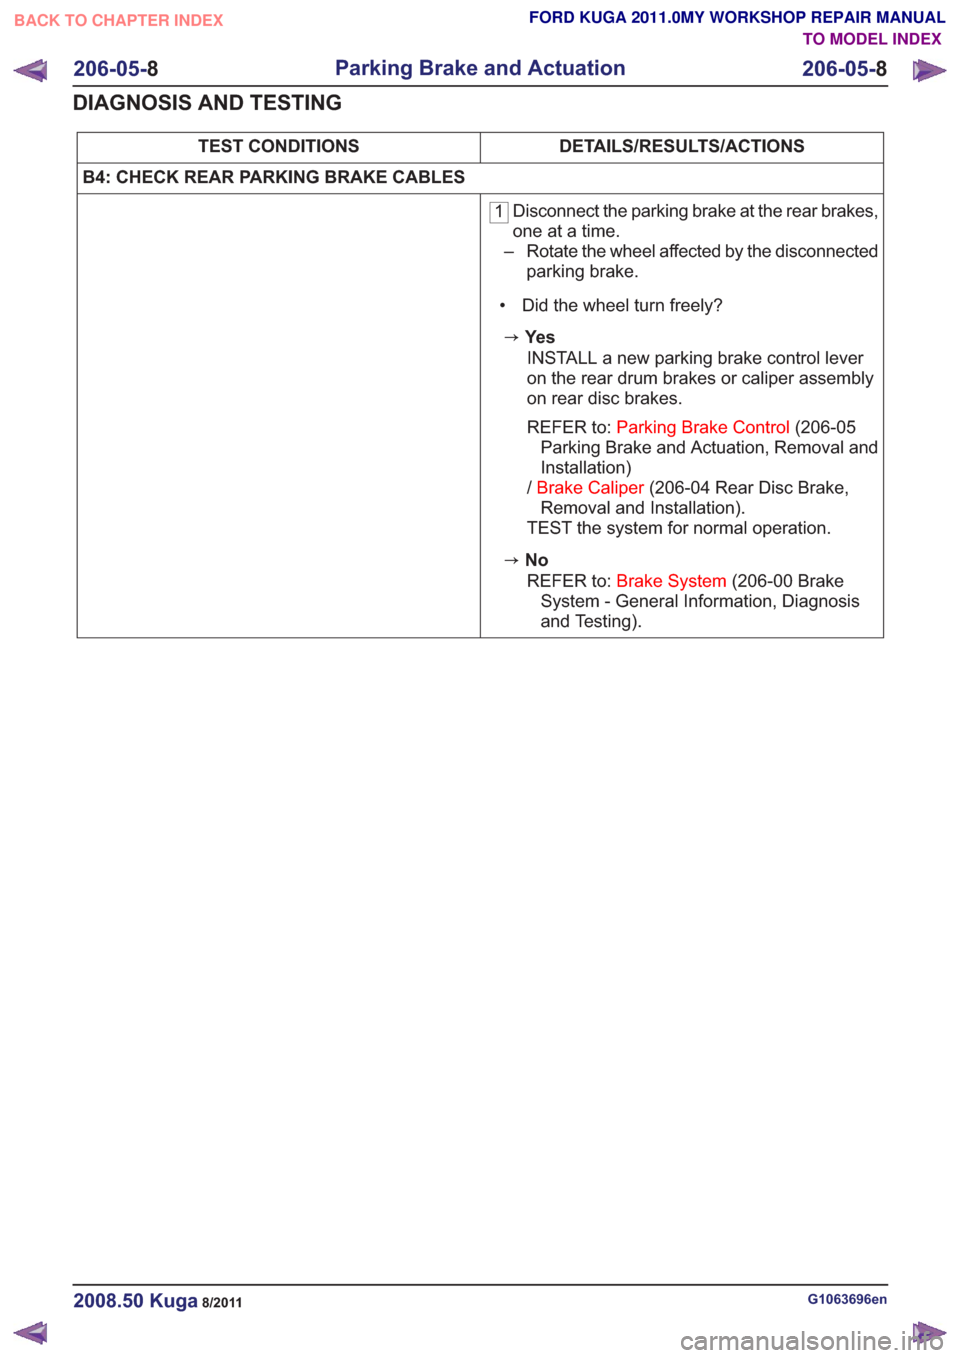
B4: CHECK REAR PARKING BRAKE CABLES
1 Disconnect the parking brake at the rear brakes,
one at a time.
– Rotate the wheel affected by the disconnected parking brake.
• Did the wheel turn freely?
zYe s INSTALL a new parking brake control lever
on the rear drum brakes or caliper assembly
on rear disc brakes.
REFER to: Parking Brake Control (206-05
Parking Brake and Actuation, Removal and
Installation)
/ Brake Caliper (206-04 Rear Disc Brake,
Removal and Installation).
TEST the system for normal operation.
zNo
REFER to: Brake System (206-00 Brake
System - General Information, Diagnosis
and Testing).
G1063696en2008.50 Kuga8/2011
206-05- 8
Parking Brake and Actuation
206-05- 8
DIAGNOSIS AND TESTING
TO MODEL INDEX
BACK TO CHAPTER INDEX
FORD KUGA 2011.0MY WORKSHOP REPAIR MANUAL
Page 1393 of 2057
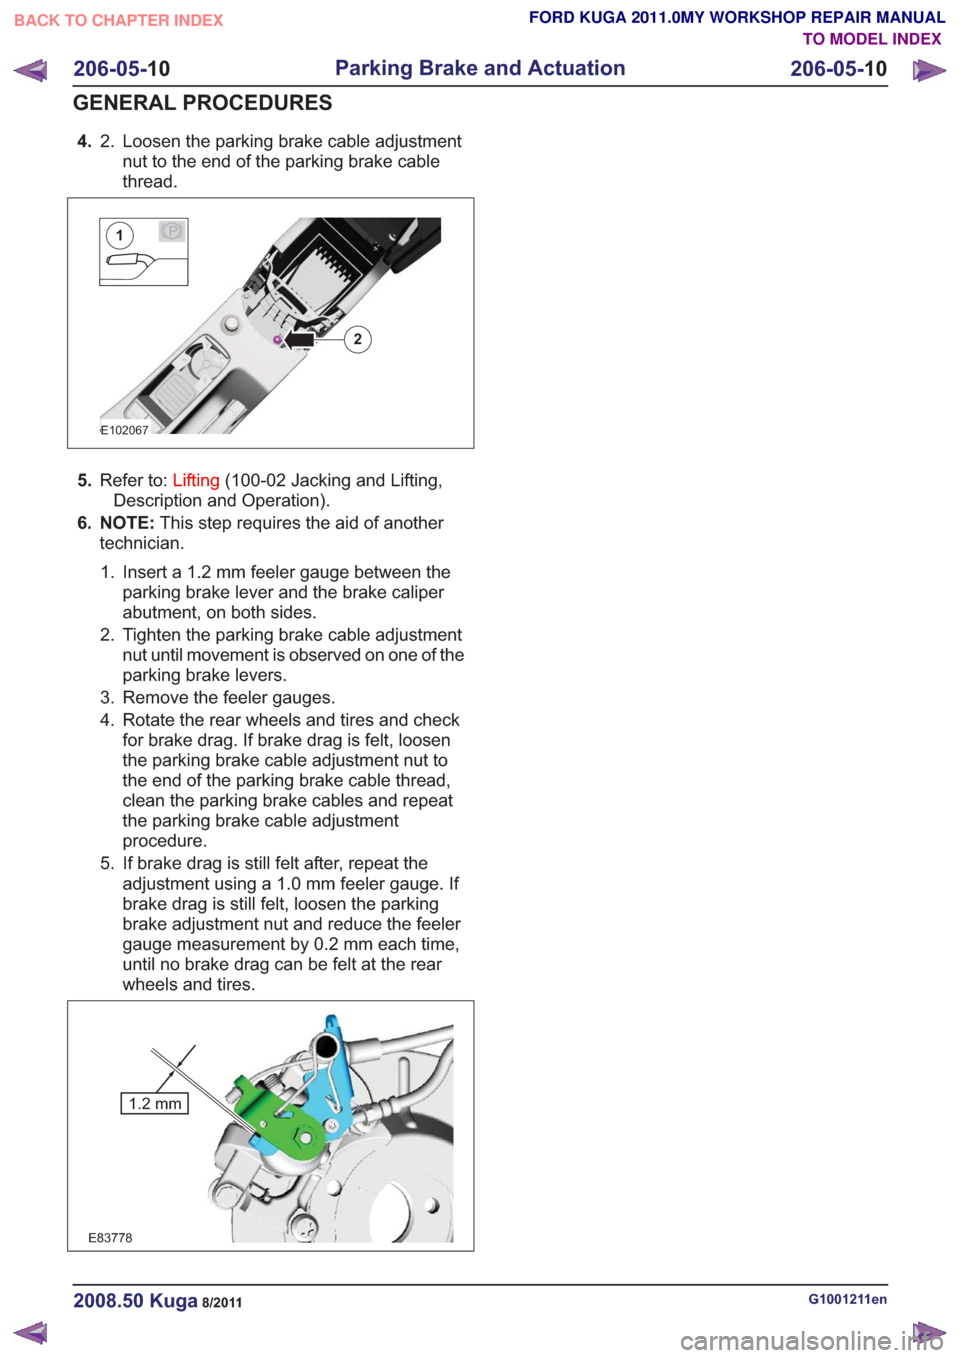
4.Loosen the parking brake cable adjustment
nut to the end of the parking brake cable
thread.
2.
E102067
2
P1
5.
Refer to: Lifting(100-02 Jacking and Lifting,
Description and Operation).
6. NOTE: This step requires the aid of another
technician.
1. Insert a 1.2 mm feeler gauge between the parking brake lever and the brake caliper
abutment, on both sides.
2. Tighten the parking brake cable adjustment nut until movement is observed on one of the
parking brake levers.
3. Remove the feeler gauges.
4. Rotate the rear wheels and tires and check for brake drag. If brake drag is felt, loosen
the parking brake cable adjustment nut to
the end of the parking brake cable thread,
clean the parking brake cables and repeat
the parking brake cable adjustment
procedure.
5. If brake drag is still felt after, repeat the adjustment using a 1.0 mm feeler gauge. If
brake drag is still felt, loosen the parking
brake adjustment nut and reduce the feeler
gauge measurement by 0.2 mm each time,
until no brake drag can be felt at the rear
wheels and tires.
E83778
1.2 mm
G1001211en2008.50 Kuga8/2011
206-05- 10
Parking Brake and Actuation
206-05- 10
GENERAL PROCEDURES
TO MODEL INDEX
BACK TO CHAPTER INDEX
FORD KUGA 2011.0MY WORKSHOP REPAIR MANUAL
Page 1402 of 2057
Brake Master Cylinder — 2.5L Duratec (147kW/200PS) -VI5(12 343 0)
Removal
NOTE: Removal steps in this procedure may
contain installation details.
1. Refer to: Brake System Health and Safety
Precautions (100-00 General Information,
Description and Operation).
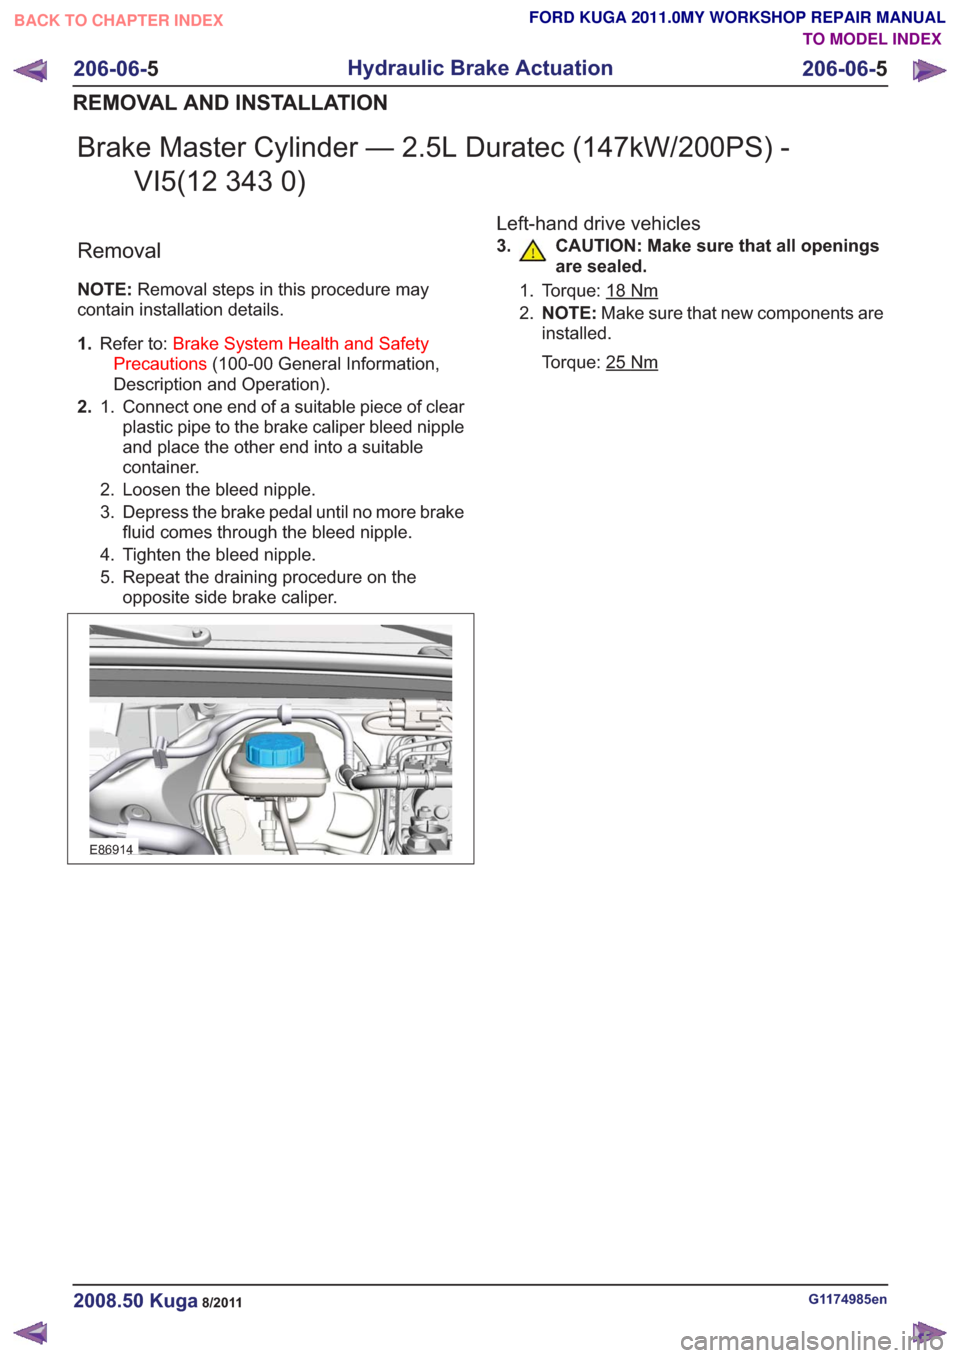
2. Connect one end of a suitable piece of clear
plastic pipe to the brake caliper bleed nipple
1.
and place the other end into a suitable
container.
2. Loosen the bleed nipple.
3. Depress the brake pedal until no more brake fluid comes through the bleed nipple.
4. Tighten the bleed nipple.
5. Repeat the draining procedure on the opposite side brake caliper.
E86914
Left-hand drive vehicles
3. CAUTION: Make sure that all openings are sealed.
1. Torque: 18Nm
2.NOTE: Make sure that new components are
installed.
Torque: 25
Nm
G1174985en2008.50 Kuga8/2011
206-06- 5
Hydraulic Brake Actuation
206-06- 5
REMOVAL AND INSTALLATION
TO MODEL INDEX
BACK TO CHAPTER INDEX
FORD KUGA 2011.0MY WORKSHOP REPAIR MANUAL
Page 1434 of 2057
Hydraulic Control Unit (HCU)
Removal
NOTE:Removal steps in this procedure may
contain installation details.
1. Refer to: Brake System Health and Safety
Precautions (100-00 General Information,
Description and Operation).
2. Refer to: Battery(414-01 Battery, Mounting and
Cables, Removal and Installation).
3. Torque: 12
Nm
E100290
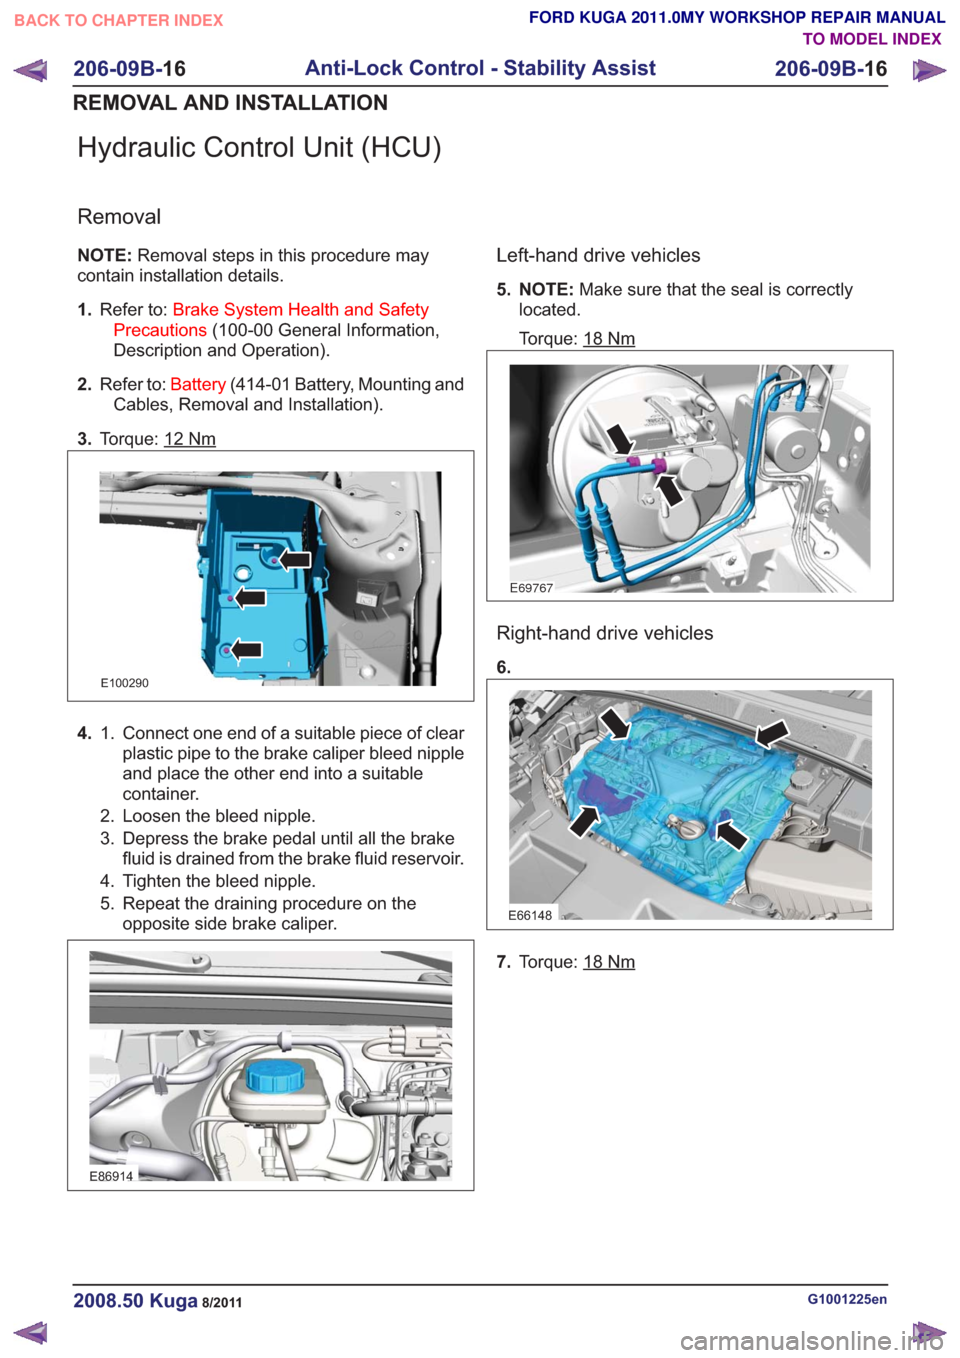
4. Connect one end of a suitable piece of clear
plastic pipe to the brake caliper bleed nipple
1.
and place the other end into a suitable
container.
2. Loosen the bleed nipple.
3. Depress the brake pedal until all the brake fluid is drained from the brake fluid reservoir.
4. Tighten the bleed nipple.
5. Repeat the draining procedure on the opposite side brake caliper.
E86914
Left-hand drive vehicles
5. NOTE: Make sure that the seal is correctly
located.
Torque: 18
Nm
E69767
Right-hand drive vehicles
6.
E66148
7. Torque: 18Nm
G1001225en2008.50 Kuga8/2011
206-09B- 16
Anti-Lock Control - Stability Assist
206-09B- 16
REMOVAL AND INSTALLATION
TO MODEL INDEX
BACK TO CHAPTER INDEX
FORD KUGA 2011.0MY WORKSHOP REPAIR MANUAL