belt FORD MUSTANG 1998 4.G User Guide
[x] Cancel search | Manufacturer: FORD, Model Year: 1998, Model line: MUSTANG, Model: FORD MUSTANG 1998 4.GPages: 192, PDF Size: 1.67 MB
Page 72 of 192
Important supplemental restraint system (SRS)
precautions
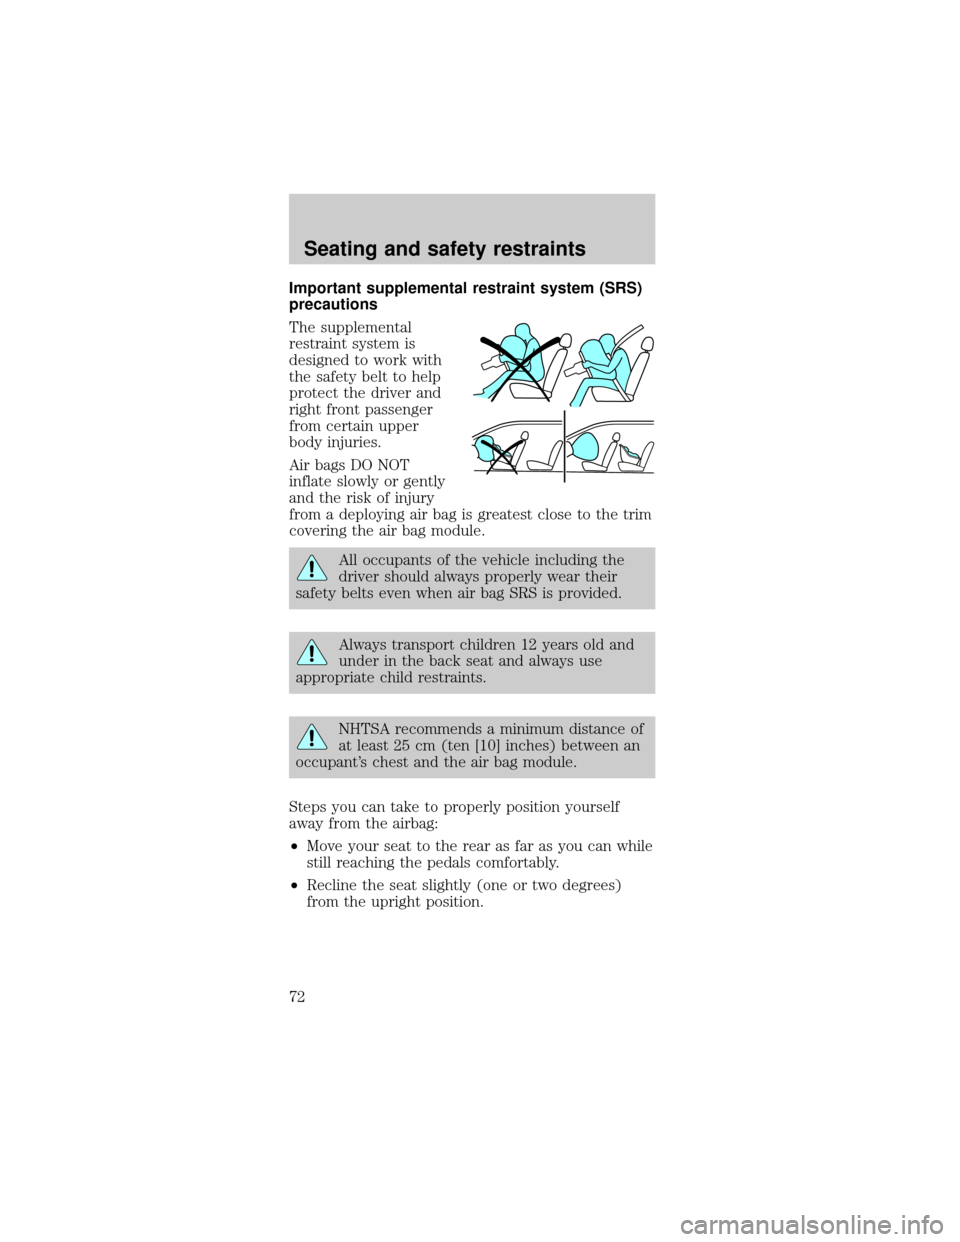
The supplemental
restraint system is
designed to work with
the safety belt to help
protect the driver and
right front passenger
from certain upper
body injuries.
Air bags DO NOT
inflate slowly or gently
and the risk of injury
from a deploying air bag is greatest close to the trim
covering the air bag module.
All occupants of the vehicle including the
driver should always properly wear their
safety belts even when air bag SRS is provided.
Always transport children 12 years old and
under in the back seat and always use
appropriate child restraints.
NHTSA recommends a minimum distance of
at least 25 cm (ten [10] inches) between an
occupant's chest and the air bag module.
Steps you can take to properly position yourself
away from the airbag:
²Move your seat to the rear as far as you can while
still reaching the pedals comfortably.
²Recline the seat slightly (one or two degrees)
from the upright position.
Seating and safety restraints
72
Page 77 of 192
Never let a passenger hold a child on his or
her lap while the vehicle is moving. The
passenger cannot protect the child from injury in a
collision.
Always follow the instructions and warnings that
come with any infant or child restraint you might
use.
When possible, place children in the rear seat of
your vehicle. Accident statistics suggest that
children are safer when properly restrained in the
rear seating positions than in the front seating
position.
Children and safety belts
If the child is the proper size, restrain the child in a
safety seat.
Children who are too large for child safety seats (as
specified by your child safety seat manufacturer)
should always wear safety belts.
Follow all the important safety restraint and air bag
precautions that apply to adult passengers in your
vehicle.
If the shoulder belt portion of a combination lap and
shoulder belt can be positioned so it does not cross
or rest in front of the child's face or neck, the child
should wear the lap and shoulder belt. Moving the
child closer to the center of the vehicle may help
provide a good shoulder belt fit.
Do not leave children, unreliable adults, or
pets unattended in your vehicle.
To improve the fit of lap and shoulder belts on
children who have outgrown child safety seats, Ford
recommends use of a belt-positioning booster seat
that is labelled as conforming to all Federal motor
vehicle safety standards. Belt-positioning booster
Seating and safety restraints
77
Page 78 of 192
seats raise the child and provide a shorter, firmer
seating cushion that encourages safer seating
posture and better fit of lap and shoulder belts on
the child.
A belt-positioning booster should be used if the
shoulder belt rests in front of the child's face or
neck, or if the lap belt does not fit snugly on both
thighs, or if the thighs are too short to let the child
sit all the way back on the seat cushion when the
lower legs hang over the edge of the seat cushion.
You may wish to discuss the special needs of your
child with your pediatrician.
SAFETY SEATS FOR CHILDREN
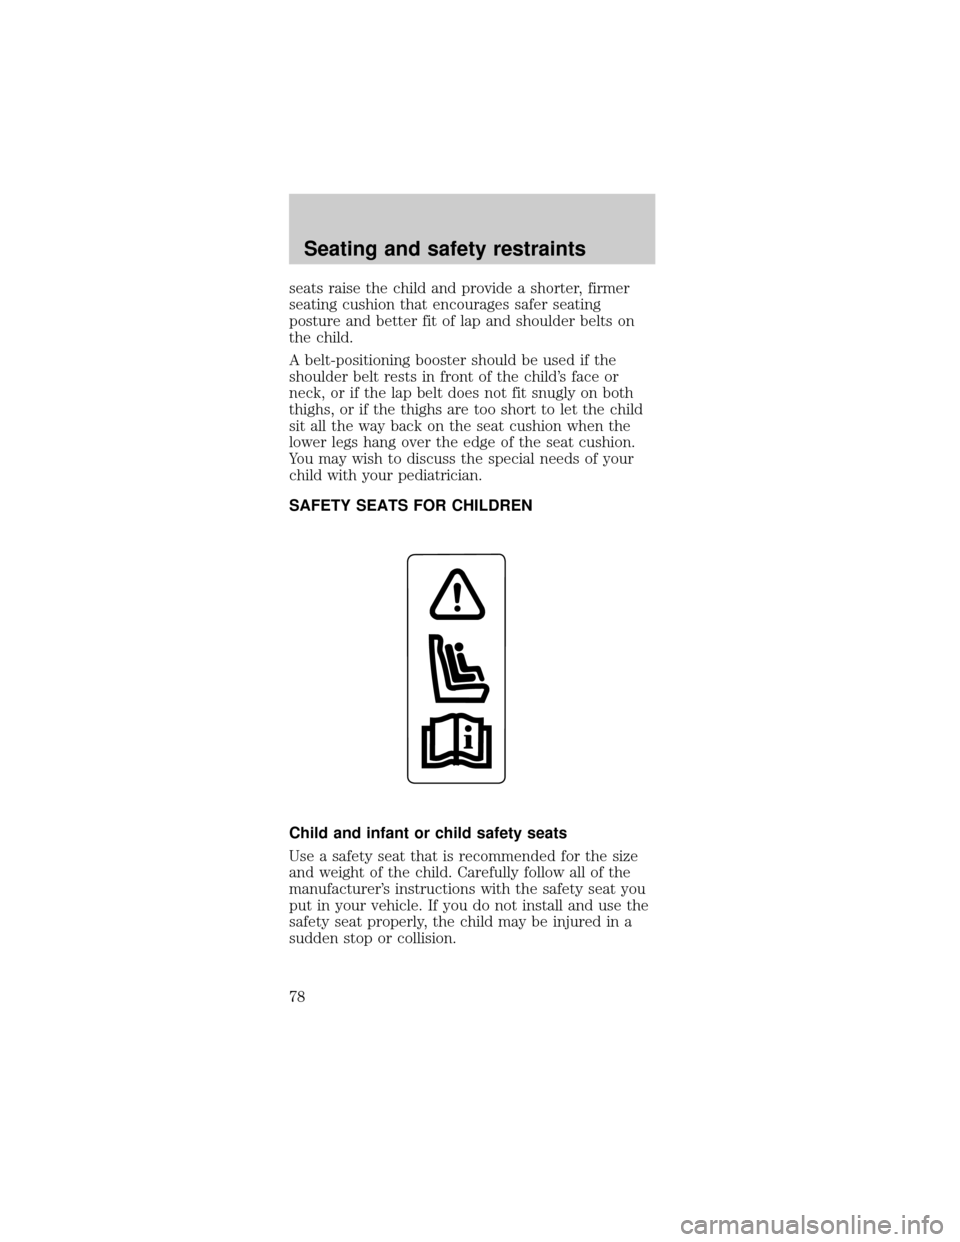
Child and infant or child safety seats
Use a safety seat that is recommended for the size
and weight of the child. Carefully follow all of the
manufacturer's instructions with the safety seat you
put in your vehicle. If you do not install and use the
safety seat properly, the child may be injured in a
sudden stop or collision.
Seating and safety restraints
78
Page 79 of 192
When installing a child safety seat:
²Review and follow
the information
presented in theAir
Bag Supplemental
Restraint System
section in this
chapter.
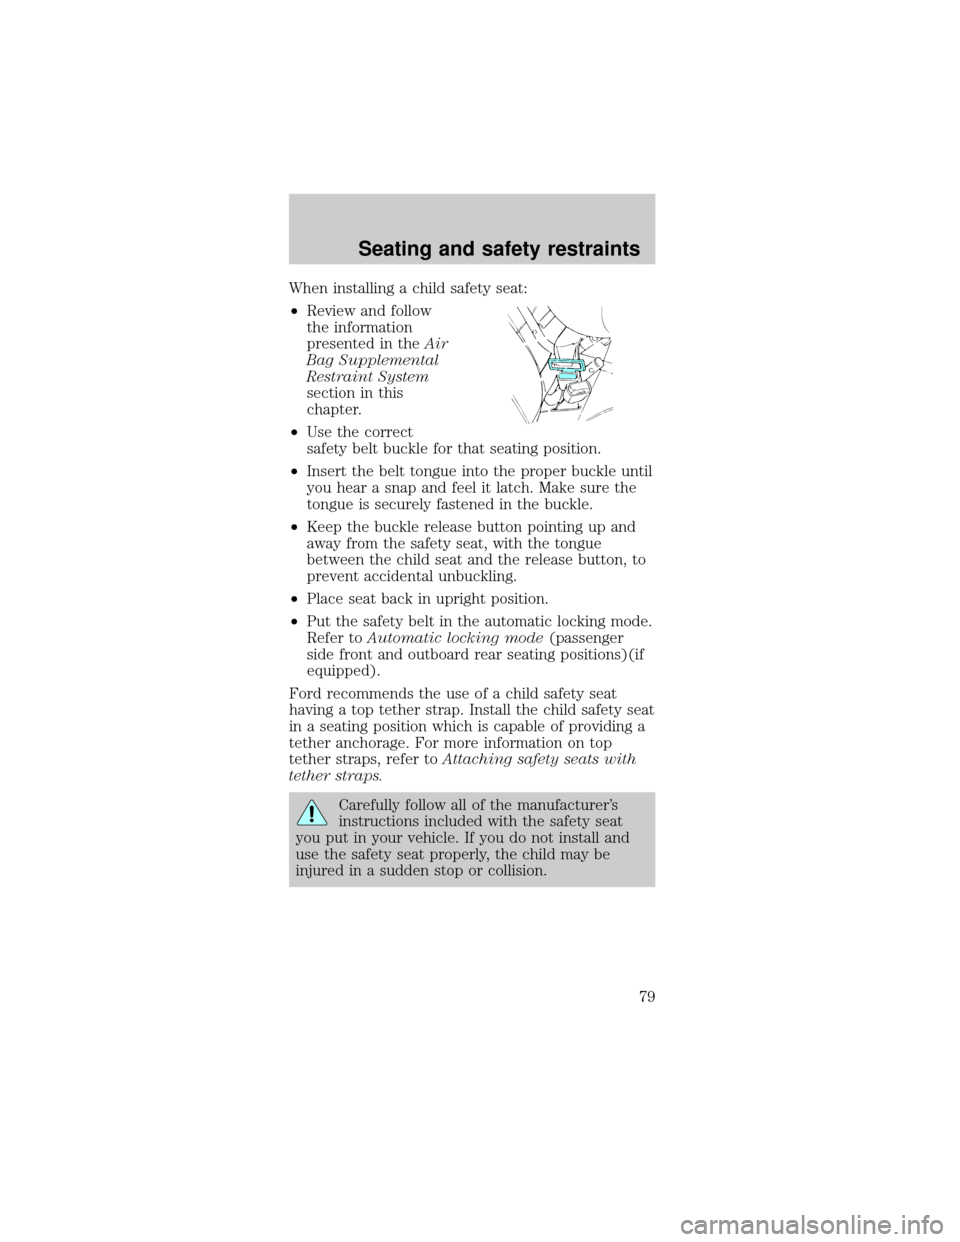
²Use the correct
safety belt buckle for that seating position.
²Insert the belt tongue into the proper buckle until
you hear a snap and feel it latch. Make sure the
tongue is securely fastened in the buckle.
²Keep the buckle release button pointing up and
away from the safety seat, with the tongue
between the child seat and the release button, to
prevent accidental unbuckling.
²Place seat back in upright position.
²Put the safety belt in the automatic locking mode.
Refer toAutomatic locking mode(passenger
side front and outboard rear seating positions)(if
equipped).
Ford recommends the use of a child safety seat
having a top tether strap. Install the child safety seat
in a seating position which is capable of providing a
tether anchorage. For more information on top
tether straps, refer toAttaching safety seats with
tether straps.
Carefully follow all of the manufacturer's
instructions included with the safety seat
you put in your vehicle. If you do not install and
use the safety seat properly, the child may be
injured in a sudden stop or collision.
Seating and safety restraints
79
Page 80 of 192
Installing child safety seats in combination lap
and shoulder belt seating positions
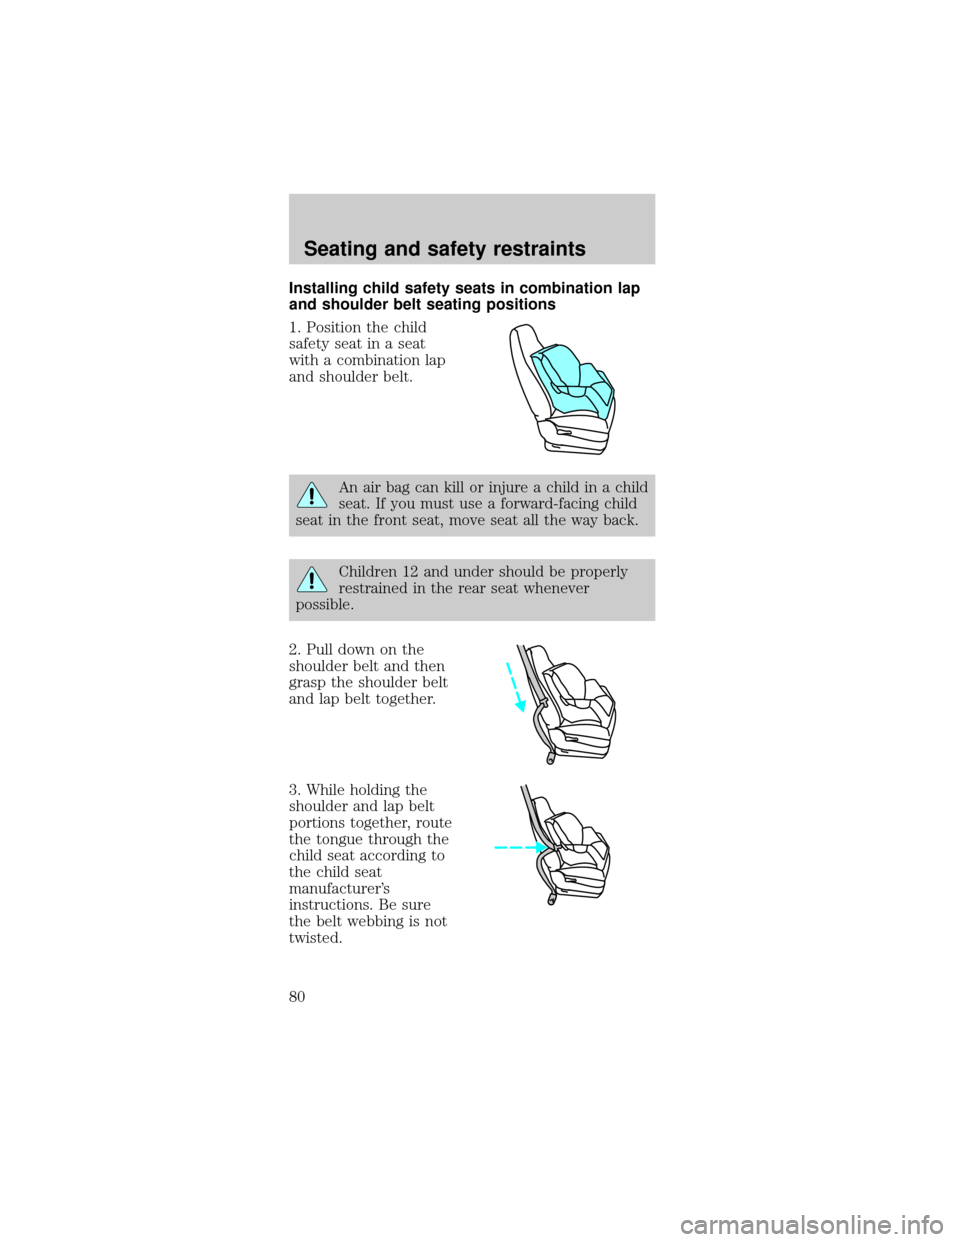
1. Position the child
safety seat in a seat
with a combination lap
and shoulder belt.
An air bag can kill or injure a child in a child
seat. If you must use a forward-facing child
seat in the front seat, move seat all the way back.
Children 12 and under should be properly
restrained in the rear seat whenever
possible.
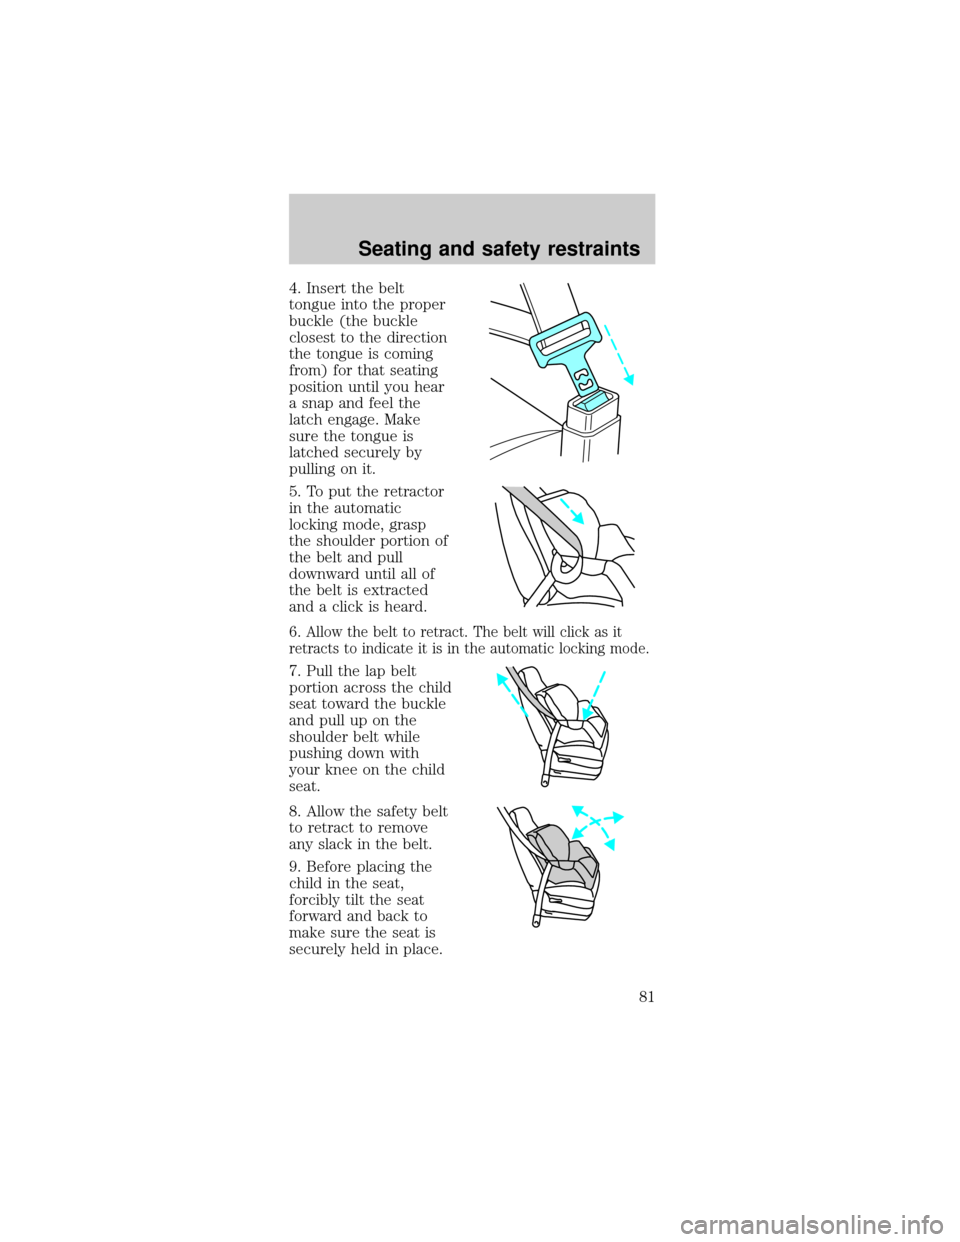
2. Pull down on the
shoulder belt and then
grasp the shoulder belt
and lap belt together.
3. While holding the
shoulder and lap belt
portions together, route
the tongue through the
child seat according to
the child seat
manufacturer's
instructions. Be sure
the belt webbing is not
twisted.
Seating and safety restraints
80
Page 81 of 192
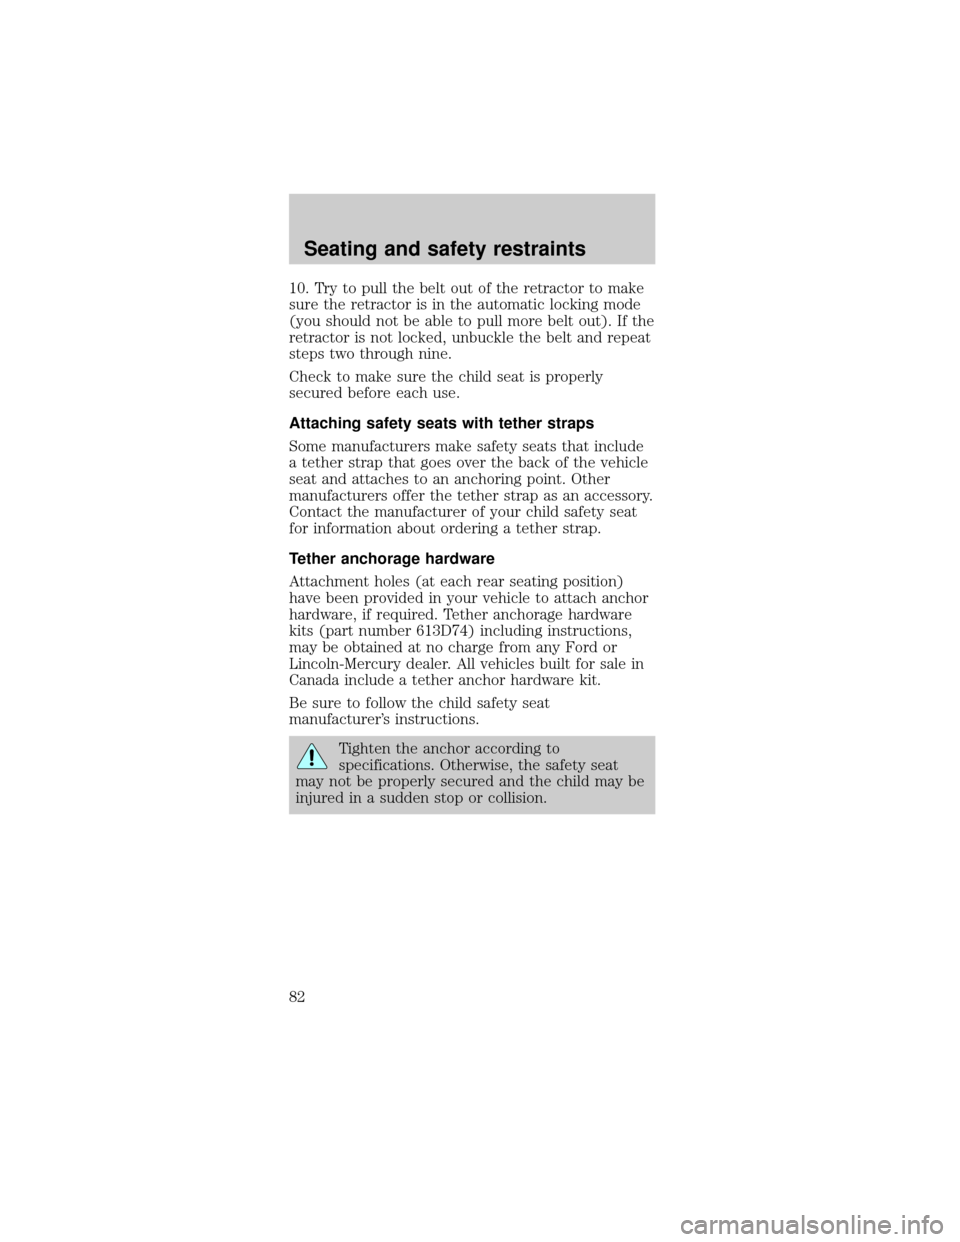
4. Insert the belt
tongue into the proper
buckle (the buckle
closest to the direction
the tongue is coming
from) for that seating
position until you hear
a snap and feel the
latch engage. Make
sure the tongue is
latched securely by
pulling on it.
5. To put the retractor
in the automatic
locking mode, grasp
the shoulder portion of
the belt and pull
downward until all of
the belt is extracted
and a click is heard.
6.
Allow the belt to retract. The belt will click as it
retracts to indicate it is in the automatic locking mode.
7. Pull the lap belt
portion across the child
seat toward the buckle
and pull up on the
shoulder belt while
pushing down with
your knee on the child
seat.
8. Allow the safety belt
to retract to remove
any slack in the belt.
9. Before placing the
child in the seat,
forcibly tilt the seat
forward and back to
make sure the seat is
securely held in place.
Seating and safety restraints
81
Page 82 of 192
10. Try to pull the belt out of the retractor to make
sure the retractor is in the automatic locking mode
(you should not be able to pull more belt out). If the
retractor is not locked, unbuckle the belt and repeat
steps two through nine.
Check to make sure the child seat is properly
secured before each use.
Attaching safety seats with tether straps
Some manufacturers make safety seats that include
a tether strap that goes over the back of the vehicle
seat and attaches to an anchoring point. Other
manufacturers offer the tether strap as an accessory.
Contact the manufacturer of your child safety seat
for information about ordering a tether strap.
Tether anchorage hardware
Attachment holes (at each rear seating position)
have been provided in your vehicle to attach anchor
hardware, if required. Tether anchorage hardware
kits (part number 613D74) including instructions,
may be obtained at no charge from any Ford or
Lincoln-Mercury dealer. All vehicles built for sale in
Canada include a tether anchor hardware kit.
Be sure to follow the child safety seat
manufacturer's instructions.
Tighten the anchor according to
specifications. Otherwise, the safety seat
may not be properly secured and the child may be
injured in a sudden stop or collision.
Seating and safety restraints
82
Page 84 of 192
Important safety precautions
A computer system controls the engine's idle
revolutions per minute (RPM). When the engine
starts, the idle RPM runs faster to warm the engine.
If the engine idle speed does not slow down
automatically, have the vehicle checked. Do not
allow the vehicle to idle for more than ten minutes
at high engine RPM.
Before starting the vehicle:
1. Make sure all vehicle occupants have buckled
their safety belts. For more information on safety
belts and their proper usage, refer to theSeating
and safety restraintschapter.
2. Make sure the headlamps and vehicle accessories
are off.
If starting a vehicle with an automatic transmission:
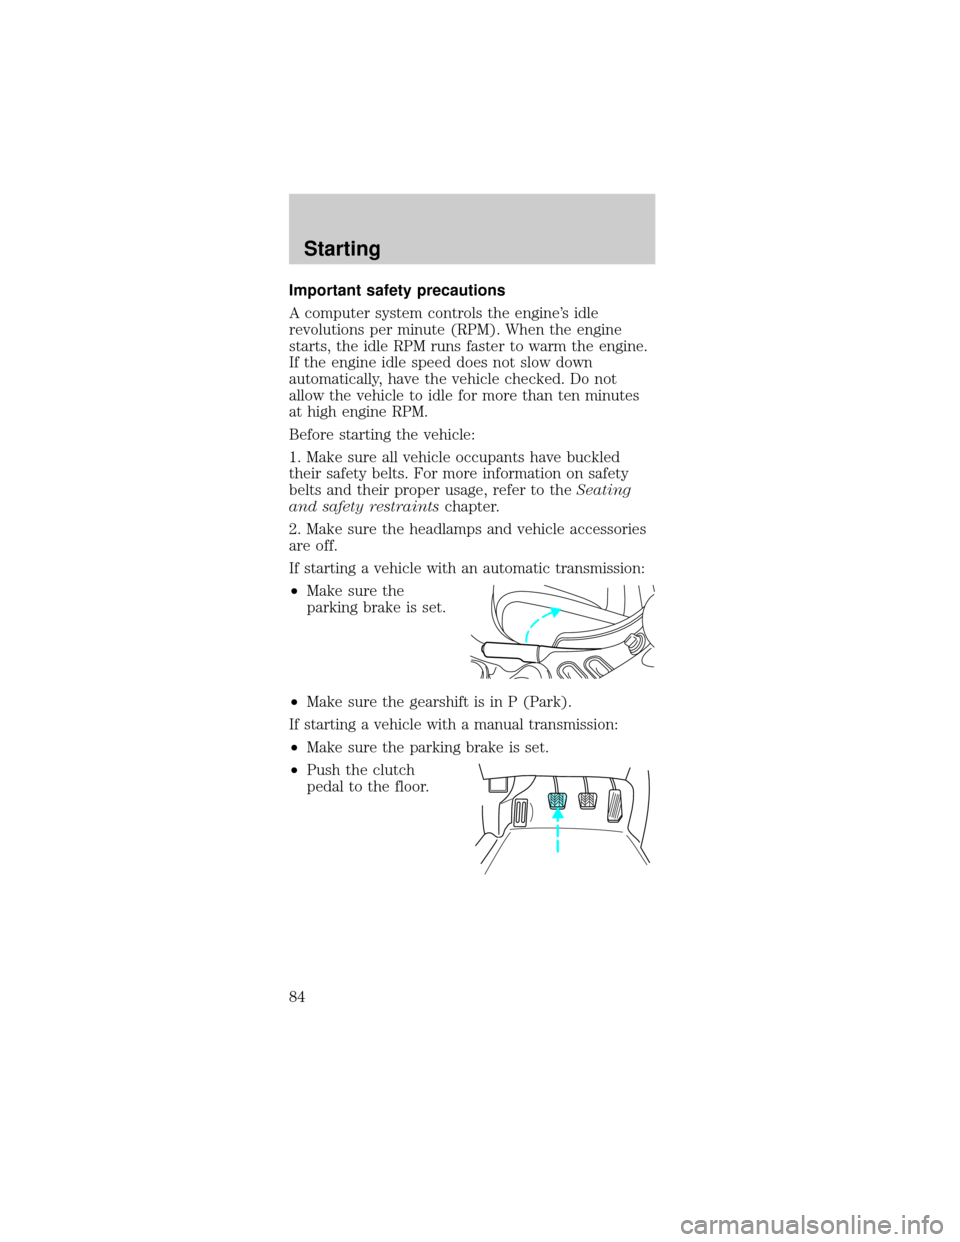
²Make sure the
parking brake is set.
²Make sure the gearshift is in P (Park).
If starting a vehicle with a manual transmission:
²Make sure the parking brake is set.
²Push the clutch
pedal to the floor.
Starting
84
Page 85 of 192
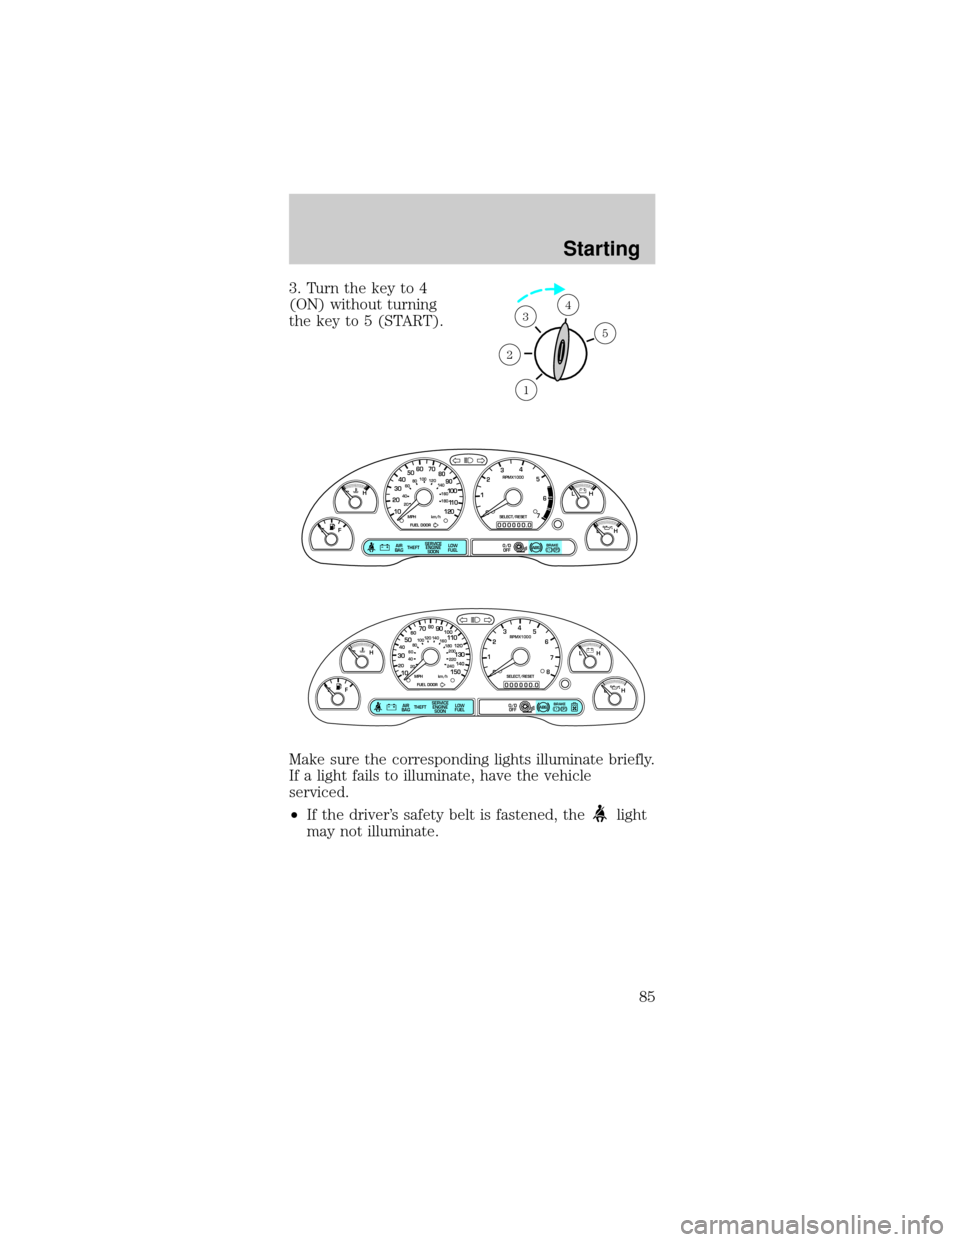
3. Turn the key to 4
(ON) without turning
the key to 5 (START).
Make sure the corresponding lights illuminate briefly.
If a light fails to illuminate, have the vehicle
serviced.
²If the driver's safety belt is fastened, the
light
may not illuminate.
1
2
34
5
P! BRAKE
L
0
00000 00
C
E
FH
LH
10 203020 406080100
120
140
160
180
405060 70
80
90
100
11 0
1204
5
6
7 3
2
1
H
THEFT
RPMX1000
FUEL DOORSELECT/RESET
LOW
FUELO/D
OFF AIR
BAGSERVICE
ENGINE
SOON
MPH km/h
ABS
.
P! BRAKE
L
0
00000 00
C
E
FH
LH
102040608020 40608010 012 0 14 0
160
180
200
220
240
100
120
140
305070 90
110
13 0
1504
5
6
7
8 3
2
1
H
THEFT
RPMX1000
FUEL DOORSELECT/RESET
LOW
FUELO/D
OFF AIR
BAGSERVICE
ENGINE
SOON
MPH km/h
ABS
.
Starting
85
Page 122 of 192
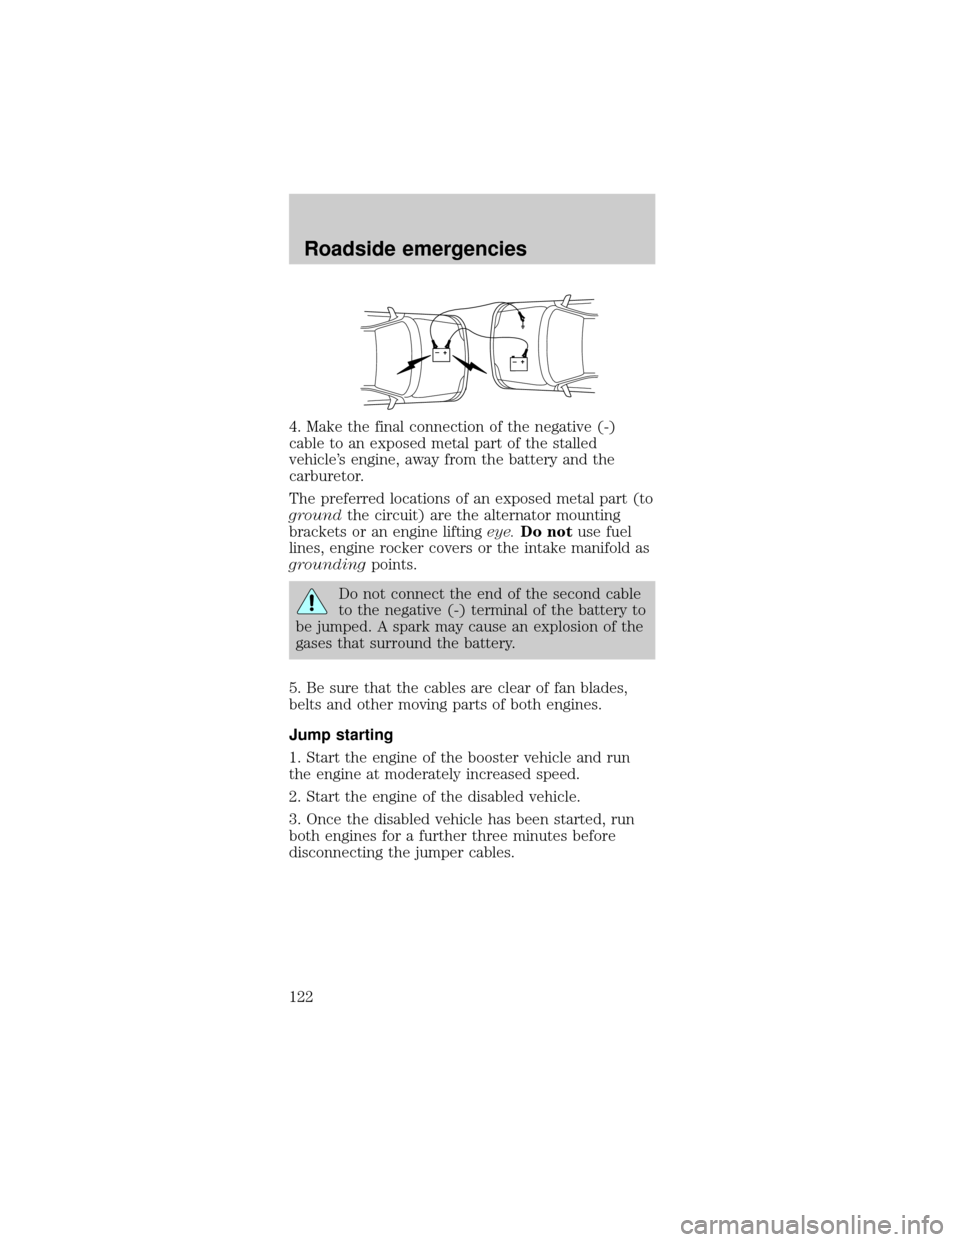
4. Make the final connection of the negative (-)
cable to an exposed metal part of the stalled
vehicle's engine, away from the battery and the
carburetor.
The preferred locations of an exposed metal part (to
groundthe circuit) are the alternator mounting
brackets or an engine liftingeye.Do notuse fuel
lines, engine rocker covers or the intake manifold as
groundingpoints.
Do not connect the end of the second cable
to the negative (-) terminal of the battery to
be jumped. A spark may cause an explosion of the
gases that surround the battery.
5. Be sure that the cables are clear of fan blades,
belts and other moving parts of both engines.
Jump starting
1. Start the engine of the booster vehicle and run
the engine at moderately increased speed.
2. Start the engine of the disabled vehicle.
3. Once the disabled vehicle has been started, run
both engines for a further three minutes before
disconnecting the jumper cables.
+–+–
Roadside emergencies
122