battery FORD MUSTANG 1998 4.G Owners Manual
[x] Cancel search | Manufacturer: FORD, Model Year: 1998, Model line: MUSTANG, Model: FORD MUSTANG 1998 4.GPages: 192, PDF Size: 1.67 MB
Page 7 of 192

High beams
Illuminates when the
high beam headlamps
are turned on.
Safety belt
Momentarily illuminates
when the ignition is
turned to the ON
position to remind you
to fasten your safety belts. For more information,
refer to theSeating and safety restraintschapter.
Charging system
Illuminates when the
ignition is turned to
the ON position and
the engine is off. The
light also illuminates when the battery is not
charging properly, requiring electrical system
service.
Air bag readiness
Momentarily
illuminates when the
ignition is turned ON.
If the light fails to
illuminate, continues to flash or remains on, have
the system serviced immediately.
Anti-theft system
Refer toSecuriLocky
passive anti-theft
systemin theControls
and featureschapter.
AIR
BAG
THEFT
Instrumentation
7
Page 15 of 192
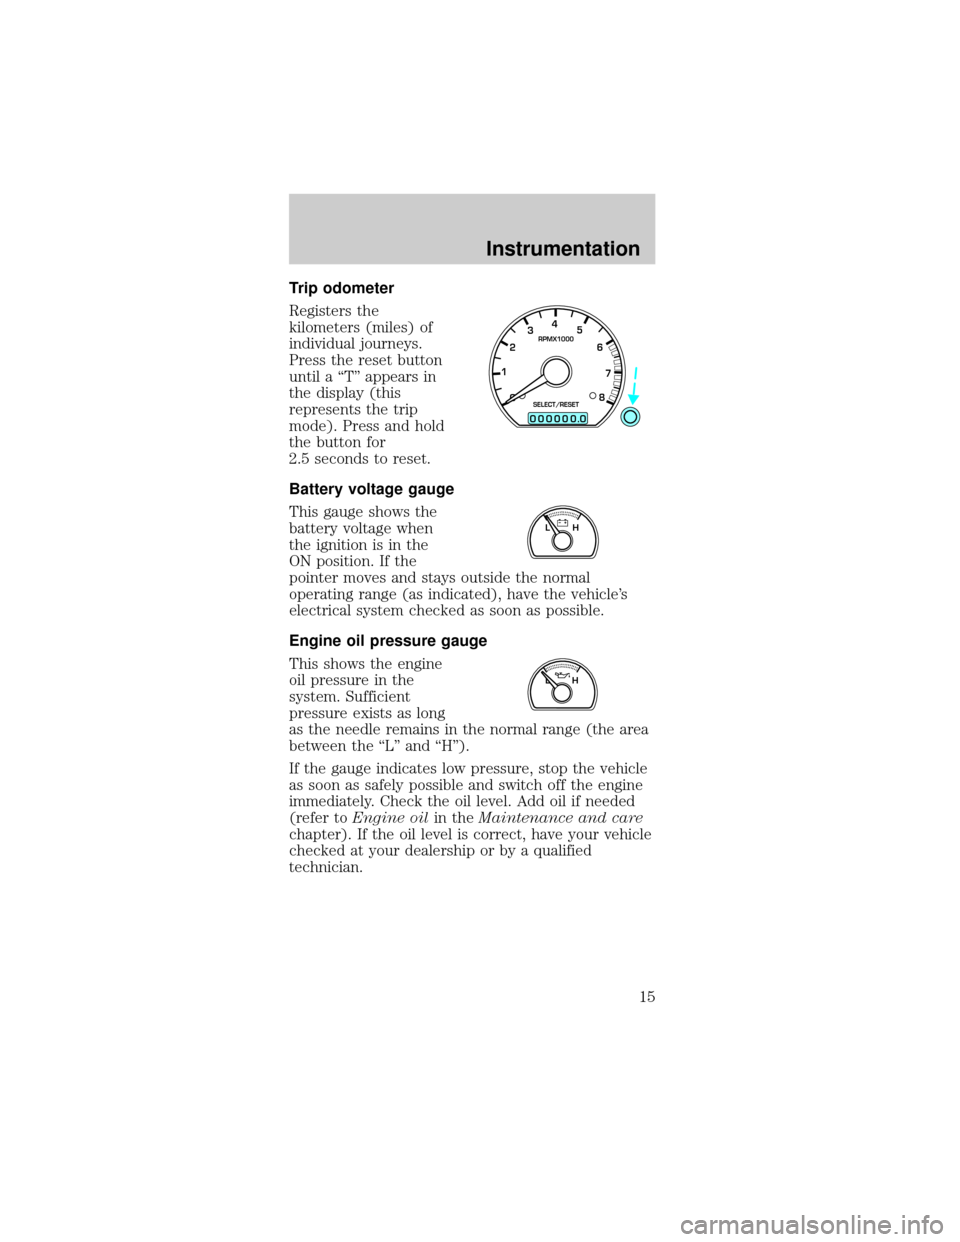
Trip odometer
Registers the
kilometers (miles) of
individual journeys.
Press the reset button
until a ªTº appears in
the display (this
represents the trip
mode). Press and hold
the button for
2.5 seconds to reset.
Battery voltage gauge
This gauge shows the
battery voltage when
the ignition is in the
ON position. If the
pointer moves and stays outside the normal
operating range (as indicated), have the vehicle's
electrical system checked as soon as possible.
Engine oil pressure gauge
This shows the engine
oil pressure in the
system. Sufficient
pressure exists as long
as the needle remains in the normal range (the area
between the ªLº and ªHº).
If the gauge indicates low pressure, stop the vehicle
as soon as safely possible and switch off the engine
immediately. Check the oil level. Add oil if needed
(refer toEngine oilin theMaintenance and care
chapter). If the oil level is correct, have your vehicle
checked at your dealership or by a qualified
technician.
0
00000 00
4
5
6
7
8 3
2
1RPMX1000
SELECT/RESET
.
LH
LH
Instrumentation
15
Page 23 of 192
In order to ensure proper operation of the AMS
feature, the tape MUST have a blank section of at
least 4 seconds duration between programs.
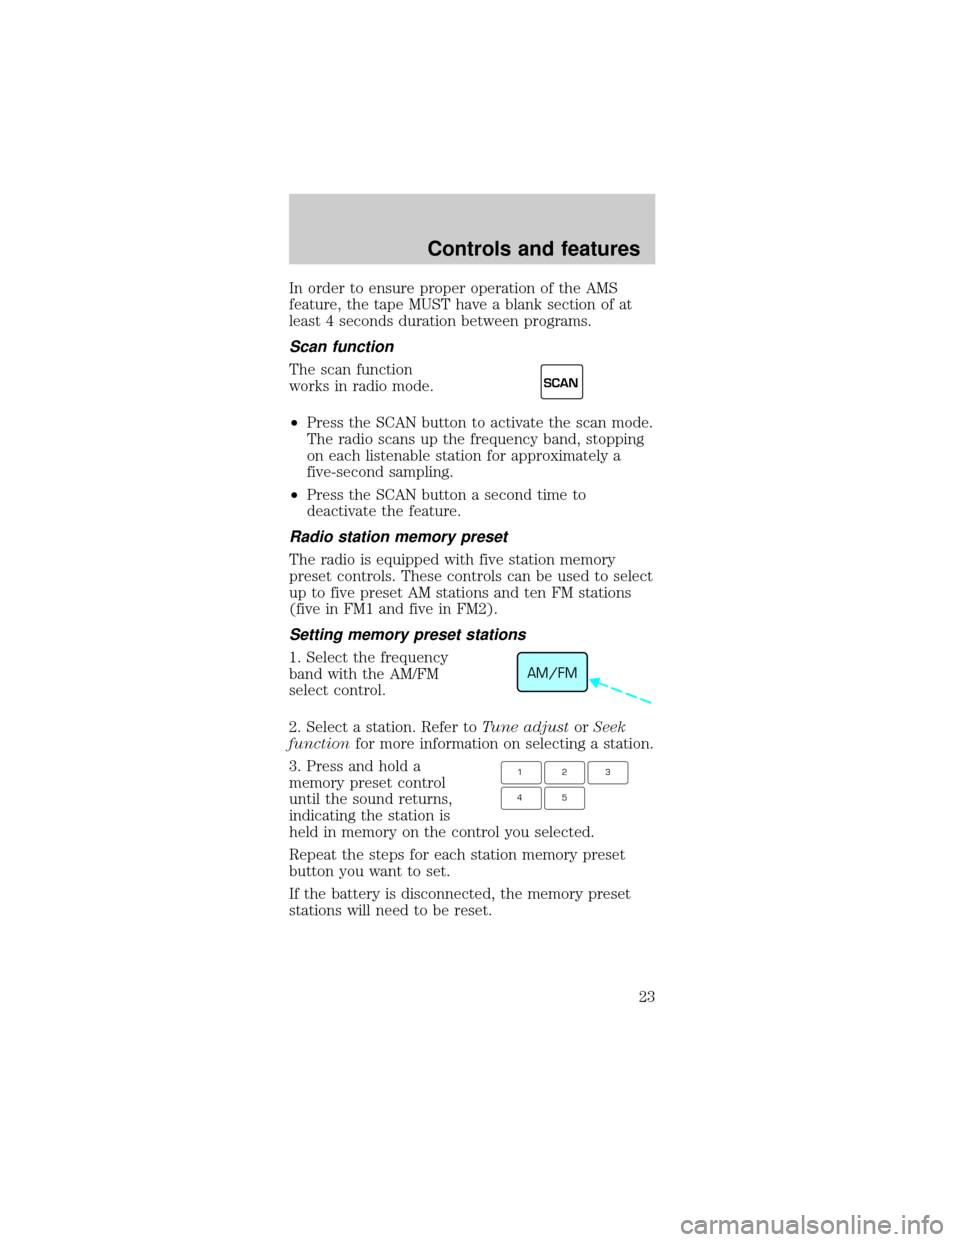
Scan function
The scan function
works in radio mode.
²Press the SCAN button to activate the scan mode.
The radio scans up the frequency band, stopping
on each listenable station for approximately a
five-second sampling.
²Press the SCAN button a second time to
deactivate the feature.
Radio station memory preset
The radio is equipped with five station memory
preset controls. These controls can be used to select
up to five preset AM stations and ten FM stations
(five in FM1 and five in FM2).
Setting memory preset stations
1. Select the frequency
band with the AM/FM
select control.
2. Select a station. Refer toTune adjustorSeek
functionfor more information on selecting a station.
3. Press and hold a
memory preset control
until the sound returns,
indicating the station is
held in memory on the control you selected.
Repeat the steps for each station memory preset
button you want to set.
If the battery is disconnected, the memory preset
stations will need to be reset.
SCAN
AM/FM
123
45
Controls and features
23
Page 30 of 192
²Pressto scan forward selections.
Press the SCAN/TUNE button again to stop the scan
mode on the current selection.
Radio station memory preset
The radio is equipped with five station memory
preset controls. These controls can be used to select
up to five preset AM stations and ten FM stations
(five in FM1 and five in FM2).
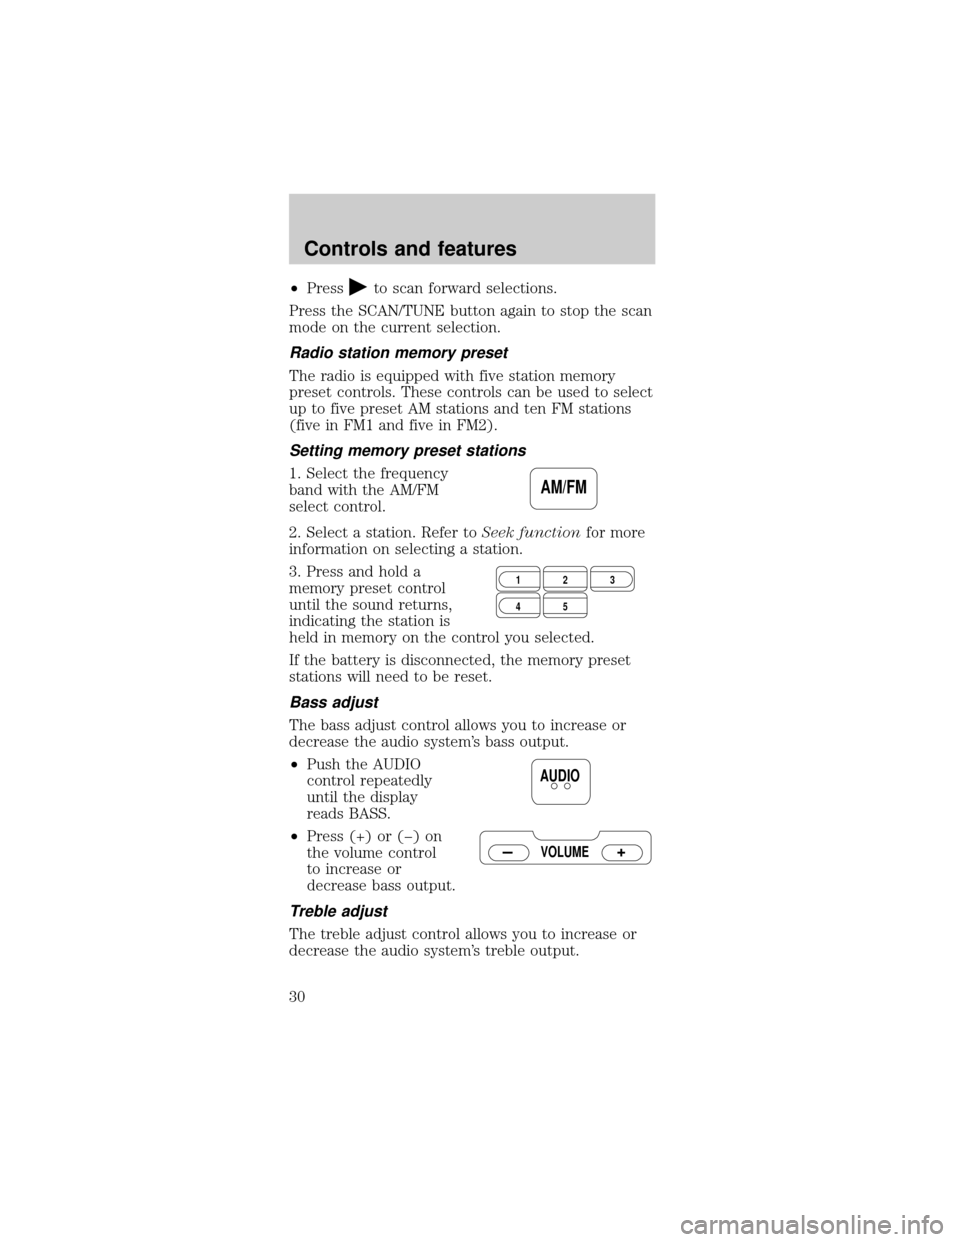
Setting memory preset stations
1. Select the frequency
band with the AM/FM
select control.
2. Select a station. Refer toSeek functionfor more
information on selecting a station.
3. Press and hold a
memory preset control
until the sound returns,
indicating the station is
held in memory on the control you selected.
If the battery is disconnected, the memory preset
stations will need to be reset.
Bass adjust
The bass adjust control allows you to increase or
decrease the audio system's bass output.
²Push the AUDIO
control repeatedly
until the display
reads BASS.
²Press (+) or (þ) on
the volume control
to increase or
decrease bass output.
Treble adjust
The treble adjust control allows you to increase or
decrease the audio system's treble output.
AM/FM
123
45
AUDIO
VOLUME
Controls and features
30
Page 35 of 192
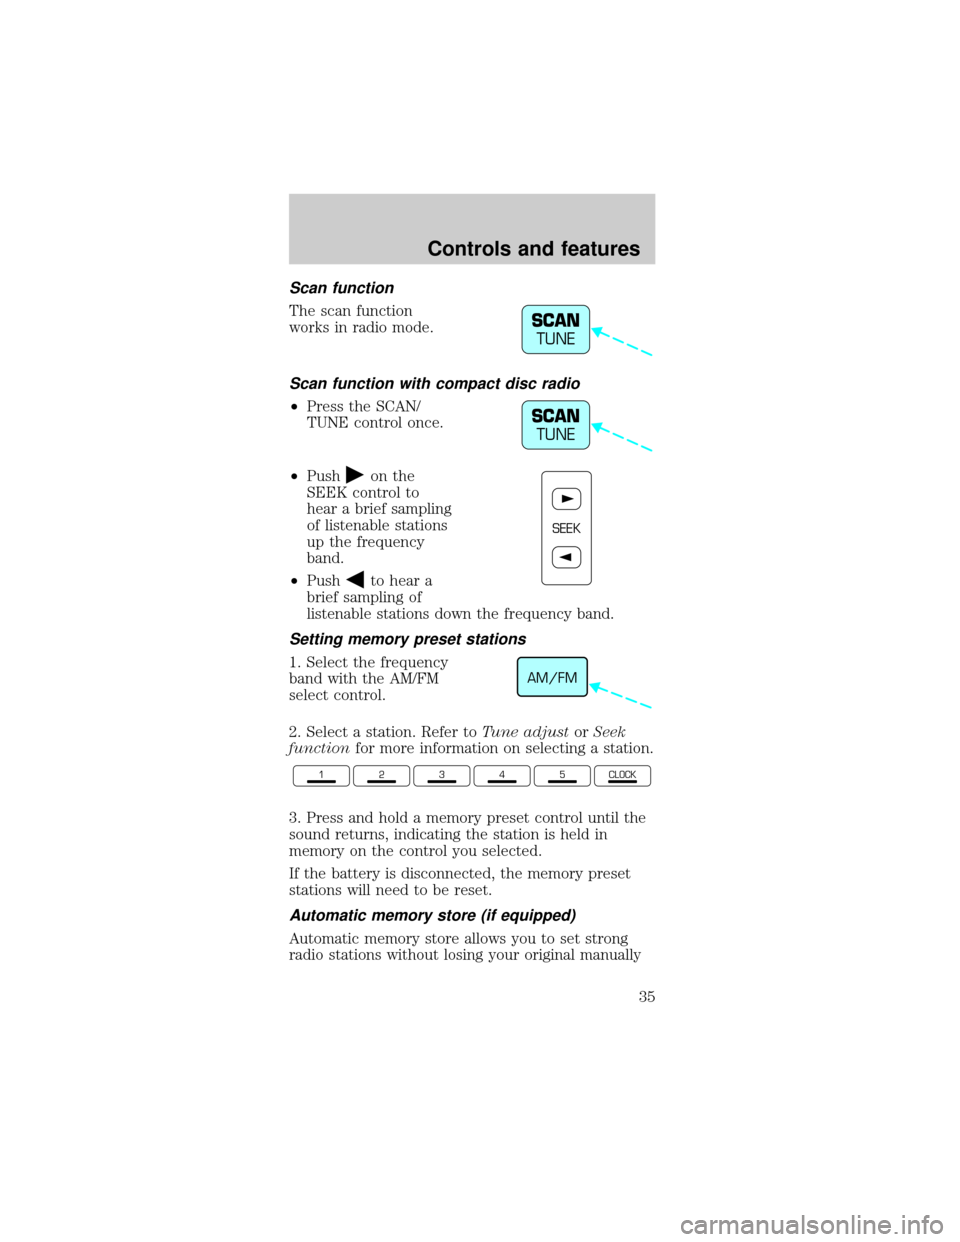
Scan function
The scan function
works in radio mode.
Scan function with compact disc radio
²Press the SCAN/
TUNE control once.
²Push
on the
SEEK control to
hear a brief sampling
of listenable stations
up the frequency
band.
²Push
to hear a
brief sampling of
listenable stations down the frequency band.
Setting memory preset stations
1. Select the frequency
band with the AM/FM
select control.
2. Select a station. Refer toTune adjustorSeek
functionfor more information on selecting a station.
3. Press and hold a memory preset control until the
sound returns, indicating the station is held in
memory on the control you selected.
If the battery is disconnected, the memory preset
stations will need to be reset.
Automatic memory store (if equipped)
Automatic memory store allows you to set strong
radio stations without losing your original manually
SCAN
TUNE
SCAN
TUNE
SEEK
AM/FM
12345CLOCK
Controls and features
35
Page 58 of 192
Changes or modifications not expressly
approved by the party responsible for
compliance could void the user's authority to
operate the equipment.
Illuminated entry
The interior lamps illuminate when the remote entry
system is used to unlock the door(s) or sound the
personal alarm.
The system automatically turns off after 25 seconds
or when the ignition is turned to the START/RUN or
ACC position. The dome lamp control (if equipped)
mustnotbe set to the OFF position for the
illuminated entry system to operate.
The inside lights will not turn off if:
²they have been turned on with the dimmer
control or
²any door is open.
The battery saver will shut off the interior lamps
30 minutes after the ignition has been turned to the
OFF position, 10 minutes after if the door is left
open, and 30 minutes after if the trunk is left open
or the dome lamp switch is left on.
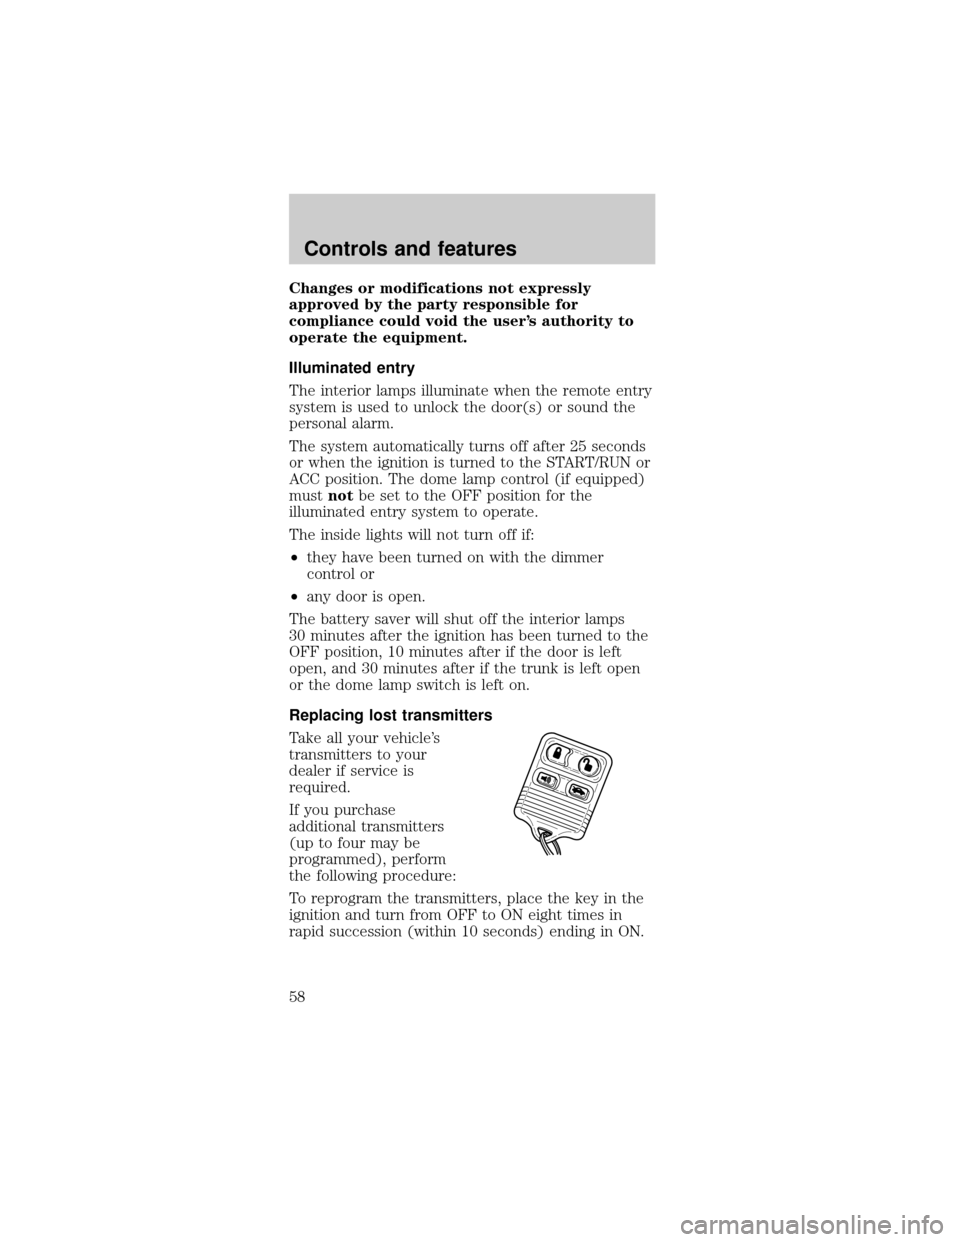
Replacing lost transmitters
Take all your vehicle's
transmitters to your
dealer if service is
required.
If you purchase
additional transmitters
(up to four may be
programmed), perform
the following procedure:
To reprogram the transmitters, place the key in the
ignition and turn from OFF to ON eight times in
rapid succession (within 10 seconds) ending in ON.
Controls and features
58
Page 113 of 192
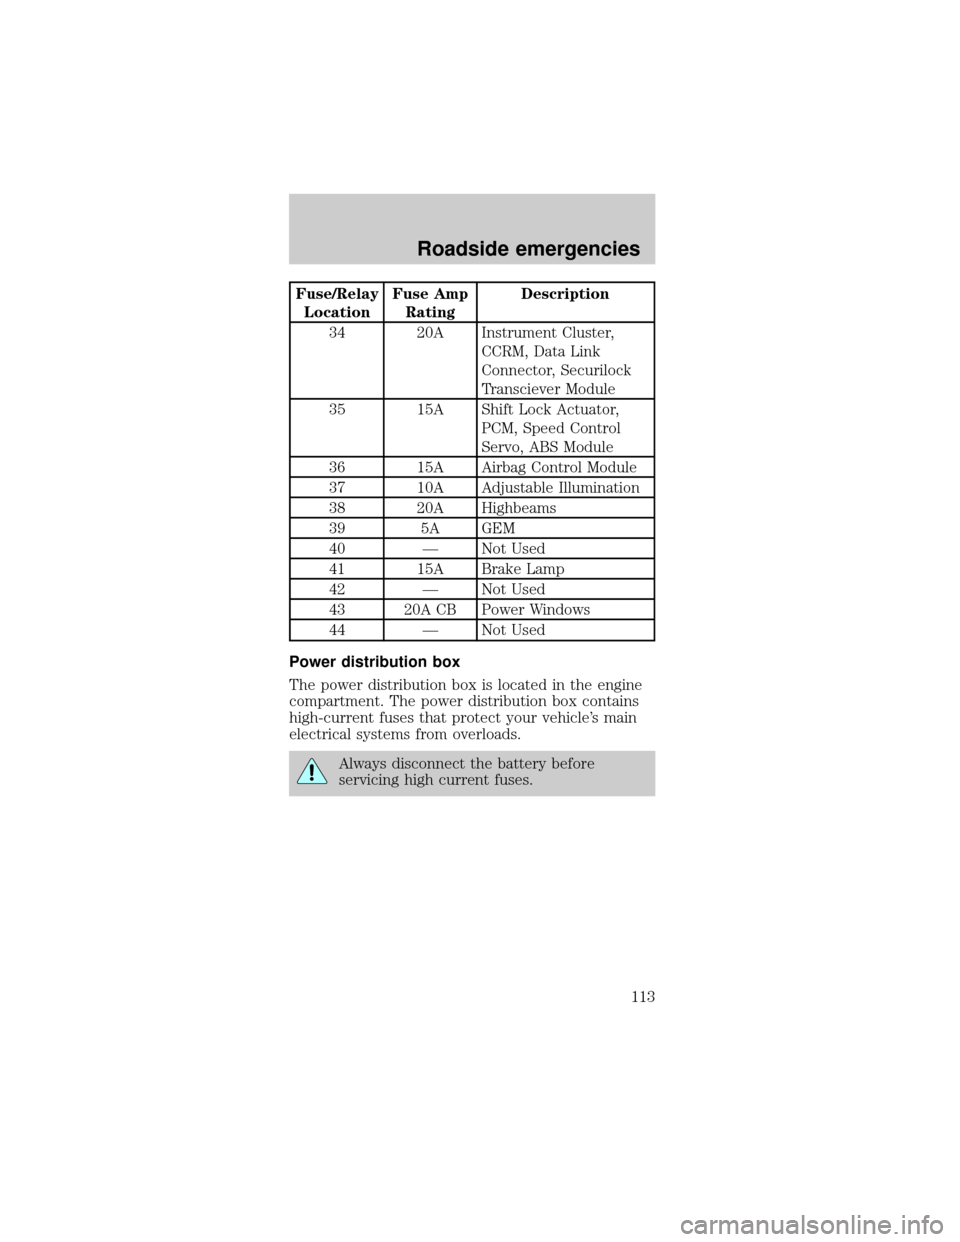
Fuse/Relay
LocationFuse Amp
RatingDescription
34 20A Instrument Cluster,
CCRM, Data Link
Connector, Securilock
Transciever Module
35 15A Shift Lock Actuator,
PCM, Speed Control
Servo, ABS Module
36 15A Airbag Control Module
37 10A Adjustable Illumination
38 20A Highbeams
39 5A GEM
40 Ð Not Used
41 15A Brake Lamp
42 Ð Not Used
43 20A CB Power Windows
44 Ð Not Used
Power distribution box
The power distribution box is located in the engine
compartment. The power distribution box contains
high-current fuses that protect your vehicle's main
electrical systems from overloads.
Always disconnect the battery before
servicing high current fuses.
Roadside emergencies
113
Page 114 of 192
Always replace the cover to the Power
Distribution Box before reconnecting the
battery or refilling fluid reservoirs.
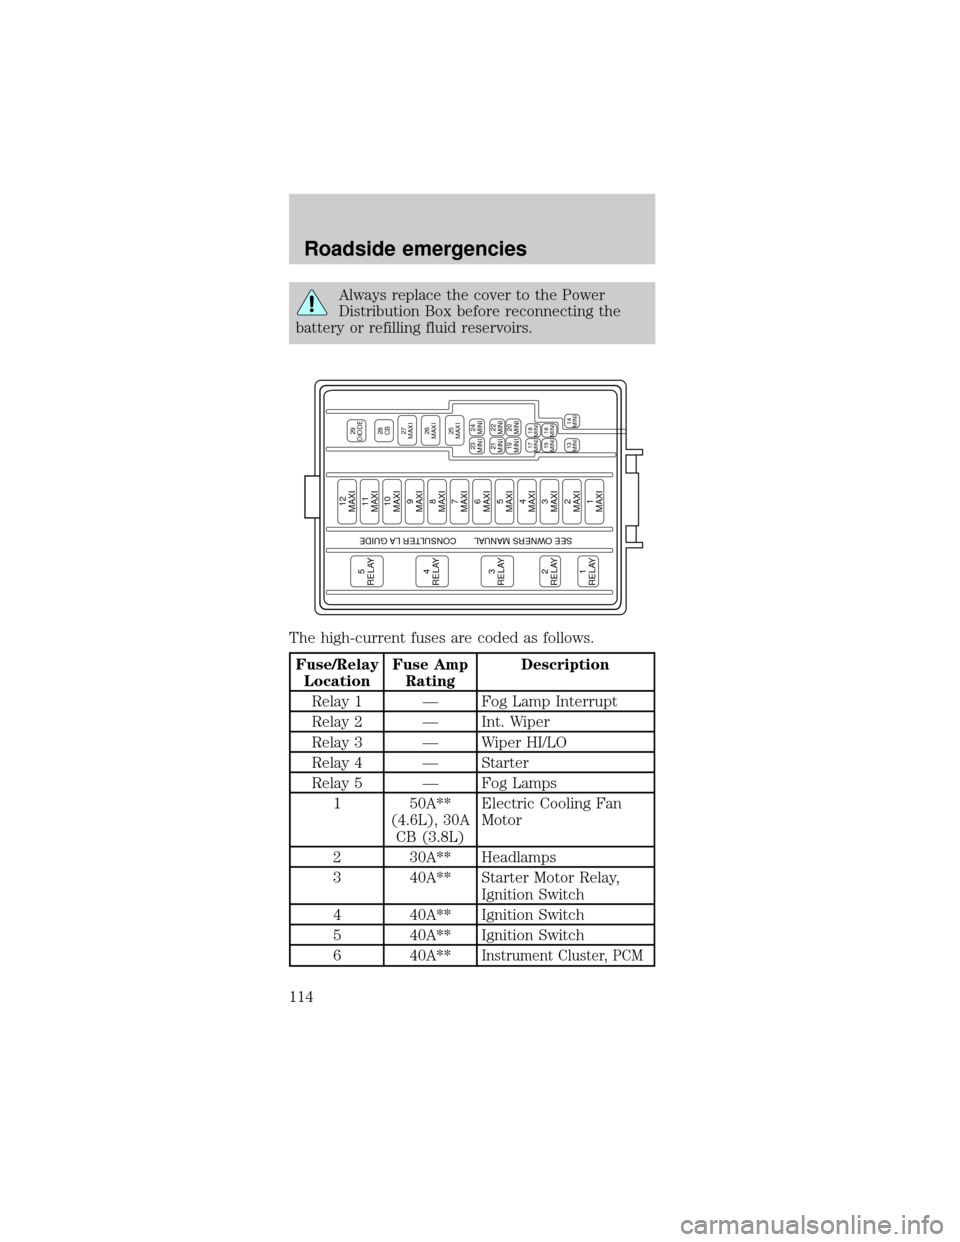
The high-current fuses are coded as follows.
Fuse/Relay
LocationFuse Amp
RatingDescription
Relay 1 Ð Fog Lamp Interrupt
Relay 2 Ð Int. Wiper
Relay 3 Ð Wiper HI/LO
Relay 4 Ð Starter
Relay 5 Ð Fog Lamps
1 50A**
(4.6L), 30A
CB (3.8L)Electric Cooling Fan
Motor
2 30A** Headlamps
3 40A** Starter Motor Relay,
Ignition Switch
4 40A** Ignition Switch
5 40A** Ignition Switch
6 40A**
Instrument Cluster, PCM
5
RELAY4
RELAY3
RELAY2
RELAY1
RELAY
12
MAXI
29
DIODE28
CB27
MAXI26
MAXI25
MAXI23
MINI
24
MINI
21
MINI
22
MINI
19
MINI17
MINI18
MINI15
MINI13
MINI
14
MINI16
MINI20
MINI
11
MAXI10
MAXI9
MAXI8
MAXI7
MAXI6
MAXI5
MAXI4
MAXI3
MAXI2
MAXI1
MAXI
SEE OWNERS MANUAL CONSULTER LA GUIDE
Roadside emergencies
114
Page 120 of 192
JUMP STARTING YOUR VEHICLE
The gases around the battery can explode if
exposed to flames, sparks, or lit cigarettes.
An explosion could result in injury or vehicle
damage.
Do not push start your vehicle. You could
damage the catalytic converter.
Batteries contain sulfuric acid which can
burn skin, eyes, and clothing, if contacted.
Do not attempt to push start your vehicle.
Automatic transmissions do not have
push-start capability.
Preparing your vehicle
1.Use only a 12±volt supply to start your
vehicle.
2. Do not disconnect the battery of the disabled
vehicle as this could damage the vehicle's electrical
system.
3. Park the booster vehicle close to the hood of the
disabled vehicle making sure the two vehiclesdo
nottouch. Set the parking brake on both vehicles
and stay clear of the engine cooling fan and other
moving parts.
4. Check all battery terminals and remove any
excessive corrosion before you attach the battery
cables. Ensure that vent caps are tight and level.
5. Turn the heater fan on in both vehicles to protect
any electrical surges. Turn all other accessories off.
Roadside emergencies
120
Page 121 of 192

Connecting the jumper cables
1. Connect the positive (+) booster cable to the
positive (+) terminal of the discharged battery.
Note:In the illustrations,lightning boltsare used
to designate the assisting (boosting) battery.
2. Connect the other end of the positive (+) cable to
the positive (+) terminal of the assisting battery.
3. Connect the negative (-) cable to the negative (-)
terminal of the assisting battery.
+–+–
+–+–
+–+–
Roadside emergencies
121