service indicator FORD MUSTANG 1998 4.G Owners Manual
[x] Cancel search | Manufacturer: FORD, Model Year: 1998, Model line: MUSTANG, Model: FORD MUSTANG 1998 4.GPages: 192, PDF Size: 1.67 MB
Page 6 of 192
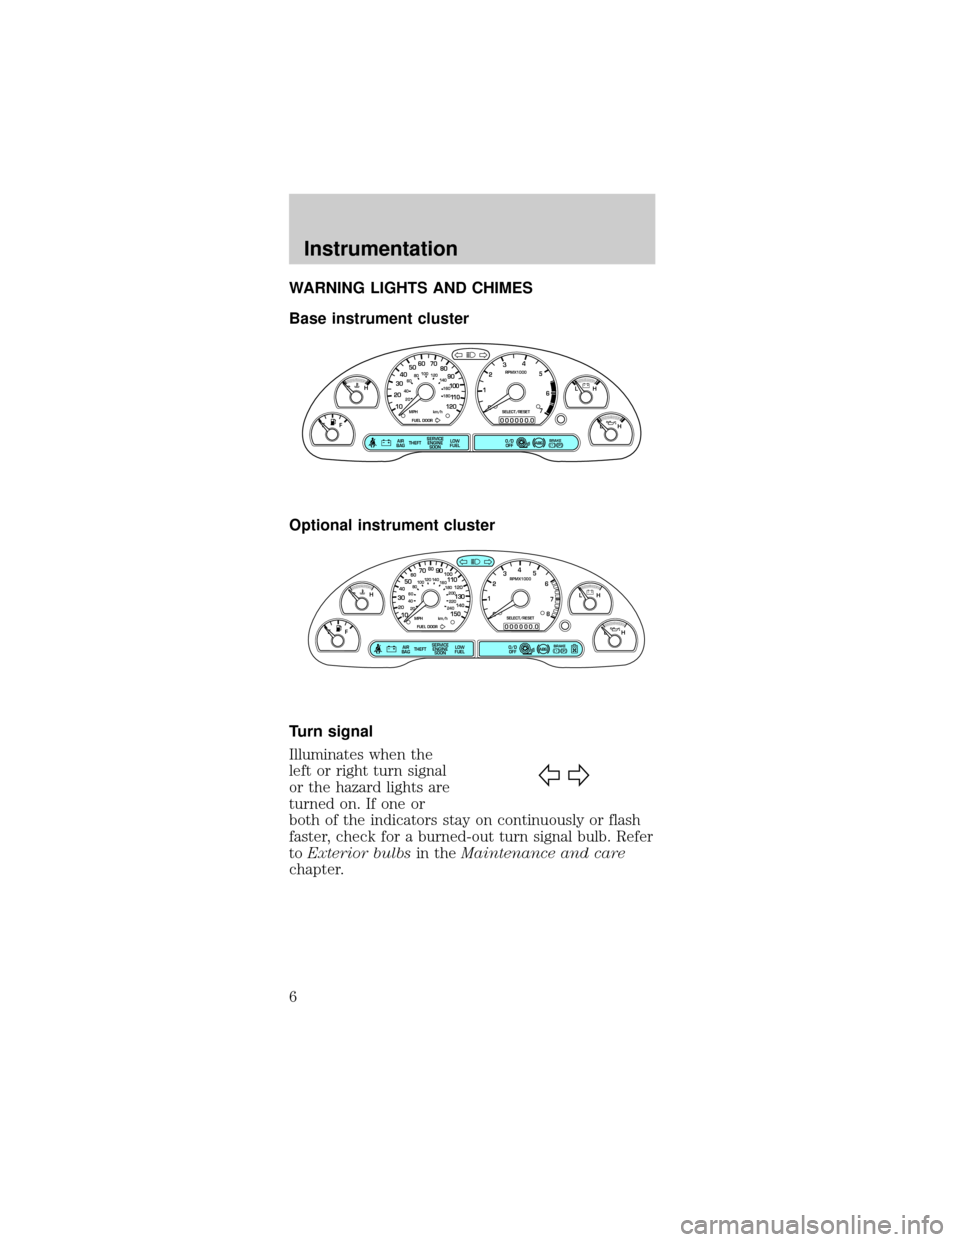
WARNING LIGHTS AND CHIMES
Base instrument cluster
Optional instrument cluster
Turn signal
Illuminates when the
left or right turn signal
or the hazard lights are
turned on. If one or
both of the indicators stay on continuously or flash
faster, check for a burned-out turn signal bulb. Refer
toExterior bulbsin theMaintenance and care
chapter.
P! BRAKE
L
0
00000 00
C
E
FH
LH
10 203020 406080100
120
140
160
180
405060 70
80
90
100
11 0
1204
5
6
7 3
2
1
H
THEFT
RPMX1000
FUEL DOORSELECT/RESET
LOW
FUELO/D
OFF AIR
BAGSERVICE
ENGINE
SOON
MPH km/h
ABS
.
P! BRAKE
L
0
00000 00
C
E
FH
LH
102040608020 40608010 012 0 14 0
160
180
200
220
240
100
120
140
305070 90
110
13 0
1504
5
6
7
8 3
2
1
H
THEFT
RPMX1000
FUEL DOORSELECT/RESET
LOW
FUELO/D
OFF AIR
BAGSERVICE
ENGINE
SOON
MPH km/h
ABS
.
Instrumentation
6
Page 8 of 192

Service engine soon
Your vehicle is
equipped with a
computer that monitors
the engine's emission
control system. This
system is commonly known as the On Board
Diagnostics System (OBD II). The OBD II system
protects the environment by ensuring that your
vehicle continues to meet government emission
standards. The OBD II system also assists the
service technician in properly servicing your vehicle.
TheService Engine Soonindicator light illuminates
when the ignition is first turned to the ON position
to check the bulb. If it comes on after the engine is
started, one of the engine's emission control systems
may be malfunctioning. The light may illuminate
without a driveability concern being noted. The
vehicle will usually be drivable and will not require
towing.
What you should do if the Service Engine Soon
light illuminates
Light turns on solid:
This means that the OBD II system has detected a
malfunction.
Temporary malfunctions may cause yourService
Engine Soonlight to illuminate. Examples are:
1. The vehicle has run out of fuel. (The engine may
misfire or run poorly.)
2. Poor fuel quality or water in the fuel.
3. The fuel cap may not have been properly installed
and securely tightened.
These temporary malfunctions can be corrected by
filling the fuel tank with good quality fuel and/or
properly installing and securely tightening the gas
cap. After three driving cycles without these or any
other temporary malfunctions present, theService
Engine Soonlight should turn off. (A driving cycle
SERVICE
ENGINE
SOON
Instrumentation
8
Page 61 of 192
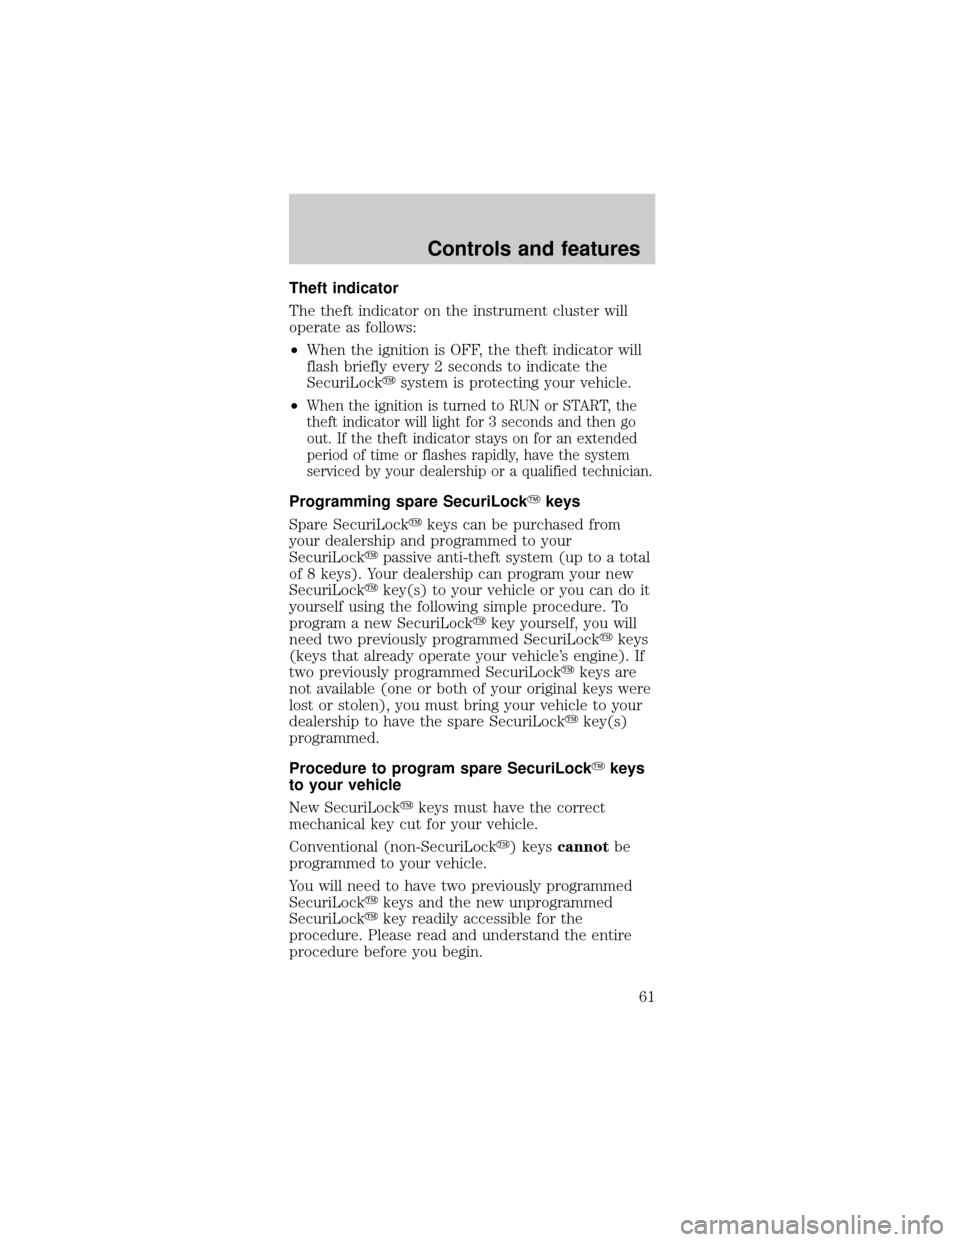
Theft indicator
The theft indicator on the instrument cluster will
operate as follows:
²When the ignition is OFF, the theft indicator will
flash briefly every 2 seconds to indicate the
SecuriLockysystem is protecting your vehicle.
²
When the ignition is turned to RUN or START, the
theft indicator will light for 3 seconds and then go
out. If the theft indicator stays on for an extended
period of time or flashes rapidly, have the system
serviced by your dealership or a qualified technician.
Programming spare SecuriLockYkeys
Spare SecuriLockykeys can be purchased from
your dealership and programmed to your
SecuriLockypassive anti-theft system (up to a total
of 8 keys). Your dealership can program your new
SecuriLockykey(s) to your vehicle or you can do it
yourself using the following simple procedure. To
program a new SecuriLockykey yourself, you will
need two previously programmed SecuriLockykeys
(keys that already operate your vehicle's engine). If
two previously programmed SecuriLockykeys are
not available (one or both of your original keys were
lost or stolen), you must bring your vehicle to your
dealership to have the spare SecuriLockykey(s)
programmed.
Procedure to program spare SecuriLockYkeys
to your vehicle
New SecuriLockykeys must have the correct
mechanical key cut for your vehicle.
Conventional (non-SecuriLocky) keyscannotbe
programmed to your vehicle.
You will need to have two previously programmed
SecuriLockykeys and the new unprogrammed
SecuriLockykey readily accessible for the
procedure. Please read and understand the entire
procedure before you begin.
Controls and features
61
Page 132 of 192
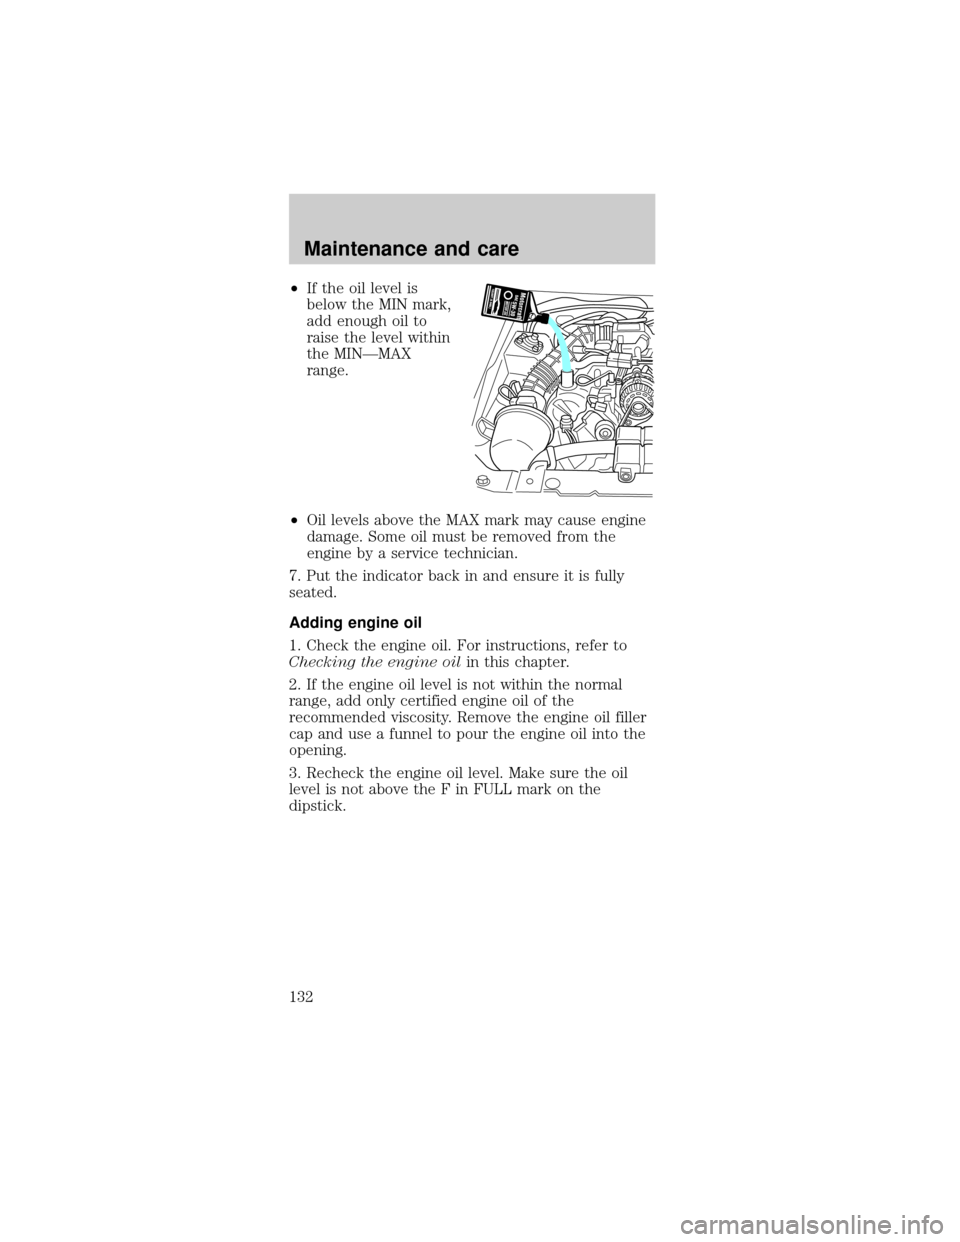
²If the oil level is
below the MIN mark,
add enough oil to
raise the level within
the MINÐMAX
range.
²Oil levels above the MAX mark may cause engine
damage. Some oil must be removed from the
engine by a service technician.
7. Put the indicator back in and ensure it is fully
seated.
Adding engine oil
1. Check the engine oil. For instructions, refer to
Checking the engine oilin this chapter.
2. If the engine oil level is not within the normal
range, add only certified engine oil of the
recommended viscosity. Remove the engine oil filler
cap and use a funnel to pour the engine oil into the
opening.
3. Recheck the engine oil level. Make sure the oil
level is not above the F in FULL mark on the
dipstick.
Maintenance and care
132
Page 146 of 192
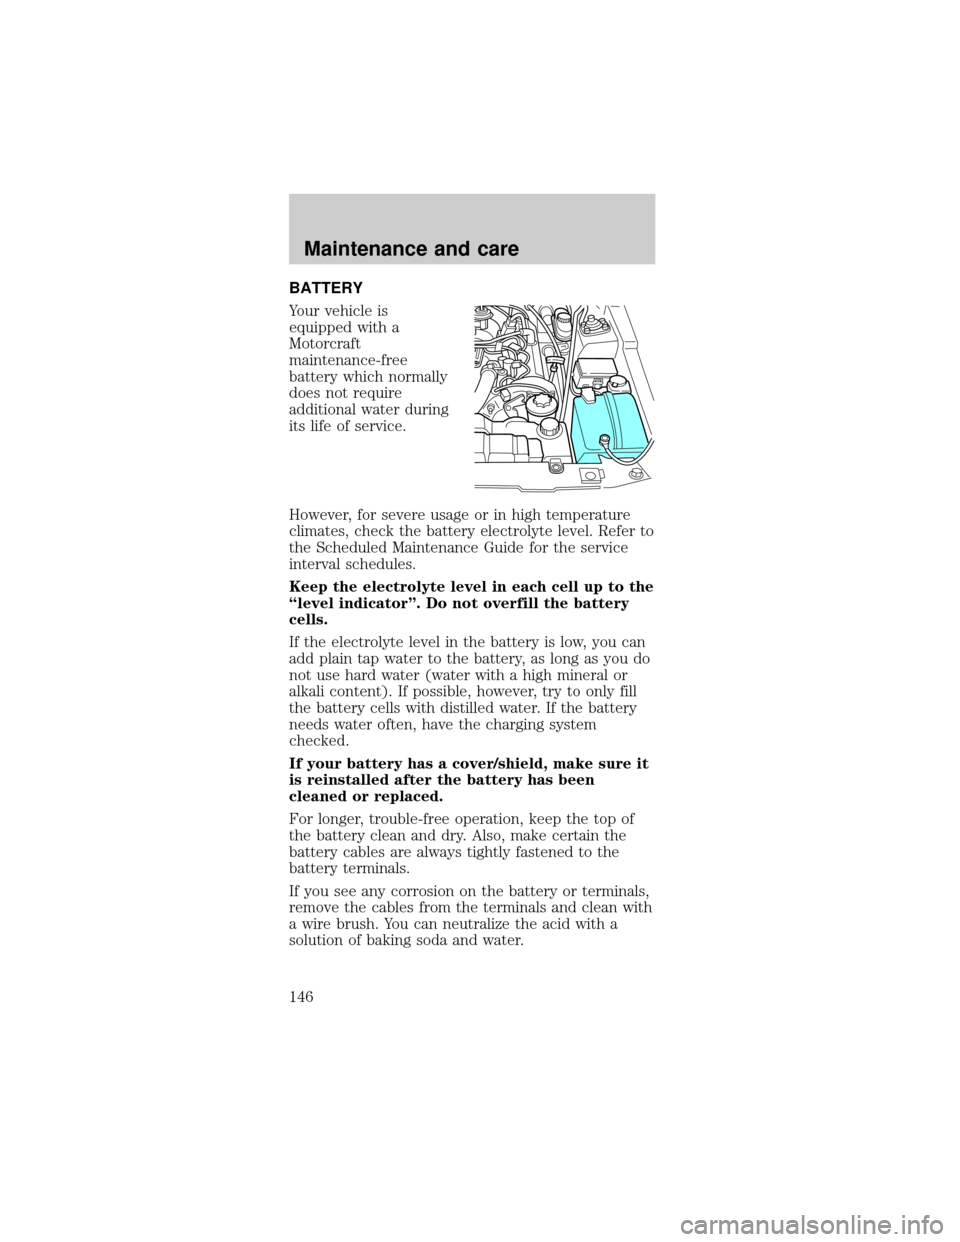
BATTERY
Your vehicle is
equipped with a
Motorcraft
maintenance-free
battery which normally
does not require
additional water during
its life of service.
However, for severe usage or in high temperature
climates, check the battery electrolyte level. Refer to
the Scheduled Maintenance Guide for the service
interval schedules.
Keep the electrolyte level in each cell up to the
ªlevel indicatorº. Do not overfill the battery
cells.
If the electrolyte level in the battery is low, you can
add plain tap water to the battery, as long as you do
not use hard water (water with a high mineral or
alkali content). If possible, however, try to only fill
the battery cells with distilled water. If the battery
needs water often, have the charging system
checked.
If your battery has a cover/shield, make sure it
is reinstalled after the battery has been
cleaned or replaced.
For longer, trouble-free operation, keep the top of
the battery clean and dry. Also, make certain the
battery cables are always tightly fastened to the
battery terminals.
If you see any corrosion on the battery or terminals,
remove the cables from the terminals and clean with
a wire brush. You can neutralize the acid with a
solution of baking soda and water.
Maintenance and care
146
Page 156 of 192
2. Carefully turn the filler cap counterclockwise 1/8
of a turn until it stops.
3. Pull to remove the cap from the fuel filler pipe.
4. To install the cap, align the tabs on the cap with
the notches on the filler pipe.
5. Turn the filler cap clockwise 1/8 of a turn until it
stops.
If the ªService Engine Soon/Check Engineº indicator
comes on and stays on when you start the engine,
the fuel filler cap may not be properly installed.
Turn off the engine, remove the fuel filler cap and
reinstall it being careful to align the cap properly.
If you must replace the fuel filler cap, replace
it with a genuine Ford or Motorcraft part. The
customer warranty may be void for any damage
to the fuel tank or fuel system if a genuine
Ford or Motorcraft fuel filler cap is not used.
The fuel system may be under pressure. If
the fuel filler cap is venting vapor or if you
hear a hissing sound, wait until it stops before
completely removing the fuel filler cap. Otherwise,
fuel may spray out and injure you or others.
If you do not use the proper fuel filler cap,
the pressure in the fuel tank can damage
the fuel system or cause it to work improperly in a
collision.
Choosing the right fuel
Use only UNLEADED FUEL. The use of leaded fuel
is prohibited by law and could damage your vehicle.
Do not use gasolines containing methanol. It can
damage critical fuel systems components.
Vehicles certified to meet California emission
standards (indicated on the underhood Vehicle
Maintenance and care
156
Page 186 of 192

Air bag supplemental
restraint system ........ 71
and child
safety seats ............. 73
description .............. 72
disposal .................... 76
indicator light ......... 75
passenger air bag ... 74
Automatic transmission
driving an automatic
overdrive .. 94,95,96,97
Axle
refill capacities ...... 178
Battery
voltage gauge .......... 15
Brakes ................... 88,90
anti-lock .............. 88,89
anti-lock brake
system (ABS)
warning light ........... 89
fluid, checking
and adding ............ 133
shift interlock .......... 93
Break-in period ........ 2,3
Child safety seats
attaching with
tether straps ........... 82
in rear seat .............. 80
tether anchorage
hardware ................. 82
Cleaning
your vehicle ............. 171
engine
compartment ......... 173
exterior ........... 173,176
exterior lamps ....... 174
interior ................... 175
plastic parts .......... 174
washing .................. 172
waxing ................... 172
wheels .................... 173
windows ................ 176wiper blades .......... 174
Clutch
fluid ........................ 135
operation
while driving ........... 98
recommended shift
speeds ...................... 99
Console ...................... 52
Controls
power seat ............... 64
Convertible ................ 53
cleaning ................. 176
installation
of the boot .............. 54
lowering the
convertible top ........ 53
raising the
convertible top ........ 55
Coolant ............. 139,140
checking
and adding ............ 138
refill capacities ...... 140
Defrost
rear window ............ 17
Emission
control system ......... 163
Engine
coolant ................... 137
idle speed control . 146
service points . 129,130
starting after a
collision ................. 108
Engine block heater . 86
Engine oil
checking
and adding ............ 132
dipstick .................. 130
specifications . 130,133
Exhaust fumes .......... 87
Floor mats ................. 51
Index
186
Page 187 of 192

Fuel
choosing
the right fuel ......... 156
comparisons with EPA
fuel economy
estimates ............... 163
detergent in fuel ... 158
filling your vehicle
with fuel ......... 154,155
gauge ....................... 12
quality .................... 157
running
out of fuel ............. 158
safety information
relating to automotive
fuels ....................... 154
Fuses ................. 109,110
Gas mileage (see
Fuel economy) ........ 159
160,161,162
Gauges ....................... 12
engine coolant
temperature gauge . 13
engine oil pressure
gauge ....................... 15
Hazard flashers ....... 108
Head restraints ......... 63
Headlamps
aiming ............. 170,171
bulb
specifications ........ 170
high beam ............ 7,44
warning chime ........ 11
Heating ...................... 18
heating and air
conditioning
system ................ 18,20
Hood ........................ 128
Ignition ..................... 182
Inspection/maintenance
(I/M) testing ............ 164
Instrument panel ........ 6cleaning ................. 175
Keys
key in ignition
chime ....................... 11
positions of the
ignition .................... 45
removing from the
ignition .................. 101
Lamps
daytime
running light ........... 16
fog lamps ................. 52
headlamps ............... 16
headlamps, flash to
pass .......................... 44
instrument panel,
dimming ................... 17
interior
lamps ......... 49,169,170
replacing bulbs ..... 165
166,167,168,169
Lane change indicator
(see Turn signal) ...... 43
Lights, warning and
indicator
air bag ........................ 7
anti-lock brakes
(ABS) ...................... 10
anti-theft ................... 7
brake ........................ 10
charging system ........ 7
check coolant .......... 11
low fuel ...................... 9
overdrive off .............. 9
safety belt ................. 7
service engine soon .. 8
turn signal indicator . 6
Lumbar support,
seats ...................... 65,66
Manual transmission
reverse ................... 100
Index
187