transmission FORD MUSTANG 1998 4.G Owners Manual
[x] Cancel search | Manufacturer: FORD, Model Year: 1998, Model line: MUSTANG, Model: FORD MUSTANG 1998 4.GPages: 192, PDF Size: 1.67 MB
Page 9 of 192
consists of a cold engine startup followed by mixed
city/highway driving.) No additional vehicle service is
required.
If theService Engine Soonlight remains on, have
your vehicle serviced at the first available
opportunity.
Light is blinking:
Engine misfire is occurring which could damage your
catalytic converter. You should drive in a moderate
fashion (avoid heavy acceleration and deceleration)
and have your vehicle serviced at the first available
opportunity.
Under engine misfire conditions, excessive
exhaust temperatures could damage the
catalytic converter, the fuel system, interior floor
coverings or other vehicle components, possibly
causing a fire.
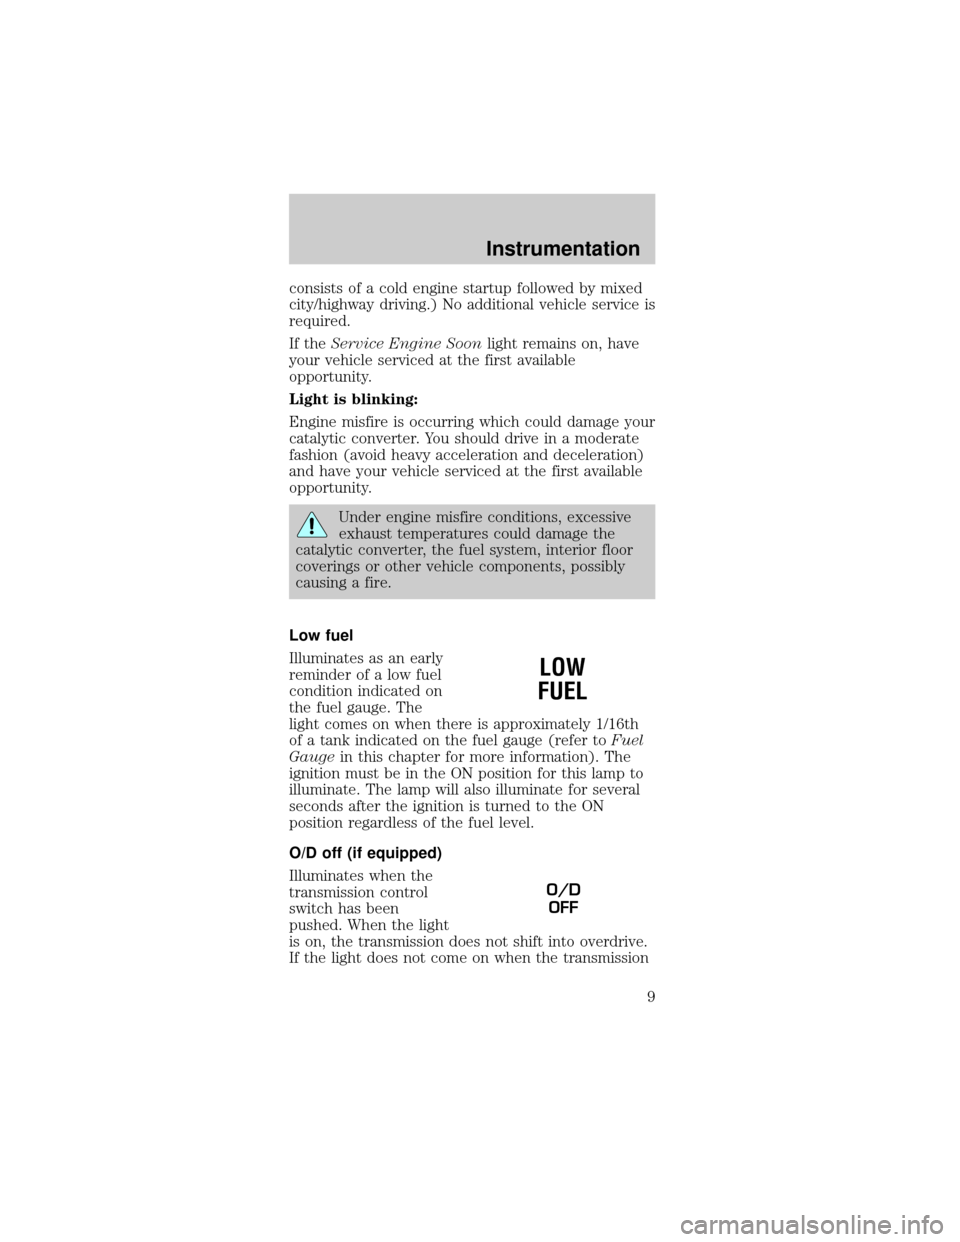
Low fuel
Illuminates as an early
reminder of a low fuel
condition indicated on
the fuel gauge. The
light comes on when there is approximately 1/16th
of a tank indicated on the fuel gauge (refer toFuel
Gaugein this chapter for more information). The
ignition must be in the ON position for this lamp to
illuminate. The lamp will also illuminate for several
seconds after the ignition is turned to the ON
position regardless of the fuel level.
O/D off (if equipped)
Illuminates when the
transmission control
switch has been
pushed. When the light
is on, the transmission does not shift into overdrive.
If the light does not come on when the transmission
LOW
FUEL
O/D
OFF
Instrumentation
9
Page 45 of 192
POSITIONS OF THE IGNITION
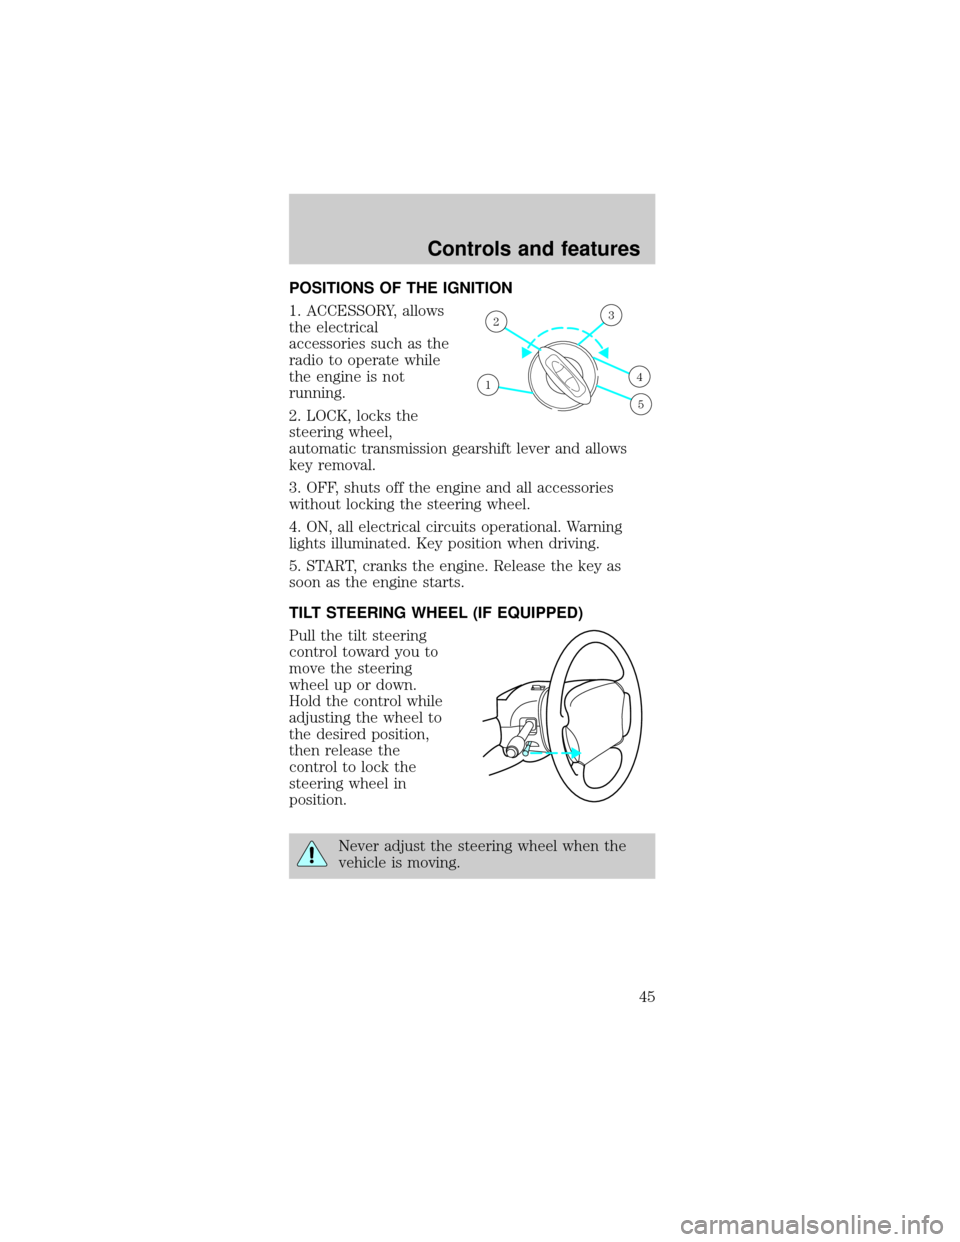
1. ACCESSORY, allows
the electrical
accessories such as the
radio to operate while
the engine is not
running.
2. LOCK, locks the
steering wheel,
automatic transmission gearshift lever and allows
key removal.
3. OFF, shuts off the engine and all accessories
without locking the steering wheel.
4. ON, all electrical circuits operational. Warning
lights illuminated. Key position when driving.
5. START, cranks the engine. Release the key as
soon as the engine starts.
TILT STEERING WHEEL (IF EQUIPPED)
Pull the tilt steering
control toward you to
move the steering
wheel up or down.
Hold the control while
adjusting the wheel to
the desired position,
then release the
control to lock the
steering wheel in
position.
Never adjust the steering wheel when the
vehicle is moving.
1
23
4
5
Controls and features
45
Page 84 of 192
Important safety precautions
A computer system controls the engine's idle
revolutions per minute (RPM). When the engine
starts, the idle RPM runs faster to warm the engine.
If the engine idle speed does not slow down
automatically, have the vehicle checked. Do not
allow the vehicle to idle for more than ten minutes
at high engine RPM.
Before starting the vehicle:
1. Make sure all vehicle occupants have buckled
their safety belts. For more information on safety
belts and their proper usage, refer to theSeating
and safety restraintschapter.
2. Make sure the headlamps and vehicle accessories
are off.
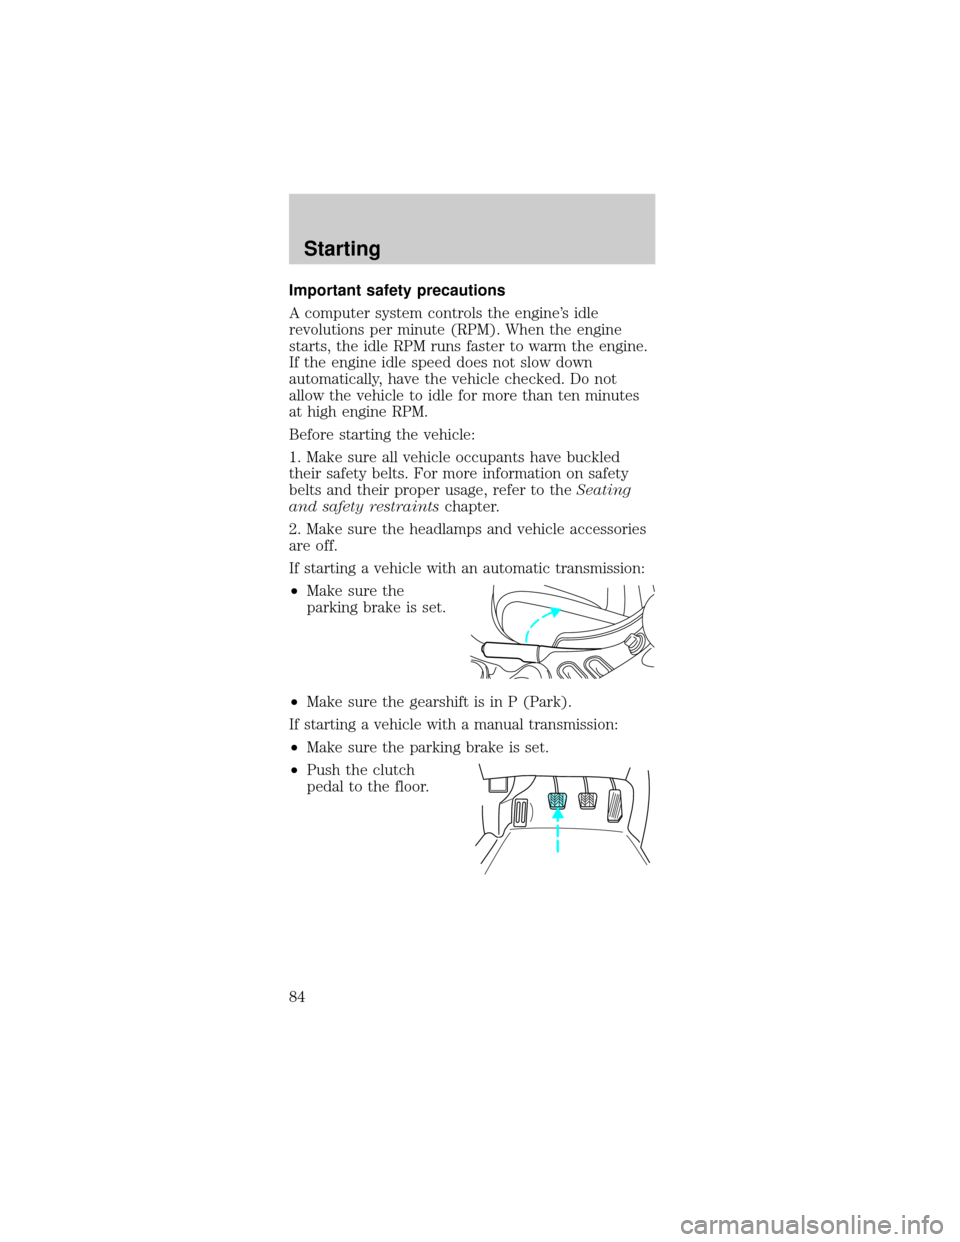
If starting a vehicle with an automatic transmission:
²Make sure the
parking brake is set.
²Make sure the gearshift is in P (Park).
If starting a vehicle with a manual transmission:
²Make sure the parking brake is set.
²Push the clutch
pedal to the floor.
Starting
84
Page 91 of 192
The parking brake is not recommended to stop a
moving vehicle. However, if the normal brakes fail,
the parking brake can be used to stop your vehicle
in an emergency. Since the parking brake applies
only the rear brakes, the vehicle's stopping distance
will increase greatly and the handling of your vehicle
will be adversely affected.
Always set the parking brake fully and make
sure that the gearshift is securely latched in
P (Park) (automatic transmission) or in 1 (First)
(manual transmission).
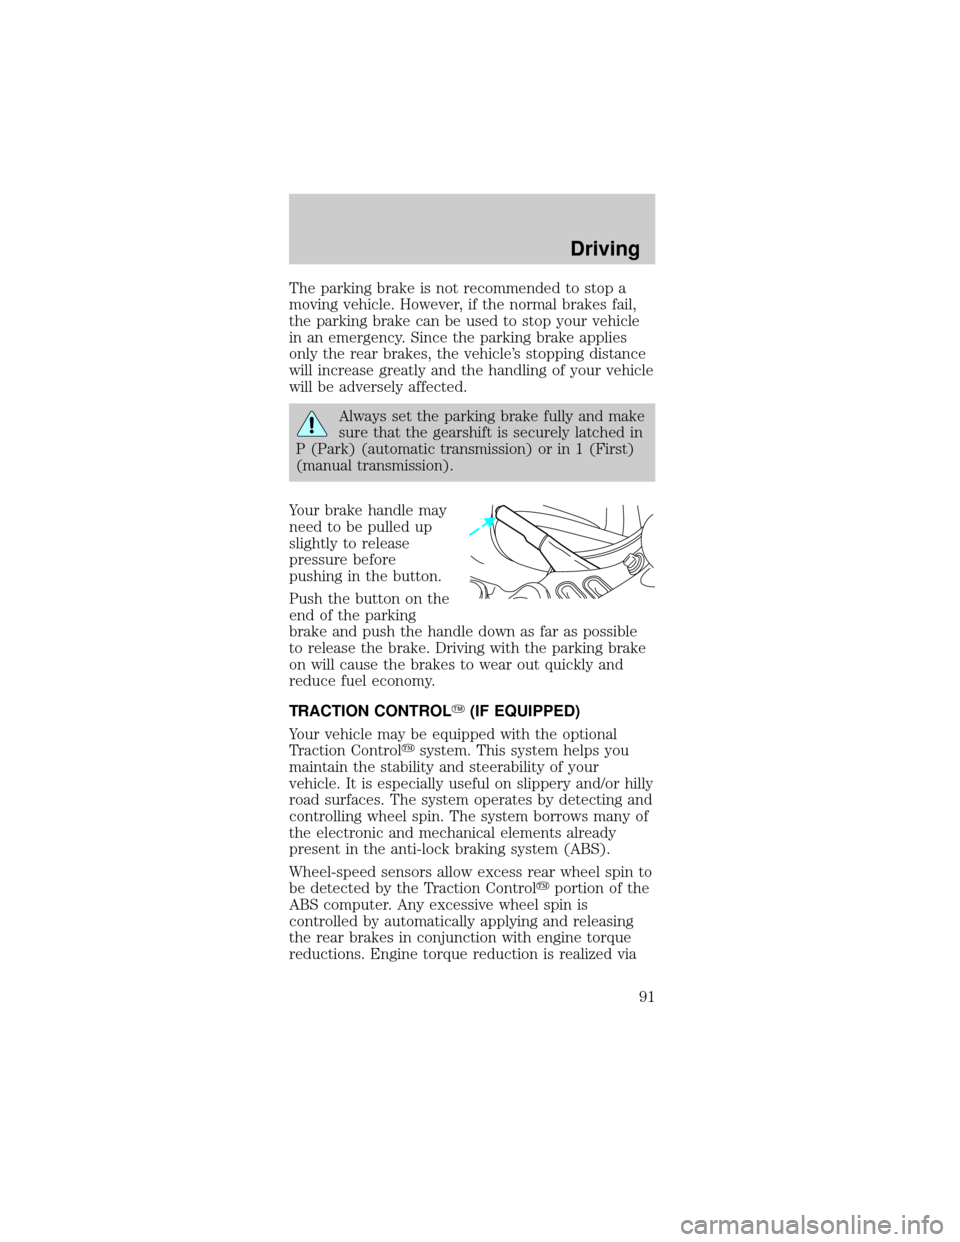
Your brake handle may
need to be pulled up
slightly to release
pressure before
pushing in the button.
Push the button on the
end of the parking
brake and push the handle down as far as possible
to release the brake. Driving with the parking brake
on will cause the brakes to wear out quickly and
reduce fuel economy.
TRACTION CONTROLY(IF EQUIPPED)
Your vehicle may be equipped with the optional
Traction Controlysystem. This system helps you
maintain the stability and steerability of your
vehicle. It is especially useful on slippery and/or hilly
road surfaces. The system operates by detecting and
controlling wheel spin. The system borrows many of
the electronic and mechanical elements already
present in the anti-lock braking system (ABS).
Wheel-speed sensors allow excess rear wheel spin to
be detected by the Traction Controlyportion of the
ABS computer. Any excessive wheel spin is
controlled by automatically applying and releasing
the rear brakes in conjunction with engine torque
reductions. Engine torque reduction is realized via
Driving
91
Page 93 of 192
If the power steering system breaks down (or if the
engine is turned off), you can steer the vehicle
manually, but it takes more effort.
If the steering wanders or pulls, the condition could
be caused by any of the following:
²underinflated tire(s) on any wheel(s)
²high crown in center of road
²high crosswinds
²wheels out of alignment
²loose or worn components in steering linkage
AUTOMATIC TRANSMISSION OPERATION
(IF EQUIPPED)
Brake-shift interlock
This vehicle is equipped with a brake-shift interlock
feature that prevents the gearshift from being moved
from P (Park) unless the brake pedal is depressed.
If you cannot move the gearshift out of P (Park)
with the brake pedal depressed:
1. Apply the parking brake, turn ignition key to
LOCK, then remove the key.
2. Insert the key and turn it to OFF. Apply the brake
pedal and shift to N (Neutral).
3. Start the vehicle.
If it is necessary to use the above procedure to
move the gearshift, it is possible that a fuse has
blown or the vehicle's brakelamps are not operating
properly. Refer toFuses and relaysin theRoadside
emergencieschapter.
Do not drive your vehicle until you verify
that the brakelamps are working.
If your vehicle gets stuck in mud or snow it may be
rocked out by shifting from forward and reverse
gears, stopping between shifts, in a steady pattern.
Driving
93
Page 94 of 192
Press lightly on the accelerator in each gear.
Do not rock the vehicle for more than a few
minutes. The transmission and tires may be
damaged or the engine may overheat.
Always set the parking brake fully and make
sure the gearshift is latched in P (Park).
Turn off the ignition whenever you leave your
vehicle.
If the parking brake is fully released, but the
brake warning lamp remains illuminated, the
brakes may not be working properly. See your
dealer or a qualified service technician.
Driving with a 4±speed automatic transmission
(if equipped)
Understanding gearshift positions
Pull the gearshift lever towards you and downward
to move the automatic gearshift.
Hold the brake pedal down while you move
the gearshift lever from P (Park) to another
position. If you do not hold the brake pedal down,
your vehicle may move unexpectedly and injure
someone.
Driving
94
Page 95 of 192
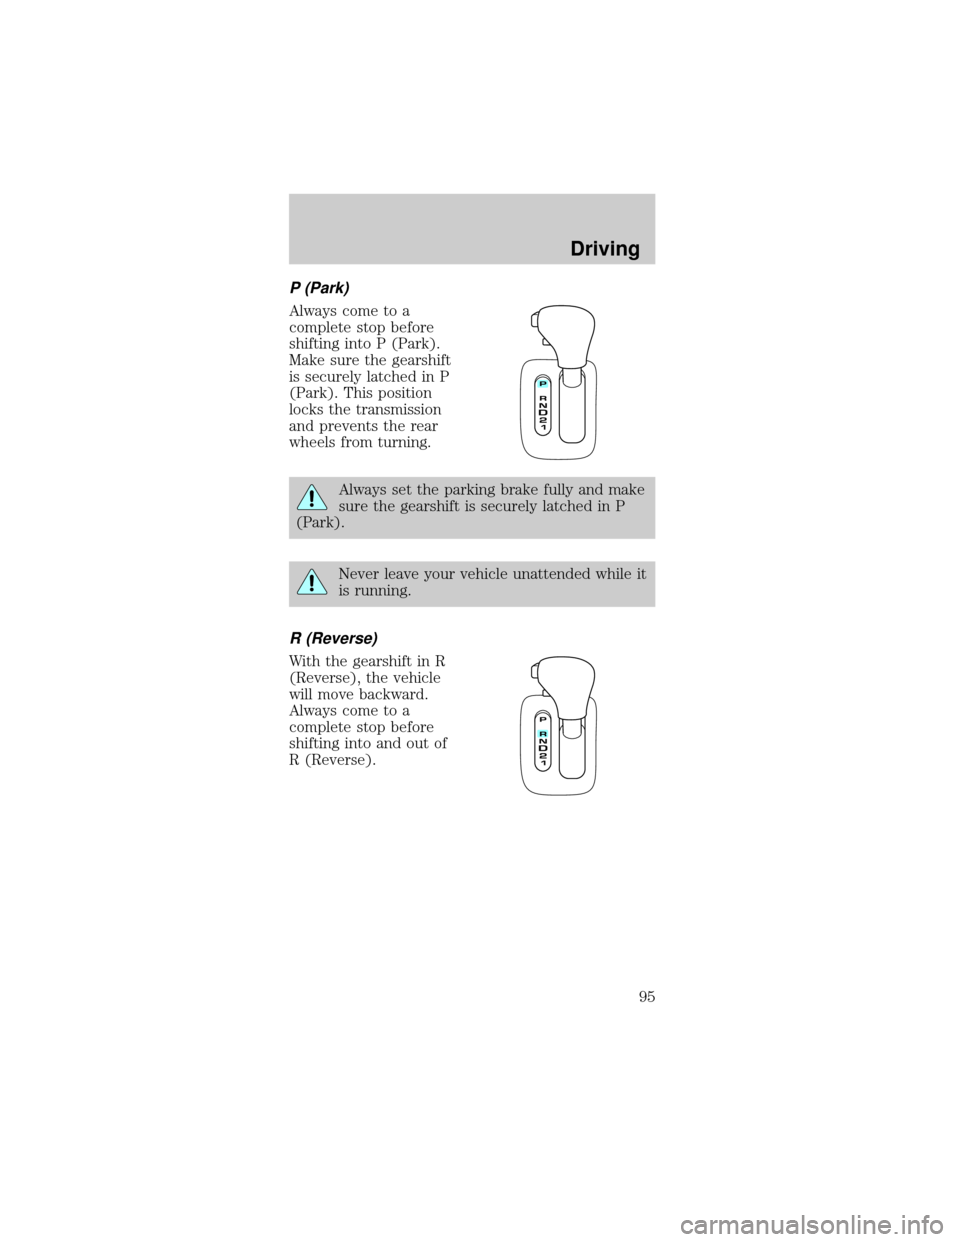
P (Park)
Always come to a
complete stop before
shifting into P (Park).
Make sure the gearshift
is securely latched in P
(Park). This position
locks the transmission
and prevents the rear
wheels from turning.
Always set the parking brake fully and make
sure the gearshift is securely latched in P
(Park).
Never leave your vehicle unattended while it
is running.
R (Reverse)
With the gearshift in R
(Reverse), the vehicle
will move backward.
Always come to a
complete stop before
shifting into and out of
R (Reverse).
Driving
95
Page 96 of 192
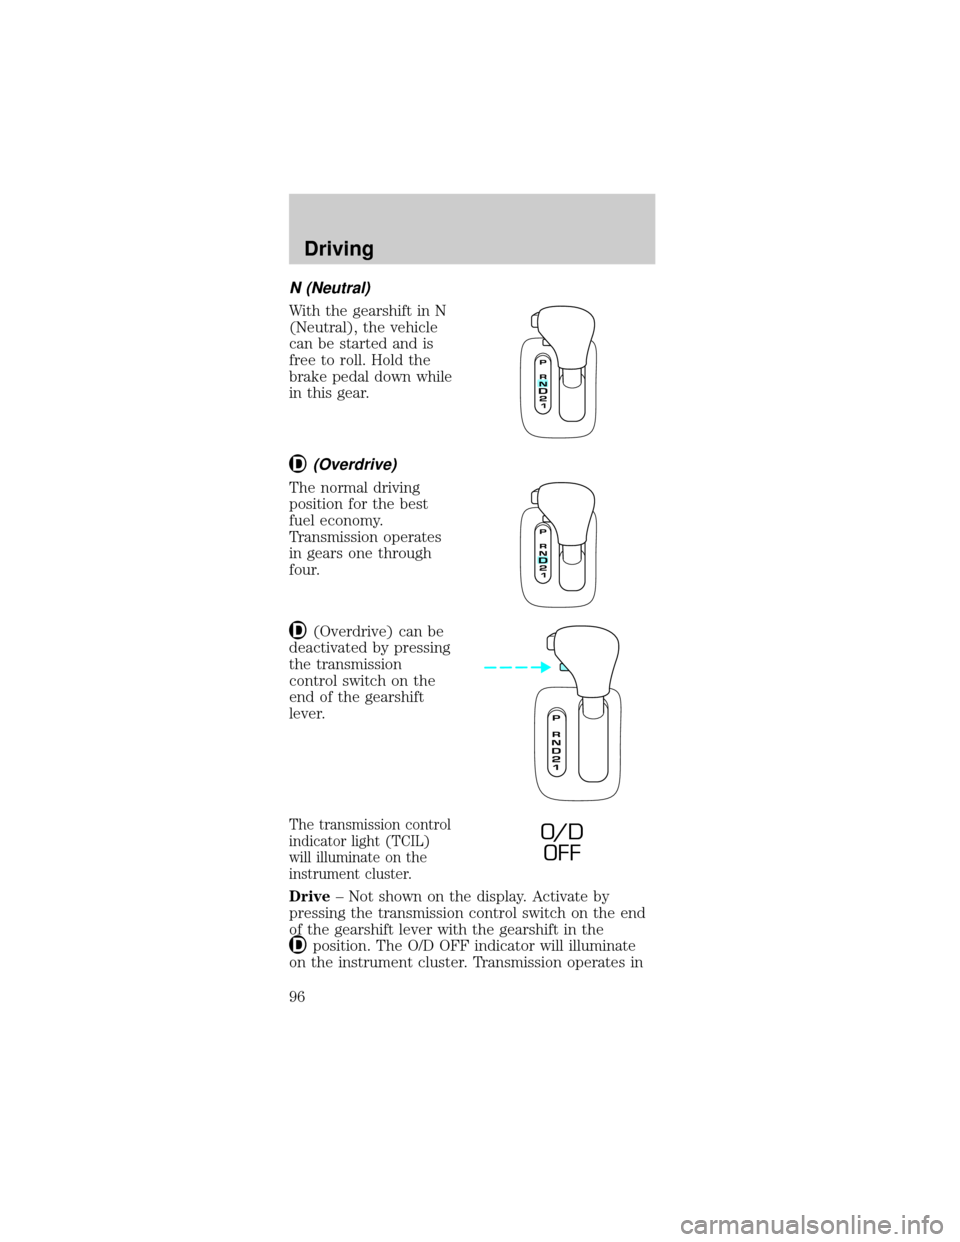
N (Neutral)
With the gearshift in N
(Neutral), the vehicle
can be started and is
free to roll. Hold the
brake pedal down while
in this gear.
(Overdrive)
The normal driving
position for the best
fuel economy.
Transmission operates
in gears one through
four.
(Overdrive) can be
deactivated by pressing
the transmission
control switch on the
end of the gearshift
lever.
The transmission control
indicator light (TCIL)
will illuminate on the
instrument cluster.
Drive± Not shown on the display. Activate by
pressing the transmission control switch on the end
of the gearshift lever with the gearshift in the
position. The O/D OFF indicator will illuminate
on the instrument cluster. Transmission operates in
O/ D
OFF
Driving
96
Page 97 of 192
gears one through three.(Drive) provides more
engine braking than
(Overdrive) and is useful
when:
²driving with a heavy load
²towing a trailer up or down steep hills
²additional engine braking is desired. If towing a
trailer, refer toDriving while you towin the
Trailer Towingchapter.
To return to
(Overdrive) mode, press the
transmission control switch. The O/D OFF indicator
will no longer be illuminated.
Each time the vehicle is started, the transmission
will automatically return to normal overdrive mode.
Every time the vehicle is shut off and restarted, you
must press the transmission control switch to cancel
overdrive operation if driving in overdrive is not
desired.
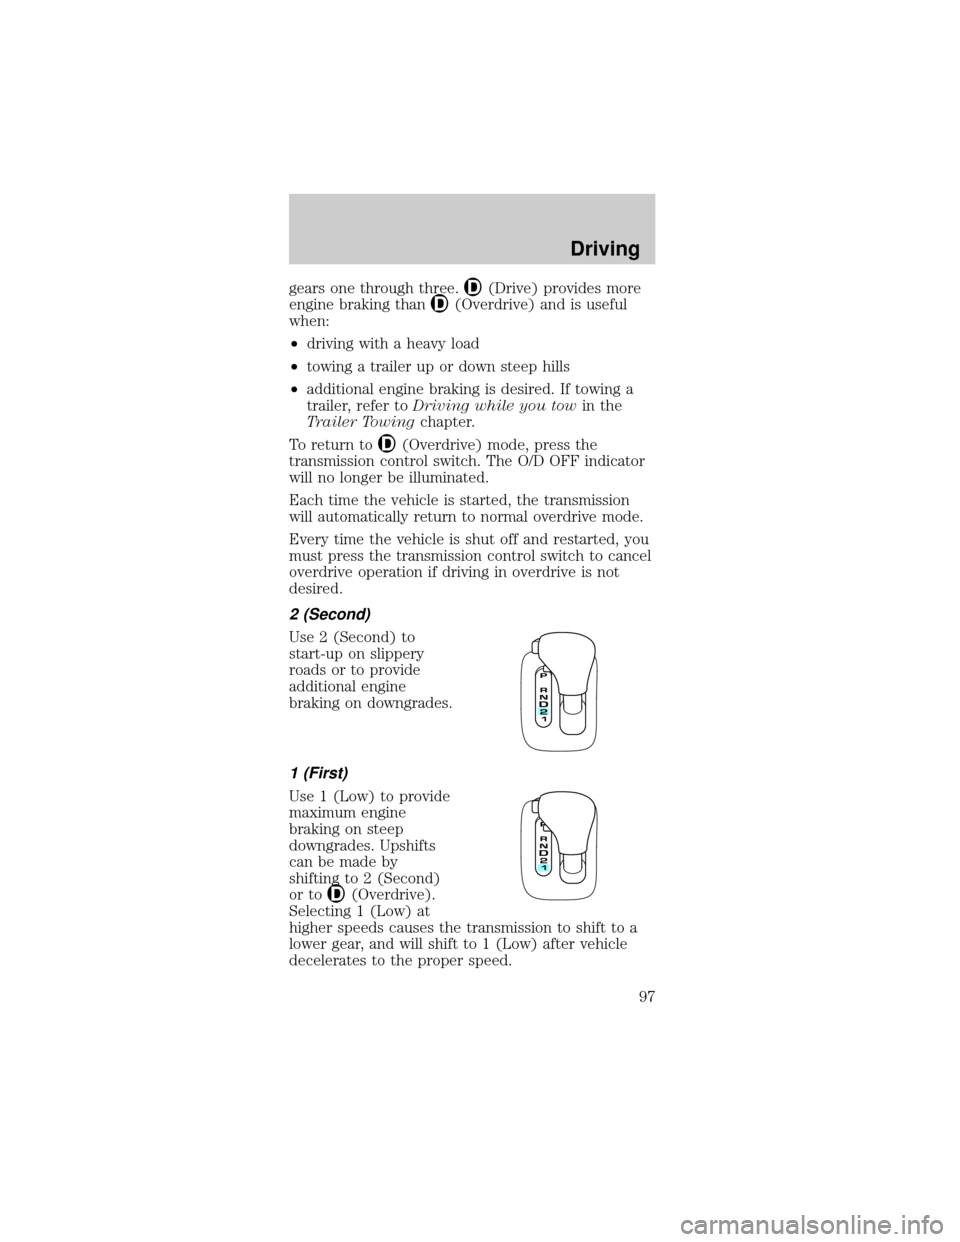
2 (Second)
Use 2 (Second) to
start-up on slippery
roads or to provide
additional engine
braking on downgrades.
1 (First)
Use 1 (Low) to provide
maximum engine
braking on steep
downgrades. Upshifts
can be made by
shifting to 2 (Second)
or to
(Overdrive).
Selecting 1 (Low) at
higher speeds causes the transmission to shift to a
lower gear, and will shift to 1 (Low) after vehicle
decelerates to the proper speed.
Driving
97
Page 98 of 192
MANUAL TRANSMISSION OPERATION
(IF EQUIPPED)
Using the clutch
Vehicles equipped with a manual transmission have a
starter interlock that prevents cranking the engine
unless the clutch pedal is fully depressed.
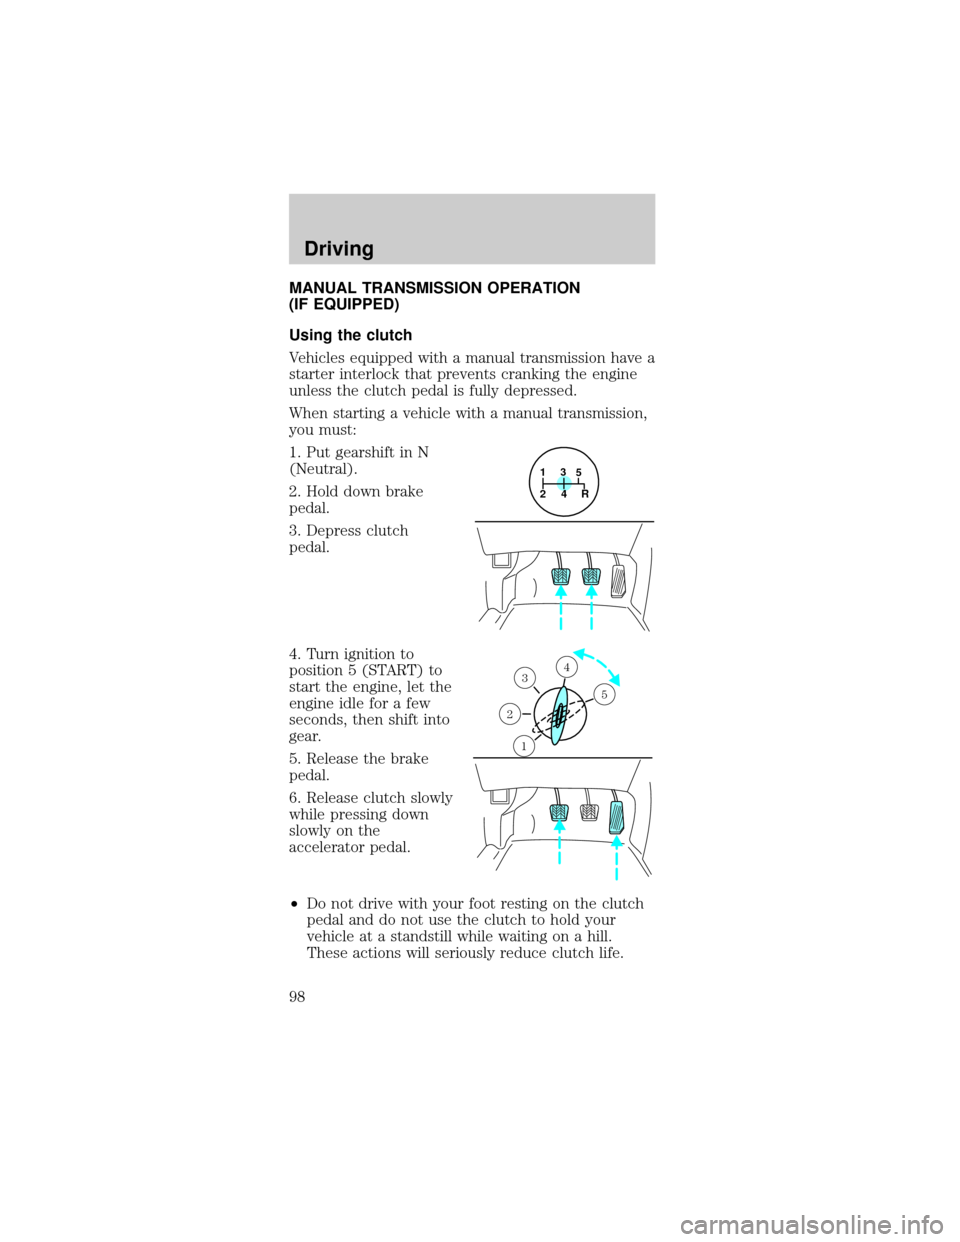
When starting a vehicle with a manual transmission,
you must:
1. Put gearshift in N
(Neutral).
2. Hold down brake
pedal.
3. Depress clutch
pedal.
4. Turn ignition to
position 5 (START) to
start the engine, let the
engine idle for a few
seconds, then shift into
gear.
5. Release the brake
pedal.
6. Release clutch slowly
while pressing down
slowly on the
accelerator pedal.
²Do not drive with your foot resting on the clutch
pedal and do not use the clutch to hold your
vehicle at a standstill while waiting on a hill.
These actions will seriously reduce clutch life.
1
24R3
5
1
2
34
5
Driving
98