light FORD MUSTANG 1999 4.G Owners Manual
[x] Cancel search | Manufacturer: FORD, Model Year: 1999, Model line: MUSTANG, Model: FORD MUSTANG 1999 4.GPages: 216, PDF Size: 1.72 MB
Page 6 of 216
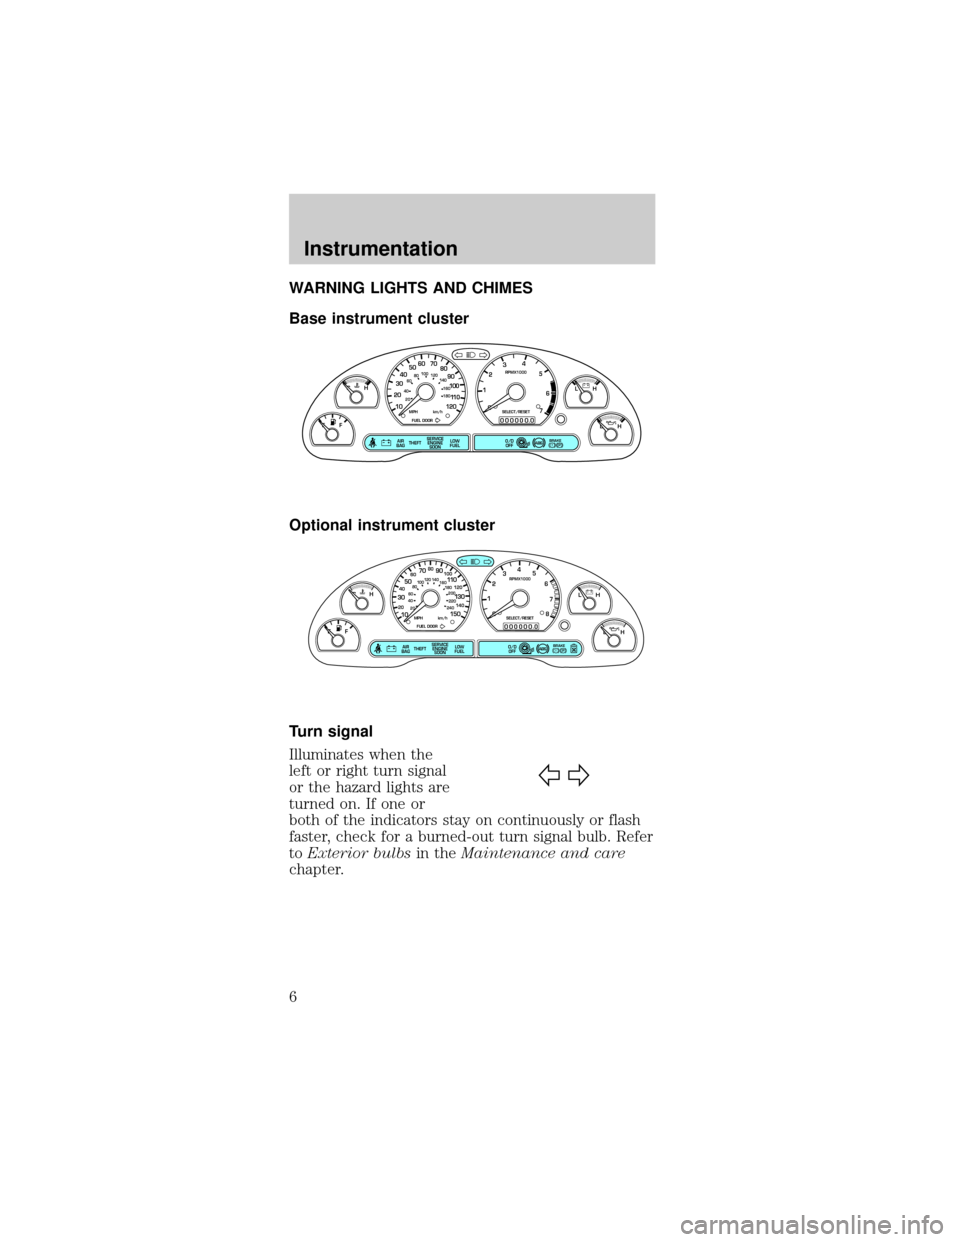
WARNING LIGHTS AND CHIMES
Base instrument cluster
Optional instrument cluster
Turn signal
Illuminates when the
left or right turn signal
or the hazard lights are
turned on. If one or
both of the indicators stay on continuously or flash
faster, check for a burned-out turn signal bulb. Refer
toExterior bulbsin theMaintenance and care
chapter.
P! BRAKE
L
0
00000 00
C
E
FH
LH
10 203020 406080100
120
140
160
180
405060 70
80
90
100
11 0
1204
5
6
7 3
2
1
H
THEFT
RPMX1000
FUEL DOORSELECT/RESET
LOW
FUELO/D
OFF AIR
BAGSERVICE
ENGINE
SOON
MPH km/h
ABS
.
P! BRAKE
L
0
00000 00
C
E
FH
LH
102040608020 40608010 012 0 14 0
160
180
200
220
240
100
120
140
305070 90
110
13 0
1504
5
6
7
8 3
2
1
H
THEFT
RPMX1000
FUEL DOORSELECT/RESET
LOW
FUELO/D
OFF AIR
BAGSERVICE
ENGINE
SOON
MPH km/h
ABS
.
Instrumentation
6
Page 7 of 216
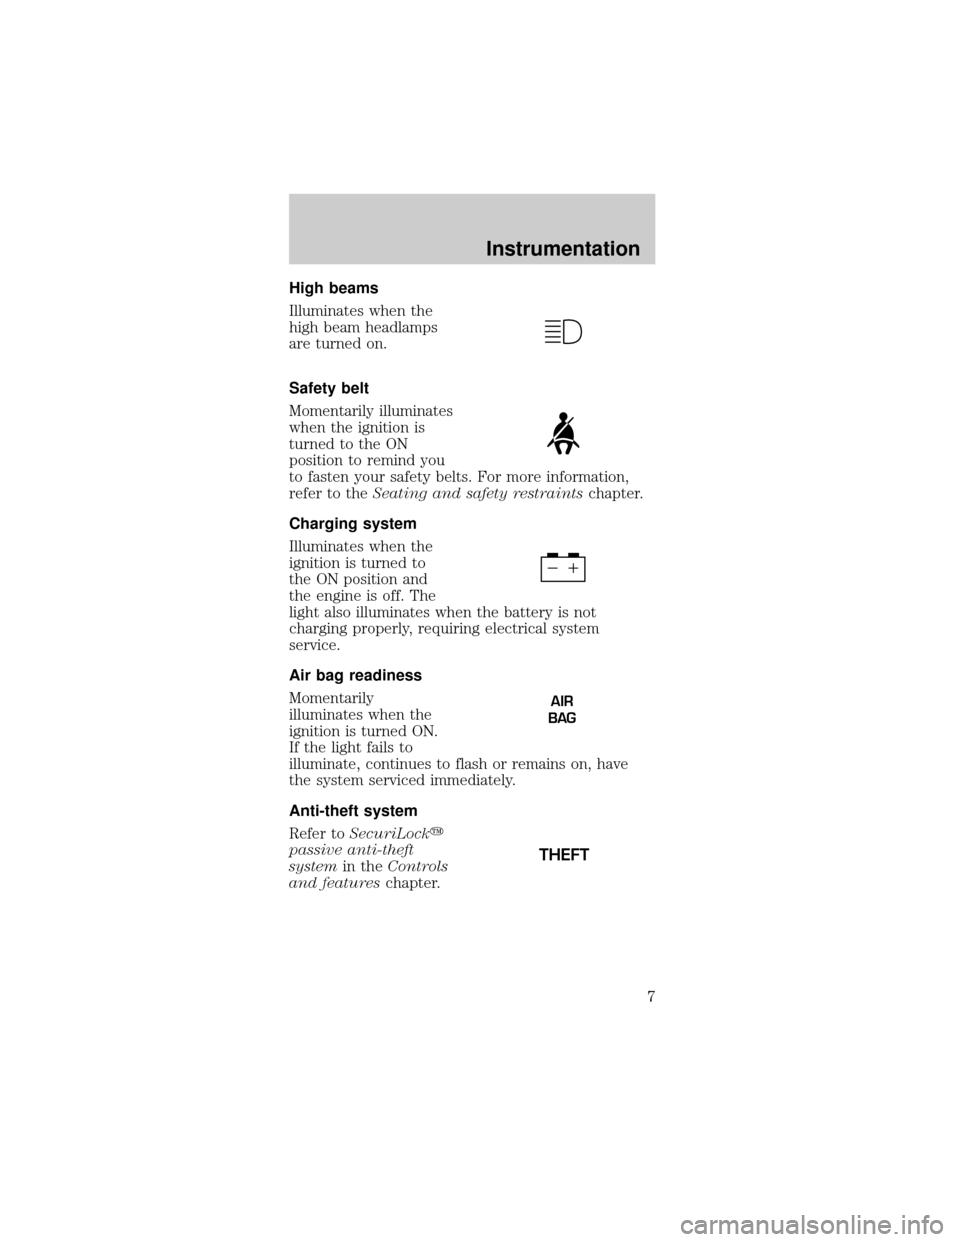
High beams
Illuminates when the
high beam headlamps
are turned on.
Safety belt
Momentarily illuminates
when the ignition is
turned to the ON
position to remind you
to fasten your safety belts. For more information,
refer to theSeating and safety restraintschapter.
Charging system
Illuminates when the
ignition is turned to
the ON position and
the engine is off. The
light also illuminates when the battery is not
charging properly, requiring electrical system
service.
Air bag readiness
Momentarily
illuminates when the
ignition is turned ON.
If the light fails to
illuminate, continues to flash or remains on, have
the system serviced immediately.
Anti-theft system
Refer toSecuriLocky
passive anti-theft
systemin theControls
and featureschapter.
AIR
BAG
THEFT
Instrumentation
7
Page 8 of 216
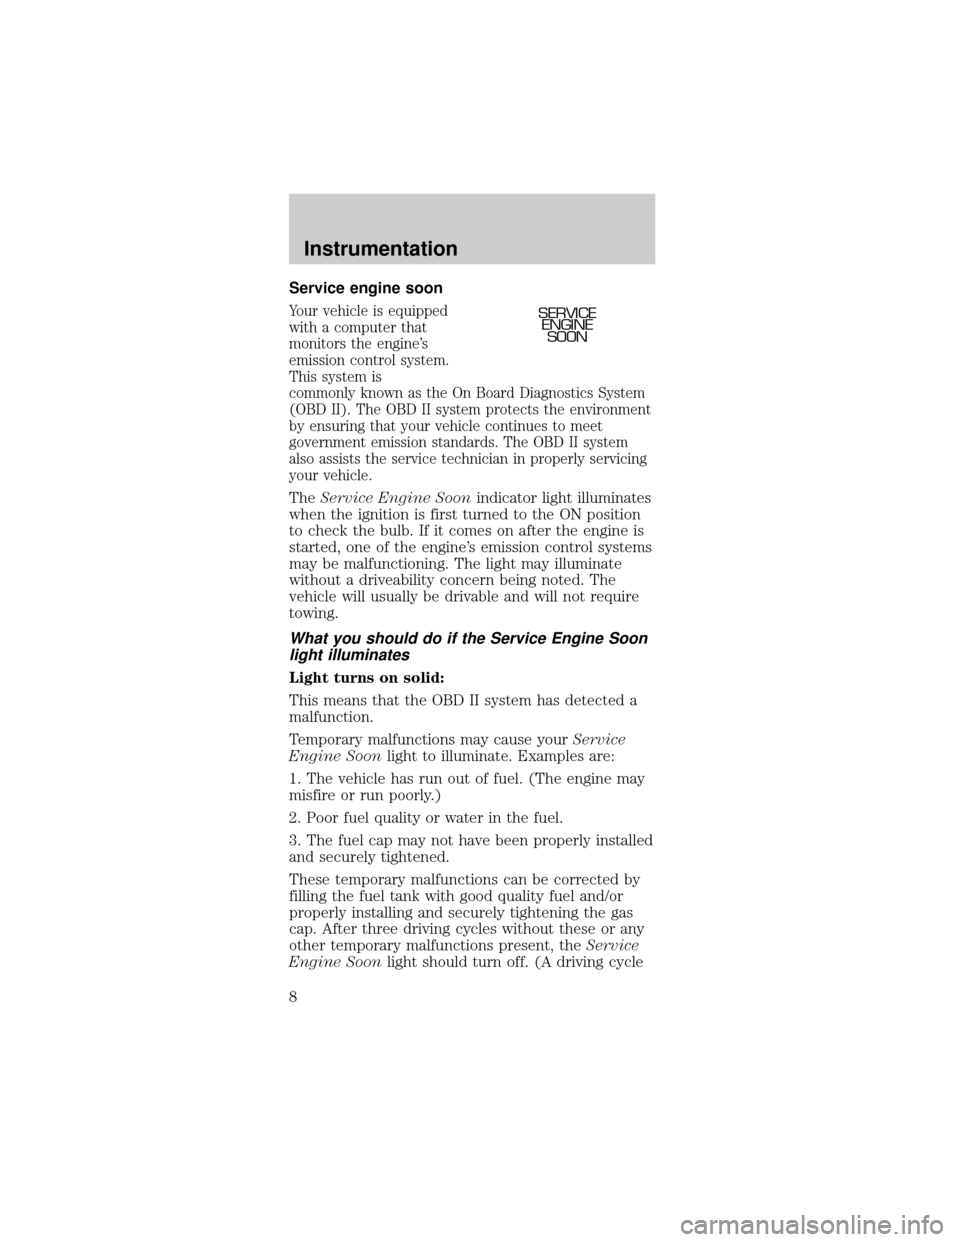
Service engine soon
Your vehicle is equipped
with a computer that
monitors the engine's
emission control system.
This system is
commonly known as the On Board Diagnostics System
(OBD II). The OBD II system protects the environment
by ensuring that your vehicle continues to meet
government emission standards. The OBD II system
also assists the service technician in properly servicing
your vehicle.
TheService Engine Soonindicator light illuminates
when the ignition is first turned to the ON position
to check the bulb. If it comes on after the engine is
started, one of the engine's emission control systems
may be malfunctioning. The light may illuminate
without a driveability concern being noted. The
vehicle will usually be drivable and will not require
towing.
What you should do if the Service Engine Soon
light illuminates
Light turns on solid:
This means that the OBD II system has detected a
malfunction.
Temporary malfunctions may cause yourService
Engine Soonlight to illuminate. Examples are:
1. The vehicle has run out of fuel. (The engine may
misfire or run poorly.)
2. Poor fuel quality or water in the fuel.
3. The fuel cap may not have been properly installed
and securely tightened.
These temporary malfunctions can be corrected by
filling the fuel tank with good quality fuel and/or
properly installing and securely tightening the gas
cap. After three driving cycles without these or any
other temporary malfunctions present, theService
Engine Soonlight should turn off. (A driving cycle
SERVICE
ENGINE
SOON
Instrumentation
8
Page 9 of 216
consists of a cold engine startup followed by mixed
city/highway driving.) No additional vehicle service is
required.
If theService Engine Soonlight remains on, have
your vehicle serviced at the first available opportunity.
Light is blinking:
Engine misfire is occurring which could damage your
catalytic converter. You should drive in a moderate
fashion (avoid heavy acceleration and deceleration)
and have your vehicle serviced at the first available
opportunity.
Under engine misfire conditions, excessive
exhaust temperatures could damage the
catalytic converter, the fuel system, interior floor
coverings or other vehicle components, possibly
causing a fire.
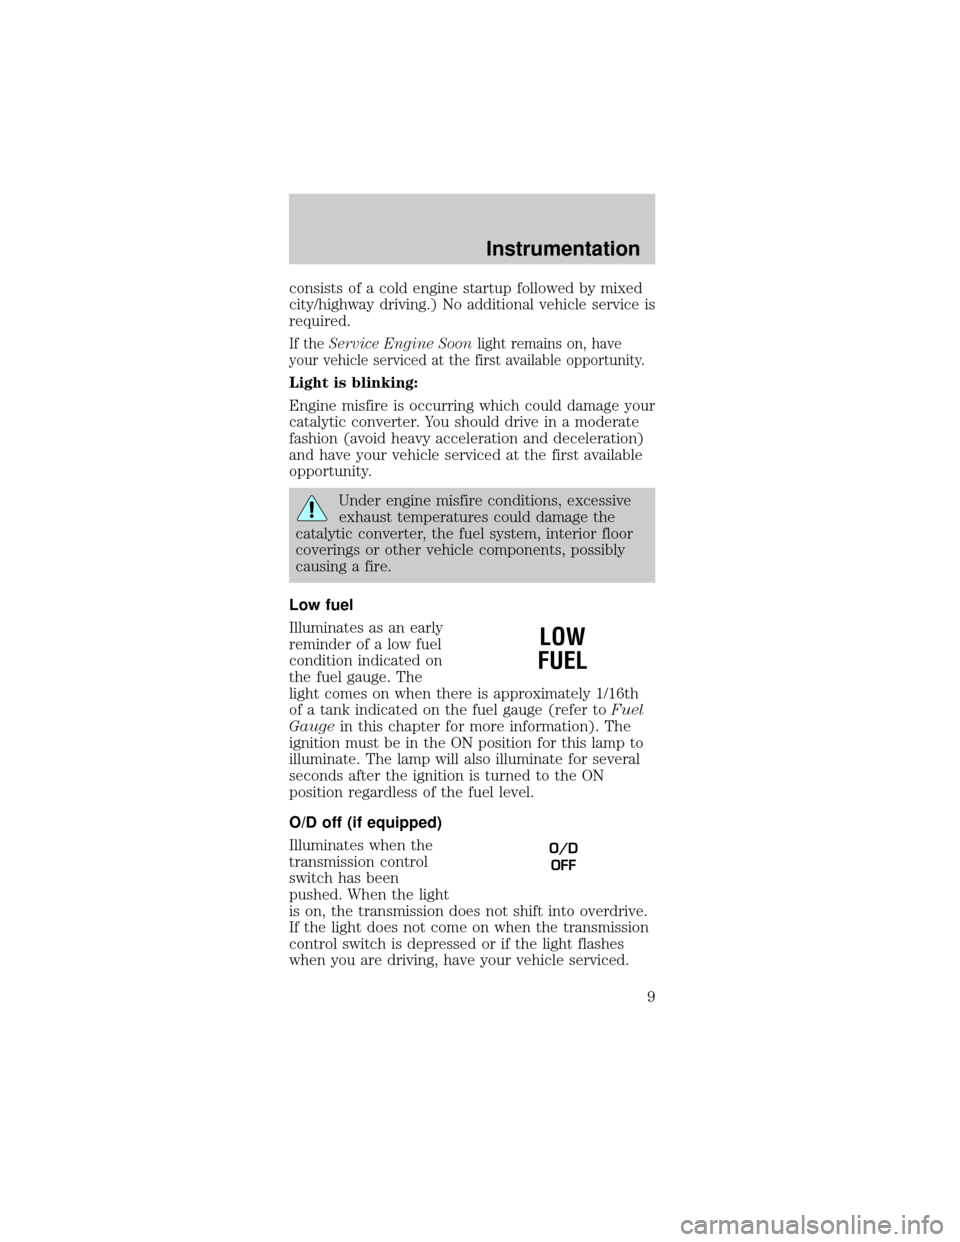
Low fuel
Illuminates as an early
reminder of a low fuel
condition indicated on
the fuel gauge. The
light comes on when there is approximately 1/16th
of a tank indicated on the fuel gauge (refer toFuel
Gaugein this chapter for more information). The
ignition must be in the ON position for this lamp to
illuminate. The lamp will also illuminate for several
seconds after the ignition is turned to the ON
position regardless of the fuel level.
O/D off (if equipped)
Illuminates when the
transmission control
switch has been
pushed. When the light
is on, the transmission does not shift into overdrive.
If the light does not come on when the transmission
control switch is depressed or if the light flashes
when you are driving, have your vehicle serviced.
LOW
FUEL
O/D
OFF
Instrumentation
9
Page 10 of 216
Traction ControlYactive
This light momentarily
illuminates when the
ignition is turned to
ON. It also illuminates
when the Traction Controlysystem begins applying
and releasing the brakes and adjusting the engine
characteristics to limit a wheelspin condition. It will
be lit for a minimum of four seconds or for the
duration of the Traction Controlyevent.
For more information, refer to theDrivingchapter.
Anti-lock brake system (ABS)
Momentarily illuminates
when the ignition is
turned to the ON
position and the engine
is off. If the light remains on, continues to flash or
fails to illuminate, have the system serviced
immediately. With the ABS light on, the anti-lock
brake system is disabled and normal braking is still
effective unless the brake warning light also remains
illuminated with parking brake released.
Brake system warning
Momentarily illuminates
when the ignition is
turned to the ON
position and the engine
is off. If brake warning lamp does not illuminate at
this time, seek service immediately. Also illuminates
when the parking brake is engaged. Illumination
after releasing the parking brake indicates low brake
fluid level and the brake system should be inspected
immediately.
Check coolant
Illuminates when the
coolant level in the
coolant reservoir is low
ABS
P!
BRAKE
Instrumentation
10
Page 12 of 216
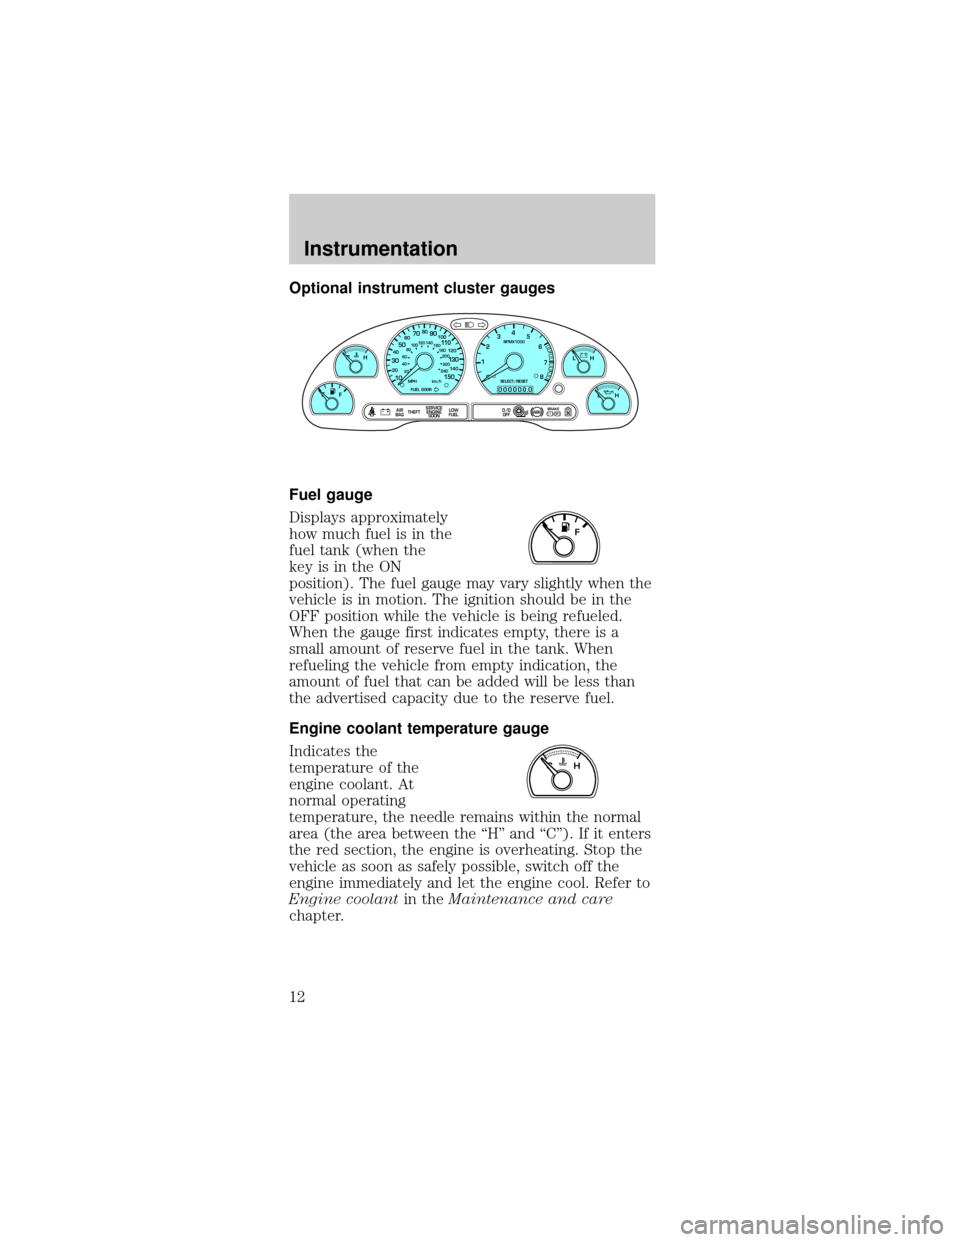
Optional instrument cluster gauges
Fuel gauge
Displays approximately
how much fuel is in the
fuel tank (when the
key is in the ON
position). The fuel gauge may vary slightly when the
vehicle is in motion. The ignition should be in the
OFF position while the vehicle is being refueled.
When the gauge first indicates empty, there is a
small amount of reserve fuel in the tank. When
refueling the vehicle from empty indication, the
amount of fuel that can be added will be less than
the advertised capacity due to the reserve fuel.
Engine coolant temperature gauge
Indicates the
temperature of the
engine coolant. At
normal operating
temperature, the needle remains within the normal
area (the area between the ªHº and ªCº). If it enters
the red section, the engine is overheating. Stop the
vehicle as soon as safely possible, switch off the
engine immediately and let the engine cool. Refer to
Engine coolantin theMaintenance and care
chapter.
P! BRAKE
0
00000 00
FH
H
102040608020 40608010 012 0 14 0
160
180
200
220
240
100
120
140
305070 90
110
13 0
1504
5
6
7
8 3
2
1
H
THEFT
RPMX1000
FUEL DOORSELECT/RESET
LOW
FUELO/D
OFF AIR
BAGSERVICE
ENGINE
SOON
MPH km/h
ABS
.
L
L
F
CH
Instrumentation
12
Page 16 of 216
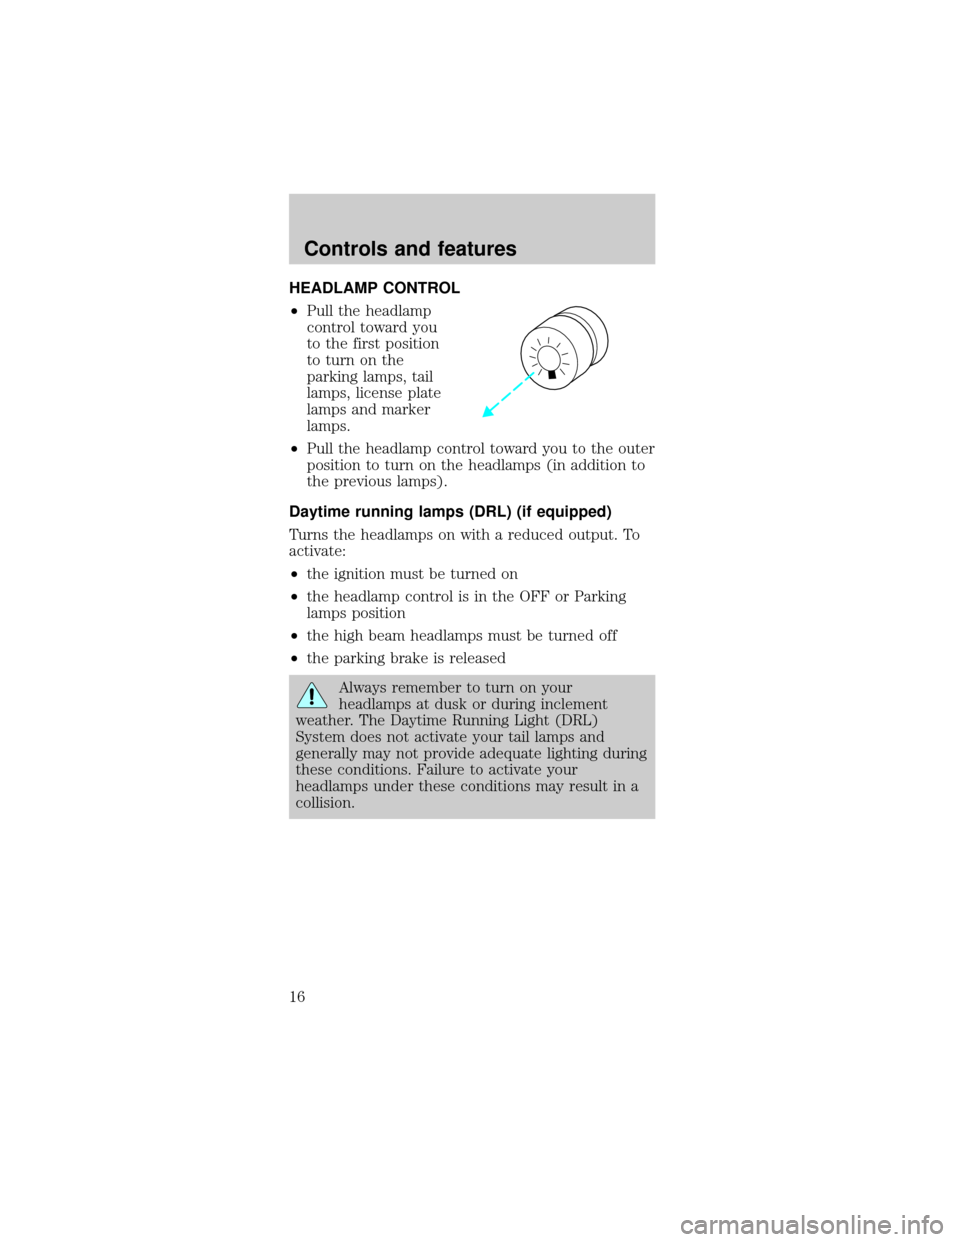
HEADLAMP CONTROL
²Pull the headlamp
control toward you
to the first position
to turn on the
parking lamps, tail
lamps, license plate
lamps and marker
lamps.
²Pull the headlamp control toward you to the outer
position to turn on the headlamps (in addition to
the previous lamps).
Daytime running lamps (DRL) (if equipped)
Turns the headlamps on with a reduced output. To
activate:
²the ignition must be turned on
²the headlamp control is in the OFF or Parking
lamps position
²the high beam headlamps must be turned off
²the parking brake is released
Always remember to turn on your
headlamps at dusk or during inclement
weather. The Daytime Running Light (DRL)
System does not activate your tail lamps and
generally may not provide adequate lighting during
these conditions. Failure to activate your
headlamps under these conditions may result in a
collision.
Controls and features
16
Page 19 of 216
Under normal conditions, your vehicle's climate
control system should be left in any position other
than MAX A/C or OFF when the vehicle is parked.
This allows the vehicle to ªbreatheº through the
outside air inlet duct. In snowy or dirty conditions,
leave the mode selector in the OFF position when
the ignition is turned off.
²MAX A/C-Uses recirculated air to cool the vehicle.
MAX A/C is noisier than NORM A/C but more
economical and will cool the inside of the vehicle
faster. Airflow will be from the instrument panel
registers. This mode can also be used to reduce
undesirable odors from entering the vehicle.
²NORM A/C-Uses outside air to cool the vehicle. It
is quieter than MAX A/C but not as economical.
Airflow will be from the instrument panel
registers.
²VENT-Distributes outside air through the
instrument panel registers. However, the air will
not be cooled below the outside temperature
because the air conditioning does not operate in
this mode.
²OFF-Outside air is shut out and the fan will not
operate. For short periods of time only, use this
mode to prevent undesirable odors from entering
the vehicle.
²FLR-Allows for maximum heating by distributing
outside air through the floor ducts. However, the
air will not be cooled below the outside
temperature because the air conditioning does not
operate in this mode.
²MIX-Distributes outside air through the
windshield defroster ducts and the floor ducts.
Heating and air conditioning capabilities are
provided in this mode. For added customer
comfort, when the temperature control knob is
anywhere in between the full hot and full cold
positions, the air distributed through the floor
ducts will be slightly warmer than the air sent to
Controls and features
19
Page 25 of 216
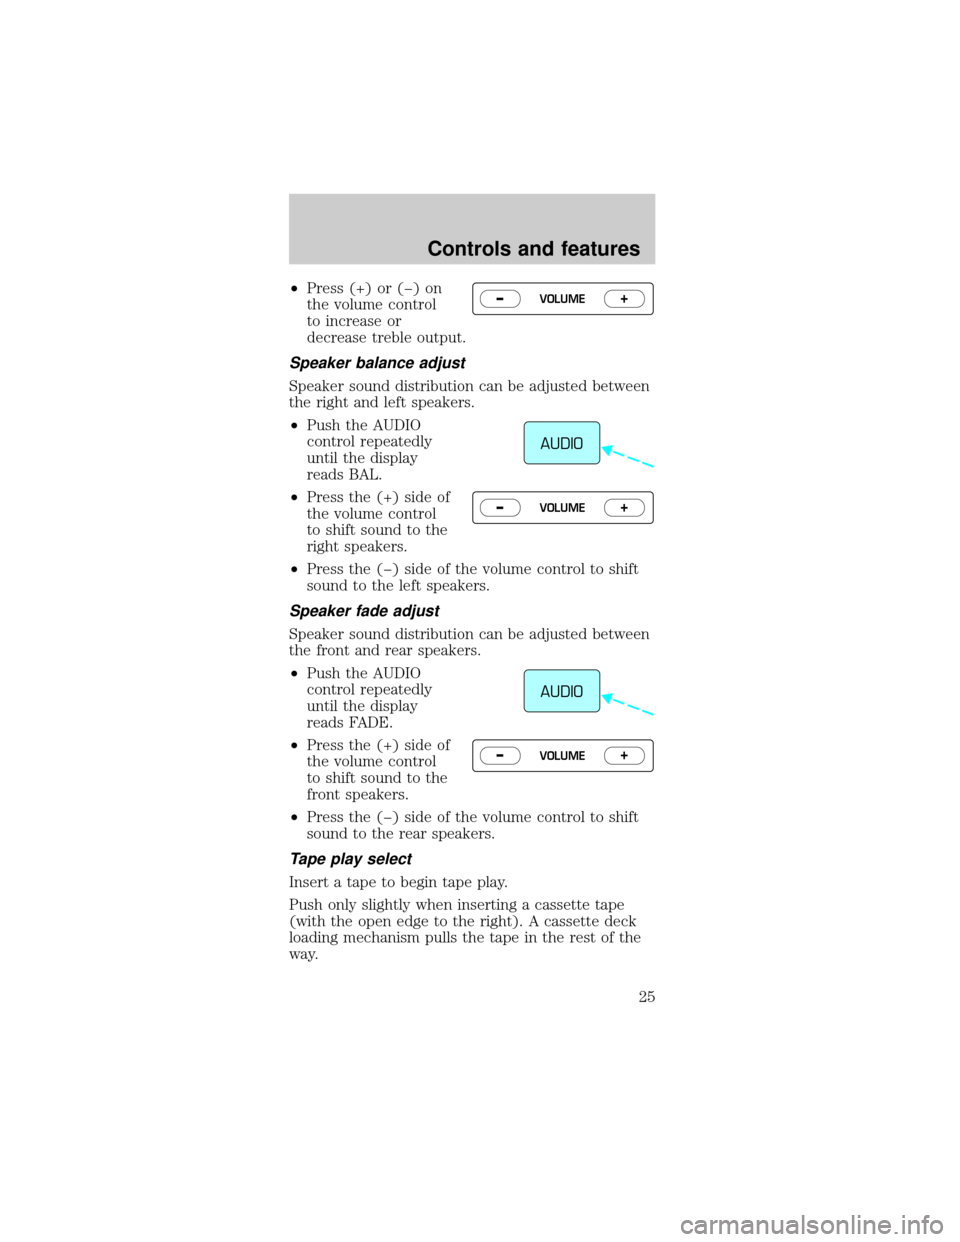
²Press (+) or (þ) on
the volume control
to increase or
decrease treble output.
Speaker balance adjust
Speaker sound distribution can be adjusted between
the right and left speakers.
²Push the AUDIO
control repeatedly
until the display
reads BAL.
²Press the (+) side of
the volume control
to shift sound to the
right speakers.
²Press the (þ) side of the volume control to shift
sound to the left speakers.
Speaker fade adjust
Speaker sound distribution can be adjusted between
the front and rear speakers.
²Push the AUDIO
control repeatedly
until the display
reads FADE.
²Press the (+) side of
the volume control
to shift sound to the
front speakers.
²Press the (þ) side of the volume control to shift
sound to the rear speakers.
Tape play select
Insert a tape to begin tape play.
Push only slightly when inserting a cassette tape
(with the open edge to the right). A cassette deck
loading mechanism pulls the tape in the rest of the
way.
VOLUME+ –
AUDIO
VOLUME+ –
AUDIO
VOLUME+ –
Controls and features
25
Page 32 of 216
Tape play select
Insert a cassette tape into the cassette deck.
Push only slightly when inserting a cassette tape
(with the open edge to the right). A cassette deck
loading mechanism pulls the tape in the rest of the
way.
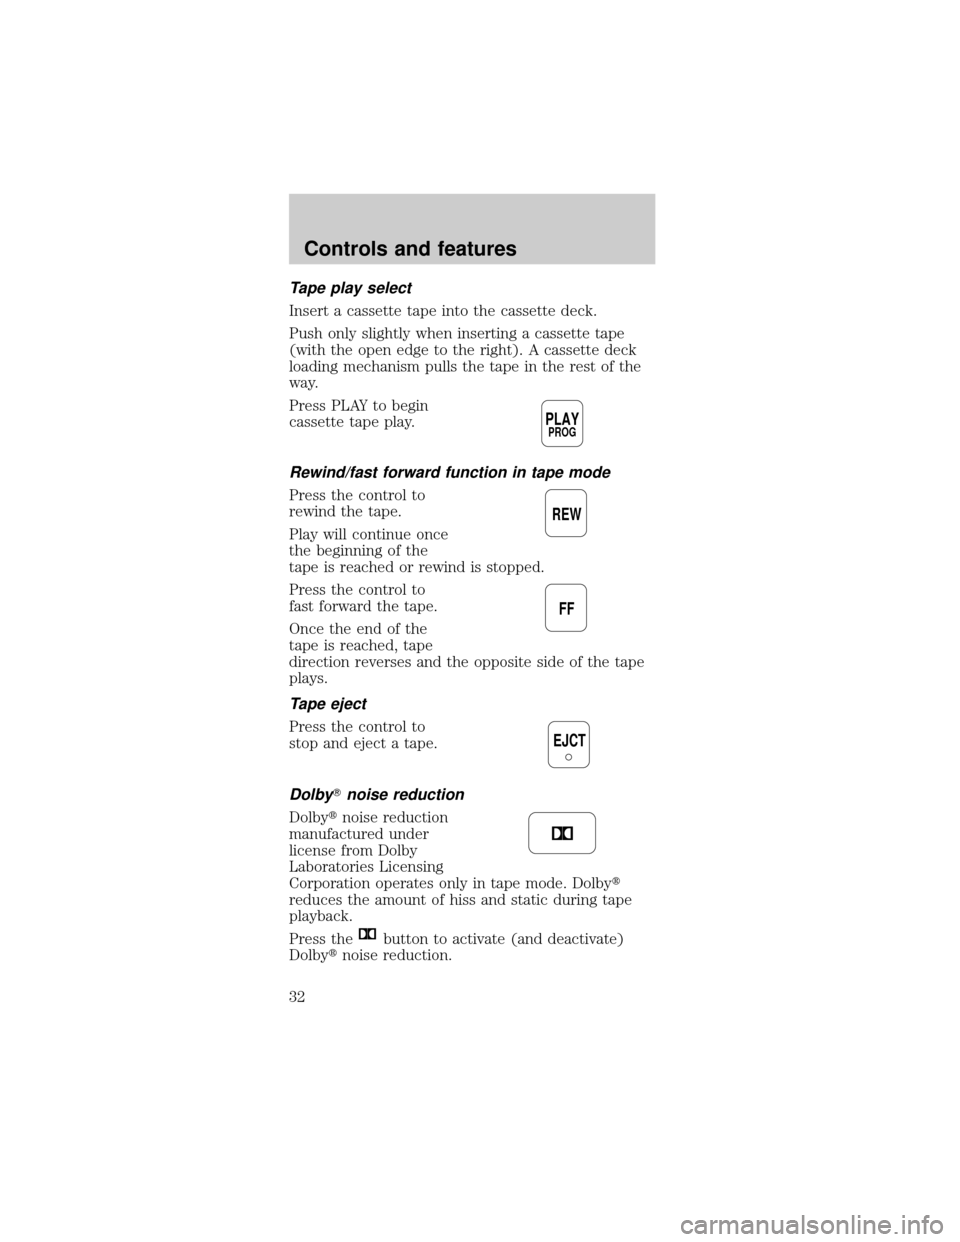
Press PLAY to begin
cassette tape play.
Rewind/fast forward function in tape mode
Press the control to
rewind the tape.
Play will continue once
the beginning of the
tape is reached or rewind is stopped.
Press the control to
fast forward the tape.
Once the end of the
tape is reached, tape
direction reverses and the opposite side of the tape
plays.
Tape eject
Press the control to
stop and eject a tape.
DolbyTnoise reduction
Dolbytnoise reduction
manufactured under
license from Dolby
Laboratories Licensing
Corporation operates only in tape mode. Dolbyt
reduces the amount of hiss and static during tape
playback.
Press the
button to activate (and deactivate)
Dolbytnoise reduction.
PLAYPROG
REW
FF
EJCT
Controls and features
32