check engine light FORD MUSTANG 2002 4.G Owners Manual
[x] Cancel search | Manufacturer: FORD, Model Year: 2002, Model line: MUSTANG, Model: FORD MUSTANG 2002 4.GPages: 264, PDF Size: 2.56 MB
Page 10 of 264
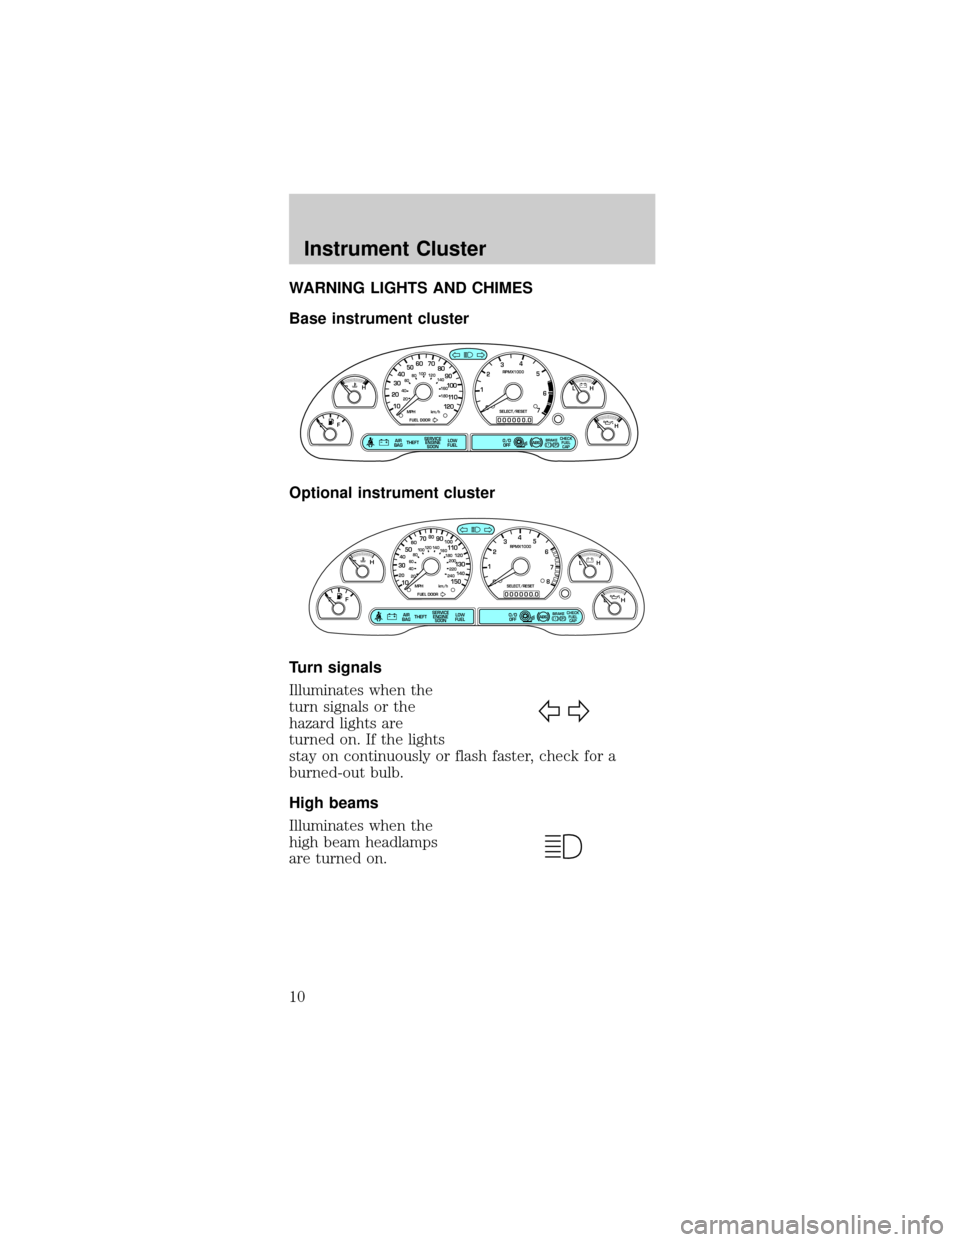
WARNING LIGHTS AND CHIMES
Base instrument cluster
Optional instrument cluster
Turn signals
Illuminates when the
turn signals or the
hazard lights are
turned on. If the lights
stay on continuously or flash faster, check for a
burned-out bulb.
High beams
Illuminates when the
high beam headlamps
are turned on.
P! BRAKE
L
0
00000 00
C
E
FH
LH
10 203020 406080100
120
140
160
180
405060 70
80
90
100
11 0
1204
5
6
7 3
2
1
H
THEFT
RPMX1000
FUEL DOORSELECT/RESET
LOW
FUELO/D
OFF AIR
BAGSERVICE
ENGINE
SOON
MPH km/h
ABS
.
CHECK
FUEL
CAP
P! BRAKE
L
0
00000 00
C
E
FH
LH
102040608020 40608010 012 0 14 0
160
180
200
220
240
100
120
140
305070 90
110
13 0
1504
5
6
7
8 3
2
1
H
THEFT
RPMX1000
FUEL DOORSELECT/RESET
LOW
FUELO/D
OFF AIR
BAGSERVICE
ENGINE
SOONCHECK
FUEL
CAP
MPH km/h
ABS
.
Instrument Cluster
10
Page 13 of 264

Check fuel cap
Illuminates when the
fuel cap is not installed
correctly. Check the
fuel cap for proper
installation. When the fuel filler cap is properly
re-installed, the light(s) will turn off after a period of
normal driving. Continuing to operate the vehicle
with the check fuel cap light on, can activate the
Service Engine Soon/Check Enginewarning light.
It may take a long period of time for the
system to detect an improperly installed fuel
filler cap.
For more information, refer toFuel filler capin the
Maintenance and specificationschapter.
Low fuel
Illuminates when the
fuel level in the fuel
tank is at, or near,
empty (refer toFuel
gaugein this chapter for more information).
O/D off (if equipped)
Illuminates when the
overdrive function has
been turned OFF using
the Transmission Control Switch (TCS) on the
gearshift. If the light does not come on or the light
flashes steadily, have your vehicle serviced as soon
as possible, damage to the transmission could occur.
CHECK
FUEL
CAP
LOW
FUEL
O/D
OFF
Instrument Cluster
13
Page 139 of 264
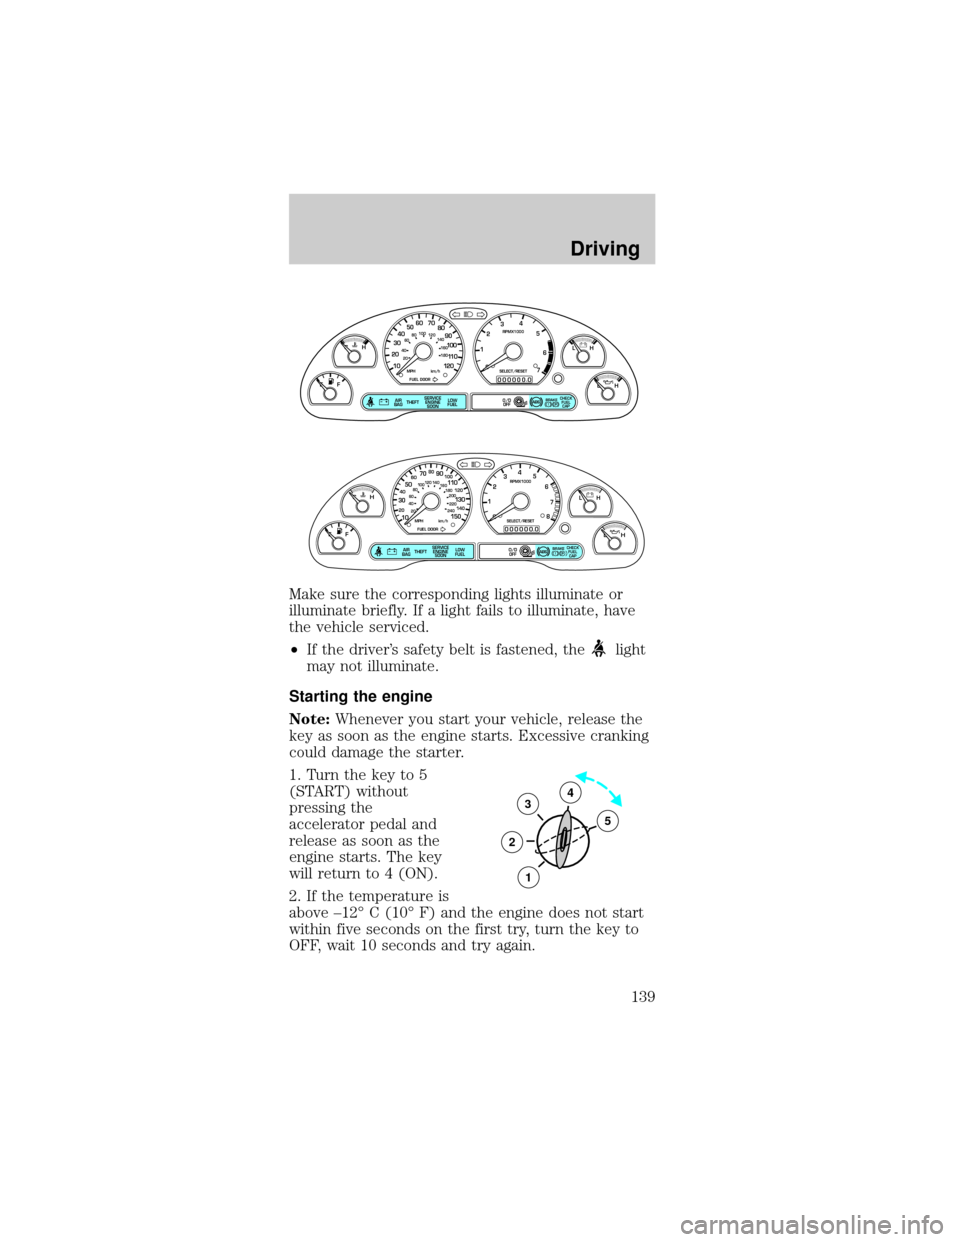
Make sure the corresponding lights illuminate or
illuminate briefly. If a light fails to illuminate, have
the vehicle serviced.
²If the driver's safety belt is fastened, the
light
may not illuminate.
Starting the engine
Note:Whenever you start your vehicle, release the
key as soon as the engine starts. Excessive cranking
could damage the starter.
1. Turn the key to 5
(START) without
pressing the
accelerator pedal and
release as soon as the
engine starts. The key
will return to 4 (ON).
2. If the temperature is
above ±12É C (10É F) and the engine does not start
within five seconds on the first try, turn the key to
OFF, wait 10 seconds and try again.
P! BRAKE
L
0
00000 00
C
E
FH
LH
10 203020 406080100
120
140
160
180
405060 70
80
90
100
11 0
1204
5
6
7 3
2
1
H
THEFT
RPMX1000
FUEL DOORSELECT/RESET
LOW
FUELO/D
OFF AIR
BAGSERVICE
ENGINE
SOON
MPH km/h
ABS
.
CHECK
FUEL
CAP
P! BRAKE
L
0
00000 00
C
E
FH
LH
102040608020 40608010 012 0 14 0
160
180
200
220
240
100
120
140
305070 90
110
13 0
1504
5
6
7
8 3
2
1
H
THEFT
RPMX1000
FUEL DOORSELECT/RESET
LOW
FUELO/D
OFF AIR
BAGSERVICE
ENGINE
SOON
MPH km/h
ABS
.
CHECK
FUEL
CAP
3
2
1
5
4
Driving
139
Page 143 of 264
Always set the parking brake fully and make
sure that the gearshift is securely latched in
P (Park) (automatic transmission) or in 1 (First
Gear) (manual transmission).
The parking brake is not recommended to stop a
moving vehicle. However, if the normal brakes fail,
the parking brake can be used to stop your vehicle
in an emergency. Since the parking brake applies
only the rear brakes, the vehicle's stopping distance
will increase greatly and the handling of your vehicle
will be adversely affected.
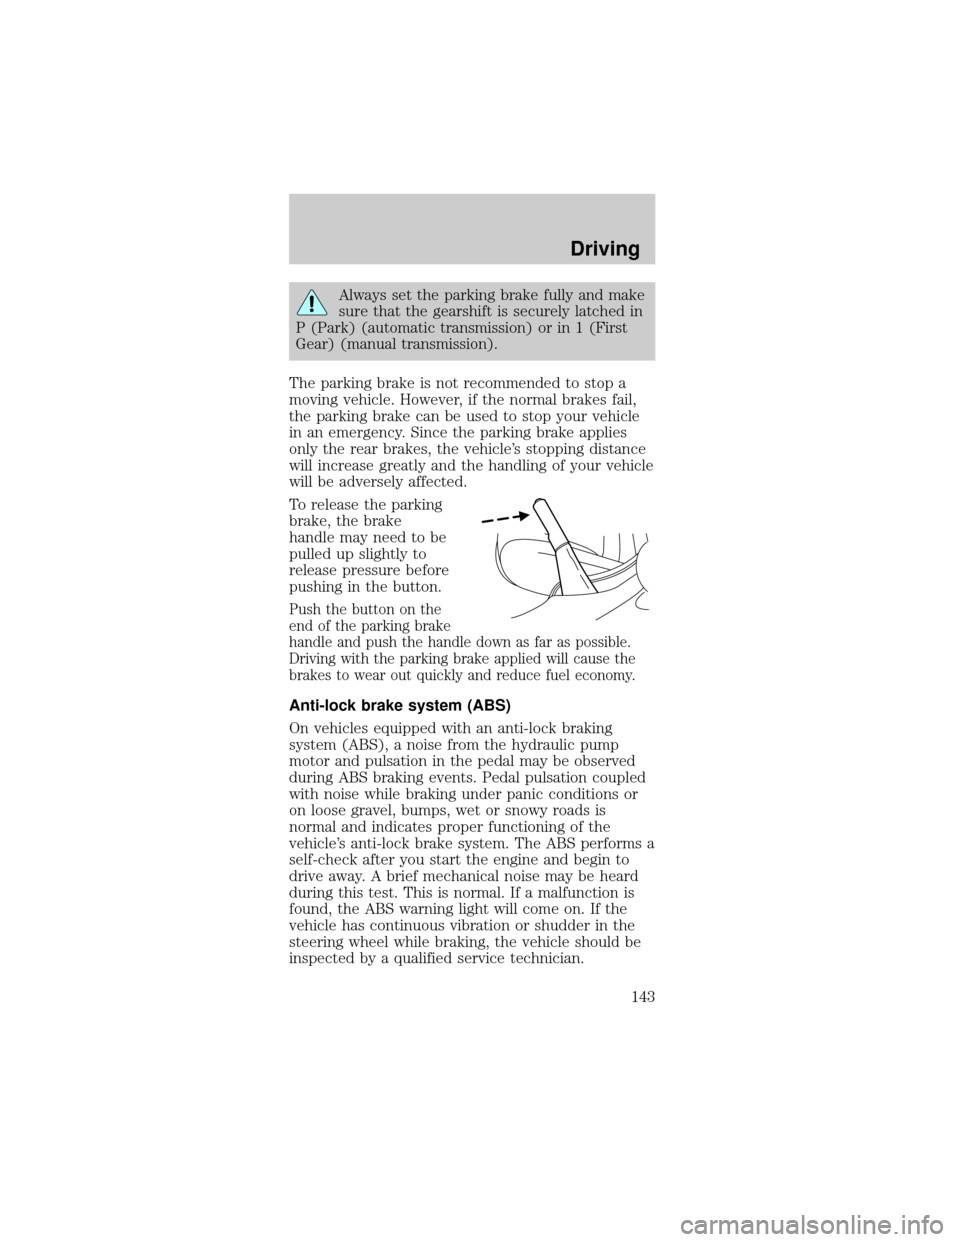
To release the parking
brake, the brake
handle may need to be
pulled up slightly to
release pressure before
pushing in the button.
Push the button on the
end of the parking brake
handle and push the handle down as far as possible.
Driving with the parking brake applied will cause the
brakes to wear out quickly and reduce fuel economy.
Anti-lock brake system (ABS)
On vehicles equipped with an anti-lock braking
system (ABS), a noise from the hydraulic pump
motor and pulsation in the pedal may be observed
during ABS braking events. Pedal pulsation coupled
with noise while braking under panic conditions or
on loose gravel, bumps, wet or snowy roads is
normal and indicates proper functioning of the
vehicle's anti-lock brake system. The ABS performs a
self-check after you start the engine and begin to
drive away. A brief mechanical noise may be heard
during this test. This is normal. If a malfunction is
found, the ABS warning light will come on. If the
vehicle has continuous vibration or shudder in the
steering wheel while braking, the vehicle should be
inspected by a qualified service technician.
Driving
143
Page 164 of 264
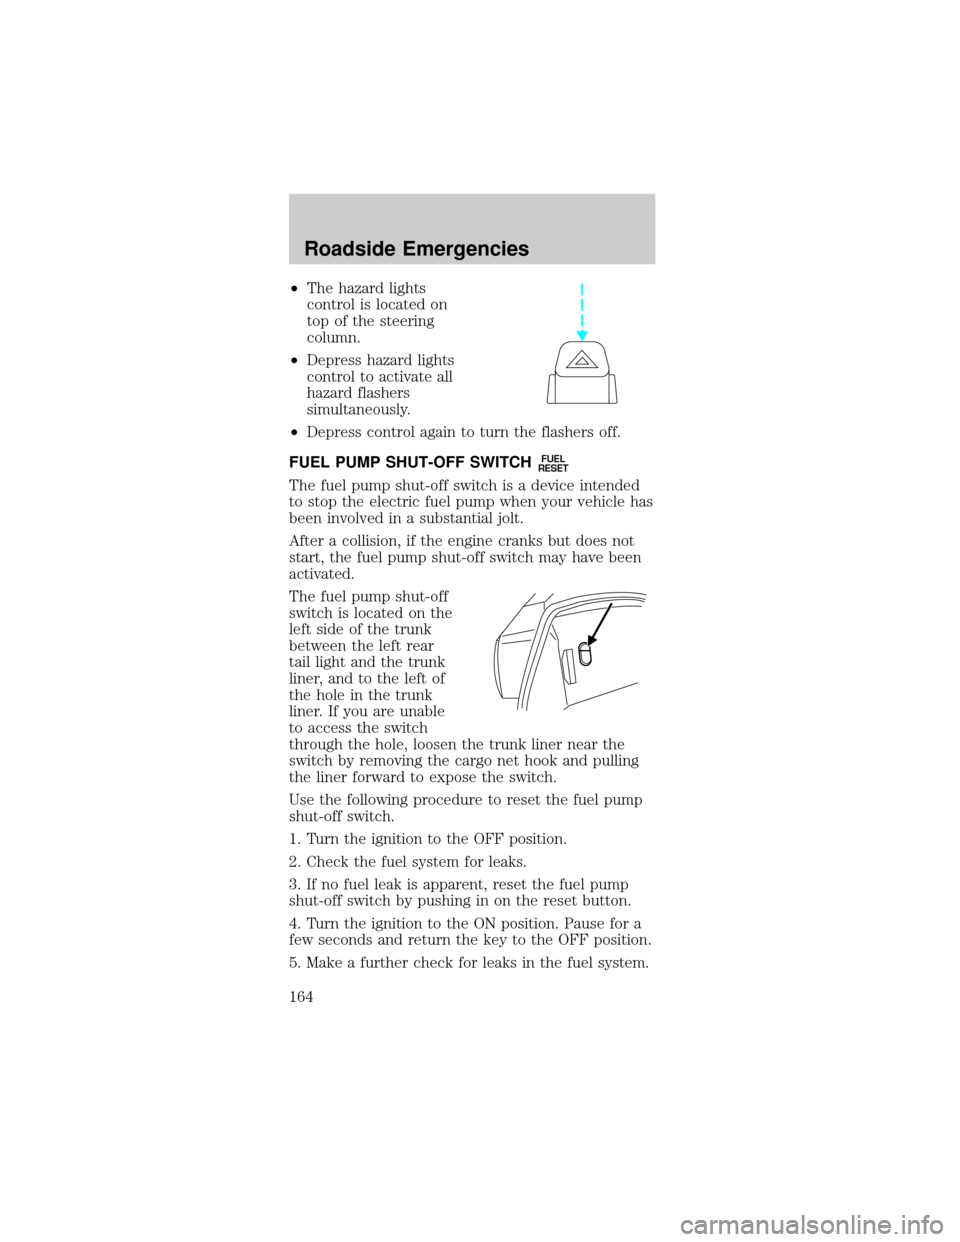
²The hazard lights
control is located on
top of the steering
column.
²Depress hazard lights
control to activate all
hazard flashers
simultaneously.
²Depress control again to turn the flashers off.
FUEL PUMP SHUT-OFF SWITCH
FUEL
RESET
The fuel pump shut-off switch is a device intended
to stop the electric fuel pump when your vehicle has
been involved in a substantial jolt.
After a collision, if the engine cranks but does not
start, the fuel pump shut-off switch may have been
activated.
The fuel pump shut-off
switch is located on the
left side of the trunk
between the left rear
tail light and the trunk
liner, and to the left of
the hole in the trunk
liner. If you are unable
to access the switch
through the hole, loosen the trunk liner near the
switch by removing the cargo net hook and pulling
the liner forward to expose the switch.
Use the following procedure to reset the fuel pump
shut-off switch.
1. Turn the ignition to the OFF position.
2. Check the fuel system for leaks.
3. If no fuel leak is apparent, reset the fuel pump
shut-off switch by pushing in on the reset button.
4. Turn the ignition to the ON position. Pause for a
few seconds and return the key to the OFF position.
5. Make a further check for leaks in the fuel system.
Roadside Emergencies
164
Page 175 of 264
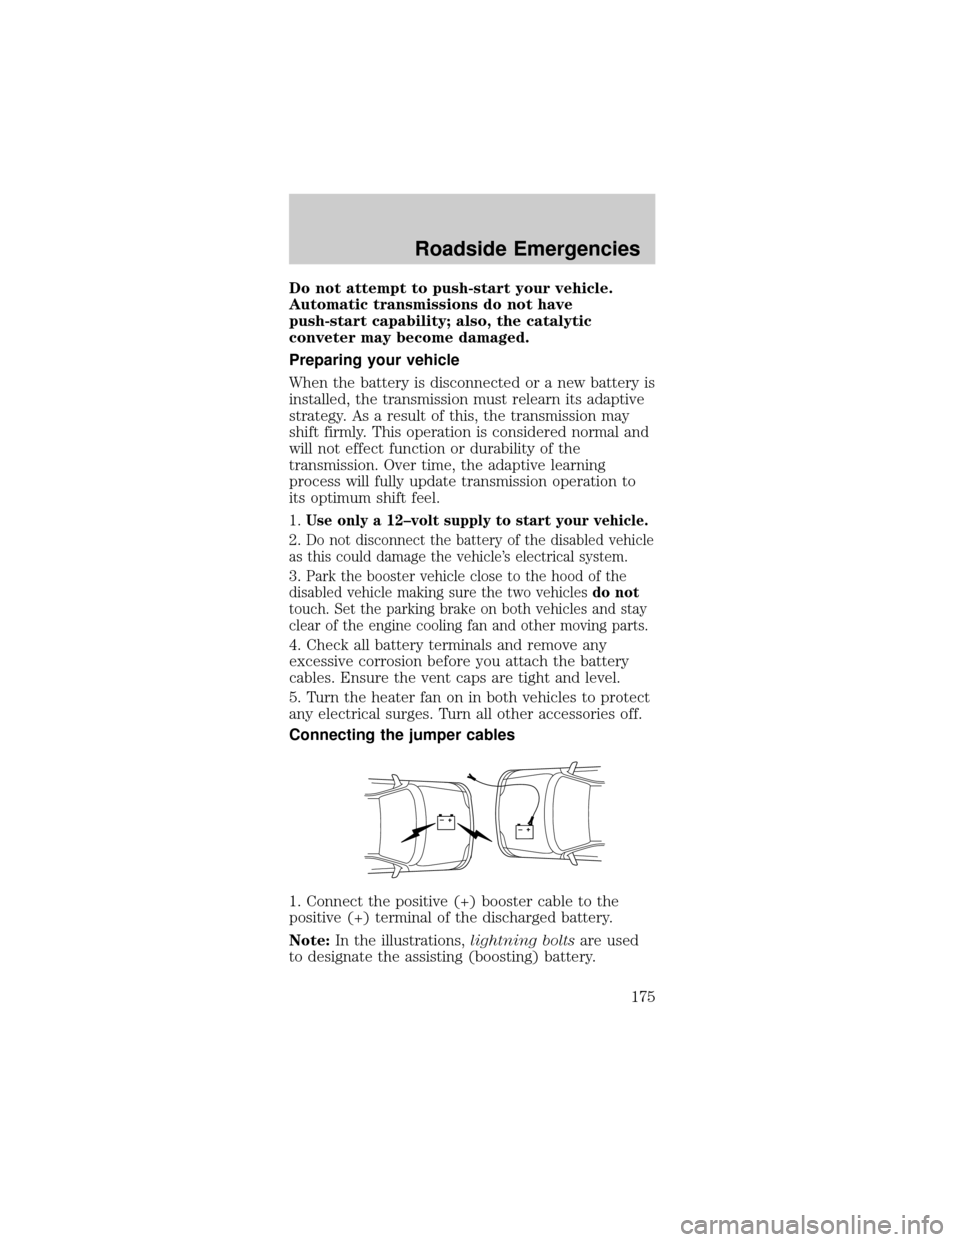
Do not attempt to push-start your vehicle.
Automatic transmissions do not have
push-start capability; also, the catalytic
conveter may become damaged.
Preparing your vehicle
When the battery is disconnected or a new battery is
installed, the transmission must relearn its adaptive
strategy. As a result of this, the transmission may
shift firmly. This operation is considered normal and
will not effect function or durability of the
transmission. Over time, the adaptive learning
process will fully update transmission operation to
its optimum shift feel.
1.
Use only a 12±volt supply to start your vehicle.
2.Do not disconnect the battery of the disabled vehicle
as this could damage the vehicle's electrical system.
3.Park the booster vehicle close to the hood of the
disabled vehicle making sure the two vehiclesdo not
touch. Set the parking brake on both vehicles and stay
clear of the engine cooling fan and other moving parts.
4. Check all battery terminals and remove any
excessive corrosion before you attach the battery
cables. Ensure the vent caps are tight and level.
5. Turn the heater fan on in both vehicles to protect
any electrical surges. Turn all other accessories off.
Connecting the jumper cables
1. Connect the positive (+) booster cable to the
positive (+) terminal of the discharged battery.
Note:In the illustrations,lightning boltsare used
to designate the assisting (boosting) battery.
+–+–
Roadside Emergencies
175
Page 201 of 264

SERVICE RECOMMENDATIONS
To help you service your vehicle:
²We highlight do-it-yourself items in the engine
compartment for easy location.
²We provide a scheduled maintenance guide which
makes tracking routine service easy.
If your vehicle requires professional service, your
dealership can provide the necessary parts and
service. Check yourWarranty Guideto find out
which parts and services are covered.
Use only recommended fuels, lubricants, fluids and
service parts conforming to specifications. Motorcraft
parts are designed and built to provide the best
performance in your vehicle.
PRECAUTIONS WHEN SERVICING YOUR
VEHICLE
Be especially careful when inspecting or servicing
your vehicle.
²Do not work on a hot engine.
²When the engine is running, keep loose clothing,
jewelry or long hair away from moving parts.
²Do not work on a vehicle with the engine running
in an enclosed space, unless you are sure you
have enough ventilation.
²Keep all lit cigarettes, open flames and other lit
material away from the battery and all fuel related
parts.
If you disconnect the battery, the engine must
ªrelearnº its idle conditions before your vehicle will
drive properly, as explained in theBatterysection in
this chapter.
Working with the engine off
²Automatic transmission:
1. Set the parking brake and ensure the gearshift is
securely latched in P (Park).
Maintenance and Specifications
201
Page 206 of 264
WINDSHIELD WASHER FLUID
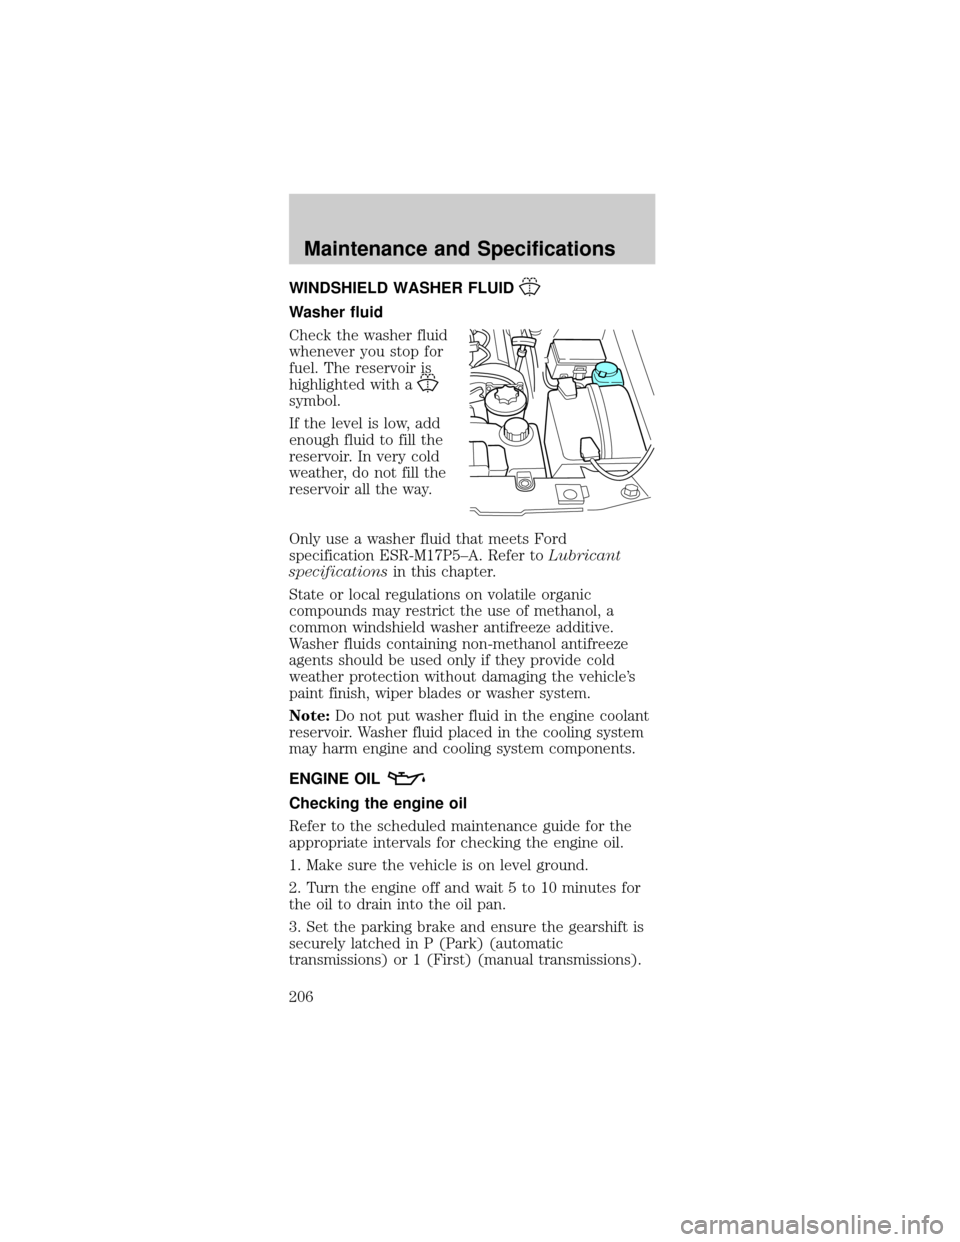
Washer fluid
Check the washer fluid
whenever you stop for
fuel. The reservoir is
highlighted with a
symbol.
If the level is low, add
enough fluid to fill the
reservoir. In very cold
weather, do not fill the
reservoir all the way.
Only use a washer fluid that meets Ford
specification ESR-M17P5±A. Refer toLubricant
specificationsin this chapter.
State or local regulations on volatile organic
compounds may restrict the use of methanol, a
common windshield washer antifreeze additive.
Washer fluids containing non-methanol antifreeze
agents should be used only if they provide cold
weather protection without damaging the vehicle's
paint finish, wiper blades or washer system.
Note:Do not put washer fluid in the engine coolant
reservoir. Washer fluid placed in the cooling system
may harm engine and cooling system components.
ENGINE OIL
Checking the engine oil
Refer to the scheduled maintenance guide for the
appropriate intervals for checking the engine oil.
1. Make sure the vehicle is on level ground.
2. Turn the engine off and wait 5 to 10 minutes for
the oil to drain into the oil pan.
3. Set the parking brake and ensure the gearshift is
securely latched in P (Park) (automatic
transmissions) or 1 (First) (manual transmissions).
Maintenance and Specifications
206
Page 224 of 264

Use the following guidelines to avoid static build-up
when filling an ungrounded fuel container:
²Place approved fuel container on the ground.
²DO NOT fill a fuel container while it is in the
vehicle (including the cargo area).
²Keep the fuel pump nozzle in contact with the
fuel container while filling.
²DO NOT use a device that would hold the fuel
pump handle in the fill position.
Fuel Filler Cap
Your fuel tank filler cap has an indexed design with
a 1/8 turn on/off feature.
When fueling your vehicle:
1. Turn the engine off.
2. Carefully turn the filler cap counterclockwise 1/8
of a turn until it stops.
3. Pull to remove the cap from the fuel filler pipe.
4. To install the cap, align the tabs on the cap with
the notches on the filler pipe.
5. Turn the filler cap clockwise 1/8 of a turn until it
stops.
ªCheck Fuel Capº illuminates when the ignition is
turned to the ON position to ensure your bulb is
working. When this light turns on, check the fuel
filler cap. Continuing to operate the vehicle with the
Check Fuel Cap light on, can activate the Service
Engine Soon warning. When the fuel filler cap is
properly re-installed, the light(s) will turn off after a
period of normal driving.It may take a long
period of time for the system to detect an
improperly installed fuel filler cap.
If you must replace the fuel filler cap, replace
it with a fuel filler cap that is designed for
your vehicle. The customer warranty may be
void for any damage to the fuel tank or fuel
system if the correct genuine Ford or
Motorcraft fuel filler cap is not used.
Maintenance and Specifications
224
Page 233 of 264

Do not make any unauthorized changes to your
vehicle or engine. By law, vehicle owners and anyone
who manufactures, repairs, services, sells, leases,
trades vehicles, or supervises a fleet of vehicles are
not permitted to intentionally remove an emission
control device or prevent it from working.
Information about your vehicle's emission system is
on the Vehicle Emission Control Information Decal
located on or near the engine. This decal identifies
engine displacement and gives some tune up
specifications.
Please consult yourWarranty Guidefor complete
emission warranty information.
Readiness for Inspection/Maintenance (I/M)
testing
In some localities, it may be a legal requirement to
pass an I/M test of the on-board diagnostics system.
If your ªCheck Engine/Service Engine Soonº light is
on, refer to the description in theWarning lights
and chimessection of theInstrument Cluster
chapter. Your vehicle may not pass the I/M test with
the ªCheck Engine/Service Engine Soonº light on.
If the vehicle's powertrain system or its battery has
just been serviced, the on-board diagnostics system
is reset to a ªnot ready for I/M testº condition. To
ready the on-board diagnostics system for I/M
testing, a minimum of 30 minutes of city and
highway driving is necessary as described below:
²First, at least 10 minutes of driving on an
expressway or highway.
²Next, at least 20 minutes driving in stop-and-go,
city-type traffic with at least four idle periods.
Allow the vehicle to sit for at least eight hours
without starting the engine. Then, start the engine
and complete the above driving cycle. The engine
must warm up to its normal operating temperature.
Once started, do not turn off the engine until the
above driving cycle is complete.
Maintenance and Specifications
233