navigation system FORD MUSTANG 2007 5.G Navigation System Manual
[x] Cancel search | Manufacturer: FORD, Model Year: 2007, Model line: MUSTANG, Model: FORD MUSTANG 2007 5.GPages: 72, PDF Size: 0.98 MB
Page 18 of 72
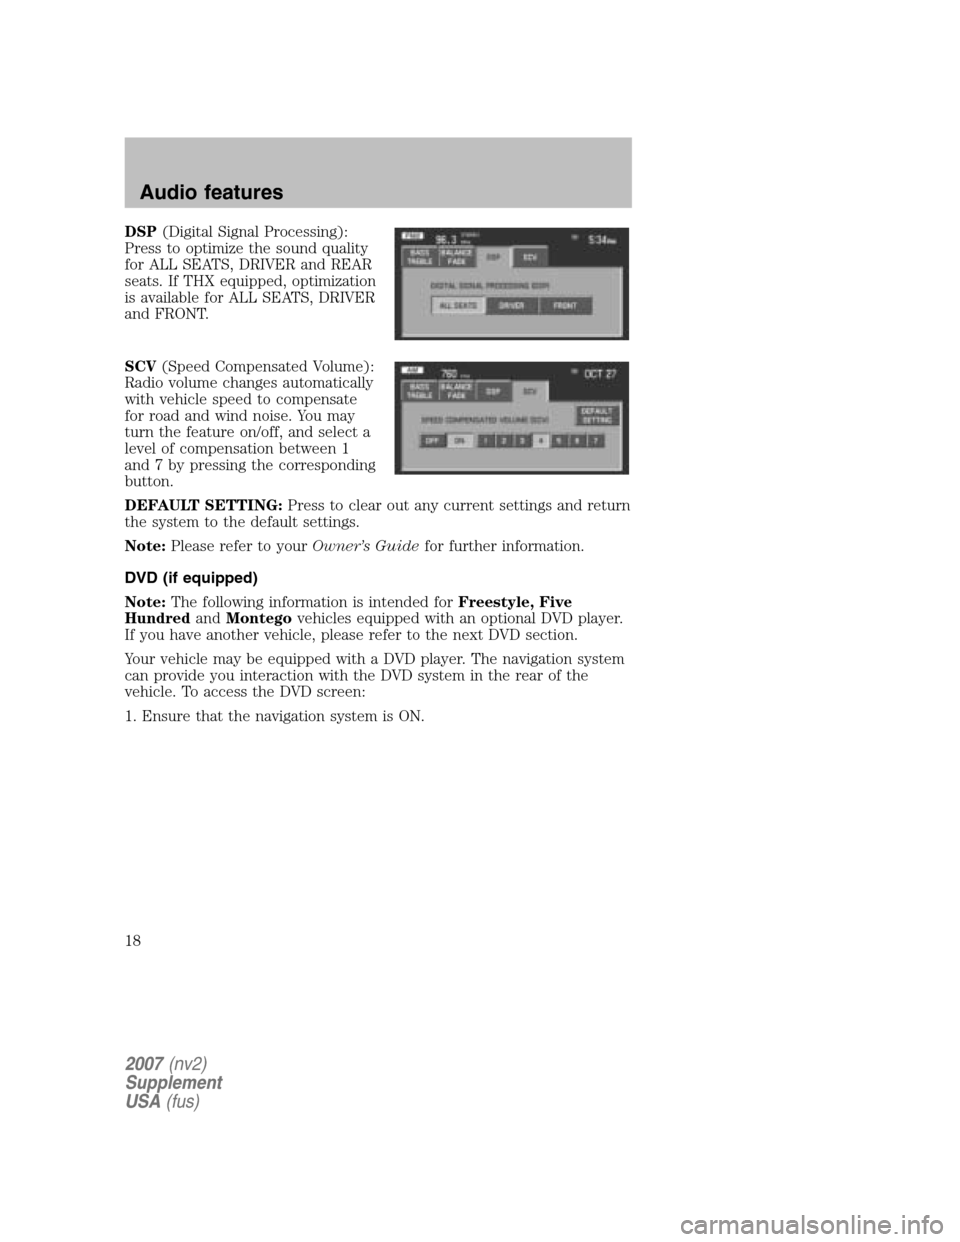
DSP(Digital Signal Processing):
Press to optimize the sound quality
for ALL SEATS, DRIVER and REAR
seats. If THX equipped, optimization
is available for ALL SEATS, DRIVER
and FRONT.
SCV (Speed Compensated Volume):
Radio volume changes automatically
with vehicle speed to compensate
for road and wind noise. You may
turn the feature on/off, and select a
level of compensation between 1
and 7 by pressing the corresponding
button.
DEFAULT SETTING: Press to clear out any current settings and return
the system to the default settings.
Note: Please refer to your Owner’s Guidefor further information.
DVD (if equipped)
Note: The following information is intended for Freestyle, Five
Hundred andMontego vehicles equipped with an optional DVD player.
If you have another vehicle, please refer to the next DVD section.
Your vehicle may be equipped with a DVD player. The navigation system
can provide you interaction with the DVD system in the rear of the
vehicle. To access the DVD screen:
1. Ensure that the navigation system is ON.
2007 (nv2)
Supplement
USA (fus)
Audio features
18
Page 20 of 72
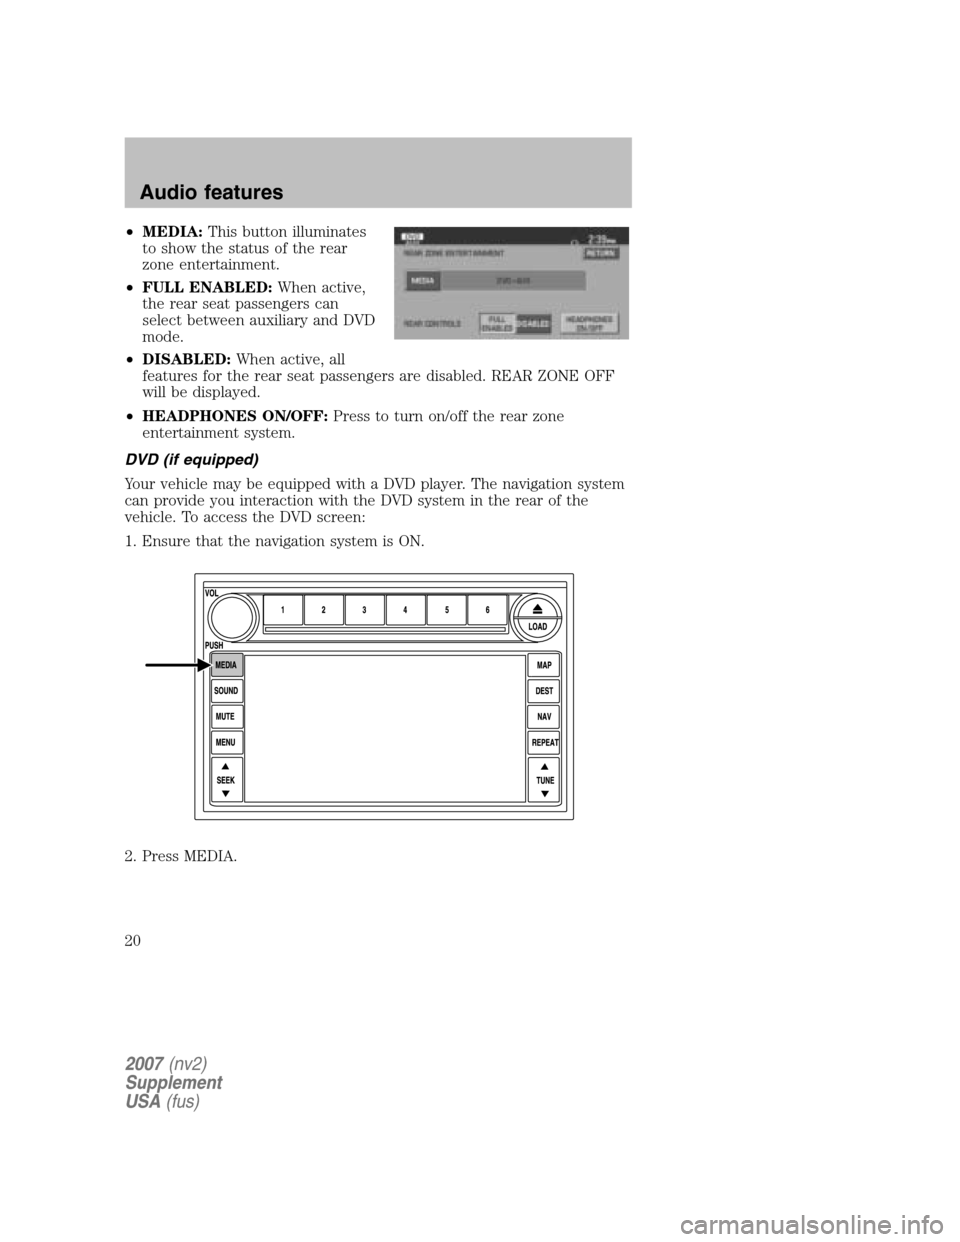
•MEDIA: This button illuminates
to show the status of the rear
zone entertainment.
• FULL ENABLED: When active,
the rear seat passengers can
select between auxiliary and DVD
mode.
• DISABLED: When active, all
features for the rear seat passengers are disabled. REAR ZONE OFF
will be displayed.
• HEADPHONES ON/OFF: Press to turn on/off the rear zone
entertainment system.
DVD (if equipped)
Your vehicle may be equipped with a DVD player. The navigation system
can provide you interaction with the DVD system in the rear of the
vehicle. To access the DVD screen:
1. Ensure that the navigation system is ON.
2. Press MEDIA.
2007 (nv2)
Supplement
USA (fus)
Audio features
20
Page 22 of 72
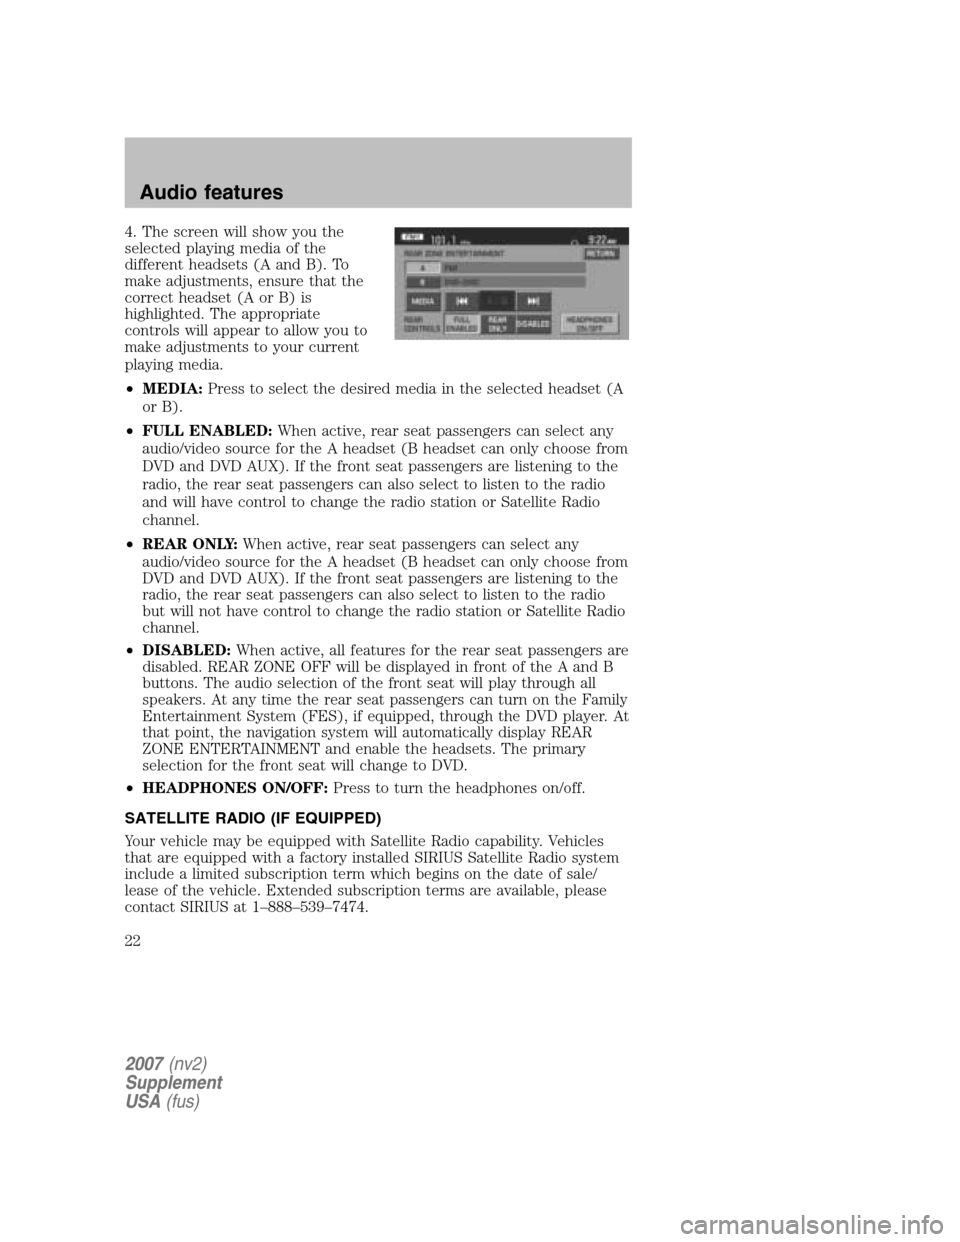
4. The screen will show you the
selected playing media of the
different headsets (A and B). To
make adjustments, ensure that the
correct headset (A or B) is
highlighted. The appropriate
controls will appear to allow you to
make adjustments to your current
playing media.
• MEDIA: Press to select the desired media in the selected headset (A
or B).
• FULL ENABLED: When active, rear seat passengers can select any
audio/video source for the A headset (B headset can only choose from
DVD and DVD AUX). If the front seat passengers are listening to the
radio, the rear seat passengers can also select to listen to the radio
and will have control to change the radio station or Satellite Radio
channel.
• REAR ONLY: When active, rear seat passengers can select any
audio/video source for the A headset (B headset can only choose from
DVD and DVD AUX). If the front seat passengers are listening to the
radio, the rear seat passengers can also select to listen to the radio
but will not have control to change the radio station or Satellite Radio
channel.
• DISABLED: When active, all features for the rear seat passengers are
disabled. REAR ZONE OFF will be displayed in front of the A and B
buttons. The audio selection of the front seat will play through all
speakers. At any time the rear seat passengers can turn on the Family
Entertainment System (FES), if equipped, through the DVD player. At
that point, the navigation system will automatically display REAR
ZONE ENTERTAINMENT and enable the headsets. The primary
selection for the front seat will change to DVD.
• HEADPHONES ON/OFF: Press to turn the headphones on/off.
SATELLITE RADIO (IF EQUIPPED)
Your vehicle may be equipped with Satellite Radio capability. Vehicles
that are equipped with a factory installed SIRIUS Satellite Radio system
include a limited subscription term which begins on the date of sale/
lease of the vehicle. Extended subscription terms are available, please
contact SIRIUS at 1–888–539–7474.
2007 (nv2)
Supplement
USA (fus)
Audio features
22
Page 23 of 72
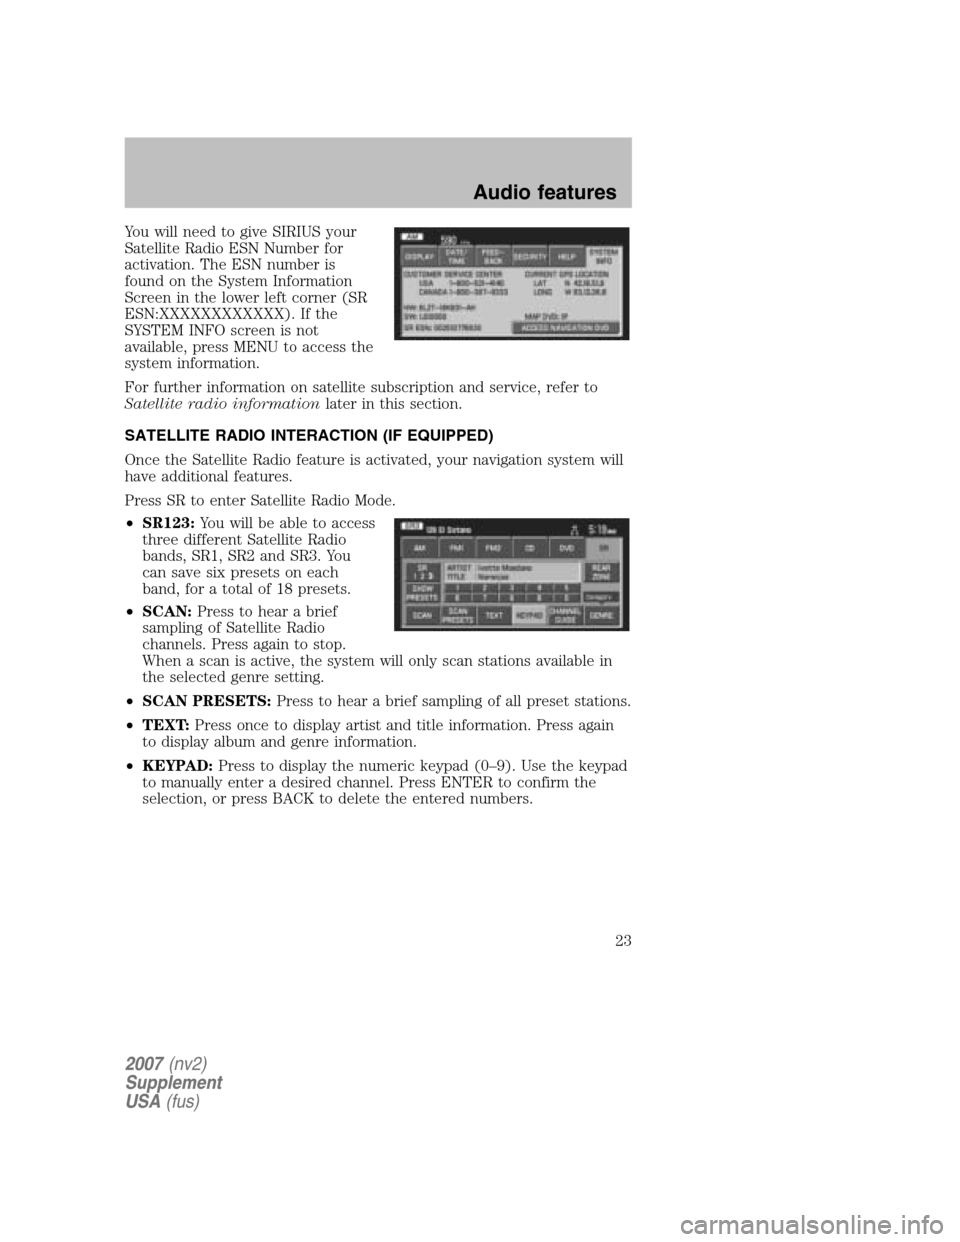
You will need to give SIRIUS your
Satellite Radio ESN Number for
activation. The ESN number is
found on the System Information
Screen in the lower left corner (SR
ESN:XXXXXXXXXXXX). If the
SYSTEM INFO screen is not
available, press MENU to access the
system information.
For further information on satellite subscription and service, refer to
Satellite radio information later in this section.
SATELLITE RADIO INTERACTION (IF EQUIPPED)
Once the Satellite Radio feature is activated, your navigation system will
have additional features.
Press SR to enter Satellite Radio Mode.
• SR123: You will be able to access
three different Satellite Radio
bands, SR1, SR2 and SR3. You
can save six presets on each
band, for a total of 18 presets.
• SCAN: Press to hear a brief
sampling of Satellite Radio
channels. Press again to stop.
When a scan is active, the system will only scan stations available in
the selected genre setting.
• SCAN PRESETS: Press to hear a brief sampling of all preset stations.
• TEXT: Press once to display artist and title information. Press again
to display album and genre information.
• KEYPAD: Press to display the numeric keypad (0–9). Use the keypad
to manually enter a desired channel. Press ENTER to confirm the
selection, or press BACK to delete the entered numbers.
2007 (nv2)
Supplement
USA (fus)
Audio features
23
Page 26 of 72
number will appear in the bottom left corner of the screen. For further
information, please refer to System informationin theSystem features
chapter of this navigation supplement.
Radio Display Condition Action Required
ACQUIRING Radio requires more than two seconds to
produce audio for the selected channel. No action required. This
message should disappear shortly.
SAT FAULT Internal module or system failurepresent. If this message does not
clear within a short period
of time, or with an ignition key cycle, your receiver
may have a fault. See your authorized dealer for service.
INVALID CHNL Channel no longer available. This previously available
channel is no longer
available. Tune to another
channel. If the channel was one of your presets, you may choose another
channel for that preset button.
UNSUBSCRIBED Subscription not available for thischannel. Contact SIRIUS at
1–888–539–7474 to
subscribe to the channel,
or tune to another channel.
NO TEXT Artist information not available. Artist information not
available at this time on
this channel. The system is working properly.
NO TEXT Song title information not available. Song title information not
available at this time on
this channel. The system is working properly.
2007 (nv2)
Supplement
USA (fus)
Audio features
26
Page 28 of 72
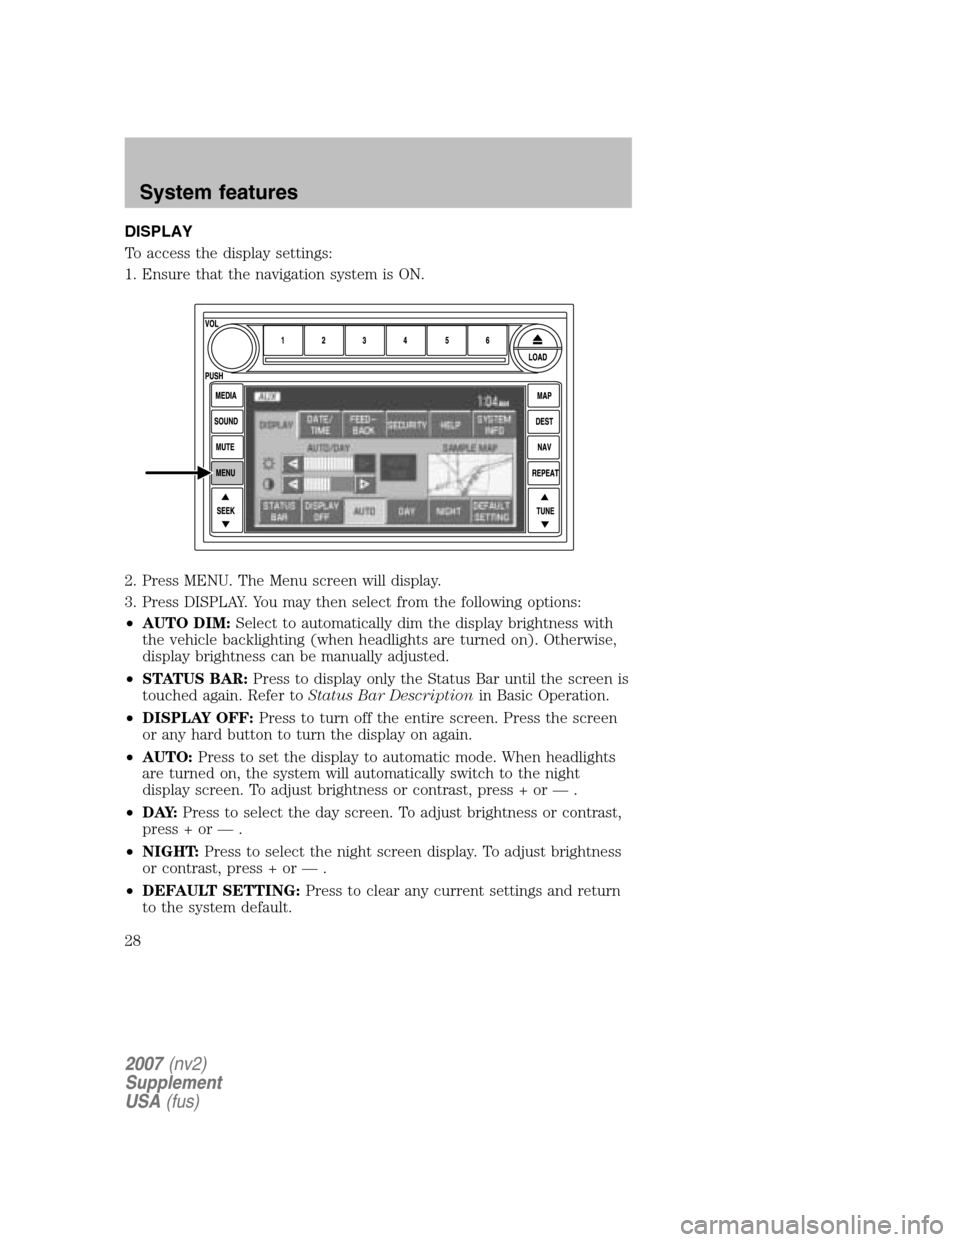
DISPLAY
To access the display settings:
1. Ensure that the navigation system is ON.
2. Press MENU. The Menu screen will display.
3. Press DISPLAY. You may then select from the following options:
• AUTO DIM: Select to automatically dim the display brightness with
the vehicle backlighting (when headlights are turned on). Otherwise,
display brightness can be manually adjusted.
• STATUS BAR: Press to display only the Status Bar until the screen is
touched again. Refer to Status Bar Description in Basic Operation.
• DISPLAY OFF: Press to turn off the entire screen. Press the screen
or any hard button to turn the display on again.
• AUTO: Press to set the display to automatic mode. When headlights
are turned on, the system will automatically switch to the night
display screen. To adjust brightness or contrast, press + or — .
• D AY: Press to select the day screen. To adjust brightness or contrast,
press + or — .
• NIGHT: Press to select the night screen display. To adjust brightness
or contrast, press + or — .
• DEFAULT SETTING: Press to clear any current settings and return
to the system default.
2007 (nv2)
Supplement
USA (fus)
System features
28
Page 29 of 72
•SAMPLE MAP: Shows you how the map will appear with the current
settings
DATE/TIME
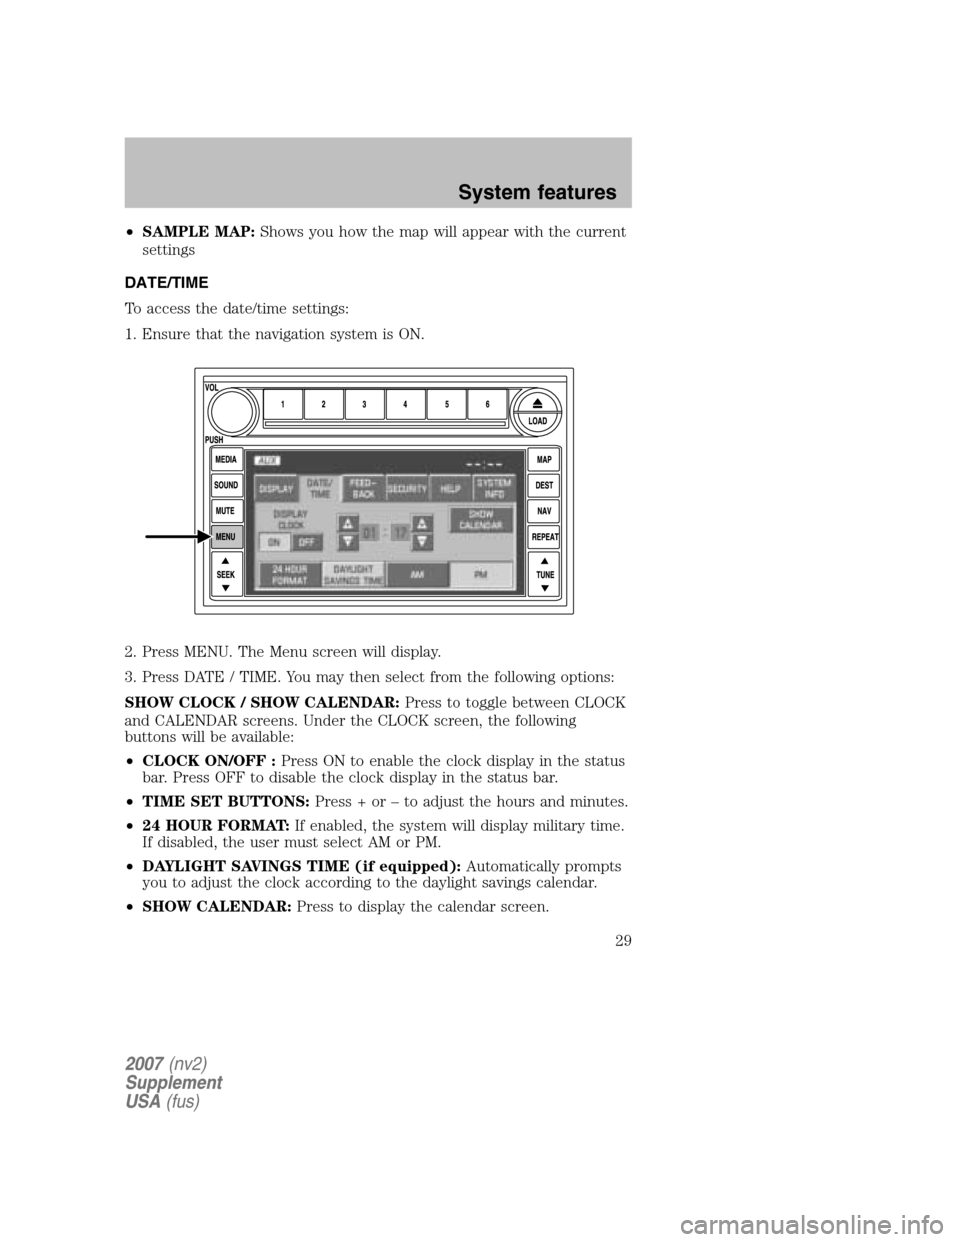
To access the date/time settings:
1. Ensure that the navigation system is ON.
2. Press MENU. The Menu screen will display.
3. Press DATE / TIME. You may then select from the following options:
SHOW CLOCK / SHOW CALENDAR: Press to toggle between CLOCK
and CALENDAR screens. Under the CLOCK screen, the following
buttons will be available:
• CLOCK ON/OFF : Press ON to enable the clock display in the status
bar. Press OFF to disable the clock display in the status bar.
• TIME SET BUTTONS: Press + or – to adjust the hours and minutes.
• 24 HOUR FORMAT: If enabled, the system will display military time.
If disabled, the user must select AM or PM.
• DAYLIGHT SAVINGS TIME (if equipped): Automatically prompts
you to adjust the clock according to the daylight savings calendar.
• SHOW CALENDAR: Press to display the calendar screen.
2007(nv2)
Supplement
USA (fus)
System features
29
Page 30 of 72
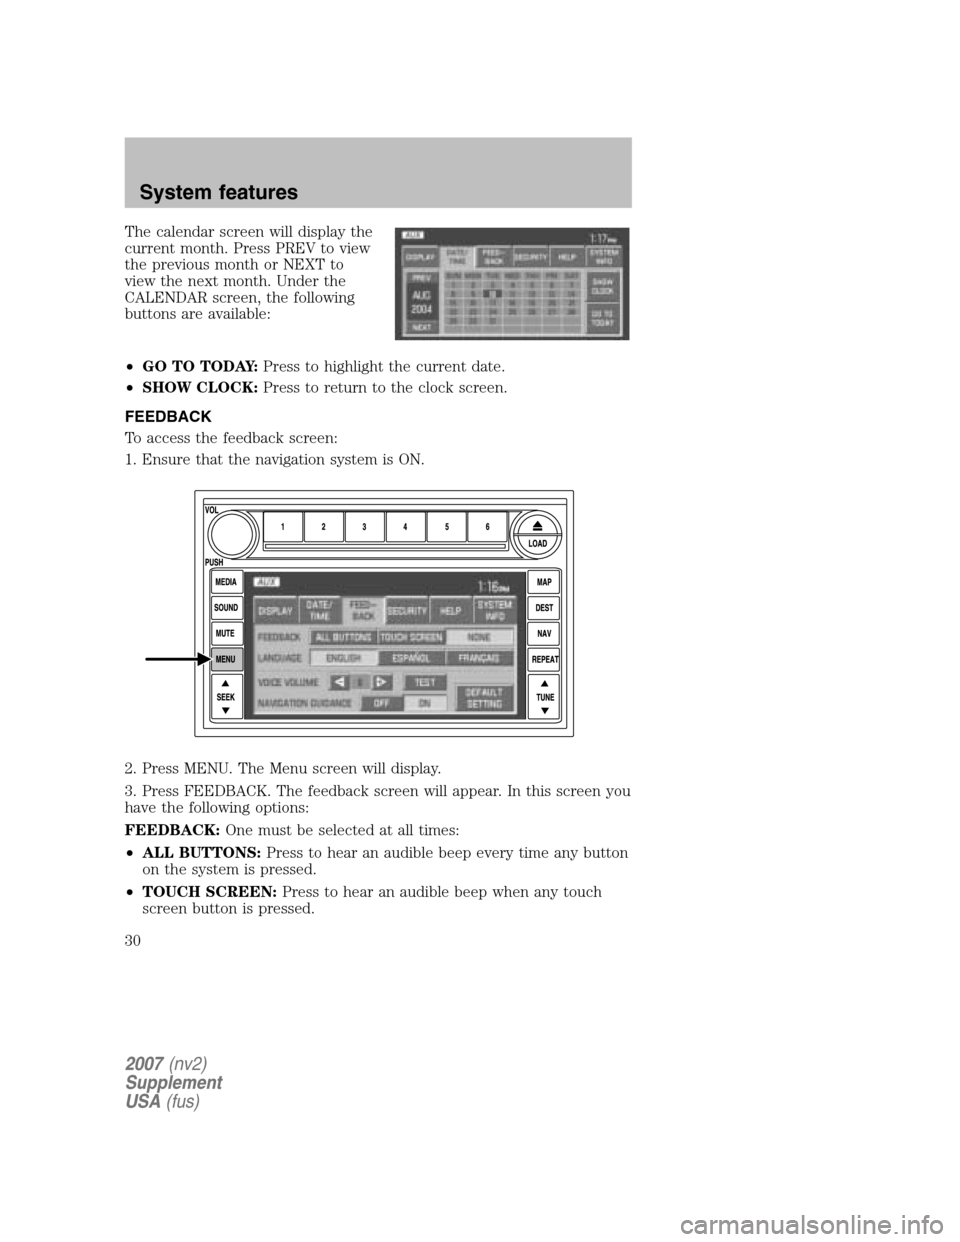
The calendar screen will display the
current month. Press PREV to view
the previous month or NEXT to
view the next month. Under the
CALENDAR screen, the following
buttons are available:
• GO TO TODAY: Press to highlight the current date.
• SHOW CLOCK: Press to return to the clock screen.
FEEDBACK
To access the feedback screen:
1. Ensure that the navigation system is ON.
2. Press MENU. The Menu screen will display.
3. Press FEEDBACK. The feedback screen will appear. In this screen you
have the following options:
FEEDBACK: One must be selected at all times:
• ALL BUTTONS: Press to hear an audible beep every time any button
on the system is pressed.
• TOUCH SCREEN: Press to hear an audible beep when any touch
screen button is pressed.
2007 (nv2)
Supplement
USA (fus)
System features
30
Page 31 of 72

•NONE: Press to turn off all audible beeps. You may press any button
and no beeps will be heard.
LANGUAGE: One must be selected at all times:
• ENGLISH: Press to set the system language to English.
• ESPANOL: Press to set the system language to North American
Spanish.
• FRANCAIS: Press to set the system language to North American
French.
Note: The system will automatically restart after a new language is
chosen.
VOICE VOLUME: Press +/- to select voice prompt volume level (1–34).
You may also turn the volume control during a voice prompt to adjust
the volume level.
TEST: Press to hear an audio sample of voice prompt at the currently
selected volume.
NAVIGATION GUIDANCE: Press ON to hear navigation guidance voice
prompts. Press OFF to turn the voice prompts off.
DEFAULT SETTING: Press to clear any current settings and return to
the system default settings.
SECURITY
Your navigation system has a special security feature which allows you to
enable the valet mode. In valet mode, if your vehicle is being parked by a
valet, they will be unable to access any of the navigational information
(addresses, destinations, etc.), change any settings or eject any CDs or
the navigation DVD. To access and enable valet mode:
1. Ensure that the navigation system is on.
2007 (nv2)
Supplement
USA (fus)
System features
31
Page 33 of 72
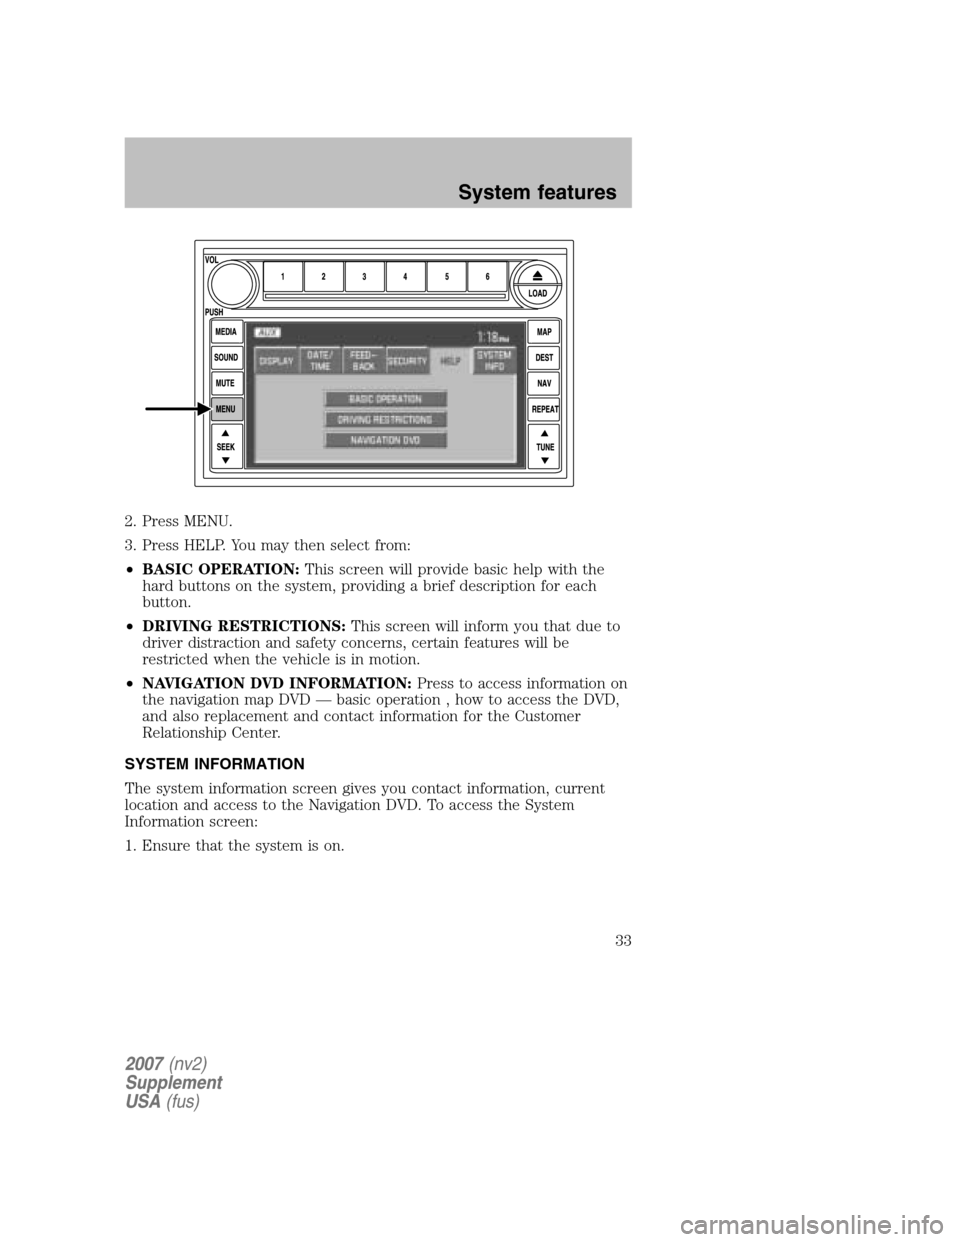
2. Press MENU.
3. Press HELP. You may then select from:
• BASIC OPERATION: This screen will provide basic help with the
hard buttons on the system, providing a brief description for each
button.
• DRIVING RESTRICTIONS: This screen will inform you that due to
driver distraction and safety concerns, certain features will be
restricted when the vehicle is in motion.
• NAVIGATION DVD INFORMATION: Press to access information on
the navigation map DVD — basic operation , how to access the DVD,
and also replacement and contact information for the Customer
Relationship Center.
SYSTEM INFORMATION
The system information screen gives you contact information, current
location and access to the Navigation DVD. To access the System
Information screen:
1. Ensure that the system is on.
2007 (nv2)
Supplement
USA (fus)
System features
33