display FORD MUSTANG 2007 5.G Navigation System Manual
[x] Cancel search | Manufacturer: FORD, Model Year: 2007, Model line: MUSTANG, Model: FORD MUSTANG 2007 5.GPages: 72, PDF Size: 0.98 MB
Page 40 of 72

•TIME TO DESTINATION: Displays the distance and estimated
travel time to the selected destination on the left side of the screen.
When selected, a popup screen will also display the Estimated Time of
Arrival (ETA).
• CURRENT POSITION: Press to show the vehicle’s current location
(street and State/Province).
• SET AS DEST: Press in order to select a scrolled location on the map
as your destination. (You may scroll the map by pressing your index
finger on the map display. When you reach the desired location,
simply let go and then press SET AS DEST to go to the Destination
Map View Screen.
• POI/POI OFF: Allows you to select from various Point of Interest
(POI) icons as well as turn them on/off in the map display. Only one
kind of POI will display on the map at a time (i.e, restaurants, banks,
etc). The selected PIO icon will show on the button.
Note: This is only possible for scales equal or smaller than 0.75mi / 1km.
If a navigational route is in progress, the following buttons will also
appear at the bottom of the screen when a route exists:
• VIEW ROUTE: Press to adjust the map display to the right scale.
This scale allows the entire route to be visible in the screen. This
screen will also display the following options:
VIEW DEST: Press to shift the destination to the center of the map
display.
TURN LIST: Press to view a list of the roads and waypoints for the
planned route. You can change the route by selecting to AVOID any of
the roads or to DELETE any of the waypoints. At this point the system
will refigure the planned route based on the criteria.
• EDIT ROUTE: Press in order to adjust the following features of the
current route:
DETOUR: Press to select a portion of the route for the navigation
system to avoid. Select the desired distance (between one and 100
miles) of the current road. A map for each alternative route will display
on the screen. Select the desired route.
EDIT TURN LIST: Press to display the TURN LIST screen and make
any desired adjustments. Refer to Turn list.
EDIT ROUTE PREFERENCES: Press in order to change settings for
route searches. Refer to Route preferences.
2007(nv2)
Supplement
USA (fus)
Navigation features
40
Page 41 of 72
EDIT DESTINATION/WAYPOINTS:Press in order to add, delete or
adjust any waypoints or your destination. Refer to
Destination/Waypoints list .
• CANCEL ROUTE: Press to delete the next waypoint or the whole
current route. The route cannot be deleted while a reroute is in
progress.
Note: Once deleted, you will not be able to restore the waypoint or
route.
MAP SCROLLING
Single scroll: In single scroll mode, press and release on the map
display will bring the pressed position to the center of the screen. The
scroll mode will time out after five minutes of inactivity.
Continuous scroll: During scroll mode, press and hold to begin
scrolling continuously in one of eight directions closest to the point that
is pressed. The scroll will continue until the map is released, and will
increase in speed after three seconds. This is not possible if the vehicle
is moving. The scroll mode will time out after five minutes of inactivity.
MAP ICON DESCRIPTIONS
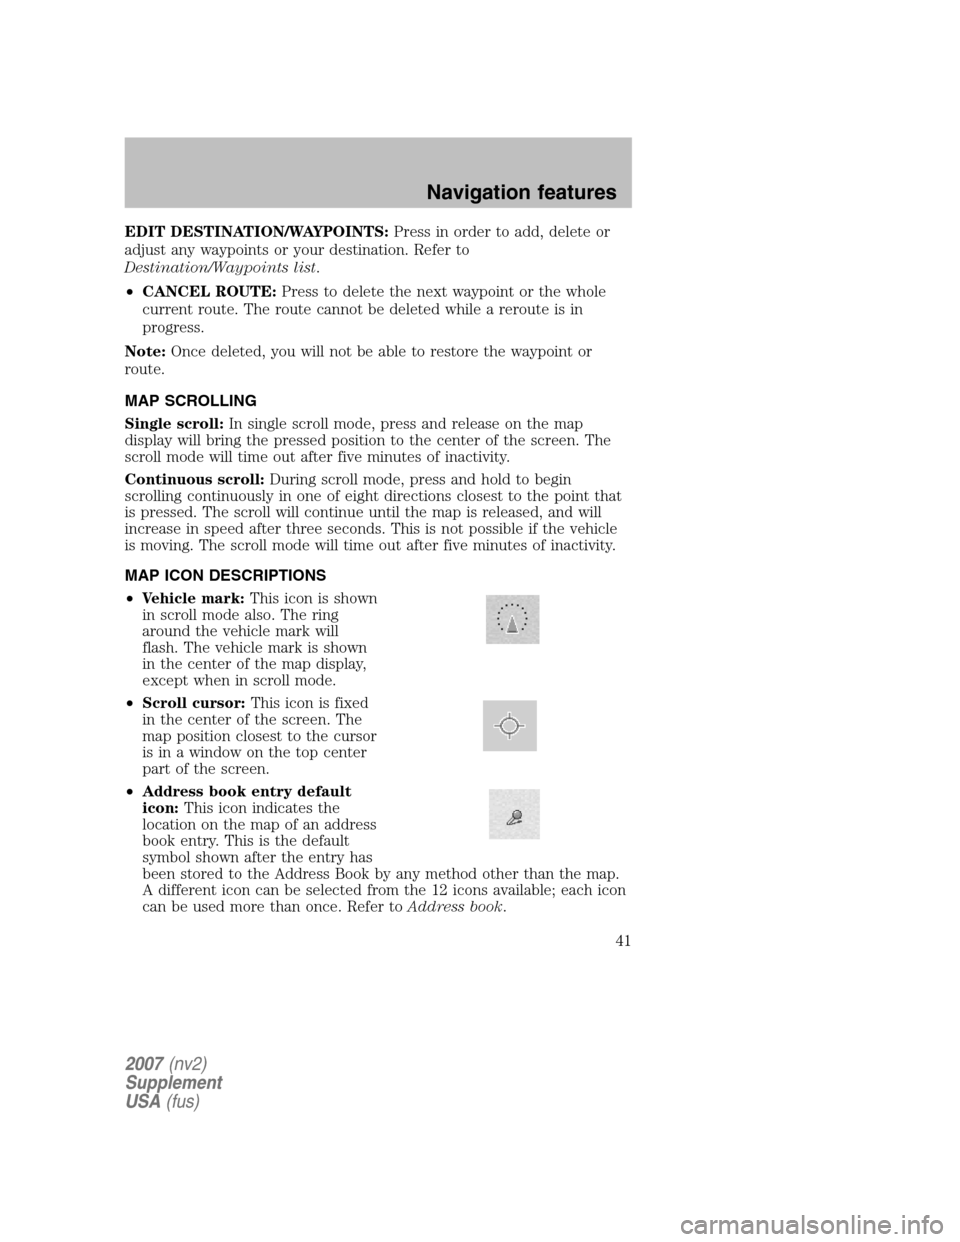
• Vehicle mark: This icon is shown
in scroll mode also. The ring
around the vehicle mark will
flash. The vehicle mark is shown
in the center of the map display,
except when in scroll mode.
• Scroll cursor: This icon is fixed
in the center of the screen. The
map position closest to the cursor
is in a window on the top center
part of the screen.
• Address book entry default
icon: This icon indicates the
location on the map of an address
book entry. This is the default
symbol shown after the entry has
been stored to the Address Book by any method other than the map.
A different icon can be selected from the 12 icons available; each icon
can be used more than once. Refer to Address book.
2007(nv2)
Supplement
USA (fus)
Navigation features
41
Page 42 of 72
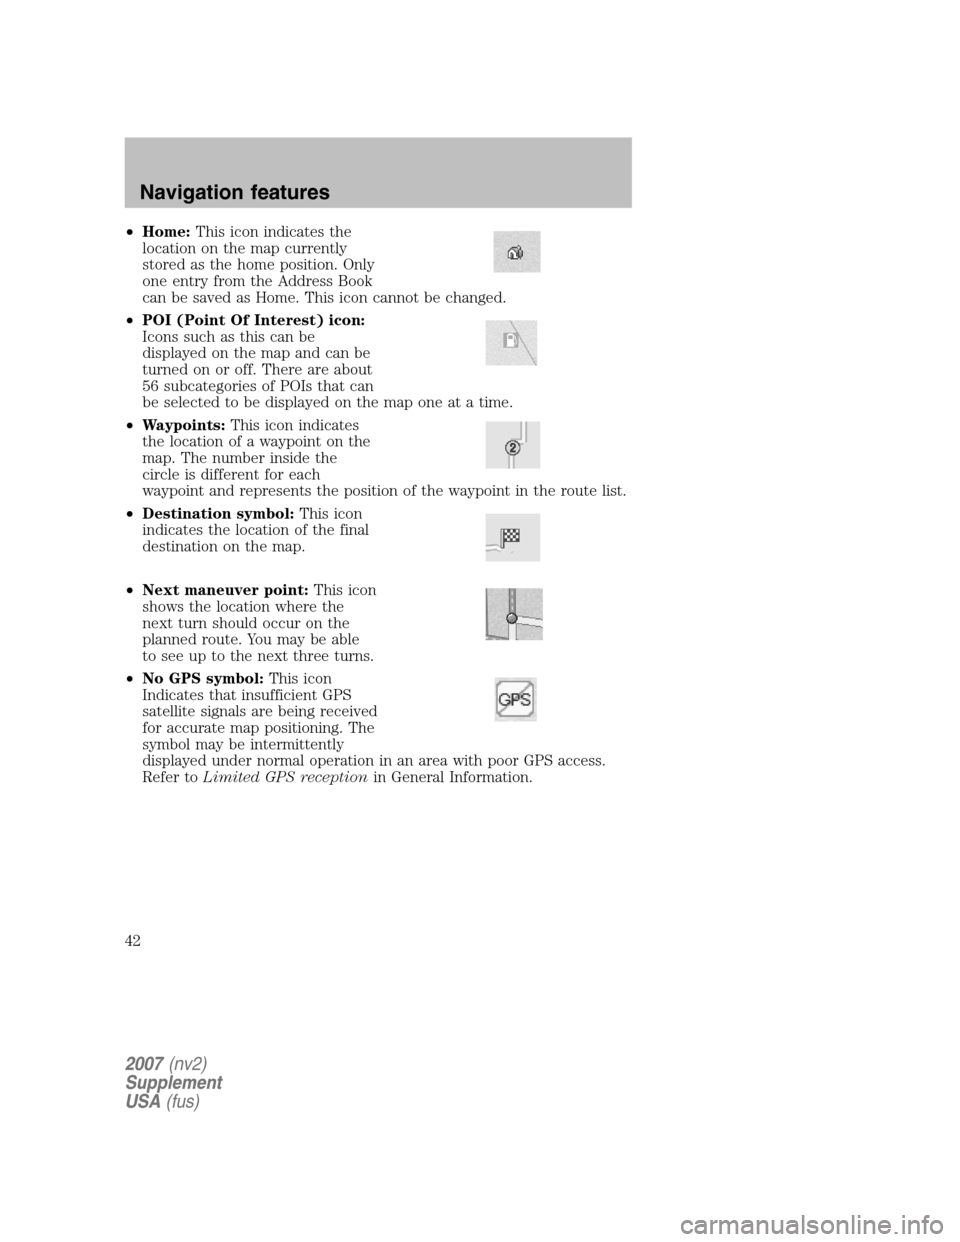
•Home: This icon indicates the
location on the map currently
stored as the home position. Only
one entry from the Address Book
can be saved as Home. This icon cannot be changed.
• POI (Point Of Interest) icon:
Icons such as this can be
displayed on the map and can be
turned on or off. There are about
56 subcategories of POIs that can
be selected to be displayed on the map one at a time.
• Waypoints: This icon indicates
the location of a waypoint on the
map. The number inside the
circle is different for each
waypoint and represents the position of the waypoint in the route list.
• Destination symbol: This icon
indicates the location of the final
destination on the map.
• Next maneuver point: This icon
shows the location where the
next turn should occur on the
planned route. You may be able
to see up to the next three turns.
• No GPS symbol: This icon
Indicates that insufficient GPS
satellite signals are being received
for accurate map positioning. The
symbol may be intermittently
displayed under normal operation in an area with poor GPS access.
Refer to Limited GPS reception in General Information.
2007(nv2)
Supplement
USA (fus)
Navigation features
42
Page 43 of 72
DESTINATION PROGRAMMING
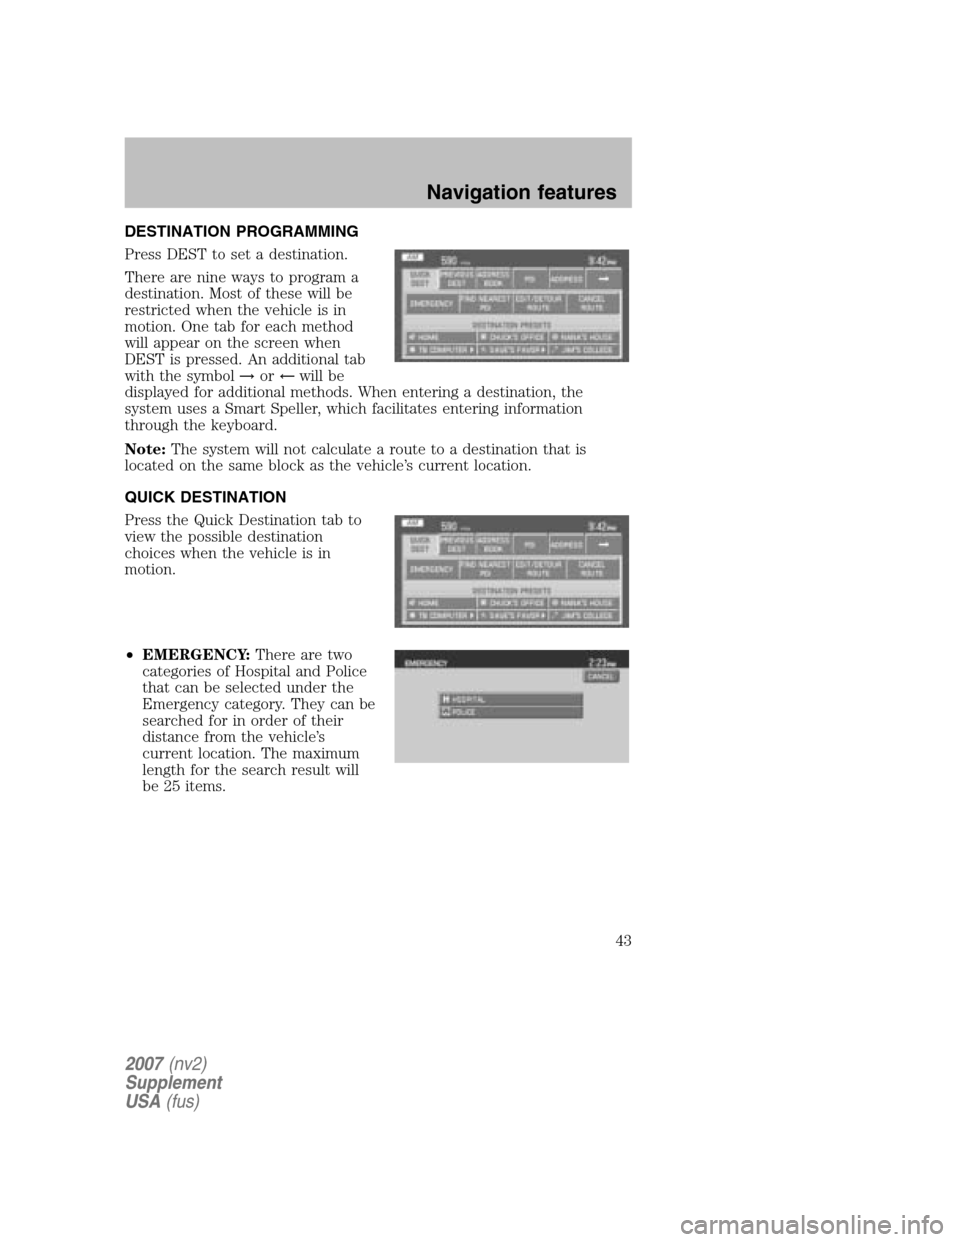
Press DEST to set a destination.
There are nine ways to program a
destination. Most of these will be
restricted when the vehicle is in
motion. One tab for each method
will appear on the screen when
DEST is pressed. An additional tab
with the symbol →or← will be
displayed for additional methods. When entering a destination, the
system uses a Smart Speller, which facilitates entering information
through the keyboard.
Note: The system will not calculate a route to a destination that is
located on the same block as the vehicle’s current location.
QUICK DESTINATION
Press the Quick Destination tab to
view the possible destination
choices when the vehicle is in
motion.
• EMERGENCY: There are two
categories of Hospital and Police
that can be selected under the
Emergency category. They can be
searched for in order of their
distance from the vehicle’s
current location. The maximum
length for the search result will
be 25 items.
2007 (nv2)
Supplement
USA (fus)
Navigation features
43
Page 44 of 72
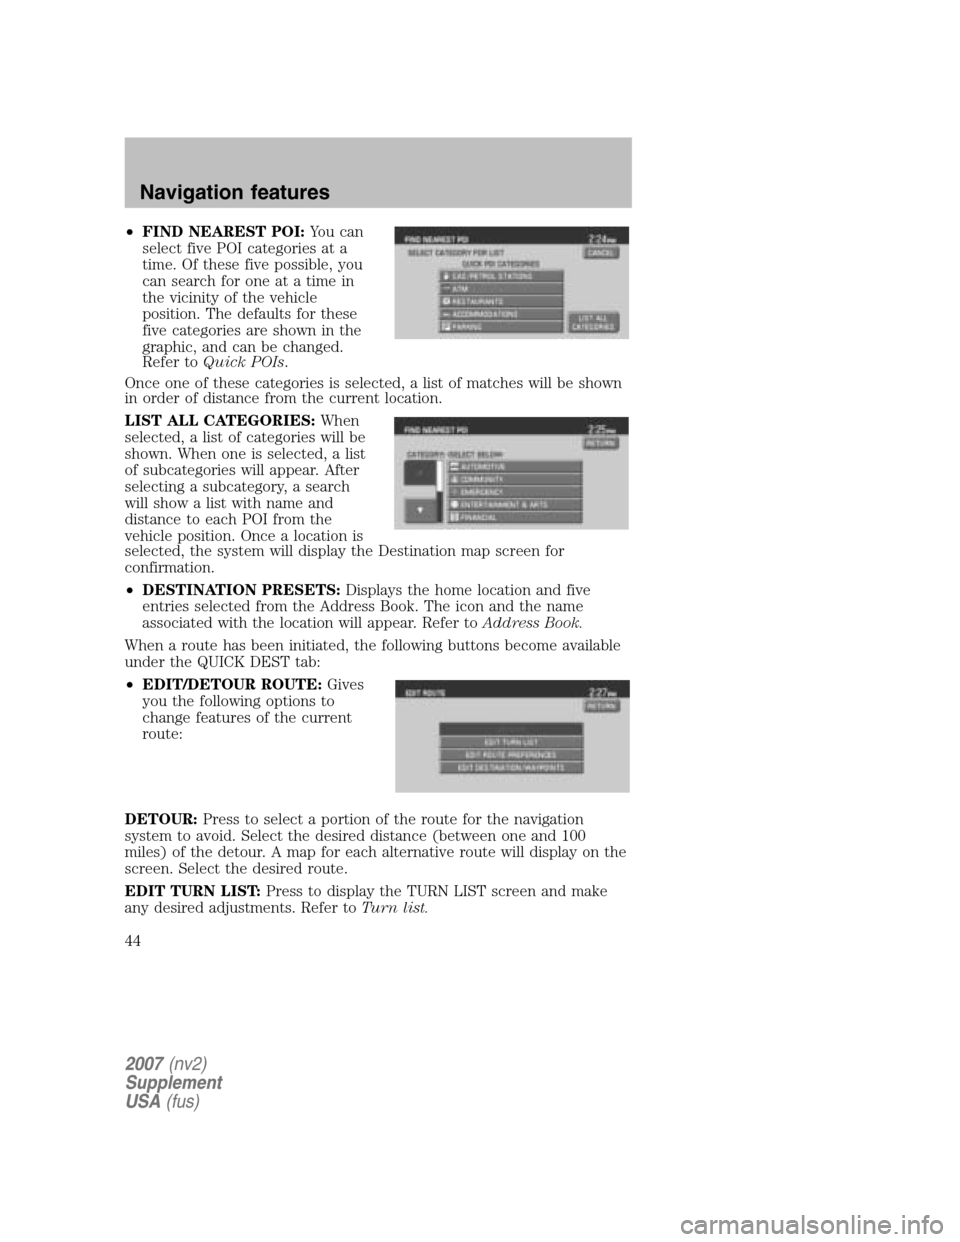
•FIND NEAREST POI: You can
select five POI categories at a
time. Of these five possible, you
can search for one at a time in
the vicinity of the vehicle
position. The defaults for these
five categories are shown in the
graphic, and can be changed.
Refer to Quick POIs .
Once one of these categories is selected, a list of matches will be shown
in order of distance from the current location.
LIST ALL CATEGORIES: When
selected, a list of categories will be
shown. When one is selected, a list
of subcategories will appear. After
selecting a subcategory, a search
will show a list with name and
distance to each POI from the
vehicle position. Once a location is
selected, the system will display the Destination map screen for
confirmation.
• DESTINATION PRESETS: Displays the home location and five
entries selected from the Address Book. The icon and the name
associated with the location will appear. Refer to Address Book.
When a route has been initiated, the following buttons become available
under the QUICK DEST tab:
• EDIT/DETOUR ROUTE: Gives
you the following options to
change features of the current
route:
DETOUR: Press to select a portion of the route for the navigation
system to avoid. Select the desired distance (between one and 100
miles) of the detour. A map for each alternative route will display on the
screen. Select the desired route.
EDIT TURN LIST: Press to display the TURN LIST screen and make
any desired adjustments. Refer to Turn list.
2007(nv2)
Supplement
USA (fus)
Navigation features
44
Page 50 of 72
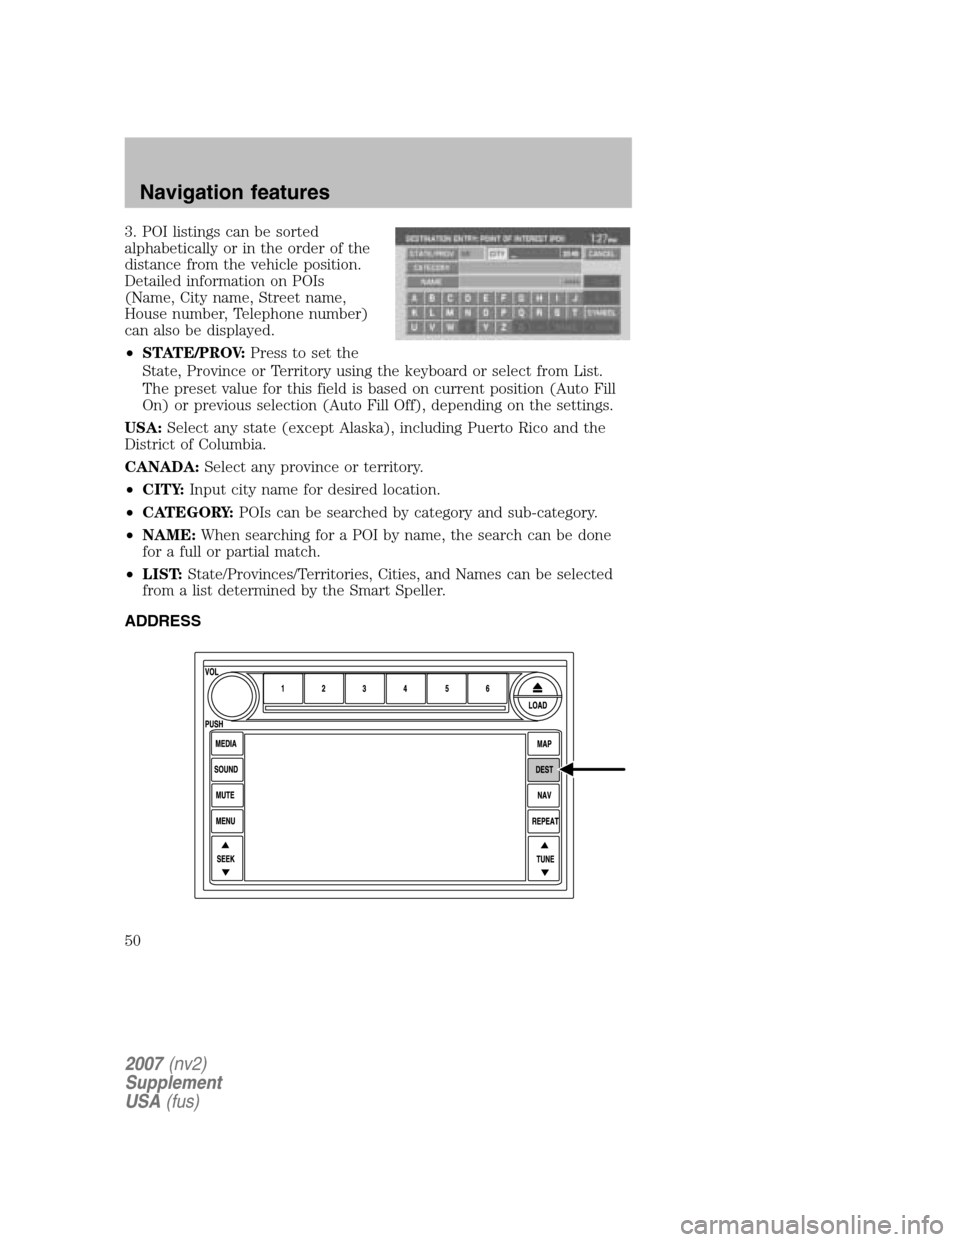
3. POI listings can be sorted
alphabetically or in the order of the
distance from the vehicle position.
Detailed information on POIs
(Name, City name, Street name,
House number, Telephone number)
can also be displayed.
• STATE/PROV: Press to set the
State, Province or Territory using the keyboard or select from List.
The preset value for this field is based on current position (Auto Fill
On) or previous selection (Auto Fill Off), depending on the settings.
USA: Select any state (except Alaska), including Puerto Rico and the
District of Columbia.
CANADA: Select any province or territory.
• CITY: Input city name for desired location.
• CATEGORY: POIs can be searched by category and sub-category.
• NAME: When searching for a POI by name, the search can be done
for a full or partial match.
• LIST: State/Provinces/Territories, Cities, and Names can be selected
from a list determined by the Smart Speller.
ADDRESS
2007 (nv2)
Supplement
USA (fus)
Navigation features
50
Page 55 of 72
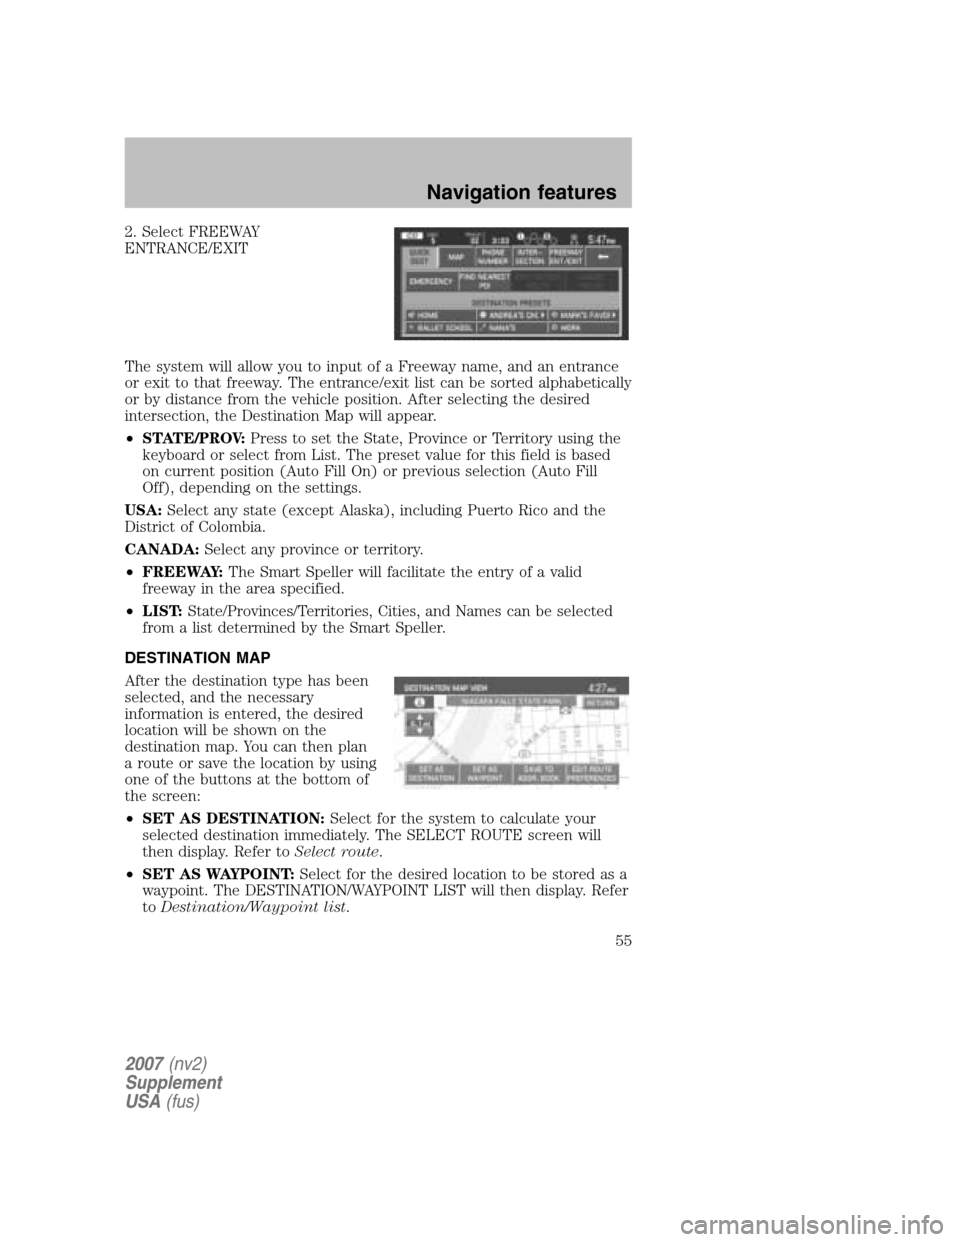
2. Select FREEWAY
ENTRANCE/EXIT
The system will allow you to input of a Freeway name, and an entrance
or exit to that freeway. The entrance/exit list can be sorted alphabetically
or by distance from the vehicle position. After selecting the desired
intersection, the Destination Map will appear.
• STATE/PROV: Press to set the State, Province or Territory using the
keyboard or select from List. The preset value for this field is based
on current position (Auto Fill On) or previous selection (Auto Fill
Off), depending on the settings.
USA: Select any state (except Alaska), including Puerto Rico and the
District of Colombia.
CANADA: Select any province or territory.
• FREEWAY: The Smart Speller will facilitate the entry of a valid
freeway in the area specified.
• LIST: State/Provinces/Territories, Cities, and Names can be selected
from a list determined by the Smart Speller.
DESTINATION MAP
After the destination type has been
selected, and the necessary
information is entered, the desired
location will be shown on the
destination map. You can then plan
a route or save the location by using
one of the buttons at the bottom of
the screen:
• SET AS DESTINATION: Select for the system to calculate your
selected destination immediately. The SELECT ROUTE screen will
then display. Refer to Select route.
• SET AS WAYPOINT: Select for the desired location to be stored as a
waypoint. The DESTINATION/WAYPOINT LIST will then display. Refer
to Destination/Waypoint list .
2007(nv2)
Supplement
USA (fus)
Navigation features
55
Page 57 of 72
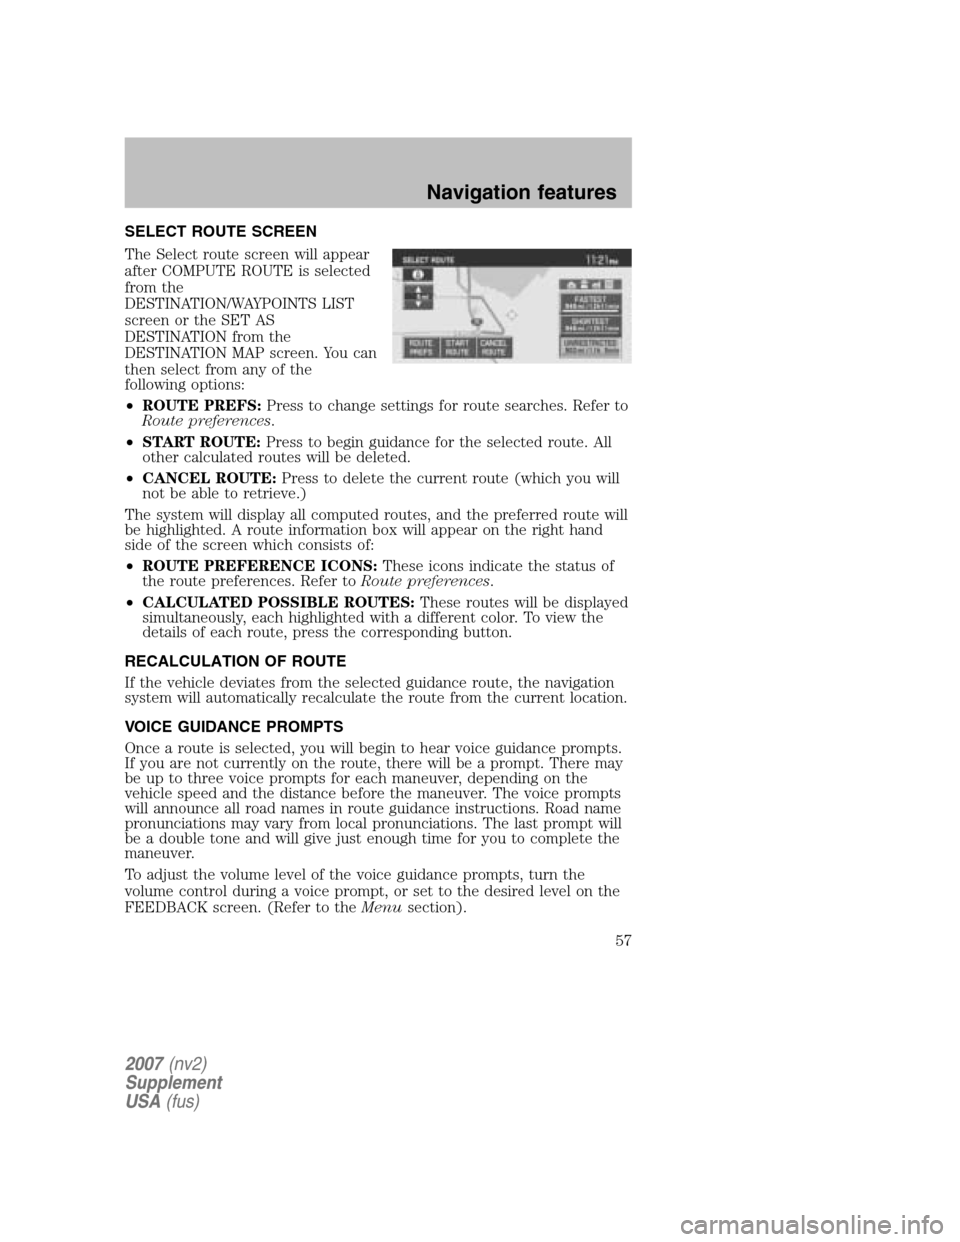
SELECT ROUTE SCREEN
The Select route screen will appear
after COMPUTE ROUTE is selected
from the
DESTINATION/WAYPOINTS LIST
screen or the SET AS
DESTINATION from the
DESTINATION MAP screen. You can
then select from any of the
following options:
• ROUTE PREFS: Press to change settings for route searches. Refer to
Route preferences .
• START ROUTE: Press to begin guidance for the selected route. All
other calculated routes will be deleted.
• CANCEL ROUTE: Press to delete the current route (which you will
not be able to retrieve.)
The system will display all computed routes, and the preferred route will
be highlighted. A route information box will appear on the right hand
side of the screen which consists of:
• ROUTE PREFERENCE ICONS: These icons indicate the status of
the route preferences. Refer to Route preferences.
• CALCULATED POSSIBLE ROUTES: These routes will be displayed
simultaneously, each highlighted with a different color. To view the
details of each route, press the corresponding button.
RECALCULATION OF ROUTE
If the vehicle deviates from the selected guidance route, the navigation
system will automatically recalculate the route from the current location.
VOICE GUIDANCE PROMPTS
Once a route is selected, you will begin to hear voice guidance prompts.
If you are not currently on the route, there will be a prompt. There may
be up to three voice prompts for each maneuver, depending on the
vehicle speed and the distance before the maneuver. The voice prompts
will announce all road names in route guidance instructions. Road name
pronunciations may vary from local pronunciations. The last prompt will
be a double tone and will give just enough time for you to complete the
maneuver.
To adjust the volume level of the voice guidance prompts, turn the
volume control during a voice prompt, or set to the desired level on the
FEEDBACK screen. (Refer to the Menusection).
2007(nv2)
Supplement
USA (fus)
Navigation features
57
Page 58 of 72
NAVIGATION MENU
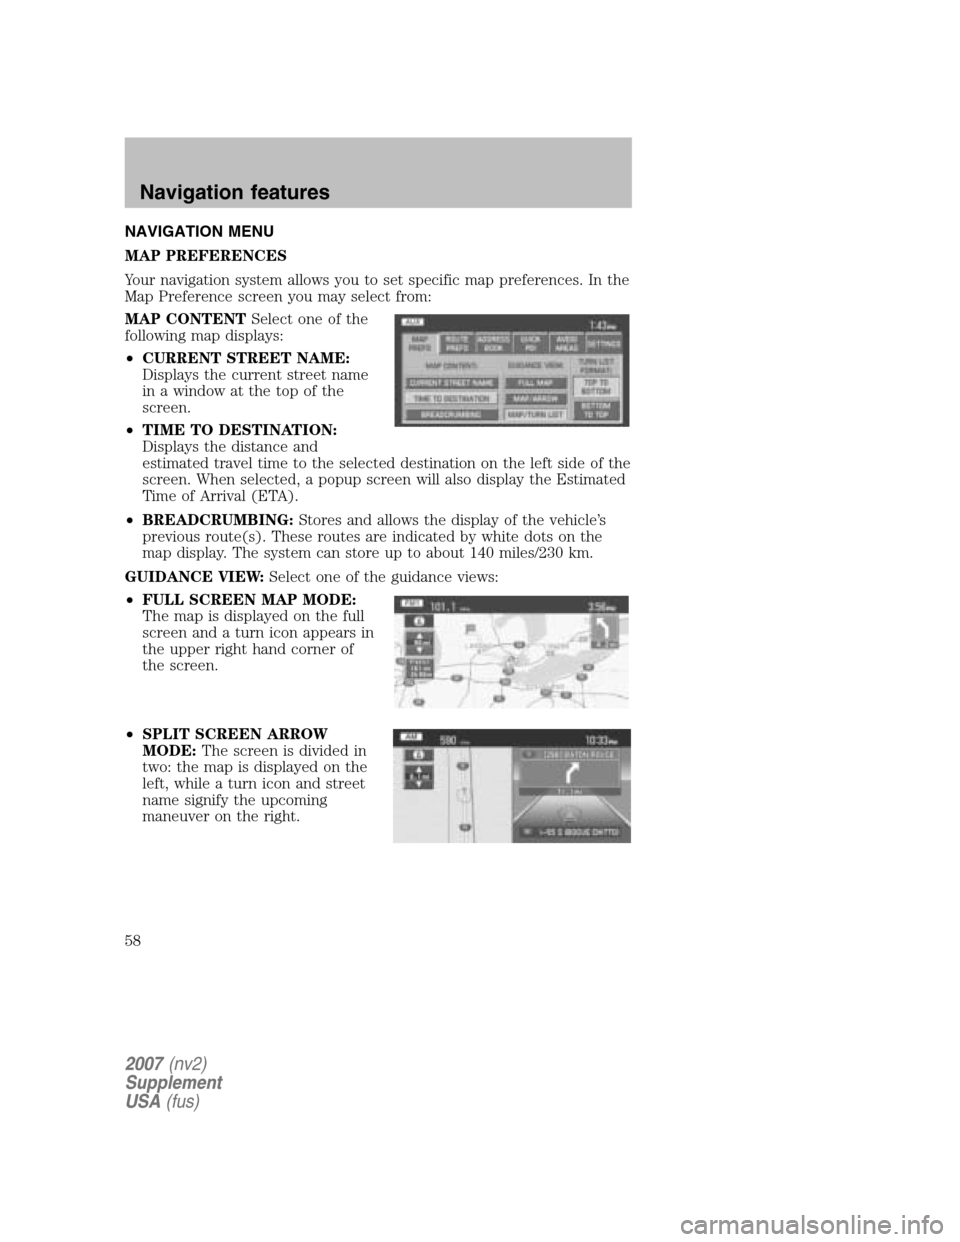
MAP PREFERENCES
Your navigation system allows you to set specific map preferences. In the
Map Preference screen you may select from:
MAP CONTENT Select one of the
following map displays:
• CURRENT STREET NAME:
Displays the current street name
in a window at the top of the
screen.
• TIME TO DESTINATION:
Displays the distance and
estimated travel time to the selected destination on the left side of the
screen. When selected, a popup screen will also display the Estimated
Time of Arrival (ETA).
• BREADCRUMBING: Stores and allows the display of the vehicle’s
previous route(s). These routes are indicated by white dots on the
map display. The system can store up to about 140 miles/230 km.
GUIDANCE VIEW: Select one of the guidance views:
• FULL SCREEN MAP MODE:
The map is displayed on the full
screen and a turn icon appears in
the upper right hand corner of
the screen.
• SPLIT SCREEN ARROW
MODE: The screen is divided in
two: the map is displayed on the
left, while a turn icon and street
name signify the upcoming
maneuver on the right.
2007 (nv2)
Supplement
USA (fus)
Navigation features
58
Page 59 of 72
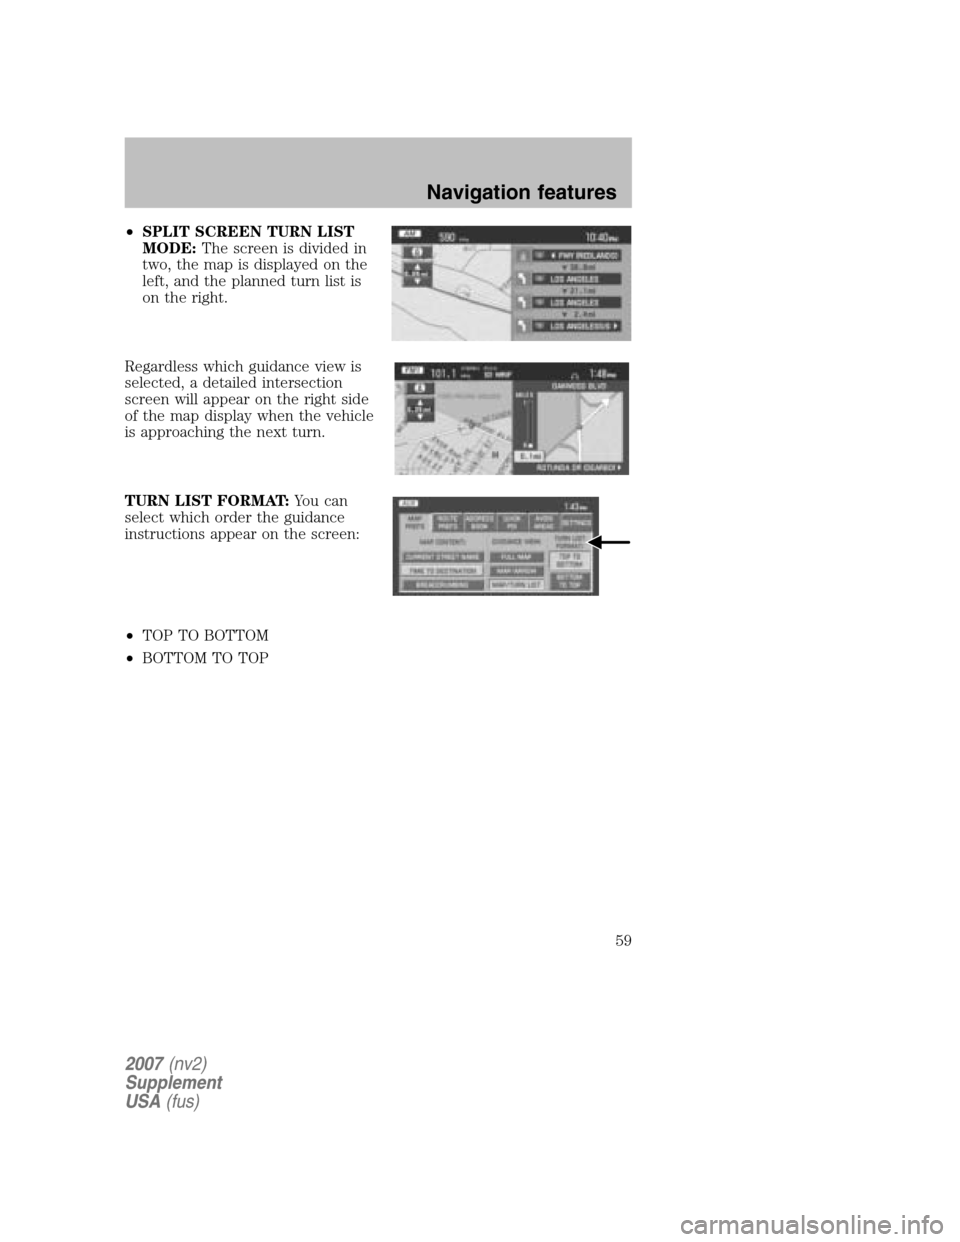
•SPLIT SCREEN TURN LIST
MODE: The screen is divided in
two, the map is displayed on the
left, and the planned turn list is
on the right.
Regardless which guidance view is
selected, a detailed intersection
screen will appear on the right side
of the map display when the vehicle
is approaching the next turn.
TURN LIST FORMAT: You can
select which order the guidance
instructions appear on the screen:
• TOP TO BOTTOM
• BOTTOM TO TOP
2007 (nv2)
Supplement
USA (fus)
Navigation features
59