change time FORD MUSTANG 2007 5.G Navigation System Manual
[x] Cancel search | Manufacturer: FORD, Model Year: 2007, Model line: MUSTANG, Model: FORD MUSTANG 2007 5.GPages: 72, PDF Size: 0.98 MB
Page 22 of 72
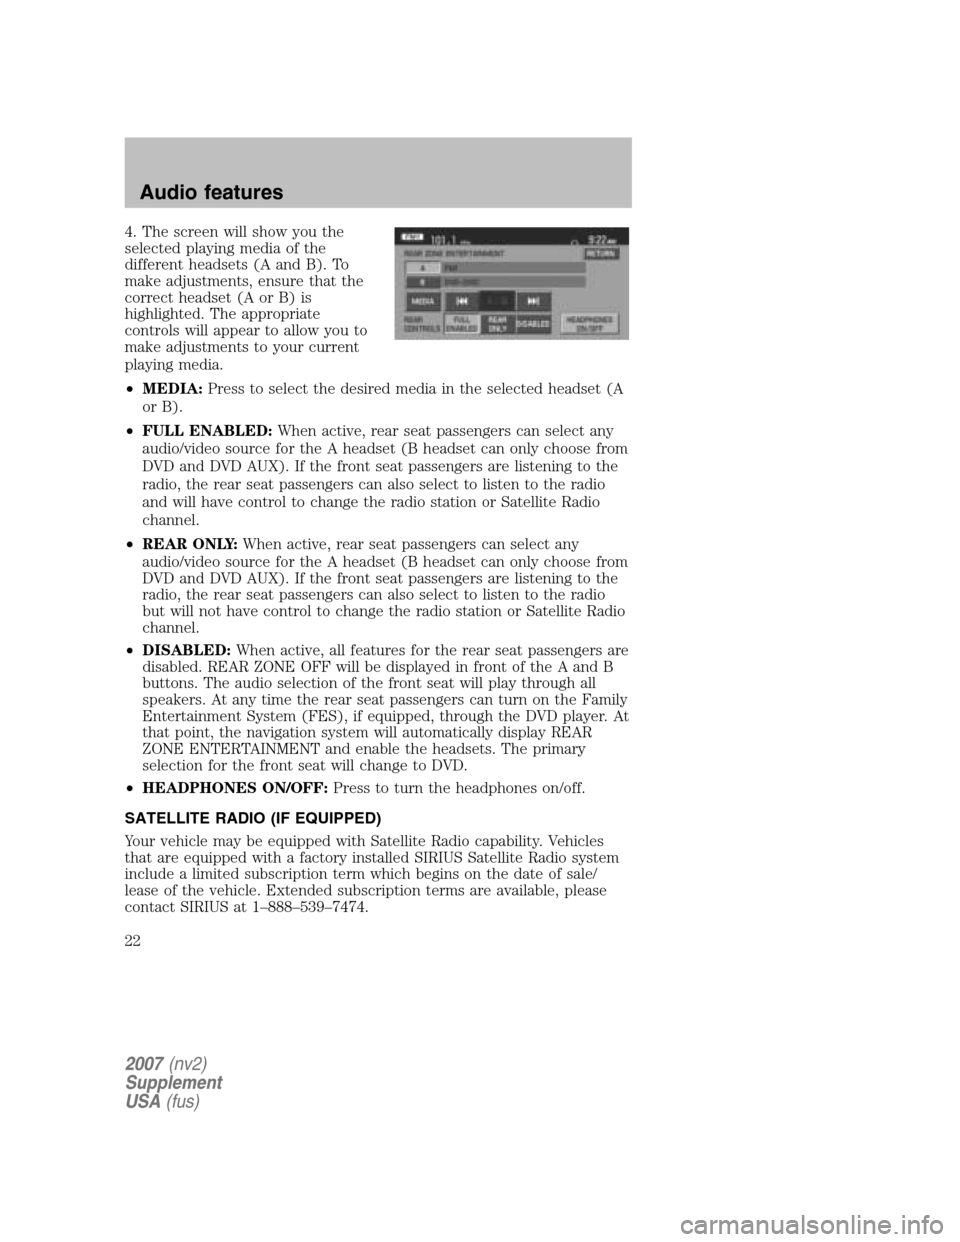
4. The screen will show you the
selected playing media of the
different headsets (A and B). To
make adjustments, ensure that the
correct headset (A or B) is
highlighted. The appropriate
controls will appear to allow you to
make adjustments to your current
playing media.
• MEDIA: Press to select the desired media in the selected headset (A
or B).
• FULL ENABLED: When active, rear seat passengers can select any
audio/video source for the A headset (B headset can only choose from
DVD and DVD AUX). If the front seat passengers are listening to the
radio, the rear seat passengers can also select to listen to the radio
and will have control to change the radio station or Satellite Radio
channel.
• REAR ONLY: When active, rear seat passengers can select any
audio/video source for the A headset (B headset can only choose from
DVD and DVD AUX). If the front seat passengers are listening to the
radio, the rear seat passengers can also select to listen to the radio
but will not have control to change the radio station or Satellite Radio
channel.
• DISABLED: When active, all features for the rear seat passengers are
disabled. REAR ZONE OFF will be displayed in front of the A and B
buttons. The audio selection of the front seat will play through all
speakers. At any time the rear seat passengers can turn on the Family
Entertainment System (FES), if equipped, through the DVD player. At
that point, the navigation system will automatically display REAR
ZONE ENTERTAINMENT and enable the headsets. The primary
selection for the front seat will change to DVD.
• HEADPHONES ON/OFF: Press to turn the headphones on/off.
SATELLITE RADIO (IF EQUIPPED)
Your vehicle may be equipped with Satellite Radio capability. Vehicles
that are equipped with a factory installed SIRIUS Satellite Radio system
include a limited subscription term which begins on the date of sale/
lease of the vehicle. Extended subscription terms are available, please
contact SIRIUS at 1–888–539–7474.
2007 (nv2)
Supplement
USA (fus)
Audio features
22
Page 25 of 72

Satellite radio reception factors:To receive the satellite signal, your
vehicle has been equipped with a satellite radio antenna located on the
roof of your vehicle. The vehicle roof provides the best location for an
unobstructed, open view of the sky, a requirement of a satellite radio
system. Like AM/FM, there are several factors that can affect satellite
radio reception performance:
• Antenna Obstructions: For optimal reception performance, keep the
antenna clear of snow and ice build-up and keep luggage and other
material as far away from the antenna as possible.
• Terrain: Hills, mountains, tall buildings, bridges, tunnels, freeway
overpasses, parking garages, dense tree foliage and thunderstorms can
interfere with your reception.
• Station overload: When you pass a ground based broadcast repeating
tower, a stronger signal may overtake a weaker one and result in an
audio mute.
Unlike AM/FM audible static, you will hear an audio mute when there is
a satellite radio signal interference. Your radio display may display NO
SIGNAL to indicate the interference.
SIRIUS satellite radio service: SIRIUS Satellite Radio is a subscription
based satellite radio service that broadcasts music, sports, news and
entertainment programming. A service fee is required in order to receive
SIRIUS service. Vehicles that are equipped with a factory installed
SIRIUS Satellite Radio system include:
• Hardware and limited subscription term, which begins on the date of
sale or lease of the vehicle.
• Online media player providing access to all 65 SIRIUS music channels
over the internet (U.S. customers only).
For information on extended subscription terms, contact SIRIUS at
1–888–539–7474.
Note: SIRIUS reserves the unrestricted right to change, rearrange, add
or delete programming including canceling, moving or adding particular
channels, and its prices, at any time, with or without notice to you. Ford
Motor Company shall not be responsible for any such programming
changes.
Satellite Radio Electronic Serial Number (ESN): This 12 digit
Satellite Serial Number is needed to activate, modify or track your
satellite radio account. You will need this number when communicating
with SIRIUS. While in Satellite Radio mode, you can view this number by
pressing the MENU hard button and then selecting SYSTEM INFO. The
2007 (nv2)
Supplement
USA (fus)
Audio features
25
Page 31 of 72
•NONE: Press to turn off all audible beeps. You may press any button
and no beeps will be heard.
LANGUAGE: One must be selected at all times:
• ENGLISH: Press to set the system language to English.
• ESPANOL: Press to set the system language to North American
Spanish.
• FRANCAIS: Press to set the system language to North American
French.
Note: The system will automatically restart after a new language is
chosen.
VOICE VOLUME: Press +/- to select voice prompt volume level (1–34).
You may also turn the volume control during a voice prompt to adjust
the volume level.
TEST: Press to hear an audio sample of voice prompt at the currently
selected volume.
NAVIGATION GUIDANCE: Press ON to hear navigation guidance voice
prompts. Press OFF to turn the voice prompts off.
DEFAULT SETTING: Press to clear any current settings and return to
the system default settings.
SECURITY
Your navigation system has a special security feature which allows you to
enable the valet mode. In valet mode, if your vehicle is being parked by a
valet, they will be unable to access any of the navigational information
(addresses, destinations, etc.), change any settings or eject any CDs or
the navigation DVD. To access and enable valet mode:
1. Ensure that the navigation system is on.
2007 (nv2)
Supplement
USA (fus)
System features
31
Page 39 of 72
•Heading up: In this mode, the
direction of forward travel is
always upward direction on
screen. Available for map scales
up to 2.5 mi/5km. For scales above that, the setting for Heading-Up is
remembered, but the map is shown in North-Up only. If the scale
returns below this level, then the Heading-Up setting is restored.
• North up: In this mode, the
Northern Direction is always
upward direction on screen.
MAP SCALE
The map display scale on the map
has 16 levels, ranging from 0.02
miles to 1000 miles. In MAP mode,
you can also zoom in or out,
changing the display scale by
pressing on one of the arrows on the button appearing on the left side of
the screen. When in Full Screen Map Mode, touching this button will
cause the Zoom Direct buttons to appear. The Zoom Direct buttons
represent the most common scales and can be pressed directly to show
the map at the desired scale.
Map road colors and building representation on the map:
• Roads: Will be displayed in a variety of colors. Specifically, pink roads
are not able to be used as routes. Also, purple roads indicate roads
under construction currently or at the time of disc compilation. These
roads will be open in the future.
• Building footprints: Will display areas of major buildings in the 20
largest cities in the U.S. These areas will be displayed depending on
their size and the map zoom level.
QUICK TOUCH BUTTONS
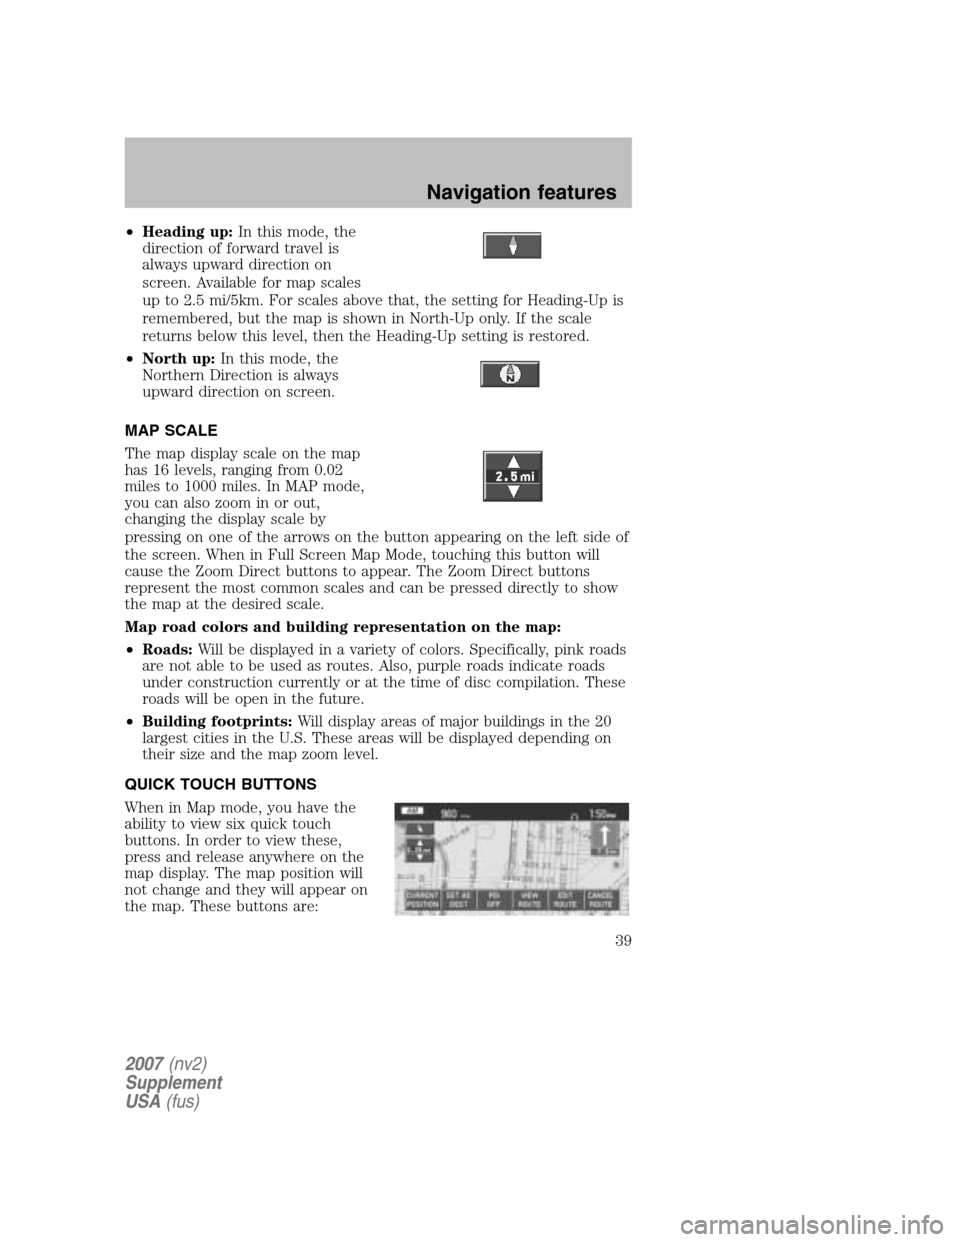
When in Map mode, you have the
ability to view six quick touch
buttons. In order to view these,
press and release anywhere on the
map display. The map position will
not change and they will appear on
the map. These buttons are:
2007 (nv2)
Supplement
USA (fus)
Navigation features
39
Page 40 of 72

•TIME TO DESTINATION: Displays the distance and estimated
travel time to the selected destination on the left side of the screen.
When selected, a popup screen will also display the Estimated Time of
Arrival (ETA).
• CURRENT POSITION: Press to show the vehicle’s current location
(street and State/Province).
• SET AS DEST: Press in order to select a scrolled location on the map
as your destination. (You may scroll the map by pressing your index
finger on the map display. When you reach the desired location,
simply let go and then press SET AS DEST to go to the Destination
Map View Screen.
• POI/POI OFF: Allows you to select from various Point of Interest
(POI) icons as well as turn them on/off in the map display. Only one
kind of POI will display on the map at a time (i.e, restaurants, banks,
etc). The selected PIO icon will show on the button.
Note: This is only possible for scales equal or smaller than 0.75mi / 1km.
If a navigational route is in progress, the following buttons will also
appear at the bottom of the screen when a route exists:
• VIEW ROUTE: Press to adjust the map display to the right scale.
This scale allows the entire route to be visible in the screen. This
screen will also display the following options:
VIEW DEST: Press to shift the destination to the center of the map
display.
TURN LIST: Press to view a list of the roads and waypoints for the
planned route. You can change the route by selecting to AVOID any of
the roads or to DELETE any of the waypoints. At this point the system
will refigure the planned route based on the criteria.
• EDIT ROUTE: Press in order to adjust the following features of the
current route:
DETOUR: Press to select a portion of the route for the navigation
system to avoid. Select the desired distance (between one and 100
miles) of the current road. A map for each alternative route will display
on the screen. Select the desired route.
EDIT TURN LIST: Press to display the TURN LIST screen and make
any desired adjustments. Refer to Turn list.
EDIT ROUTE PREFERENCES: Press in order to change settings for
route searches. Refer to Route preferences.
2007(nv2)
Supplement
USA (fus)
Navigation features
40
Page 42 of 72
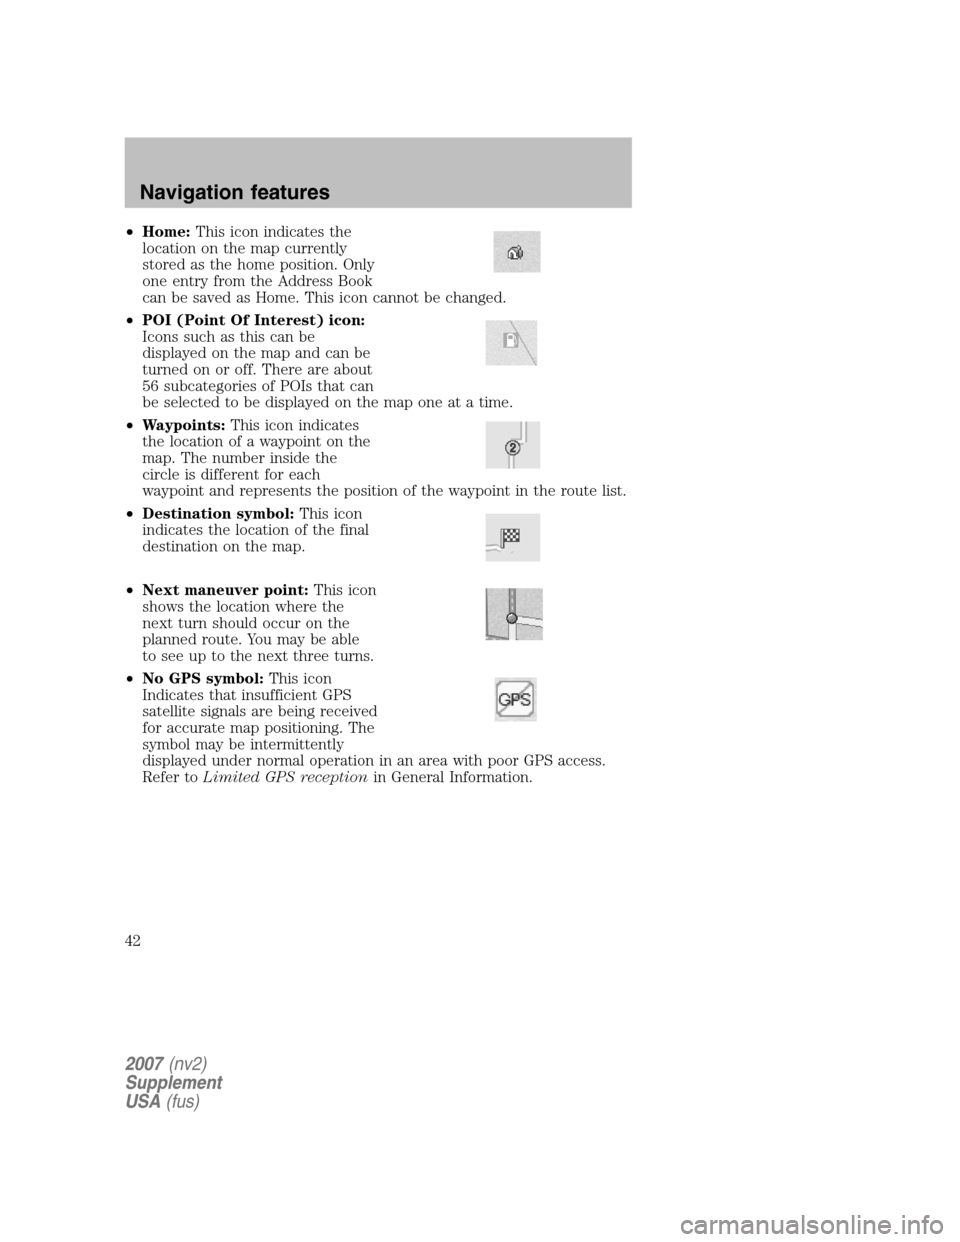
•Home: This icon indicates the
location on the map currently
stored as the home position. Only
one entry from the Address Book
can be saved as Home. This icon cannot be changed.
• POI (Point Of Interest) icon:
Icons such as this can be
displayed on the map and can be
turned on or off. There are about
56 subcategories of POIs that can
be selected to be displayed on the map one at a time.
• Waypoints: This icon indicates
the location of a waypoint on the
map. The number inside the
circle is different for each
waypoint and represents the position of the waypoint in the route list.
• Destination symbol: This icon
indicates the location of the final
destination on the map.
• Next maneuver point: This icon
shows the location where the
next turn should occur on the
planned route. You may be able
to see up to the next three turns.
• No GPS symbol: This icon
Indicates that insufficient GPS
satellite signals are being received
for accurate map positioning. The
symbol may be intermittently
displayed under normal operation in an area with poor GPS access.
Refer to Limited GPS reception in General Information.
2007(nv2)
Supplement
USA (fus)
Navigation features
42
Page 44 of 72
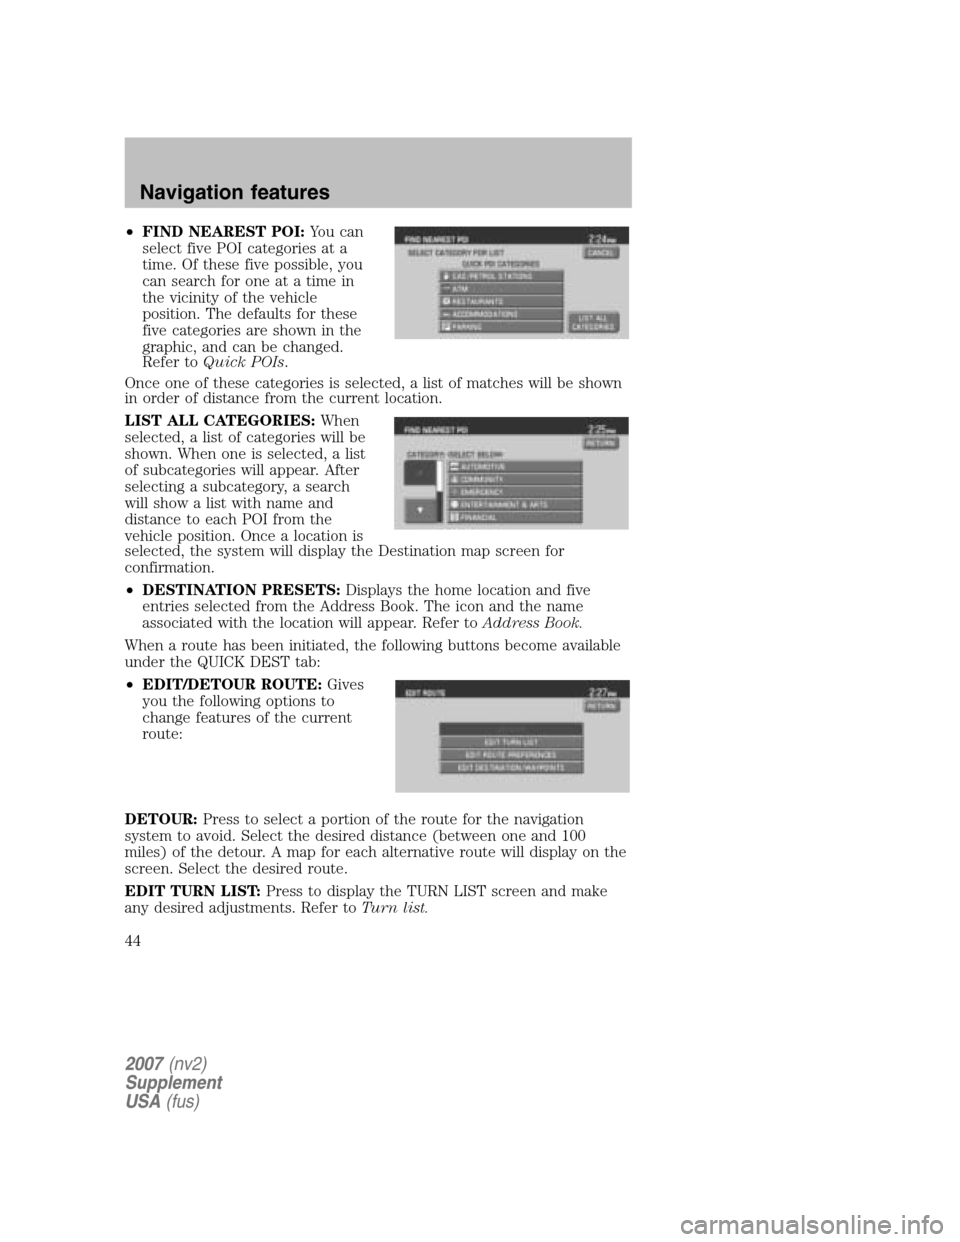
•FIND NEAREST POI: You can
select five POI categories at a
time. Of these five possible, you
can search for one at a time in
the vicinity of the vehicle
position. The defaults for these
five categories are shown in the
graphic, and can be changed.
Refer to Quick POIs .
Once one of these categories is selected, a list of matches will be shown
in order of distance from the current location.
LIST ALL CATEGORIES: When
selected, a list of categories will be
shown. When one is selected, a list
of subcategories will appear. After
selecting a subcategory, a search
will show a list with name and
distance to each POI from the
vehicle position. Once a location is
selected, the system will display the Destination map screen for
confirmation.
• DESTINATION PRESETS: Displays the home location and five
entries selected from the Address Book. The icon and the name
associated with the location will appear. Refer to Address Book.
When a route has been initiated, the following buttons become available
under the QUICK DEST tab:
• EDIT/DETOUR ROUTE: Gives
you the following options to
change features of the current
route:
DETOUR: Press to select a portion of the route for the navigation
system to avoid. Select the desired distance (between one and 100
miles) of the detour. A map for each alternative route will display on the
screen. Select the desired route.
EDIT TURN LIST: Press to display the TURN LIST screen and make
any desired adjustments. Refer to Turn list.
2007(nv2)
Supplement
USA (fus)
Navigation features
44
Page 56 of 72
•SAVE TO ADDRESS BOOK: Select for the system to store desired
location in the address book.
• EDIT ROUTE PREFERENCES: Select to set or change the
preferences for the selected route. Refer to Route preferences.
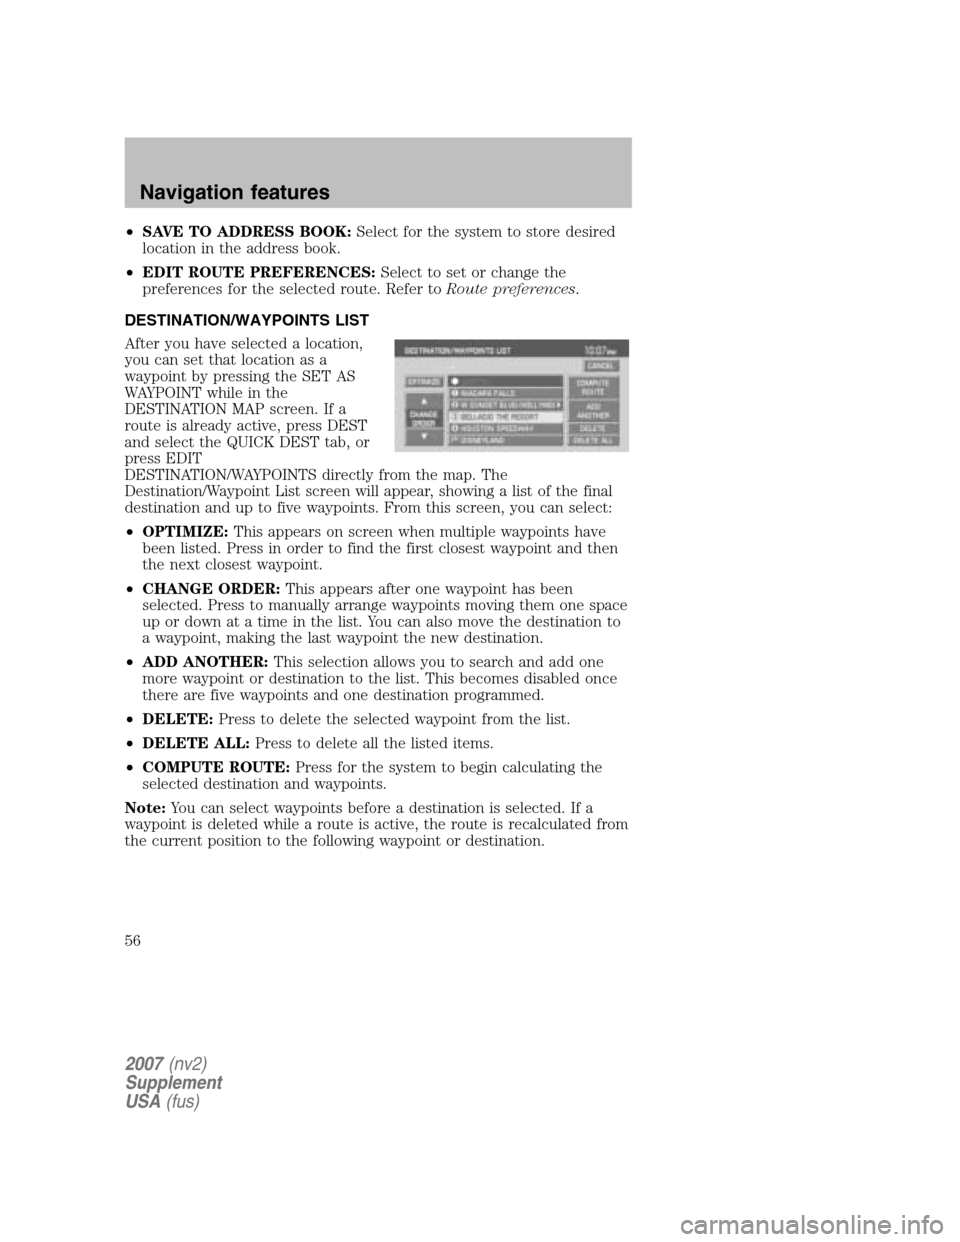
DESTINATION/WAYPOINTS LIST
After you have selected a location,
you can set that location as a
waypoint by pressing the SET AS
WAYPOINT while in the
DESTINATION MAP screen. If a
route is already active, press DEST
and select the QUICK DEST tab, or
press EDIT
DESTINATION/WAYPOINTS directly from the map. The
Destination/Waypoint List screen will appear, showing a list of the final
destination and up to five waypoints. From this screen, you can select:
• OPTIMIZE: This appears on screen when multiple waypoints have
been listed. Press in order to find the first closest waypoint and then
the next closest waypoint.
• CHANGE ORDER: This appears after one waypoint has been
selected. Press to manually arrange waypoints moving them one space
up or down at a time in the list. You can also move the destination to
a waypoint, making the last waypoint the new destination.
• ADD ANOTHER: This selection allows you to search and add one
more waypoint or destination to the list. This becomes disabled once
there are five waypoints and one destination programmed.
• DELETE: Press to delete the selected waypoint from the list.
• DELETE ALL: Press to delete all the listed items.
• COMPUTE ROUTE: Press for the system to begin calculating the
selected destination and waypoints.
Note: You can select waypoints before a destination is selected. If a
waypoint is deleted while a route is active, the route is recalculated from
the current position to the following waypoint or destination.
2007 (nv2)
Supplement
USA (fus)
Navigation features
56
Page 57 of 72
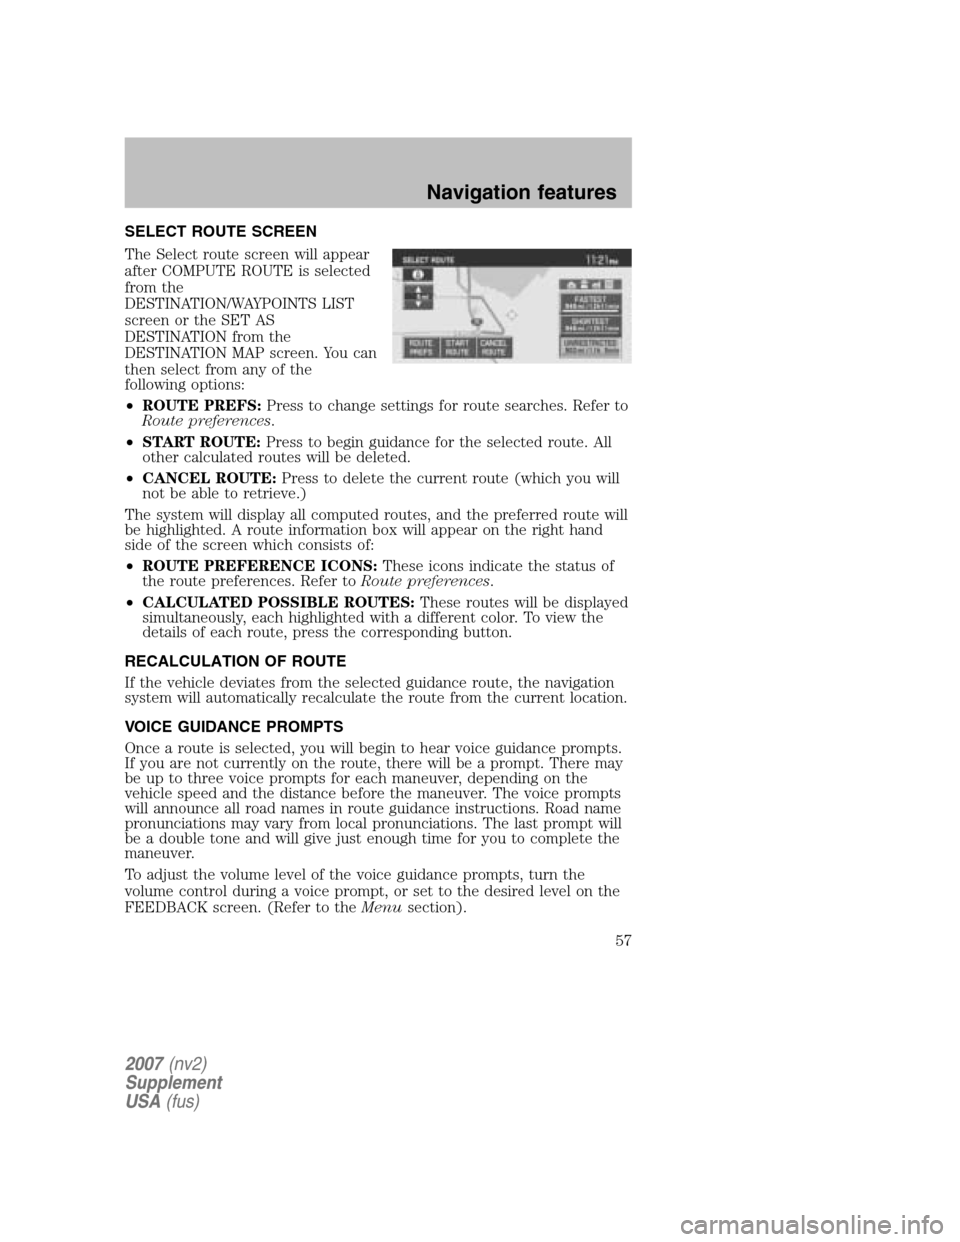
SELECT ROUTE SCREEN
The Select route screen will appear
after COMPUTE ROUTE is selected
from the
DESTINATION/WAYPOINTS LIST
screen or the SET AS
DESTINATION from the
DESTINATION MAP screen. You can
then select from any of the
following options:
• ROUTE PREFS: Press to change settings for route searches. Refer to
Route preferences .
• START ROUTE: Press to begin guidance for the selected route. All
other calculated routes will be deleted.
• CANCEL ROUTE: Press to delete the current route (which you will
not be able to retrieve.)
The system will display all computed routes, and the preferred route will
be highlighted. A route information box will appear on the right hand
side of the screen which consists of:
• ROUTE PREFERENCE ICONS: These icons indicate the status of
the route preferences. Refer to Route preferences.
• CALCULATED POSSIBLE ROUTES: These routes will be displayed
simultaneously, each highlighted with a different color. To view the
details of each route, press the corresponding button.
RECALCULATION OF ROUTE
If the vehicle deviates from the selected guidance route, the navigation
system will automatically recalculate the route from the current location.
VOICE GUIDANCE PROMPTS
Once a route is selected, you will begin to hear voice guidance prompts.
If you are not currently on the route, there will be a prompt. There may
be up to three voice prompts for each maneuver, depending on the
vehicle speed and the distance before the maneuver. The voice prompts
will announce all road names in route guidance instructions. Road name
pronunciations may vary from local pronunciations. The last prompt will
be a double tone and will give just enough time for you to complete the
maneuver.
To adjust the volume level of the voice guidance prompts, turn the
volume control during a voice prompt, or set to the desired level on the
FEEDBACK screen. (Refer to the Menusection).
2007(nv2)
Supplement
USA (fus)
Navigation features
57