light FORD POLICE INTERCEPTOR UTILITY 2014 1.G Owner's Manual
[x] Cancel search | Manufacturer: FORD, Model Year: 2014, Model line: POLICE INTERCEPTOR UTILITY, Model: FORD POLICE INTERCEPTOR UTILITY 2014 1.GPages: 406, PDF Size: 6.86 MB
Page 86 of 406
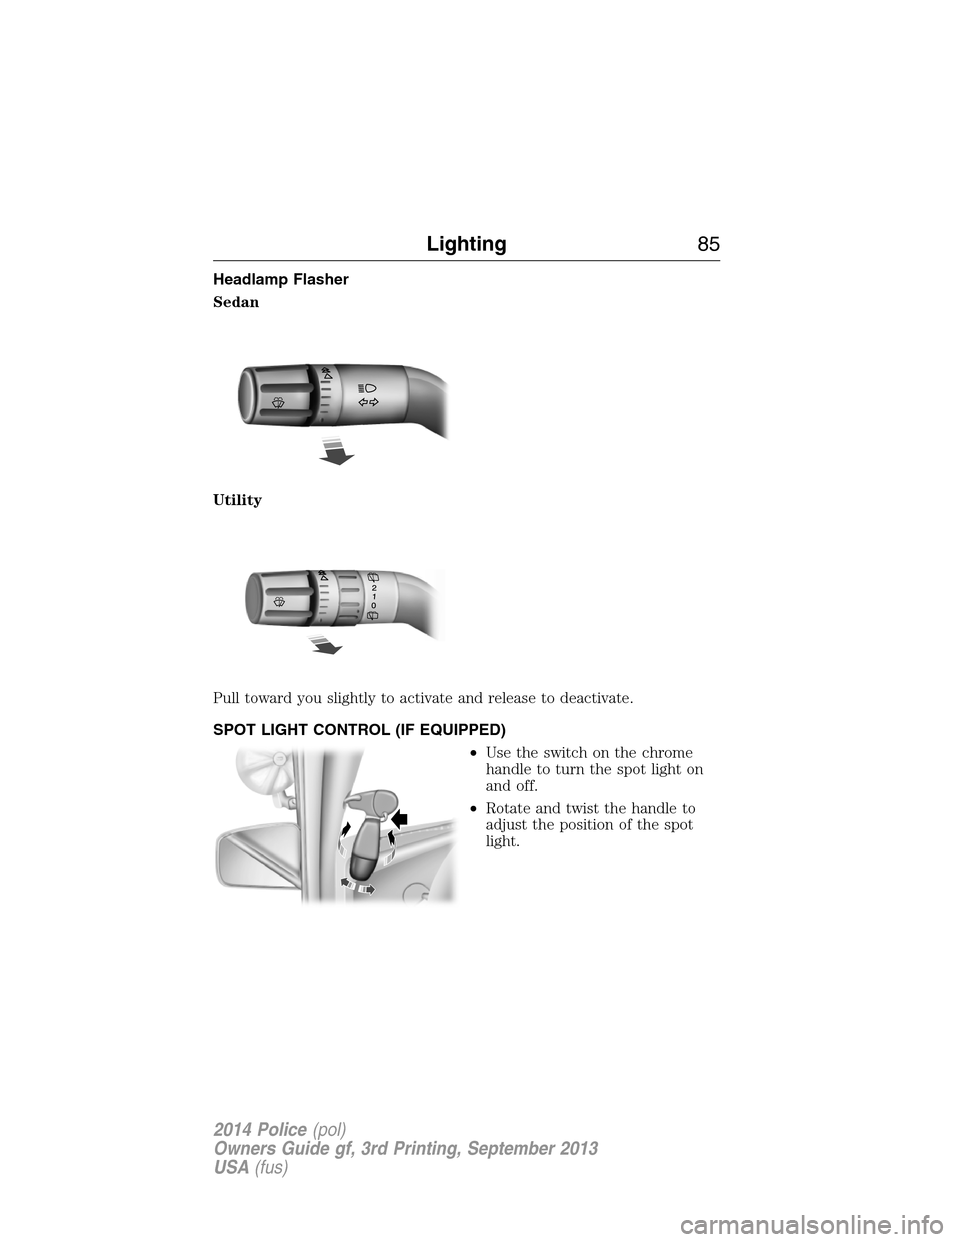
Headlamp Flasher
Sedan
Utility
Pull toward you slightly to activate and release to deactivate.
SPOT LIGHT CONTROL (IF EQUIPPED)
•Use the switch on the chrome
handle to turn the spot light on
and off.
•Rotate and twist the handle to
adjust the position of the spot
light.
Lighting85
2014 Police(pol)
Owners Guide gf, 3rd Printing, September 2013
USA(fus)
Page 87 of 406
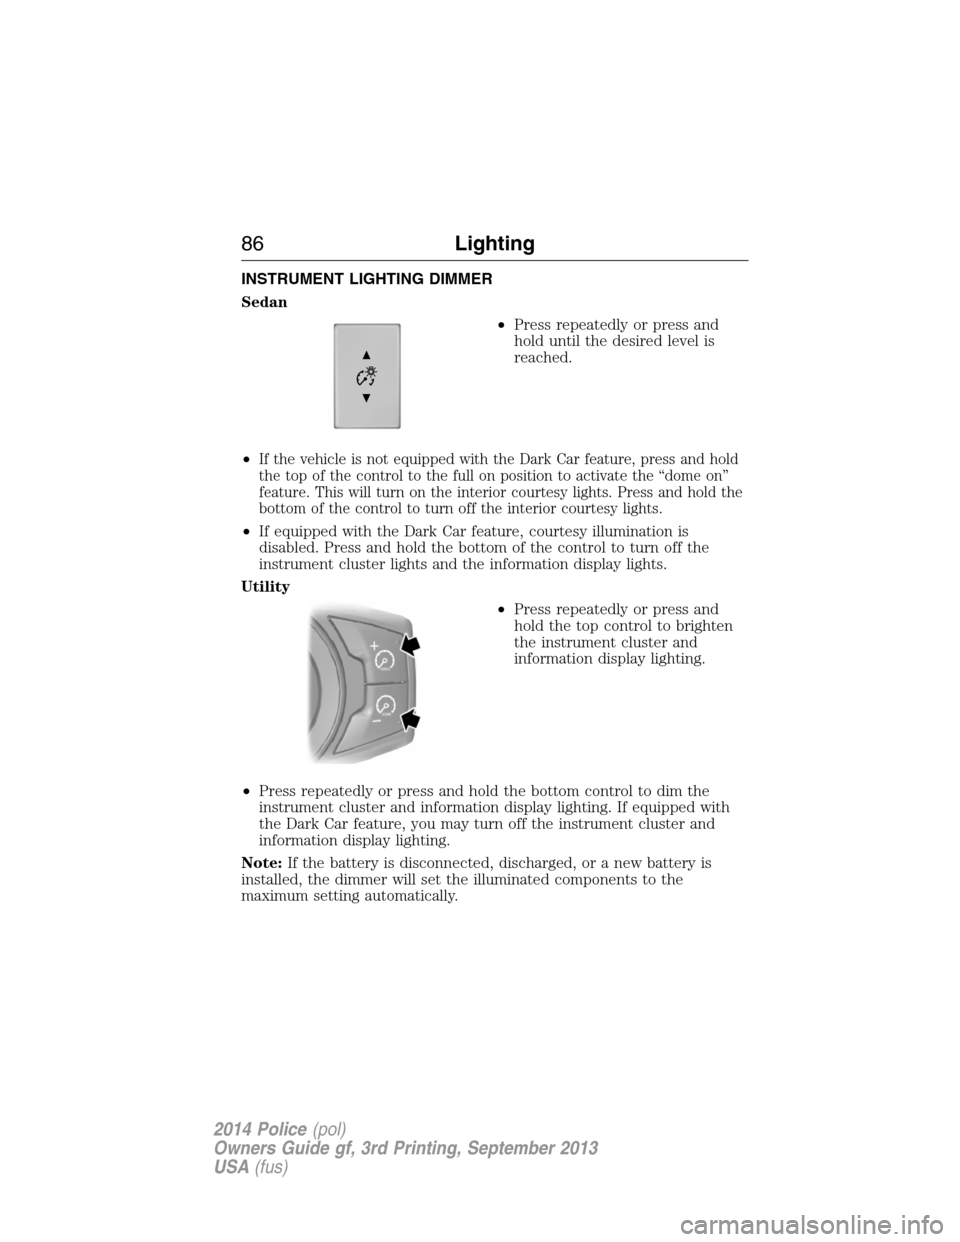
INSTRUMENT LIGHTING DIMMER
Sedan
•Press repeatedly or press and
hold until the desired level is
reached.
•
If the vehicle is not equipped with the Dark Car feature, press and hold
the top of the control to the full on position to activate the “dome on”
feature. This will turn on the interior courtesy lights. Press and hold the
bottom of the control to turn off the interior courtesy lights.
•If equipped with the Dark Car feature, courtesy illumination is
disabled. Press and hold the bottom of the control to turn off the
instrument cluster lights and the information display lights.
Utility
•Press repeatedly or press and
hold the top control to brighten
the instrument cluster and
information display lighting.
•Press repeatedly or press and hold the bottom control to dim the
instrument cluster and information display lighting. If equipped with
the Dark Car feature, you may turn off the instrument cluster and
information display lighting.
Note:If the battery is disconnected, discharged, or a new battery is
installed, the dimmer will set the illuminated components to the
maximum setting automatically.
86Lighting
2014 Police(pol)
Owners Guide gf, 3rd Printing, September 2013
USA(fus)
Page 88 of 406
DAYTIME RUNNING LAMPS (IF EQUIPPED)
WARNING:Always remember to turn on your headlamps at
dusk or during inclement weather. The Daytime Running Lamp
(DRL) system does not activate the tail lamps and generally may not
provide adequate lighting during these conditions. Failure to activate
your headlamps under these conditions may result in a collision.
The system turns the headlamps on with a reduced output.
To activate:
•the ignition must be in the on position and
•the lighting control is in the off, autolamp, or parking lamp position
and
•the transmission is not in PARK.
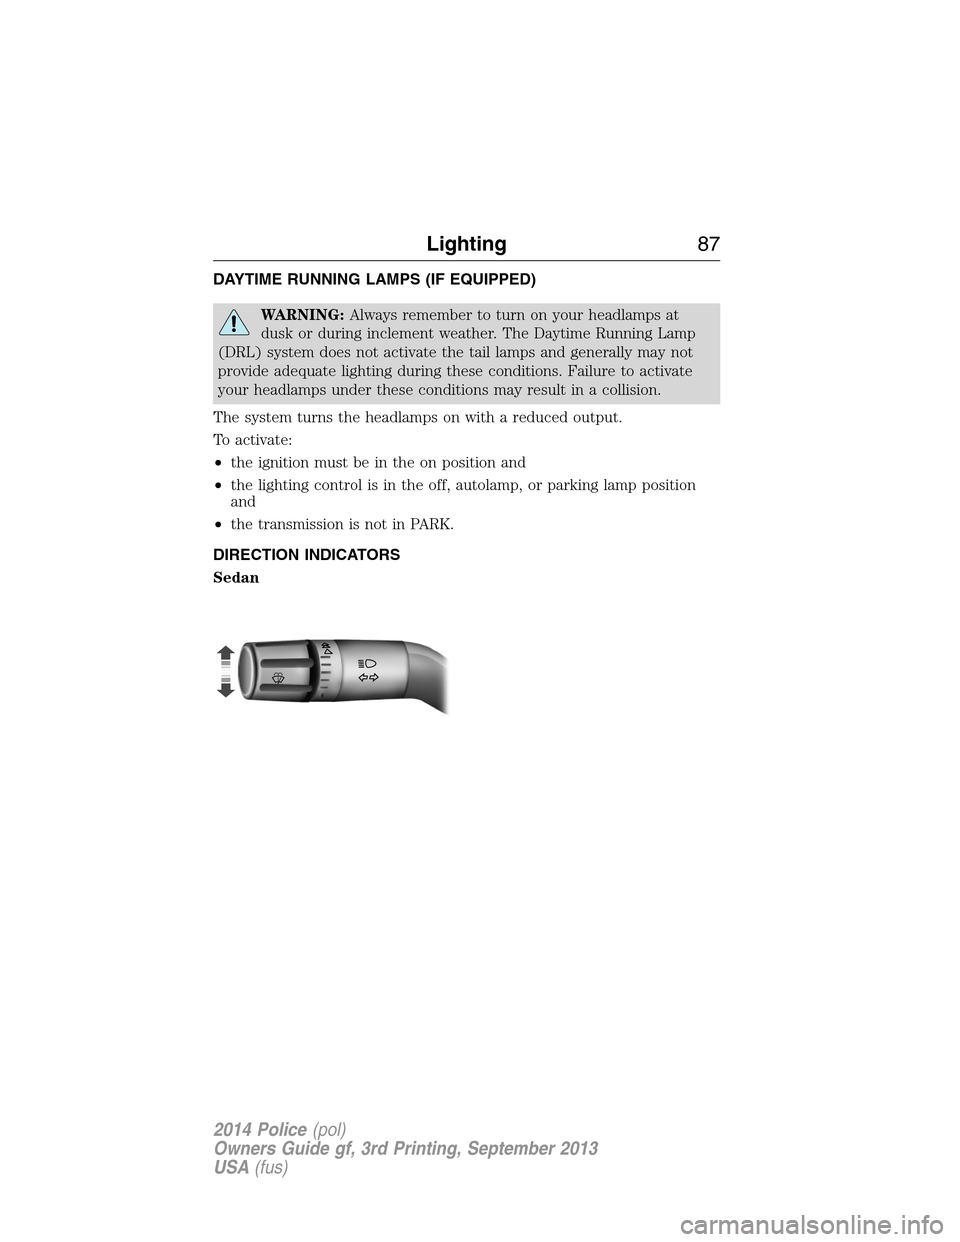
DIRECTION INDICATORS
Sedan
Lighting87
2014 Police(pol)
Owners Guide gf, 3rd Printing, September 2013
USA(fus)
Page 89 of 406
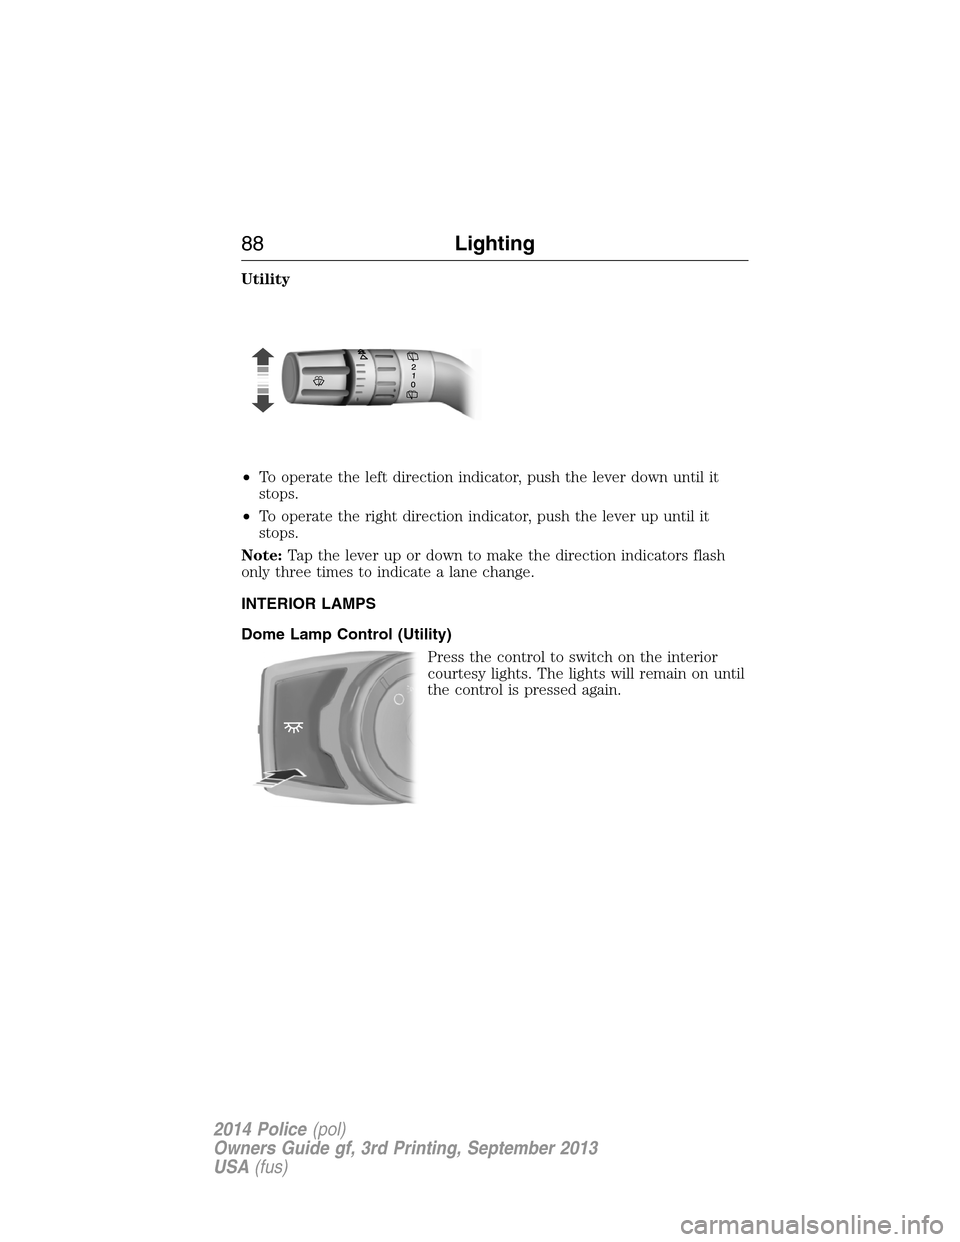
Utility
•To operate the left direction indicator, push the lever down until it
stops.
•To operate the right direction indicator, push the lever up until it
stops.
Note:Tap the lever up or down to make the direction indicators flash
only three times to indicate a lane change.
INTERIOR LAMPS
Dome Lamp Control (Utility)
Press the control to switch on the interior
courtesy lights. The lights will remain on until
the control is pressed again.
88Lighting
2014 Police(pol)
Owners Guide gf, 3rd Printing, September 2013
USA(fus)
Page 90 of 406
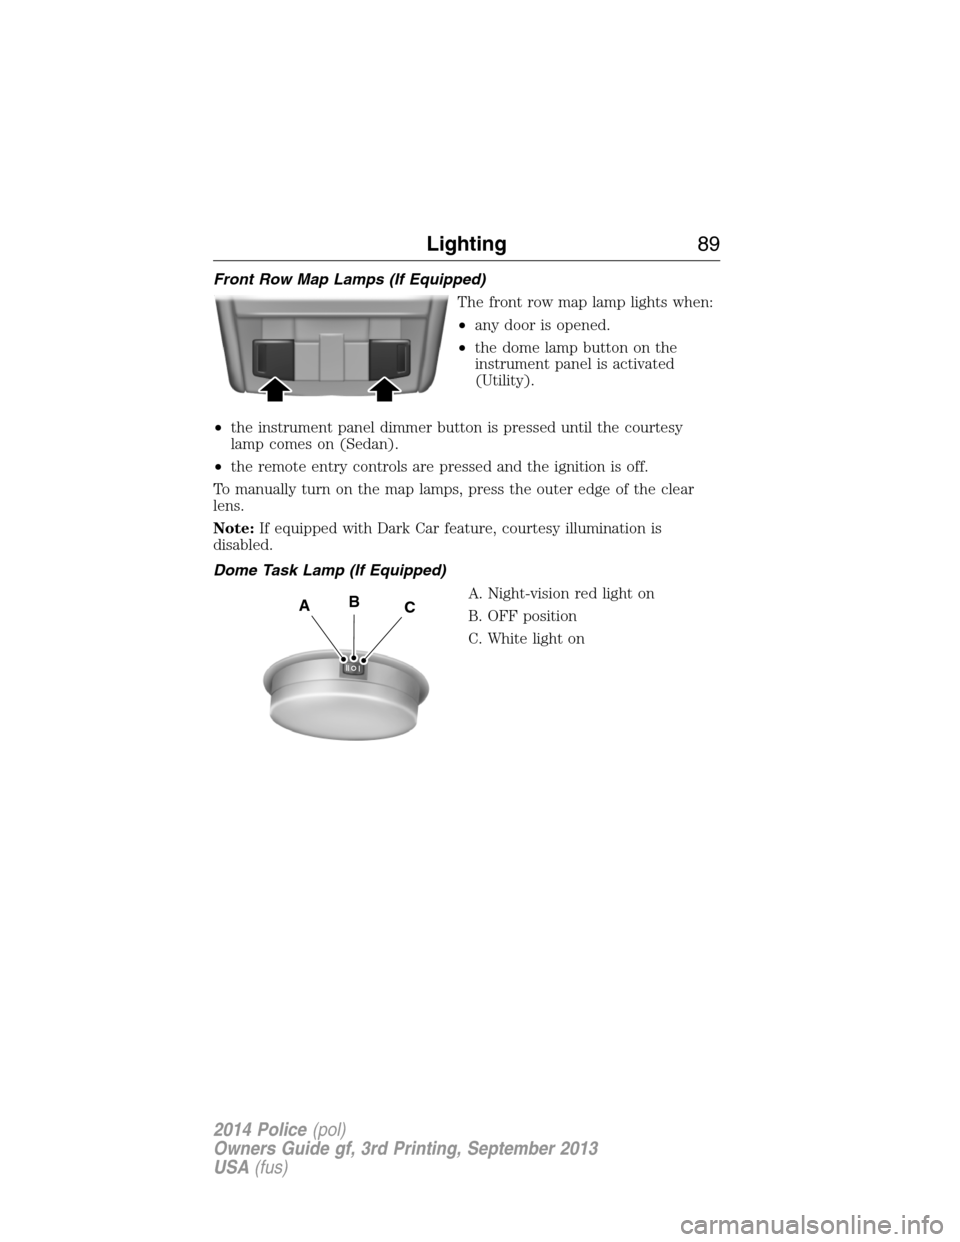
Front Row Map Lamps (If Equipped)
The front row map lamp lights when:
•any door is opened.
•the dome lamp button on the
instrument panel is activated
(Utility).
•the instrument panel dimmer button is pressed until the courtesy
lamp comes on (Sedan).
•the remote entry controls are pressed and the ignition is off.
To manually turn on the map lamps, press the outer edge of the clear
lens.
Note:If equipped with Dark Car feature, courtesy illumination is
disabled.
Dome Task Lamp (If Equipped)
A. Night-vision red light on
B. OFF position
C. White light on
ABC
Lighting89
2014 Police(pol)
Owners Guide gf, 3rd Printing, September 2013
USA(fus)
Page 91 of 406
The police vehicle may be equipped with one or two red/white dome task
lamps. The lamp may be located in the headliner between the driver and
front seat passenger. The lamp may be located in the headliner at the
rear of the vehicle.
Note:Always remember to return the dome lamp switch to the OFF
position when finished to prevent discharging the vehicle battery.
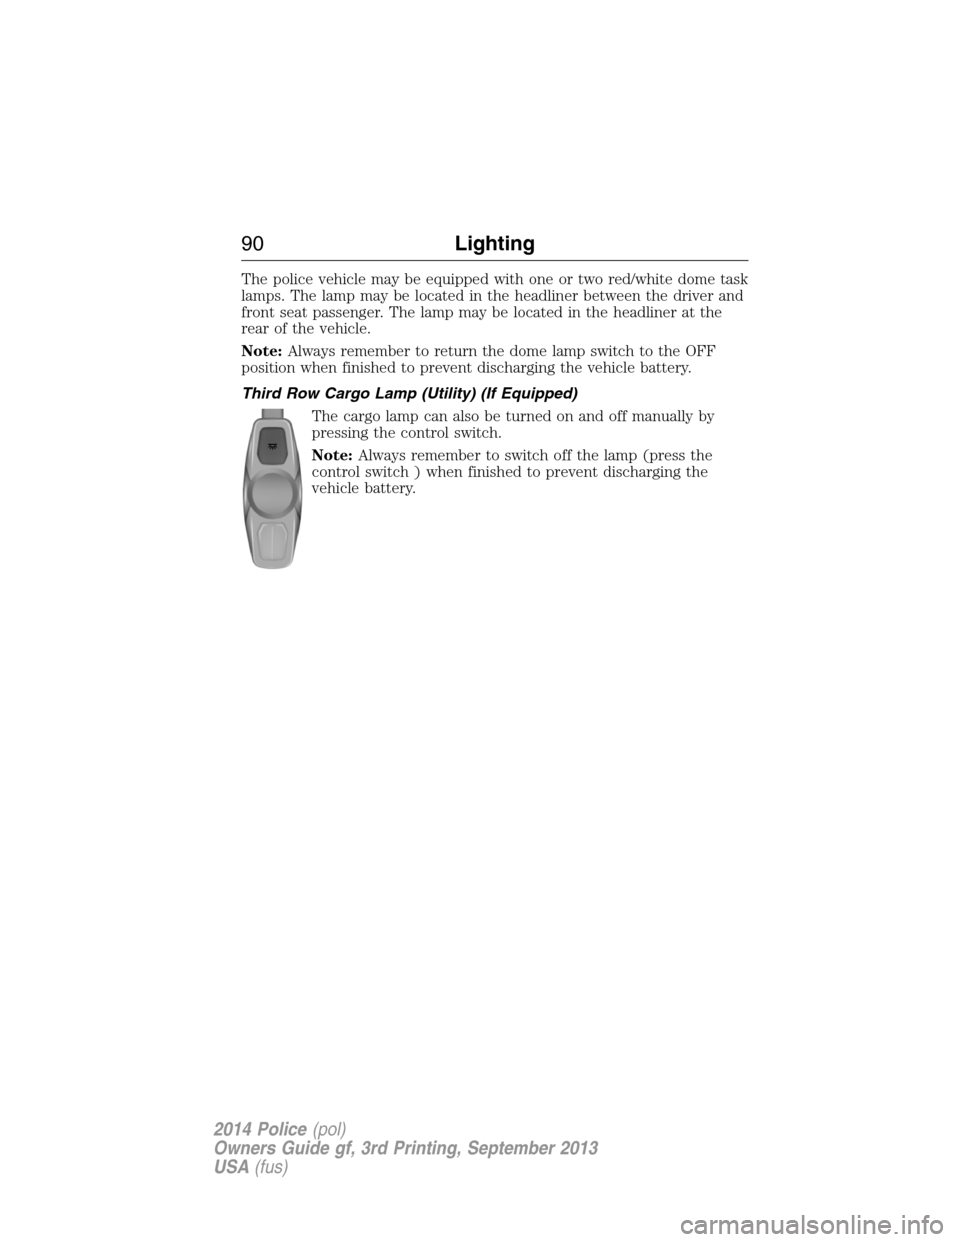
Third Row Cargo Lamp (Utility) (If Equipped)
The cargo lamp can also be turned on and off manually by
pressing the control switch.
Note:Always remember to switch off the lamp (press the
control switch ) when finished to prevent discharging the
vehicle battery.
90Lighting
2014 Police(pol)
Owners Guide gf, 3rd Printing, September 2013
USA(fus)
Page 94 of 406
EXTERIOR MIRRORS
Power Exterior Mirrors
WARNING:Do not adjust the mirror while your vehicle is in
motion.
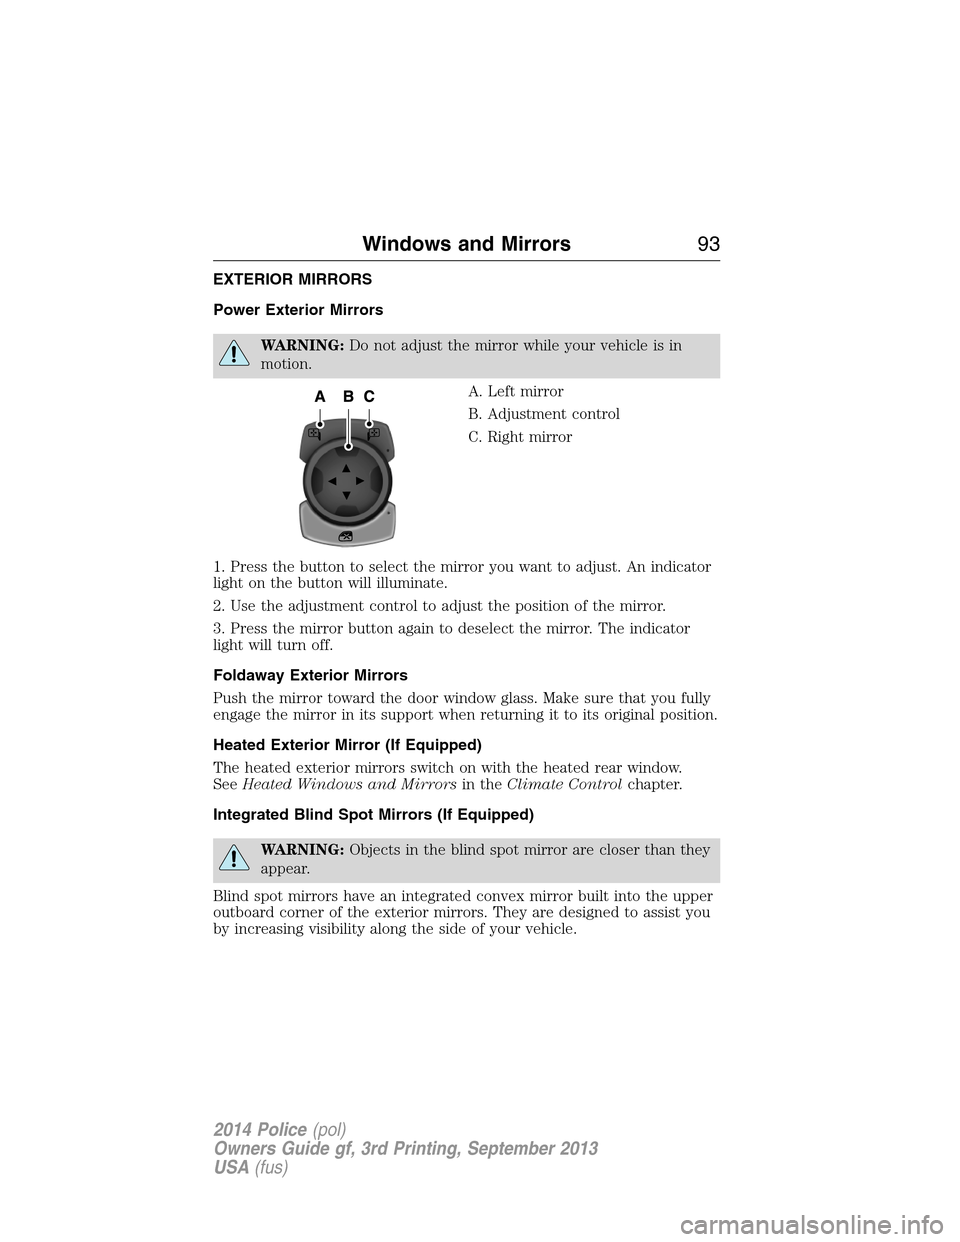
A. Left mirror
B. Adjustment control
C. Right mirror
1. Press the button to select the mirror you want to adjust. An indicator
light on the button will illuminate.
2. Use the adjustment control to adjust the position of the mirror.
3. Press the mirror button again to deselect the mirror. The indicator
light will turn off.
Foldaway Exterior Mirrors
Push the mirror toward the door window glass. Make sure that you fully
engage the mirror in its support when returning it to its original position.
Heated Exterior Mirror (If Equipped)
The heated exterior mirrors switch on with the heated rear window.
SeeHeated Windows and Mirrorsin theClimate Controlchapter.
Integrated Blind Spot Mirrors (If Equipped)
WARNING:Objects in the blind spot mirror are closer than they
appear.
Blind spot mirrors have an integrated convex mirror built into the upper
outboard corner of the exterior mirrors. They are designed to assist you
by increasing visibility along the side of your vehicle.
Windows and Mirrors93
2014 Police(pol)
Owners Guide gf, 3rd Printing, September 2013
USA(fus)
Page 96 of 406
INTERIOR MIRROR
WARNING:Do not adjust the mirror when your vehicle is
moving.
Note:Do not clean the housing or glass of any mirror with harsh
abrasives, fuel or other petroleum or ammonia based cleaning products.
You can adjust the interior mirror to your preference. Some mirrors also
have a second pivot point. This lets you move the mirror head up or
down and from side to side.
Pull the tab below the mirror toward you to reduce glare at night.
Auto-Dimming Mirror (If Equipped)
Note:Do not block the sensors on the front and back of the mirror.
Mirror performance may be affected. A rear center passenger or raised
rear center head restraint may also block light from reaching the sensor.
The mirror will dim automatically to reduce glare when bright lights are
detected from behind your vehicle. It will automatically return to normal
reflection when you select reverse gear to make sure you have a clear
view when backing up.
SUN VISORS
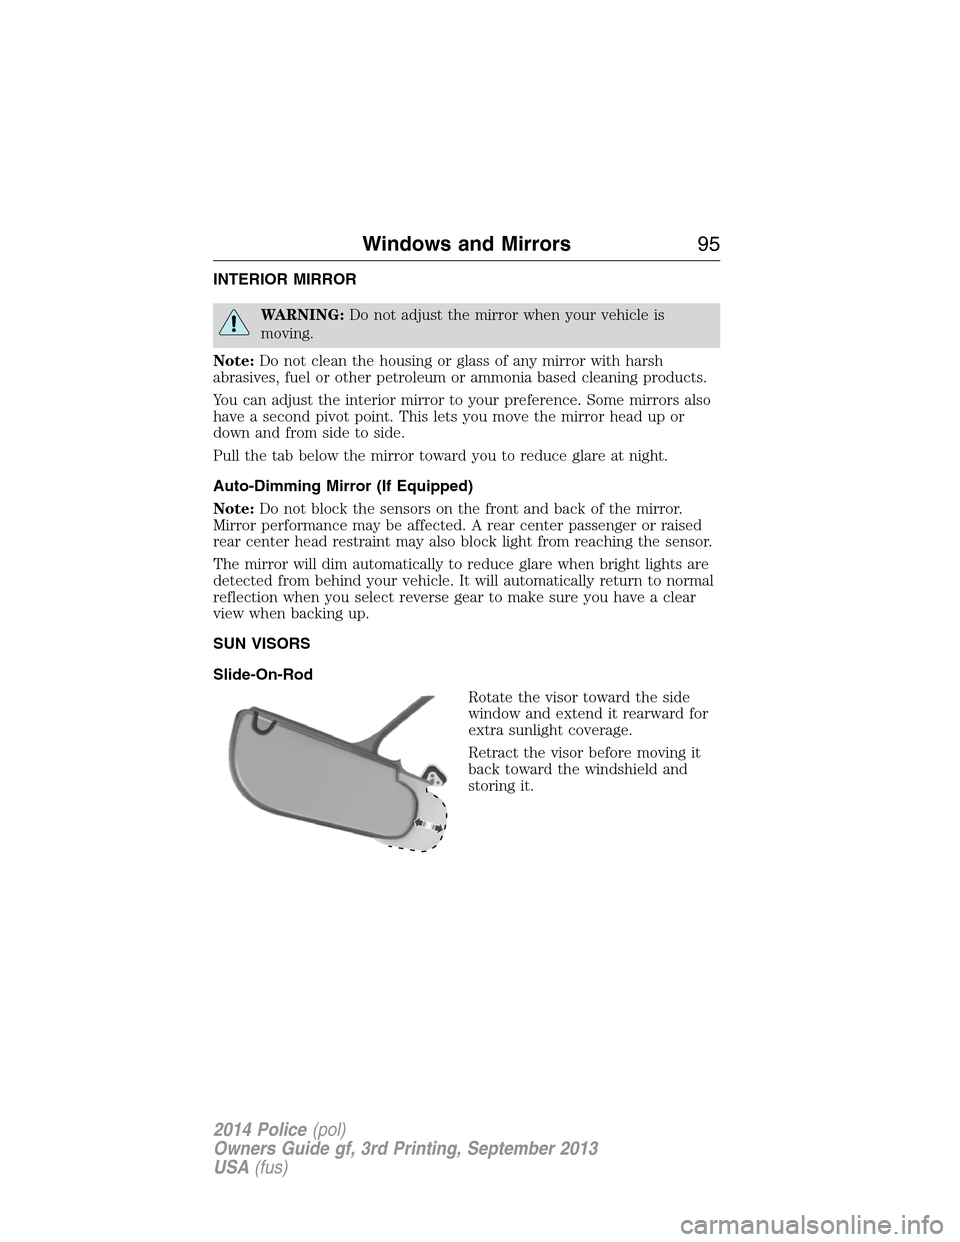
Slide-On-Rod
Rotate the visor toward the side
window and extend it rearward for
extra sunlight coverage.
Retract the visor before moving it
back toward the windshield and
storing it.
Windows and Mirrors95
2014 Police(pol)
Owners Guide gf, 3rd Printing, September 2013
USA(fus)
Page 98 of 406
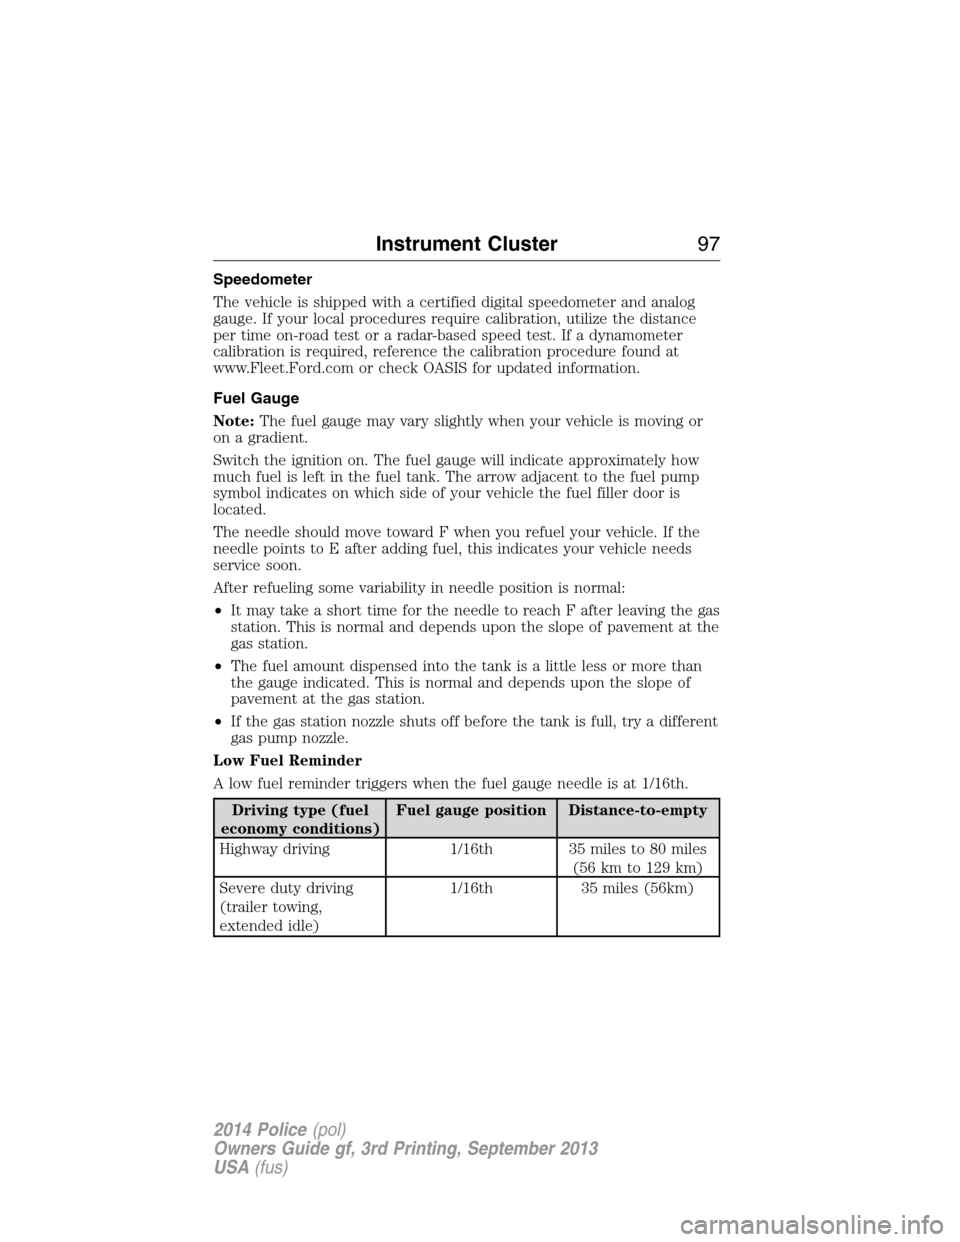
Speedometer
The vehicle is shipped with a certified digital speedometer and analog
gauge. If your local procedures require calibration, utilize the distance
per time on-road test or a radar-based speed test. If a dynamometer
calibration is required, reference the calibration procedure found at
www.Fleet.Ford.com or check OASIS for updated information.
Fuel Gauge
Note:The fuel gauge may vary slightly when your vehicle is moving or
on a gradient.
Switch the ignition on. The fuel gauge will indicate approximately how
much fuel is left in the fuel tank. The arrow adjacent to the fuel pump
symbol indicates on which side of your vehicle the fuel filler door is
located.
The needle should move toward F when you refuel your vehicle. If the
needle points to E after adding fuel, this indicates your vehicle needs
service soon.
After refueling some variability in needle position is normal:
•It may take a short time for the needle to reach F after leaving the gas
station. This is normal and depends upon the slope of pavement at the
gas station.
•The fuel amount dispensed into the tank is a little less or more than
the gauge indicated. This is normal and depends upon the slope of
pavement at the gas station.
•If the gas station nozzle shuts off before the tank is full, try a different
gas pump nozzle.
Low Fuel Reminder
A low fuel reminder triggers when the fuel gauge needle is at 1/16th.
Driving type (fuel
economy conditions)Fuel gauge position Distance-to-empty
Highway driving 1/16th 35 miles to 80 miles
(56 km to 129 km)
Severe duty driving
(trailer towing,
extended idle)1/16th 35 miles (56km)
Instrument Cluster97
2014 Police(pol)
Owners Guide gf, 3rd Printing, September 2013
USA(fus)
Page 99 of 406
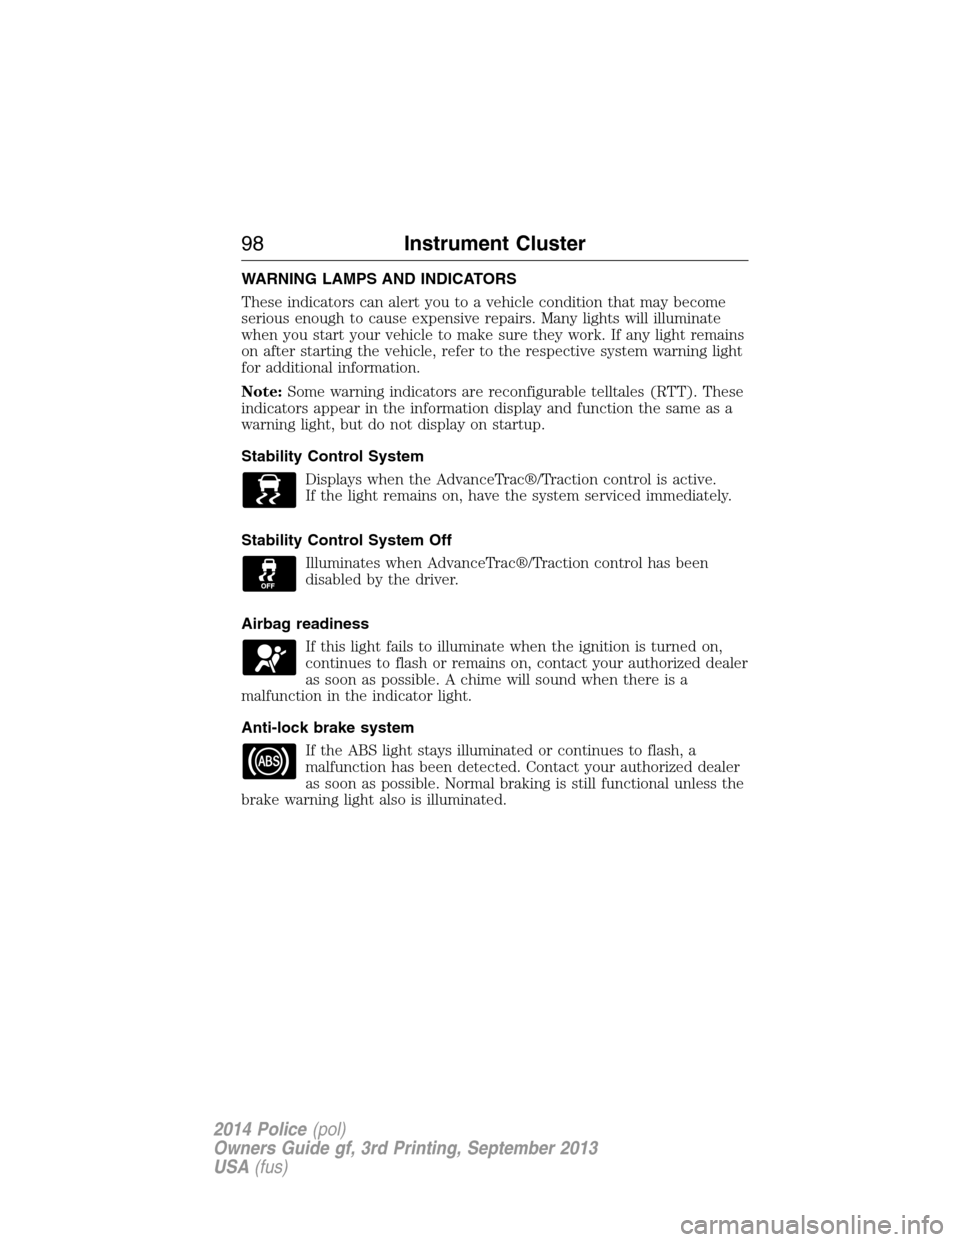
WARNING LAMPS AND INDICATORS
These indicators can alert you to a vehicle condition that may become
serious enough to cause expensive repairs. Many lights will illuminate
when you start your vehicle to make sure they work. If any light remains
on after starting the vehicle, refer to the respective system warning light
for additional information.
Note:Some warning indicators are reconfigurable telltales (RTT). These
indicators appear in the information display and function the same as a
warning light, but do not display on startup.
Stability Control System
Displays when the AdvanceTrac®/Traction control is active.
If the light remains on, have the system serviced immediately.
Stability Control System Off
Illuminates when AdvanceTrac®/Traction control has been
disabled by the driver.
Airbag readiness
If this light fails to illuminate when the ignition is turned on,
continues to flash or remains on, contact your authorized dealer
as soon as possible. A chime will sound when there is a
malfunction in the indicator light.
Anti-lock brake system
If the ABS light stays illuminated or continues to flash, a
malfunction has been detected. Contact your authorized dealer
as soon as possible. Normal braking is still functional unless the
brake warning light also is illuminated.
98Instrument Cluster
2014 Police(pol)
Owners Guide gf, 3rd Printing, September 2013
USA(fus)