engine FORD POLICE INTERCEPTOR UTILITY 2015 1.G Manual PDF
[x] Cancel search | Manufacturer: FORD, Model Year: 2015, Model line: POLICE INTERCEPTOR UTILITY, Model: FORD POLICE INTERCEPTOR UTILITY 2015 1.GPages: 398, PDF Size: 6.24 MB
Page 222 of 398
Your vehicle has been designed to pull a trailer, but because of the added
load, the vehicle’s engine may temporarily reach higher temperatures
during severe operating conditions such as ascending a long or steep
grade while pulling a trailer in hot ambient temperatures.
At this time, you may notice your engine coolant temperature gauge
needle move toward the H (hot) and the POWER REDUCED TO LOWER
TEMP message may appear on the message center.
You may notice a reduction in the vehicle’s speed caused by reduced
engine power. Your vehicle has been designed to enter this mode if
certain high temperature/high load conditions take place in order to
manage the engine’s fluid temperatures. The amount of speed reduction
will depend on the vehicle loading, towing, grade, ambient temperature,
and other factors. If this occurs, there is no need to pull off the road.
The vehicle can continue to be driven while this message is active.
The air conditioning may also cycle on and off during severe operating
conditions to protect overheating of the engine. When the engine coolant
temperature decreases to a more normal operating temperature, the air
conditioning will turn on once again.
If you notice any of the following:
•
the engine coolant temperature gauge moves fully into the red (hot) area
•the coolant temperature warning light illuminates
•the service engine soon indicator illuminates
1. Pull off the road as soon as safely possible and place the vehicle in P
(Park).
2. Leave the engine running until the coolant temperature gauge needle
moves away from the H range. After several minutes, if this does not
happen, follow the remaining steps.
3. Turn the engine off and wait for it to cool before checking the coolant
level.
WARNING:Never remove the coolant reservoir cap while the
engine is running or hot.
4. If the coolant level is normal, you may restart your engine and
continue on.
5. If the coolant is low, add coolant, restart the engine and take your
vehicle to an authorized dealer. SeeAdding engine coolantin this
chapter for more information.
Refer to fail-safe cooling for additional information.
Maintenance221
2015 Police(pol)
Owners Guide gf, 1st Printing, April 2014
USA(fus)
Page 223 of 398
What you should know about fail-safe cooling
If the engine coolant supply is depleted, this feature allows the vehicle to
be driven temporarily before incremental component damage is incurred.
The “fail-safe” distance depends on ambient temperatures, vehicle load
and terrain.
How fail-safe cooling works
If the engine begins to overheat:
•The engine coolant temperature gauge will move to the red (hot)
area.
•The service engine soon indicator will illuminate.
If the engine reaches a preset over-temperature condition, the engine
will automatically switch to alternating cylinder operation. Each disabled
cylinder acts as an air pump and cools the engine.
When this occurs the vehicle will still operate. However:
•The engine power will be limited.
•The air conditioning system will be disabled.
Continued operation will increase the engine temperature and the engine
will completely shut down, causing steering and braking effort to
increase.
Once the engine temperature cools, the engine can be re-started. Take
your vehicle to an authorized dealer as soon as possible to minimize
engine damage.
When fail-safe mode is activated
WARNING:Fail-safe mode is for use during emergencies only.
Operate the vehicle in fail-safe mode only as long as necessary to
bring the vehicle to rest in a safe location and seek immediate repairs.
When in fail-safe mode, the vehicle will have limited power, will not be
able to maintain high-speed operation, and may completely shut down
without warning, potentially losing engine power, power steering assist,
and power brake assist, which may increase the possibility of a crash
resulting in serious injury.
222Maintenance
2015 Police(pol)
Owners Guide gf, 1st Printing, April 2014
USA(fus)
Page 224 of 398
You have limited engine power when in the fail-safe mode, so drive the
vehicle with caution. The vehicle will not be able to maintain high-speed
operation and the engine will run rough. Remember that the engine is
capable of completely shutting down automatically to prevent engine
damage, therefore:
1. Pull off the road as soon as safely possible and turn off the engine.
2. Arrange for the vehicle to be taken to an authorized dealer.
3. If this is not possible, wait a short period for the engine to cool.
4. Check the coolant level and replenish if low.
WARNING:Never remove the coolant reservoir cap while the
engine is running or hot. The hot coolant is under pressure and
may cause serious burns.
5. Re-start the engine and take your vehicle to an authorized dealer.
Note:Driving the vehicle without repairing the engine problem increases
the chance of engine damage. Take your vehicle to an authorized dealer
as soon as possible.
AUTOMATIC TRANSMISSION FLUID CHECK
WARNING:The dipstick cap and surrounding components may
be hot; gloves are recommended.
Note:Automatic transmission fluid expands when warmed. To obtain an
accurate fluid check, drive the vehicle until it is warmed up
(approximately 20 miles [30 km]). If your vehicle has been operated for
an extended period at high speeds, in city traffic during hot weather or
pulling a trailer, the vehicle should be turned off until normal operating
temperatures are reached to allow the fluid to cool before checking.
Depending on vehicle use, cooling times could take up to 30 minutes or
longer.
Refer to yourscheduled maintenance informationfor scheduled
intervals for fluid checks and changes. Your transmission does not
consume fluid. However, the fluid level should be checked if the
transmission is not working properly, i.e., if the transmission slips or
shifts slowly or if you notice some sign of fluid leakage.
1. Drive the vehicle 20 miles (30 km) or until it reaches normal operating
temperature.
2. Park the vehicle on a level surface and engage the parking brake.
Maintenance223
2015 Police(pol)
Owners Guide gf, 1st Printing, April 2014
USA(fus)
Page 225 of 398
3. With the parking brake engaged and your foot on the brake pedal,
start the engine and move the gearshift lever through all of the gear
ranges. Allow a minimum of 10 seconds for each gear to engage.
4. Latch the gearshift lever in P (Park) and leave the engine running.
5. Remove the dipstick, wiping it clean with a clean, dry lint free rag. If
necessary, refer toUnder hood overviewin this chapter for the location
of the dipstick.
6. Install the dipstick making sure it is fully seated in the filler tube by
turning it to the locked position.
7. Remove the dipstick and inspect the fluid level. The fluid should be in
the designated areas for normal operating temperature.
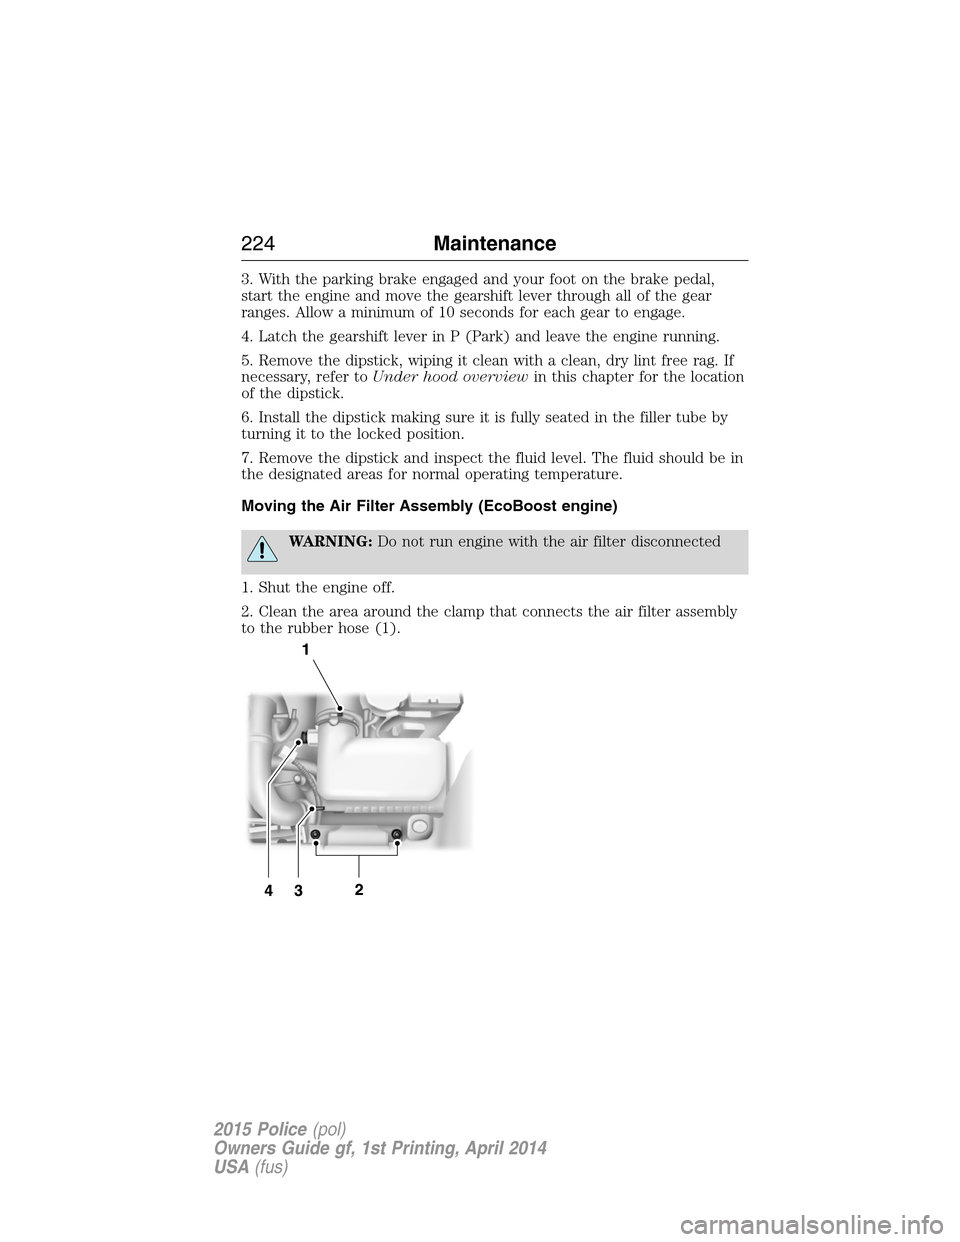
Moving the Air Filter Assembly (EcoBoost engine)
WARNING:Do not run engine with the air filter disconnected
1. Shut the engine off.
2. Clean the area around the clamp that connects the air filter assembly
to the rubber hose (1).
224Maintenance
2015 Police(pol)
Owners Guide gf, 1st Printing, April 2014
USA(fus)
Page 230 of 398
WARNING:Keep batteries out of reach of children. Batteries
contain sulfuric acid. Avoid contact with skin, eyes or clothing.
Shield your eyes when working near the battery to protect against
possible splashing of acid solution. In case of acid contact with skin or
eyes, flush immediately with water for a minimum of 15 minutes and
get prompt medical attention. If acid is swallowed, call a physician
immediately.
WARNING:Battery posts, terminals and related accessories
contain lead and lead compounds.Note:Wash hands after
handling.
Note:If your battery has a cover/shield, make sure it is reinstalled after
the battery has been cleaned or replaced.
For longer, trouble-free operation, keep the top of the battery clean and
dry. Also, make certain the battery cables are always tightly fastened to
the battery terminals.
Note:Electrical or electronic accessories or components added to the
vehicle by the dealer or the owner may adversely affect battery
performance and durability.
The Motorcraft® maintenance-free battery normally does not require
additional water during its life of service.
If you see any corrosion on the battery or terminals, remove the cables
from the terminals and clean with a wire brush. You can neutralize the
acid with a solution of baking soda and water.
It is recommended that the negative battery cable terminal be
disconnected from the battery if you plan to store your vehicle for an
extended period of time. This will minimize the discharge of your battery
during storage.
Because your vehicle’s engine is electronically controlled by a computer,
some control conditions are maintained by power from the battery. When
the battery is disconnected or a new battery is installed, the engine must
relearn its idle and fuel trim strategy for optimum driveability and
performance. To begin this process:
1. With the vehicle at a complete stop, set the parking brake.
2. Put the gearshift in P (Park), turn off all accessories and start the
engine.
3. Run the engine until it reaches normal operating temperature.
Maintenance229
2015 Police(pol)
Owners Guide gf, 1st Printing, April 2014
USA(fus)
Page 231 of 398
4. Allow the engine to idle for at least one minute.
5. Turn the A/C on and allow the engine to idle for at least one minute.
6. Drive the vehicle to complete the relearning process.
•The vehicle may need to be driven 10 miles (16 km) or more to
relearn the idle and fuel trim strategy.
•Note:If you do not allow the engine to relearn its idle trim, the idle
quality of your vehicle may be adversely affected until the idle trim is
eventually relearned.
If the battery has been disconnected or a new battery has been installed,
the clock and radio settings must be reset once the battery is
reconnected.
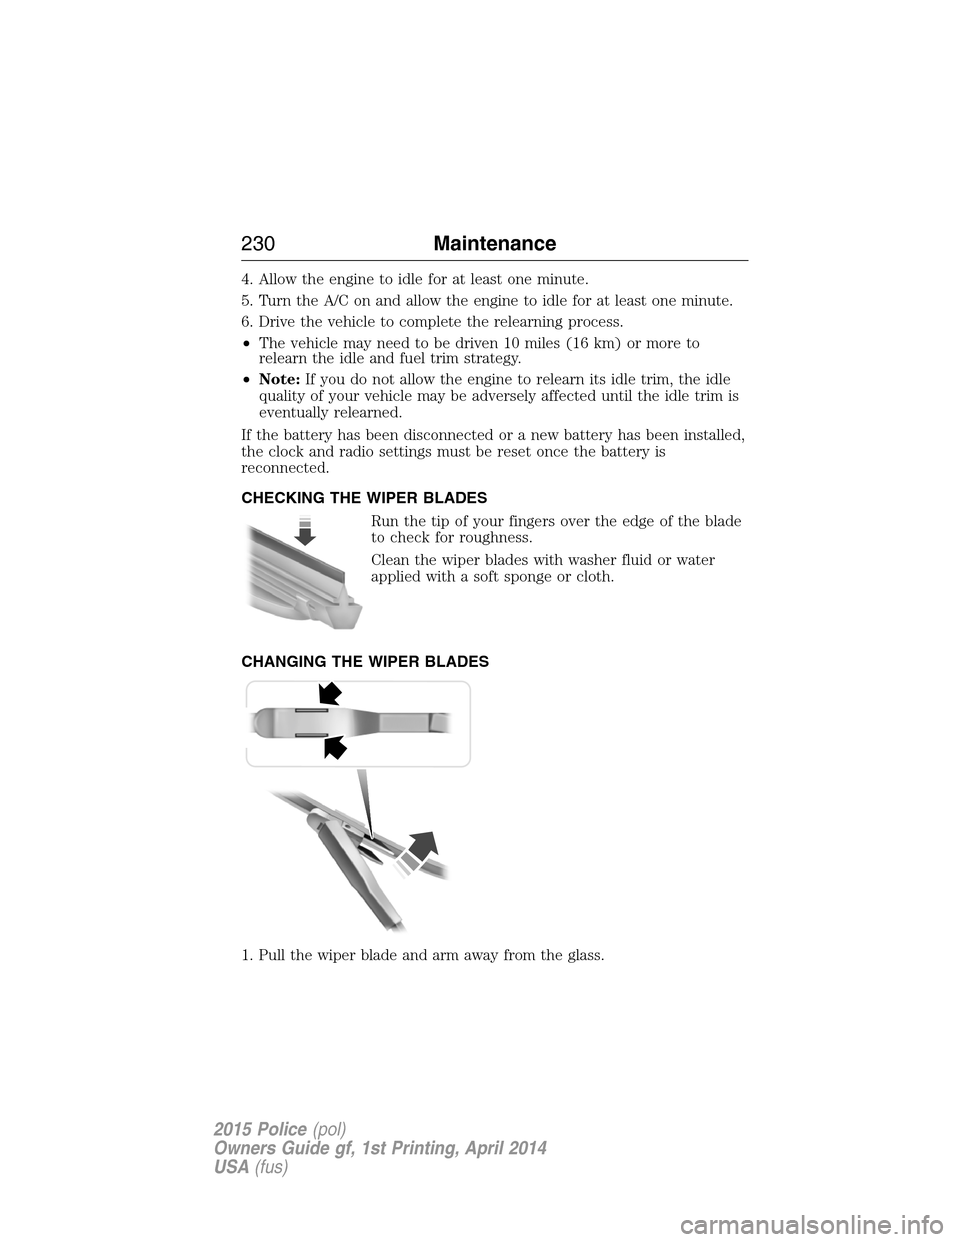
CHECKING THE WIPER BLADES
Run the tip of your fingers over the edge of the blade
to check for roughness.
Clean the wiper blades with washer fluid or water
applied with a soft sponge or cloth.
CHANGING THE WIPER BLADES
1. Pull the wiper blade and arm away from the glass.
230Maintenance
2015 Police(pol)
Owners Guide gf, 1st Printing, April 2014
USA(fus)
Page 232 of 398
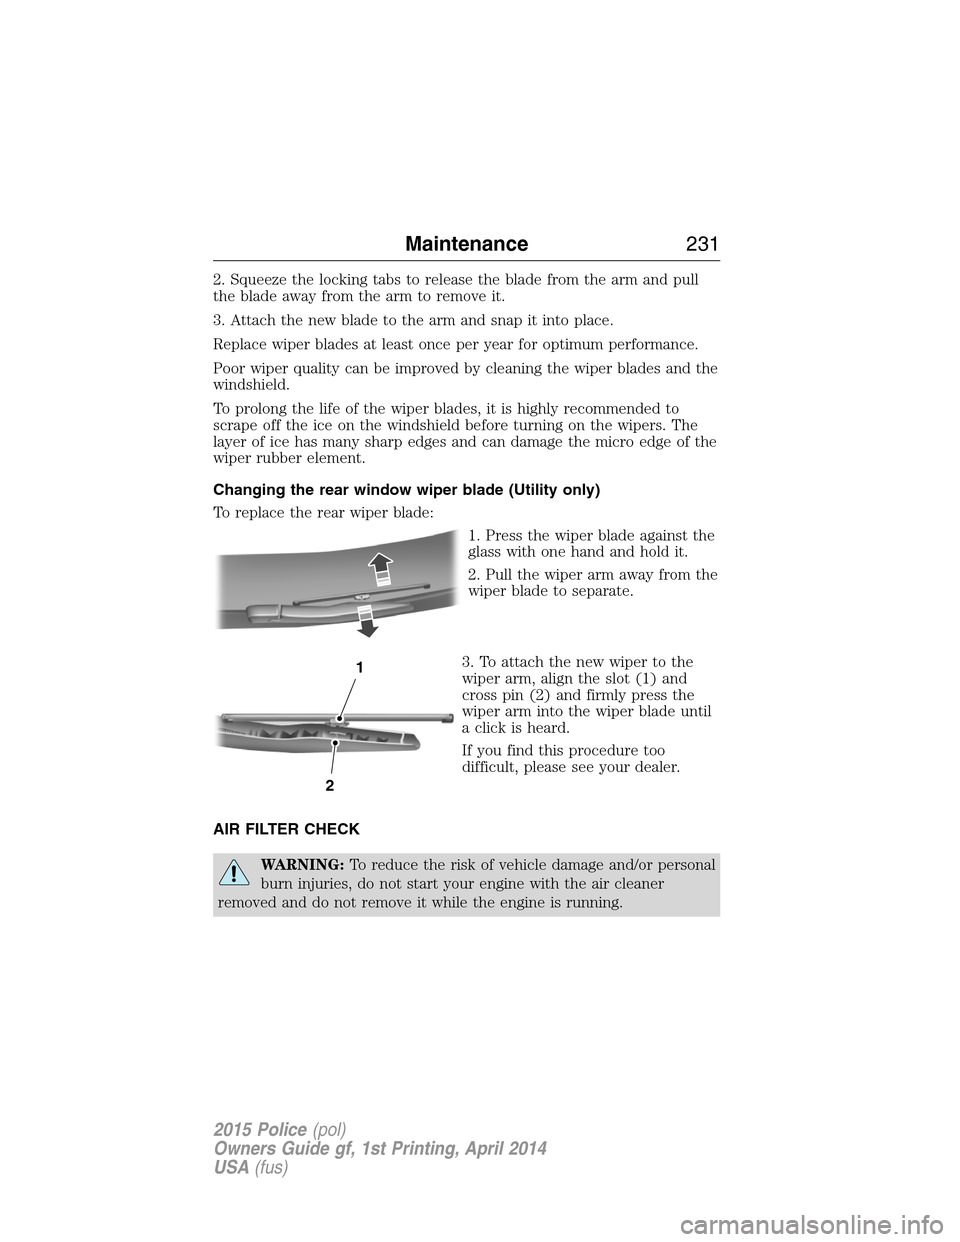
2. Squeeze the locking tabs to release the blade from the arm and pull
the blade away from the arm to remove it.
3. Attach the new blade to the arm and snap it into place.
Replace wiper blades at least once per year for optimum performance.
Poor wiper quality can be improved by cleaning the wiper blades and the
windshield.
To prolong the life of the wiper blades, it is highly recommended to
scrape off the ice on the windshield before turning on the wipers. The
layer of ice has many sharp edges and can damage the micro edge of the
wiper rubber element.
Changing the rear window wiper blade (Utility only)
To replace the rear wiper blade:
1. Press the wiper blade against the
glass with one hand and hold it.
2. Pull the wiper arm away from the
wiper blade to separate.
3. To attach the new wiper to the
wiper arm, align the slot (1) and
cross pin (2) and firmly press the
wiper arm into the wiper blade until
a click is heard.
If you find this procedure too
difficult, please see your dealer.
AIR FILTER CHECK
WARNING:To reduce the risk of vehicle damage and/or personal
burn injuries, do not start your engine with the air cleaner
removed and do not remove it while the engine is running.
2
1
Maintenance231
2015 Police(pol)
Owners Guide gf, 1st Printing, April 2014
USA(fus)
Page 233 of 398
When changing the air filter element, use only the air filter element
listed. Refer toMotorcraft® Part Numbersin theCapacities and
Specificationschapter.
For EcoBoost equipped vehicles: When servicing the air cleaner, it is
important that no foreign material enter the air induction system. The
engine and turbocharger are susceptible to damage from even small
particles.
Refer toScheduled Maintenancefor the appropriate intervals for
changing the air filter element.
Note:Failure to use the correct air filter element may result in severe
engine damage. The customer warranty may be void for any damage to
the engine if the correct air filter element is not used.
Changing the air filter element
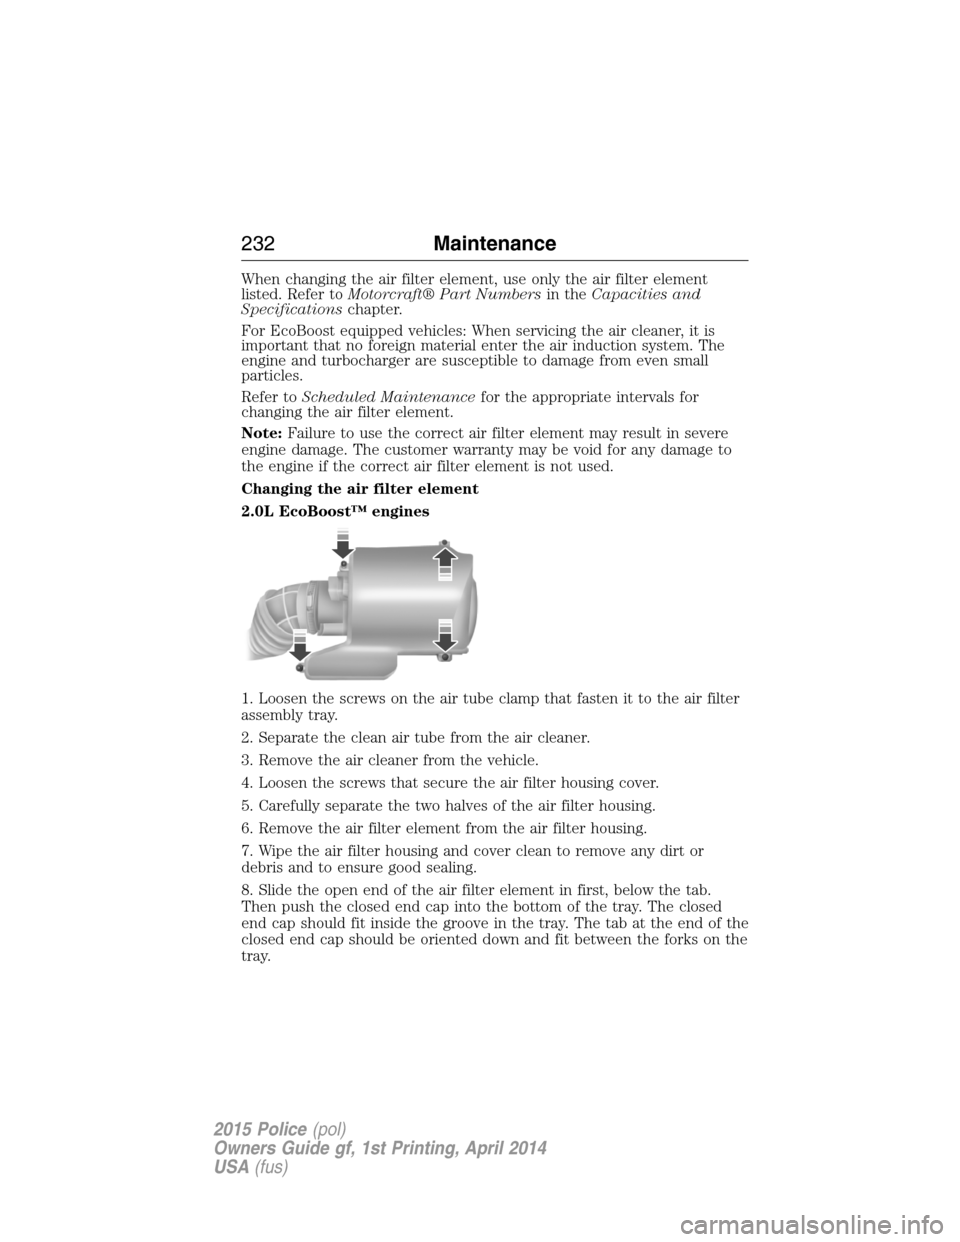
2.0L EcoBoost™ engines
1. Loosen the screws on the air tube clamp that fasten it to the air filter
assembly tray.
2. Separate the clean air tube from the air cleaner.
3. Remove the air cleaner from the vehicle.
4. Loosen the screws that secure the air filter housing cover.
5. Carefully separate the two halves of the air filter housing.
6. Remove the air filter element from the air filter housing.
7. Wipe the air filter housing and cover clean to remove any dirt or
debris and to ensure good sealing.
8. Slide the open end of the air filter element in first, below the tab.
Then push the closed end cap into the bottom of the tray. The closed
end cap should fit inside the groove in the tray. The tab at the end of the
closed end cap should be oriented down and fit between the forks on the
tray.
232Maintenance
2015 Police(pol)
Owners Guide gf, 1st Printing, April 2014
USA(fus)
Page 234 of 398
9. Replace the air filter housing cover and secure the screws.
10. Reinstall the air cleaner assembly into the vehicle.
11. Reinstall the clean air tube assembly into the air cleaner assembly.
12. Tighten the air tube fastening screws.
Changing the air filter element
3.5L V6 engine, 3.5L EcoBoost and 3.7L engines
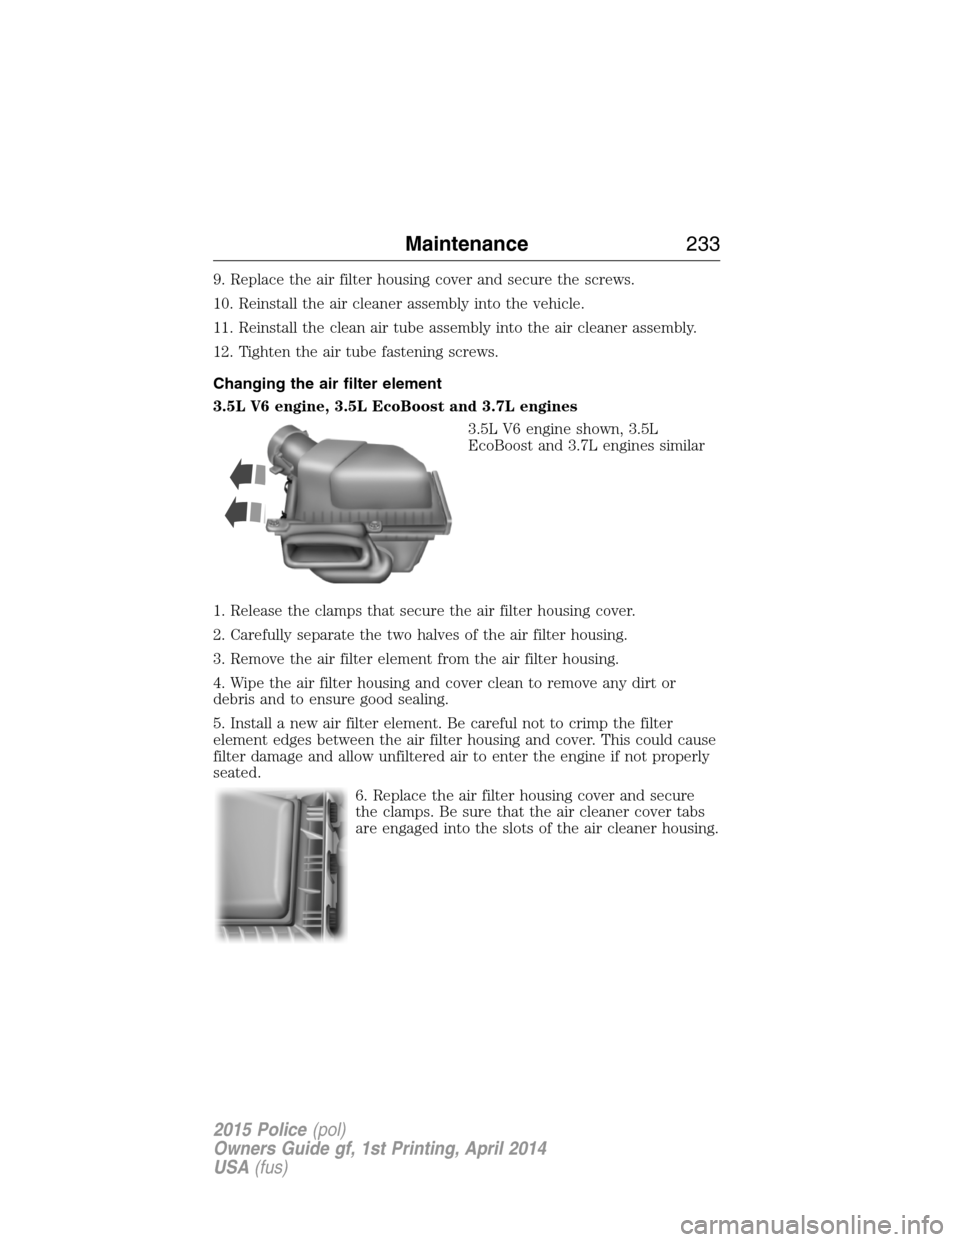
3.5L V6 engine shown, 3.5L
EcoBoost and 3.7L engines similar
1. Release the clamps that secure the air filter housing cover.
2. Carefully separate the two halves of the air filter housing.
3. Remove the air filter element from the air filter housing.
4. Wipe the air filter housing and cover clean to remove any dirt or
debris and to ensure good sealing.
5. Install a new air filter element. Be careful not to crimp the filter
element edges between the air filter housing and cover. This could cause
filter damage and allow unfiltered air to enter the engine if not properly
seated.
6. Replace the air filter housing cover and secure
the clamps. Be sure that the air cleaner cover tabs
are engaged into the slots of the air cleaner housing.
Maintenance233
2015 Police(pol)
Owners Guide gf, 1st Printing, April 2014
USA(fus)
Page 248 of 398
GENERAL INFORMATION
Your Ford or Lincoln authorized dealer has many quality products
available to clean your vehicle and protect its finishes.
CLEANING PRODUCTS
For best results, use the following products or products of equivalent
quality:
Motorcraft Bug and Tar Remover (ZC-42)
Motorcraft Custom Bright Metal Cleaner (ZC-15)
Motorcraft Detail Wash (ZC-3-A)
Motorcraft Dusting Cloth (ZC-24)
Motorcraft Engine Shampoo and Degreaser (United States only) (ZC-20)
Motorcraft Engine Shampoo (Canada only) (CXC-66-A)
Motorcraft Multi-Purpose Cleaner (Canada only) (CXC-101)
Motorcraft Premium Glass Cleaner (Canada only) (CXC-100)
Motorcraft Premium Quality Windshield Washer Fluid (Canada only)
[CXC-37-(A, B, D or F)]
Motorcraft Premium Windshield Wash Concentrate with Bitterant (United
States only) (ZC-32-B2)
Motorcraft Professional Strength Carpet & Upholstery Cleaner (ZC-54)
Motorcraft Premium Leather and Vinyl Cleaner (ZC-56)
Motorcraft Spot and Stain Remover (United States only) (ZC-14)
Motorcraft Ultra-Clear Spray Glass Cleaner (ZC-23)
Motorcraft Wheel and Tire Cleaner (ZC-37-A)
CLEANING THE EXTERIOR
Wash your vehicle regularly with cool or lukewarm water and a neutral
pH shampoo, such as Motorcraft Detail Wash.
•Never use strong household detergents or soap, such as dish washing
or laundry liquid. These products can discolor and spot painted
surfaces.
•Never wash a vehicle that is hot to the touch or during exposure to
strong, direct sunlight.
•Dry the vehicle with a chamois or soft terry cloth towel in order to
eliminate water spotting.
Vehicle Care247
2015 Police(pol)
Owners Guide gf, 1st Printing, April 2014
USA(fus)