change time FORD POLICE INTERCEPTOR UTILITY 2015 1.G Owners Manual
[x] Cancel search | Manufacturer: FORD, Model Year: 2015, Model line: POLICE INTERCEPTOR UTILITY, Model: FORD POLICE INTERCEPTOR UTILITY 2015 1.GPages: 398, PDF Size: 6.24 MB
Page 8 of 398
SYNC® 316
Pairing your phone for the first time.......................321
911 Assist™.........................................336
Vehicle Health Report..................................339
Appendices 363
Scheduled Maintenance 372
Normal scheduled maintenance and log.....................377
Index 391
The information contained in this publication was correct at the time of going to
print. In the interest of continuous development, we reserve the right to change
specifications, design or equipment at any time without notice or obligation. No
part of this publication may be reproduced, transmitted, stored in a retrieval
system or translated into any language in any form by any means without our
written permission. Errors and omissions excepted.
© Ford Motor Company 2014
Table of Contents7
2015 Police(pol)
Owners Guide gf, 1st Printing, April 2014
USA(fus)
Page 40 of 398
Automatic Locking Mode
In this mode, the shoulder belt is automatically pre-locked. The belt will
still retract to remove any slack in the shoulder belt. The automatic
locking mode is not available on the driver safety belt.
When to Use the Automatic Locking Mode
This mode should be used any time a child safety seat, except a booster,
is installed in passenger front or rear seating positions. Children 12 years
old and under should be properly restrained in a rear seating position
whenever possible. See theChild Safetychapter.
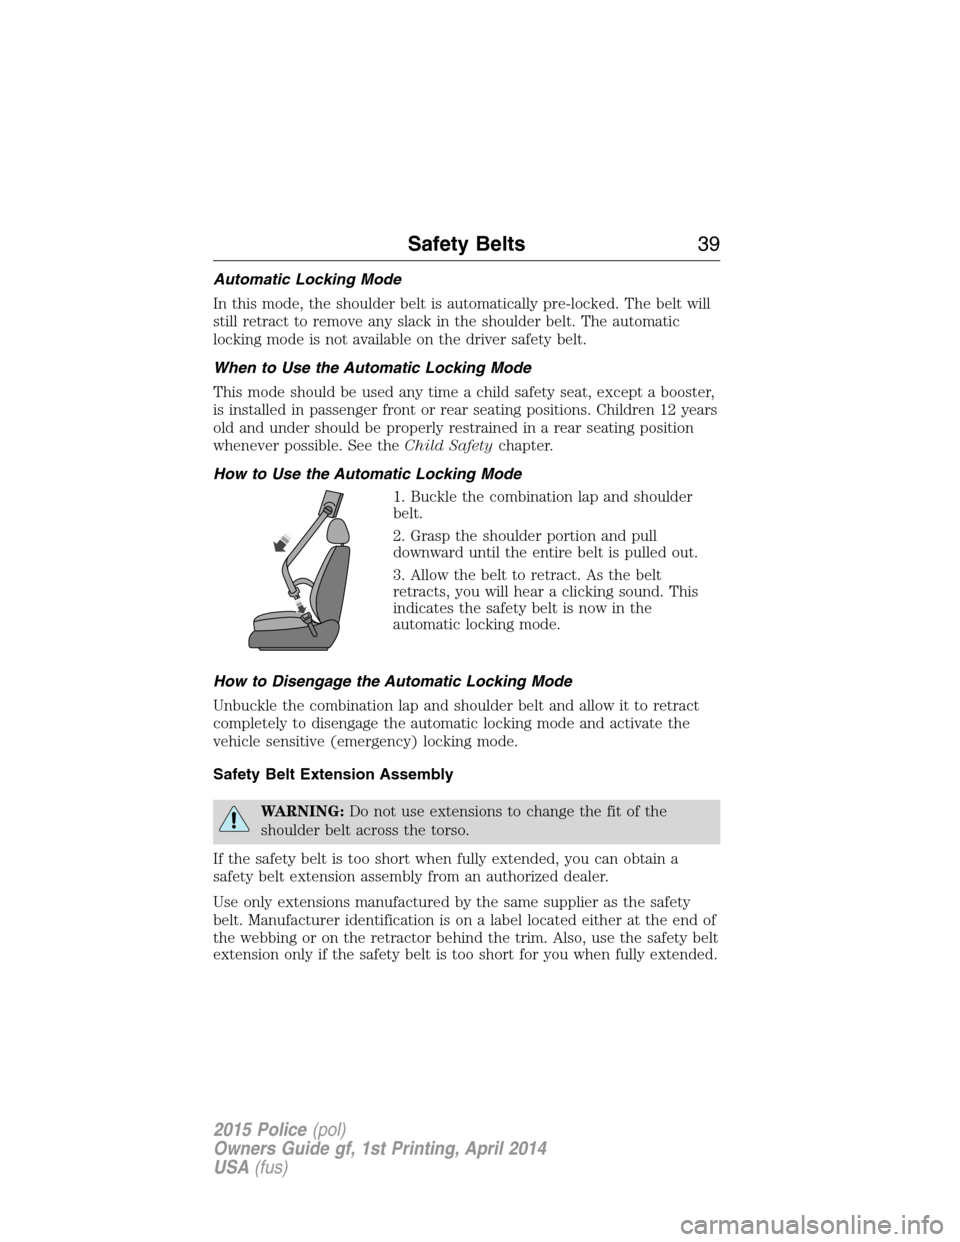
How to Use the Automatic Locking Mode
1. Buckle the combination lap and shoulder
belt.
2. Grasp the shoulder portion and pull
downward until the entire belt is pulled out.
3. Allow the belt to retract. As the belt
retracts, you will hear a clicking sound. This
indicates the safety belt is now in the
automatic locking mode.
How to Disengage the Automatic Locking Mode
Unbuckle the combination lap and shoulder belt and allow it to retract
completely to disengage the automatic locking mode and activate the
vehicle sensitive (emergency) locking mode.
Safety Belt Extension Assembly
WARNING:Do not use extensions to change the fit of the
shoulder belt across the torso.
If the safety belt is too short when fully extended, you can obtain a
safety belt extension assembly from an authorized dealer.
Use only extensions manufactured by the same supplier as the safety
belt. Manufacturer identification is on a label located either at the end of
the webbing or on the retractor behind the trim. Also, use the safety belt
extension only if the safety belt is too short for you when fully extended.
Safety Belts39
2015 Police(pol)
Owners Guide gf, 1st Printing, April 2014
USA(fus)
Page 69 of 398
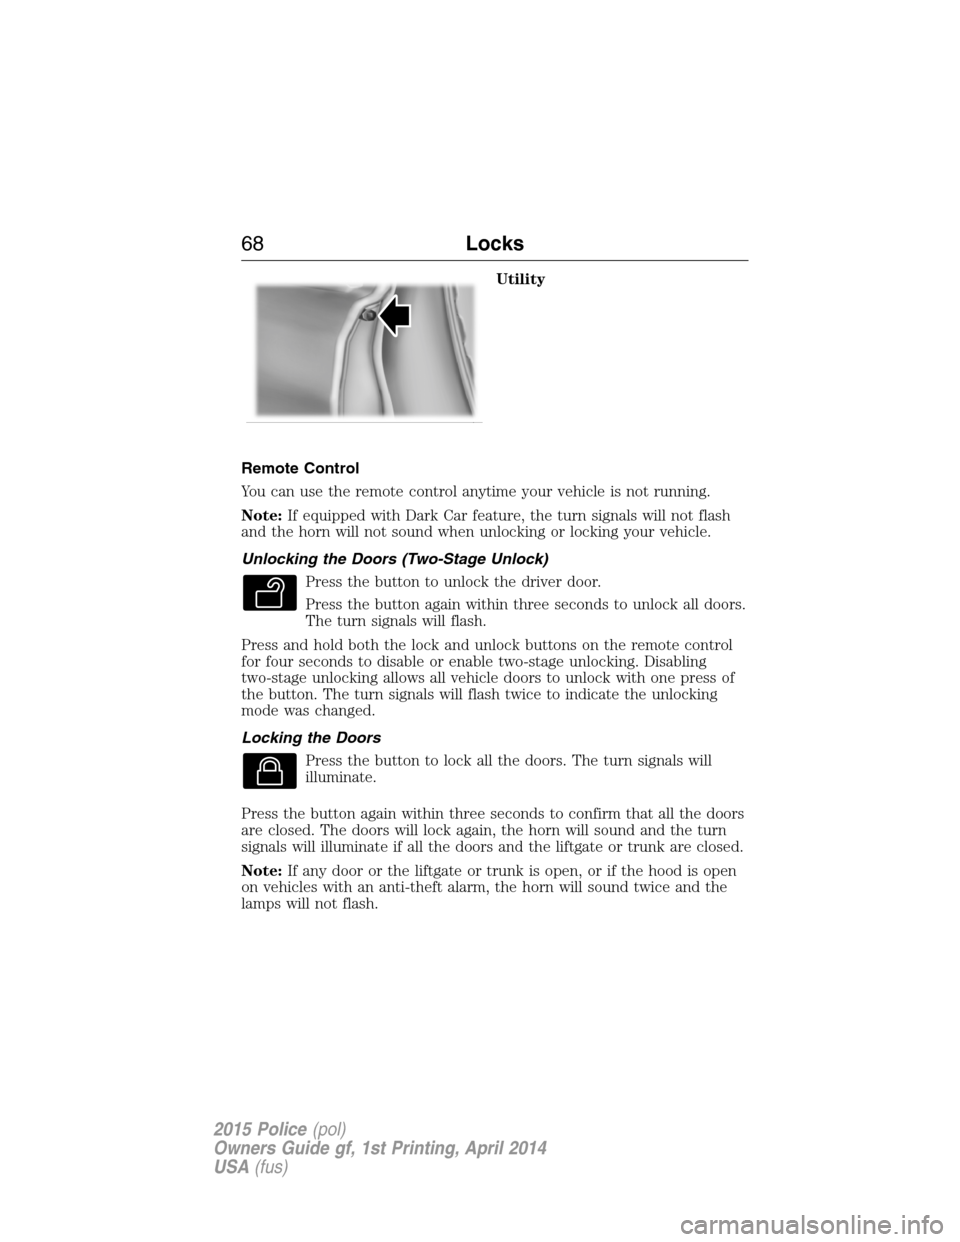
Utility
Remote Control
You can use the remote control anytime your vehicle is not running.
Note:If equipped with Dark Car feature, the turn signals will not flash
and the horn will not sound when unlocking or locking your vehicle.
Unlocking the Doors (Two-Stage Unlock)
Press the button to unlock the driver door.
Press the button again within three seconds to unlock all doors.
The turn signals will flash.
Press and hold both the lock and unlock buttons on the remote control
for four seconds to disable or enable two-stage unlocking. Disabling
two-stage unlocking allows all vehicle doors to unlock with one press of
the button. The turn signals will flash twice to indicate the unlocking
mode was changed.
Locking the Doors
Press the button to lock all the doors. The turn signals will
illuminate.
Press the button again within three seconds to confirm that all the doors
are closed. The doors will lock again, the horn will sound and the turn
signals will illuminate if all the doors and the liftgate or trunk are closed.
Note:If any door or the liftgate or trunk is open, or if the hood is open
on vehicles with an anti-theft alarm, the horn will sound twice and the
lamps will not flash.
68Locks
2015 Police(pol)
Owners Guide gf, 1st Printing, April 2014
USA(fus)
Page 85 of 398
The system turns the headlamps on with a reduced output.
To activate:
•the ignition must be in the on position and
•the lighting control is in the off, autolamp, or parking lamp position
and
•the transmission is not in PARK.
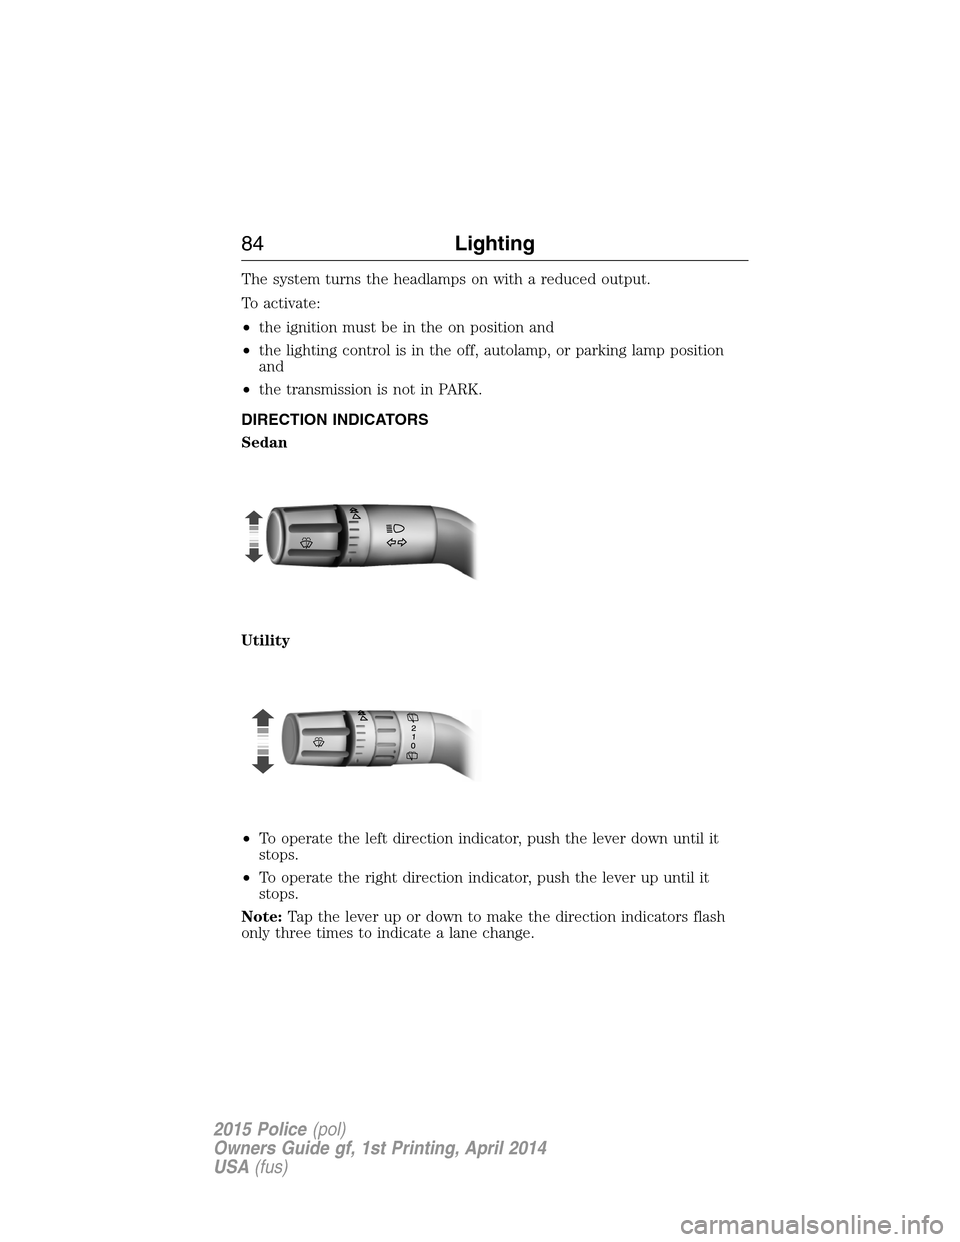
DIRECTION INDICATORS
Sedan
Utility
•To operate the left direction indicator, push the lever down until it
stops.
•To operate the right direction indicator, push the lever up until it
stops.
Note:Tap the lever up or down to make the direction indicators flash
only three times to indicate a lane change.
84Lighting
2015 Police(pol)
Owners Guide gf, 1st Printing, April 2014
USA(fus)
Page 97 of 398
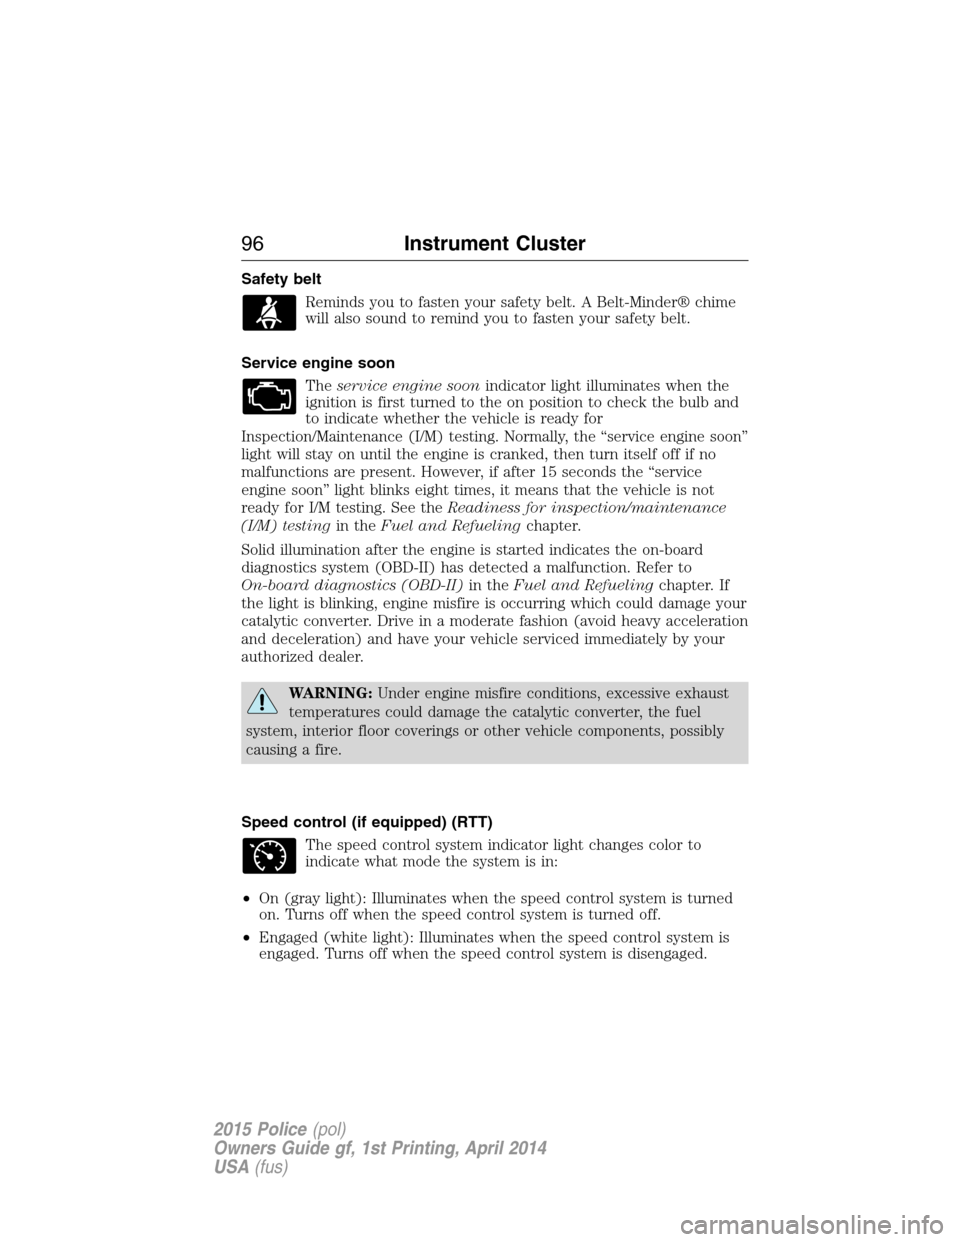
Safety belt
Reminds you to fasten your safety belt. A Belt-Minder® chime
will also sound to remind you to fasten your safety belt.
Service engine soon
Theservice engine soonindicator light illuminates when the
ignition is first turned to the on position to check the bulb and
to indicate whether the vehicle is ready for
Inspection/Maintenance (I/M) testing. Normally, the “service engine soon”
light will stay on until the engine is cranked, then turn itself off if no
malfunctions are present. However, if after 15 seconds the “service
engine soon” light blinks eight times, it means that the vehicle is not
ready for I/M testing. See theReadiness for inspection/maintenance
(I/M) testingin theFuel and Refuelingchapter.
Solid illumination after the engine is started indicates the on-board
diagnostics system (OBD-II) has detected a malfunction. Refer to
On-board diagnostics (OBD-II)in theFuel and Refuelingchapter. If
the light is blinking, engine misfire is occurring which could damage your
catalytic converter. Drive in a moderate fashion (avoid heavy acceleration
and deceleration) and have your vehicle serviced immediately by your
authorized dealer.
WARNING:Under engine misfire conditions, excessive exhaust
temperatures could damage the catalytic converter, the fuel
system, interior floor coverings or other vehicle components, possibly
causing a fire.
Speed control (if equipped) (RTT)
The speed control system indicator light changes color to
indicate what mode the system is in:
•On (gray light): Illuminates when the speed control system is turned
on. Turns off when the speed control system is turned off.
•Engaged (white light): Illuminates when the speed control system is
engaged. Turns off when the speed control system is disengaged.
96Instrument Cluster
2015 Police(pol)
Owners Guide gf, 1st Printing, April 2014
USA(fus)
Page 100 of 398
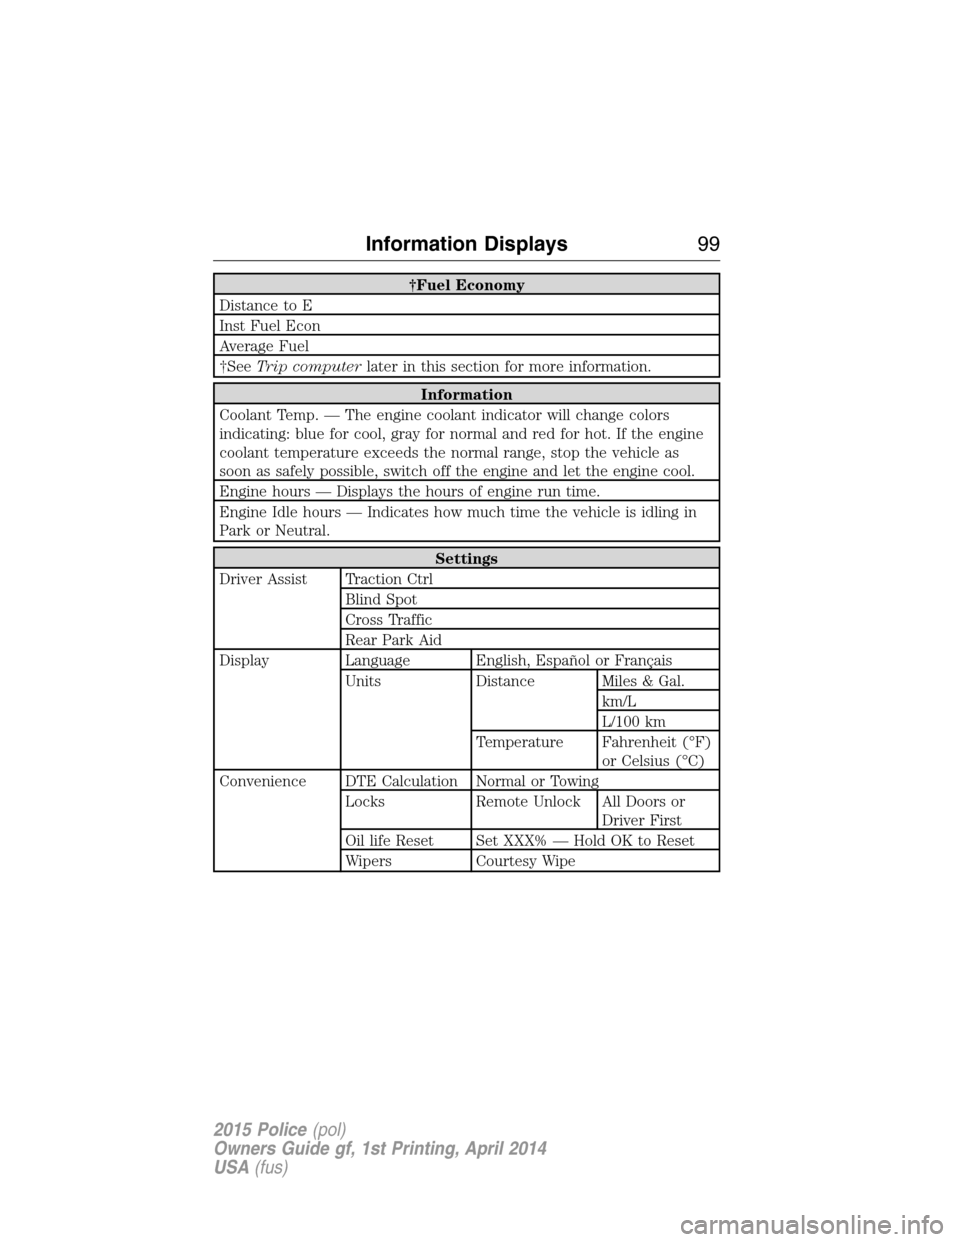
†Fuel Economy
Distance to E
Inst Fuel Econ
Average Fuel
†SeeTrip computerlater in this section for more information.
Information
Coolant Temp. — The engine coolant indicator will change colors
indicating: blue for cool, gray for normal and red for hot. If the engine
coolant temperature exceeds the normal range, stop the vehicle as
soon as safely possible, switch off the engine and let the engine cool.
Engine hours — Displays the hours of engine run time.
Engine Idle hours — Indicates how much time the vehicle is idling in
Park or Neutral.
Settings
Driver Assist Traction Ctrl
Blind Spot
Cross Traffic
Rear Park Aid
Display Language English, Español or Français
Units Distance Miles & Gal.
km/L
L/100 km
Temperature Fahrenheit (°F)
or Celsius (°C)
Convenience DTE Calculation Normal or Towing
Locks Remote Unlock All Doors or
Driver First
Oil life Reset Set XXX% — Hold OK to Reset
Wipers Courtesy Wipe
Information Displays99
2015 Police(pol)
Owners Guide gf, 1st Printing, April 2014
USA(fus)
Page 101 of 398
Trip Computer
Resetting the Trip Computer
Press and hold OK on the current screen to reset the respective trip,
distance, time and fuel information.
Trip Odometer
Registers the mileage of individual journeys.
Distance to E
Indicates the approximate distance the vehicle will travel on the fuel
remaining in the tank. Changes in driving pattern may cause the value to
vary.
Average fuel
Indicates the average fuel consumption since the function was last reset.
Fuel Used
Shows the amount of fuel used for a given trip.
Total Odometer
Registers the total mileage of the vehicle.
INFORMATION MESSAGES
Note:Depending on the vehicle options equipped with your vehicle, not
all of the messages will display or be available. Certain messages may be
abbreviated or shortened depending upon which cluster type you have.
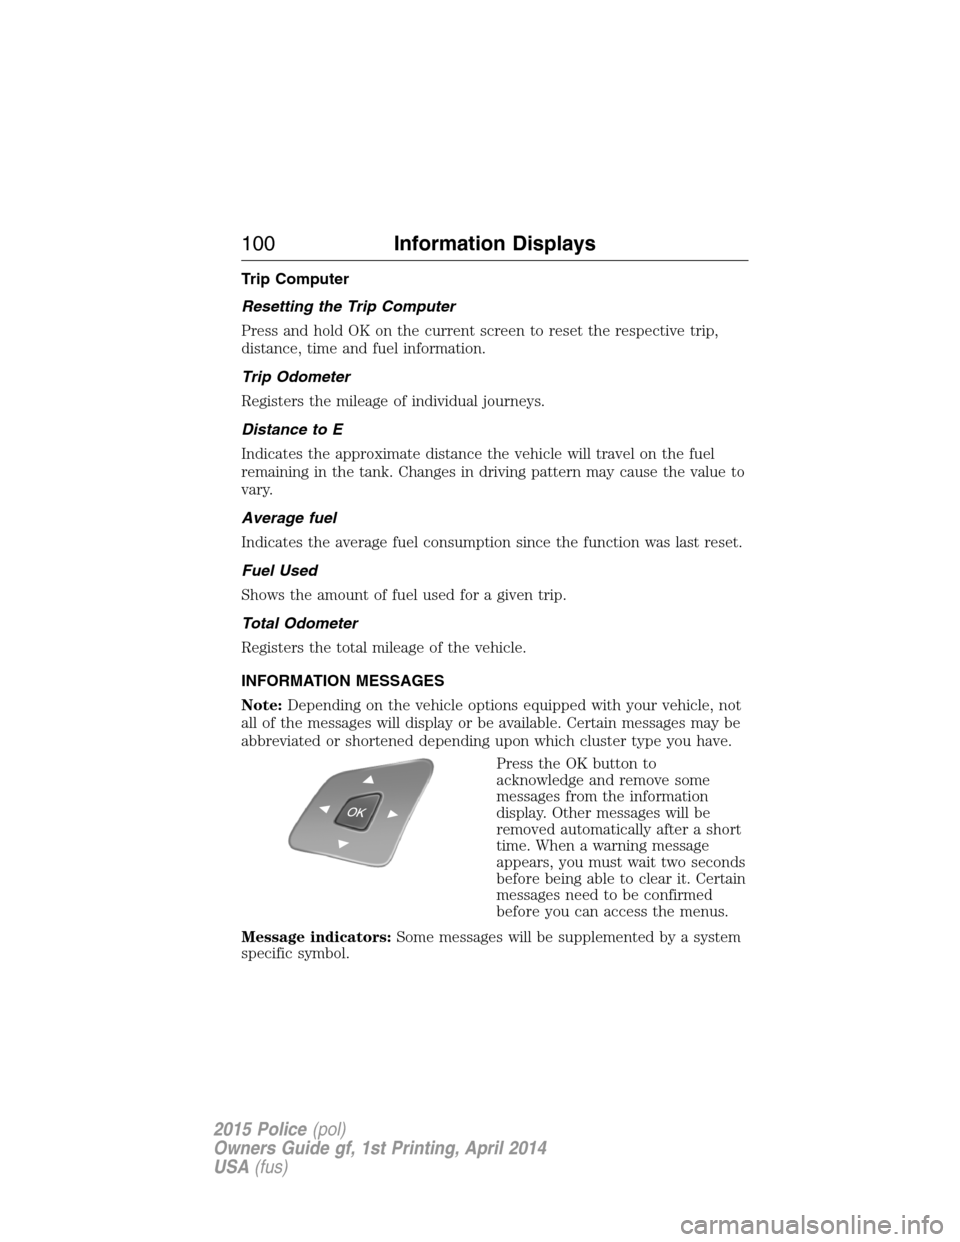
Press the OK button to
acknowledge and remove some
messages from the information
display. Other messages will be
removed automatically after a short
time. When a warning message
appears, you must wait two seconds
before being able to clear it. Certain
messages need to be confirmed
before you can access the menus.
Message indicators:Some messages will be supplemented by a system
specific symbol.
100Information Displays
2015 Police(pol)
Owners Guide gf, 1st Printing, April 2014
USA(fus)
Page 140 of 398
USING YOUR ALL-WHEEL-DRIVE (AWD) SYSTEM
AWD uses all four wheels to power the vehicle. This increases traction,
enabling you to drive over terrain and road conditions that a
conventional two-wheel drive vehicles cannot. The AWD system is active
all the time and requires no input from the operator.
Note:Your AWD vehicle is not intended for off-road use. The AWD
feature gives your vehicle some limited off-road capabilities in which
driving surfaces are relatively level, obstruction-free and otherwise
similar to normal on-road driving conditions. Operating your vehicle
under other than those conditions could subject the vehicle to excessive
stress which might result in damage which is not covered under your
warranty.
Note:When an AWD system fault is present, the warning Check AWD
will display in the message center. The AWD system is not functioning
correctly and defaulted to front-wheel drive. When this warning is
displayed, have your vehicle serviced at an authorized dealer.
Note:The AWD Off message may also be displayed in the message
center if the AWD system has overheated and defaulted to front-wheel
drive. This condition may occur if the vehicle was operated in extreme
conditions with excessive wheel slip, such as deep sand. To resume
normal AWD function as soon as possible, stop the vehicle in a safe
location and stop the engine for at least 10 minutes. After the engine has
been restarted and the AWD system has adequately cooled, the AWD Off
message will turn off and normal AWD function will return. In the event
the engine is not stopped, the AWD Off message will turn off when the
system cools and normal AWD function returns.
The Power Transfer Unit (PTU) in police vehicles does not require any
normal scheduled maintenance. The system is electronically monitored
and notifies the driver of required service by displaying the message
Change AWD Power Transfer Unit Lube in the information display. The
PTU lube will be more likely to require a fluid change if the vehicle has
experienced extended periods of extreme/severe duty cycle driving. Do
not check or change the PTU lubricant unless the unit has been
submerged in water, shows signs of leakage or a message indicating
required service is displayed. Contact your authorized dealer for service
and to reset the PTU lube life monitor.
All-Wheel Drive (If Equipped)139
2015 Police(pol)
Owners Guide gf, 1st Printing, April 2014
USA(fus)
Page 142 of 398
Major dissimilar tire sizes between the front and rear axles (for example,
17 inch low profile tires on the front axle and 22 inch high profile tires
on the rear axle) could cause the AWD system to stop functioning and
default to front-wheel drive or damage the AWD system. However, the
AWD system is capable of tolerating any combination of new and worn
tires of the same original tire size. For example, using 3 worn tread tires
and 1 new tread tire all of the same original tire size, can be tolerated by
the AWD system.
How Utility Vehicles Differ from Other Vehicles (If Equipped)
Truck and utility vehicles can differ from some other vehicles. Your
vehicle may be higher to allow it to travel over rough terrain without
getting hung up or damaging underbody components.
The differences that make your vehicle so versatile also make it handle
differently than an ordinary passenger car.
Maintain steering wheel control at all times, especially in rough terrain.
Since sudden changes in terrain can result in abrupt steering wheel
motion, make sure you grip the steering wheel from the outside. Do not
grip the spokes.
Drive cautiously to avoid vehicle damage from concealed objects such as
rocks and stumps.
You should either know the terrain or examine maps of the area before
driving. Map out your route before driving in the area. To maintain
steering and braking control of your vehicle, you must have all four
wheels on the ground and they must be rolling, not sliding or spinning.
Driving In Special Conditions With All-Wheel Drive
All-Wheel Drive (AWD) vehicles are equipped for driving on sand, snow,
mud and rough roads and have operating characteristics that are somewhat
different from conventional vehicles, both on and off the highway.
When driving at slow speeds in deep sand under high outside
temperatures, use a low gear when possible. Lower gear operation will
maximize the engine and transmission cooling capability.
Under severe operating conditions, the A/C may cycle on and off to
protect overheating of the engine.
Basic operating principles in special conditions
•Drive slower in strong crosswinds which can affect the normal steering
characteristics of your vehicle.
•Be extremely careful when driving on pavement made slippery by
loose sand, water, gravel, snow or ice.
All-Wheel Drive (If Equipped)141
2015 Police(pol)
Owners Guide gf, 1st Printing, April 2014
USA(fus)
Page 144 of 398
Emergency maneuvers
•In an unavoidable emergency situation where a sudden sharp turn
must be made, remember to avoid “over-driving” your vehicle (i.e.,
turn the steering wheel only as rapidly and as far as required to avoid
the emergency). Excessive steering will result in less vehicle control,
not more. Additionally, smooth variations of the accelerator and/or
brake pedal pressure should be utilized if changes in vehicle speed are
called for. Avoid abrupt steering, acceleration or braking which could
result in an increased risk of loss of vehicle control, vehicle rollover
and/or personal injury. Use all available road surface to return the
vehicle to a safe direction of travel.
•In the event of an emergency stop, avoid skidding the tires and do not
attempt any sharp steering wheel movements.
•If the vehicle goes from one type of surface to another (i.e., from
concrete to gravel) there will be a change in the way the vehicle
responds to a maneuver (steering, acceleration or braking). Again,
avoid these abrupt inputs.
Sand
When driving over sand, try to keep all four wheels on the most solid
area of the trail. Avoid reducing the tire pressures but shift to a lower
gear and drive steadily through the terrain. Apply the accelerator slowly
and avoid excessive wheel slip.
Do not drive your vehicle in deep sand for an extended period of time.
This could cause the AWD system to overheat and default to front-wheel
drive. If this occursAW D O f fwill be displayed in the Information
Display.
To resume normal AWD function as soon as possible, stop the vehicle in
a safe location and stop the engine for at least 10 minutes. After the
engine has been restarted and the AWD system has adequately cooled,
theAW D O f fmessage will turn off and normal AWD function will return.
In the event the engine is not stopped, theAW D O f fmessage will turn
off when the system cools and normal AWD function returns.
When driving at slow speeds in deep sand under high outside
temperatures, use L (Low) gear when possible. L (Low) gear operation
will maximize the engine and transmission cooling capability.
Under severe operating conditions, the A/C may cycle on and off to
protect overheating of the engine.
All-Wheel Drive (If Equipped)143
2015 Police(pol)
Owners Guide gf, 1st Printing, April 2014
USA(fus)