FORD POLICE INTERCEPTOR UTILITY 2016 1.G Workshop Manual
Manufacturer: FORD, Model Year: 2016, Model line: POLICE INTERCEPTOR UTILITY, Model: FORD POLICE INTERCEPTOR UTILITY 2016 1.GPages: 350, PDF Size: 3.58 MB
Page 51 of 350
LOCKING AND UNLOCKING
You can use the power door lock control
or the remote control to lock and unlock
your vehicle.
Power Door Locks (If Equipped)
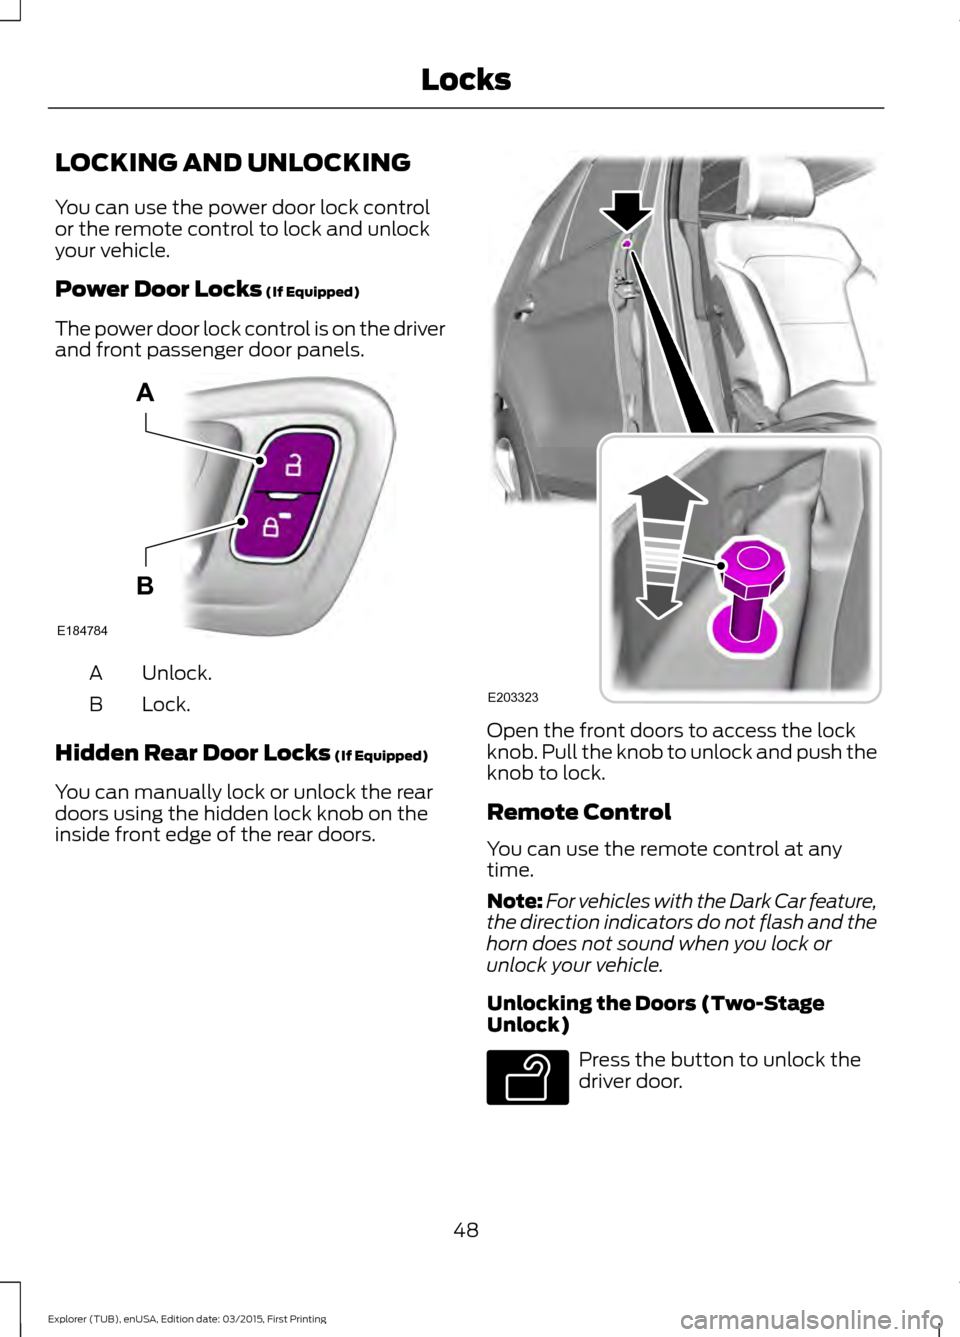
The power door lock control is on the driver
and front passenger door panels. Unlock.
A
Lock.
B
Hidden Rear Door Locks
(If Equipped)
You can manually lock or unlock the rear
doors using the hidden lock knob on the
inside front edge of the rear doors. Open the front doors to access the lock
knob. Pull the knob to unlock and push the
knob to lock.
Remote Control
You can use the remote control at any
time.
Note:
For vehicles with the Dark Car feature,
the direction indicators do not flash and the
horn does not sound when you lock or
unlock your vehicle.
Unlocking the Doors (Two-Stage
Unlock) Press the button to unlock the
driver door.
48
Explorer (TUB), enUSA, Edition date: 03/2015, First Printing LocksE184784
A
B E203323 E138629
Page 52 of 350
Press the button again within three
seconds to unlock all doors. The direction
indicators will flash.
Press and hold both the lock and unlock
buttons on the remote control for three
seconds to change between driver door or
all doors unlock mode. The direction
indicators will flash twice to indicate a
change to the unlocking mode. Driver door
mode only unlocks the driver door when
you press the unlock button once. All door
mode unlocks all doors when you press
the unlock button once. The unlocking
mode applies to the remote control.
Locking the Doors
Press the button to lock all
doors. The direction indicators
will flash.
Press the button again within three
seconds to confirm that all the doors are
closed. The doors will lock again, the horn
will sound and the direction indicators will
flash if all the doors and the liftgate are
closed.
Note: If any door or the liftgate is open, or
if the hood is open on vehicles with an
anti-theft alarm or remote start, the horn
will sound twice and the direction indicators
will not flash.
Independent Liftgate Locking
Feature
This feature allows you to unlock the
liftgate independently of the other doors.
Unlocking
The liftgate unlocks when you pull and
release the liftgate control on the overhead
console with the ignition on.
Note: The liftgate does not unlock when
you unlock all the doors electronically using
the remote control or power door lock
control. Liftgate Timed Release
Switch the ignition to the run, start or
accessory position. Pull and release the liftgate
control on the overhead console.
Note: Only the liftgate unlocks. All other
passenger doors remain in the previous
locking state.
A warning lamp illuminates in the
instrument cluster for 45 seconds. See
Warning Lamps and Indicators (page
68). You can then open the liftgate using
the exterior liftgate release button.
Once the 45 second timer expires, the
lamp turns off and you can no longer open
the liftgate. Pull and release the liftgate
control on the overhead console again to
restart the timer.
Note: You can also unlock the liftgate by
using the key blade inserted into the liftgate
lock cylinder.
Locking
The liftgate locks when any of the
following occur:
• You open and close the liftgate after
you pull and release the liftgate control
on the overhead console.
• The 45 second timer expires.
Locking and Unlocking the Doors
with the Key Blade
Locking with the Key
Turn the top of the key toward the front of
your vehicle.
Unlocking with the Key
Turn the top of the key toward the rear of
your vehicle.
49
Explorer (TUB), enUSA, Edition date: 03/2015, First Printing LocksE138623
Page 53 of 350
Note:
If the child safety locks are on and
you pull the interior handle, you will only
turn off the emergency locking, not the child
safety lock. You can only open the doors
using the external door handle.
Opening a Rear Door From the
Inside
Pull the interior door handle twice to
unlock and open a rear door. The first pull
unlocks the door and the second pull
opens the door.
Illuminated Entry (If Equipped)
The interior lamps and some exterior
lamps illuminate when you unlock the
doors with the remote control.
The lamps turn off if:
• The ignition is on.
• You press the remote control lock
button.
• 25 seconds have elapsed.
The lamps do not turn off if:
• You switch them on with the lighting
control.
• Any door is open.
Illuminated Exit
(If Equipped)
The interior lamps and some exterior
lamps illuminate when all doors are closed
and you switch the ignition off.
The lamps will turn off if all the doors
remain closed and:
• 25 seconds have elapsed.
• You lock your vehicle from the outside.
Battery Saver
If you leave the courtesy lamps, interior
lamps or headlamps on, the battery saver
shuts them off 10 minutes after you switch
the ignition off. MANUAL LIFTGATE WARNINGS
It is extremely dangerous to ride in a
cargo area, inside or outside of a
vehicle. In a crash, people riding in
these areas are more likely to be seriously
injured or killed. Do not allow people to ride
in any area of your vehicle that is not
equipped with seats and safety belts. Be
sure everyone in your vehicle is in a seat
and using a safety belt properly. Failure to
follow this warning could result in serious
personal injury or death. Make sure to close and latch the
liftgate to prevent drawing exhaust
fumes into your vehicle. This will also
prevent passengers and cargo from falling
out. If you must drive with the liftgate open,
keep the vents or windows open so outside
air comes into your vehicle. Failure to
follow this warning could result in serious
personal injury. Note:
Be careful when opening or closing
the liftgate in a garage or other enclosed
area to avoid damaging the liftgate.
Note: Do not hang anything, for example
a bike rack, from the glass or liftgate. This
could damage the liftgate and its
components.
Note: Do not leave the liftgate open while
driving. This could damage the liftgate and
its components.
50
Explorer (TUB), enUSA, Edition date: 03/2015, First Printing Locks
Page 54 of 350
Opening the Liftgate
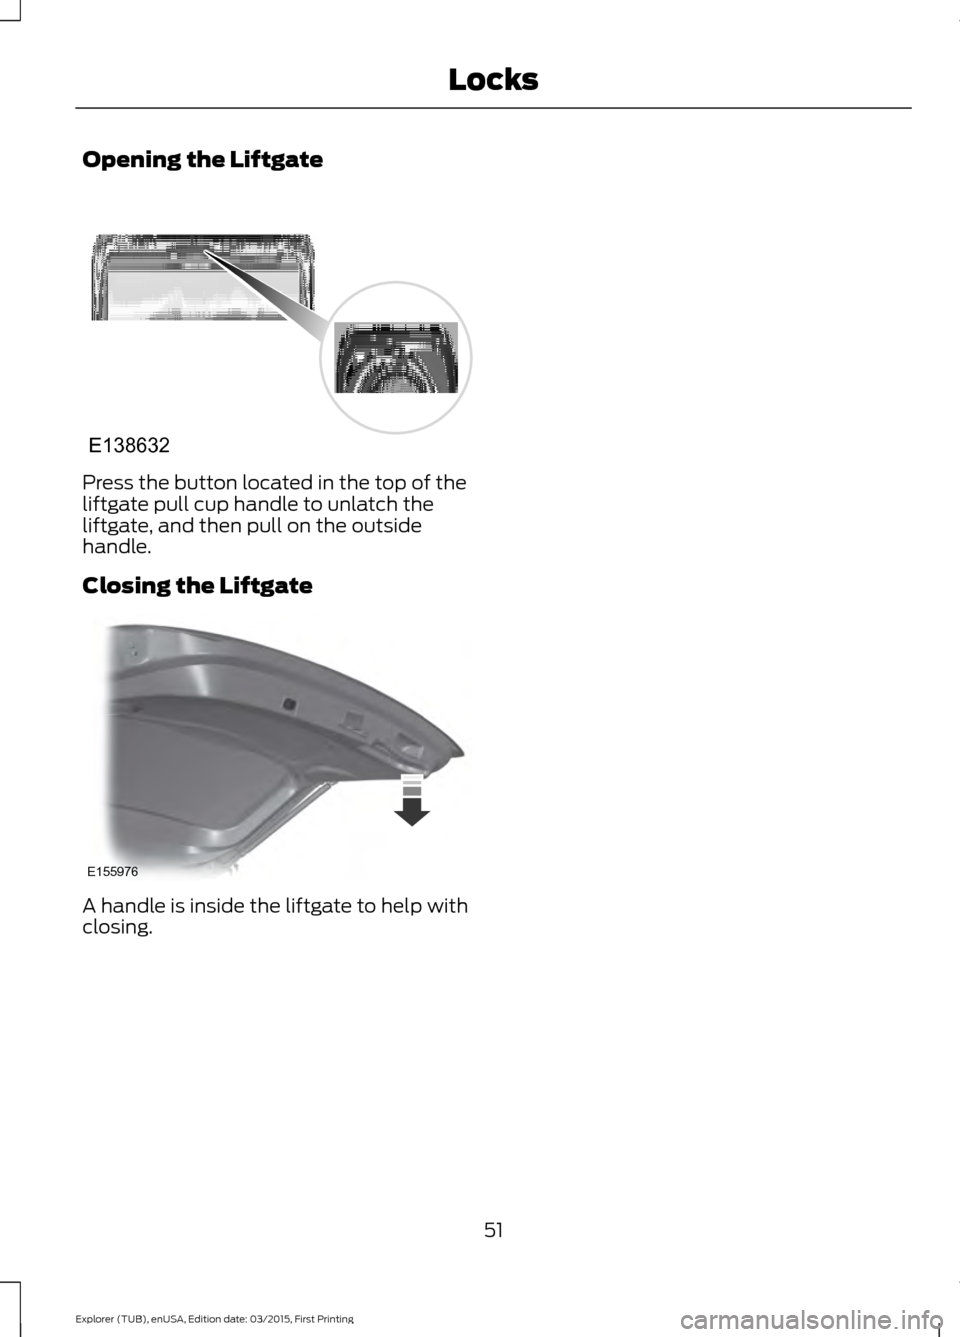
Press the button located in the top of the
liftgate pull cup handle to unlatch the
liftgate, and then pull on the outside
handle.
Closing the Liftgate
A handle is inside the liftgate to help with
closing.
51
Explorer (TUB), enUSA, Edition date: 03/2015, First Printing LocksE138632 E155976
Page 55 of 350
ANTI-THEFT ALARM
Alarm System
The perimeter alarm is a deterrent against
unauthorized access to your vehicle
through the doors, luggage compartment
and the hood.
Triggering the Alarm
Once armed, the alarm is triggered in any
of the following ways:
•
If someone opens a door, cargo area
or the hood without a valid key or
remote control.
• If you switch the ignition on without a
valid key.
If the alarm is triggered, the horn will sound
for 30 seconds and the hazard warning
flasher will flash for five minutes.
Any further attempts to perform one of the
above will trigger the alarm again.
Arming the Alarm
To arm the alarm, lock your vehicle. See
Locks (page 48).
Disarming the Alarm
Disarm and silence the alarm by unlocking
the doors with the key and switching the
ignition on within 12 seconds, or by
unlocking the doors or the cargo area with
the remote control.
52
Explorer (TUB), enUSA, Edition date: 03/2015, First Printing Security
Page 56 of 350
ADJUSTING THE STEERING
WHEEL
WARNING
Do not adjust the steering wheel
when your vehicle is moving.
Note:
Make sure that you are sitting in the
correct position. See Sitting in the Correct
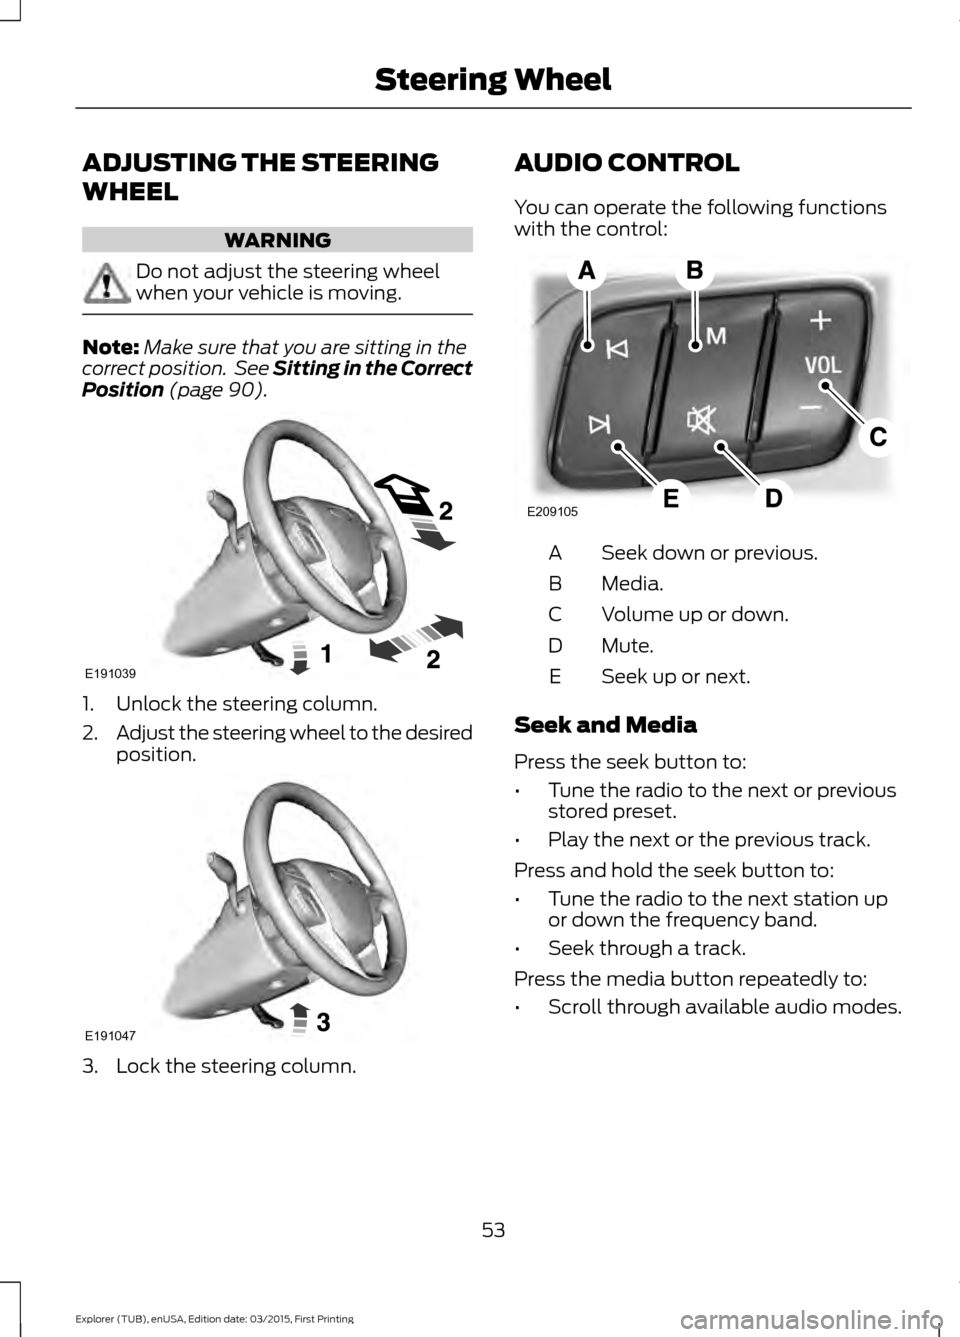
Position (page 90). 1. Unlock the steering column.
2.
Adjust the steering wheel to the desired
position. 3. Lock the steering column. AUDIO CONTROL
You can operate the following functions
with the control:
Seek down or previous.
A
Media.
B
Volume up or down.
C
Mute.
D
Seek up or next.
E
Seek and Media
Press the seek button to:
• Tune the radio to the next or previous
stored preset.
• Play the next or the previous track.
Press and hold the seek button to:
• Tune the radio to the next station up
or down the frequency band.
• Seek through a track.
Press the media button repeatedly to:
• Scroll through available audio modes.
53
Explorer (TUB), enUSA, Edition date: 03/2015, First Printing Steering WheelE191039 E191047 E209105
Page 57 of 350
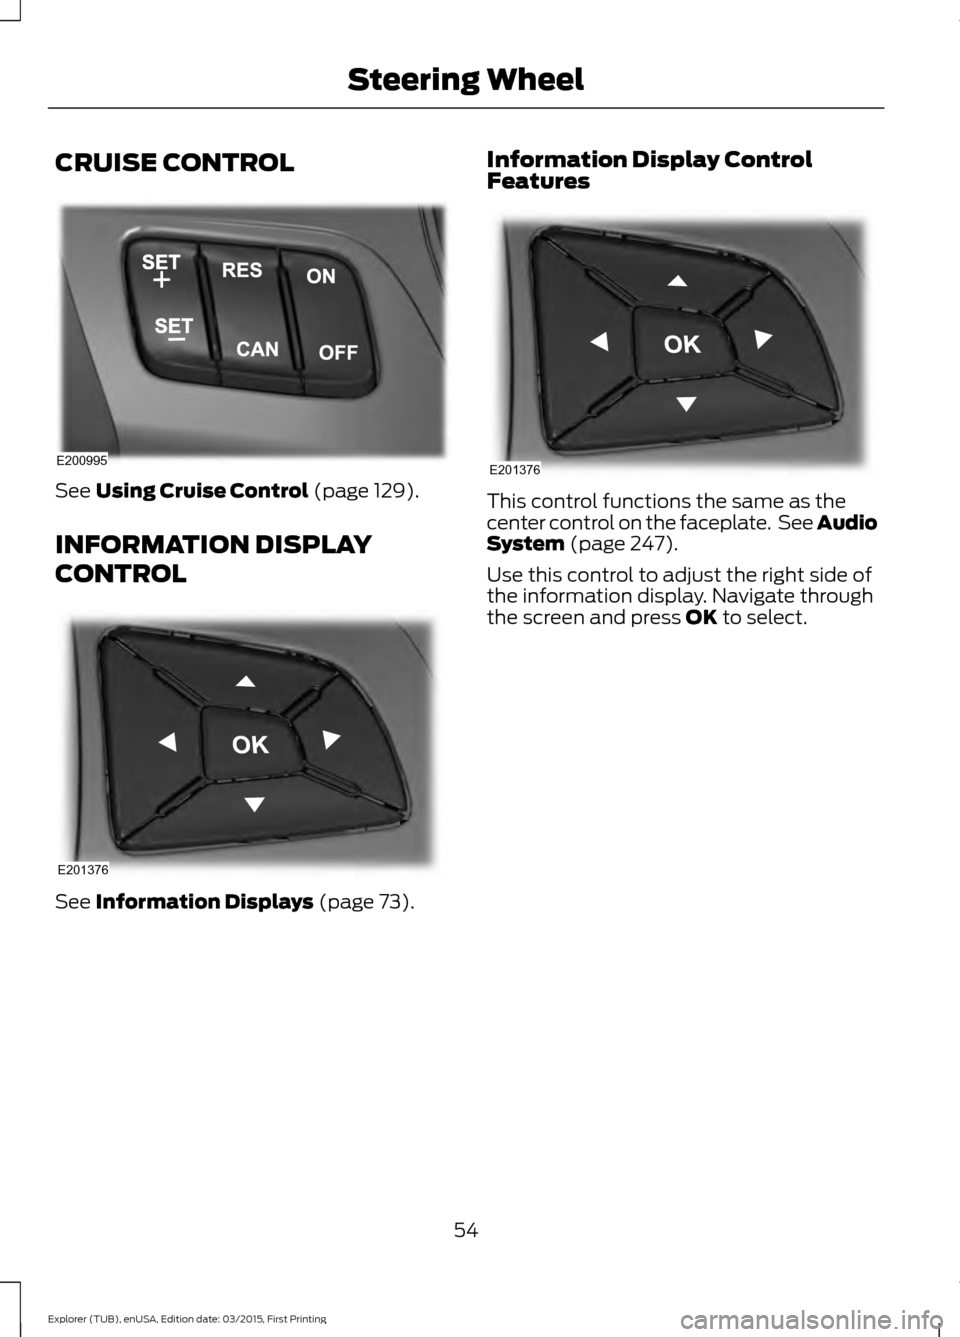
CRUISE CONTROL
See Using Cruise Control (page 129).
INFORMATION DISPLAY
CONTROL See
Information Displays (page 73). Information Display Control
Features This control functions the same as the
center control on the faceplate. See Audio
System
(page 247).
Use this control to adjust the right side of
the information display. Navigate through
the screen and press
OK to select.
54
Explorer (TUB), enUSA, Edition date: 03/2015, First Printing Steering WheelE200995 E201376 E201376
Page 58 of 350
ADJUSTING THE PEDALS
WARNING
Never use the controls while your
feet are on the accelerator and brake
pedals and the vehicle is moving.
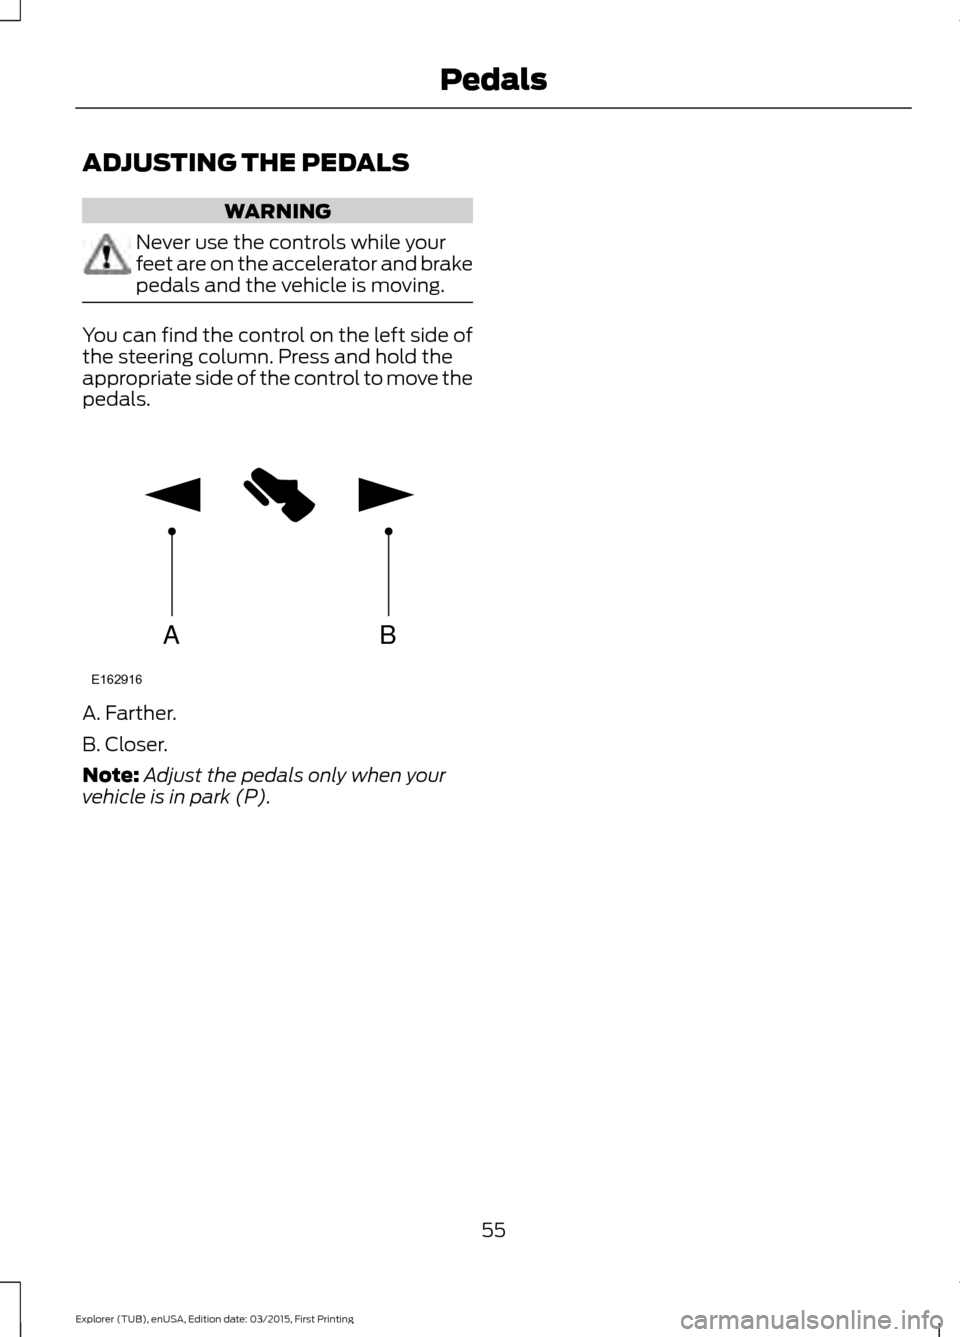
You can find the control on the left side of
the steering column. Press and hold the
appropriate side of the control to move the
pedals.
A. Farther.
B. Closer.
Note:
Adjust the pedals only when your
vehicle is in park (P).
55
Explorer (TUB), enUSA, Edition date: 03/2015, First Printing PedalsAB
E162916
Page 59 of 350
WINDSHIELD WIPERS
Note:
Fully defrost the windshield before
you switch the windshield wipers on.
Note: Make sure you switch the windshield
wipers off before entering a car wash.
Note: Clean the windshield and wiper
blades if they begin to leave streaks or
smears. If that does not resolve the issue,
install new wiper blades. See Changing
the Wiper Blades (page 189).
Note: Do not operate the wipers on a dry
windshield. This may scratch the glass,
damage the wiper blades or cause the wiper
motor to burn out. Always use the
windshield washers before wiping a dry
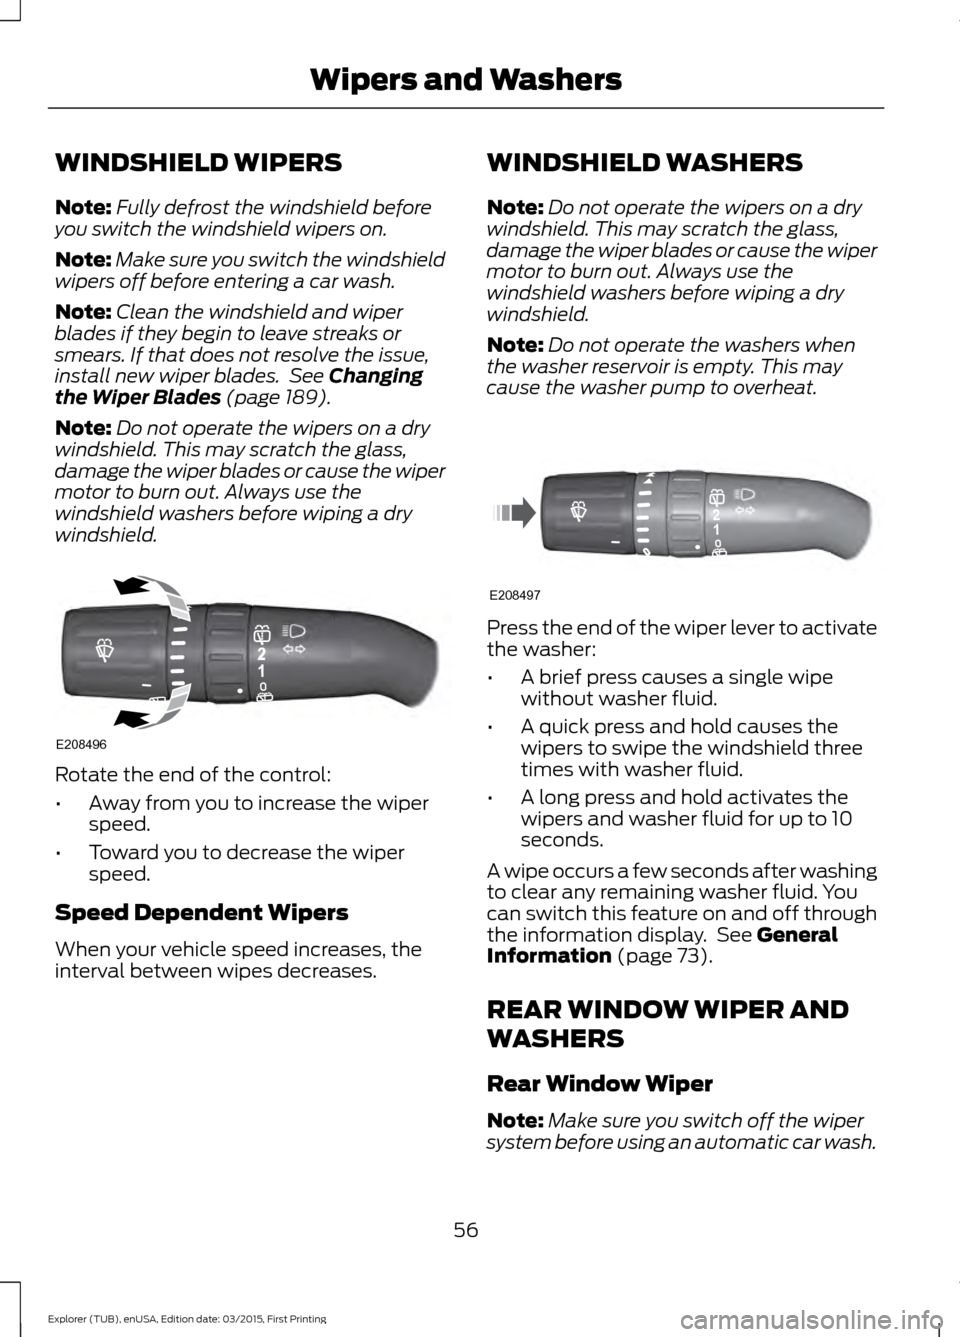
windshield. Rotate the end of the control:
•
Away from you to increase the wiper
speed.
• Toward you to decrease the wiper
speed.
Speed Dependent Wipers
When your vehicle speed increases, the
interval between wipes decreases. WINDSHIELD WASHERS
Note:
Do not operate the wipers on a dry
windshield. This may scratch the glass,
damage the wiper blades or cause the wiper
motor to burn out. Always use the
windshield washers before wiping a dry
windshield.
Note: Do not operate the washers when
the washer reservoir is empty. This may
cause the washer pump to overheat. Press the end of the wiper lever to activate
the washer:
•
A brief press causes a single wipe
without washer fluid.
• A quick press and hold causes the
wipers to swipe the windshield three
times with washer fluid.
• A long press and hold activates the
wipers and washer fluid for up to 10
seconds.
A wipe occurs a few seconds after washing
to clear any remaining washer fluid. You
can switch this feature on and off through
the information display. See
General
Information (page 73).
REAR WINDOW WIPER AND
WASHERS
Rear Window Wiper
Note: Make sure you switch off the wiper
system before using an automatic car wash.
56
Explorer (TUB), enUSA, Edition date: 03/2015, First Printing Wipers and WashersE208496 E208497
Page 60 of 350
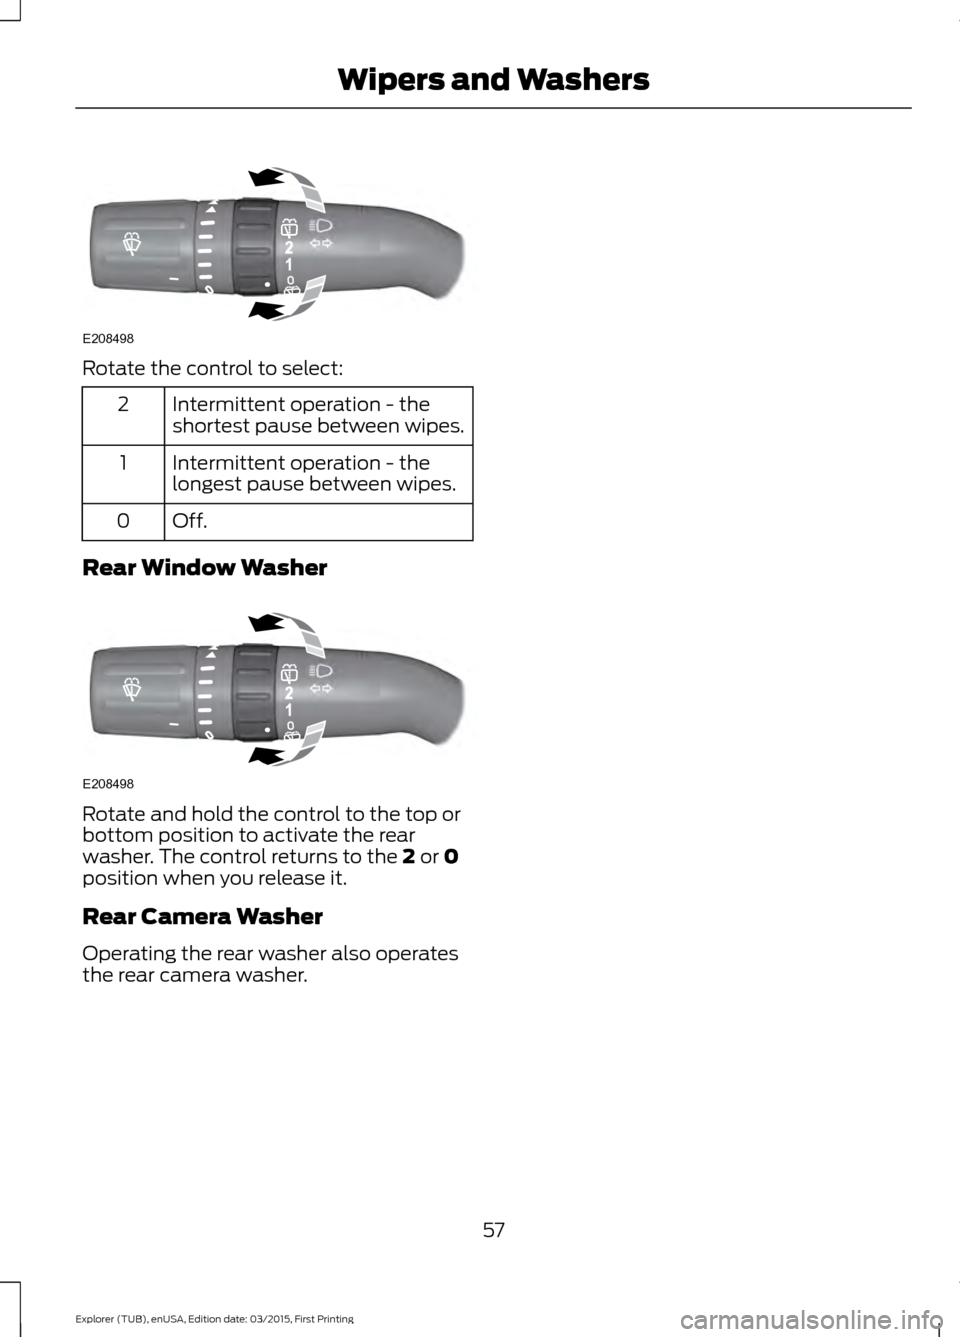
Rotate the control to select:
Intermittent operation - the
shortest pause between wipes.
2
Intermittent operation - the
longest pause between wipes.
1
Off.0
Rear Window Washer Rotate and hold the control to the top or
bottom position to activate the rear
washer. The control returns to the 2 or 0
position when you release it.
Rear Camera Washer
Operating the rear washer also operates
the rear camera washer.
57
Explorer (TUB), enUSA, Edition date: 03/2015, First Printing Wipers and WashersE208498 E208498